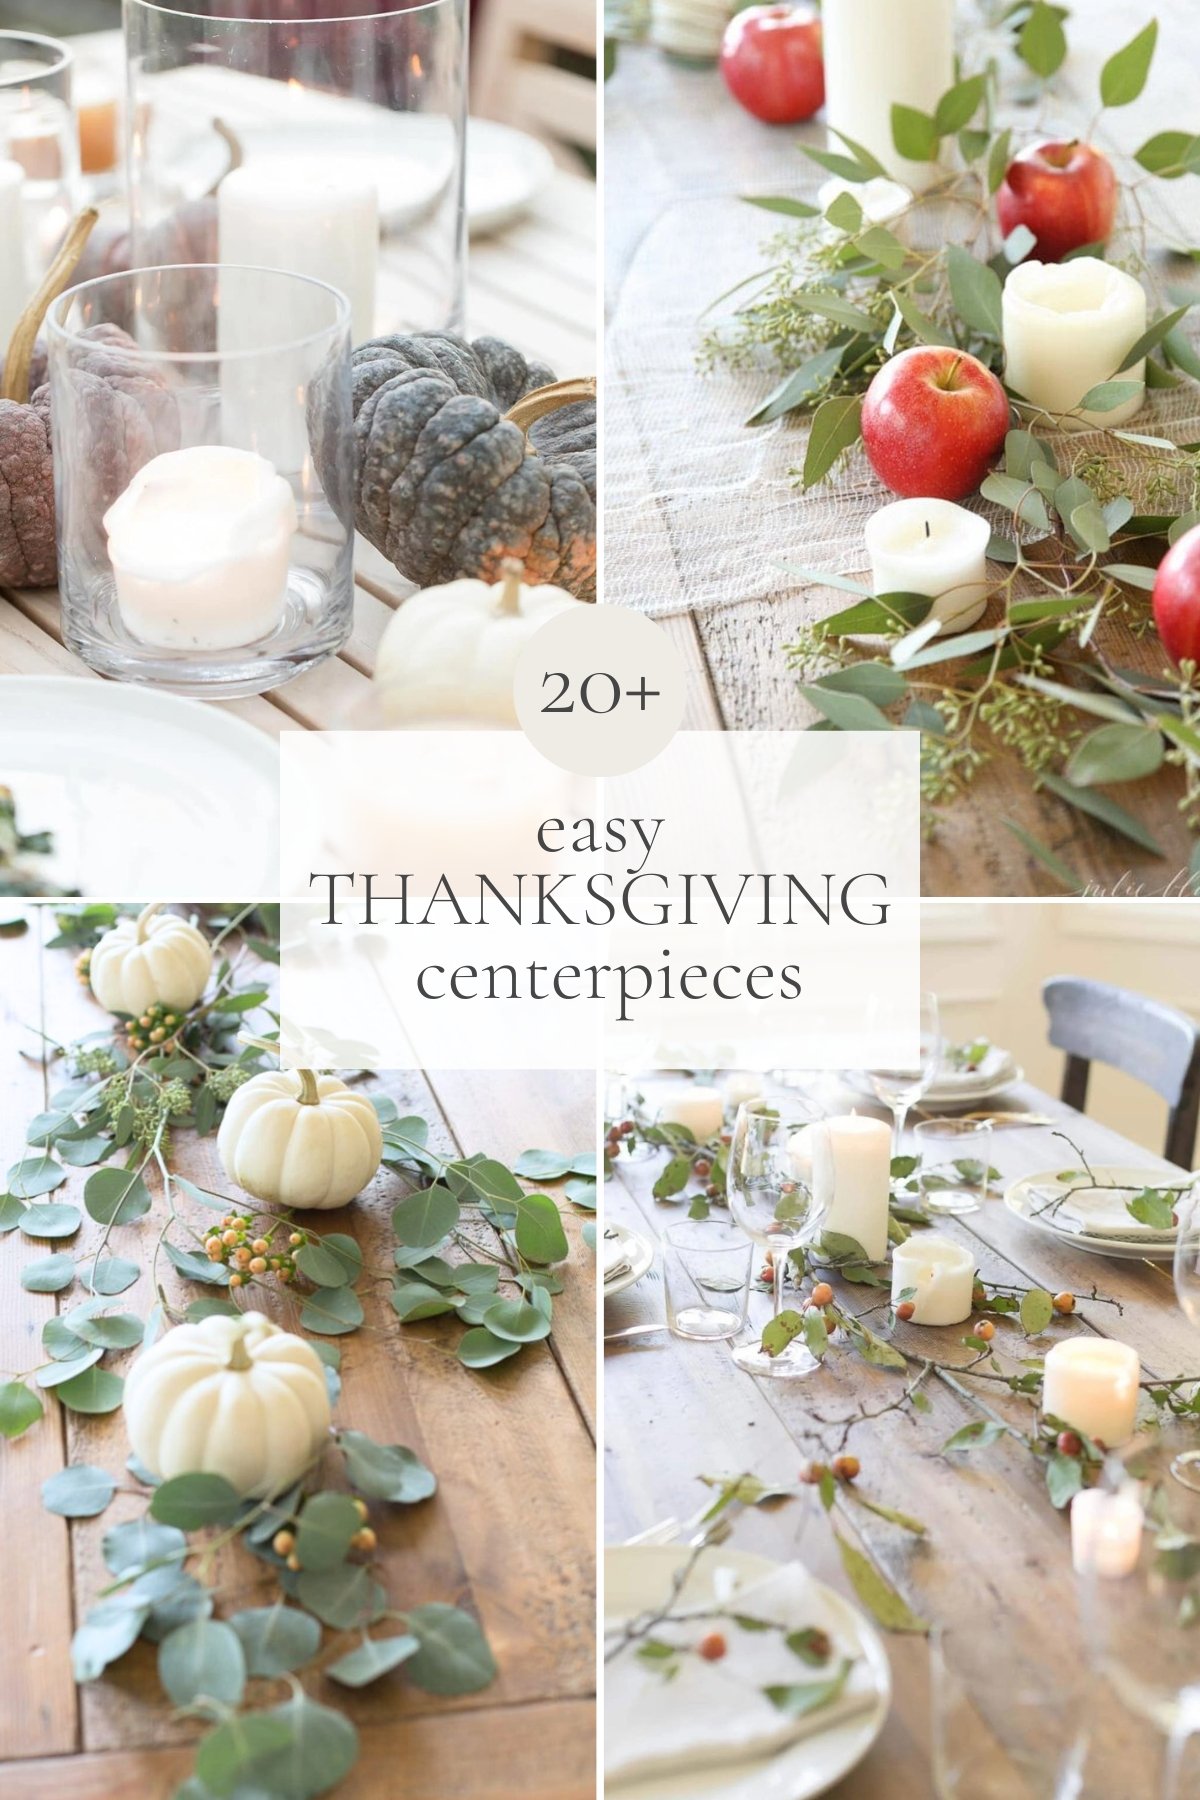
Check out these easy ideas for Thanksgiving centerpieces and table decor. Creating a Thanksgiving table setting is easier than you’d think – I’ve got so many ideas for Thanksgiving centerpieces!
Bonus? Most can be created in five minutes or less, with grocery store items.
Whether you’re hosting a large crowd or it’s an intimate family gathering, make it easy on yourself this year! There are so many ways to create a special but easy Thanksgiving centerpiece.
I have been feeling extremely grateful lately. Maybe it’s that November is upon us and it’s a great time to reflect on all of the blessings in our lives. Or maybe it’s just that I’ve taken a few days to sit back and just “be.”
Whatever it is, I’ve been feeling so thankful that you share the same passions and enjoy celebrating everyday life in many of the same ways. I recently wrote a complete guide on How to Host Thanksgiving and even a guide for How to Host a Virtual Thanksgiving – you’ll find everything you need and more!
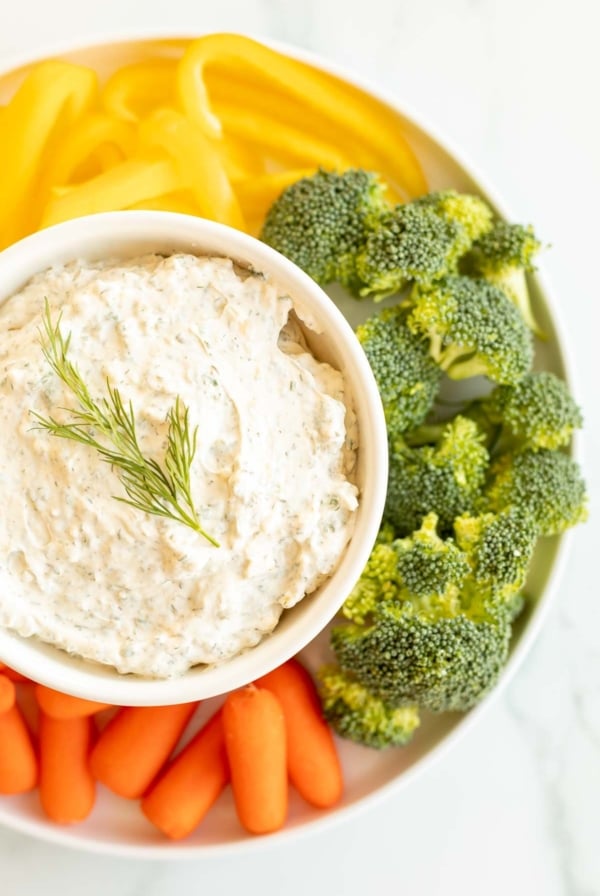
Or, just start with this round-up of the Best Fall Cookies and Favorite Fall Recipes to make sure your celebrations are off to a good start- and don’t forget 30 Thanksgiving appetizers when you start planning your menu.

Thanksgiving Centerpieces
Over the years I have created so much inspiration for Thanksgiving table decor. I’m so glad you’re joining me for a round-up of Thanksgiving centerpieces! Let’s celebrate the abundance in our lives!
First, a few of my best tips and tricks.

Tips
- One of my best tips for creating a simple and elegant Thanksgiving centerpiece? Shop your own home!
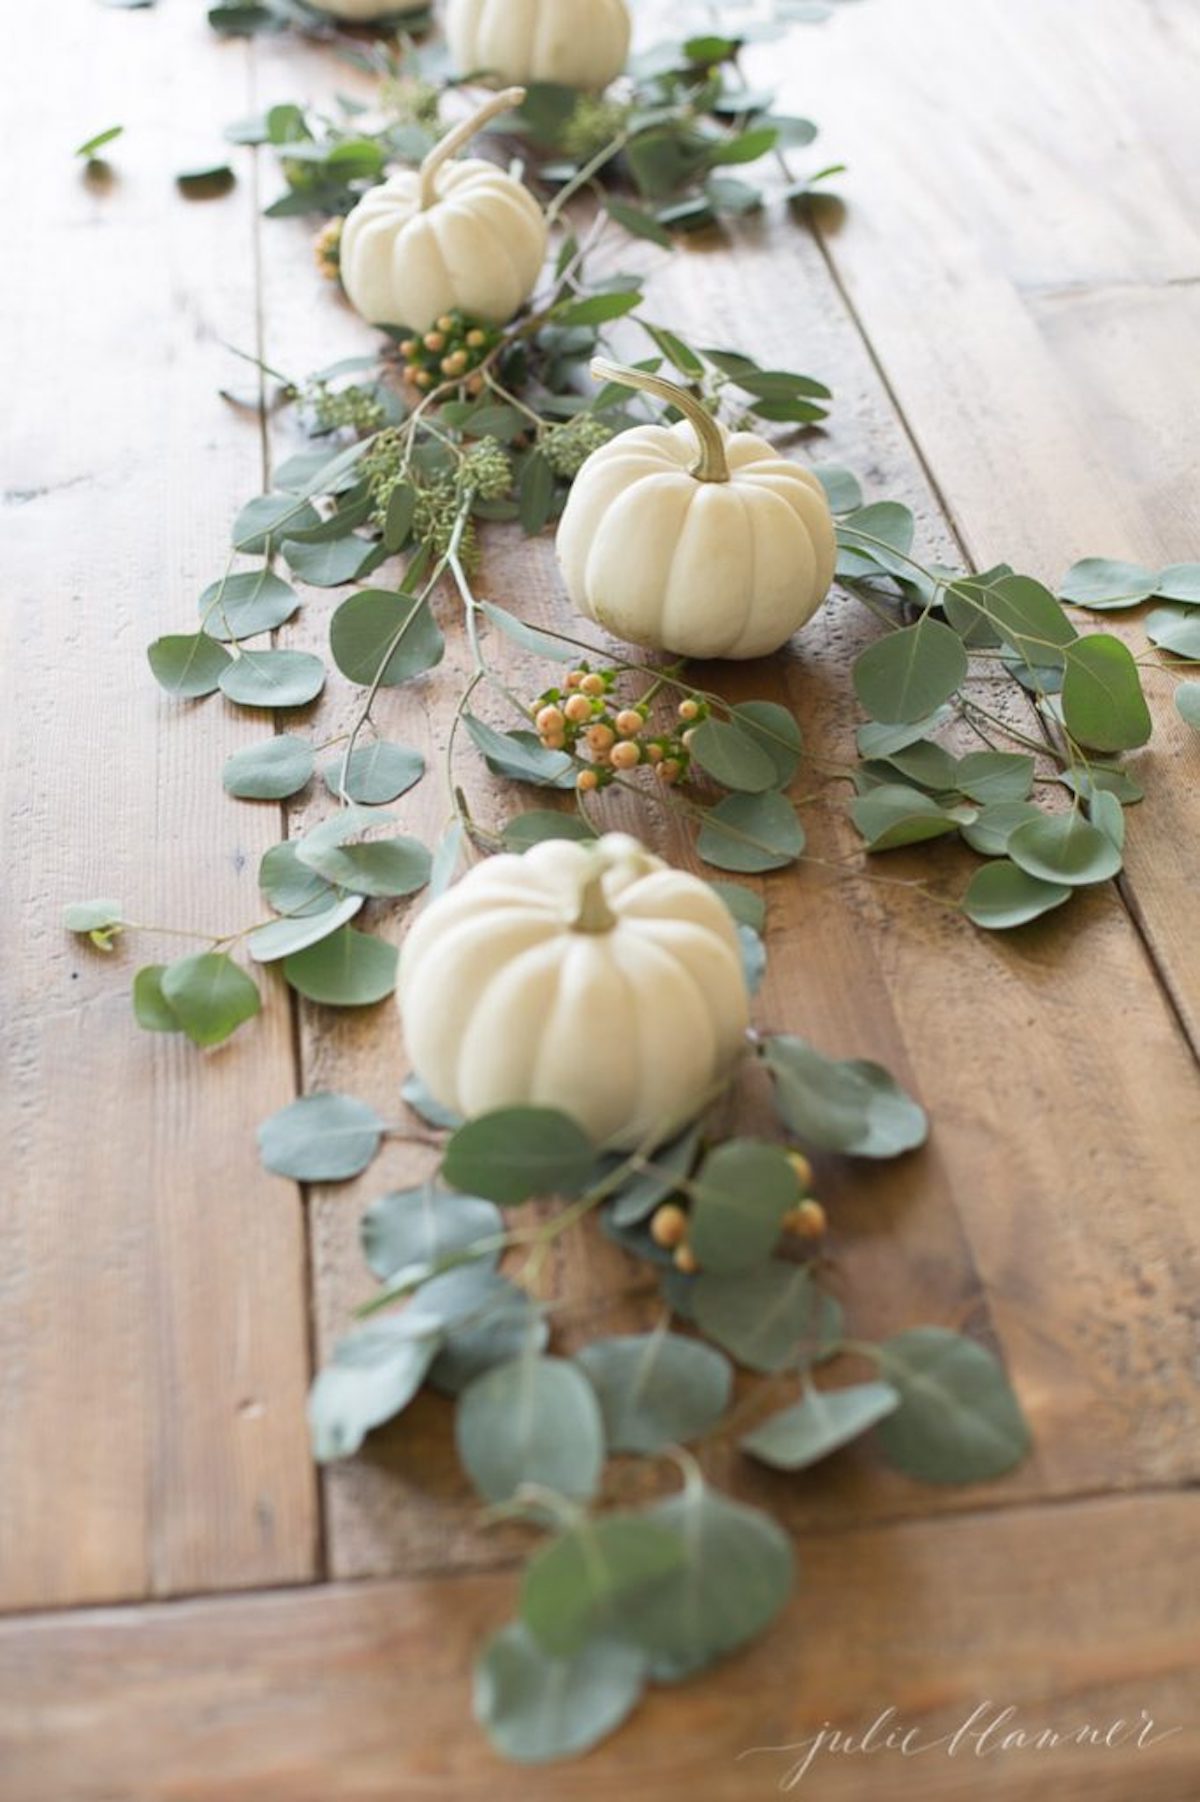
- The pumpkins in a few of these ideas came from my fall front porch and later became part of my Pumpkin Centerpiece with the addition of flowers and seeded eucalyptus.
- Use trays, platters, plates and candles that you gather from a stash of family heirlooms, thrift stores or the back of a cabinet at grandma’s.
- I love a good wheat Sheaf and this DIY Wheat Sheaf can add fall feelings to any simple Thanksgiving table setting. I created this initially for my door, but brought it in for entertaining when the occasion called for a pretty centerpiece!

22 Easy Thanksgiving Centerpieces
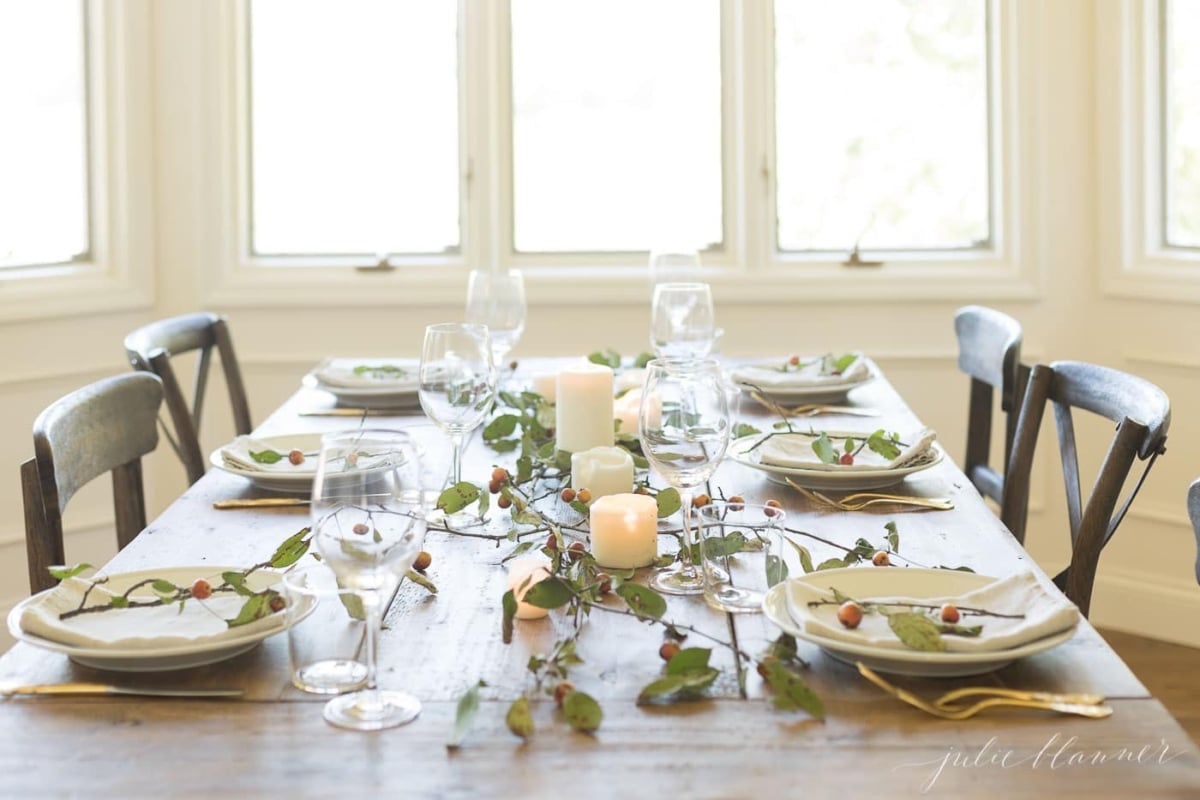
Everyday Branch Centerpiece
Learn how to create an everyday centerpiece with branches from your own back yard that will last weeks!
5 Minute Mini Pumpkin Table Runner
A fresh pumpkin table runner that is simple, and so easy to put together you’ll be done in five minutes.
Vegetable Table Runner
This is a gorgeous, dramatic table runner made completely of an abundance of vegetables!

DIY Fall Flower Bowl
This recipe for fall flowers is slightly different than my last few – it might take a few more minutes, but it can be made with items from home and the store. Bonus for being edible, right?
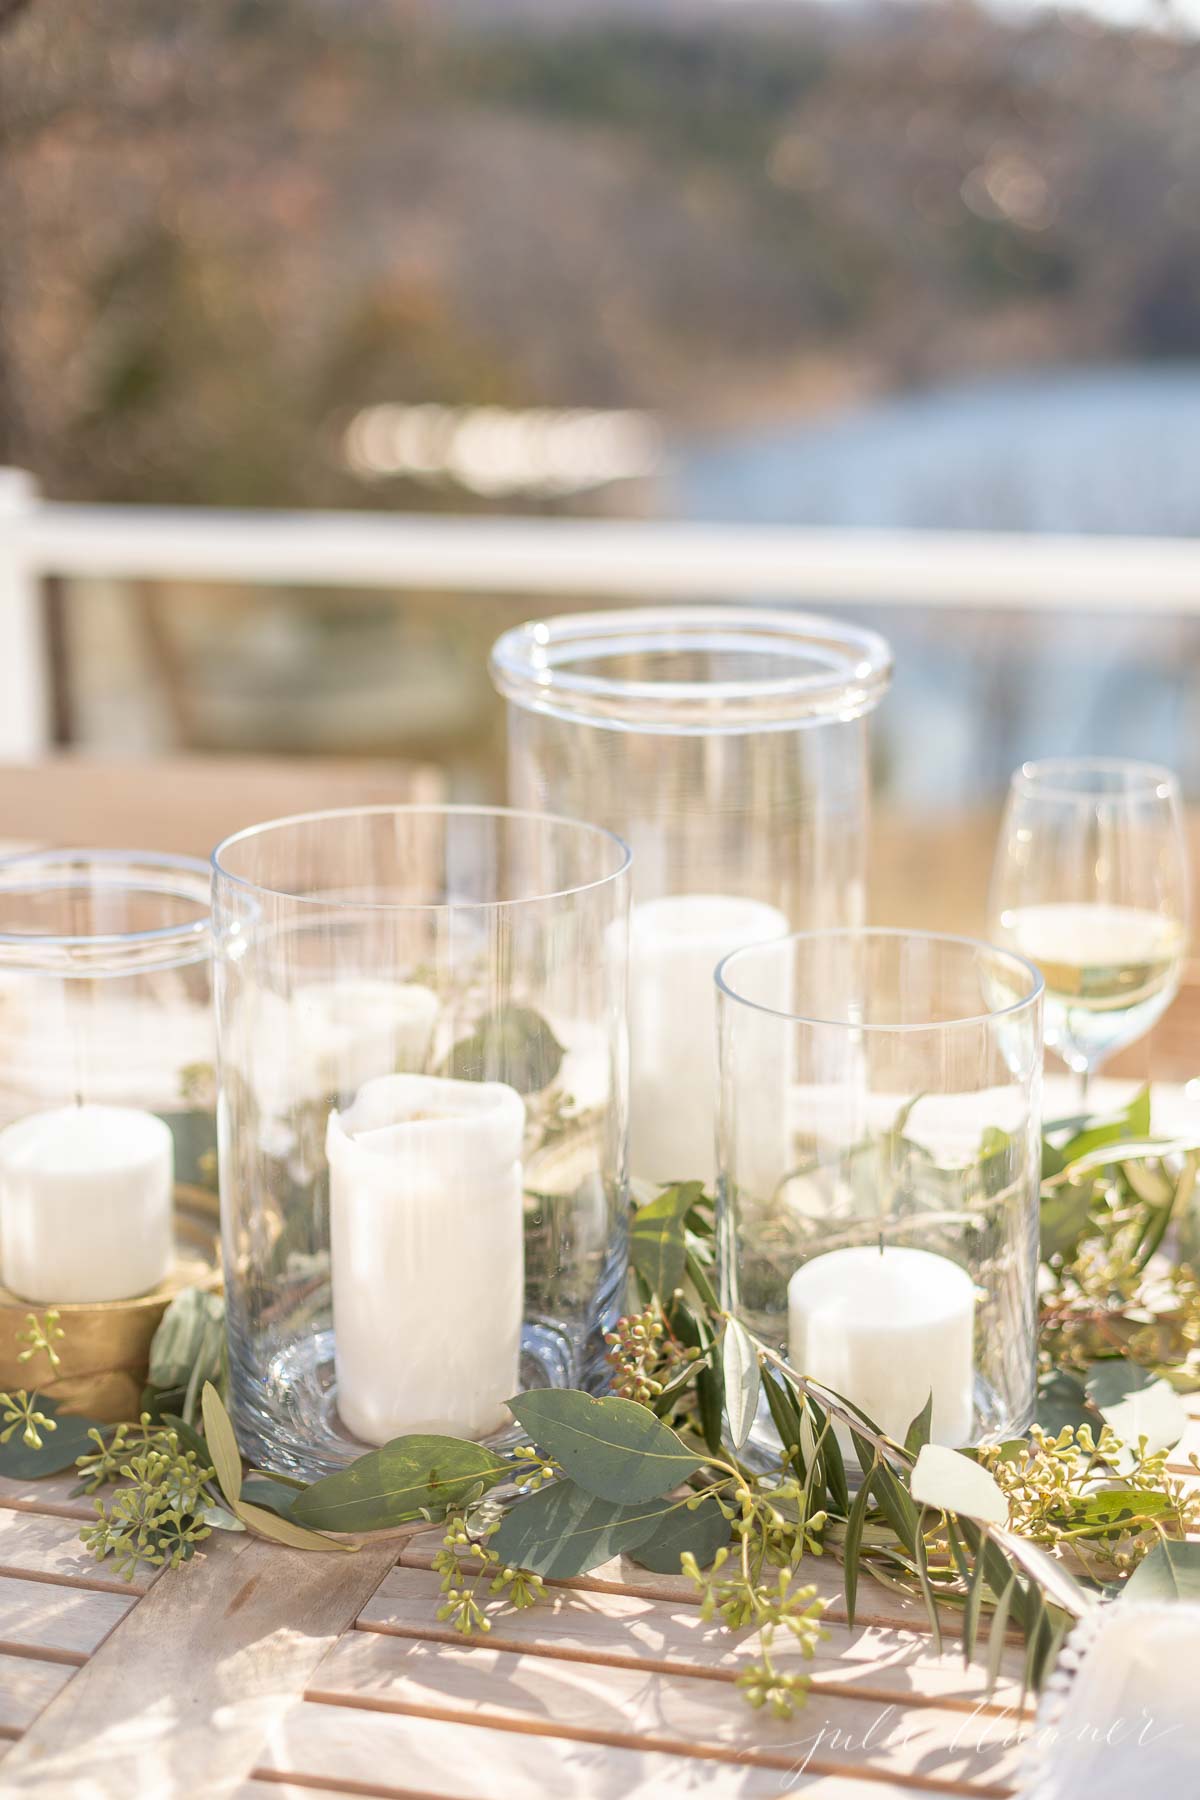
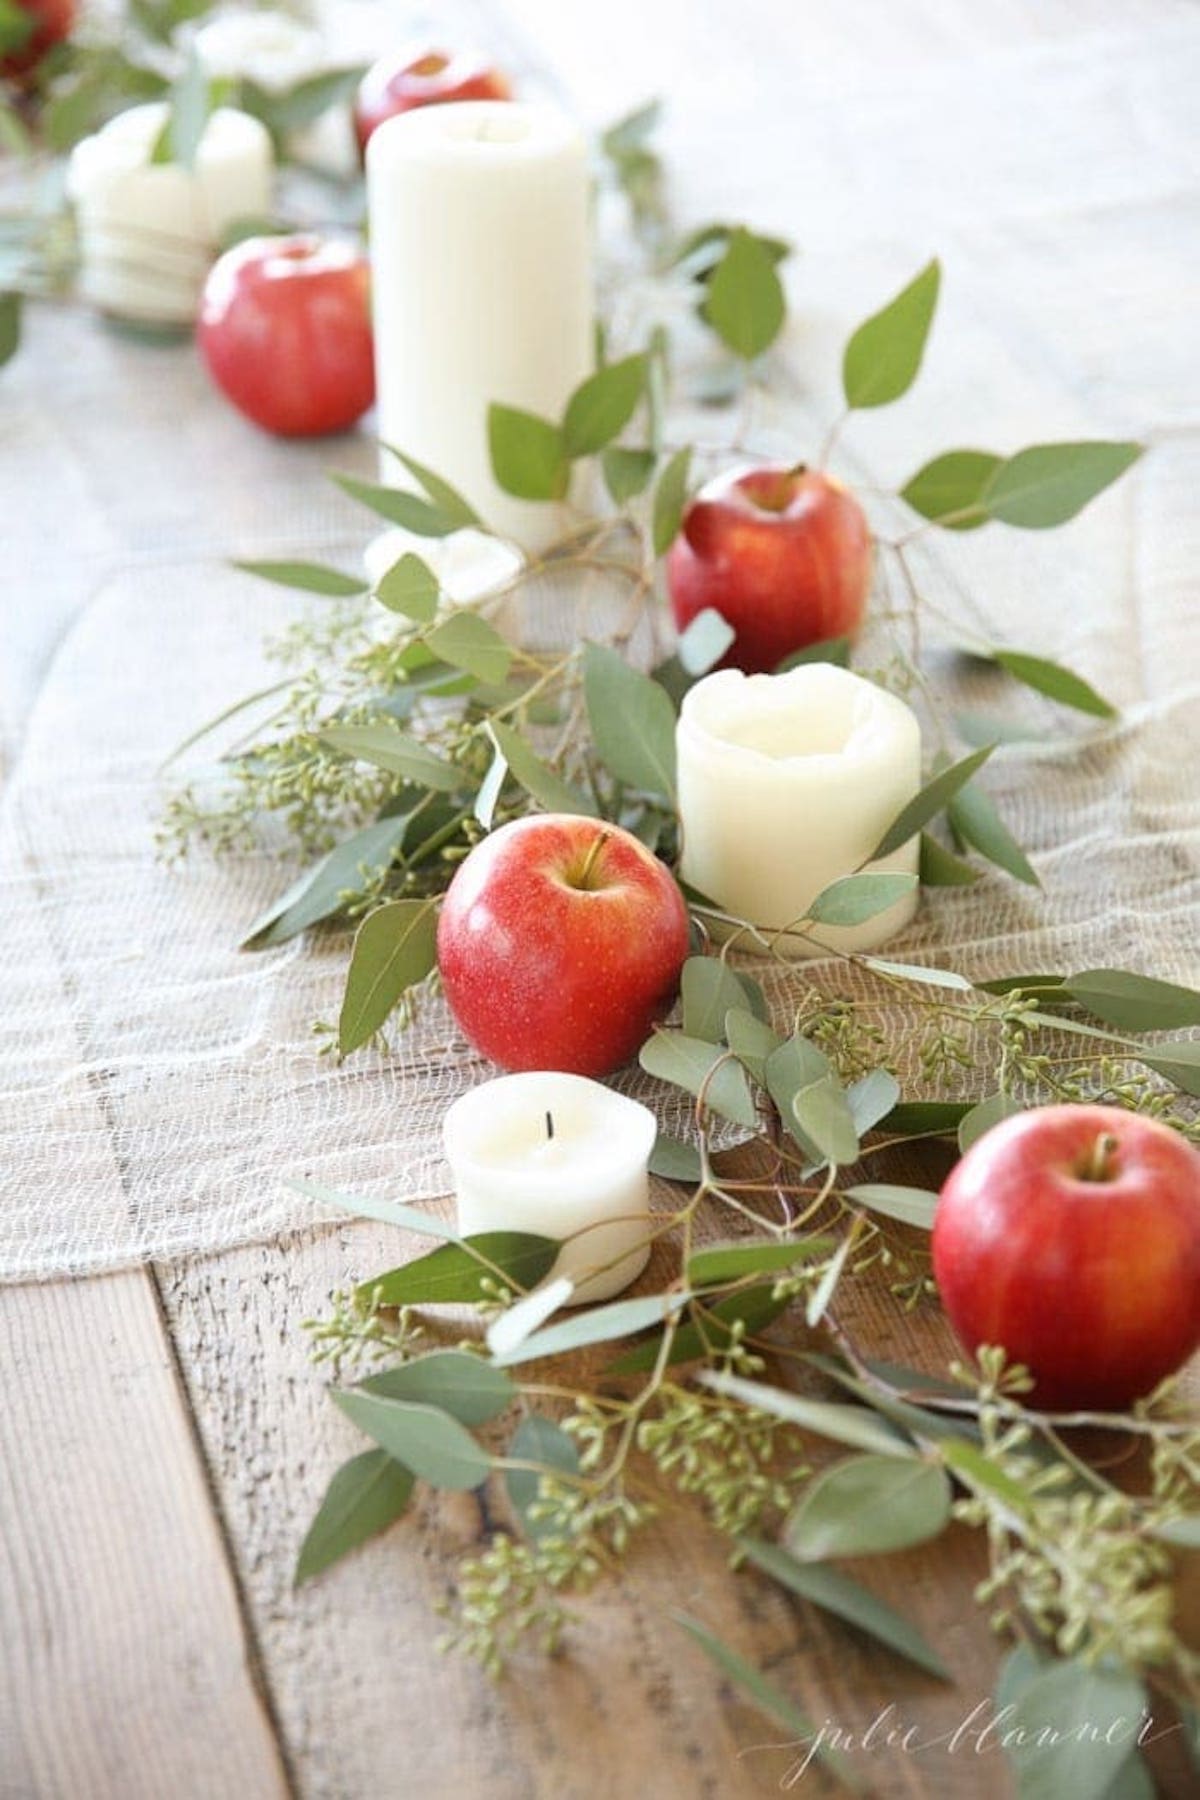
Candles and Greenery
Is there anything simpler or more beautiful? Cozy up to the prettiest affordable centerpiece.
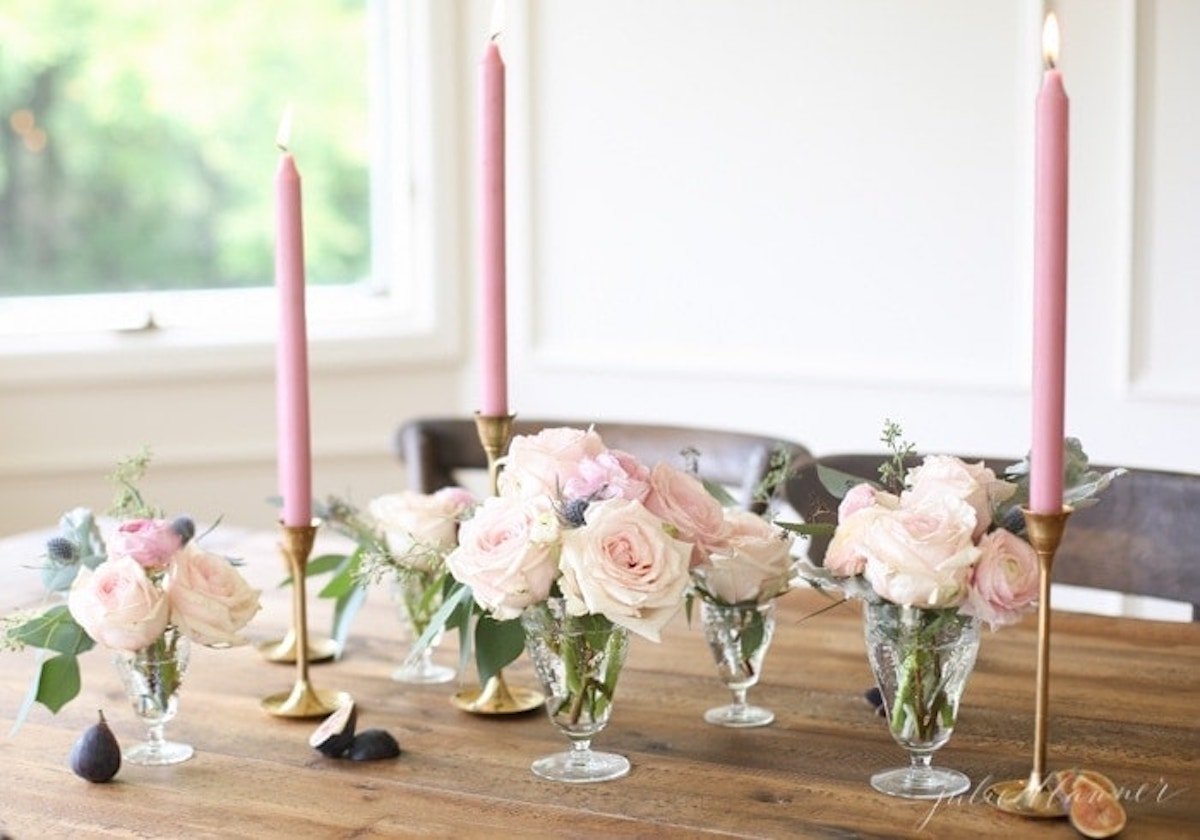
Thanksgiving Centerpiece for a Long Table
Learn my favorite tricks for creating a centerpiece for a long, narrow table.
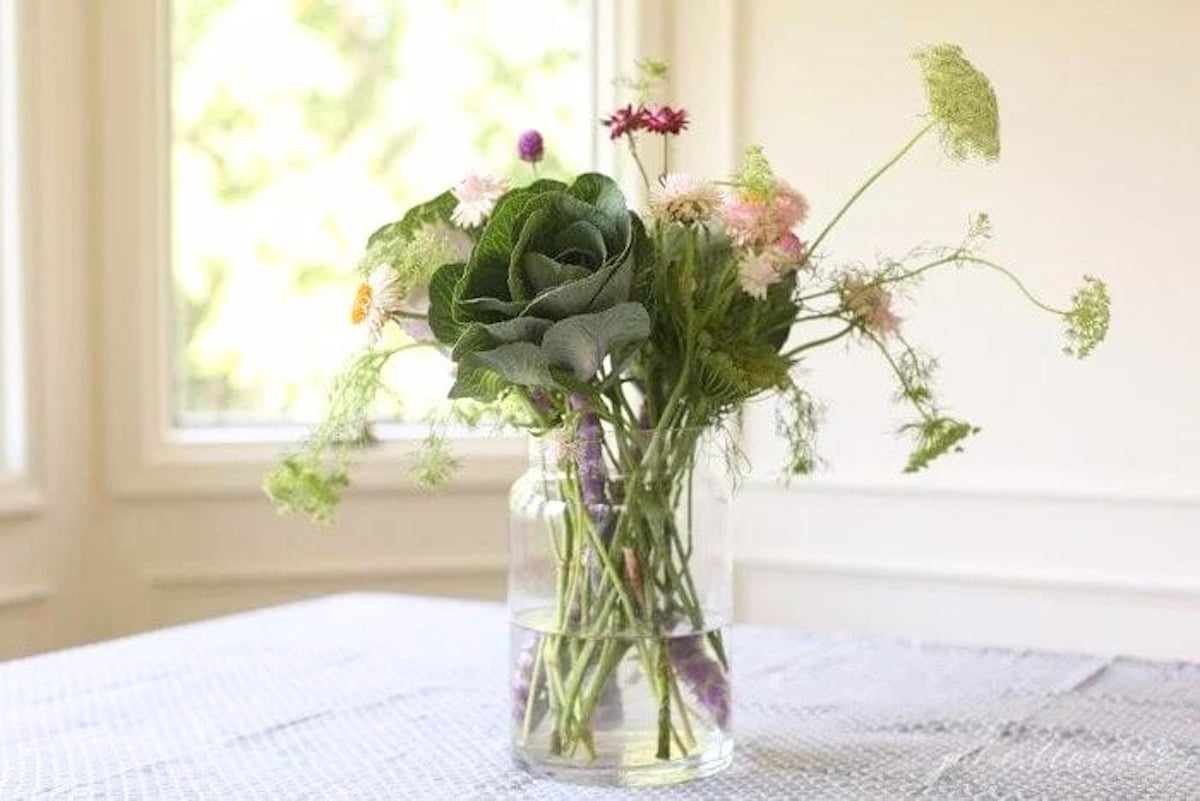
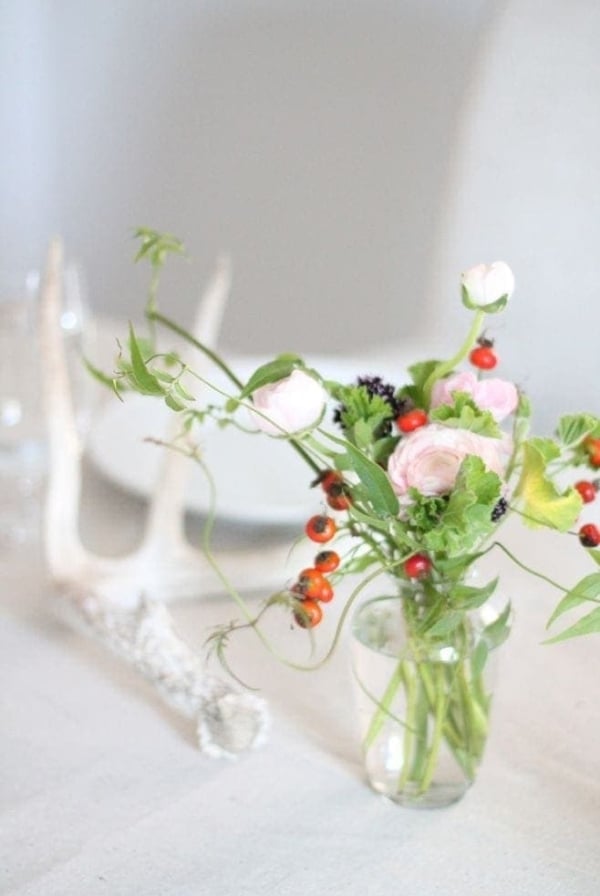
Fall Wildflower Centerpiece
This is a soft, unexpected color scheme for fall, with a wildflower vibe your guests are going to love!
Carnation Centerpiece
Get all the basics of this fragrant, long-lasting flower and find out why they are so beloved.
Think you don’t like this old-fashioned flower? Well, I hope I can change your mind!
Easy Apple Table Runner
One of my most popular centerpieces ever, this apple table runner is a classic and so easy to create.
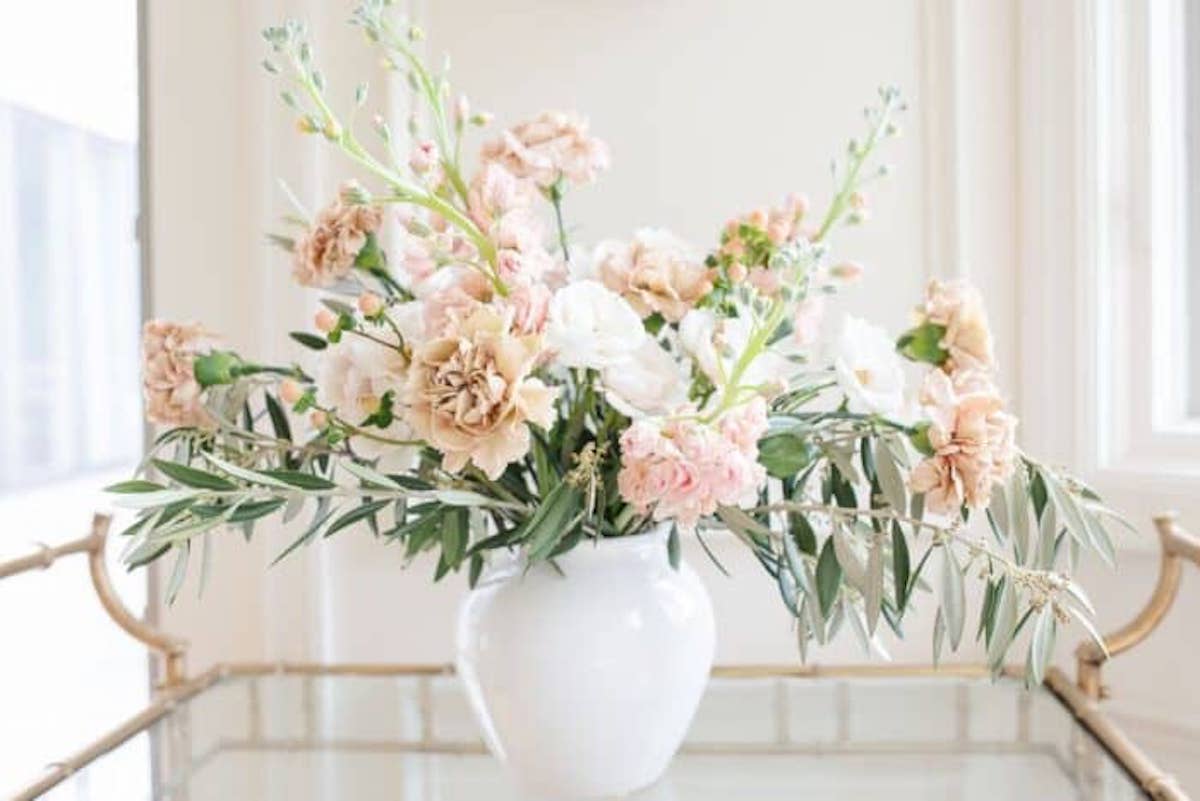
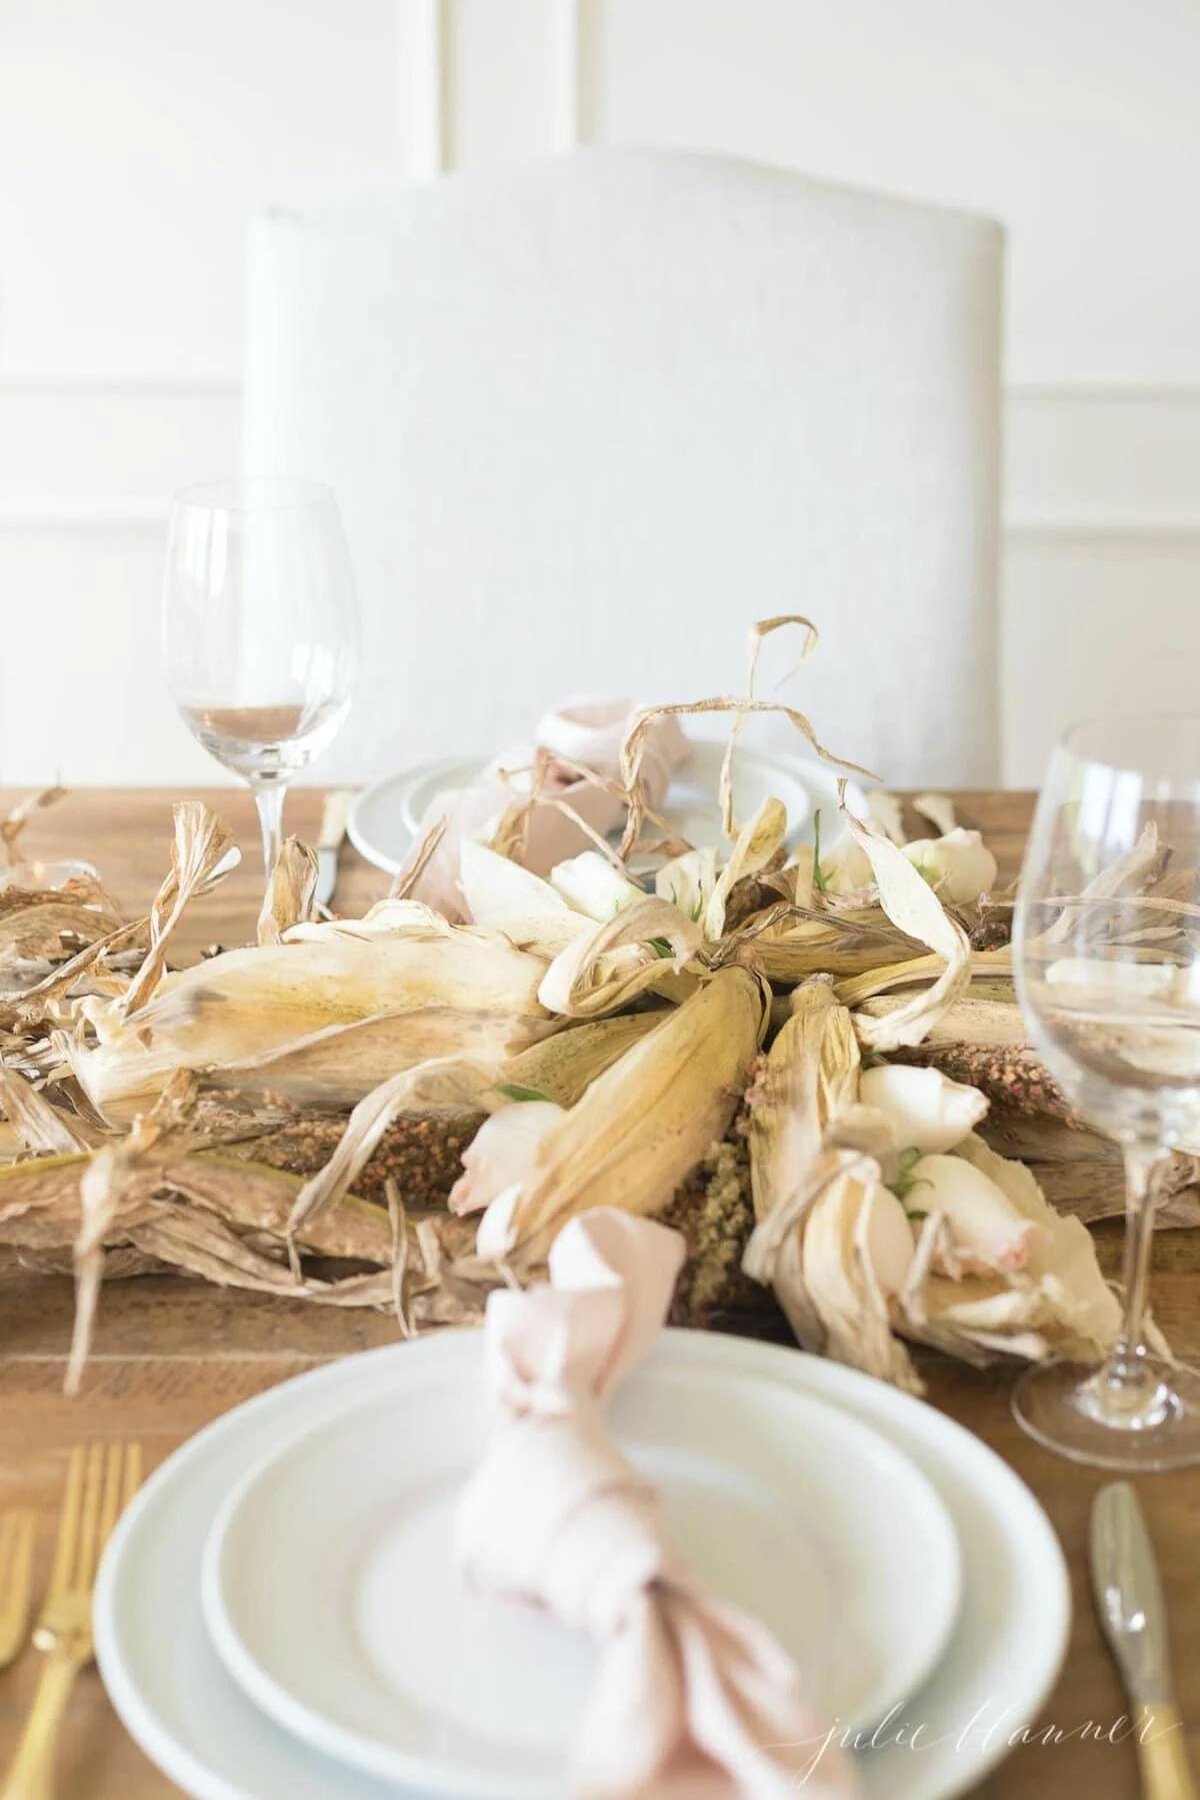
Thanksgiving Corn Husks and Flowers
Natural and neutral Thanksgiving Flowers that will bring your table to life and allow for easy conversation.
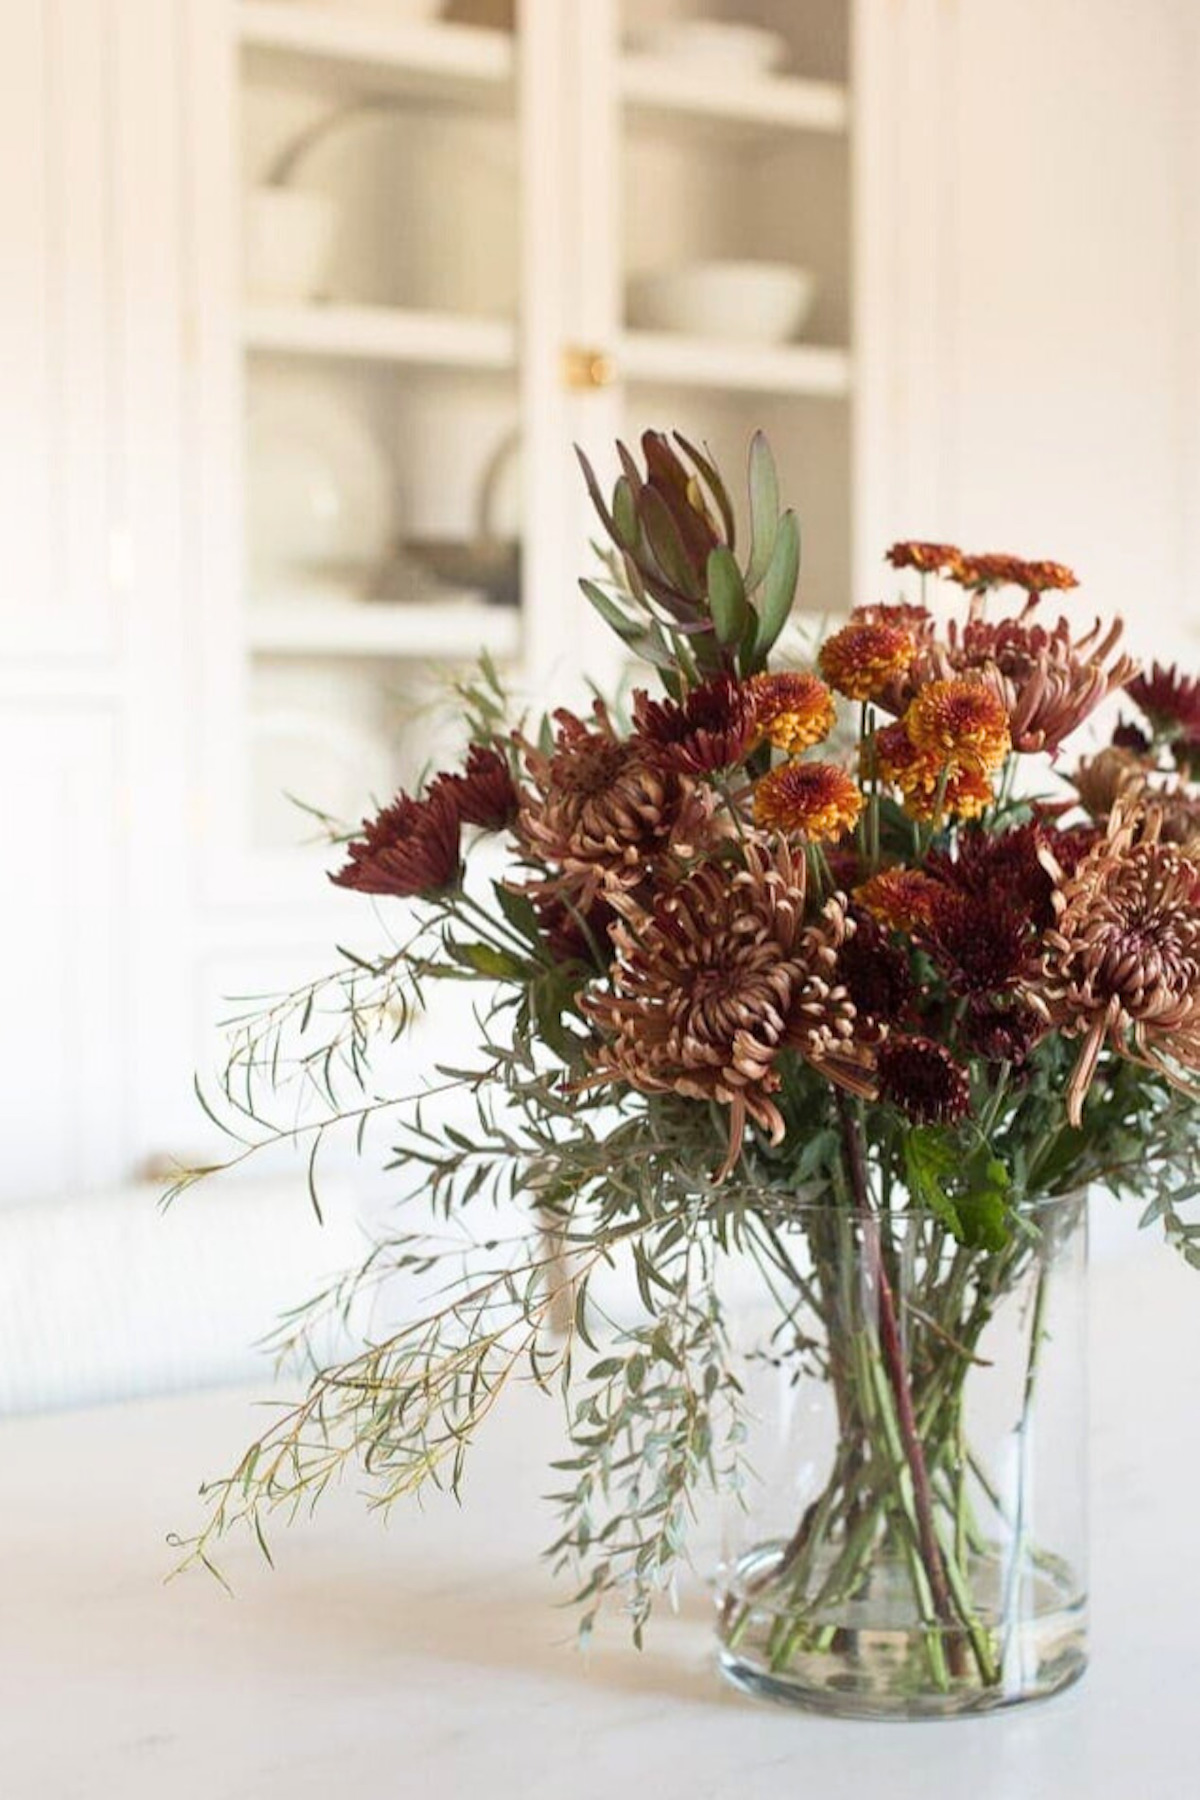
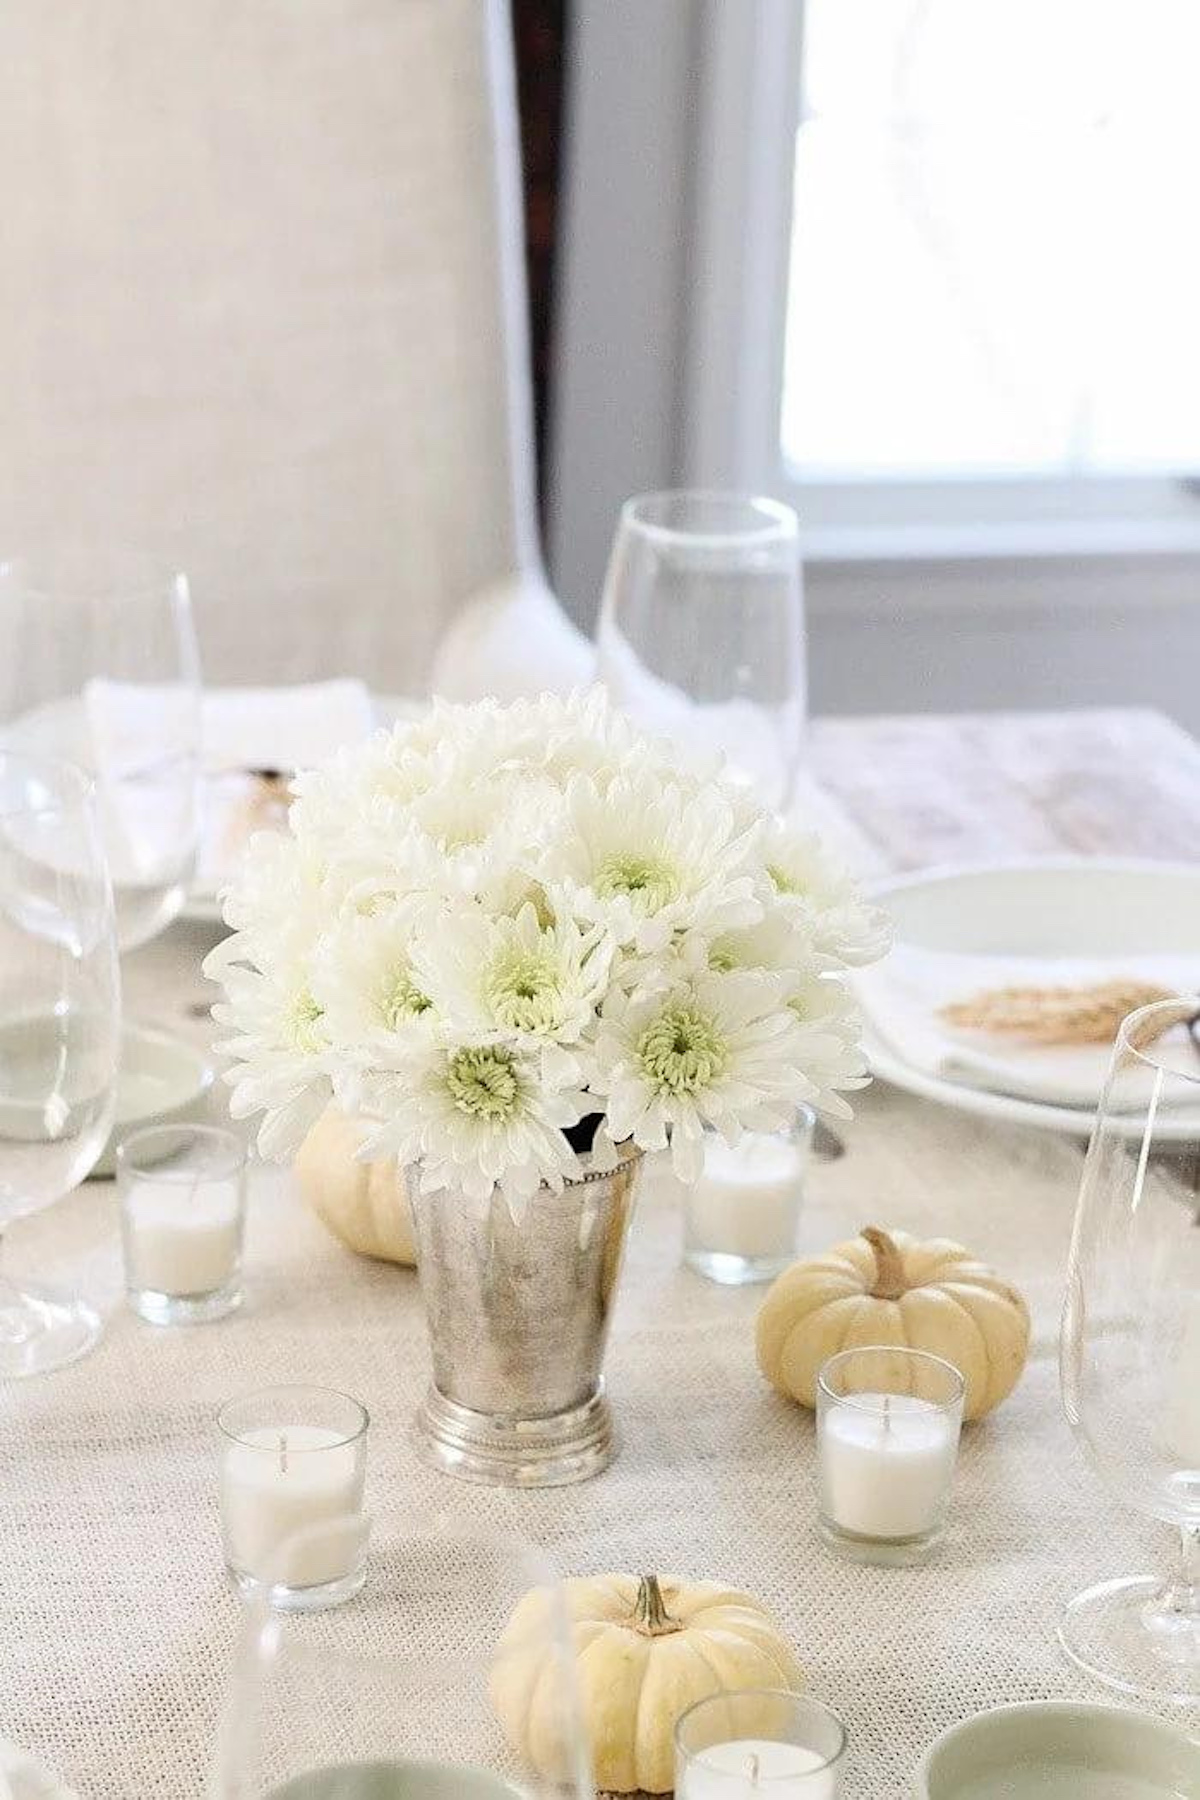
Fall Centerpiece with Mums
Like most of my other flower arrangements, this mum centerpiece is easy and inexpensive to recreate.
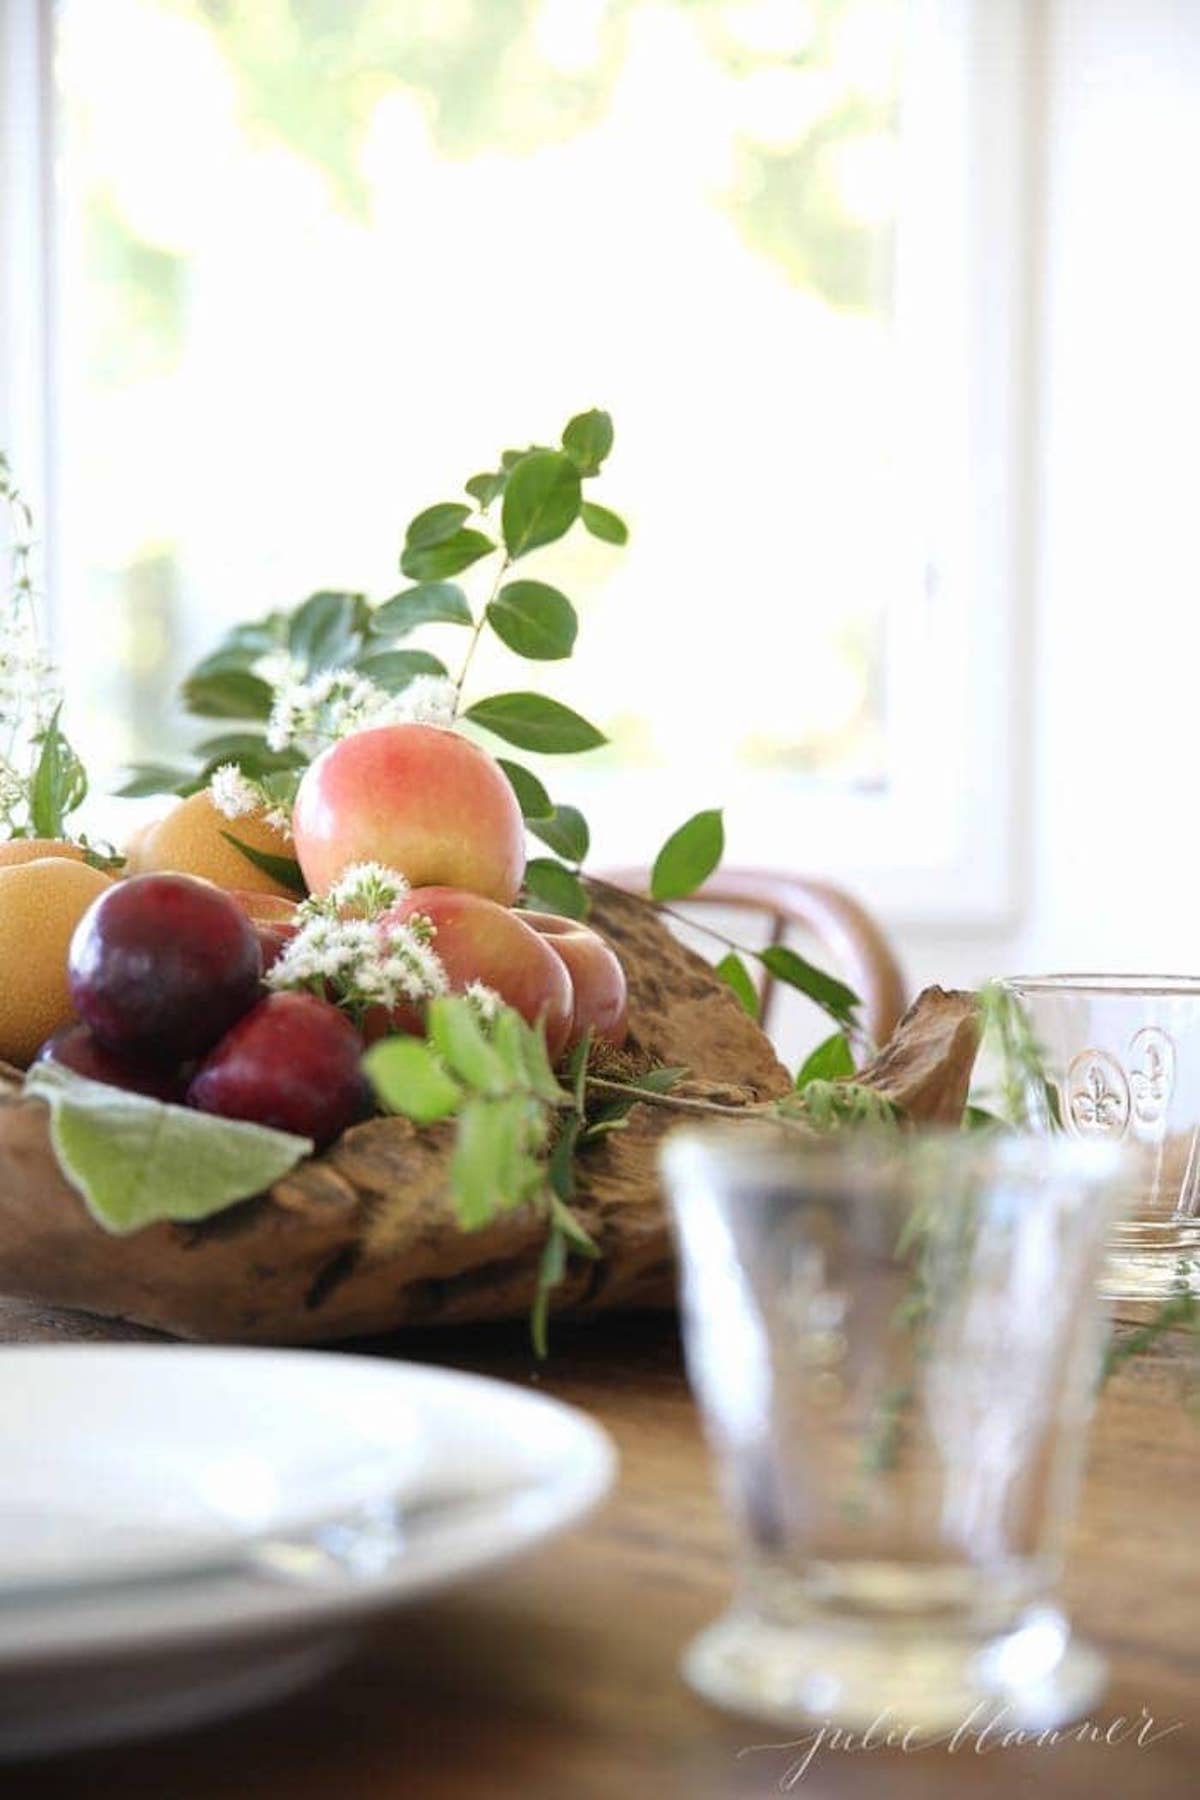
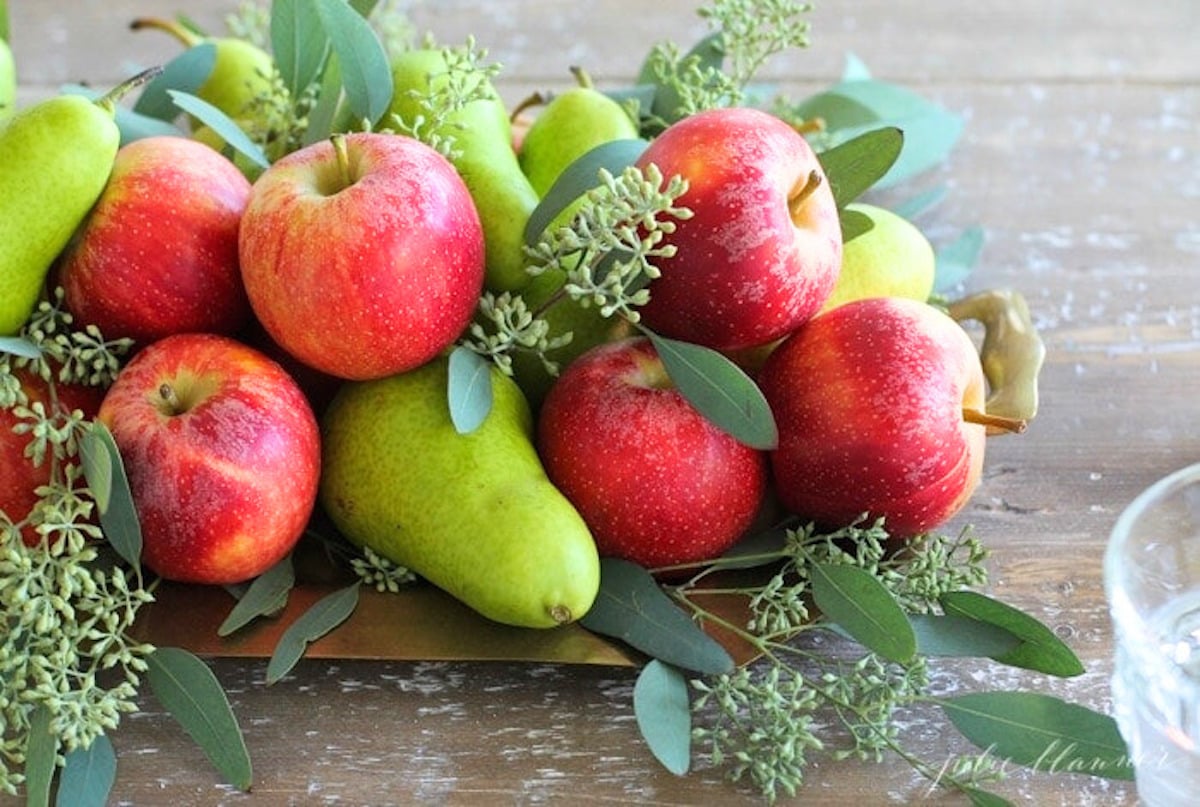
5 Minute Fall Fruit Centerpiece Tutorial
I love fruit for Thanksgiving! It’s a centerpiece that will last for days and won’t go to waste!
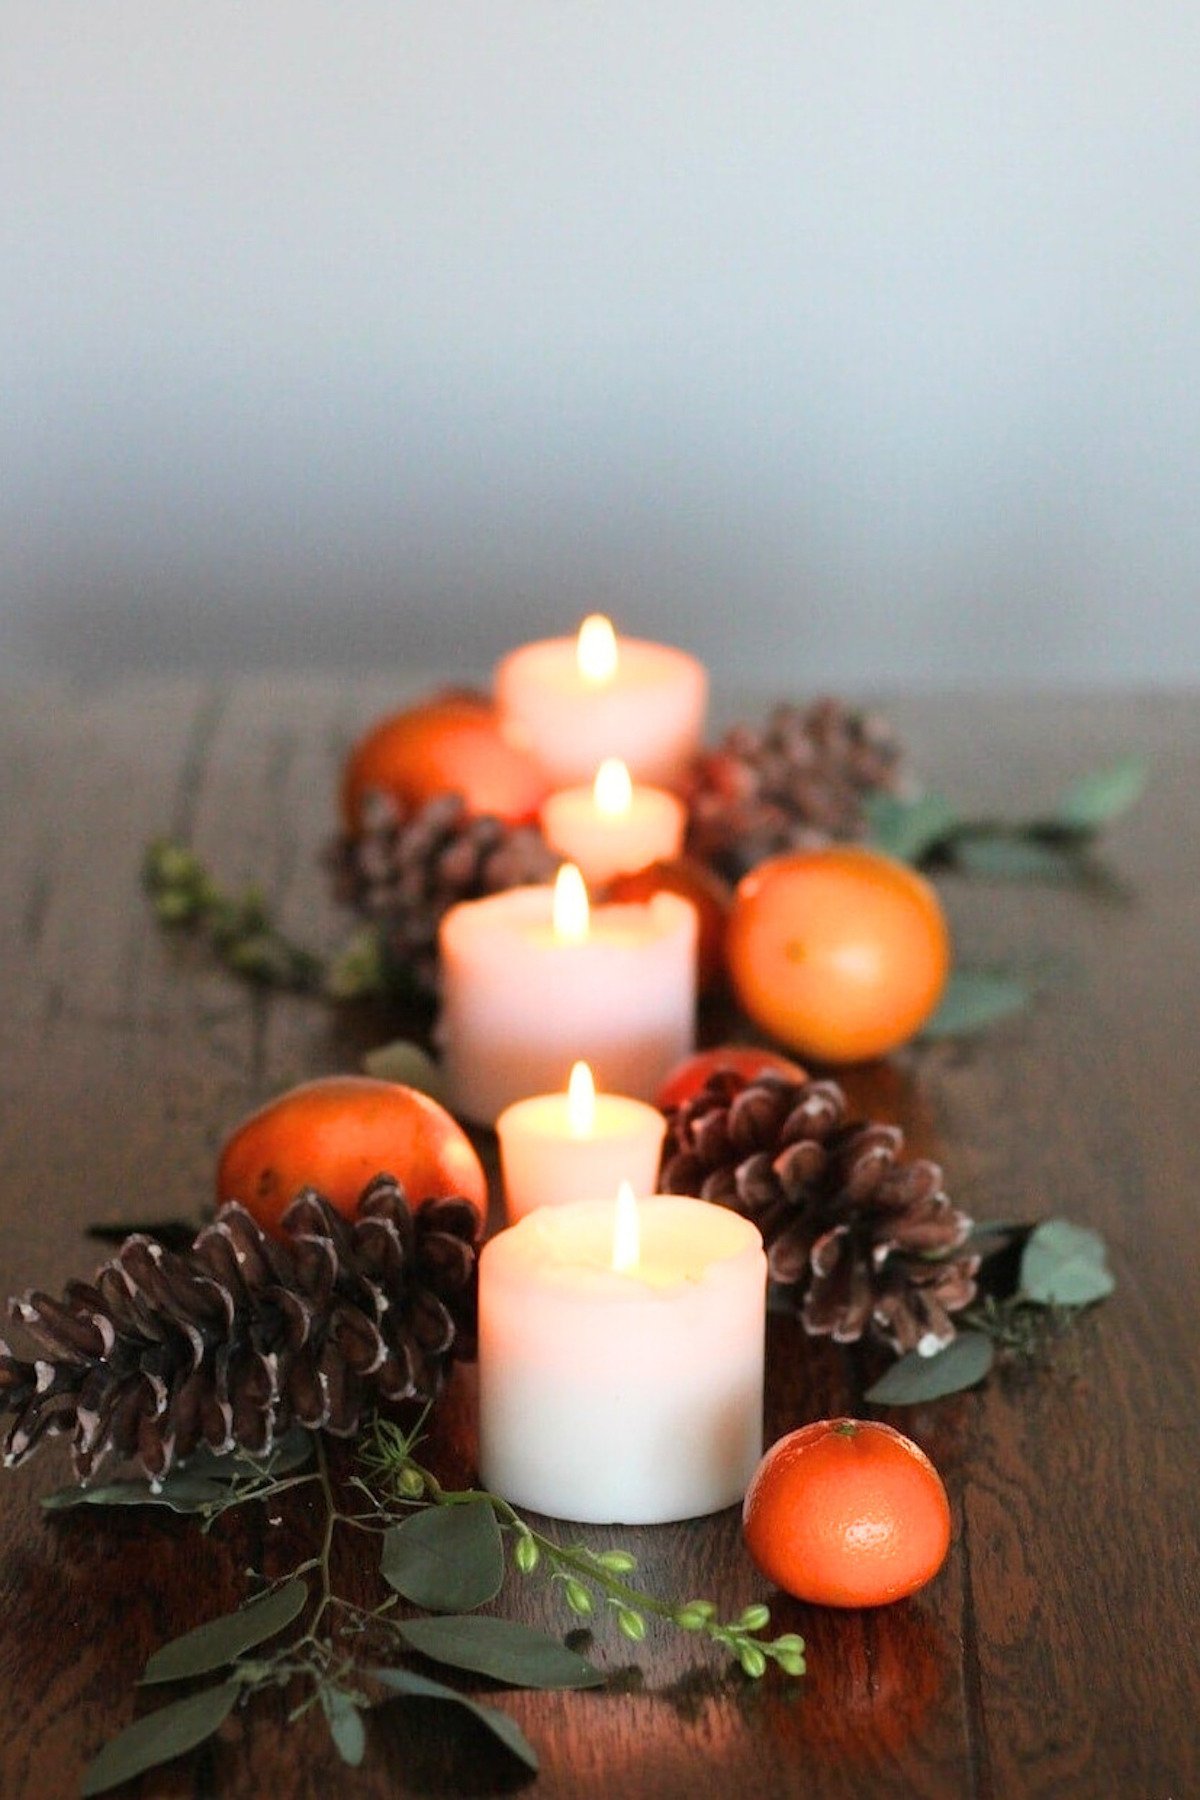
5 Minute Fall Table Setting of Oranges and Pine Cones
Pine cones, pillar candles, clementines and touches of greenery. This is a bright fragrant centerpiece not to be missed!
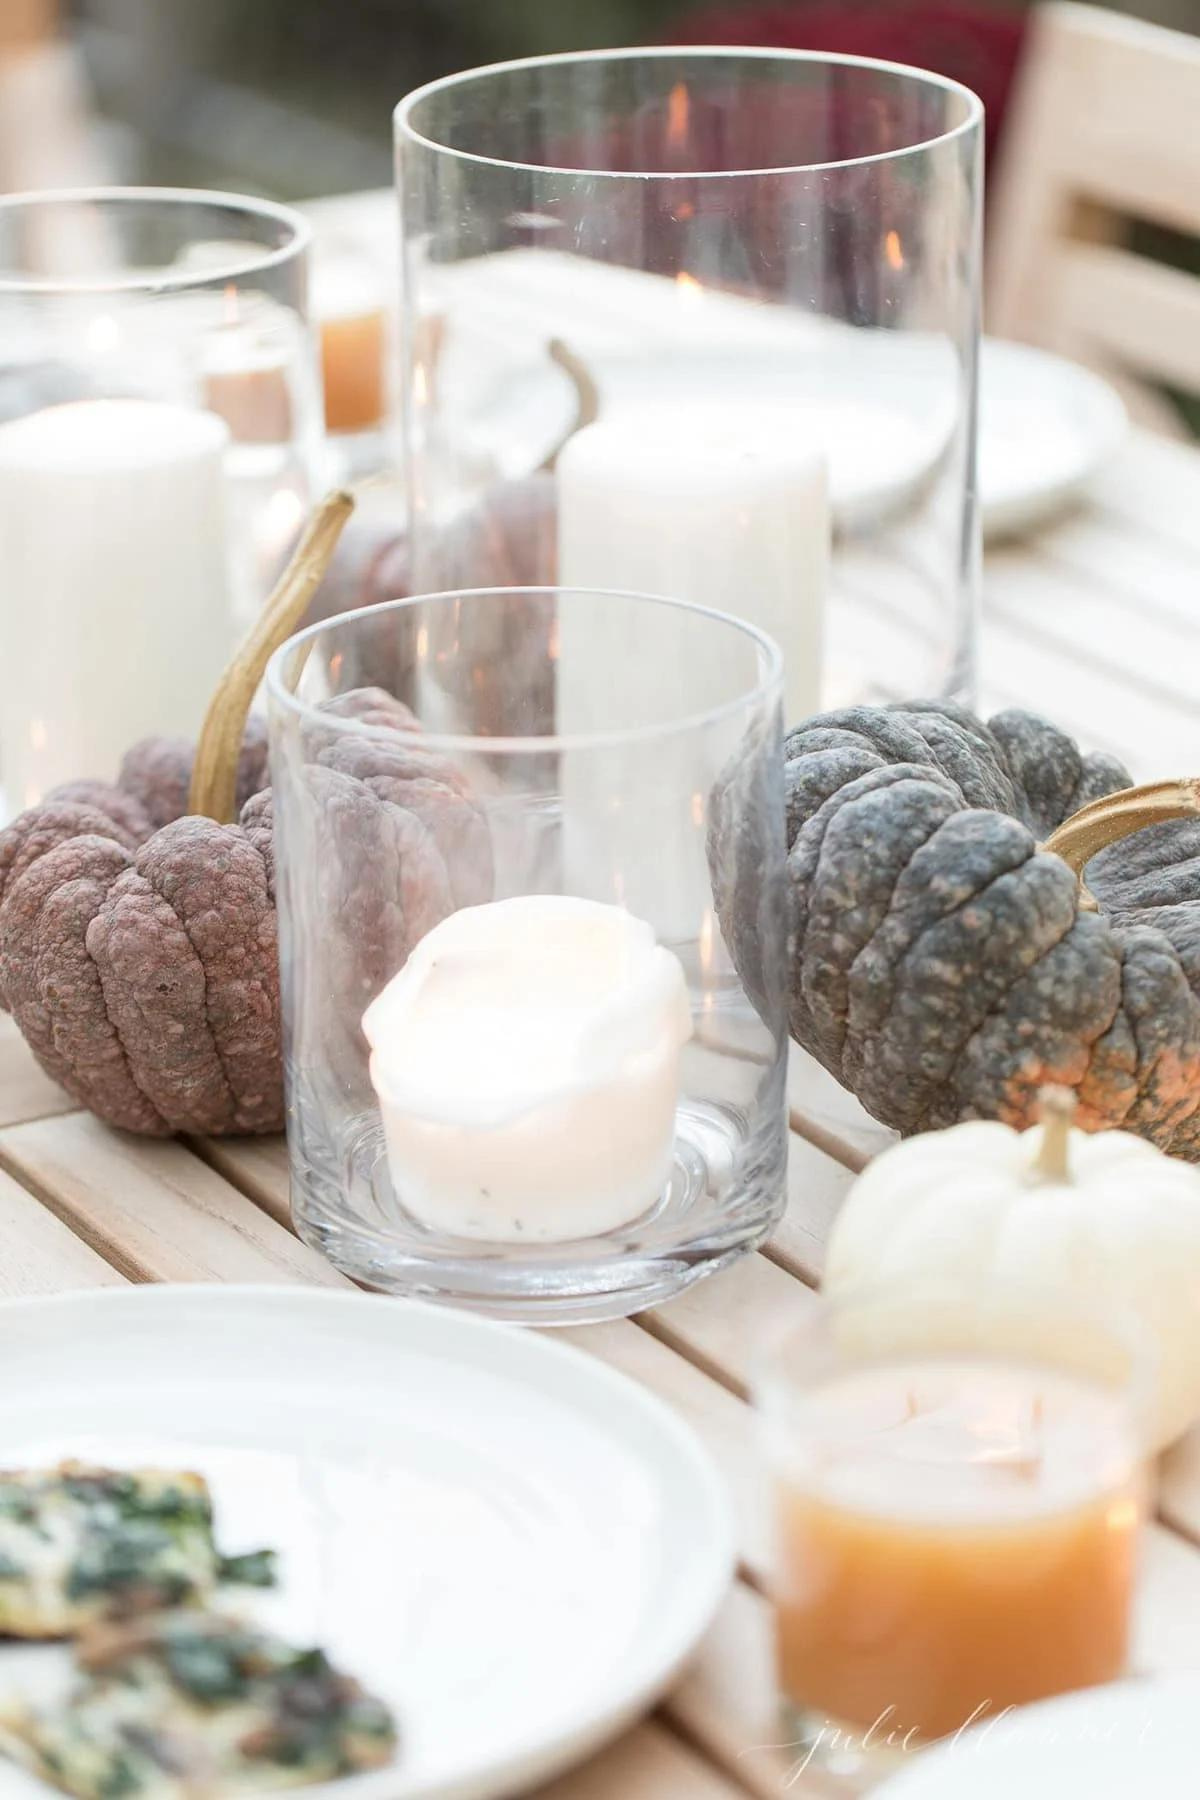
Heirloom Pumpkins and Candlelight Al Fresco
This combination of colorful heirloom pumpkins and candlelight creates the most charming, romantic fall ambiance, indoors or out.
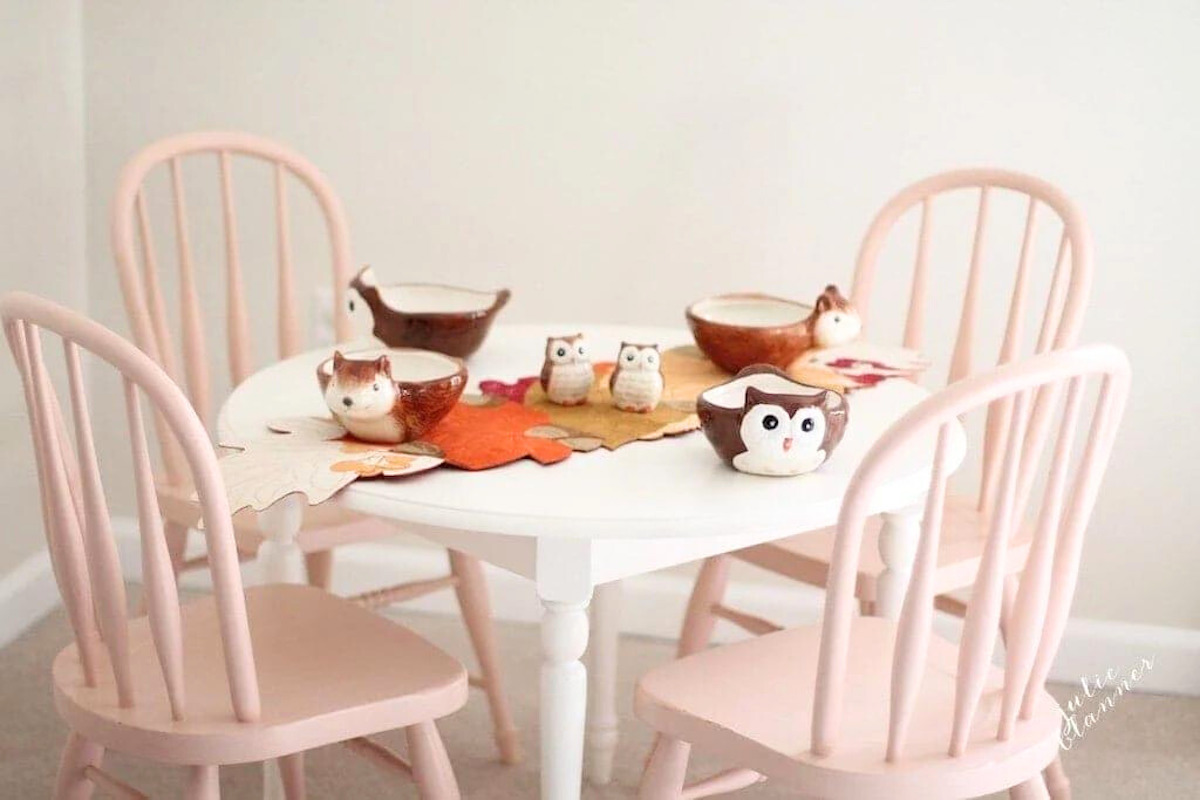
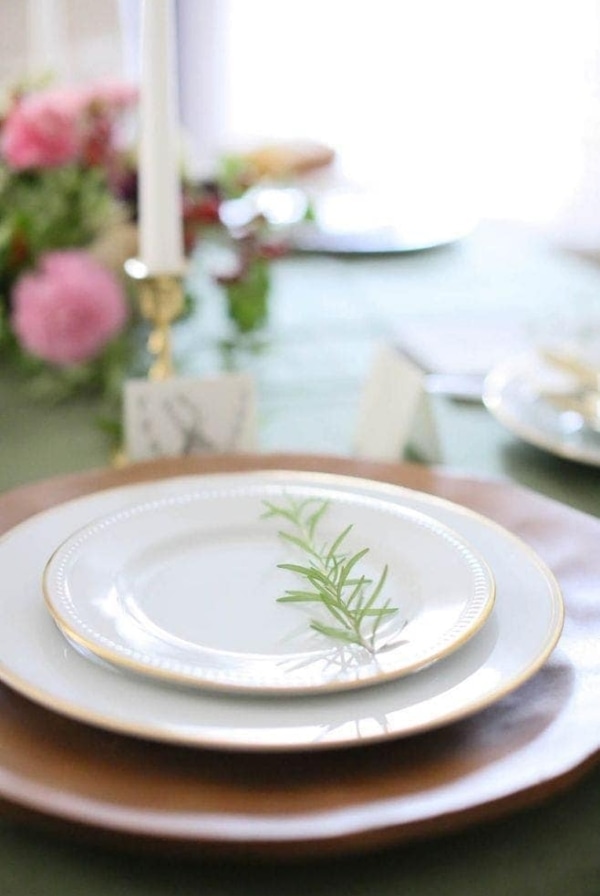
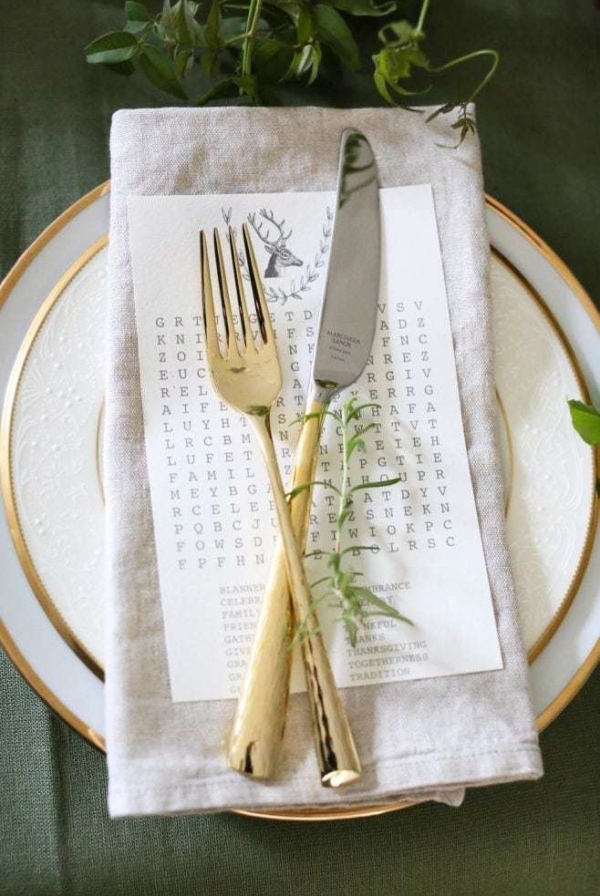
Thanksgiving Kids’ Table
Why not set the kids’ table with a charming place setting of their own?
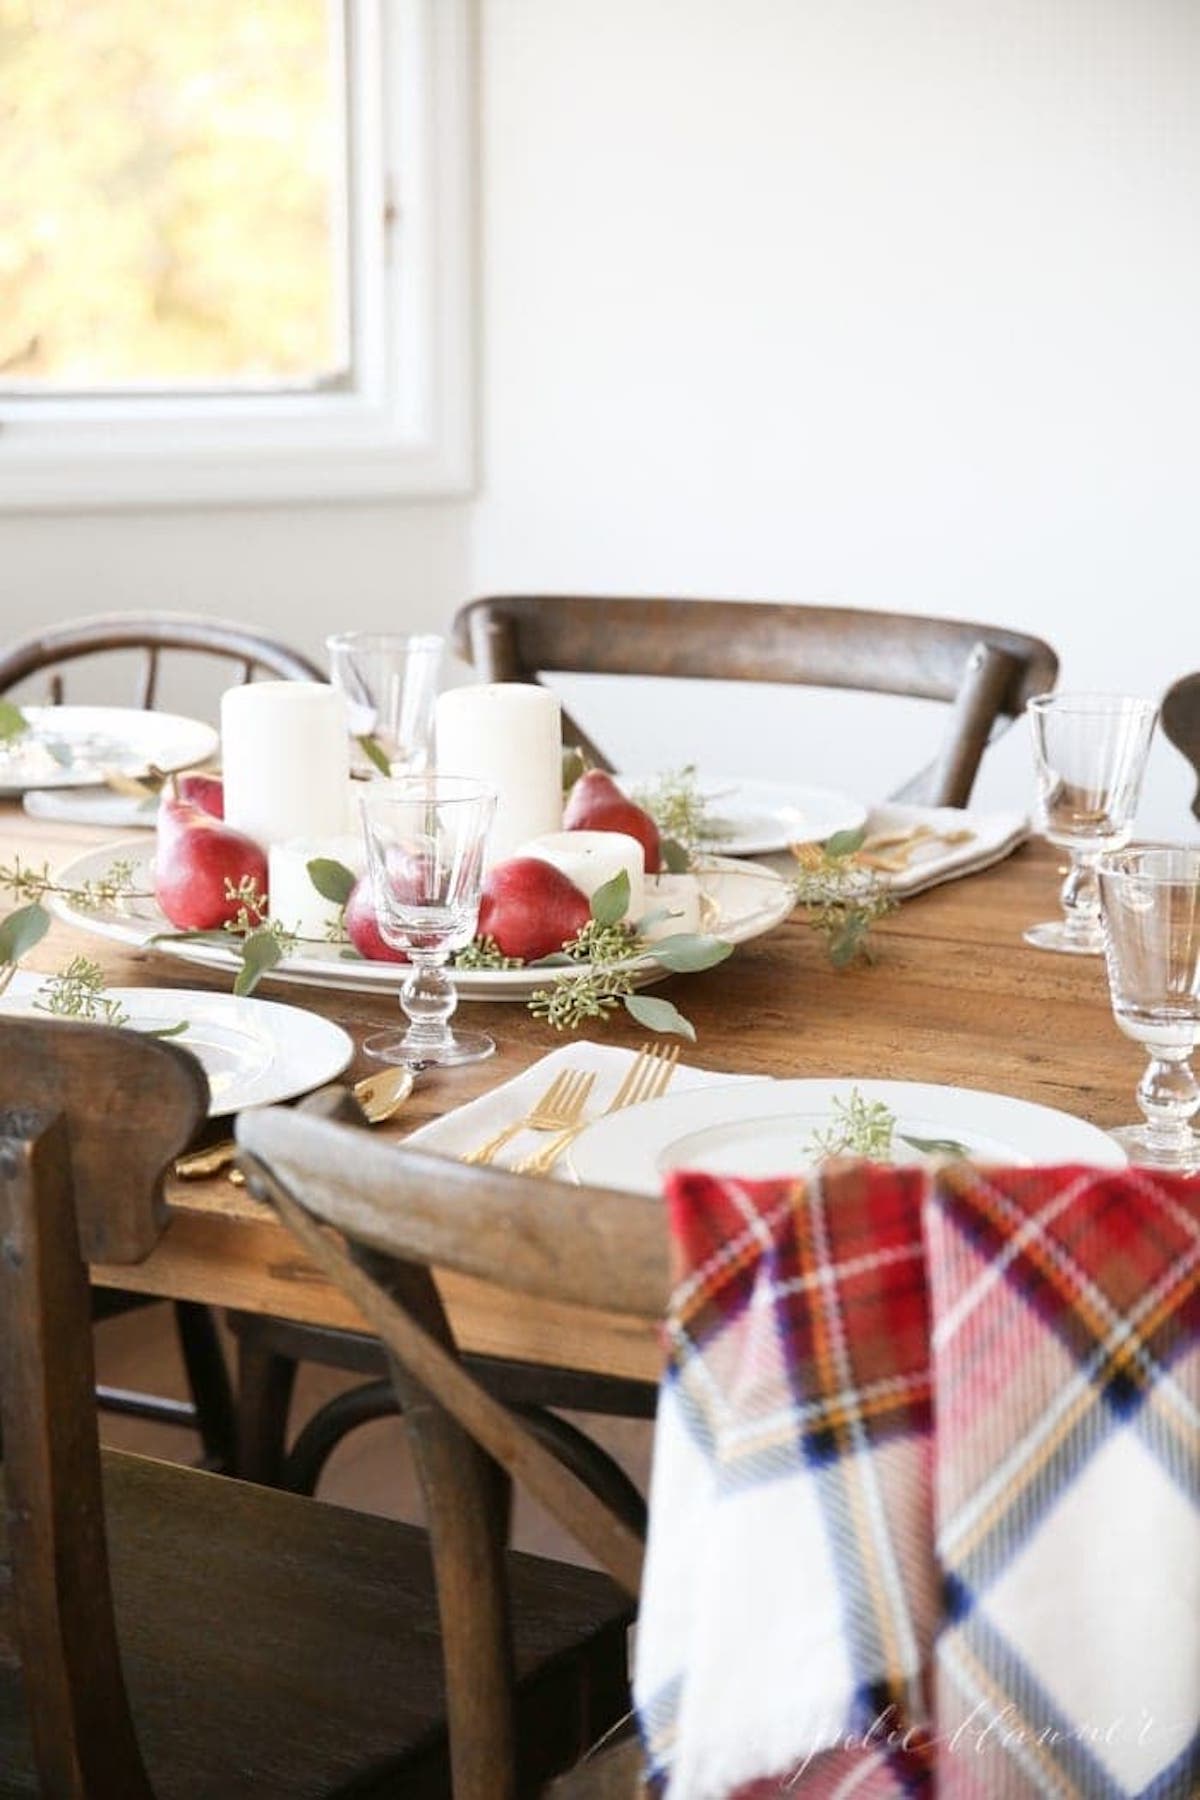
Easy Thanksgiving Centerpiece for the Last Minute
This easy last-minute Thanksgiving centerpiece can be created in just 5 minutes, with a trip to the grocery store. You’ll just need a platter, pears, and pillar candles with touches of greenery.
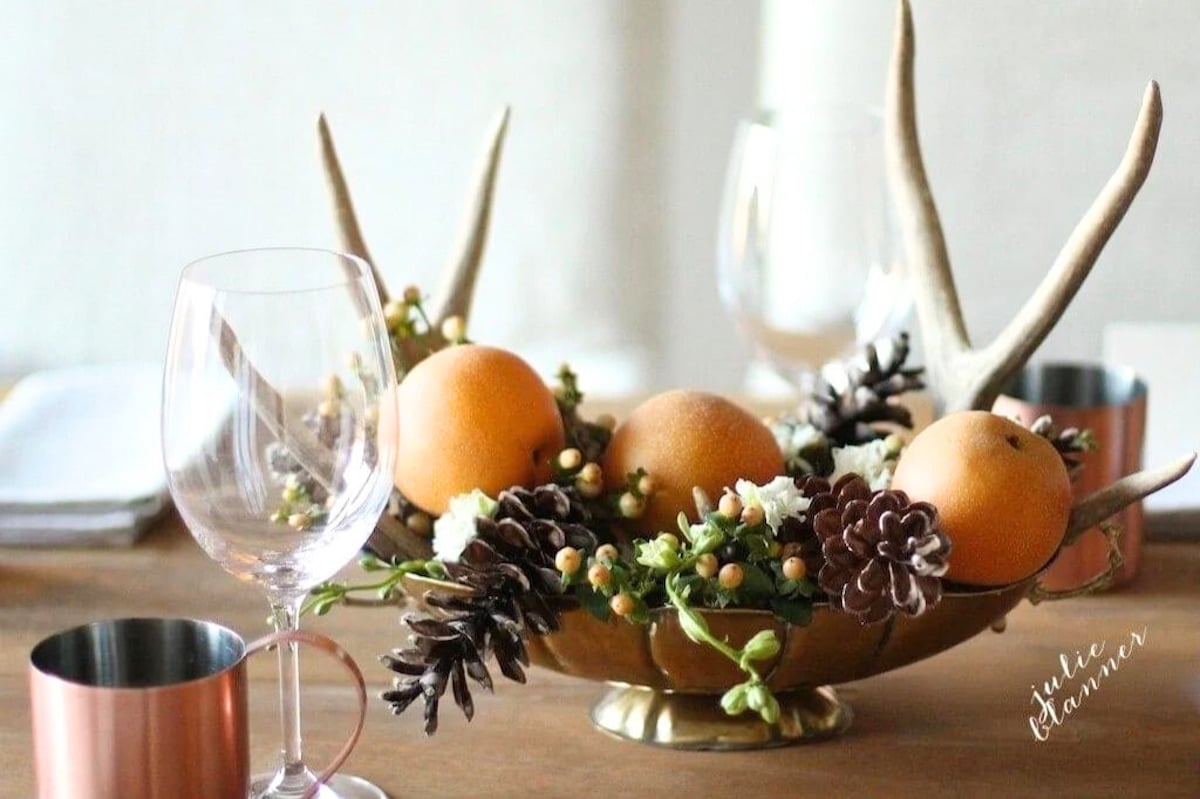
Antler and Fruit Centerpiece
Another centerpiece idea featuring pears, pine cones and antlers in a pretty brass bowl.
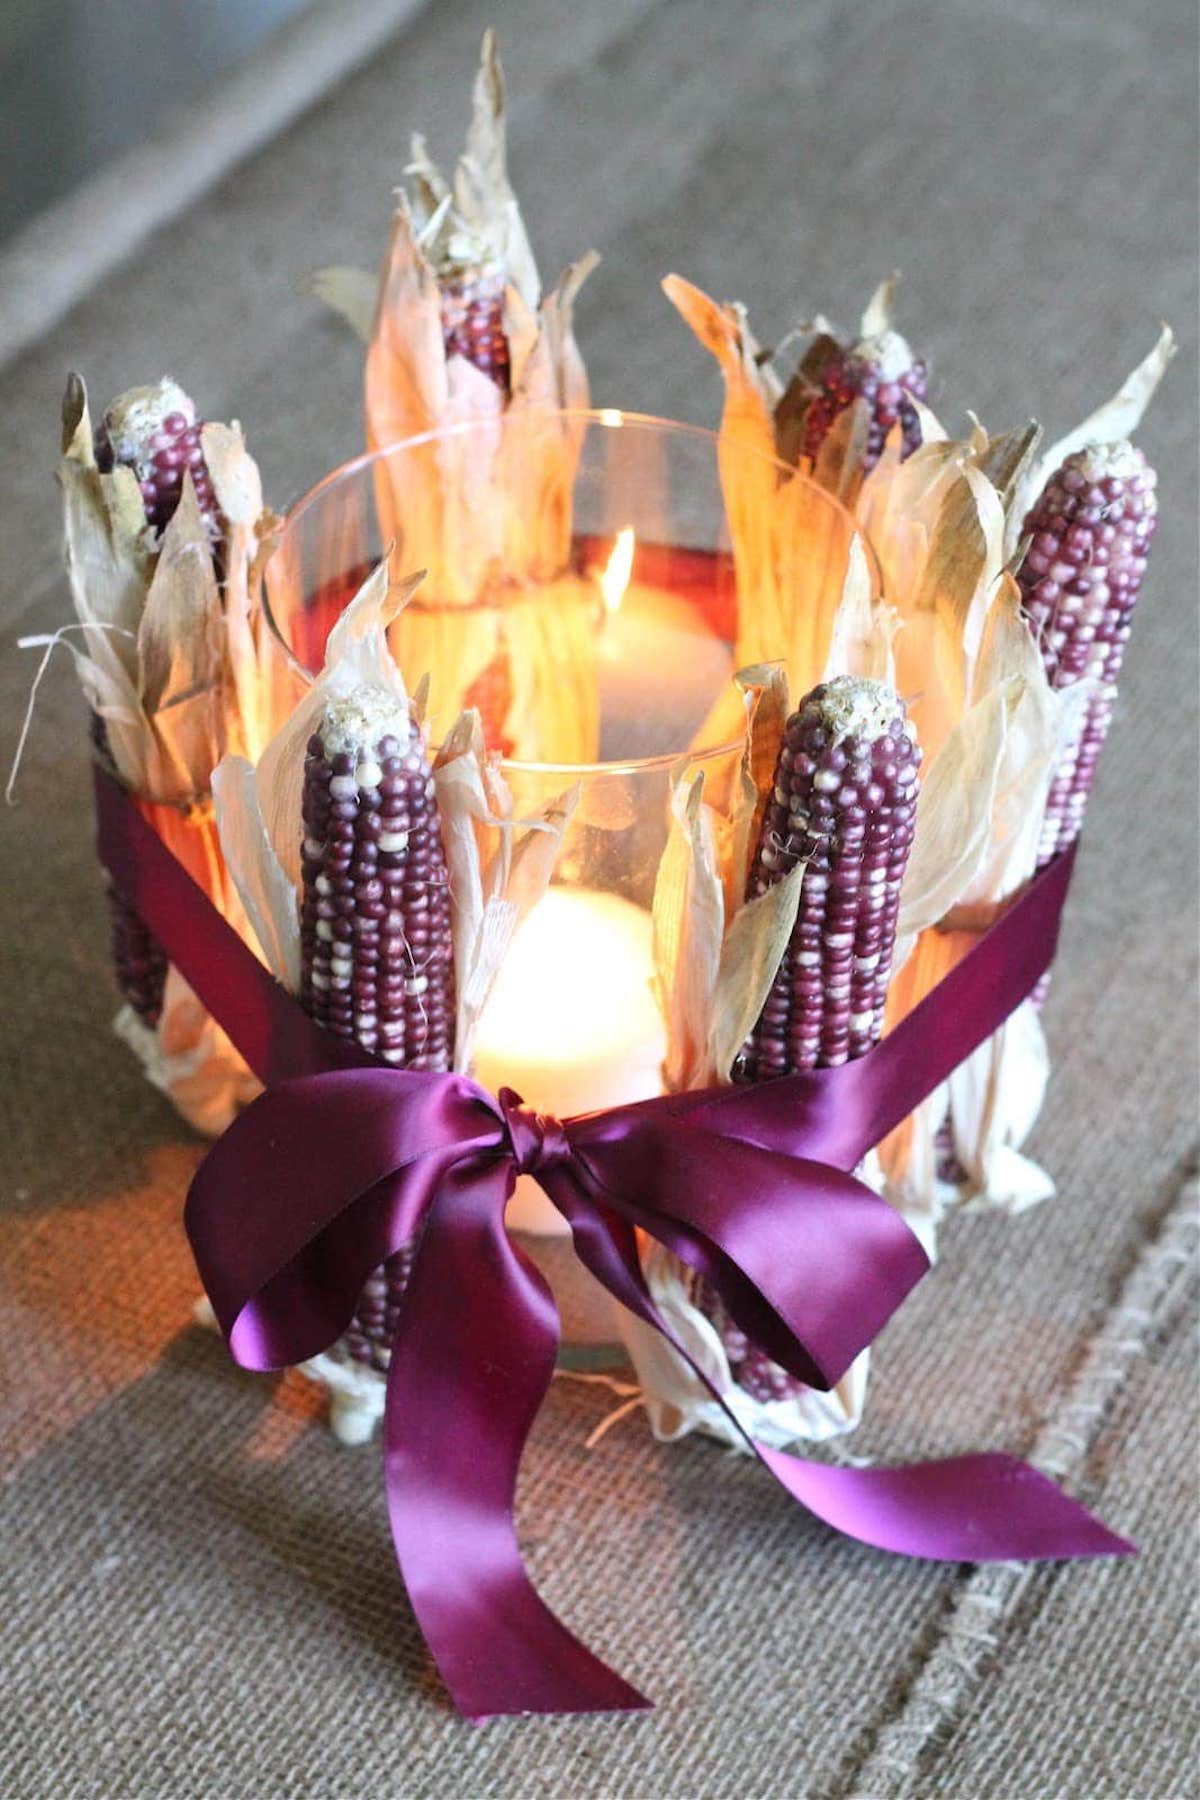
Dried Corn Candle Centerpiece
Learn how to make an incredibly simple dried corn centerpiece. Next time you see this seasonal bounty at the stores or your local pumpkin patch, grab some and create a beautiful look for Thanksgiving!
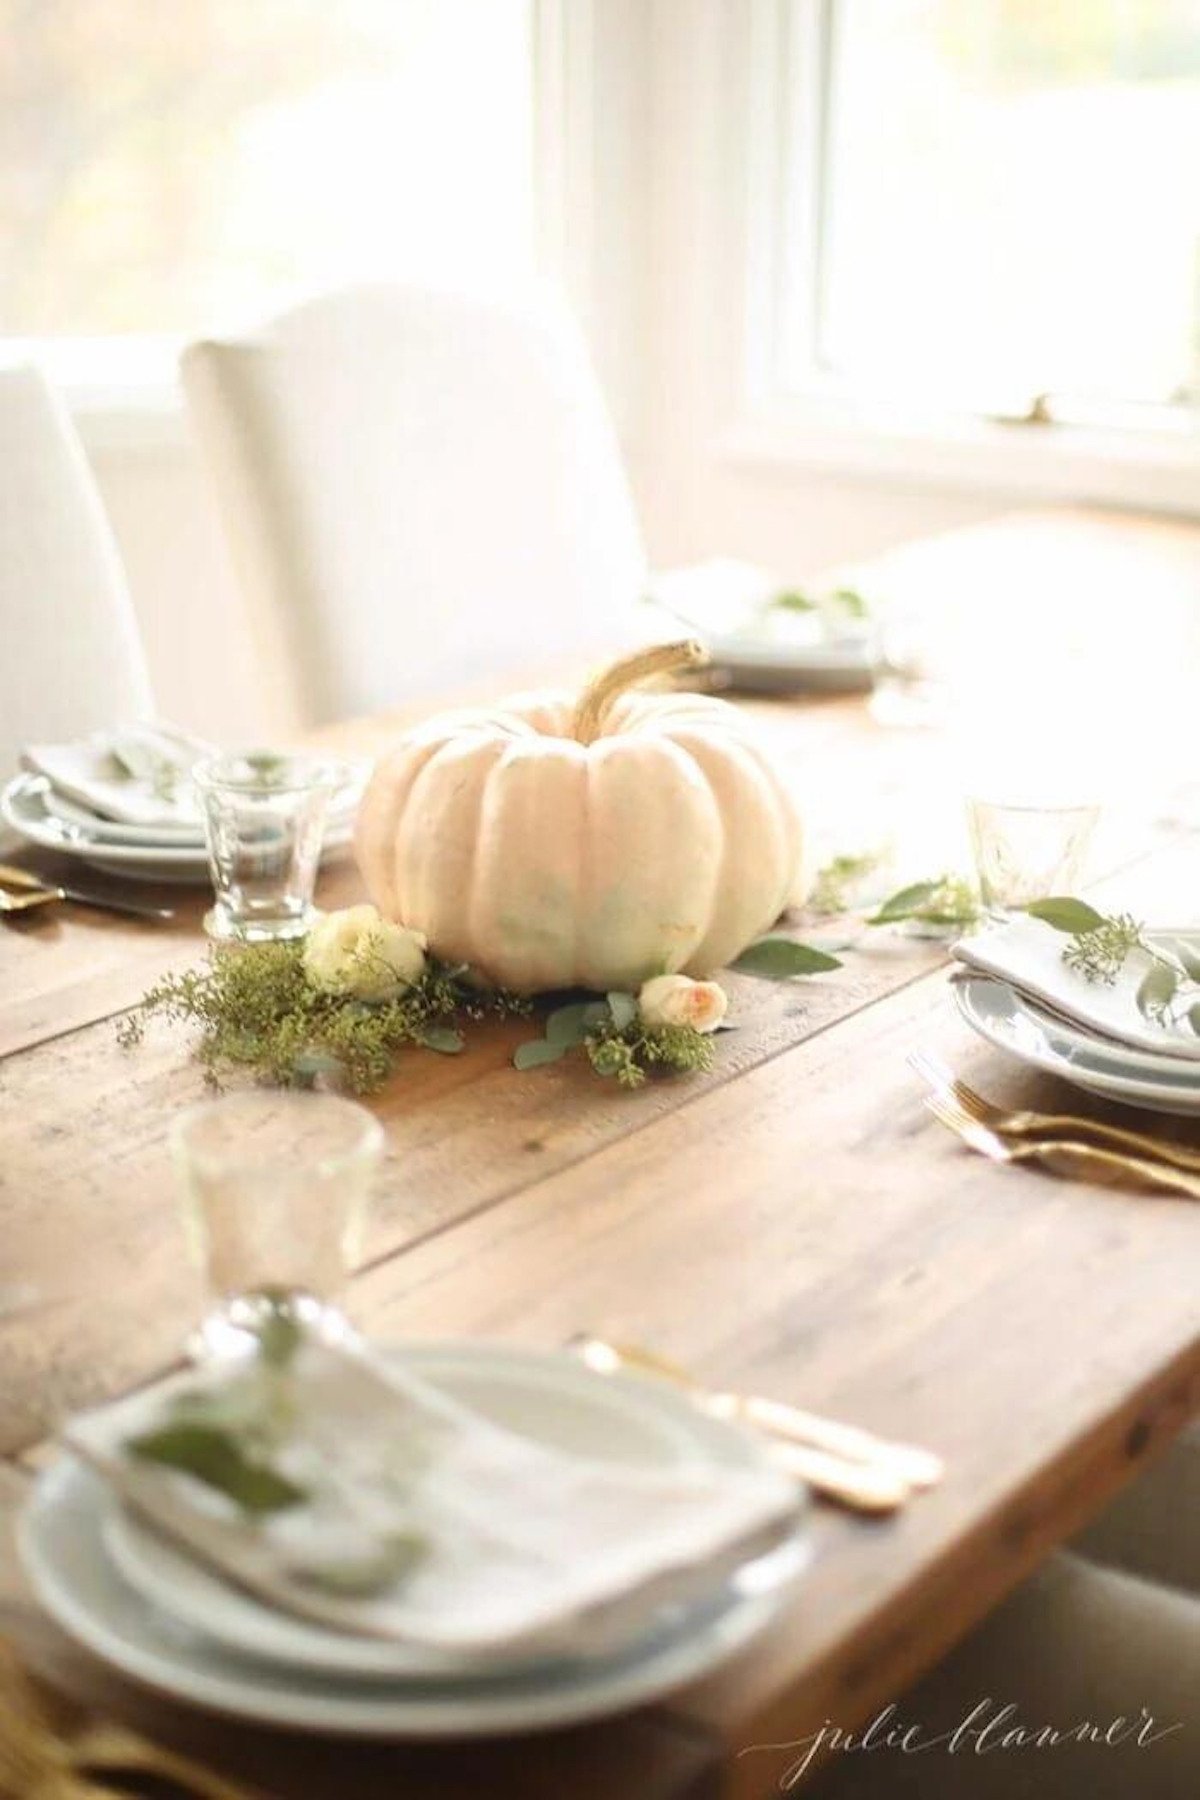
Heirloom Pumpkin Thanksgiving Centerpiece
Check out my tips for this easy to make Thanksgiving Centerpiece with seeded eucalyptus and pumpkins.
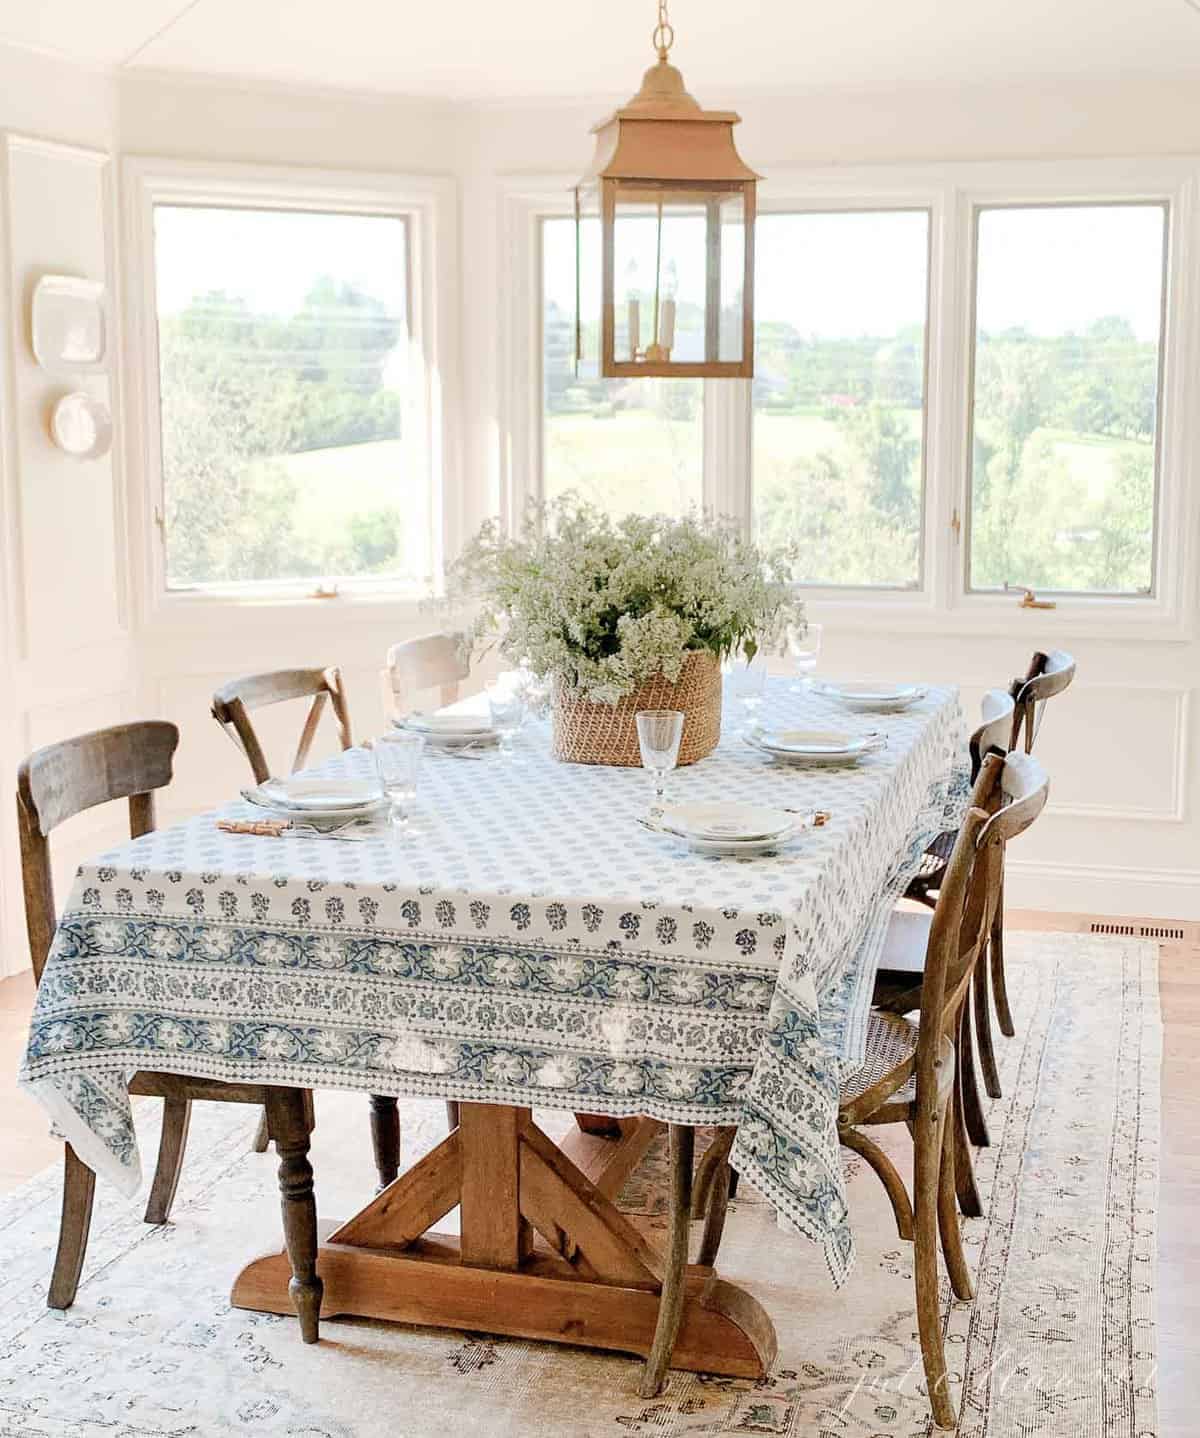
Basket of Wildflowers
This is an elegant, unexpected fall table setting that celebrates a classic print and a bountiful gathering of wildflowers.
Miniature Pumpkins and Wheat Centerpiece
This Thanksgiving table centerpiece features sweet mini pumpkins, dried wheat and a burlap table runner you can make yourself!
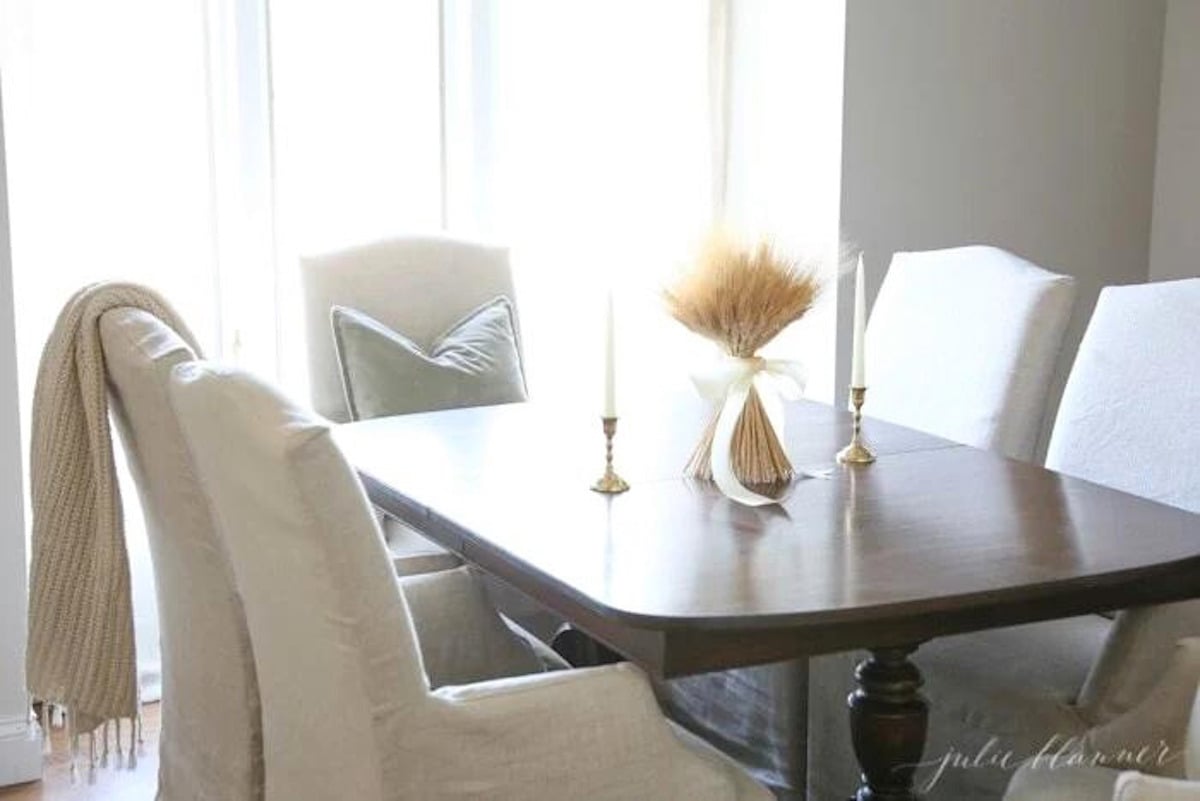
Wheat Sheaf
Learn how to make a beautiful wheat sheaf for fall, in just minutes! A wheat sheaf is a classic and timeless addition for anywhere in your home – think front door, dining room table centerpiece, and so much more.


All so very lovely!
You are the master of centerpieces! Gorgeous 🙂
You are so sweet. Thank you, friend!
Thank you!!!
Love all of this inspiration Julie!
I LOVE the organic simplicity of your creations!!! Your aesthetic is so warm and soothing.
Happy Thanksgiving,
Leslie