Learn how to make a beautiful wheat sheaf for fall, in just minutes! A wheat sheaf is a classic and timeless addition for anywhere in your home – think front door, dining room table centerpiece, and so much more.
A wheat sheaf will add charm to any area of your home, and can work with a wide variety of decorating styles. The warm, neutral color is a welcome addition to most any space, and they are so easy to make!
Today, we’re going to show you a simple DIY – you’ll learn where to buy supplies and how to make one. Of course, we’ll also share a few beautiful options so you can buy a pre-made wheat sheaf, too!
I’m finally getting there-decorating our home for everyone’s favorite season, fall. Truthfully, I’m never ready for summer to end, but as a Midwesterner, it’s fun to embrace the changing of the seasons.
I gravitate toward natural wreaths and natural fall decorating ideas. They’re beautiful, simple and can surprisingly be used year after year with care.
Over the weekend, we traveled outside of the city to the pumpkin patch. Of course Kansas, is covered in wheat. I wanted to integrate the beauty and simplicity in our home.
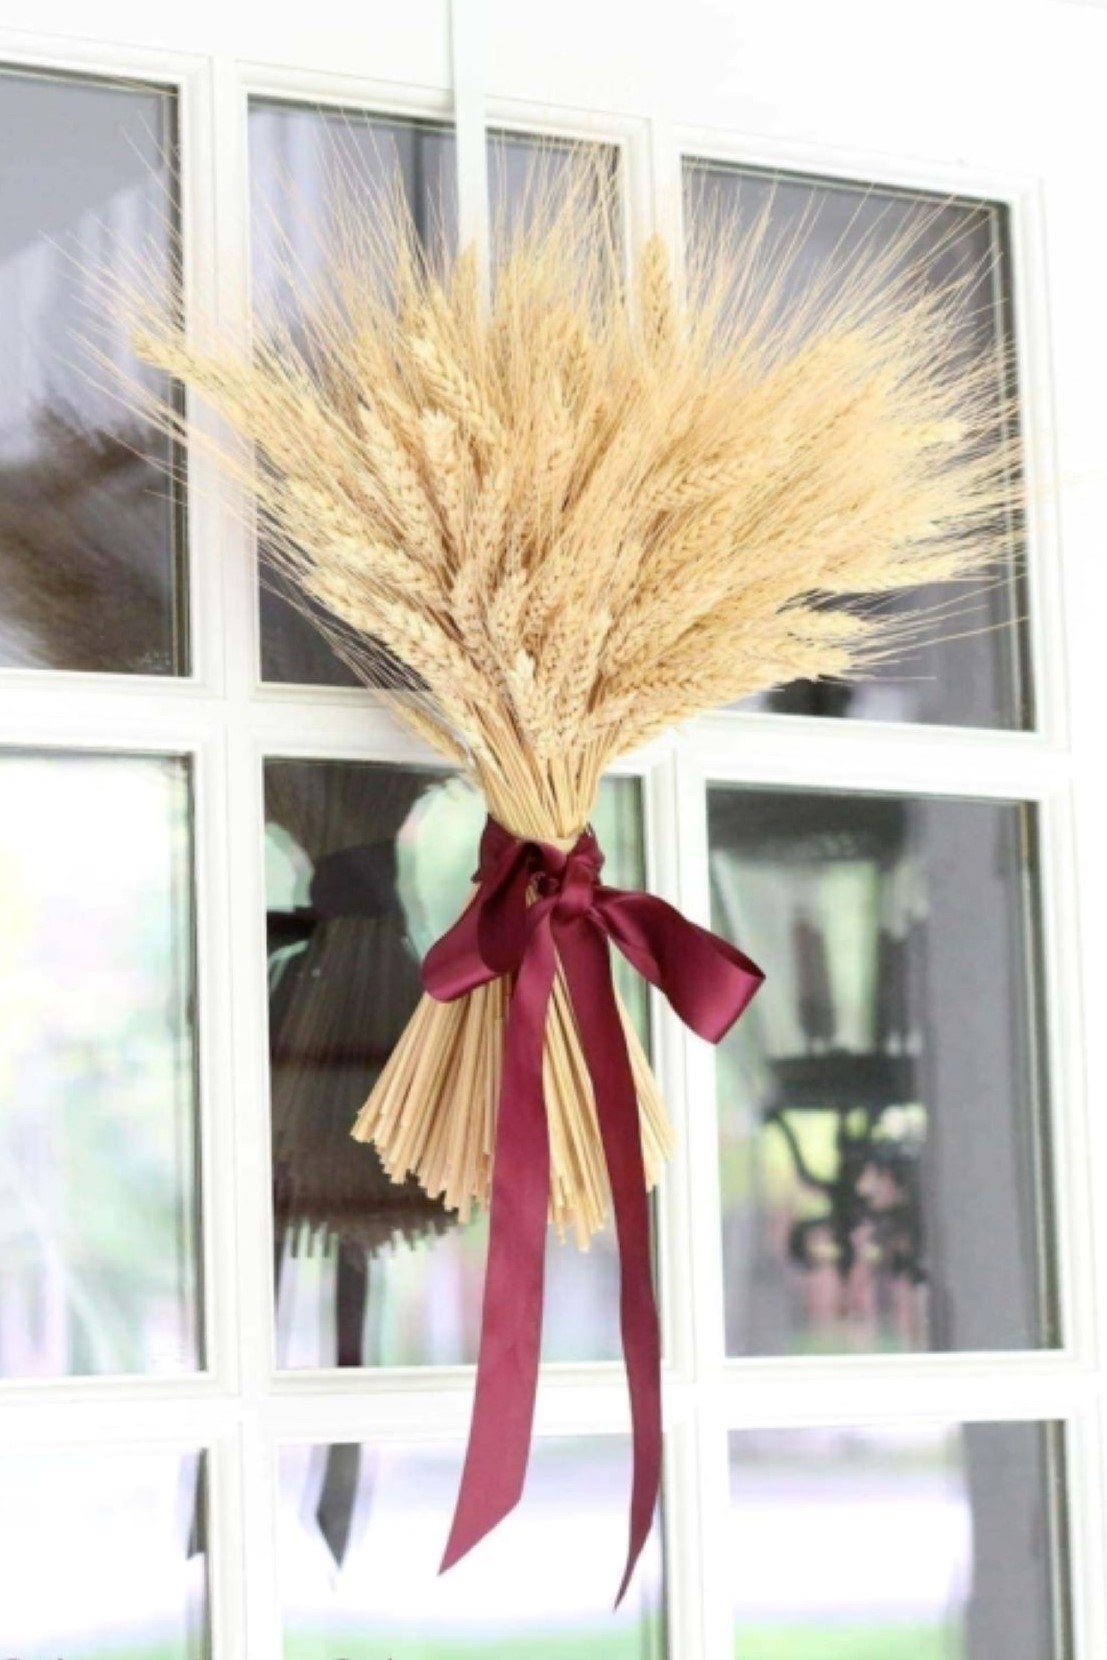
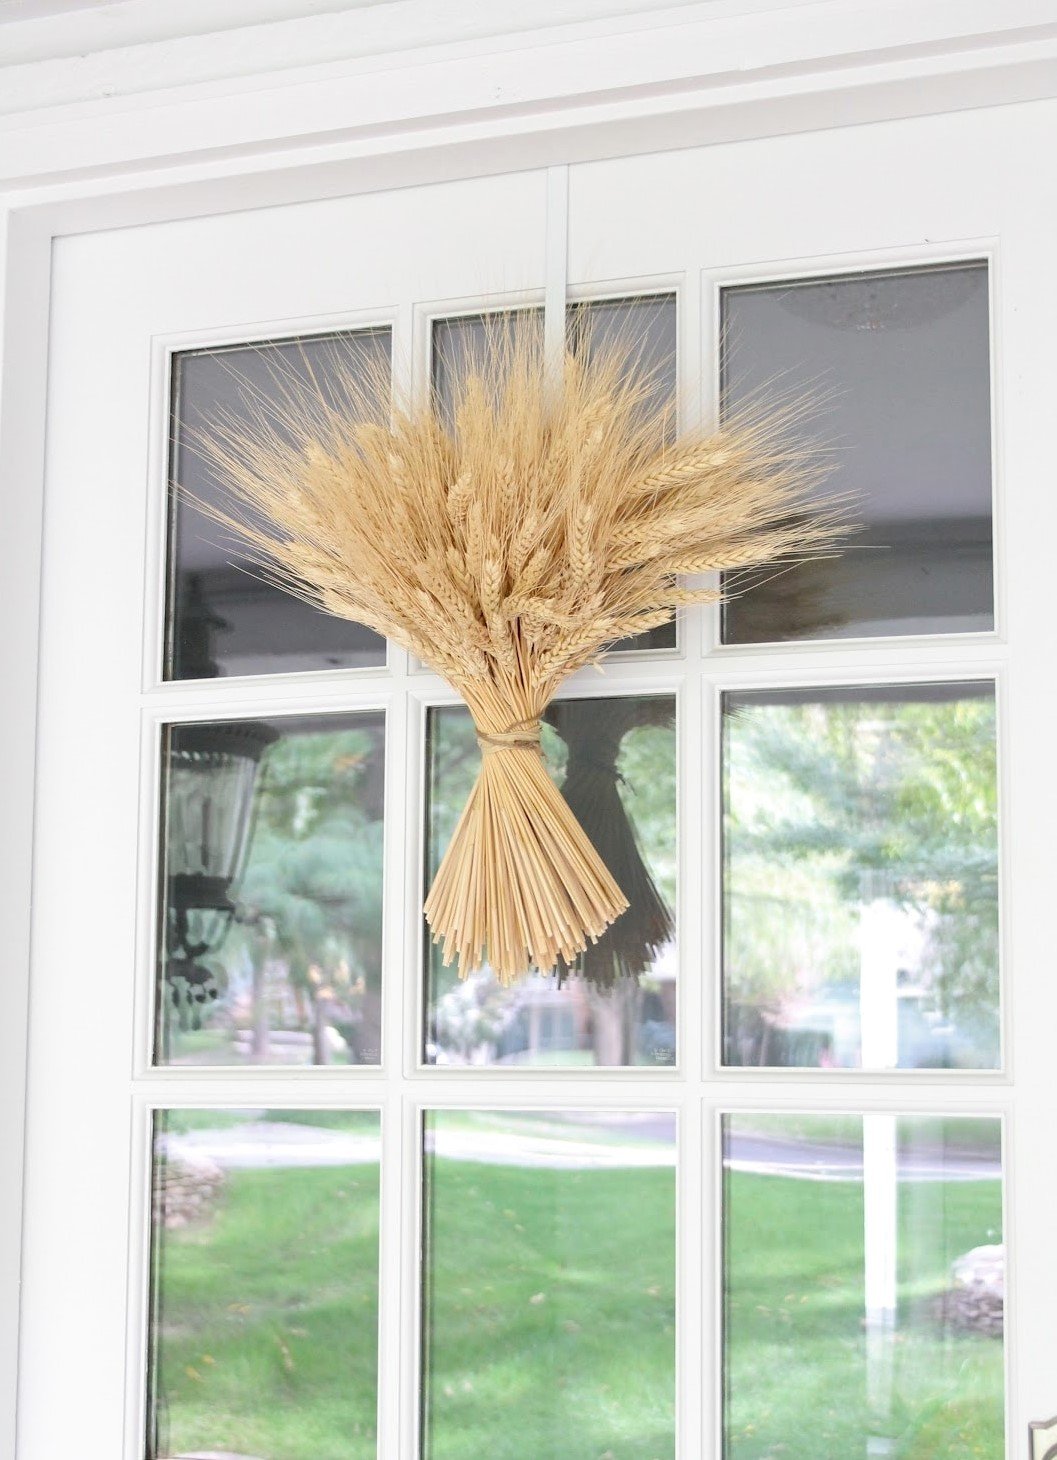
It inspired me to create a wheat sheaf to hang on our front door, similar to a centerpiece I saw on Martha Stewart Weddings years ago.
So, I’m going to walk you through this simple tutorial, and also share some sources where you can buy your own wheat sheaf online! I think you’re going to love this simple project, and I’m so excited to share it with you.
What is a Wheat Sheaf?
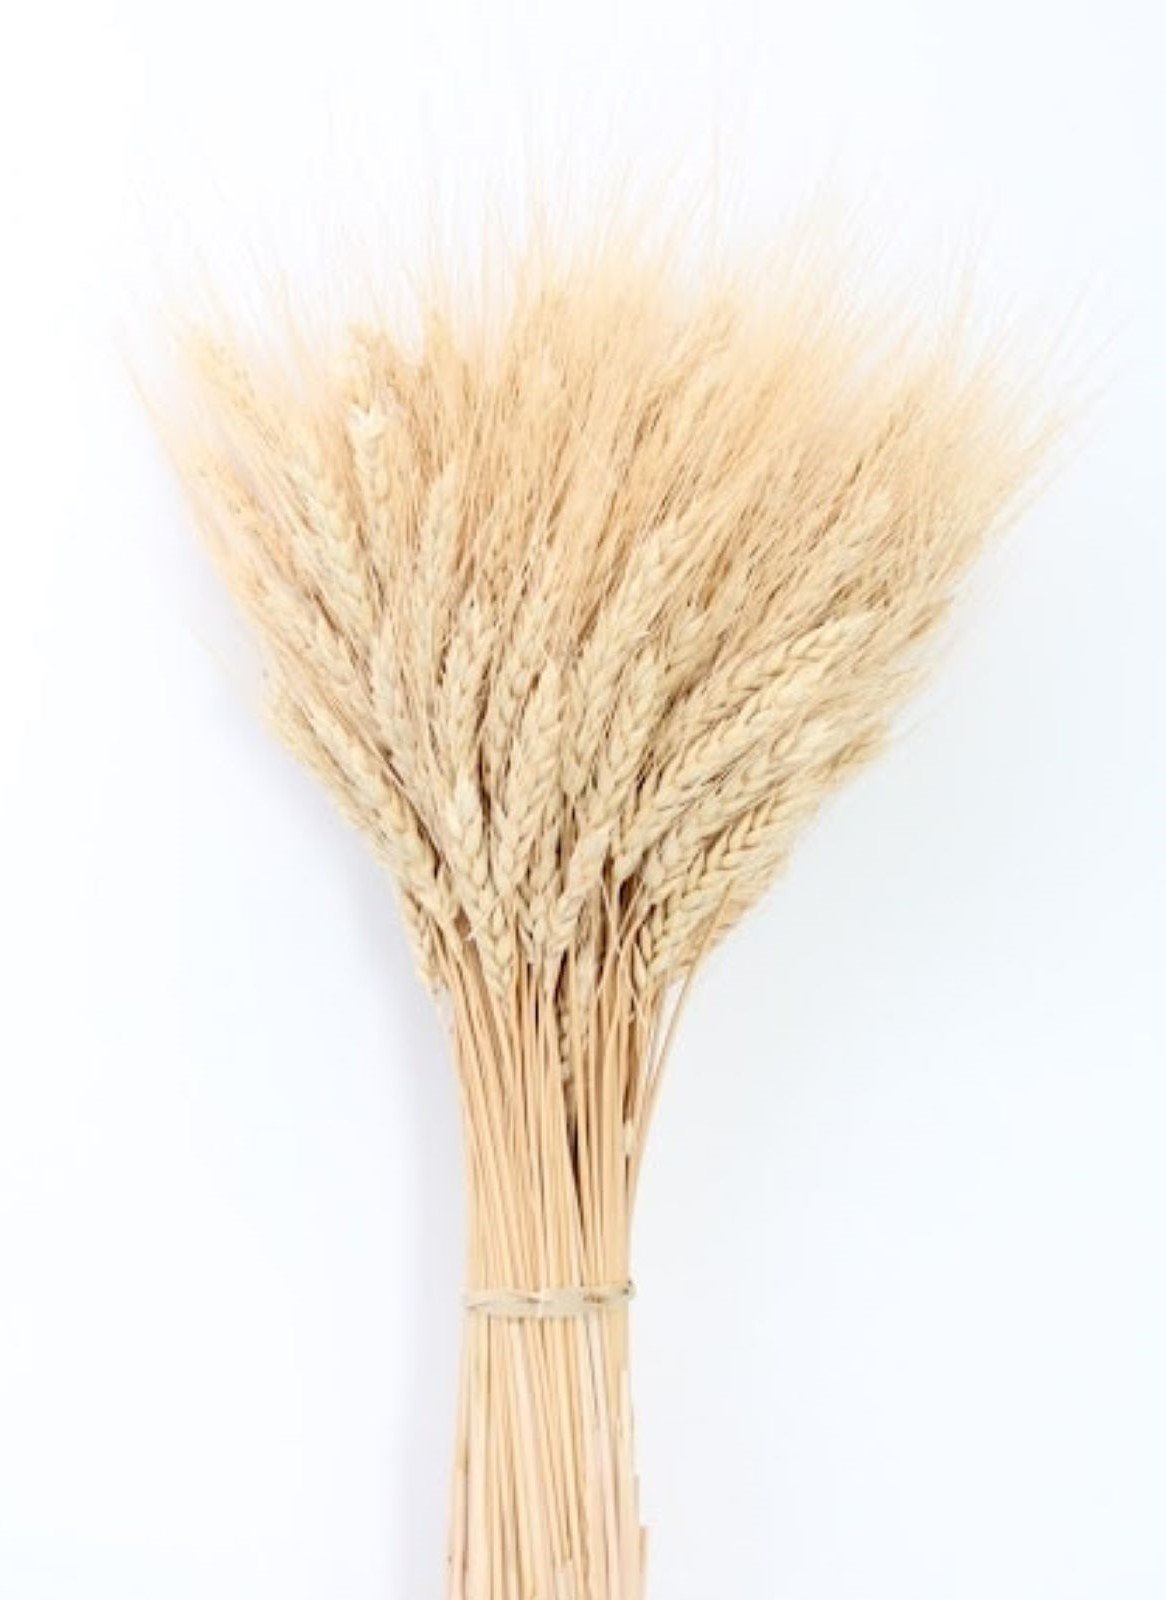
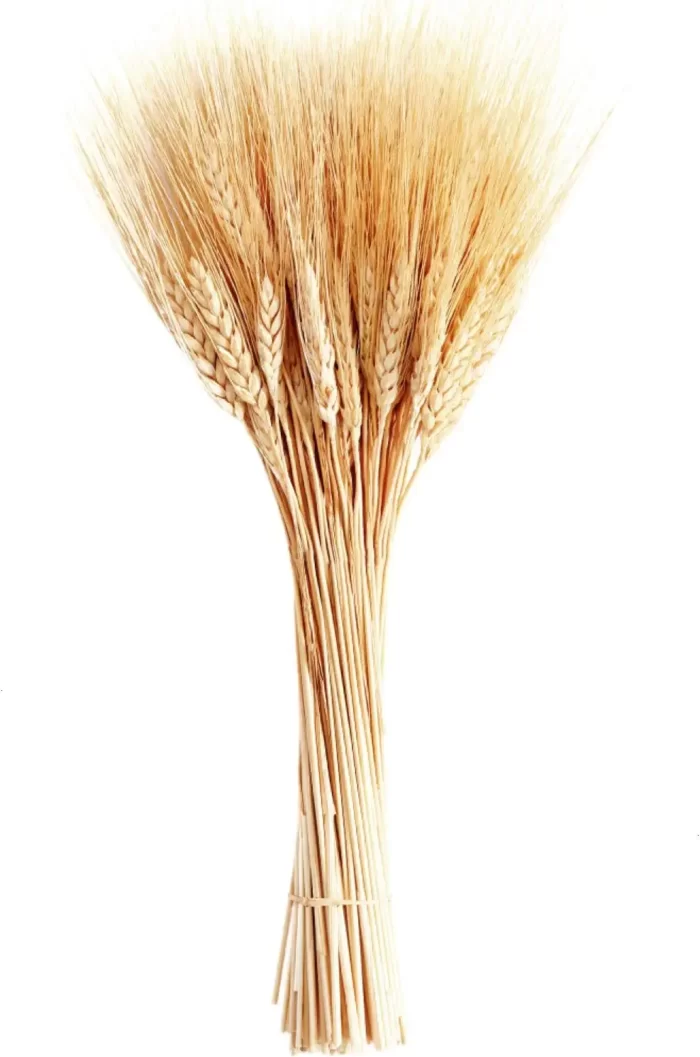
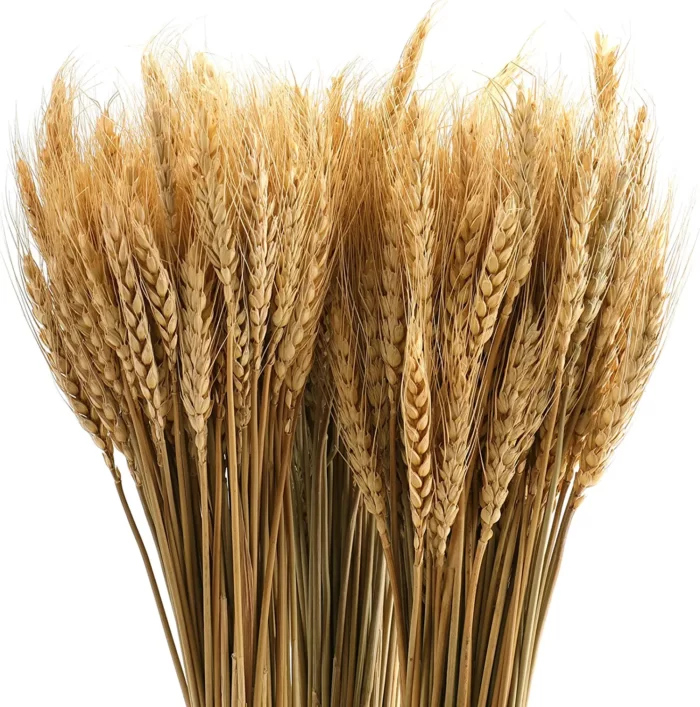
A sheaf is a large number of stalks and ears of a grass or plant material bound together, usually after reaping. The wheat sheaf is a quintessential sign of fall, with a harvest theme that can work for a variety of decor styles.
Natural wheat is a beautiful way to bring the outdoors in for fall – that you can use year after year. Dried wheat makes beautiful natural fall decor and holds up incredibly well. In fact, I’ve had a lot of our wheat decor for over 10 years.
Wheat Sheaf for Fall
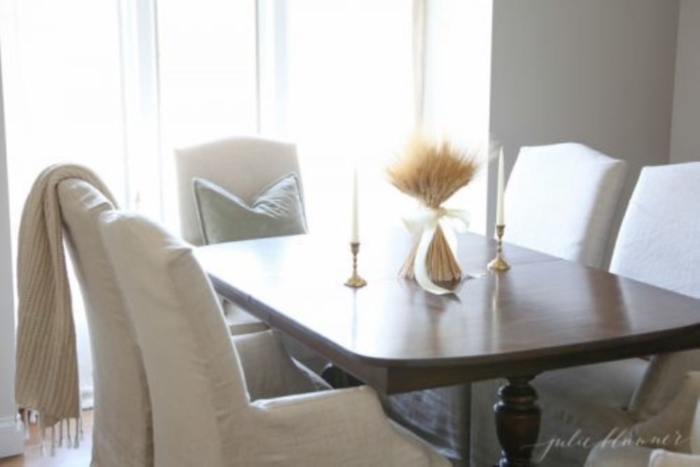
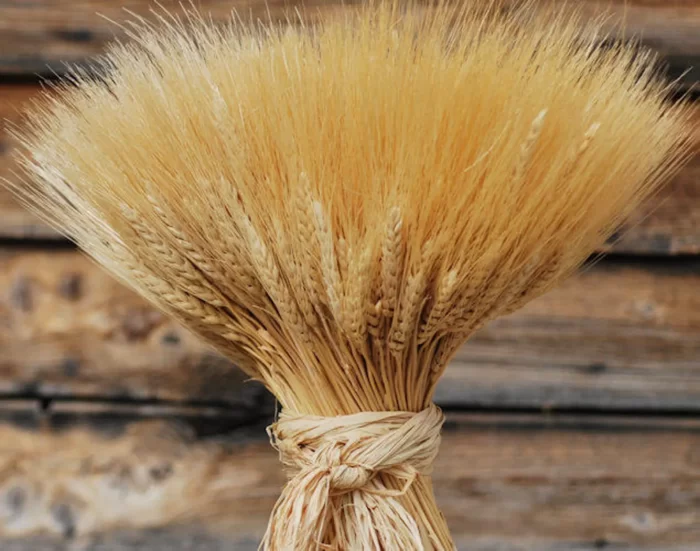
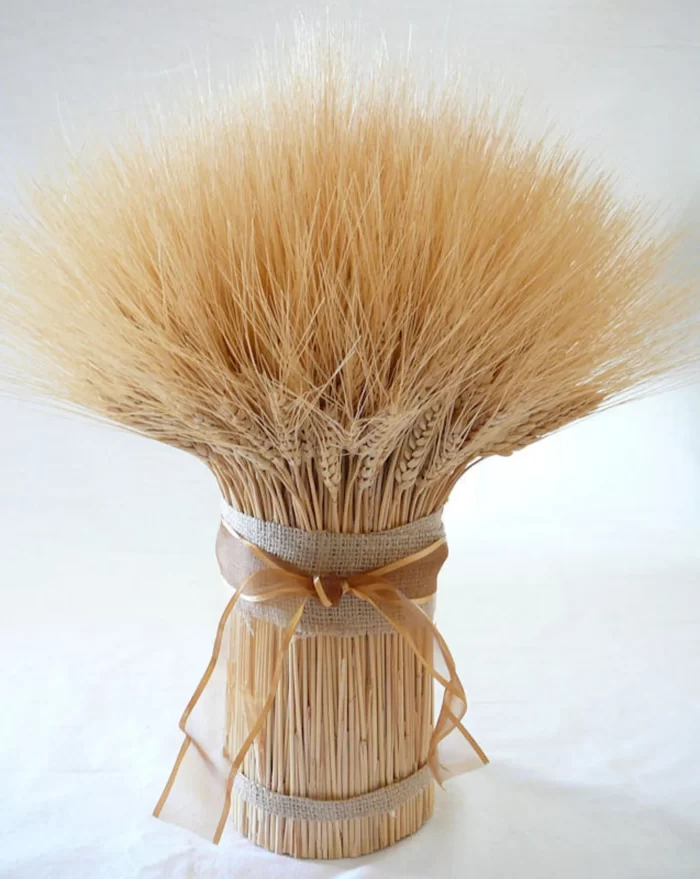
A wheat sheaf is rather simple to make and can be used indoors and out. It makes the perfect fall centerpiece for your dining or coffee table or a beautiful fall wreath!
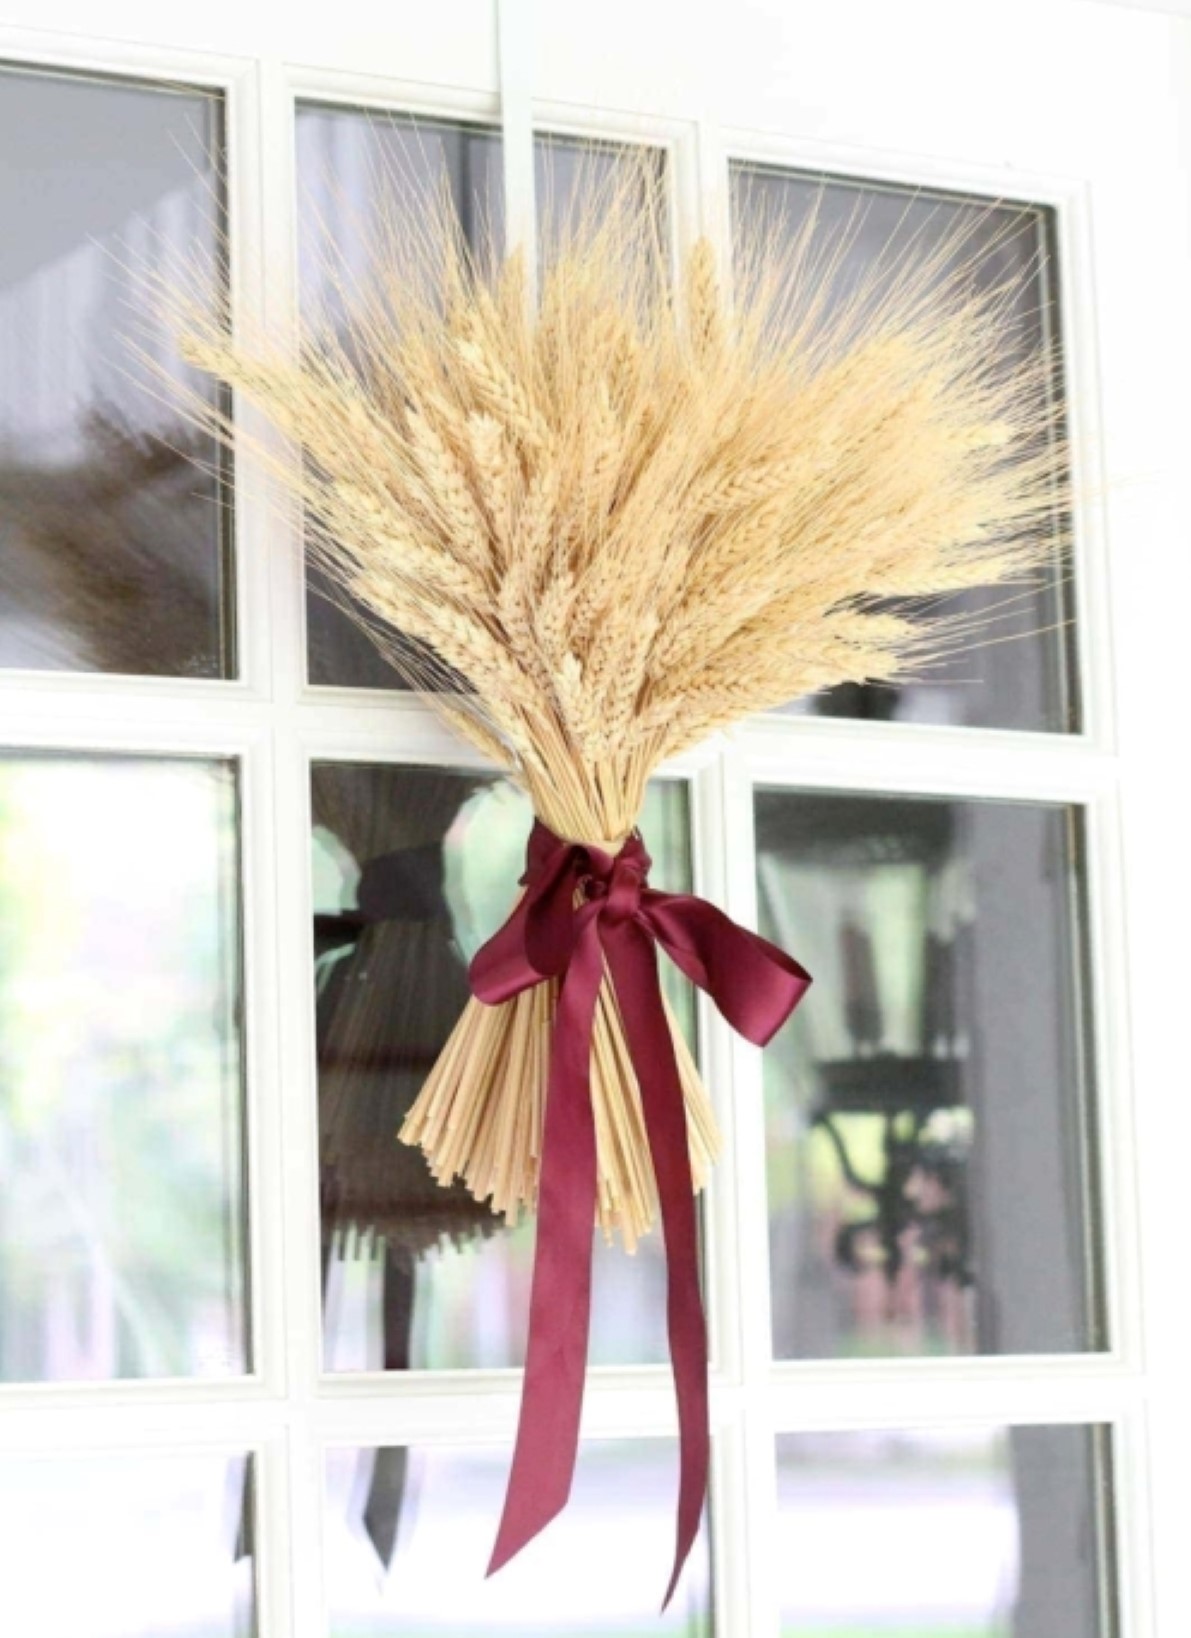
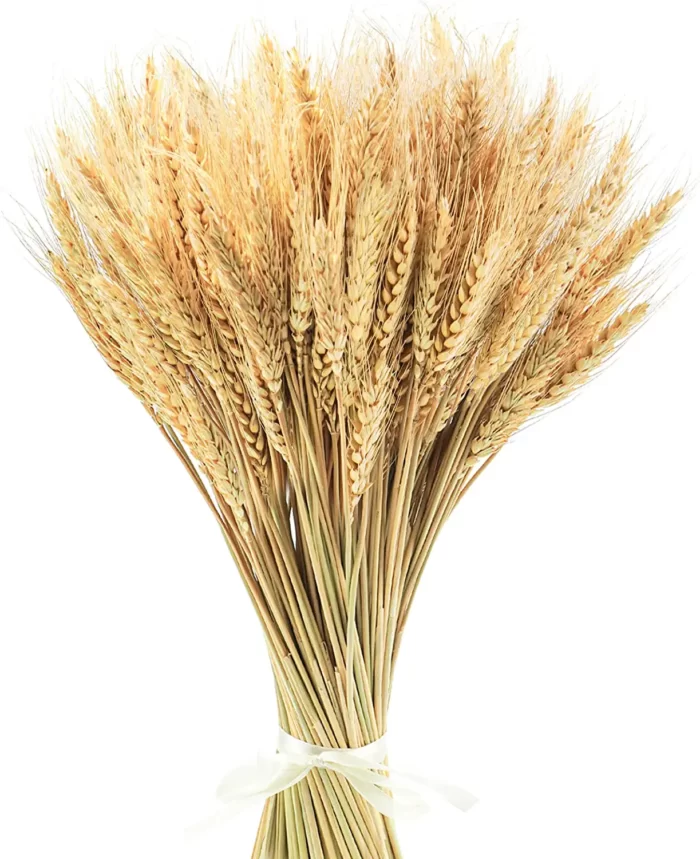
You can make your own in minutes – it’s truly so easy! I love that you can update it using your favorite ribbon. Source the wheat from local farms, craft or home stores. You can also buy it online – I’ll show you a few sources at the bottom of this post.
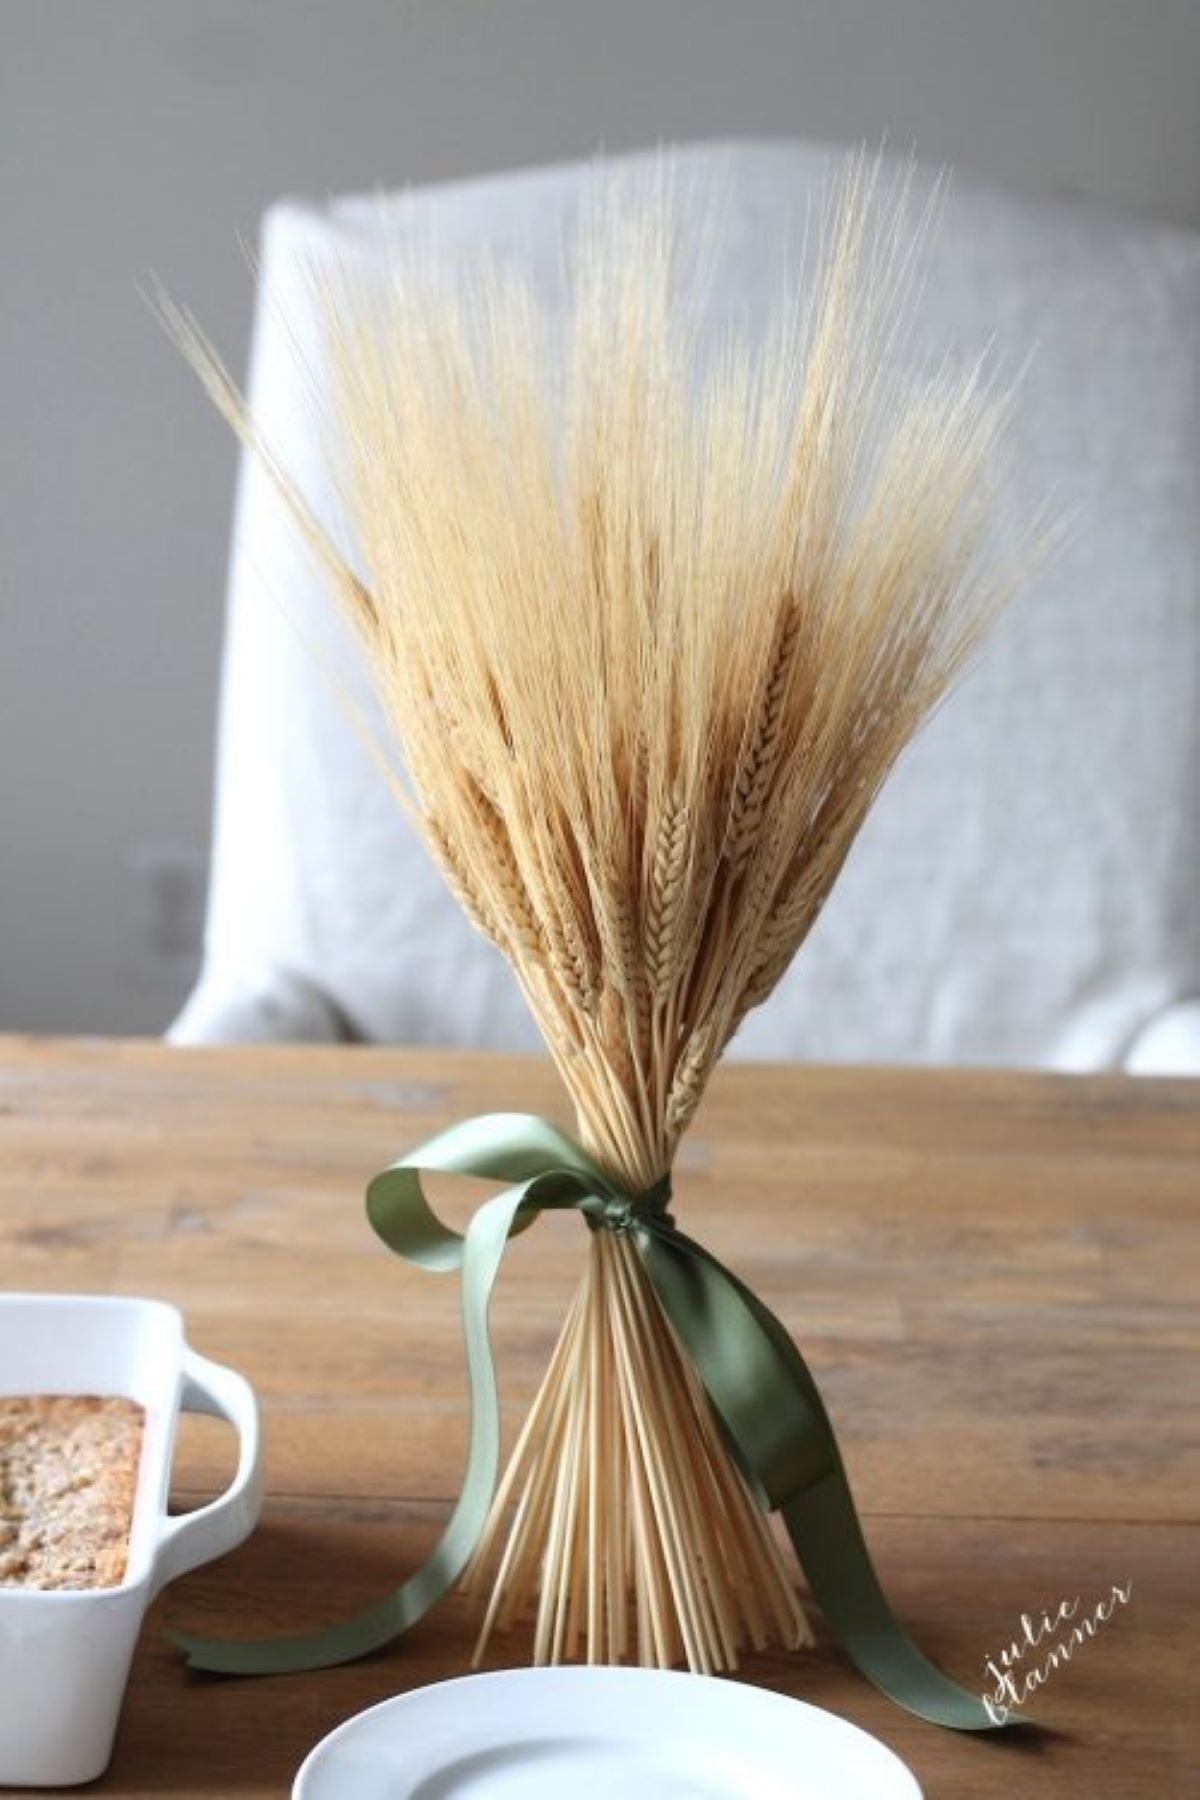
It can be easily adapted into a wheat sheaf fall centerpiece, too!
To adapt this for a centerpiece, finish by trimming the bottom of the stems evenly. Keep playing around with it…you may have to adjust and twist a few times until it becomes stable.
Add your ribbon and you have a beautiful wheat sheaf wreath! I chose to coordinate mine with my mums…I think it will go beautiful with the green heirloom pumpkins I picked at the patch over the weekend.
Wouldn’t this make a beautiful entrance to an autumn wedding?
What You’ll Need:
- Wheat Bundle (these are usually sold in bundles of 100)
- Rubber band
- Ribbon
- Scissors or Floral Clippers
Wheat Sheaf Tutorial
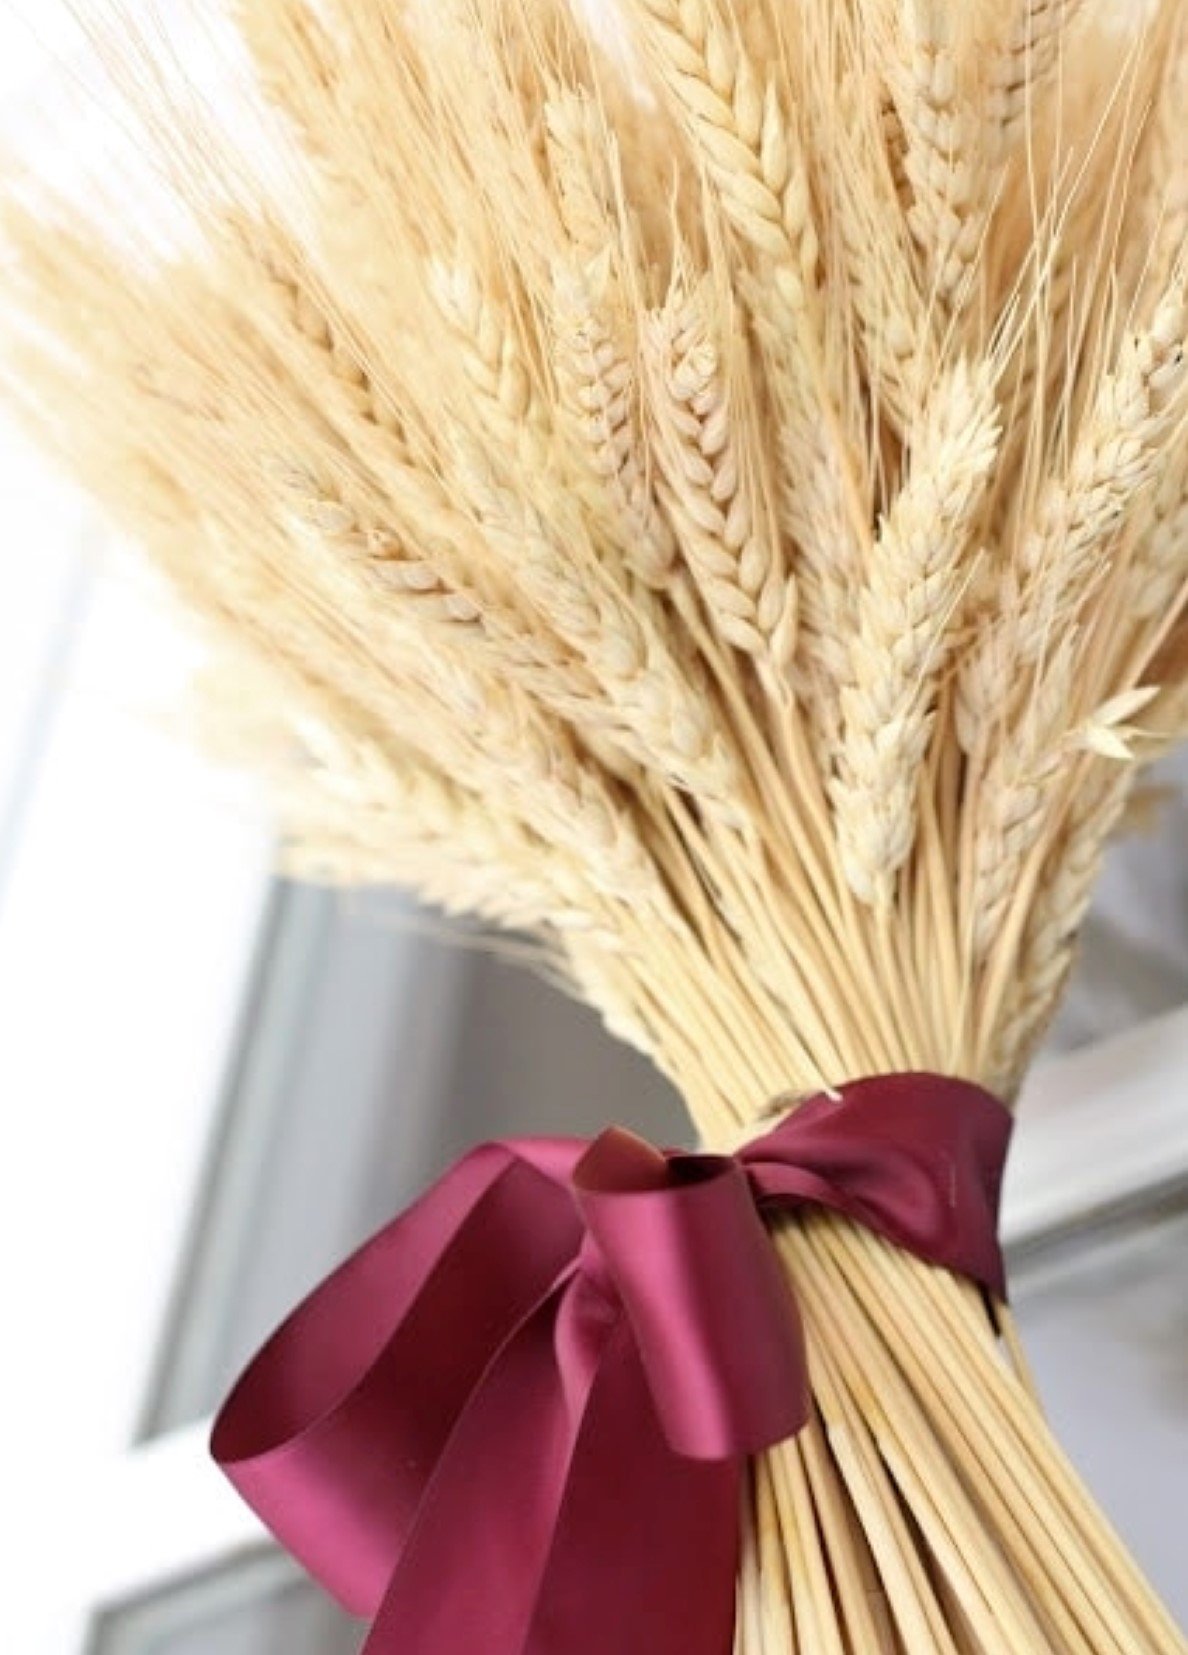
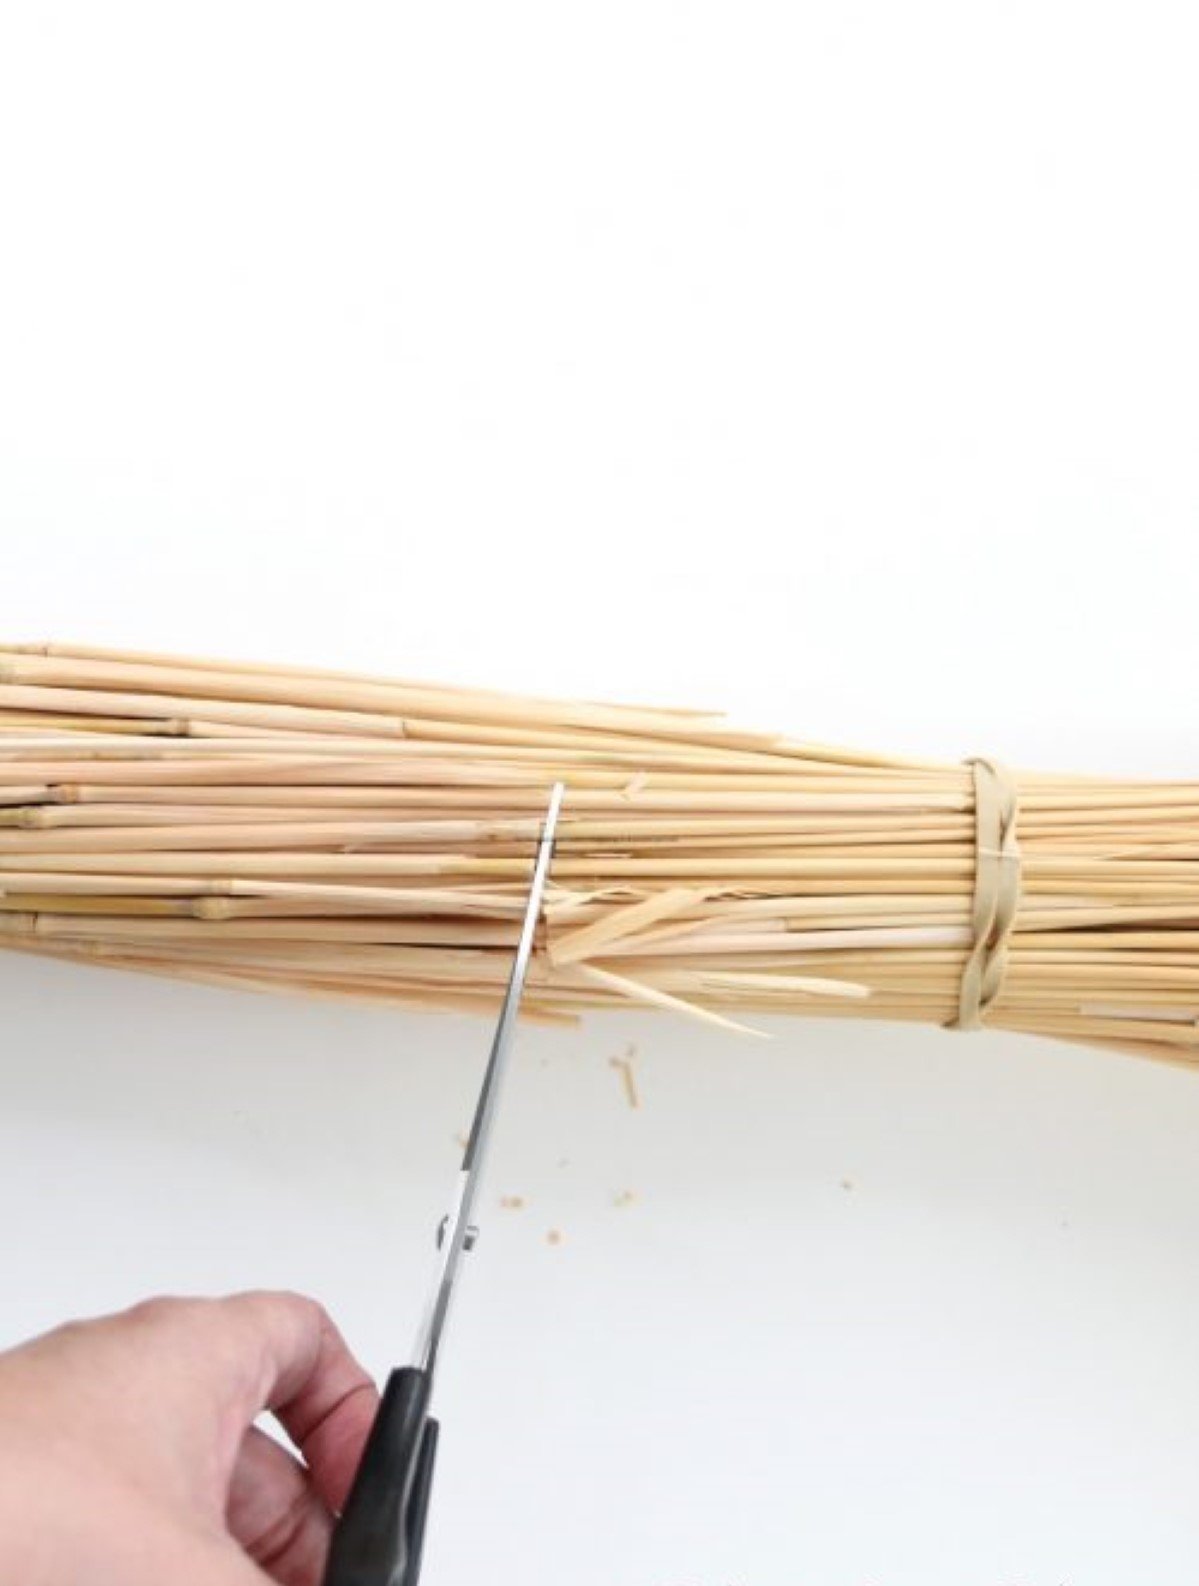
- Secure your bundle of wheat with rubber band.

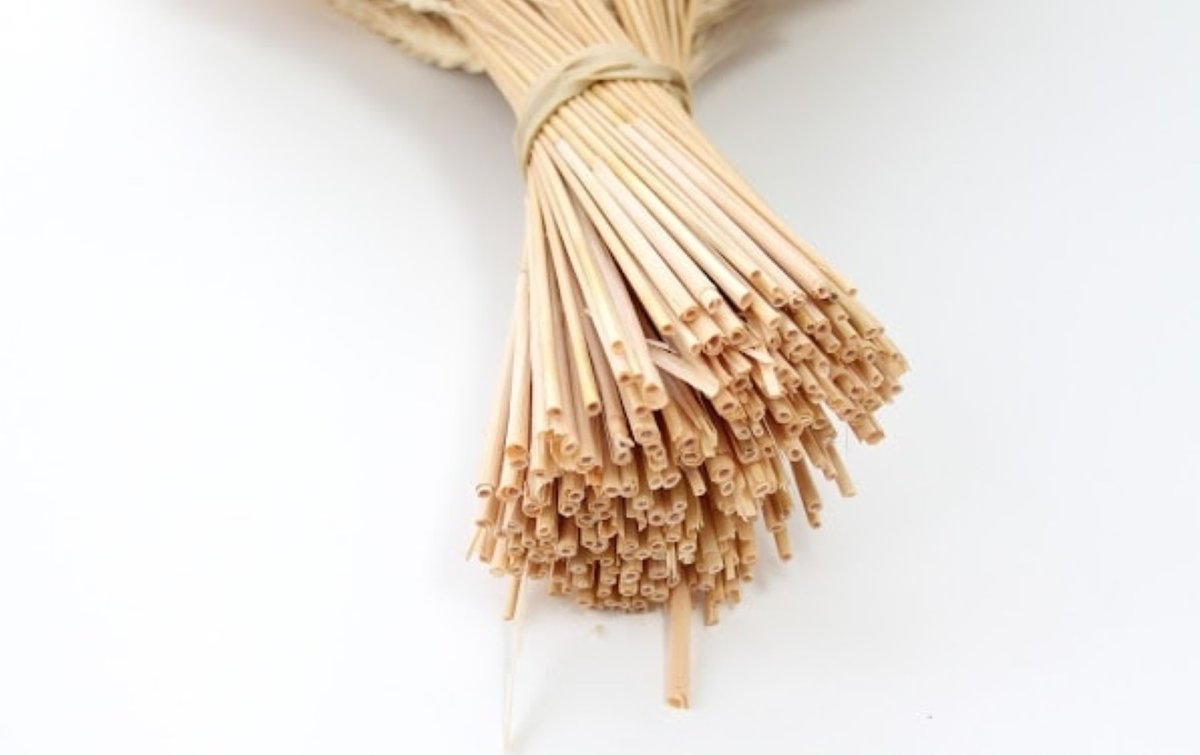
- Cut to desired length with scissors.

- Twist stems to achieve a nice round, full, effect.
- Trim any loose stems.

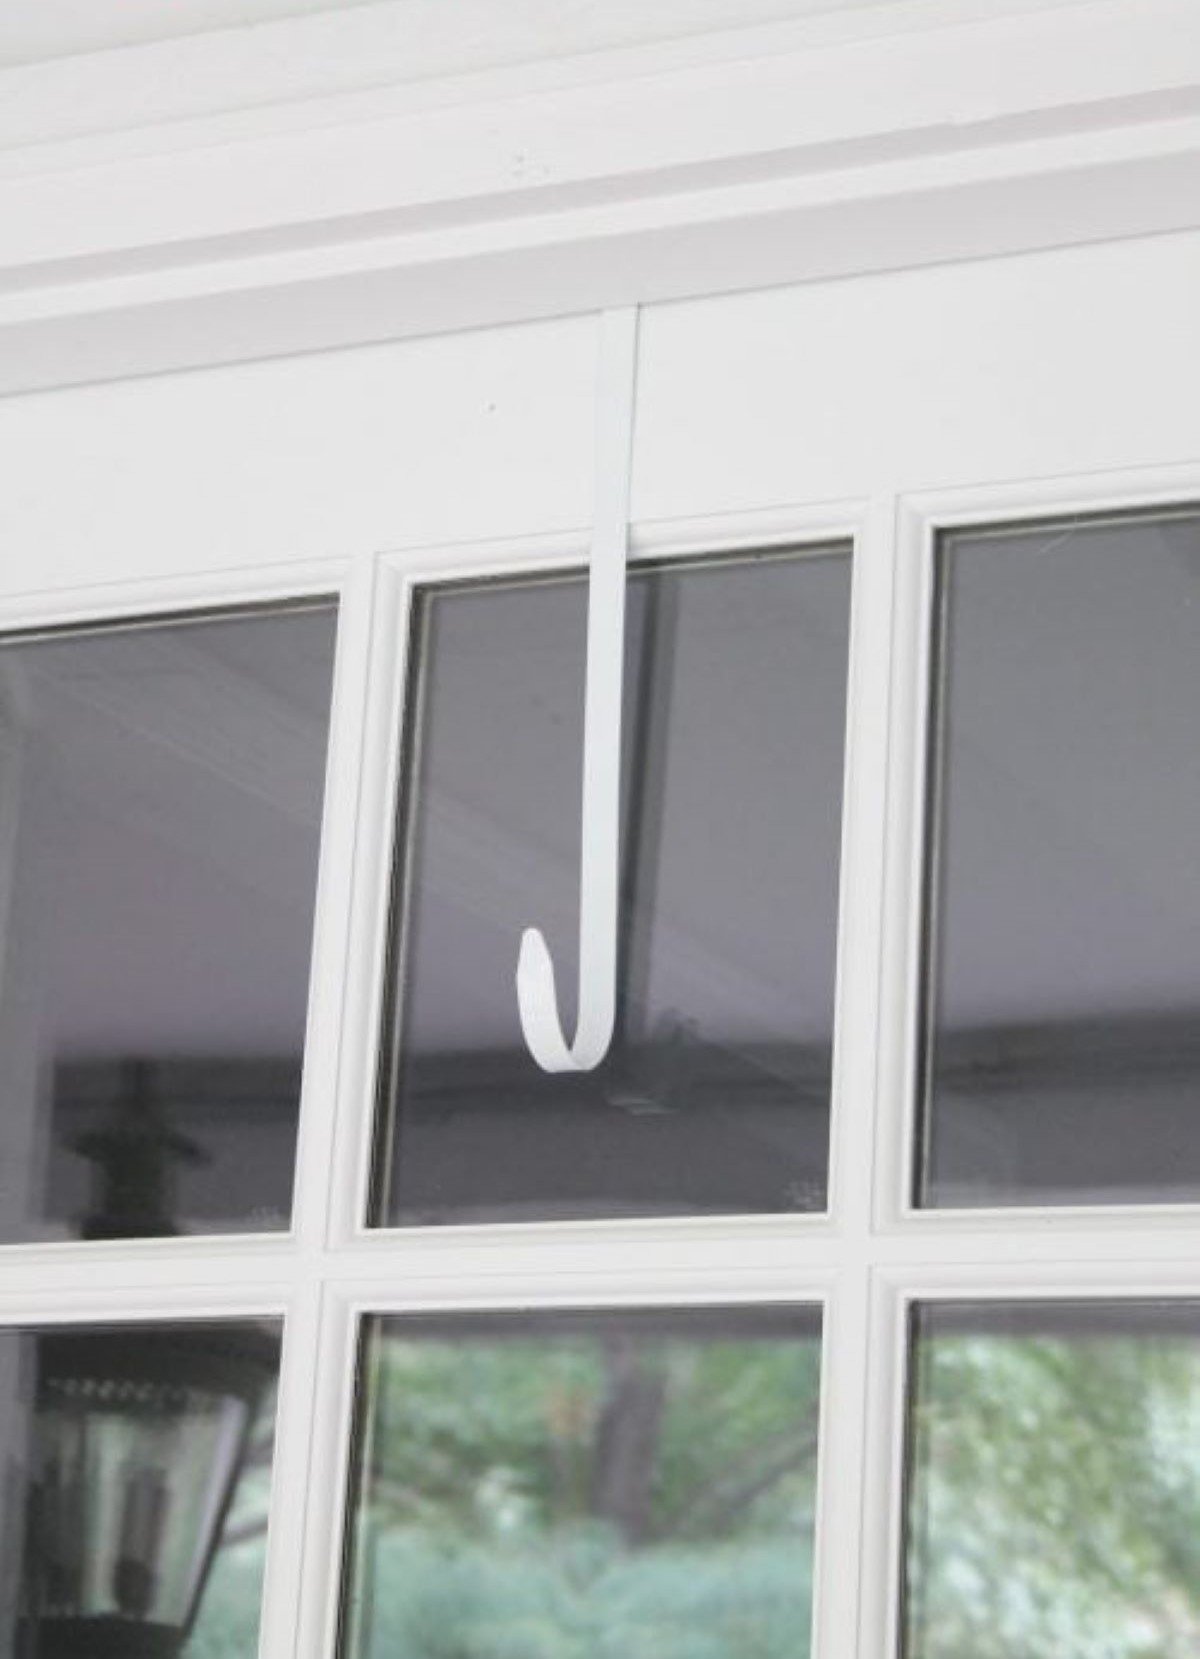
- Using a wreath hanger (if you’re hanging and not using as a centerpiece) and determine the height you like. Secure onto wreath hanger using the rubber band. If necessary, you can use twine or wire.


- Add a ribbon.

Tips
- If you can, source the wheat locally. It tends to be fluffier and fuller when it hasn’t been packaged and shipped!
- Be gentle, of course, but the wheat stalks are surprisingly strong.
- If you have broken pieces, save them and use them for your Thanksgiving place settings.
Sources


Amazon Storefront
Follow my Amazon Storefront to find more holiday looks for less.


The sheaves of wheat are also symbols of life after death. Something I was given after the death of a close family member.
Sometimes they are in bundles with ribbon. Other times they are beautifully braided in a circle representing the circle of life.
Thank you so much for sharing, KimRae!
I like this! Classic, Lovely and welcoming ❣️
Love this! A simple and elegant idea.
Thank you, Rosemary! Have a beautiful fall!
Thank you so much for this post. I want to let you know that I posted a link to your blog in Creative Busy Bee Craft Inspirations, under the Page 2 post on Oct. 02, 2012. Thanks again.
This is such a cute, simple idea. I’m going to have to make one for our little cottage front door. 🙂