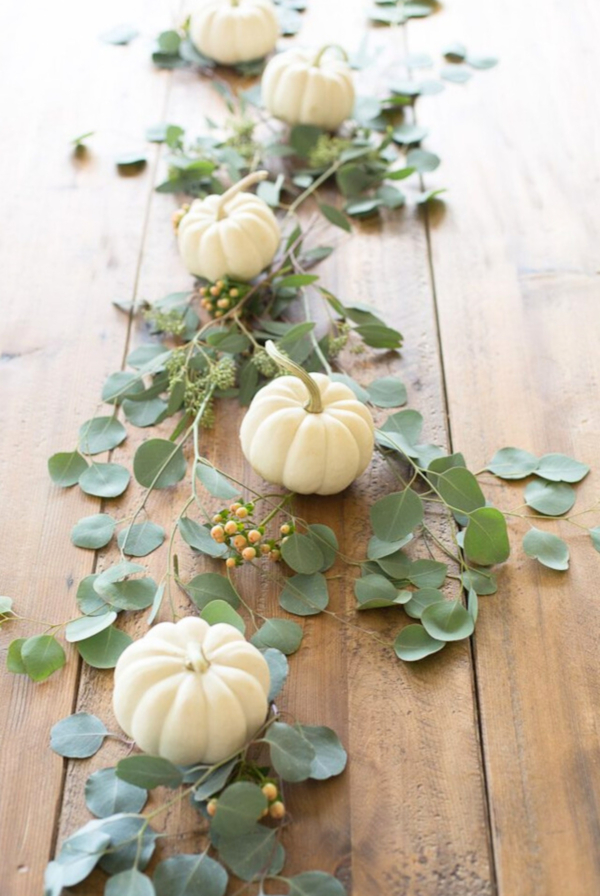
Need a centerpiece for your Thanksgiving table, but short on time? Check out this DIY Thanksgiving centerpiece that I made from items I found around my house!
It’s so easy to make – and the general concept means that you can replicate this idea quickly and inexpensively. Let’s get started!

I’ll be honest, I haven’t had any floral training, but I’ve always enjoyed working with flowers. For the longest time, I over-complicated it and I would be disappointed in the end result.
I’m learning as I go, though. When a floral designer friend shared the philosophy that anything is a vase, it resonated with me. That’s where the inspiration for this DIY Thanksgiving centerpiece took root!
Another problem I have faced when creating centerpieces is keeping the cost to a minimum. It’s easy to create a breathtaking centerpiece with $100+ of blooms, but I can’t often justify that for one dinner.
When we’re having guests, I want to make our table feel special, especially for Thanksgiving!

To create a homemade Thanksgiving centerpiece, I start by gathering. The first resource I look to is our home. What can I use that I already have? Last year, I found a beautiful vintage brass pedestal bowl on Etsy. That’s officially where this centerpiece began!
In fact, I have a complete guide for both Christmas Centerpieces and Fall Centerpieces! There’s an incredible collection of inspiration from years gone by that I just know you’ll enjoy.
Why You’ll Love this Easy DIY Thanksgiving Centerpiece
- Easy to Make
- Finish in Five Minutes
- Shop your own Home
- So Flexible
My homemade Thanksgiving centerpiece was inspired by the unique and beautiful apple pear. The soft, fall color palette is perfect for Thanksgiving and works with things I already have – my flax linen napkins and soft green velvet pillows.

Here’s What You’ll Need:
- A low bowl or tray
- Fruit
- Pine Cones
- Antlers (optional of course)
- Berries, blooms or greenery
How to Create this DIY Thanksgiving Centerpiece
- Gather. Find your foundation – a platter, bowl, cake stand and what you want to fill it with.
- Create a base (I used antlers in opposite directions to give it height and balance)

- Place your “filler” – I always start with the most inexpensive elements, in this homemade Thanksgiving centerpiece, it’s pine cones.
- Add your next layer of filler/color – I selected gorgeous apple pears, which add color & interest because you don’t see them often.
- Add your details – I inserted snips of berries & the wispy end of a floral stem. Next, I added blooms from the same floral stem.


Tips
- Want to spend even less? Use evergreen and floral clippings from your own backyard!
- Any seasonal fruit will work for this centerpiece. Think apples, pears, clementine oranges, and even sliced fresh pomegranates.
- If you want to preserve this look from season to season, choose dried fruit – the pine cones will last for ages.

Where to Use this DIY Thanksgiving Centerpiece
This style is for so much more than your Thanksgiving table centerpiece. Think of the options!
- Down a coffee table
- On a buffet or console
- Your entryway
- As Bookshelf Decor
- On your Kitchen Island

Join Our Community
Let’s keep in touch! Receive exclusive content, including never-seen-before photos, our favorite home decor DIYs and more!


Sometimes the most unique projects are those that take the least amount of time. We really enjoy your unique way of putting together a quick and simple, yet elegant Thanksgiving centerpiece.