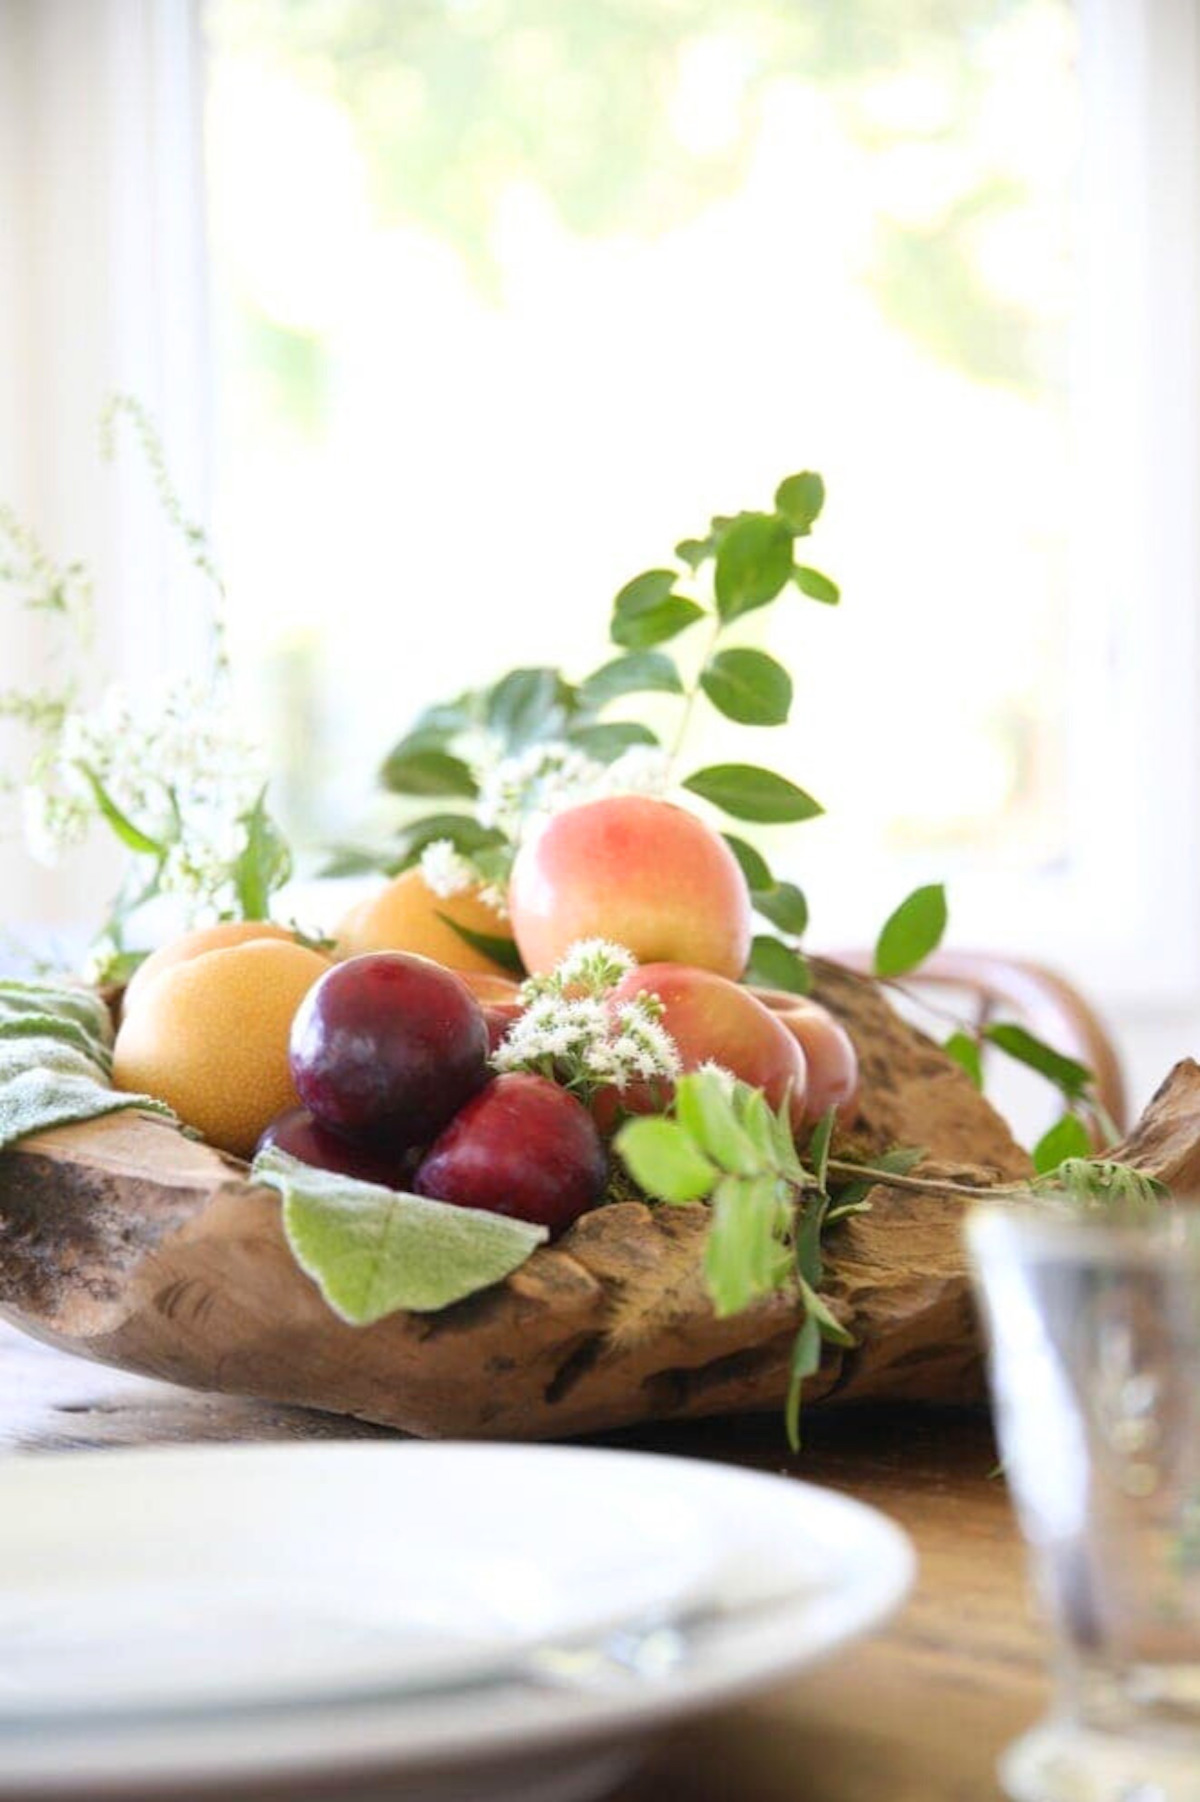
Learn how to make this simple and pretty DIY fall flower arrangement for a centerpiece, in just minutes!
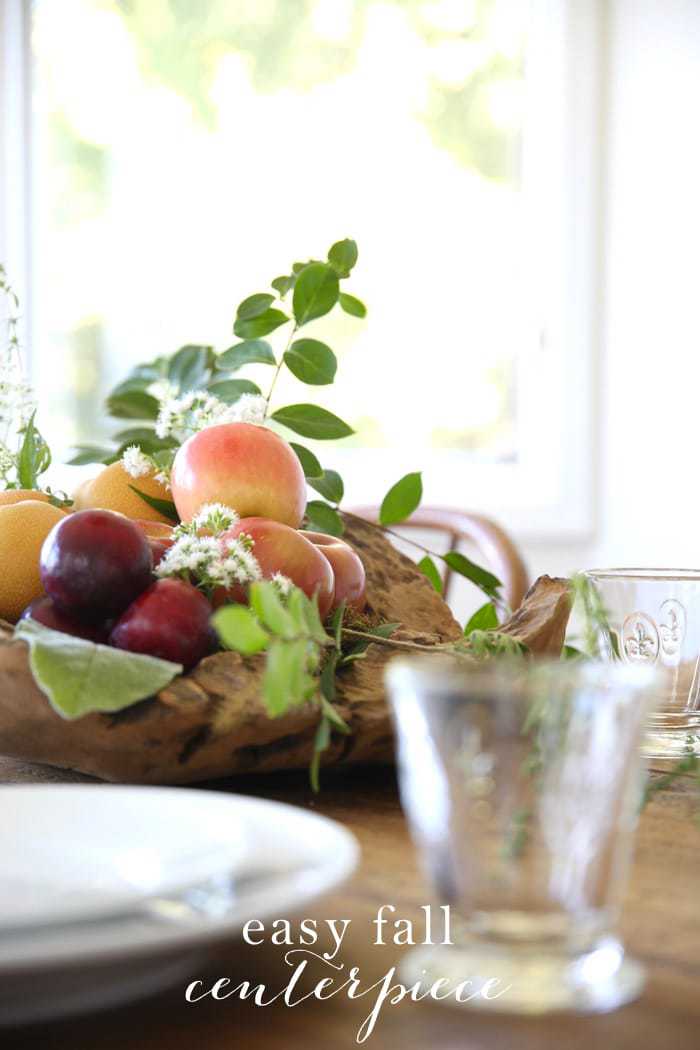
Last year I shared a few tutorials for fall flowers that you could arrange in just a few minutes with backyard blooms and grocery store fruits. I seem to find myself foraging more and more.
There’s something beautiful about picking from your own backyard rather than spending a fortune on flowers, it feels easy and thoughtful. This recipe for fall flowers is slightly different than my last few – it might take a few more minutes {10 in all} but it can be made with items from home and the store.
Bonus for being edible, right? You know how I love infusing function to eliminate waste!
Ingredients
- large bowl
- moss {optional}
- garden shears or scissors
- variety of fruits in the same color palette {I used apple pears, plums, and Fuji apples}
- vines {you’ll be surprised where you’ll find vine-like plants and weeds – my “vines” are actually from my crepe myrtle}
- small flowers
- leaves
- wispy flowers
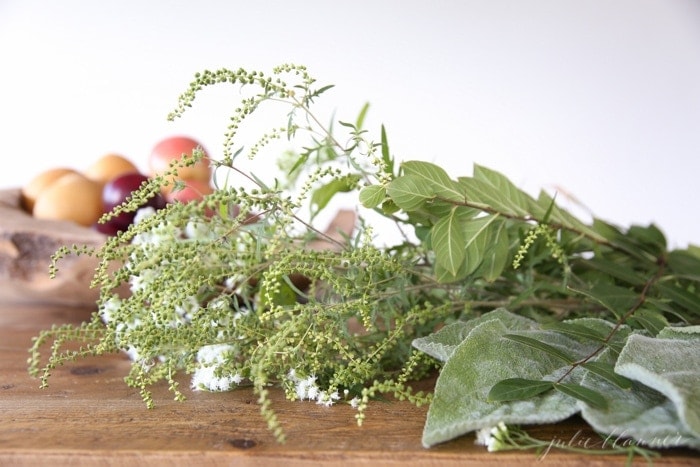
Keep in mind with this supply list you can easily adapt to store bought items…they’ll often sell you the greens they use at the store, like a fern, etc.
Fall Flowers Tutorial:
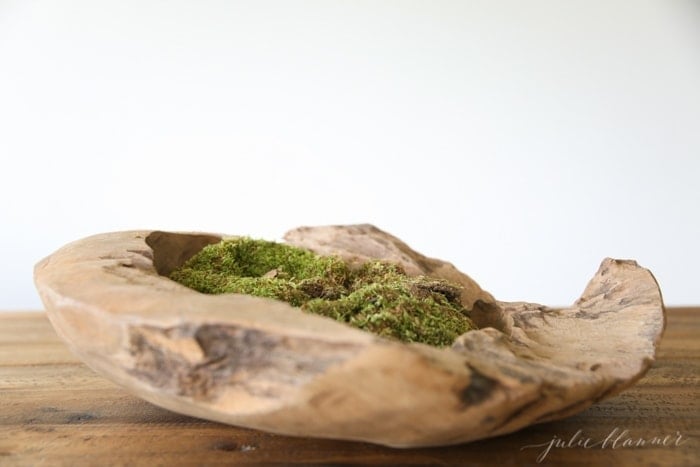
Place your bowl where you would like it displayed. Add a thick layer of moss – it makes a great base to fill the bowl to reduce the amount of fruit required.
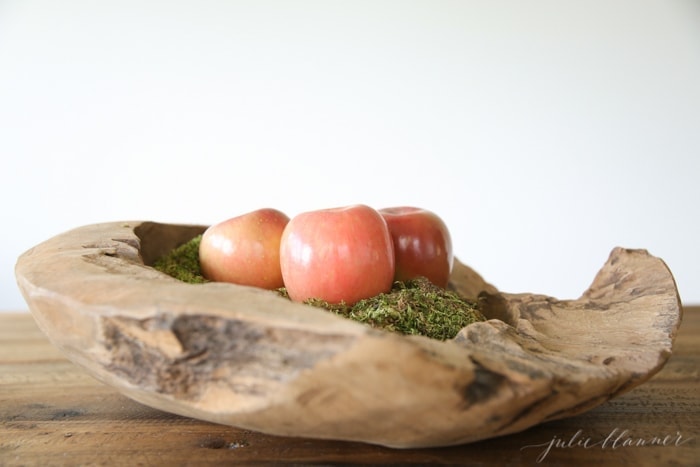
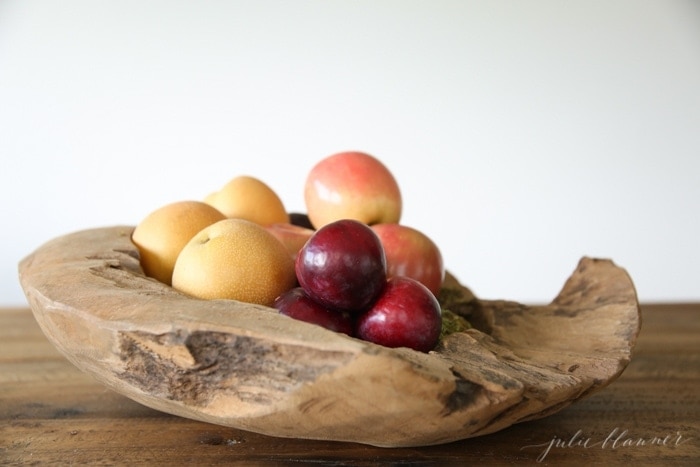
Start filling the bowl with fruit in the middle. I tend to work in odd numbers, so I started with 3 apples, added 3 plums in front of them to the right of the bowl and an apple-pear just below them.
Continue to build your fruit, adding on top to create a small mound. Note: I always keep the pretty side of the fruit exposed, the color variations I like, the stem, etc and conceal any bruises.
Start adding in leaves, tucking a few underneath.
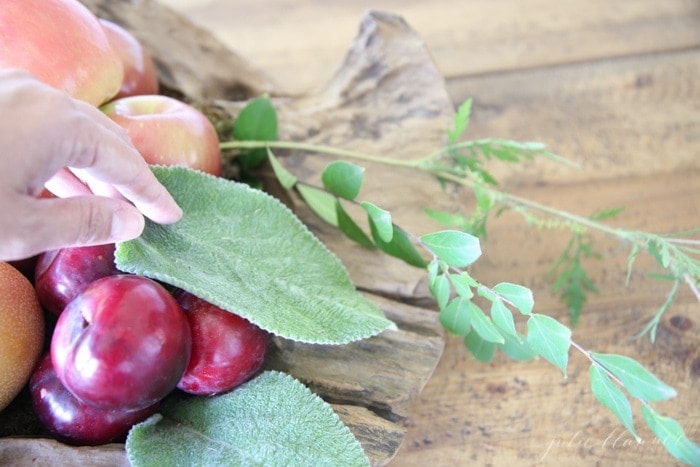
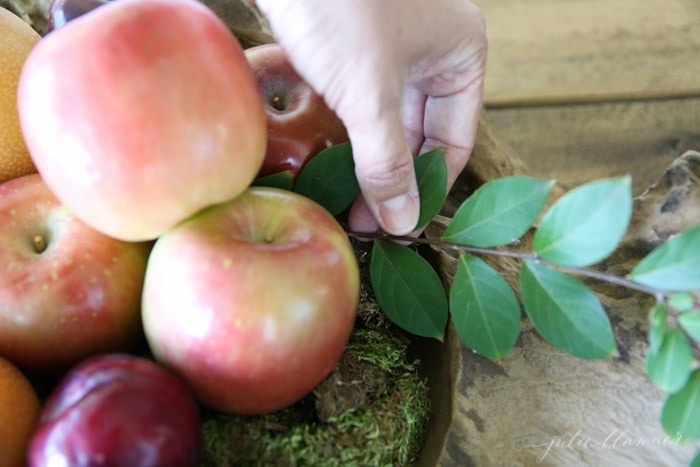
Add something vine-like to the right, tucking it in under the fruit to secure it. I usually remove the lower few leaves to make tucking a breeze.
Add something wispy to the left of the centerpiece in an upright position to give your arrangement height.
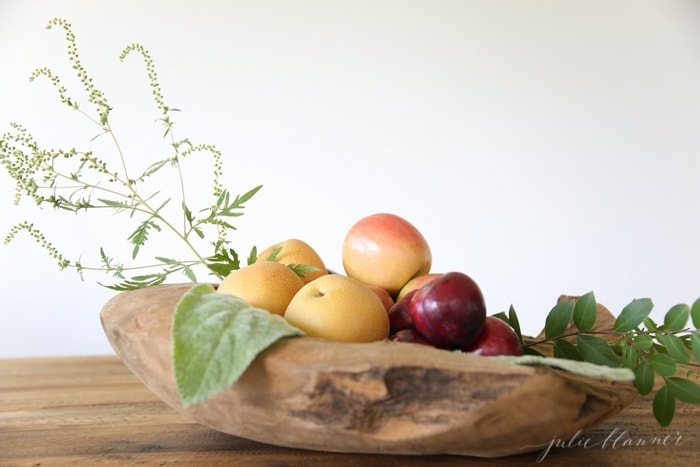
Add a bloom in just in front of your wispy piece. Continue by adding in a few flowers as needed. I like to put one in front of any green, so I added next to my vine.
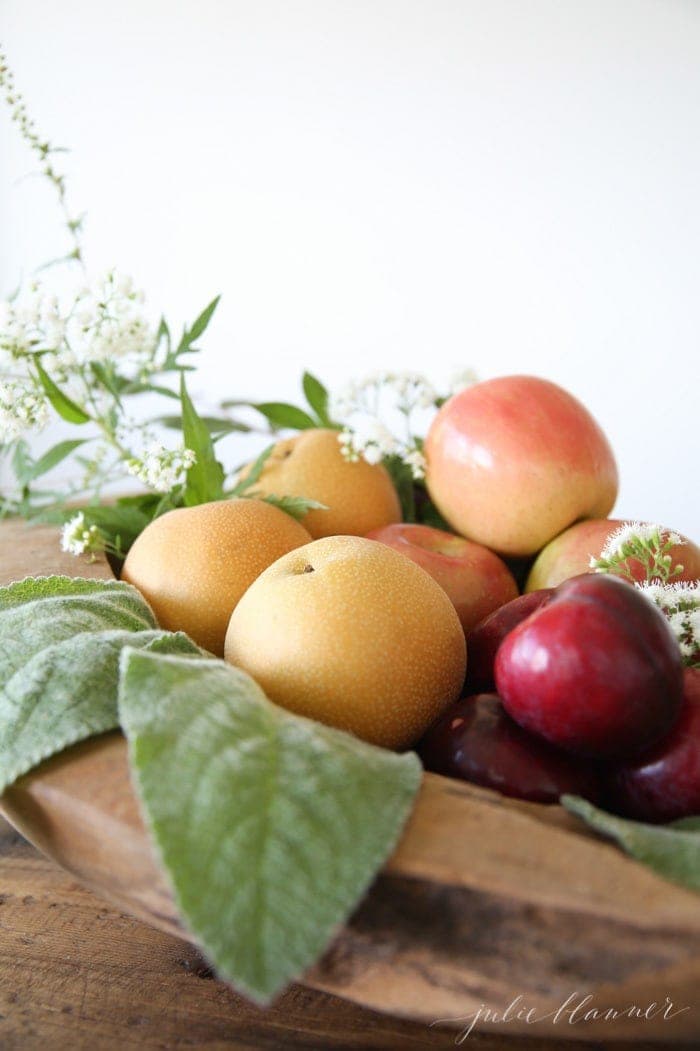
Finally, add in a vine behind and next to your wispy piece for a little additional height and interest.
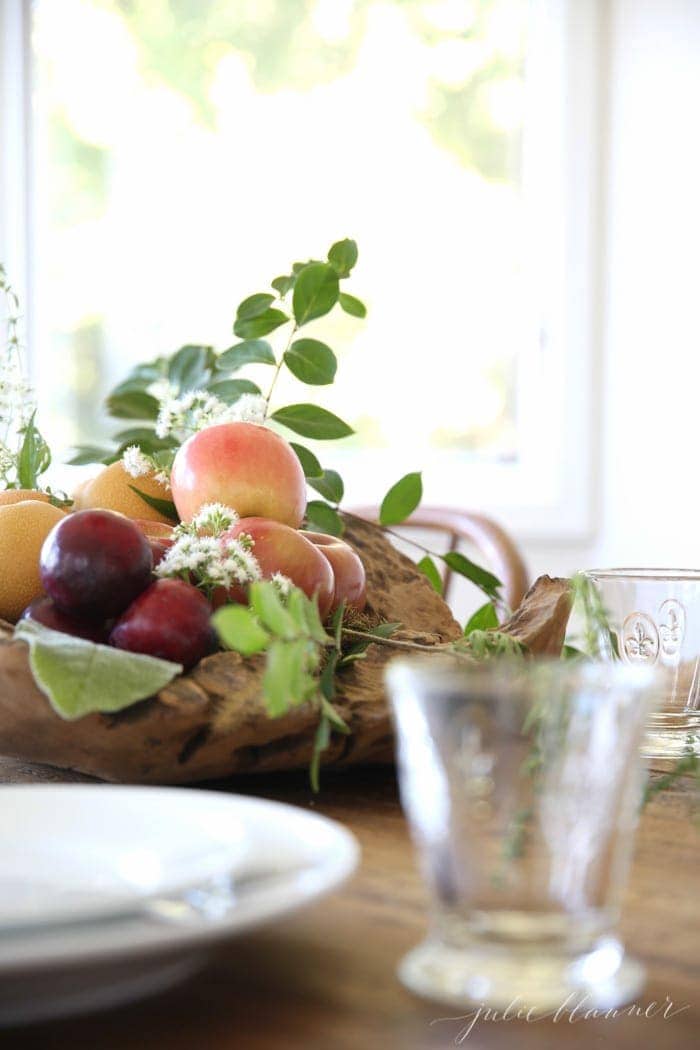
Flowers are fun – there’s no “right” way to create an arrangement, just relax and have fun with it. I’ve had absolutely no floral training but enjoy creating centerpieces like these fall flowers when we have friends and family over, and often, for myself!


I love all the wonderful ideas and tutorials! Everything is so beautiful and simple but elegant rich in taste.
Thank you, Mariana! You are too kind! Happy Fall!