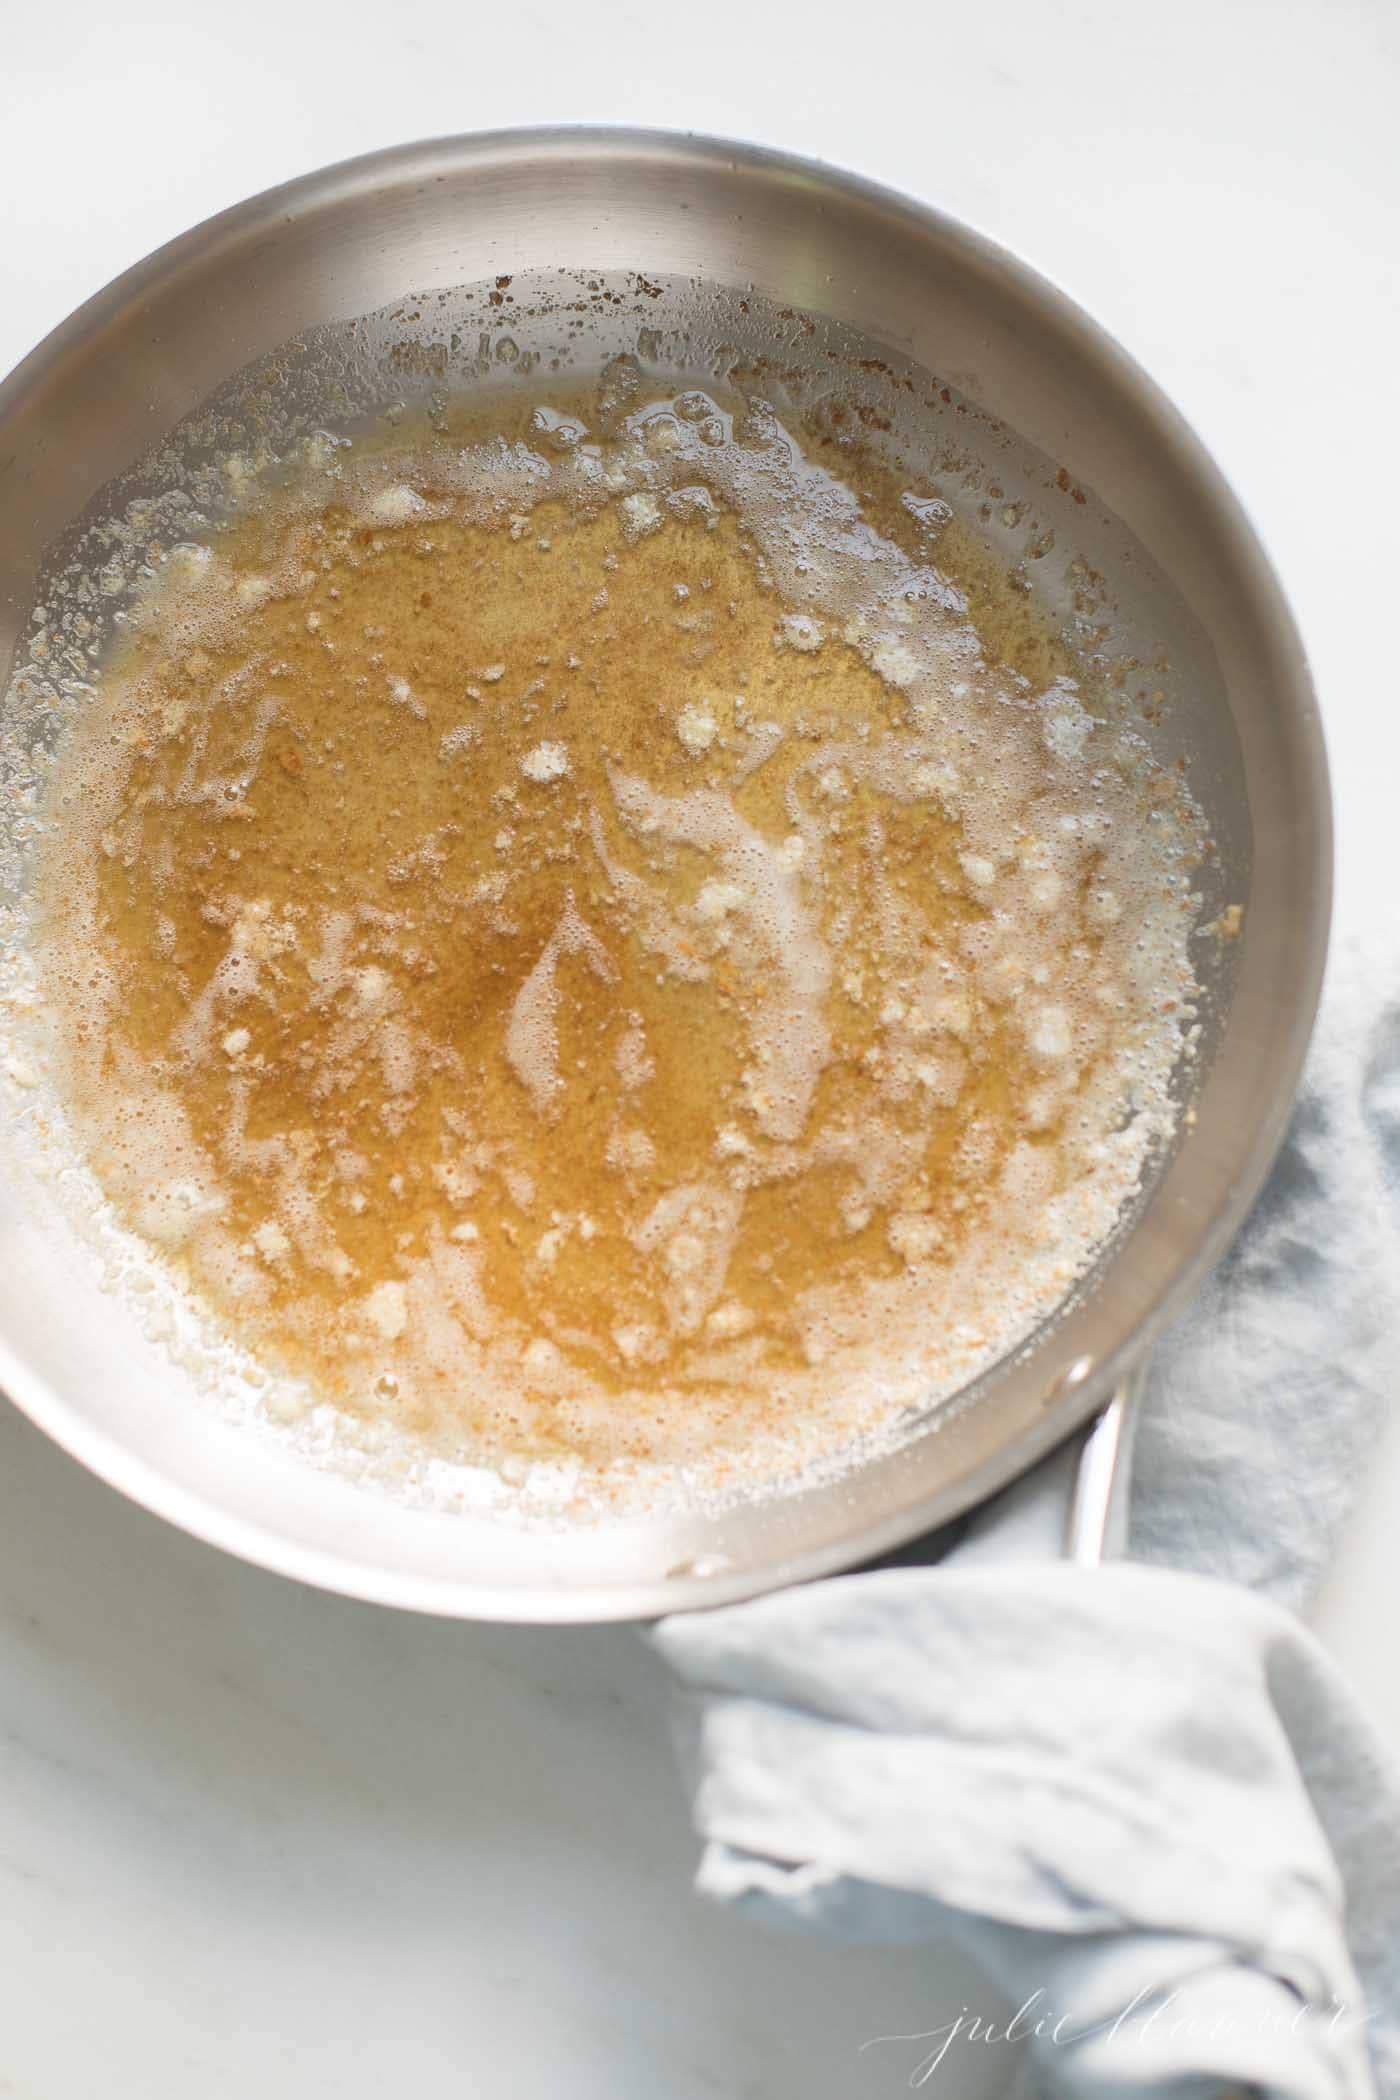
Brown Butter is the easiest way to enhance any dish or baked treat that calls for butter. It elevates just about everything, giving it a deeper, richer, more intense flavor that smells wonderful, too!
Learn just how easy this process is with easy step-by-step photos and video.
I discovered brown butter as a child when we would frequent the Old Spaghetti Factory in downtown St. Louis.
We’d wait hours in line for a taste of that delicious pasta goodness covered in mizithra cheese (you can get the recipe for Spaghetti with Mizithra and Browned Butter here).
Clearly at the time I had no idea what I was eating – it just tasted like better buttered noodles to me. I might have been clueless, but I wasn’t wrong!
Through the years my love for brown butter has continued to grow. I frequently use it in baking and pastas and every time I do, guests ask for the recipe! Brown Butter just makes everything better!
What is Brown Butter?
It’s also known as beurre noisette – a warm sauce used in French cooking for vegetables, pasta, fish and chicken.
While it sounds and tastes “fancy” anyone can do it – in fact, you may have produced it on accident without even realizing it!
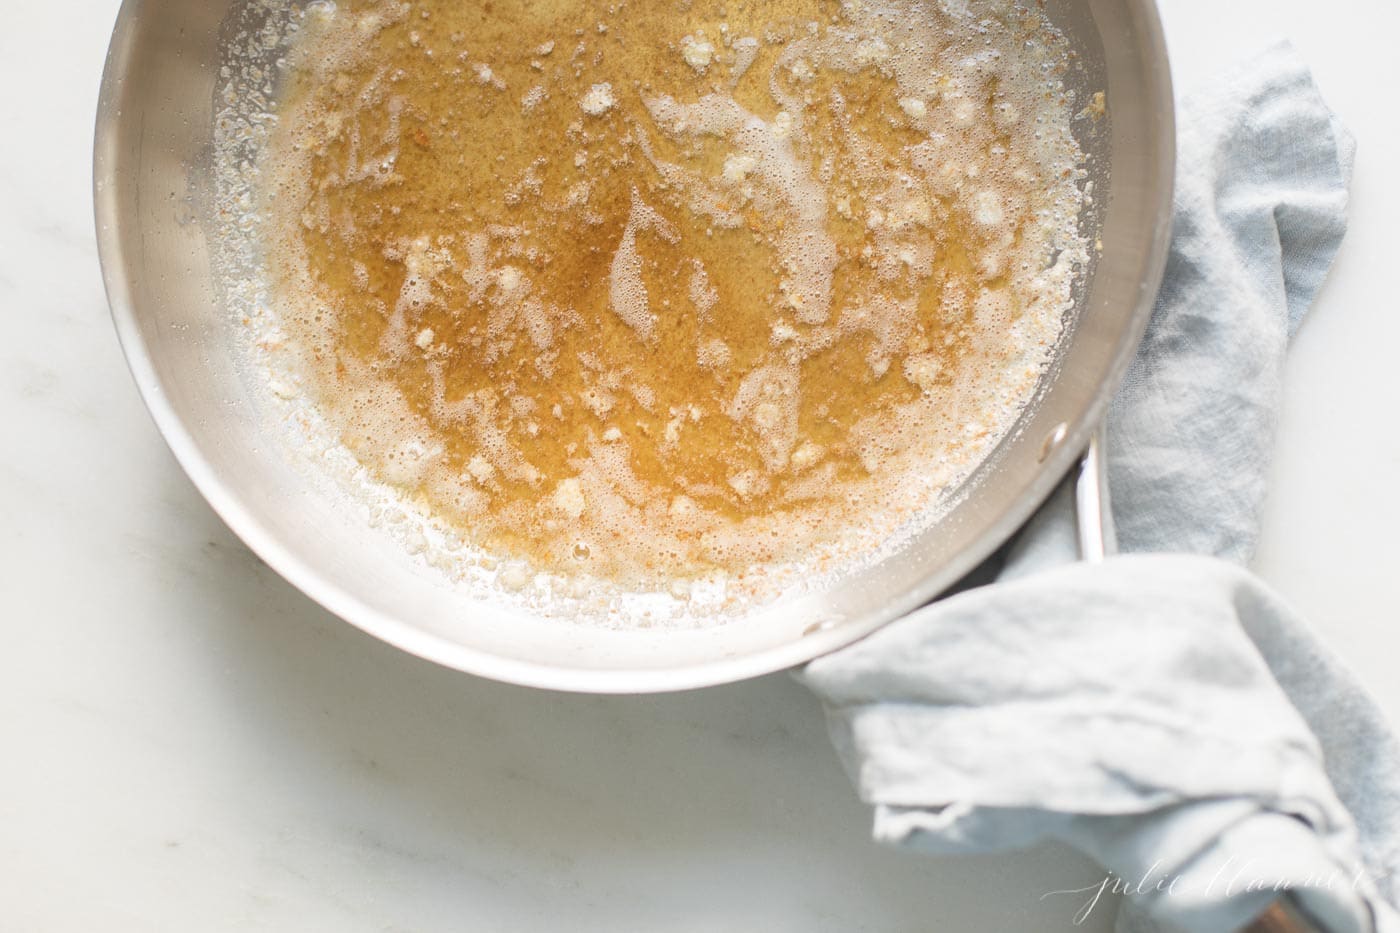
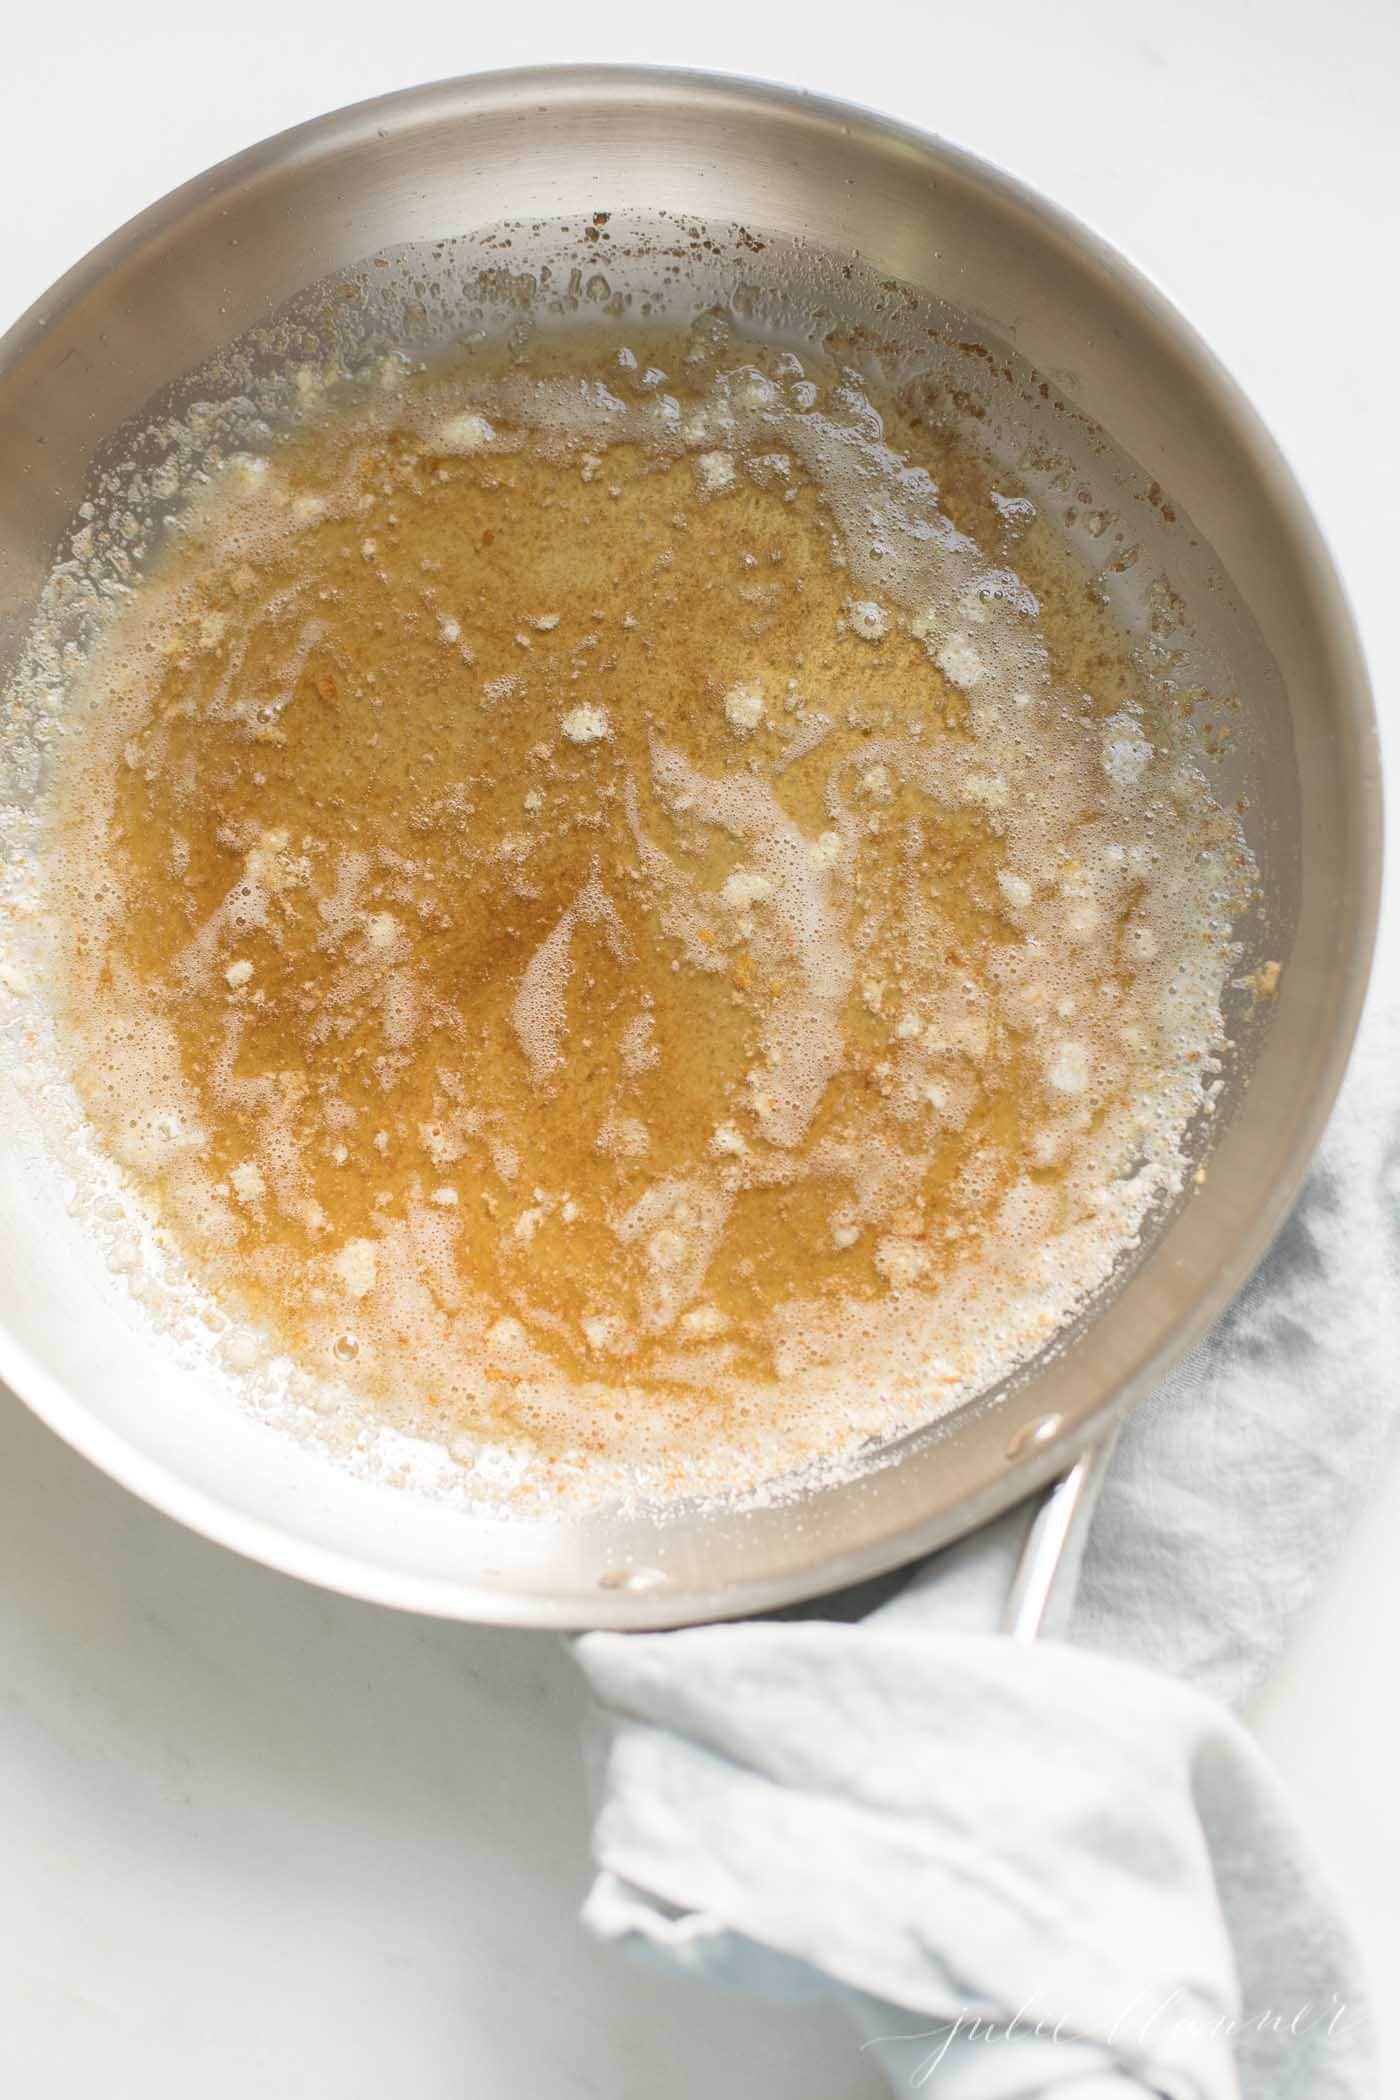
It is the result of cooking butter until the milk solids turn brown and the water evaporates, resulting in a nutty aroma and flavor.
Yes, I love butter. As is evident by so many of the recipes I’ve shared over the years! Don’t miss my posts about How to Soften Butter Quickly and How to Make Homemade Butter too!
Butter is created of just three primary things: water, fat, and protein. You’re simply eliminating that water during this process.
An understanding of butter is fundamental in your cooking and baking. Knowing how and when to use butter (whether it’s perfectly softened, browned, chilled, salted or unsalted) can improve so many things you make.
Why You’ll Love this Technique
It’s so rich in flavor and lends any dish it touches a warm, toasted nutty flavor that simply can’t be replicated.
When you take this extra step before adding to any of your recipes, you’ll be surprised at the difference in flavor. Just the simmering, aromatic act of melting your butter down is a kind of soothing, simple zen that is so much fun.
This simple technique can truly take your baked goods, pastas, etc from “meh” to my my my… so don’t miss out!
Should I Use Salted or Unsalted Butter?
Technically you should use unsalted butter, but I use and love both. We tend to like our baked goods with a decent ratio of salty to sweet in this house.
While many bakers are adamant about only baking with unsalted butter, I tend to use salted because it’s what we have on hand.
In fact, butter is the only ingredient in this technique that transforms savory dishes and baked goods!
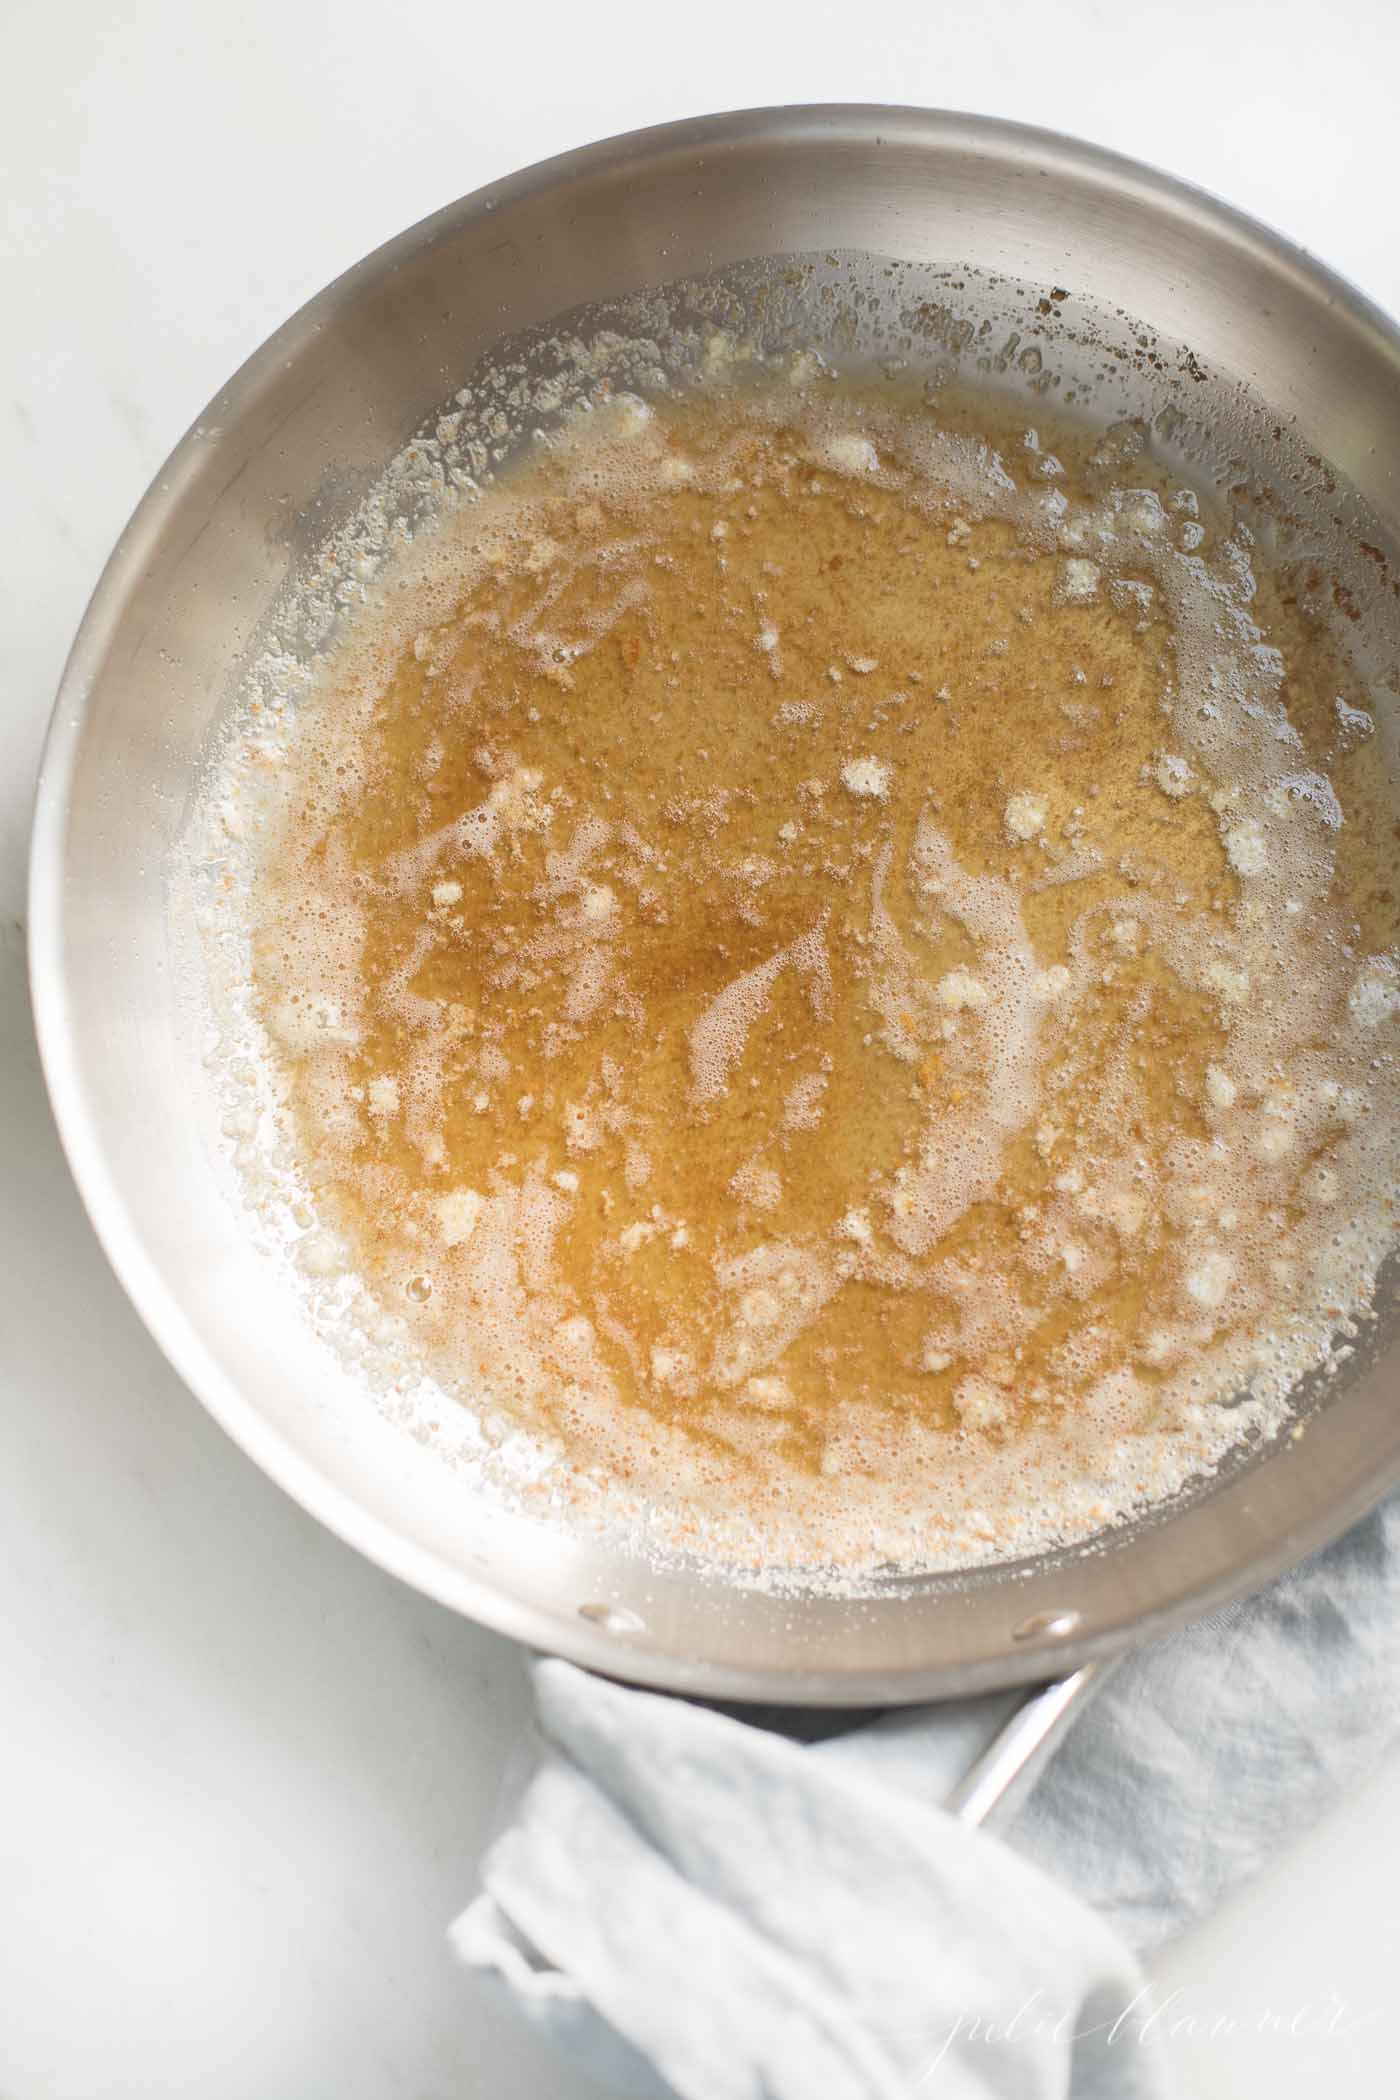
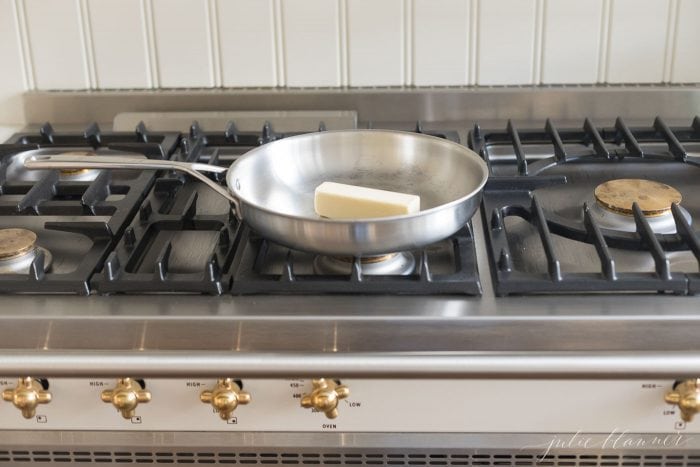
QUICK TIP: I like using a lighter colored pan when I do this. This isn’t the time for a dark cast iron pan, because you’ll lose sight of how “done” your butter is. You need to watch the color closely, and a light pan is the best way to do that!
How to Brown Butter
- In a saucepan over medium heat, melt butter.
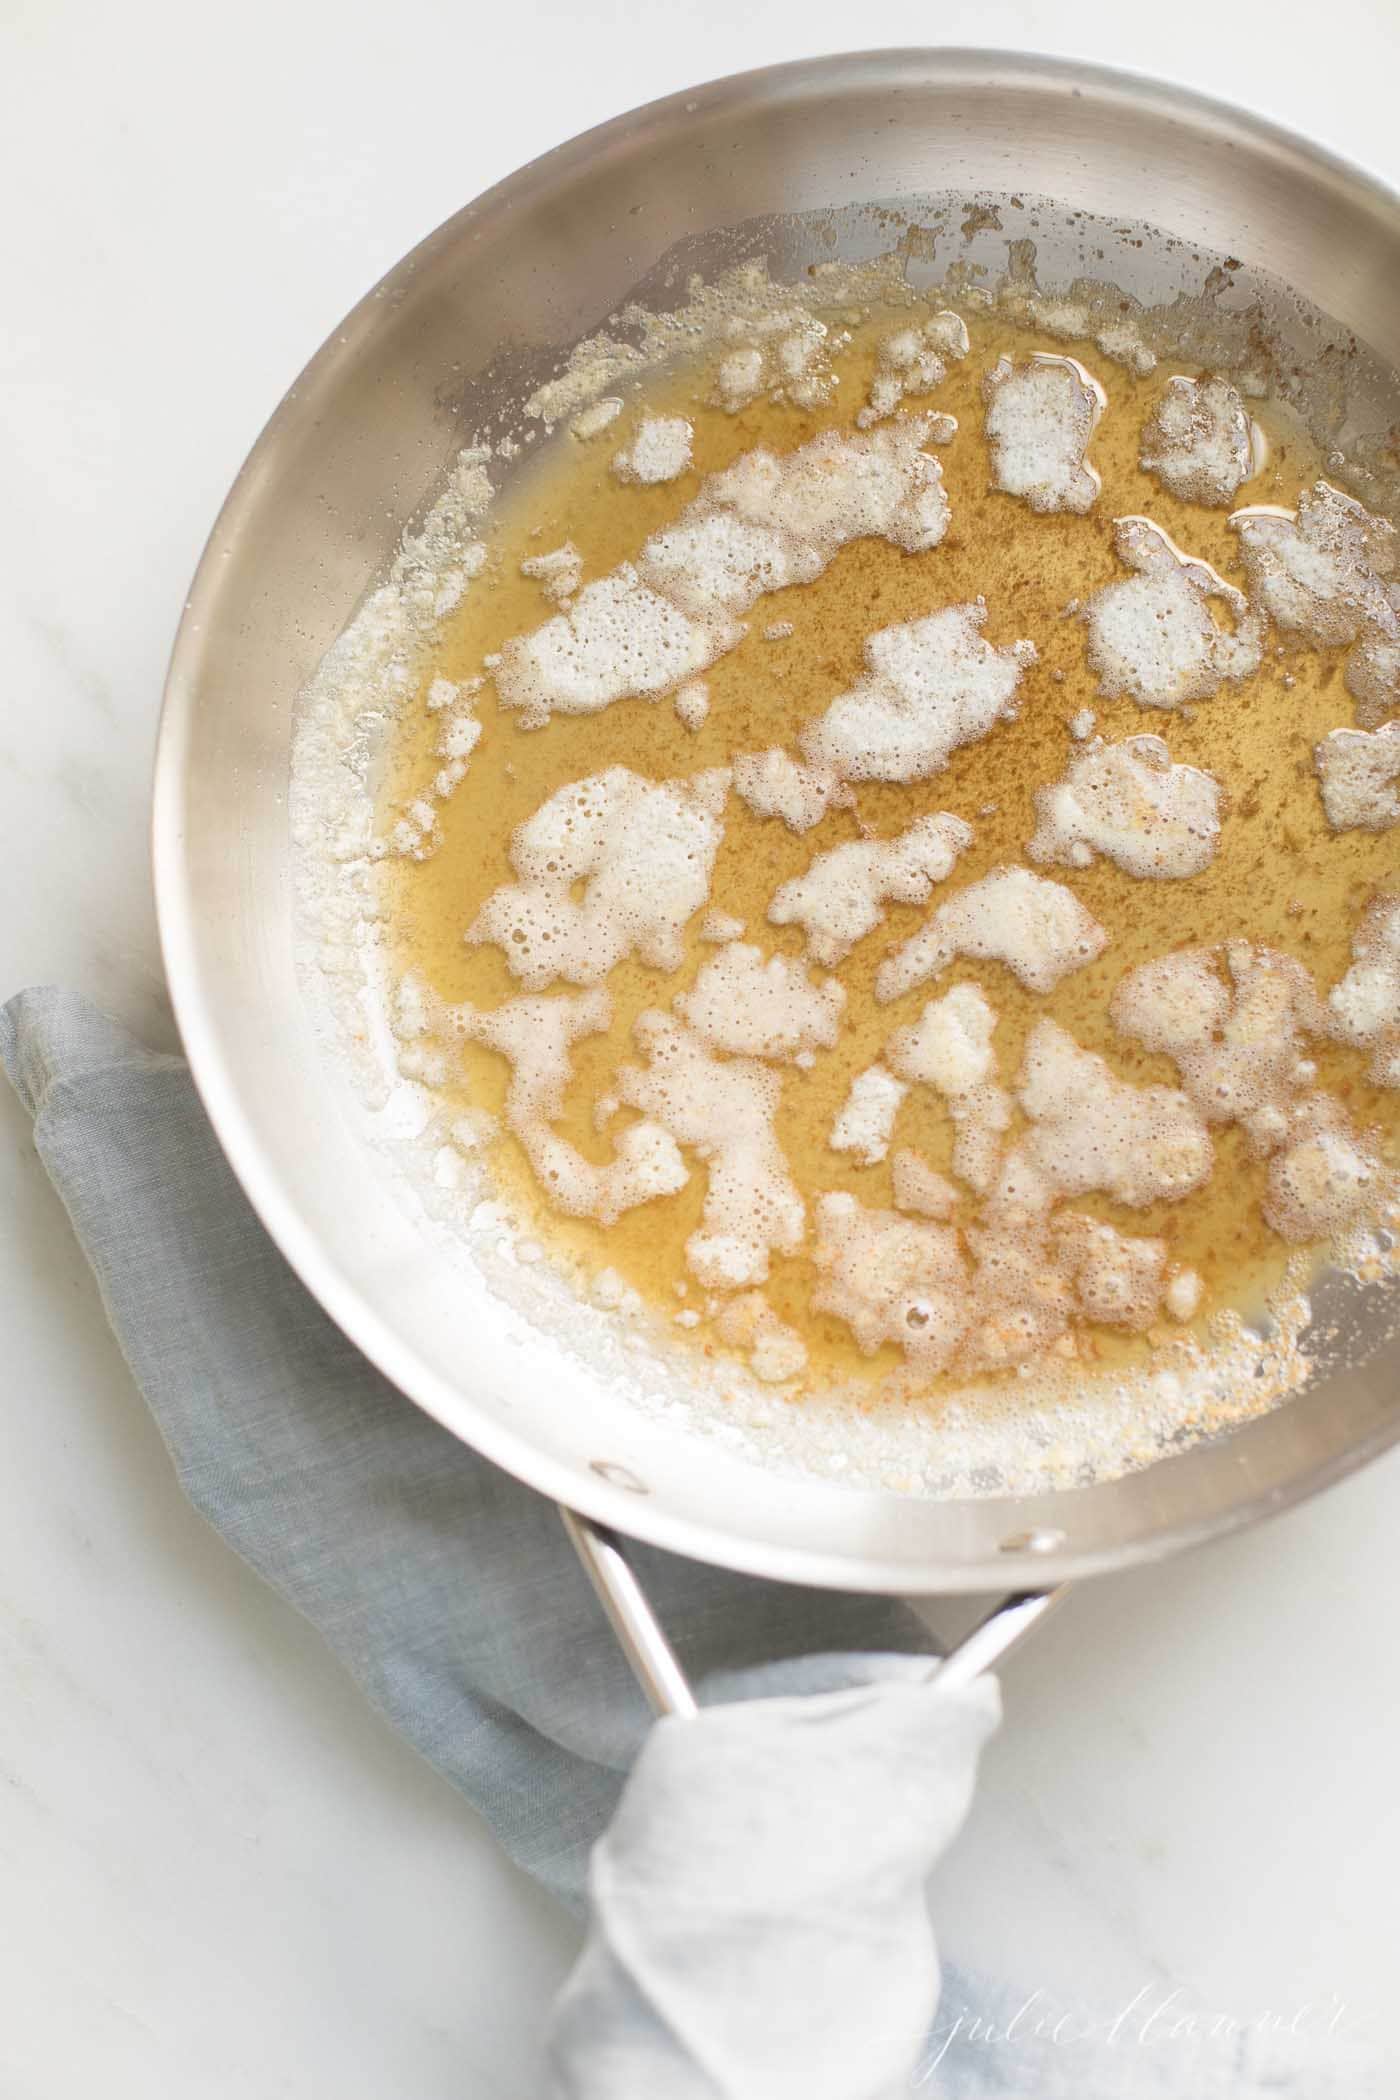
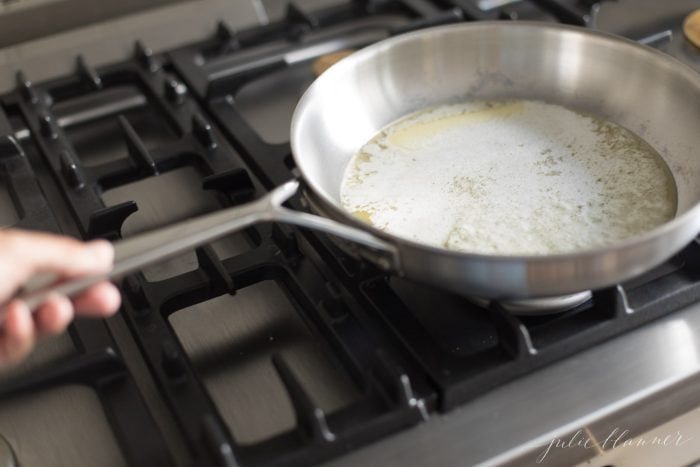
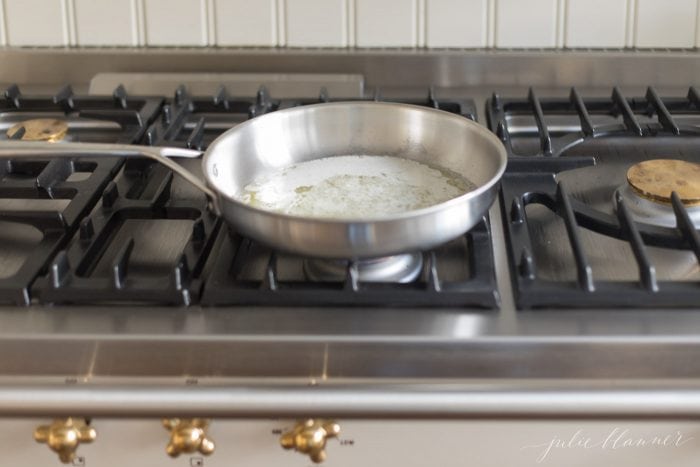
- Swirl (don’t stir) to cook evenly. As it begins to melt, it will start to foam.
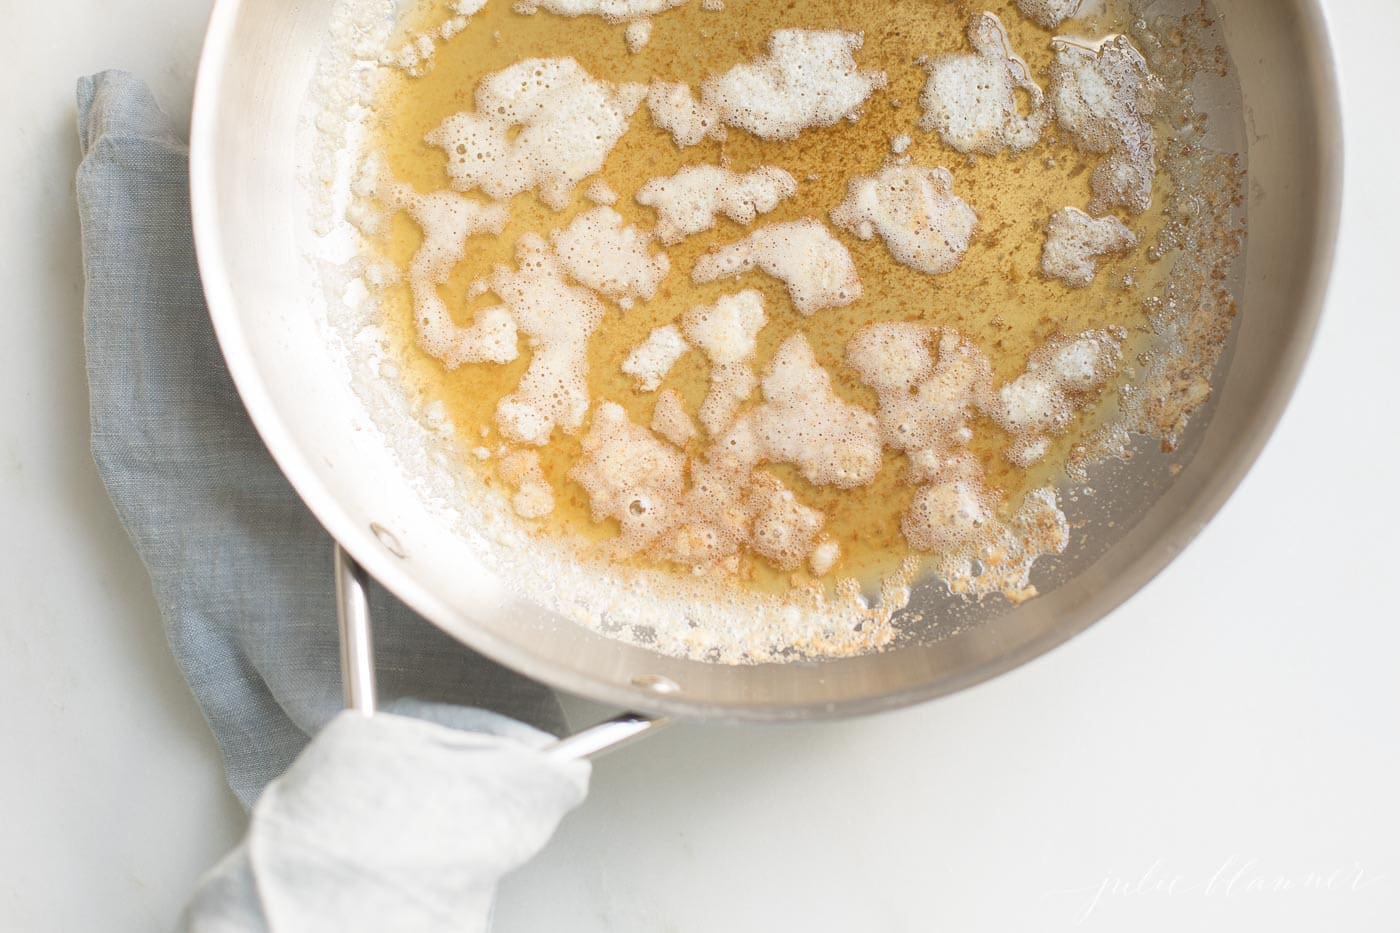
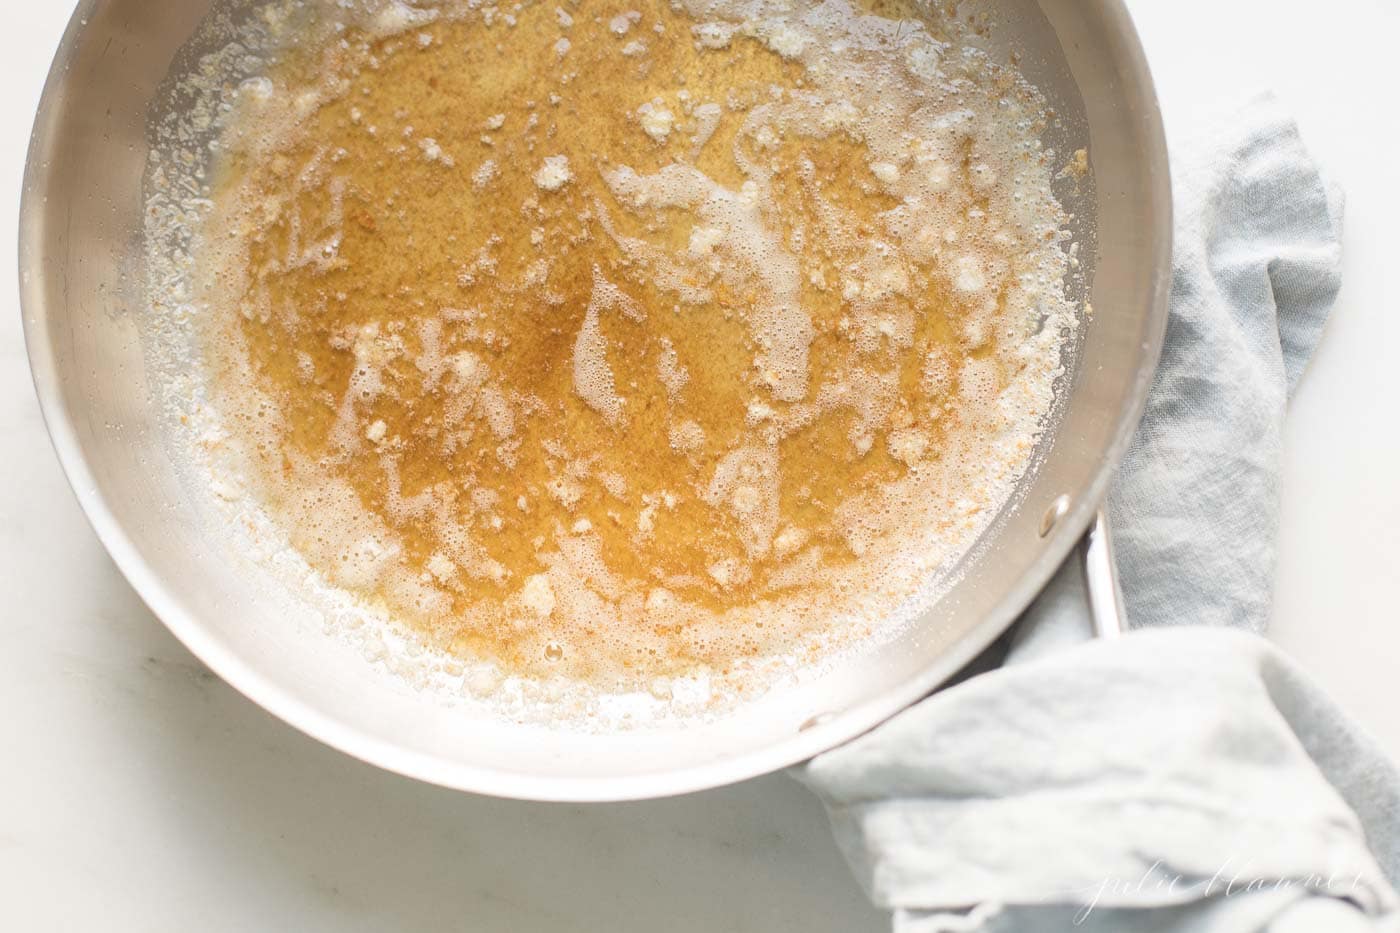
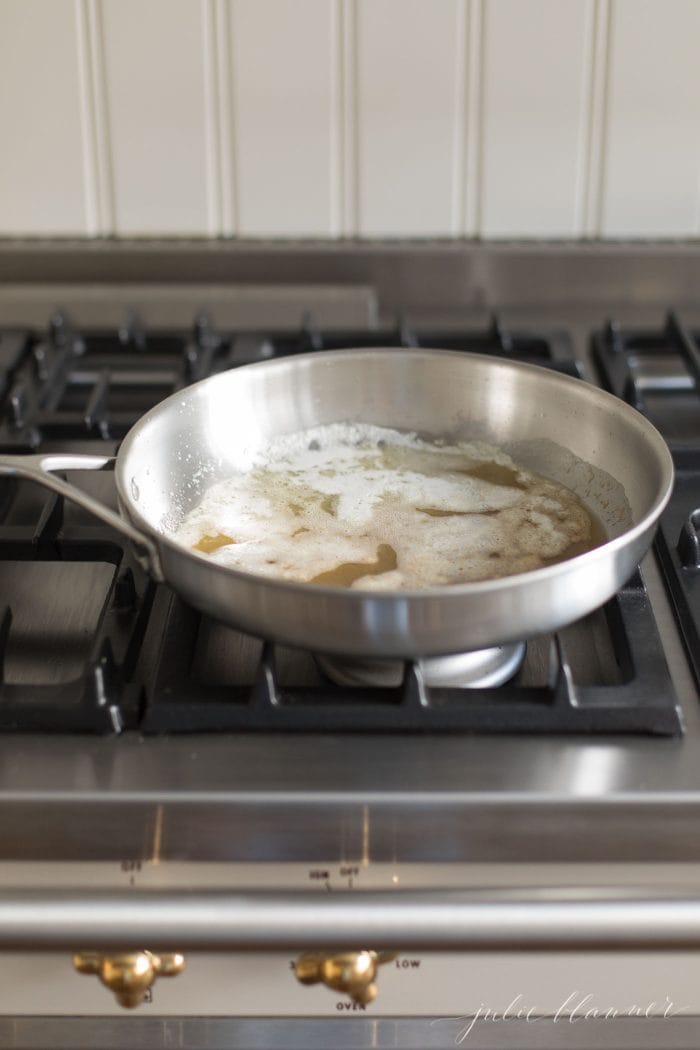
- Watch carefully as the color turns brown and you start to smell a nutty aroma. Remove from heat to prevent burning.
- I always use the sediment, but if you prefer, you can use a cheesecloth to remove sediment from cooled browned butter.
Tips
- Take your time. Rushing this process will burn your butter!
- If you wish to remove the sediment, you can use a cheesecloth to remove from cooled brown butter.
- Use a lighter colored pan so you can easily see how “done” your butter is. You need to watch the color closely, and a light pan is the best way to do that!
Frequently Asked Questions
It describes both the process and the product of eliminating water from the butter as it melts and turns the milk solids brown. The result is a more rich flavor than simple melted butter.
About five minutes! It’s so simple.
Yes, you can overcook and even burn your butter during this process. You’ll know it’s burnt because it turns into a much darker brown color, far beyond the amber, caramelized look pictures here. Luckily, it’s a slow and low technique that wins every time so if you watch carefully you won’t burn anything.
When stored cooled in an airtight container, it will keep for up to two weeks on your kitchen counter and up to three weeks in the fridge. You can store it in ice cube trays for up to three months, sealed with saran wrap to prevent absorption of scents from your freezer’s contents.
However, with so many recipes to incorporate it in, it never lasts that long in our home!
How to Store
- At Room Temperature – For up to two weeks, stored in an airtight container, it can be stored on your counter – that’s because the milk fats are cooked out so it won’t go bad.
- Refrigerate – Store in the refrigerator in an airtight container for up to three weeks but is always best when consumed fresh.
- Freeze – Store it in ice cube trays for up to three months, sealed with saran wrap to prevent absorption of scents from your freezer’s contents.
Dietary Considerations
- Gluten Free
- Vegetarian
- Vegan
- Nut Friendly
Recipes Using Brown Butter
- Gooey Brown Butter Cake
- Brown Butter Sugar Cookies
- Sweet Potato Gnocchi
- The most delicious Brown Butter Frosting
- Brown Butter Crinkle Cookies
- Brown Butter Muffin Recipe
- Oatmeal Coconut Cookies
- Crinkle Cookies
- Pinterest-famous M&M Cookies
- Brown Butter Chocolate Chip Cookies
- Brown Butter Butternut Squash
- The iconic Spaghetti with Mizithra and Browned Butter
- Pear Ravioli
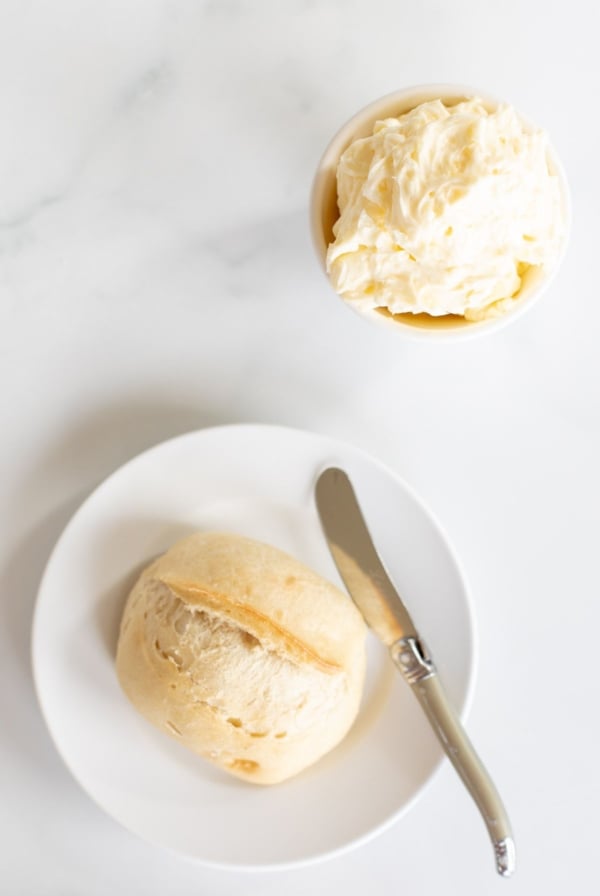
- Smothered on Dinner Rolls
- Tossed with Roasted Mushrooms, Roasted Baby Carrots, Crisy Brussel Sprouts, Italian Vegetables, Oven Roasted Sweet Potatoes
- Toss with Egg Noodles
Hungry for more? Get my BEST Baking Secrets delivered directly to your inbox and connect on instagram facebook and pinterest!
More Butter Inspiration
Brown Butter
Ingredients
- 1/2 cup butter you can use any amount
Instructions
- In a saucepan over medium heat, melt butter.
- Swirl (don't stir) to cook evenly. As it begins to melt, it will start to foam. Watch carefully as the color turns brown and you start to smell a nutty aroma {3-5 minutes}.
- Remove from heat to prevent burning.
Julie’s Tips
Substitutions
- Technically you should use unsalted butter, but I use and love both.
To Store
- At Room Temperature – When stored cooled in an airtight container, brown butter will keep for up to 2 weeks.
- Refrigerated – Up to 3 weeks in an airtight container.
- Freeze – You can store in ice cube trays for up to 3 months, sealed with seran wrap to prevent absorption of scents from your freezer’s contents.
Tips
- If you wish to remove the sediment, you can use a cheese cloth to remove from cooled brown butter.
- Use a lighter colored pan so you can easily see how “done” your butter is. You need to watch the color closely, and a light pan is the best way to do that!
Video
Estimated nutrition information is provided as a courtesy and is not guaranteed.



Looks so perfect! Definitely a must try!
Not only does this brown butter look AMAZING, but your stove it to die for! Love it!
I love the idea of freezing this in cube form to add to any dishes with only doing the work once! So smart!
This is a great basic recipe! I love how you can use it in so many different recipes!
I think this is the same way to make ghee. Is it any different?
Yes! Per Will Cook for Friends “To make clarified butter or ghee, the butter is heated to evaporate the water and separate the milk solids, leaving a behind a rich, golden liquid with sublime flavor. Browned butter is made the same way, only it is cooked until the milk solids caramelize, resulting in a deeper flavor.”