It’s so much easier than you might think! Learn how to make homemade butter with this easy recipe and step by step tutorial. It only takes one ingredient – yes, just one!
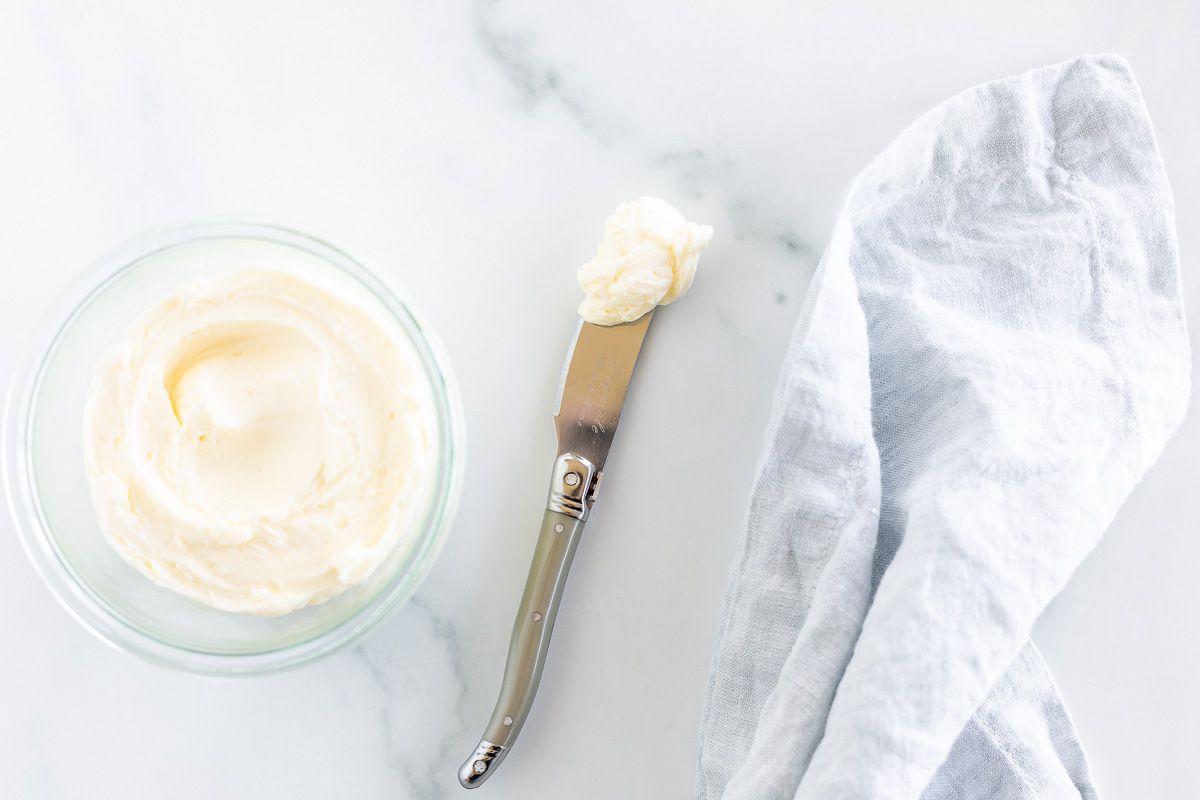
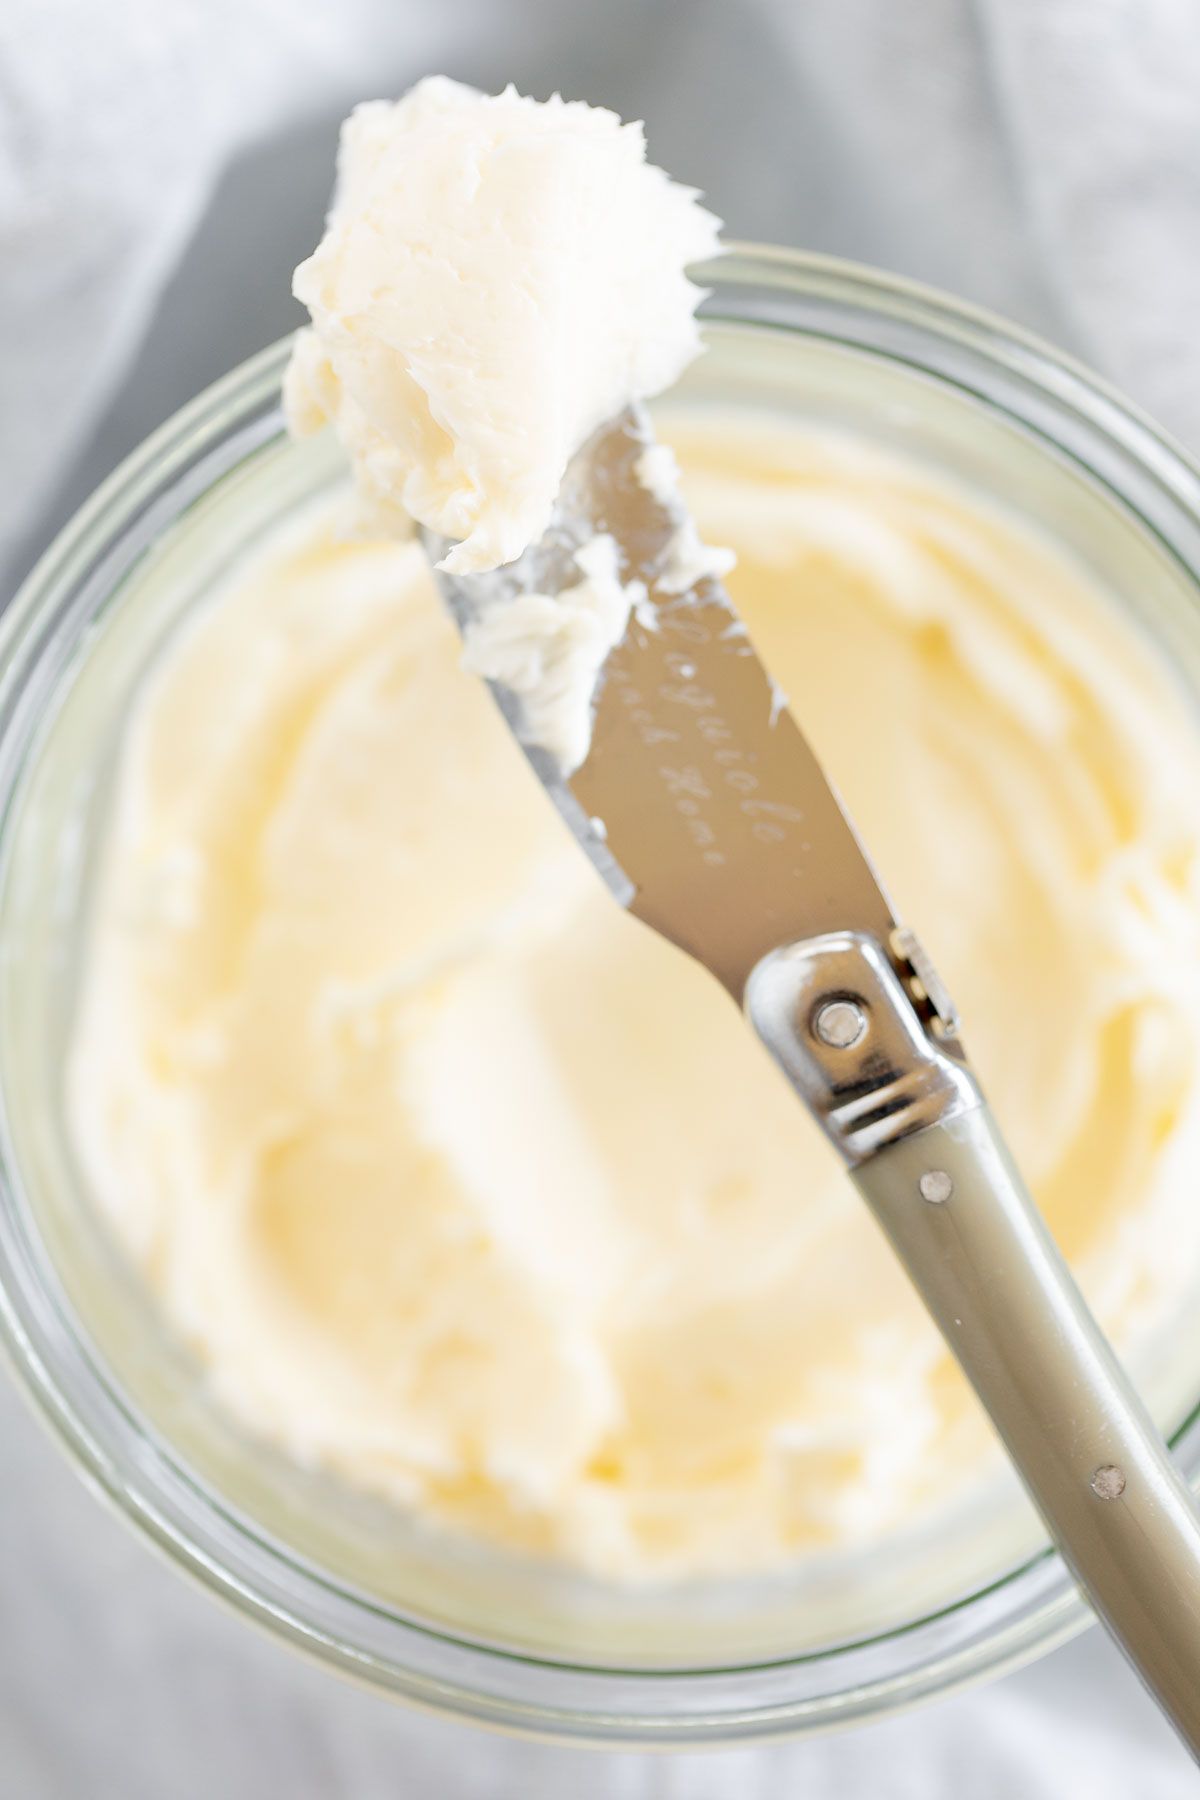
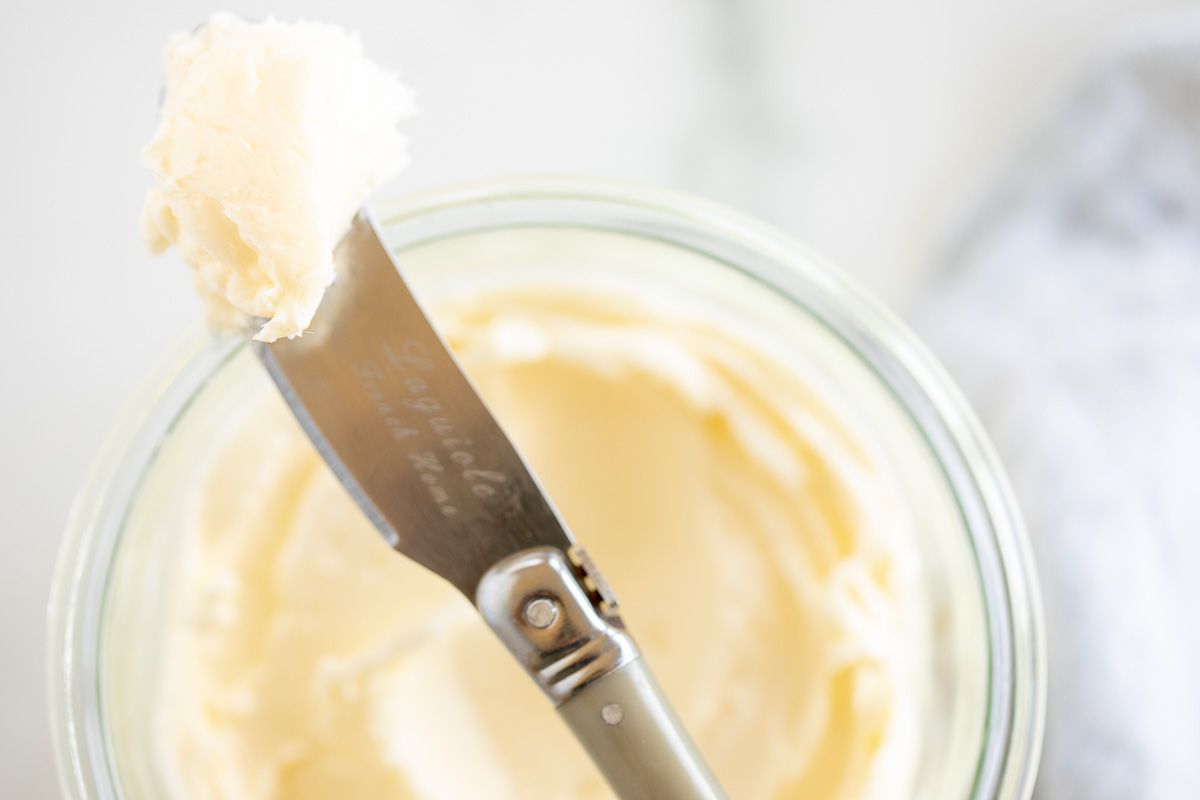
Homemade butter is the best thing since sliced bread – and there are a million ways to use it. It’s decadent, creamy, and as salty or sweet as you’d like.
I’m going to show you how to make it, how to customize it, and just how simple the process really is!
If you’re anything like me, the thought of homemade butter brings up images of slow churning butter in colonial times. Luckily, that’s no longer the case.
While you can still make butter by churning, you can also make it with my favorite kitchen tool – your stand mixer! It’s so easy to make that you’ll find a million ways to use it.
The incredible thing about butter is that it’s perfect in every setting. Swirl it across your my famous apple bread, or make a savory butter board in lieu of a charcuterie board for your next gathering.
No matter how you serve it, you won’t believe how fresh and fabulous it tastes, and how simple it is to make. Let’s get started!
Why You’ll Love this Homemade Butter
- Just ONE Ingredient
- Wholesome
- Creamy and Decadent
- Great for Butter Boards
- Fun to Make with Kids!
Butter is one of my favorite ingredients and we’ve produced some great guides so you can learn more!
Check out How to Soften Butter Quickly, How to Brown Butter, and even a guide to How to Make Buttermilk.
Ingredients and Substitutions
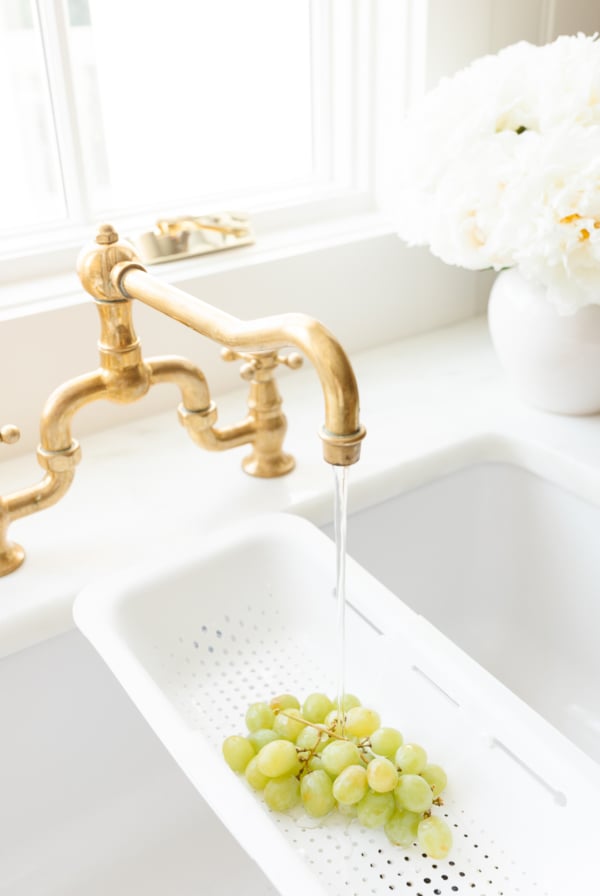
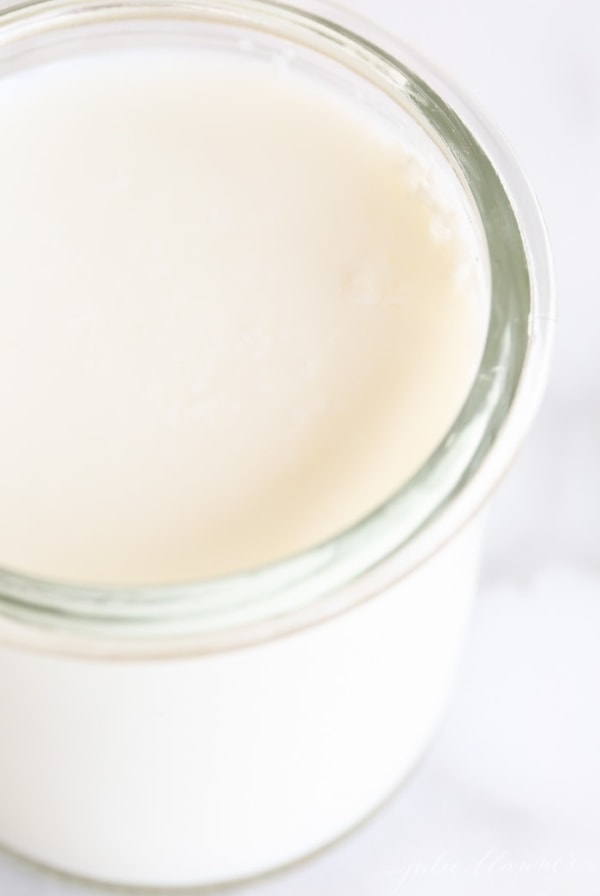
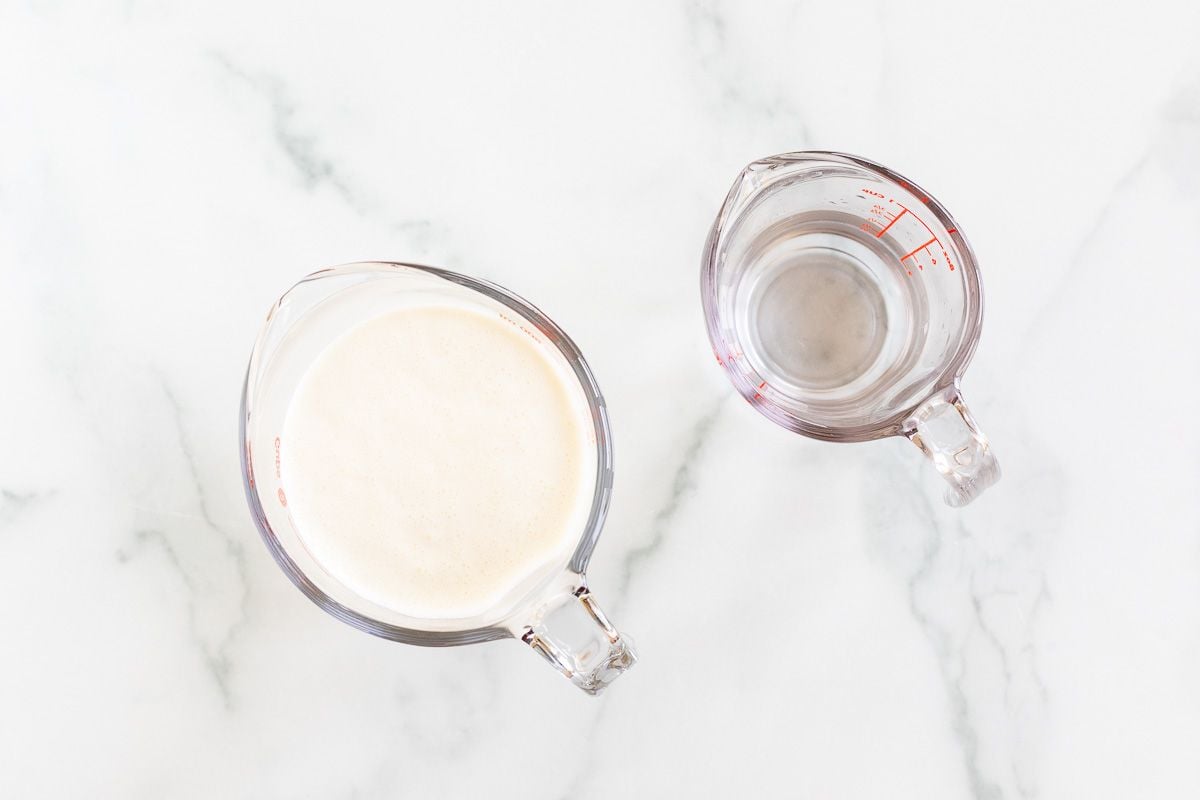
- Heavy Whipping Cream – This is produced from the highest fat content of fresh milk. Heavy cream will rise to the top of fresh milk after it’s left standing. With approximately 40% fat, it’s a very high fat content compared to other cream varieties.
- Ice Cold Water – This is to help remove the buttermilk off the butter
Variations
- Add 1/4 teaspoon of salt to create salted butter.
- Honey Butter
- Add Garlic for Garlic Butter
- Make Chocolate Butter
- Strawberry Butter
- Orange Butter
- Steak Butter
Tools to Use
- Mixer (You can also mix by hand with a whisk or handheld mixer.)
- Fine Mesh Strainer (or cheesecloth)
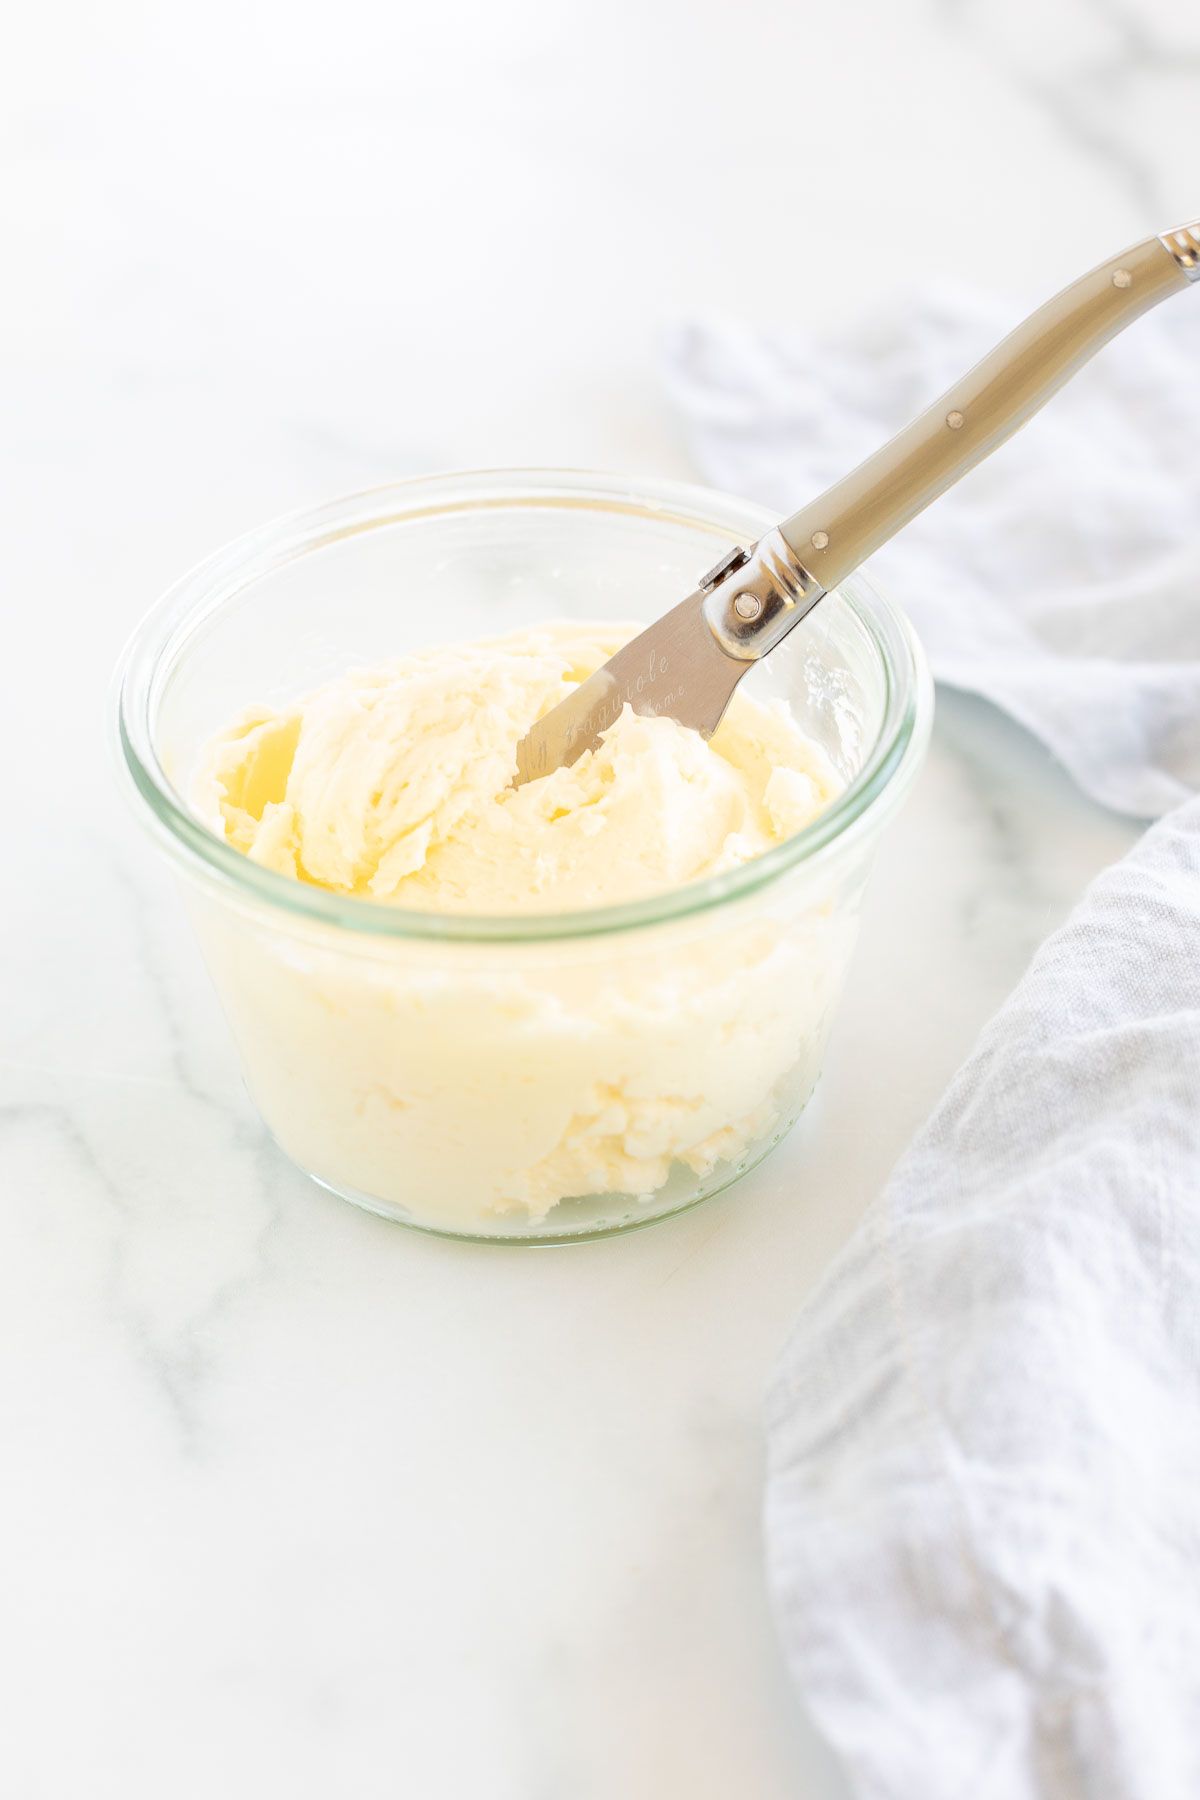
How to Make Homemade Butter
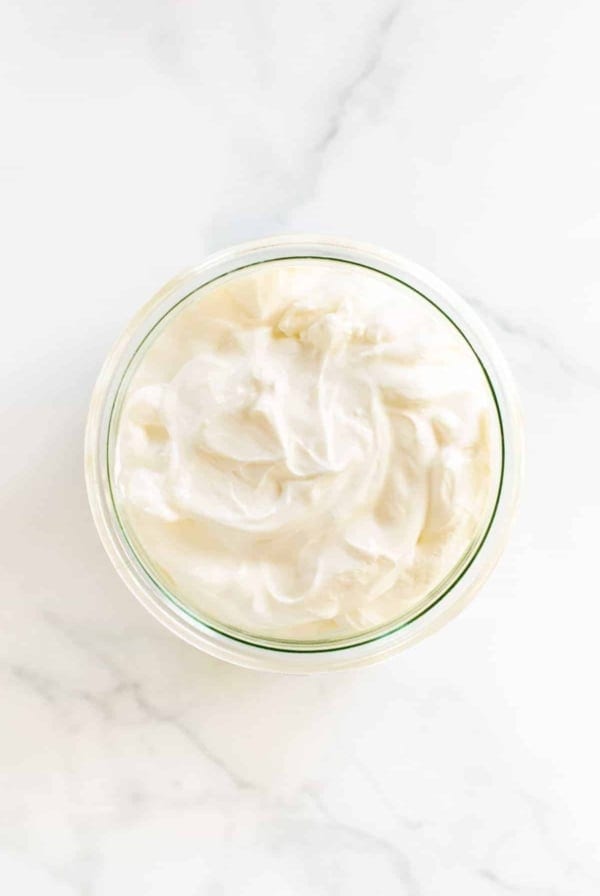
- In a large mixing bowl or stand mixer, add heavy cream. Using a whisk attachment, beat cream on low, gradually increasing speed to highest setting as the mixture thickens. Continue mixing as directed, carefully watching as the fat solids separate from liquids and butter fat begins to form.
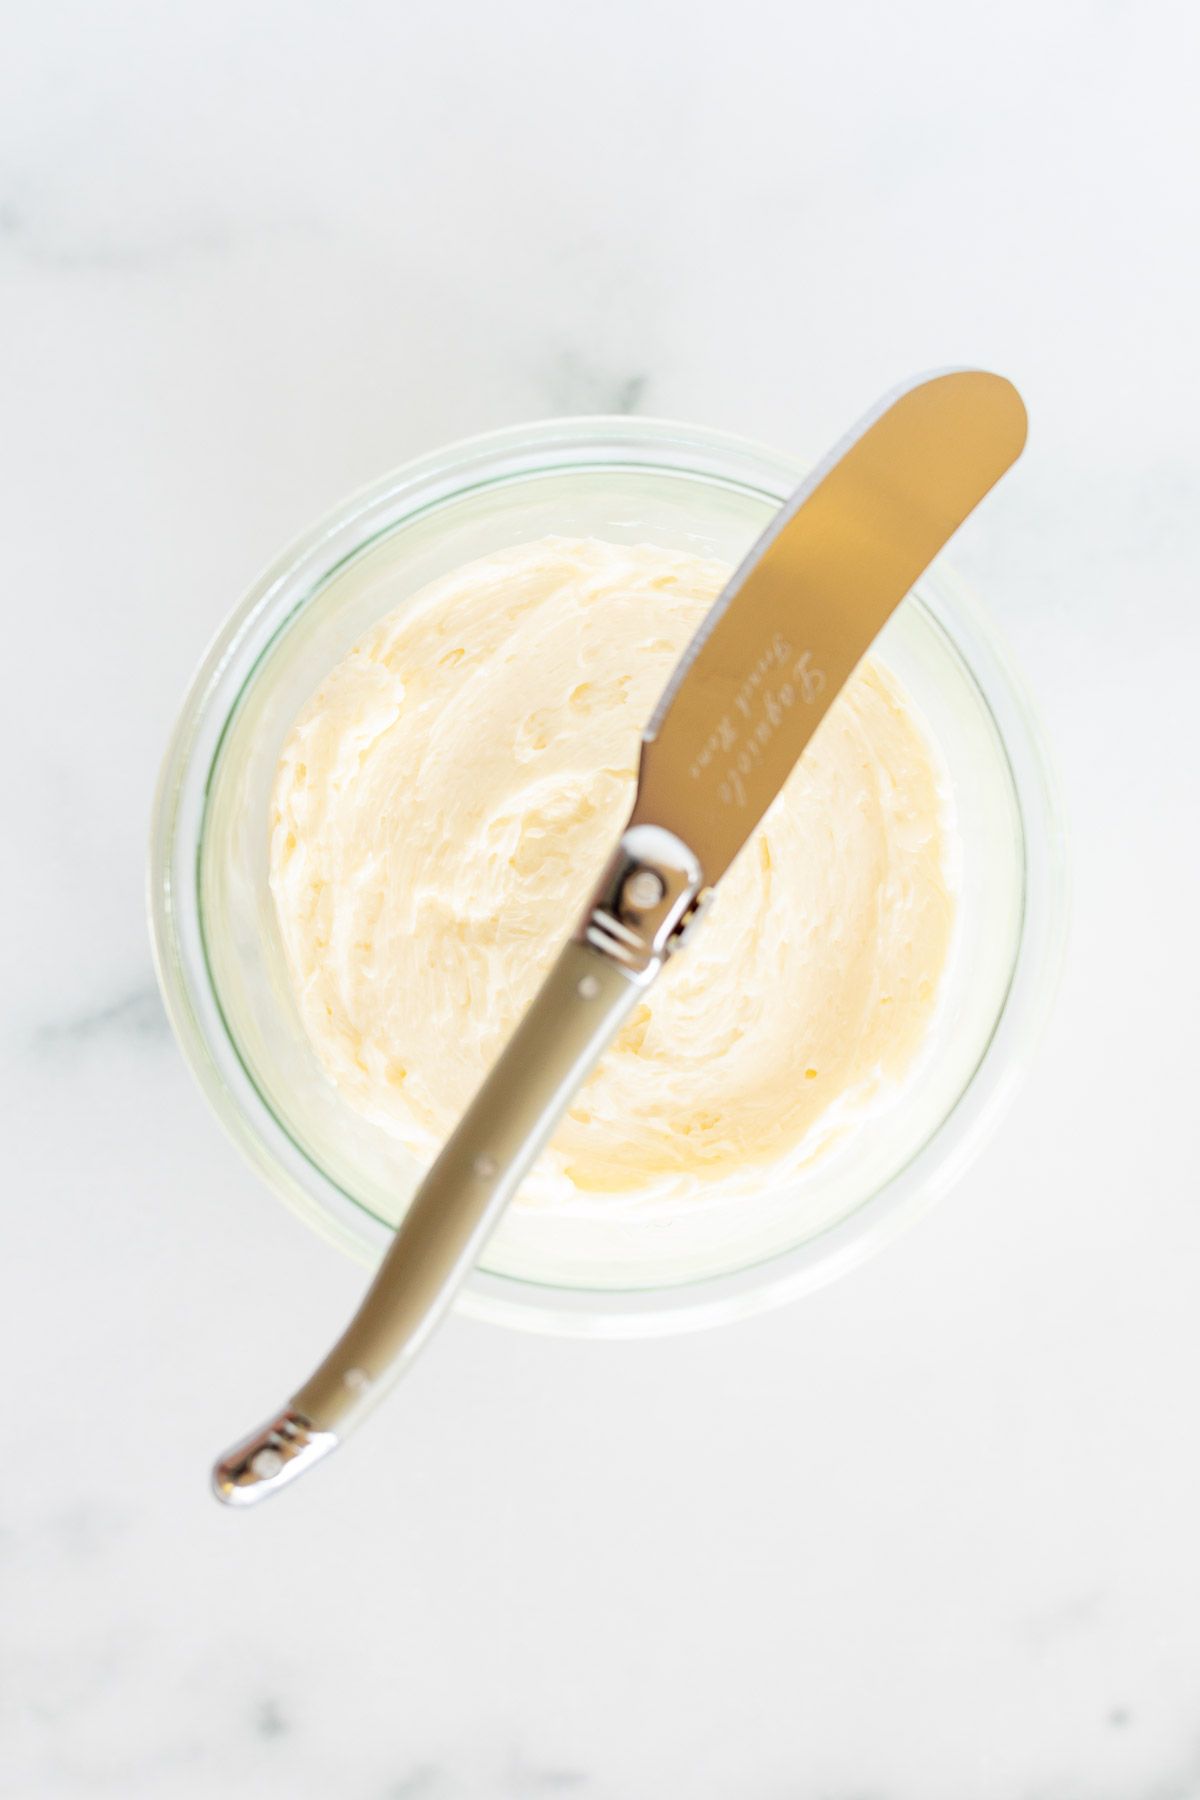
- Using a fine mesh strainer (or cheesecloth) over a medium mixing bowl, pour mixture to remove buttermilk.
- Add fat solids back to mixing bowl and beat on high to remove any excess buttermilk. Strain. Pour ice cold water over butter to remove remaining buttermilk. Discard remaining liquid.

Tips
- Need help with baking conversions? Check out my Essential Measurement Conversion Chart or use the slider in the recipe card.
- Press down to help drain buttermilk out of the butter solids, before you rinse with the icy cold water.
- While baking is traditionally done with unsalted butter, I tend to love a little balance of salty and sweet. We often have salted butter on hand, and use that for baking. Just be careful with additional salt so you don’t go overboard!
- You can use homemade butter in your baking, but keep in mind that commercially produced butter is highly regulated for moisture content. Your homemade butter might have a different water content, which could affect baking results.
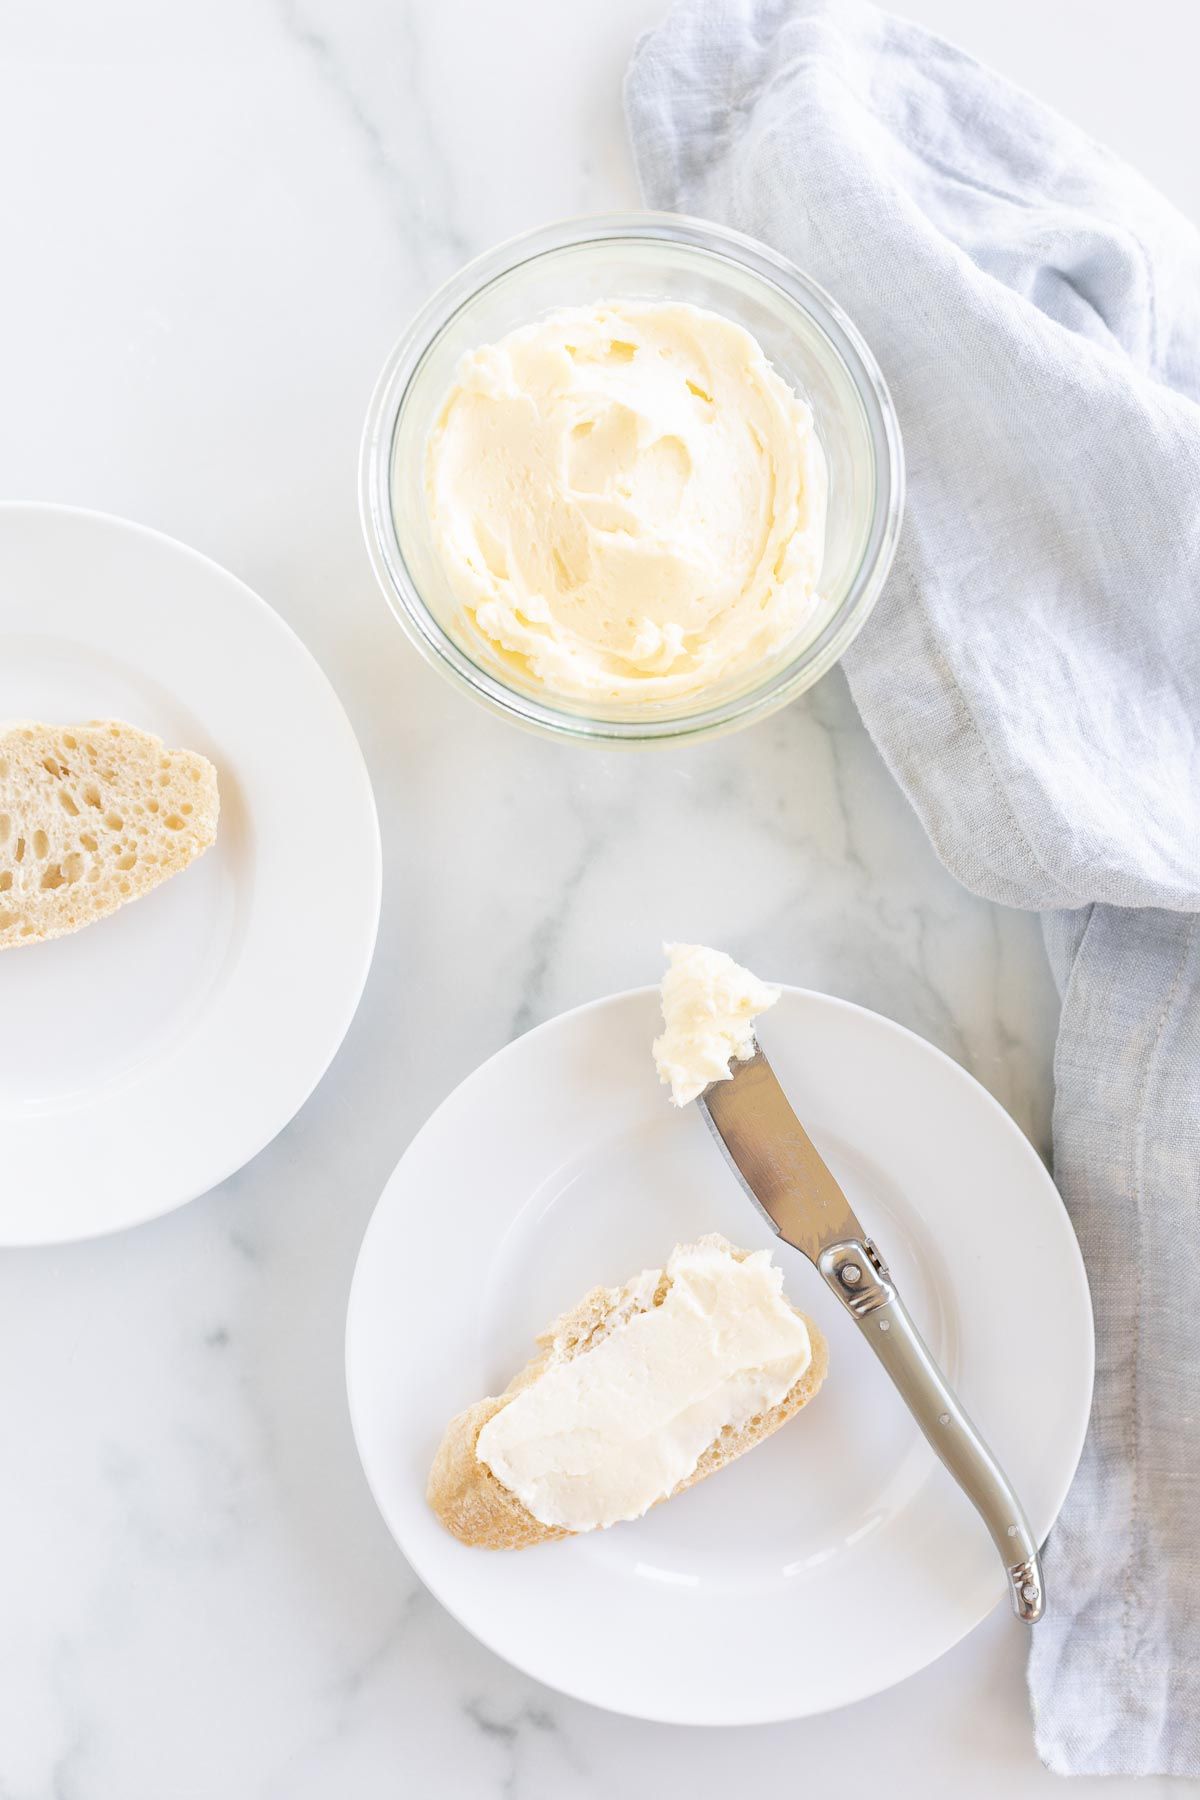
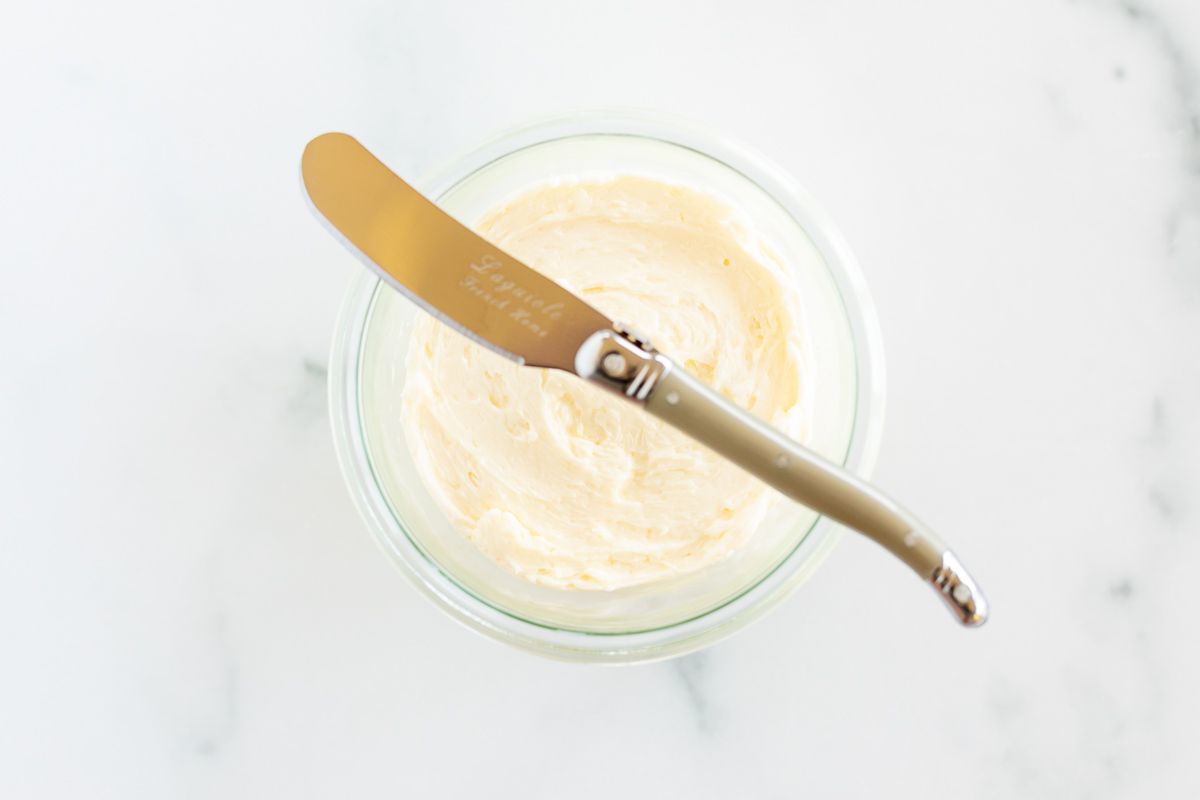
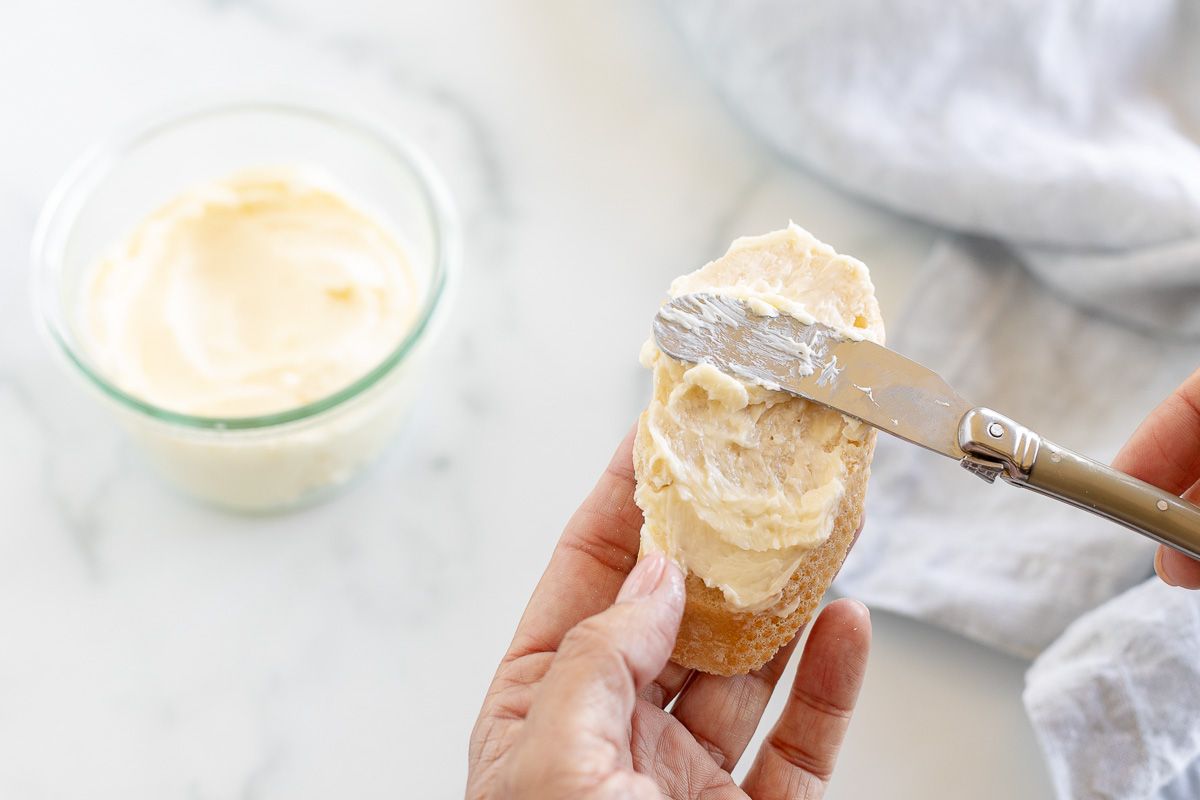
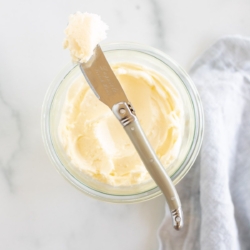
- This homemade butter really shines as a spread. Slather it onto your favorite breads and you’ll really see the difference come through.
Frequently Asked Questions
In the US, there is no difference. This is the same product. Heavy cream must contain at least 36% fat.
No. While half-and-half contains anywhere from 10% to 18% milk fat, heavy whipping cream contains up to 40%. Half and half will not work as a substitute for heavy cream to make homemade butter.
How to Store
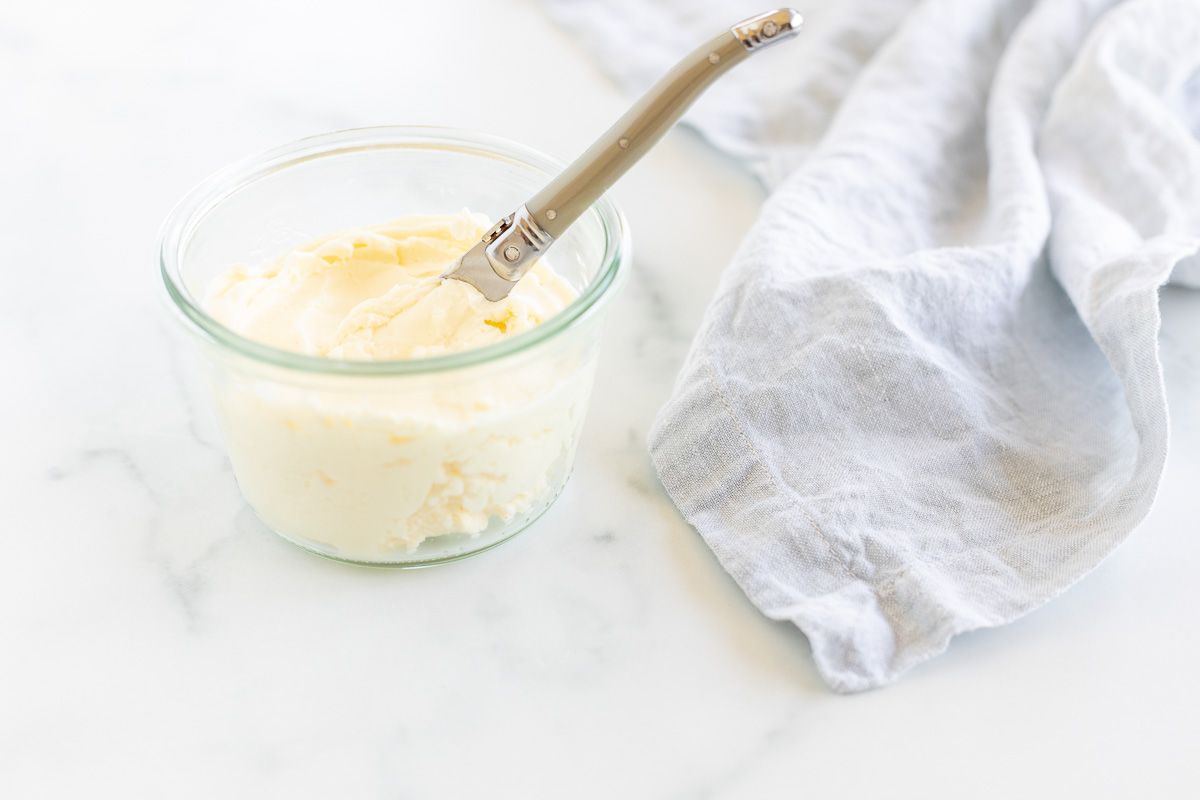
- Room Temperature – Homemade butter will keep for up to 3-4 days at room temperature, and about 7-10 days refrigerated. Homemade butter is best eaten fresh, at room temperature, within the first two days. It has a much shorter shelf life than commercially produced butter.
- Refrigerator – This homemade butter will last up to 10 days refrigerated in an airtight container.
Quick tip: Rinse as much buttermilk as possible off the fresh butter, and it will stay fresh for longer.
Dietary Considerations
- Gluten Free
- Nut Free
- Vegetarian
More Guides and Substitutions
How to Make Homemade Butter
Ingredients
- 1 pint heavy whipping cream (fat content 36-40%) (2 cups or 16 ounces)
- ½ cup ice cold water
- ¼ teaspoon salt optional, for salted butter
Instructions
- In a large mixing bowl or stand mixer, add heavy cream. Using a whisk attachment beat cream on low/1, gradually increasing speed to 10/highest speed as the mixture thickens. Whipped cream will form. Continue mixing approximately 4-5 minutes as the fat solids separate from liquids and butter fat begins to form.
- Using a fine mesh strainer (or cheesecloth) over a medium mixing bowl, pour mixture to remove buttermilk.
- Add fat solids back to mixing bowl and beat on 10 (highest speed) to remove any excess buttermilk. Strain. Pour ice cold water over butter to remove remaining buttermilk. Discard remaining water/buttermilk.
- If adding salt or other ingredients for a compound, mix it into the butter as a final step, after it's been drained and rinsed.
Julie’s Tips
How to Store
- Room Temperature – Homemade butter will keep for up to 3-4 days at room temperature, and about 7-10 days refrigerated. Homemade butter is best eaten fresh, at room temperature, within the first two days. It has a much shorter shelf life than commercially produced butter.
- Refrigerator – This homemade butter will last up to 10 days refrigerated in an airtight container.
Tips
- Press down to help drain buttermilk out of the butter solids, before you rinse with the icy cold water.
- The more buttermilk you can drain off the butter solids, the longer it will stay fresh.
- You can use homemade butter in your baking, but keep in mind that commercially produced butter is highly regulated for moisture content. Your homemade butter might have a different water content, which could affect baking results.
- This homemade butter really shines as a spread. Slather it onto your favorite breads and you’ll really see the difference.
Estimated nutrition information is provided as a courtesy and is not guaranteed.