This year, our holiday home is filled with subtle touches of traditional Christmas decor. With an elegant, vintage-inspired touch, our traditional Christmas decorations have added a warm and cozy feel to our entire home!
You’ll find accents like fragrant greenery, antiqued brass bells and stars, and even dried orange garlands. These are traditional Christmas decorating ideas that anyone can accomplish.
Step inside our holiday home! It’s always a pleasure to share our ideas and inspiration with you.
For our 2021 holiday decor, we were inspired by a sense of tradition. When we found this charming wooden Advent calendar earlier in the season, we knew we could build from that look to create a traditional style for our whole home.
There’s just something about an element of holiday tradition that speaks to the kid in all of us. We love our yearly Christmas outings, from Silver Dollar City at Christmas, to ice skating and more in our St. Louis adventures.
We wanted to bring that nostalgia into our home this year, so we worked on some vintage inspired traditional Christmas decor that we all love!
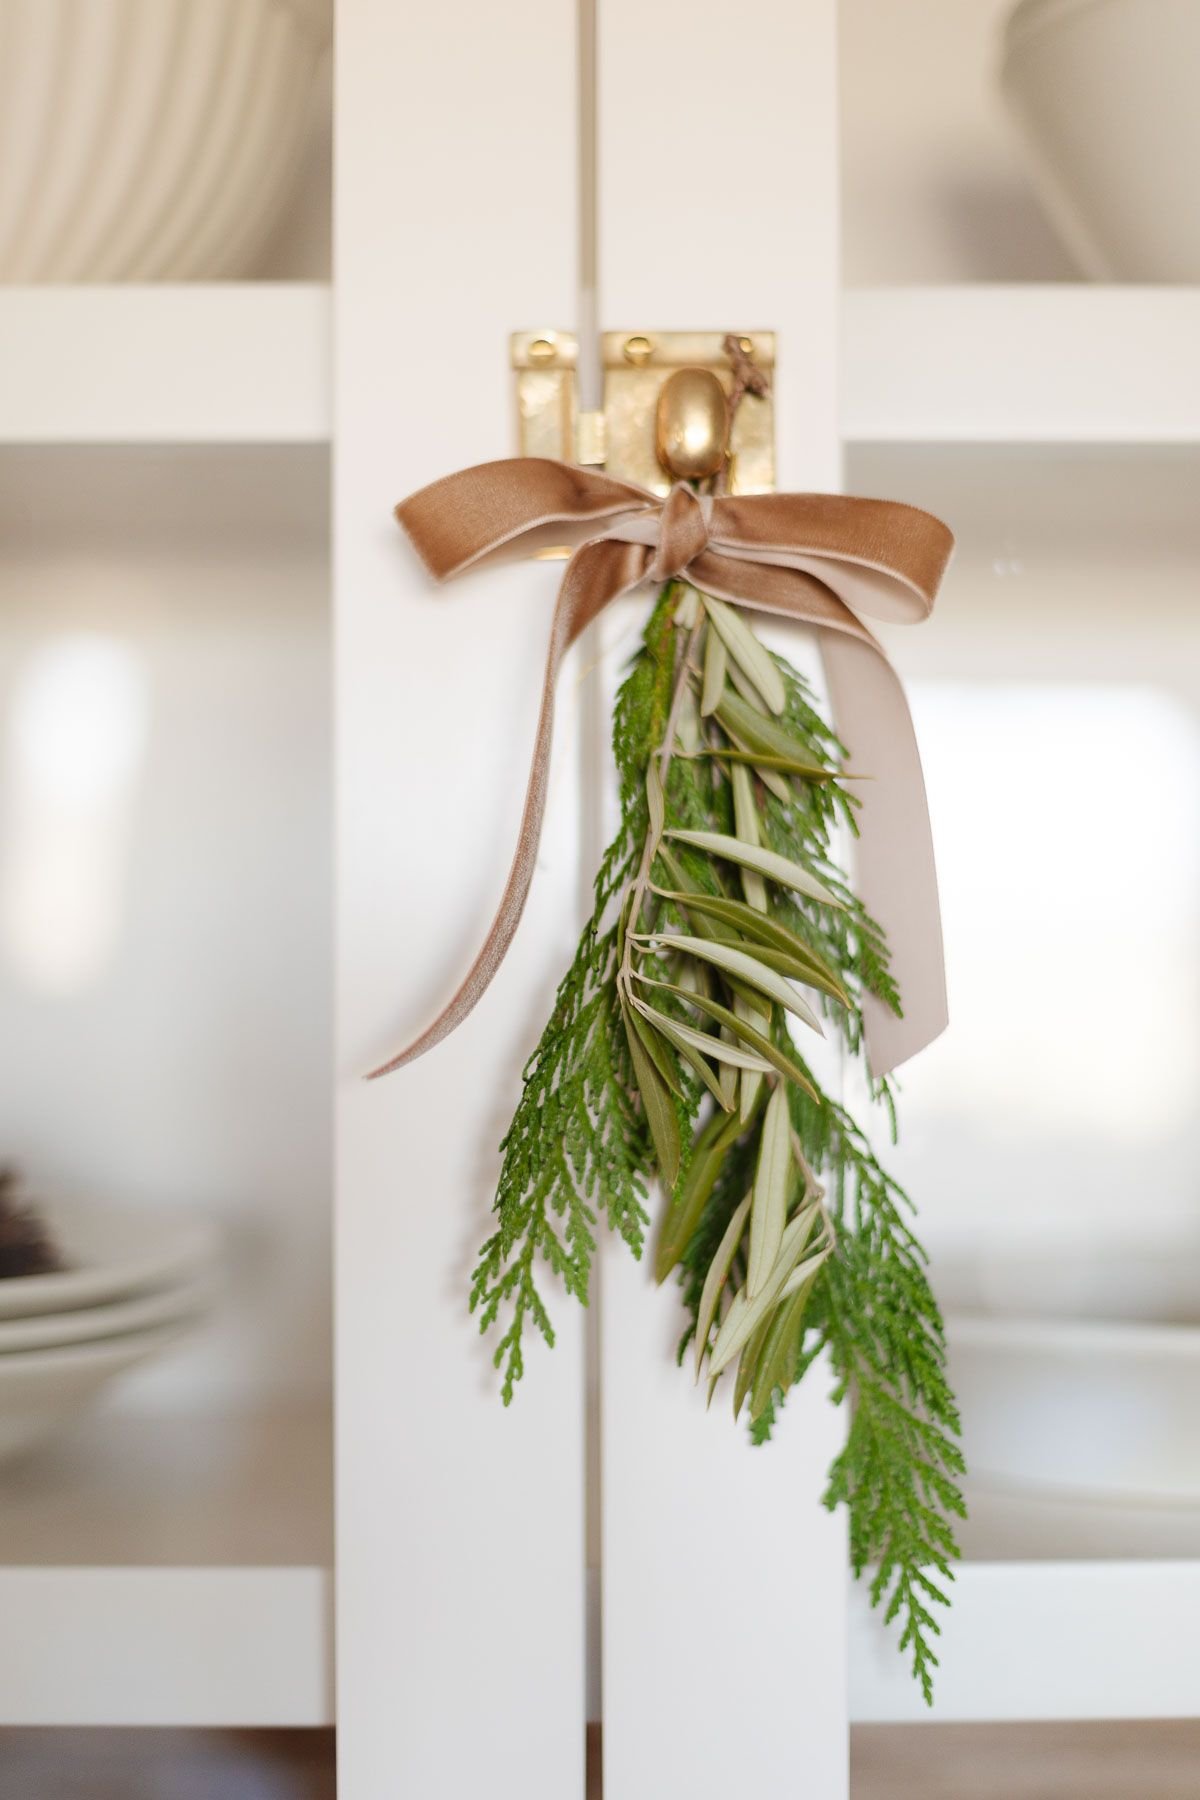
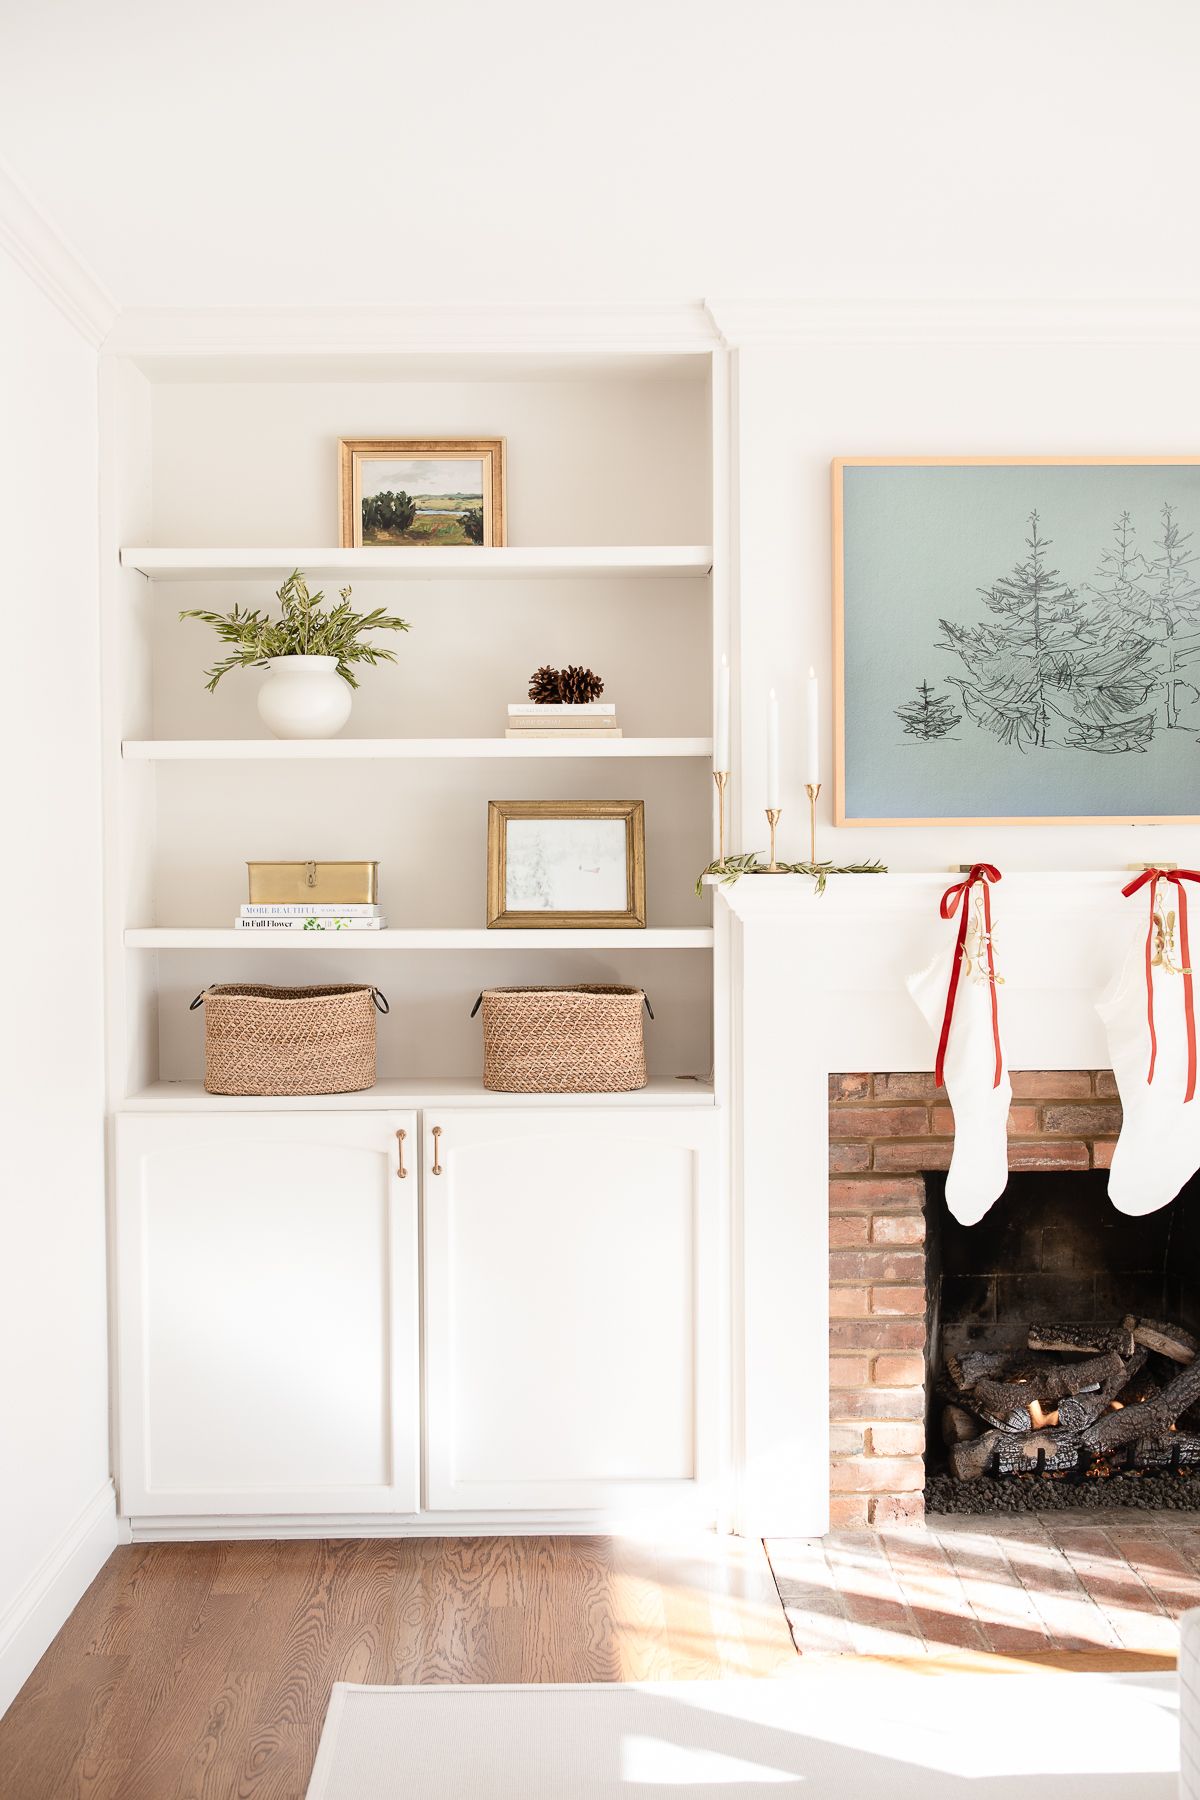
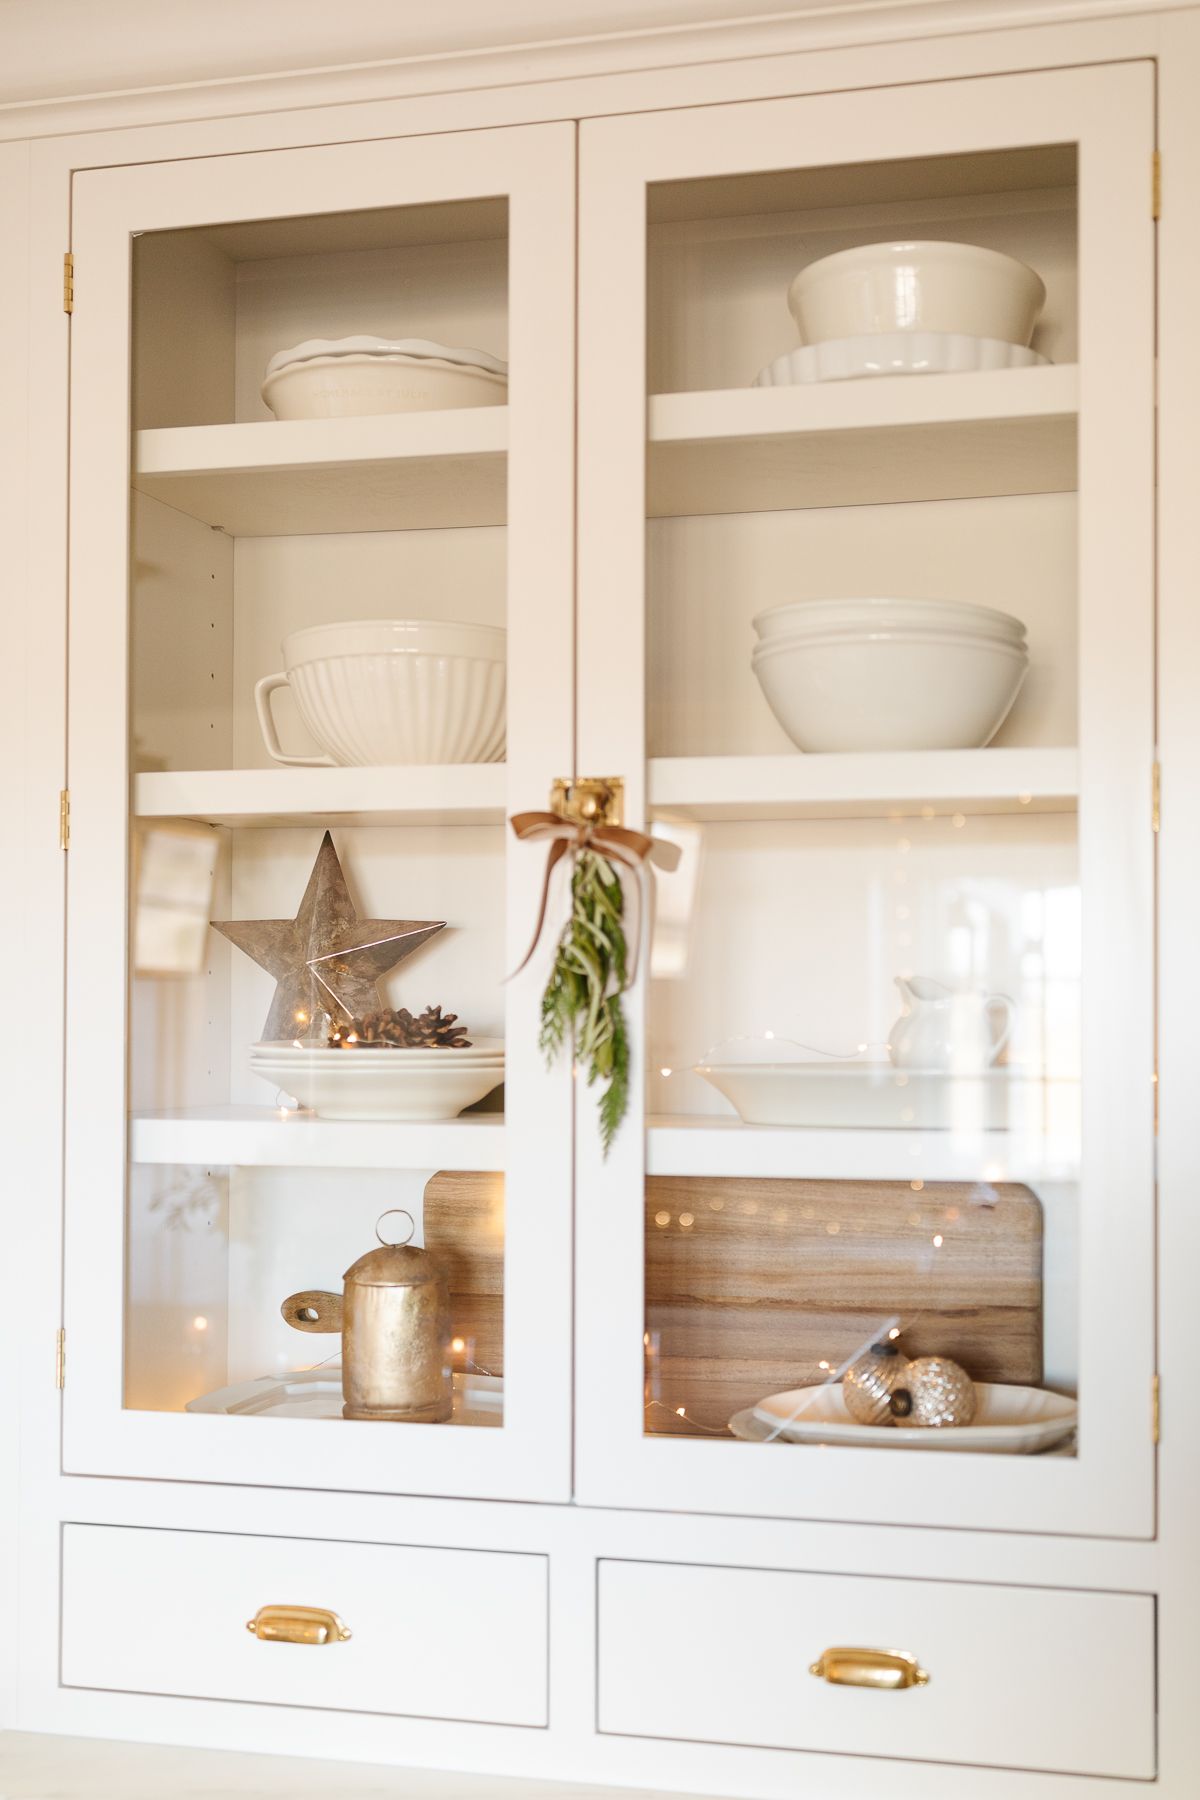
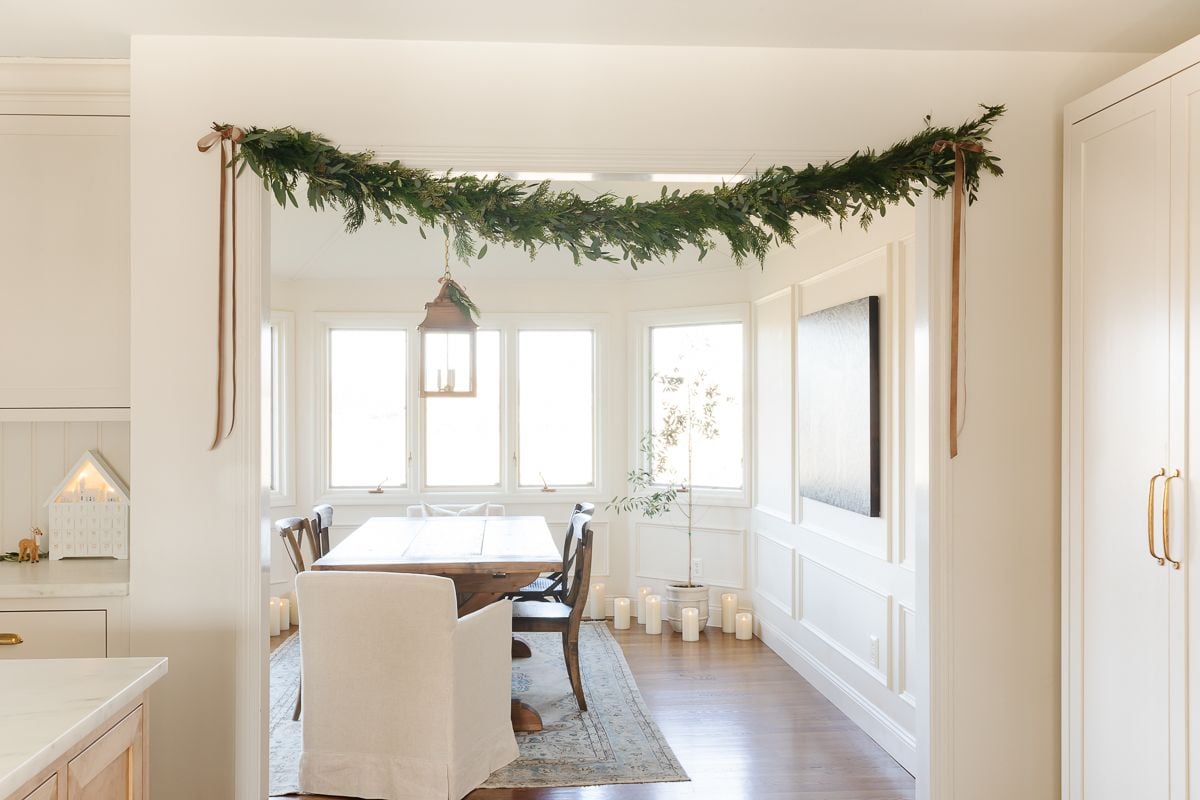
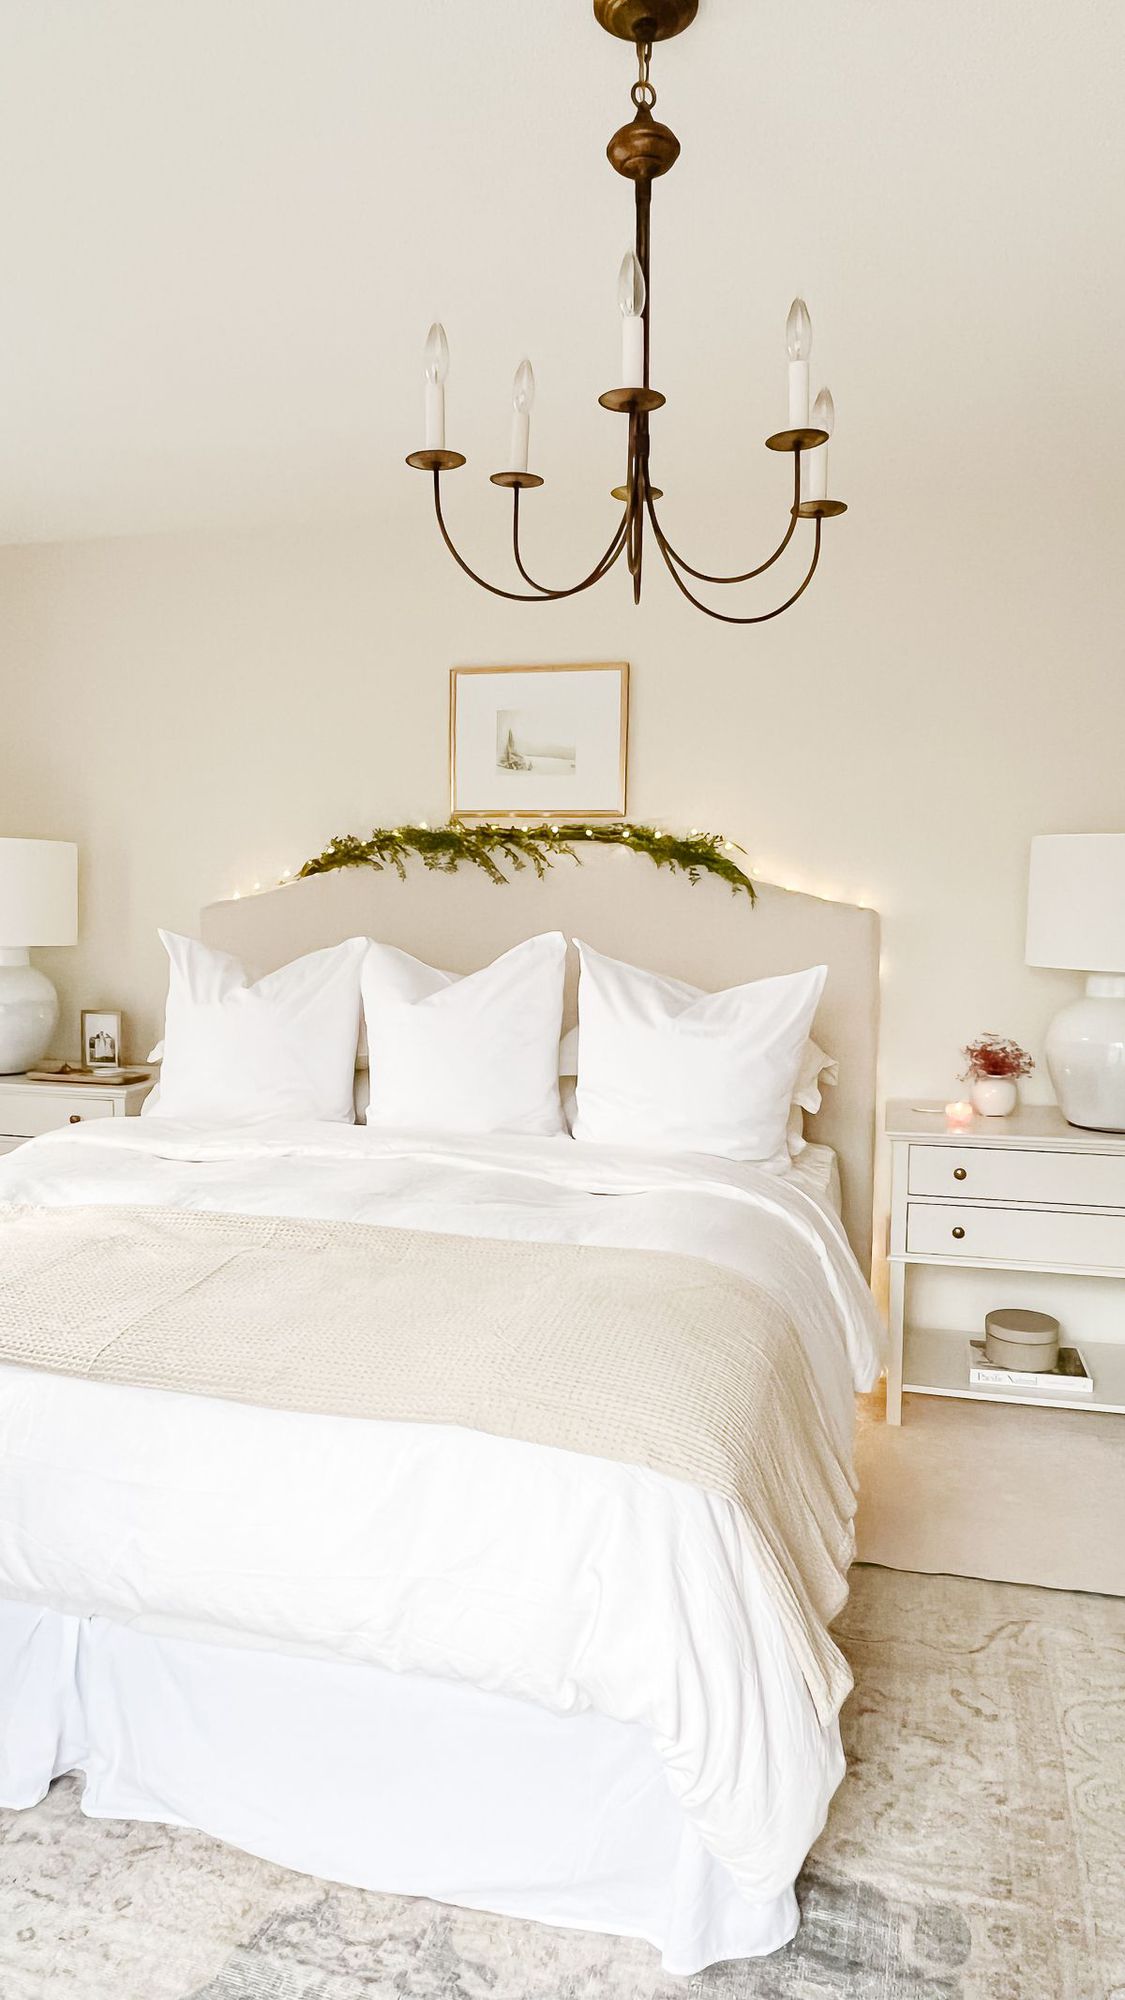
We’ve added charm with these antique-inspired brass bells, and gold stars abound. Velvet ribbons and lush greenery add a sense of instant luxury, and twinkling lights add sparkle and charm.
This is a photo-heavy post, with sources listed at the end. Thanks for joining us this year!
Traditional Christmas Decorations
I love to do a mix of a little bit of glam with a little bit of rustic each year. While we love a minimalist Christmas style, we keep our home so simple throughout the year that it’s easy to make a big impact with just a few additions.
From our primary bedroom to our stair garland, these traditional Christmas decorations are something anyone can accomplish!
Hopefully, these traditional Christmas decorating ideas inspire your holidays this year, too. The tree hasn’t even gone up yet, but we’ll get there – I promise!
Traditional Christmas Decorating Ideas
Focus on a few elements to tie everything together. This year, those elements were traditional and vintage-inspired. Consider any of these ideas!
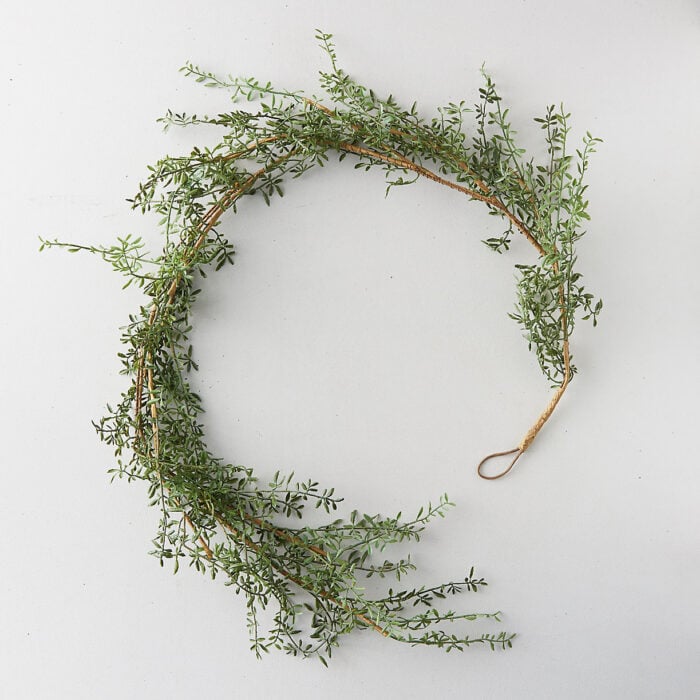
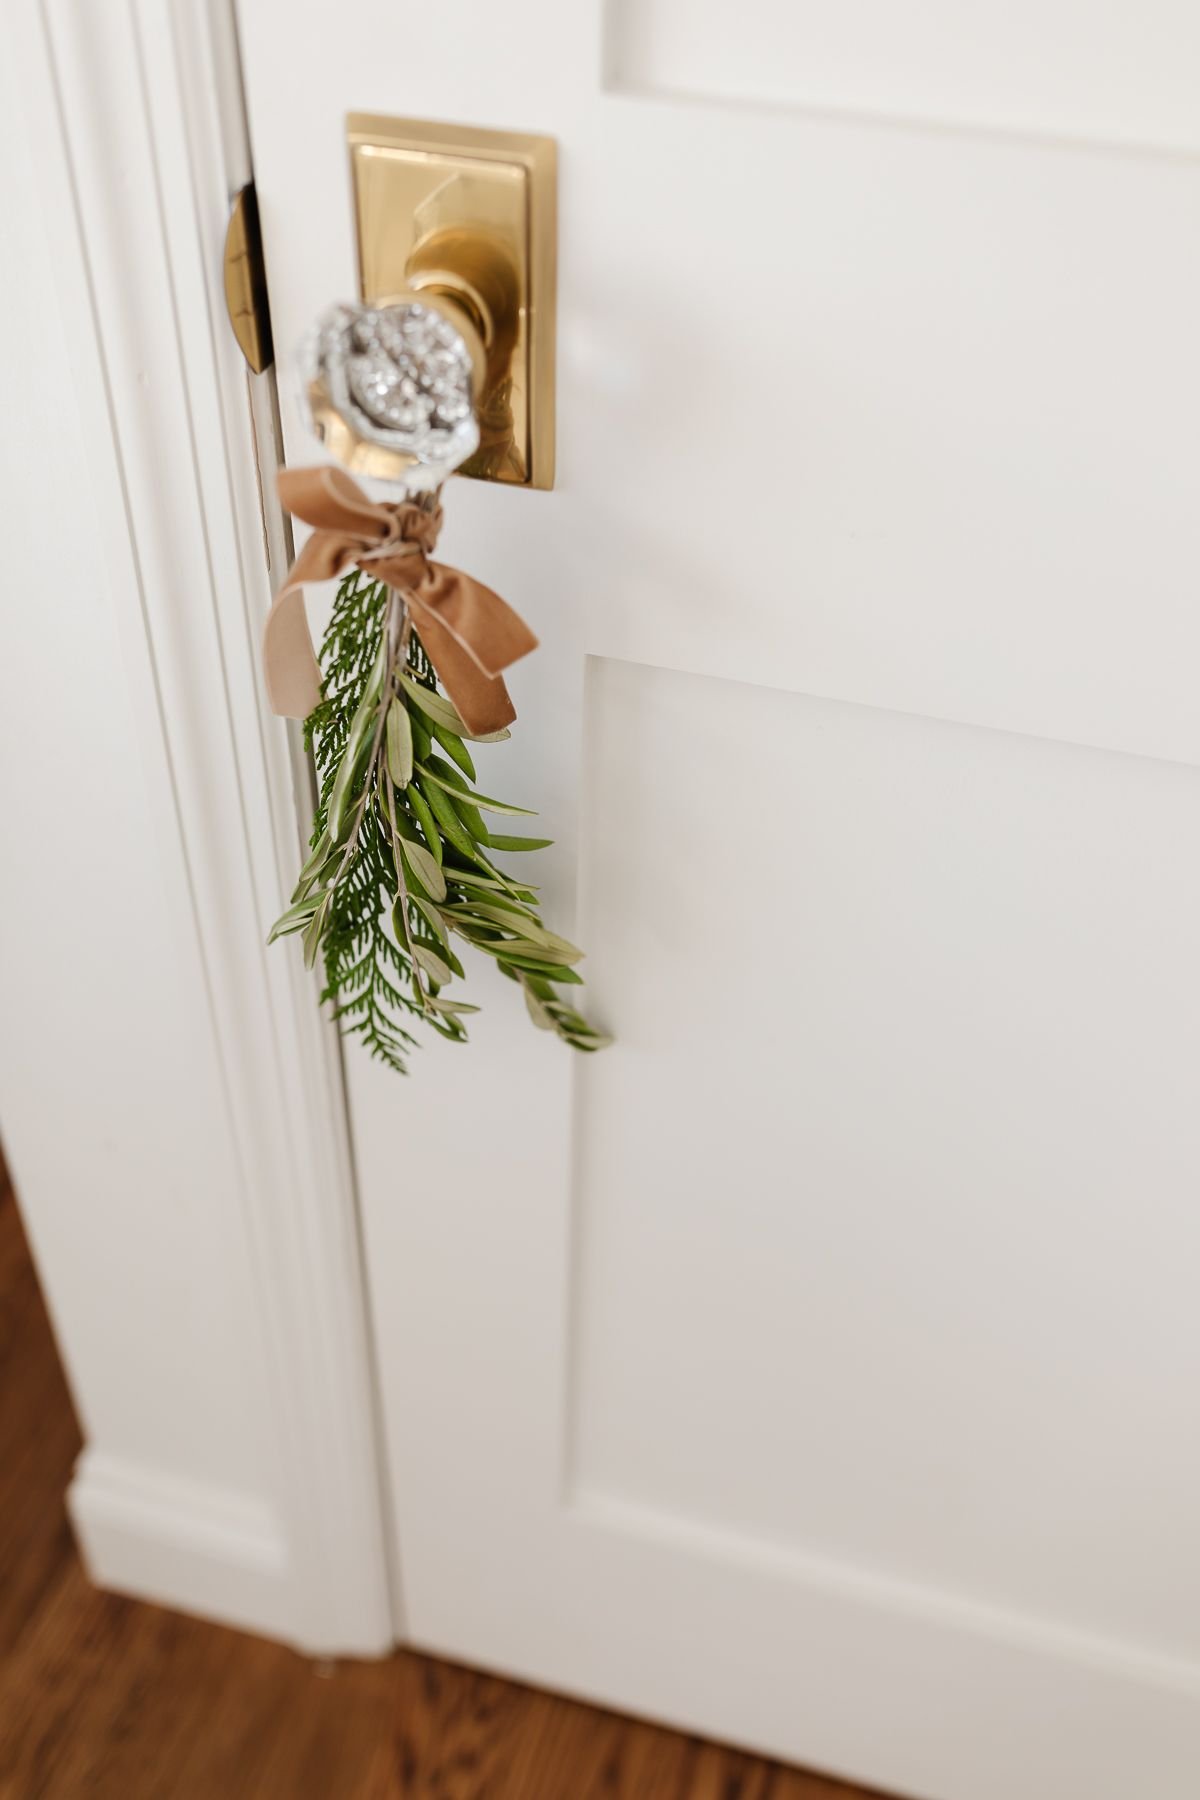
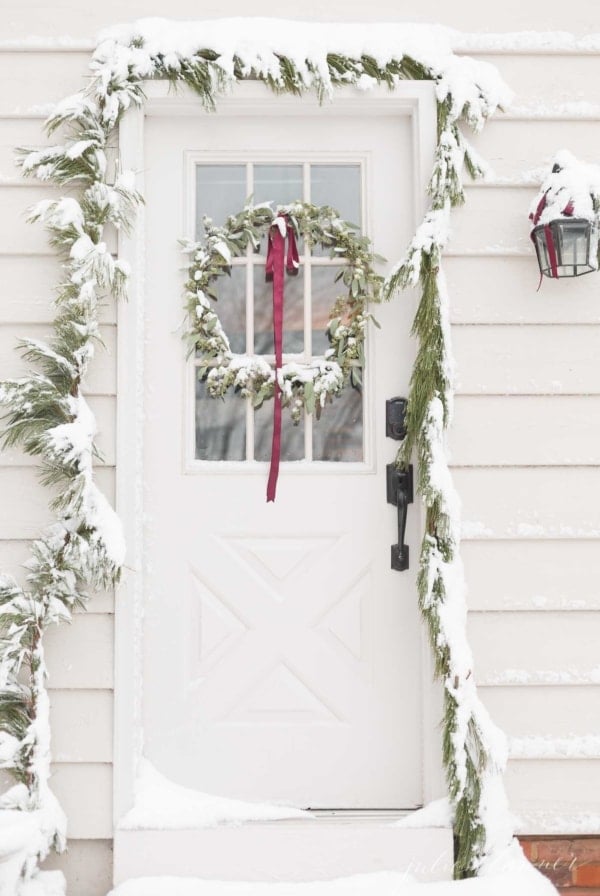
- Christmas Greens and Garlands – our beautiful cypress, eucalyptus and olive garlands were provided by The Garland Guy.
- Dried Orange Garlands
- Popcorn Garland
- Silver and Brass Bells
- Wooden Advent Calendar
- Switch Art for Holiday-inspired Pieces. (Find Free Art Sources here)
- Velvet Ribbons
- Ginger Jars
- Candlelight
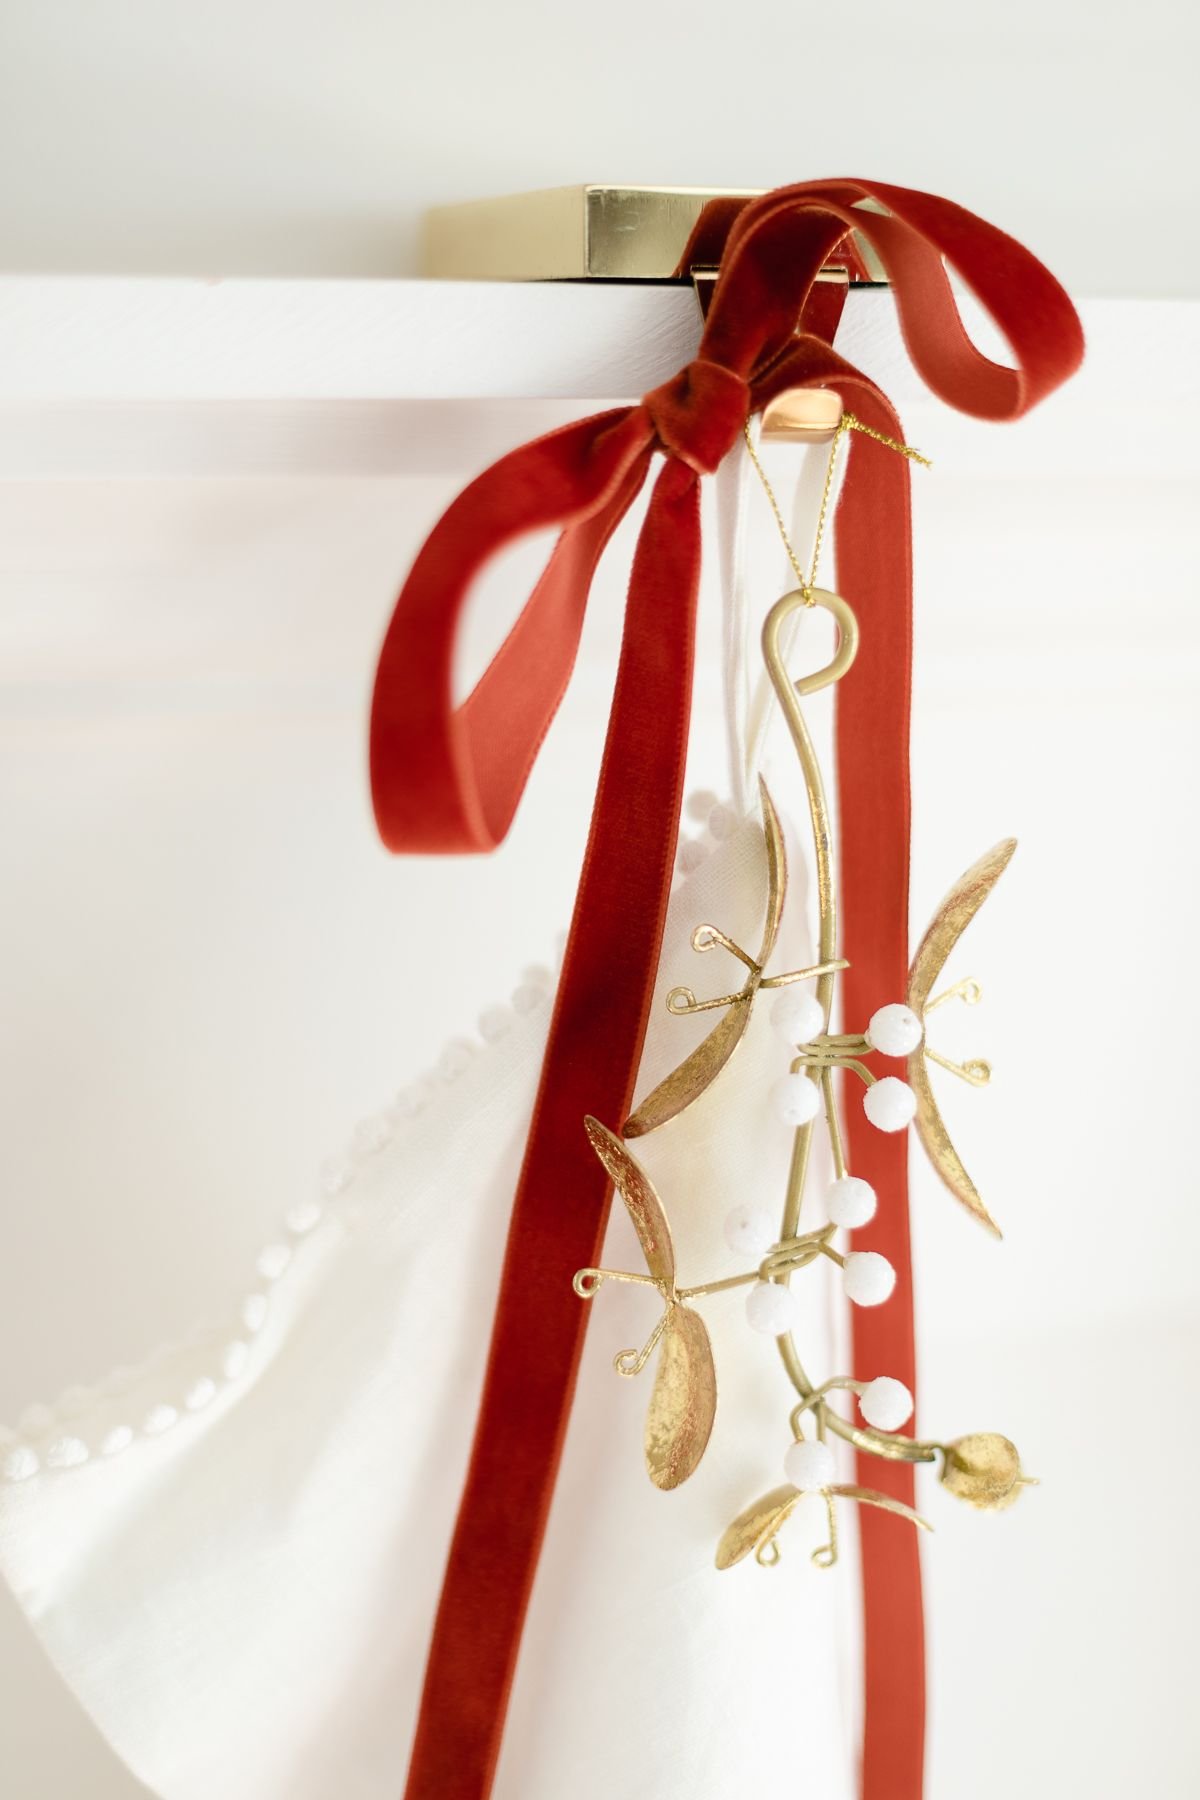
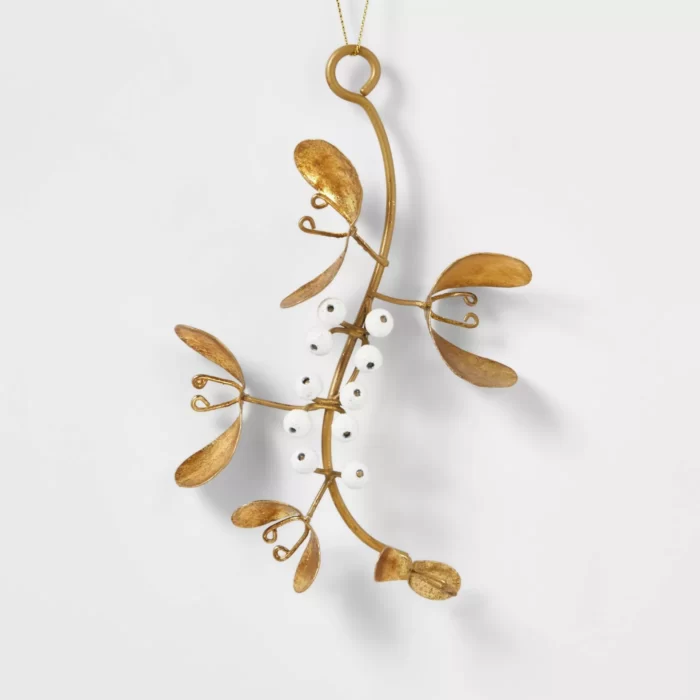
- Golden Mistletoe
Traditional Christmas Wall Decor
I love taking a minimalist approach to our walls at the holidays. There are a few ways to do this!
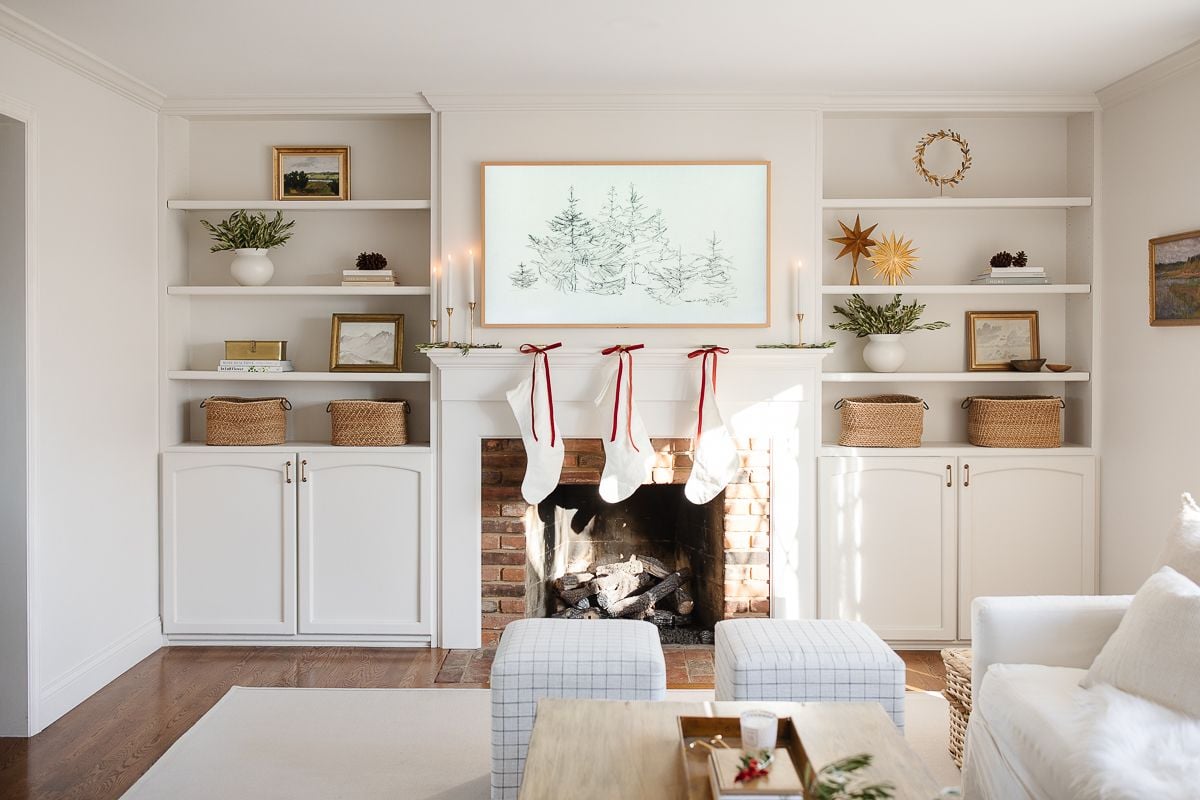
First, we love our Frame TV. It adds an instant element of seasonal artwork with the touch of a button! Find the best art for the Frame TV, including Christmas and winter inspired art.
We also love to switch out the artwork in our frames seasonally. In our basement bathroom, we switched out the sketch art for these pretty holiday prints. It’s practically free – you just need a printer and some pretty cardstock.

These images are available on Canva (the free site I use to create mood boards).
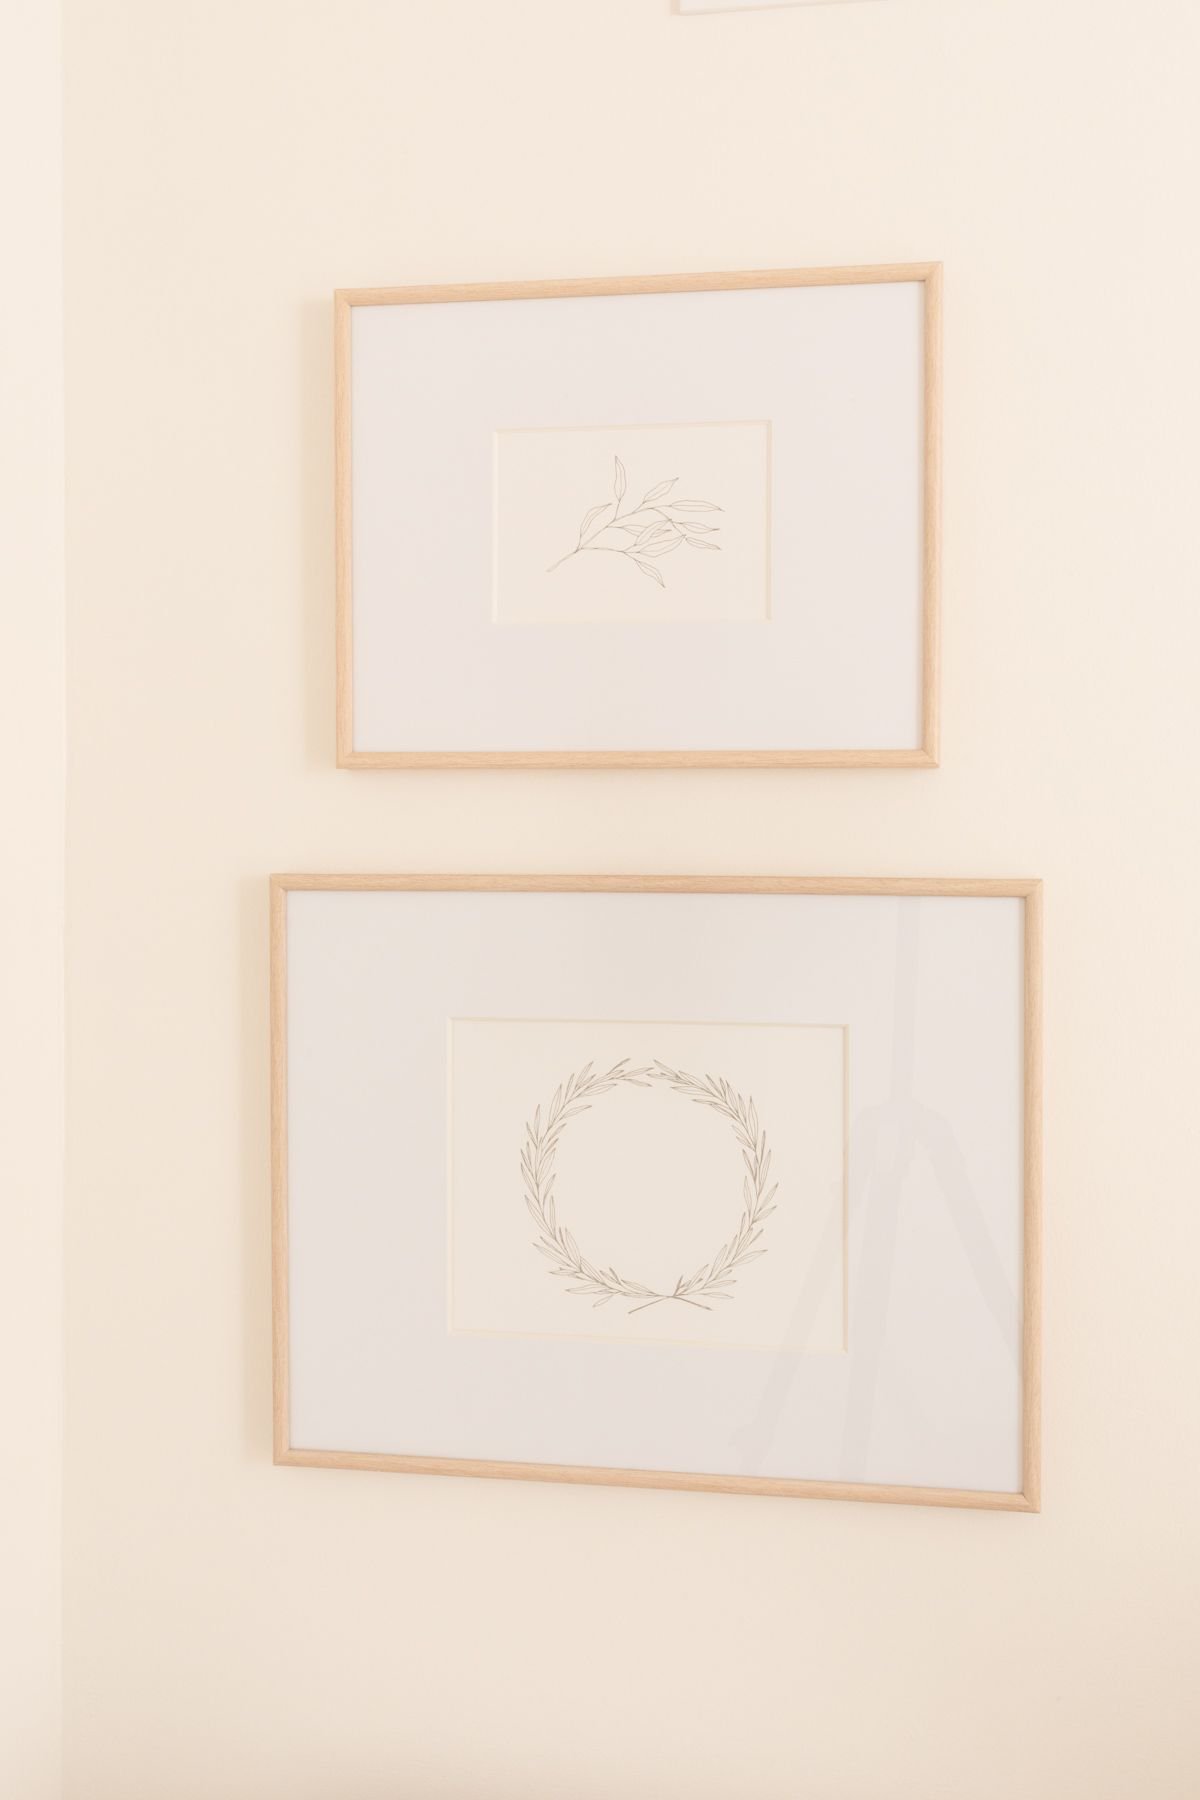
I love that this changes the entire feel of a room without adding anything “extra” to clutter up the walls. We did the same thing in our primary bedroom and bookshelves this year – such a pretty layer of cozy warmth!
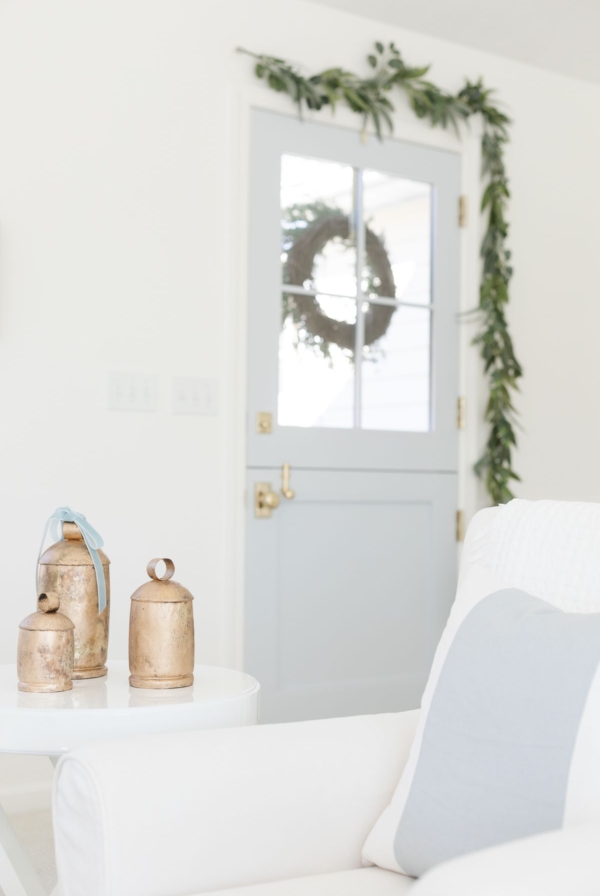
We also like to remove a piece of art and add a wreath instead – it’s an instant holiday upgrade (also from The Garland Guy)!

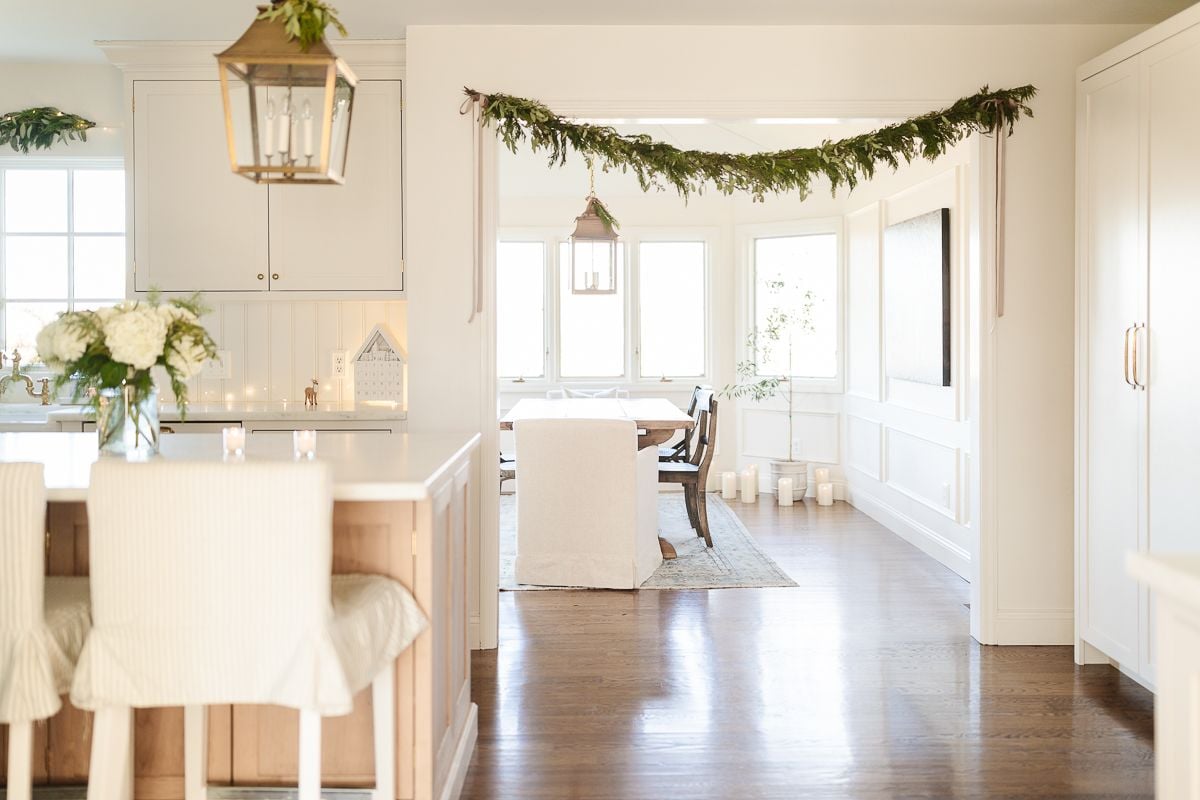
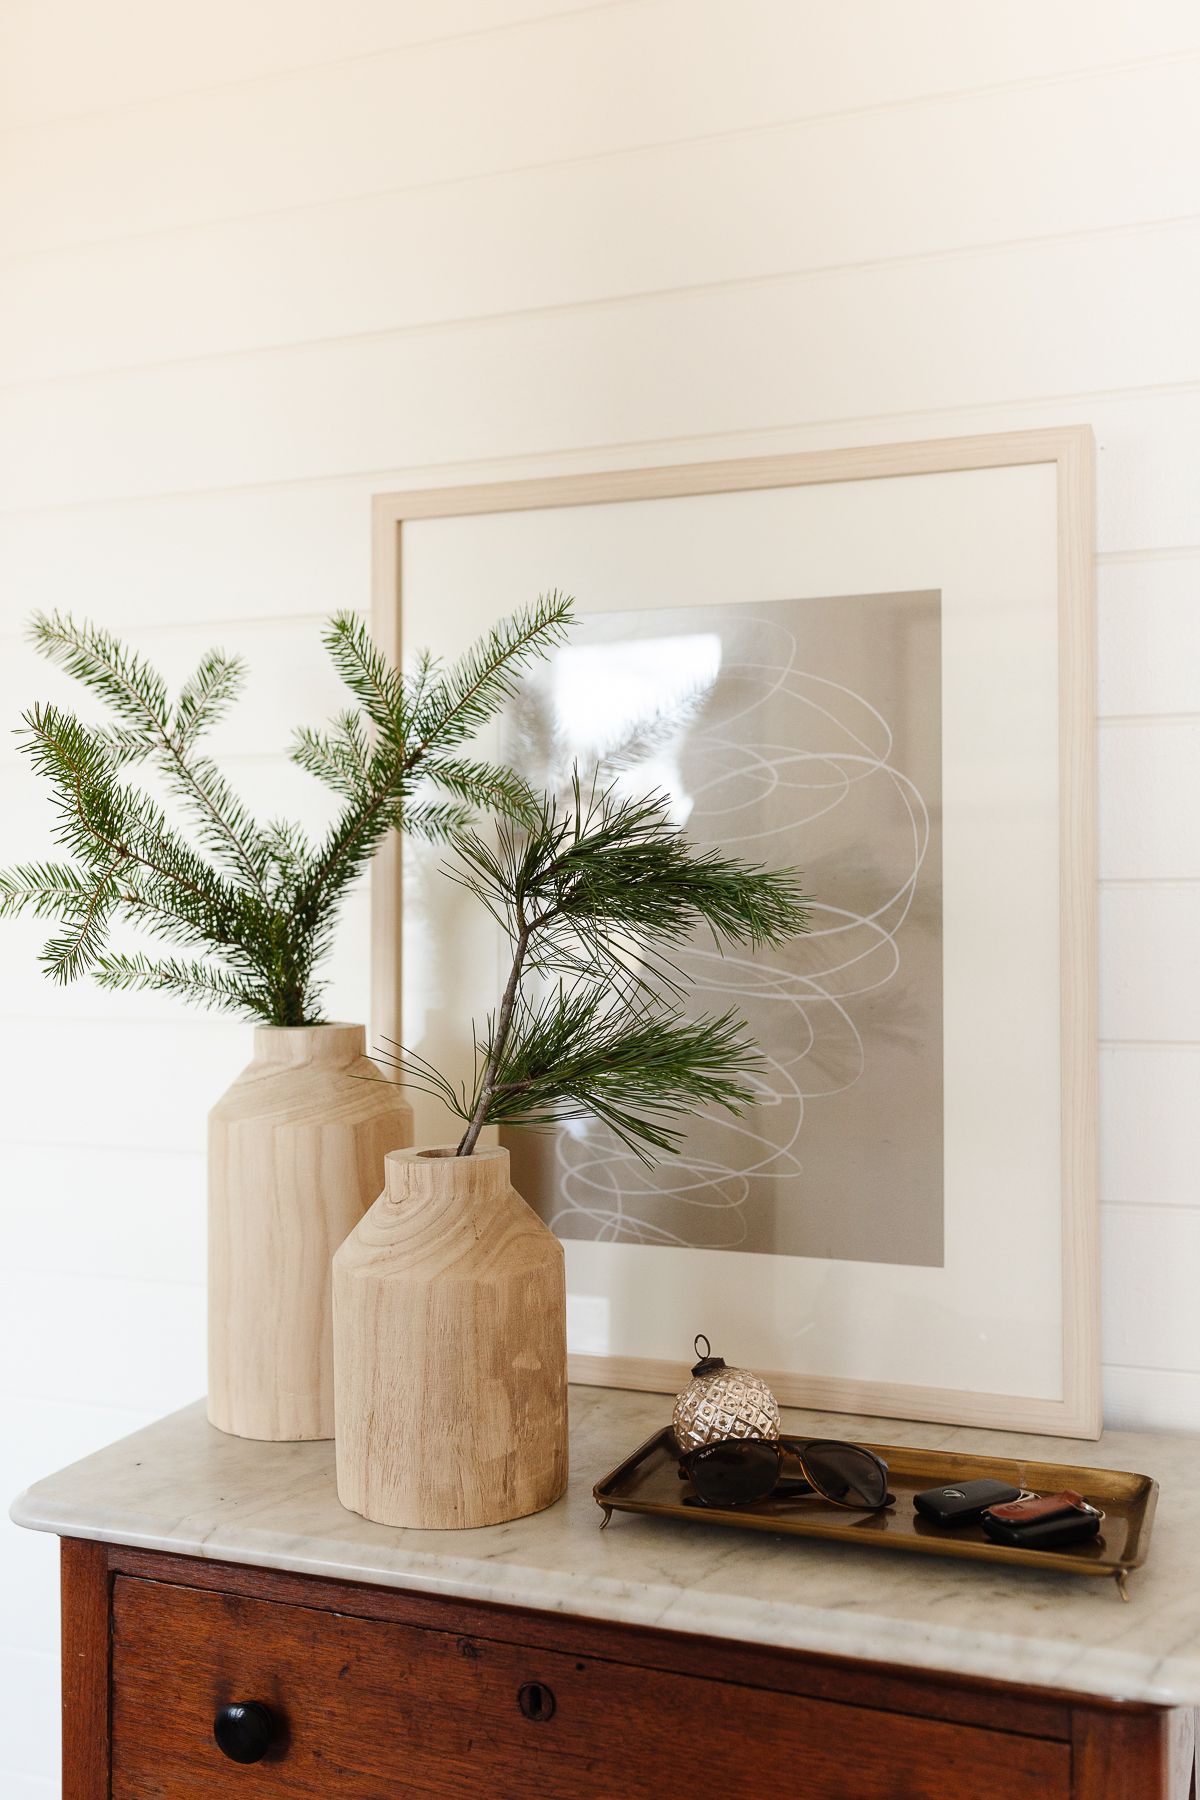
Touches of Holiday Greenery
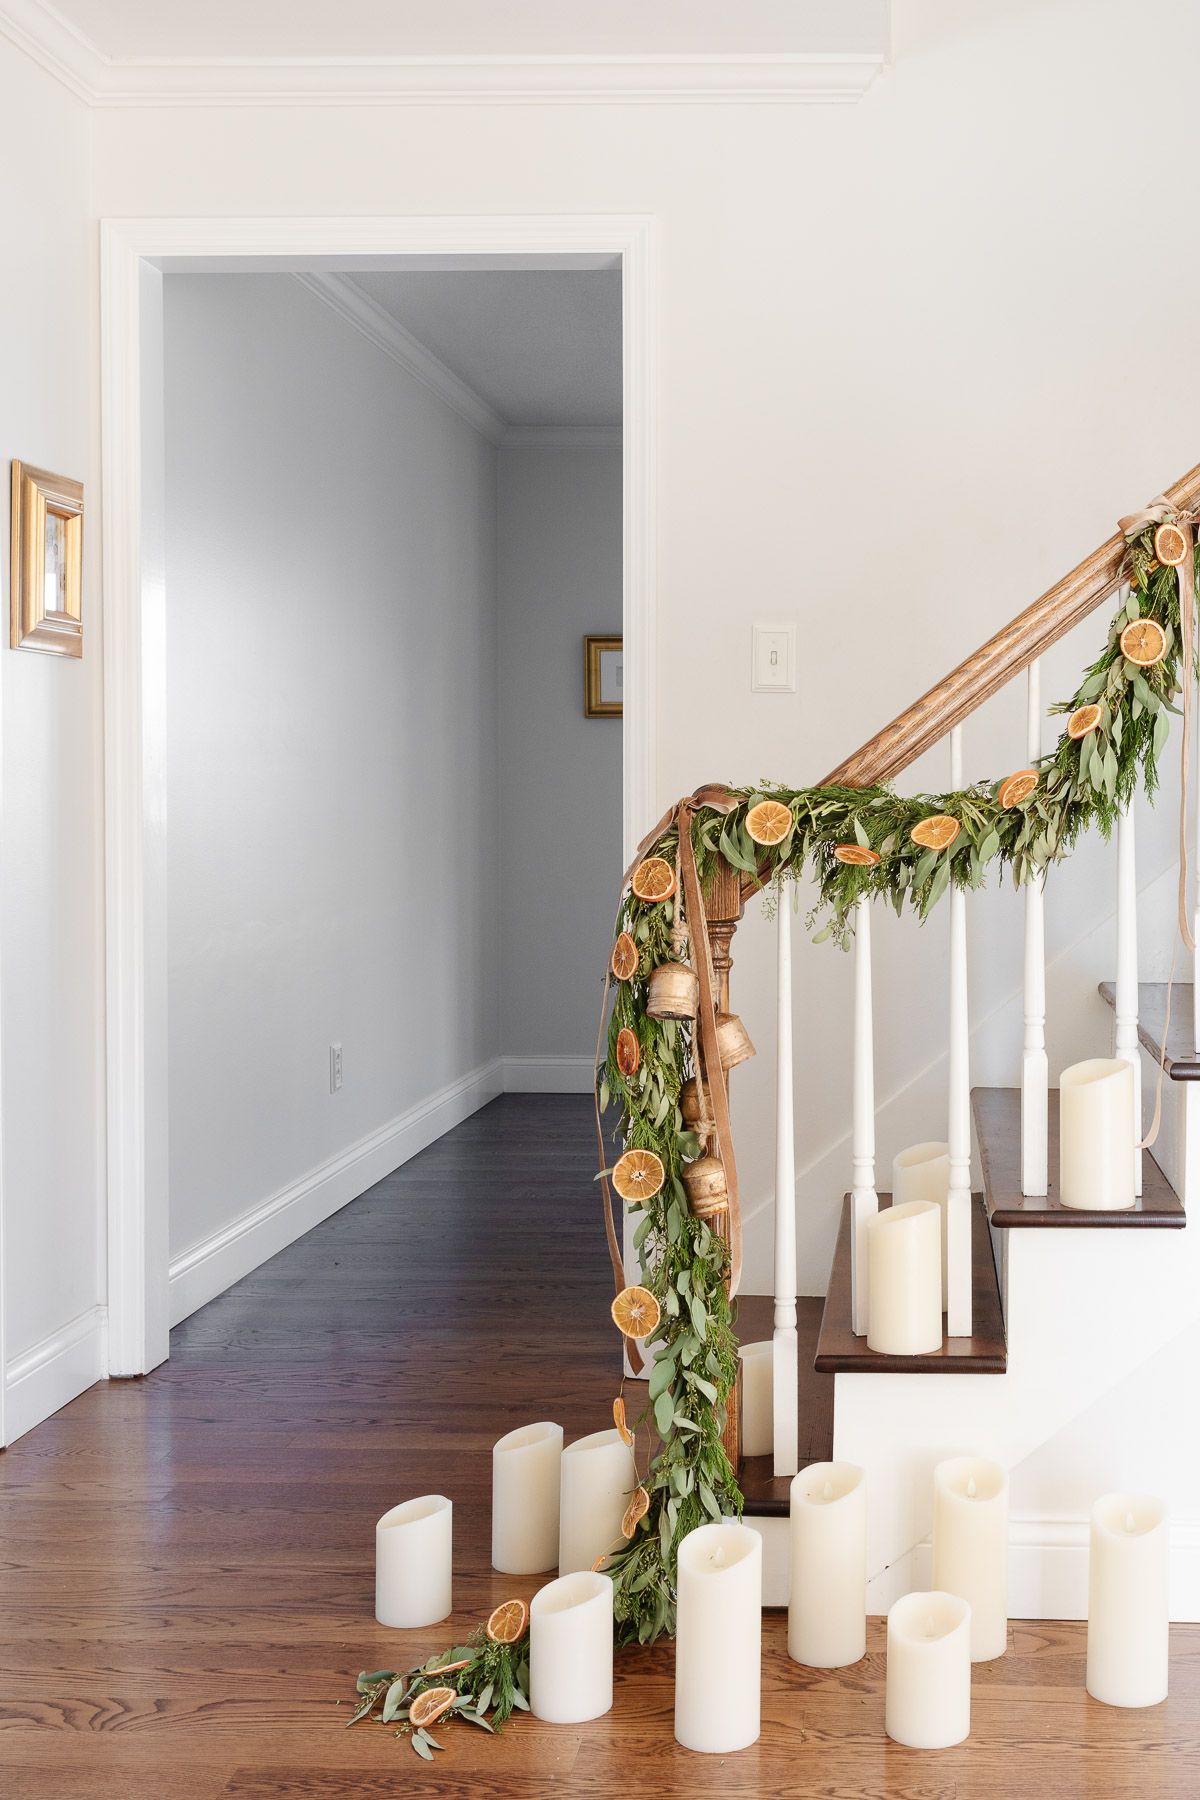
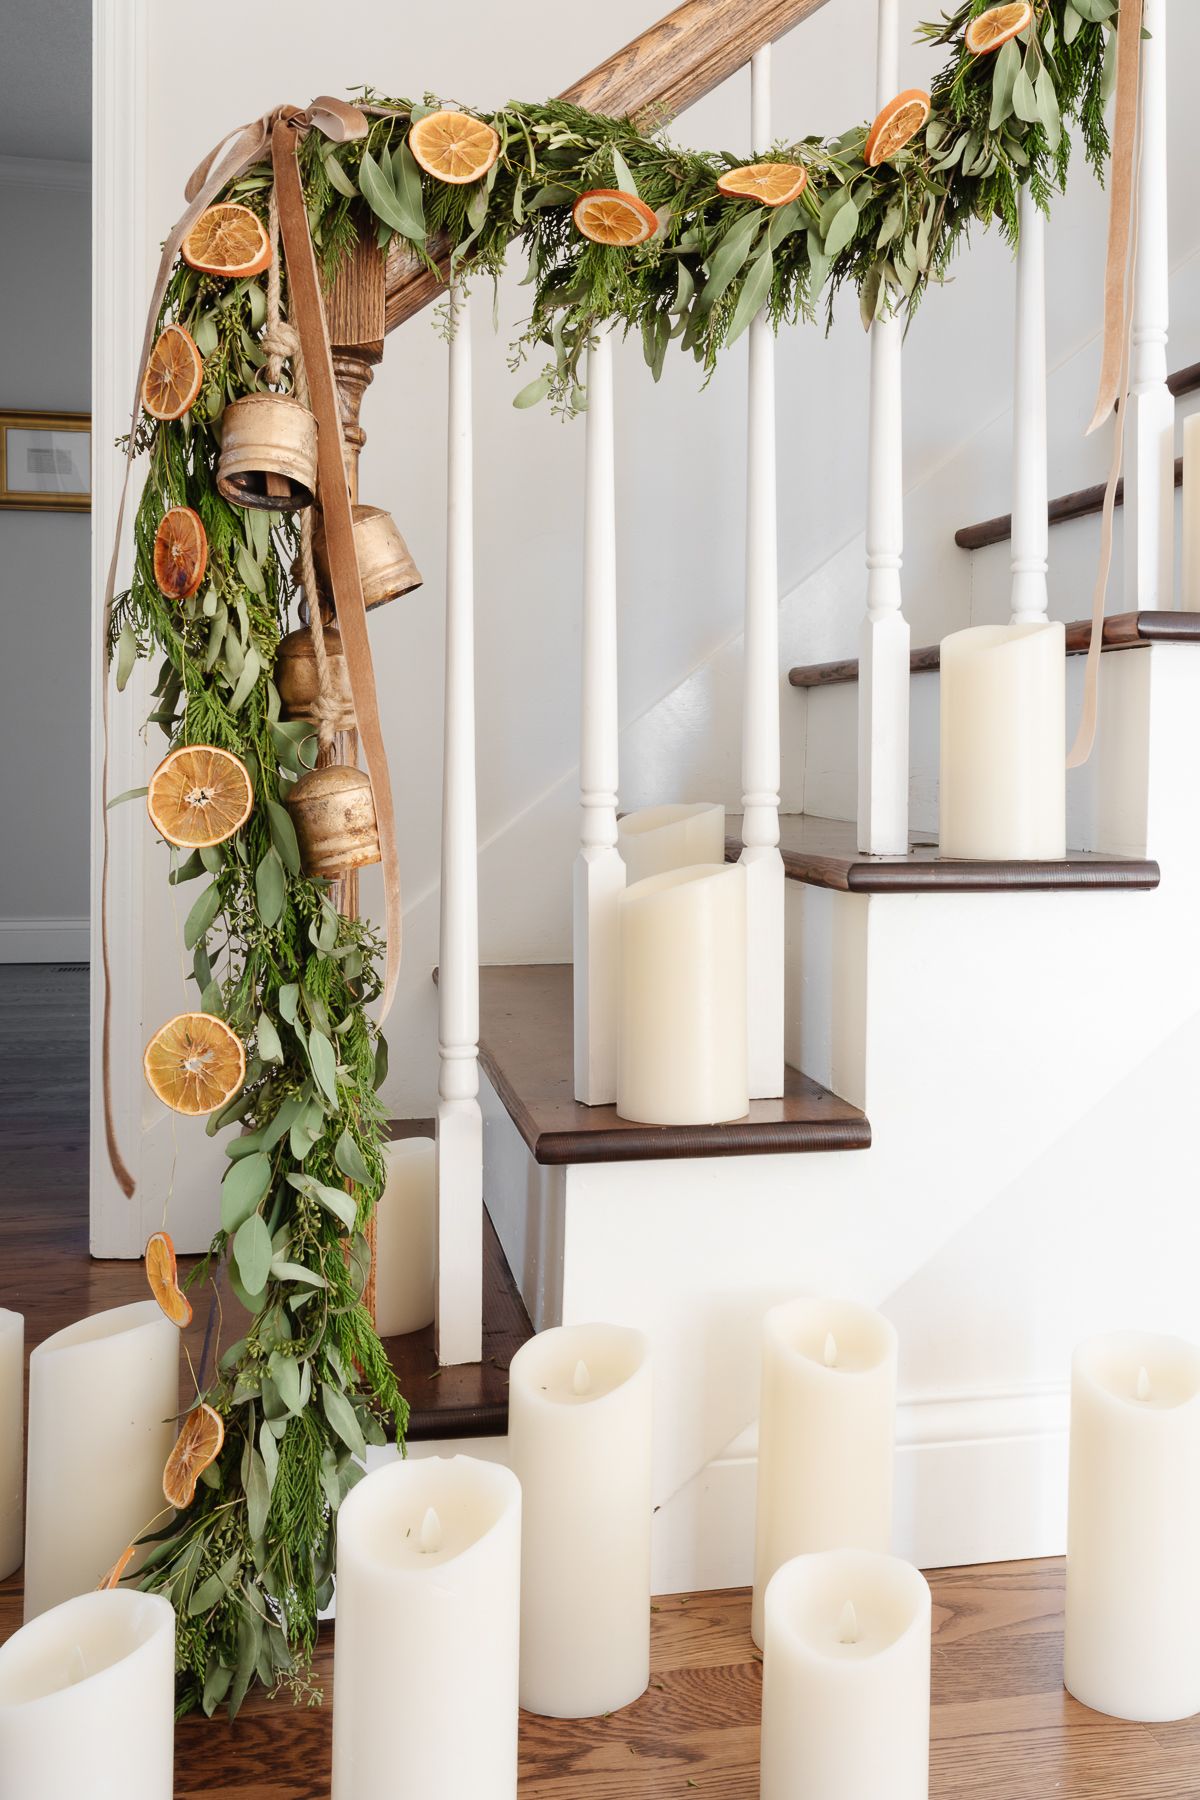
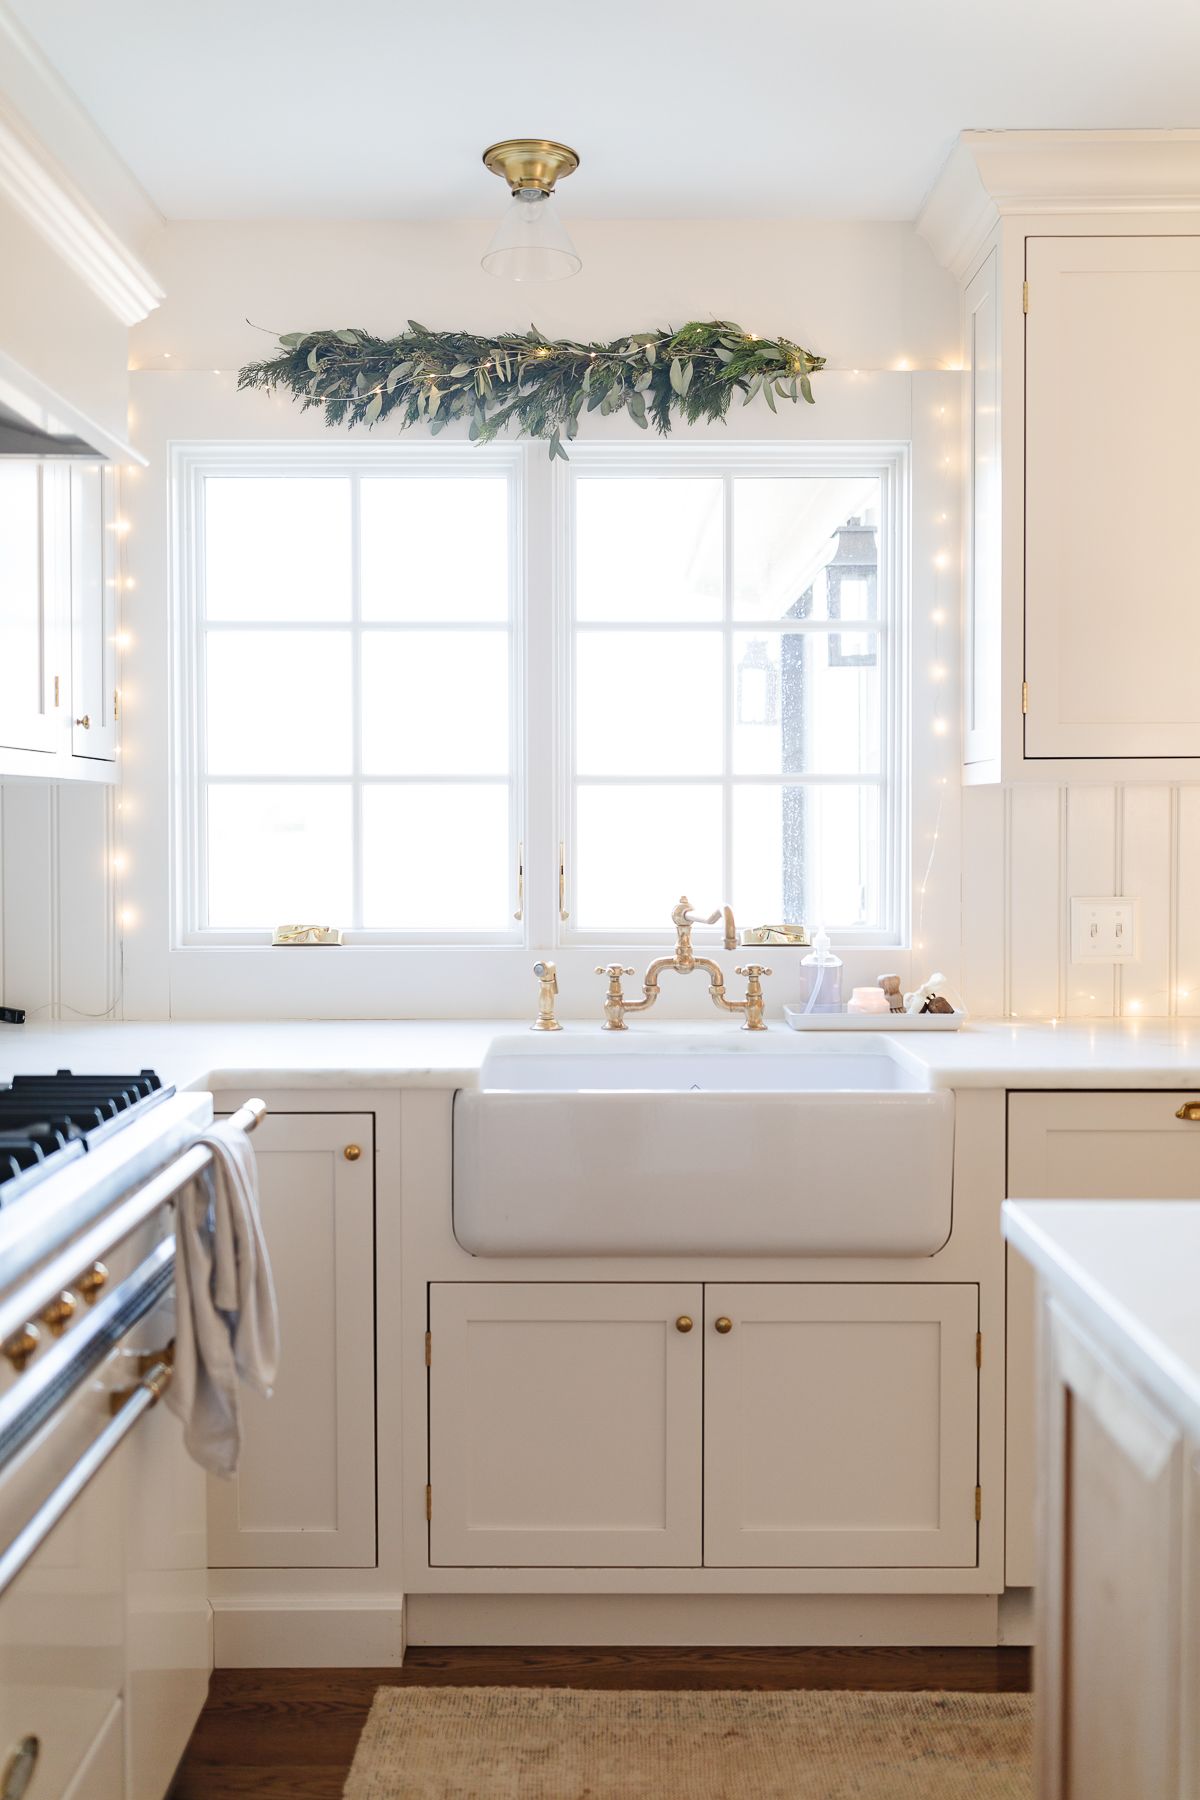
There is just nothing like fresh garland to bring in the subtle fragrance and feel of the season. This year, we draped garlands filled with olive, eucalyptus and cedar throughout our home.
I’ve shared a lot about garlands this year – find more information about cedar garlands here, and pine garlands too.
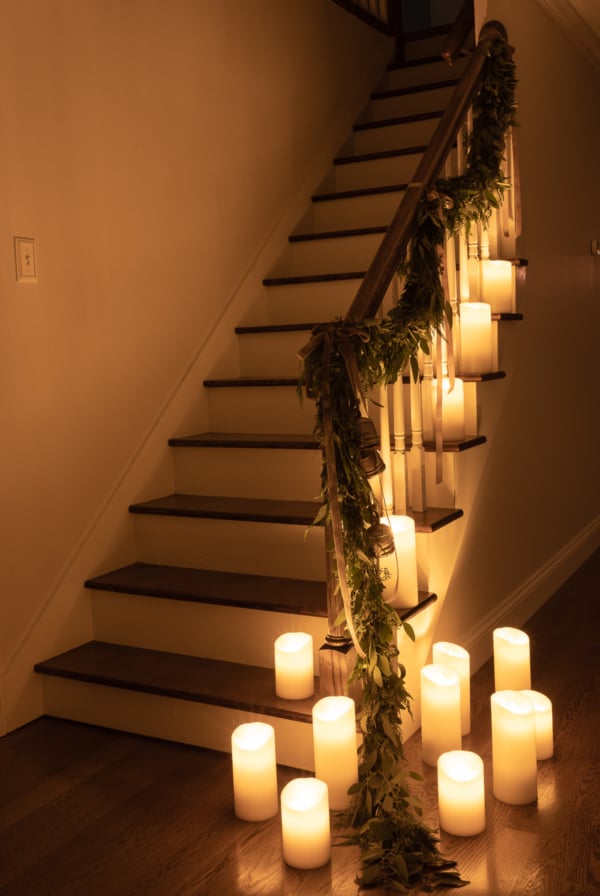
Garland touches on the stairs, over windows and doorways go a long way and are especially wonderful for holiday party decor. Learn how to keep garlands fresh for longer here!

The magnolia branches transition so seamlessly from fall to winter and add bold color.

We kept the stair garland very simple at first, and then the girls got to crafting. They made a dried orange garland, and we loved it so much, we couldn’t resist adding it to the stairs!
What do you think? Which version is your favorite?
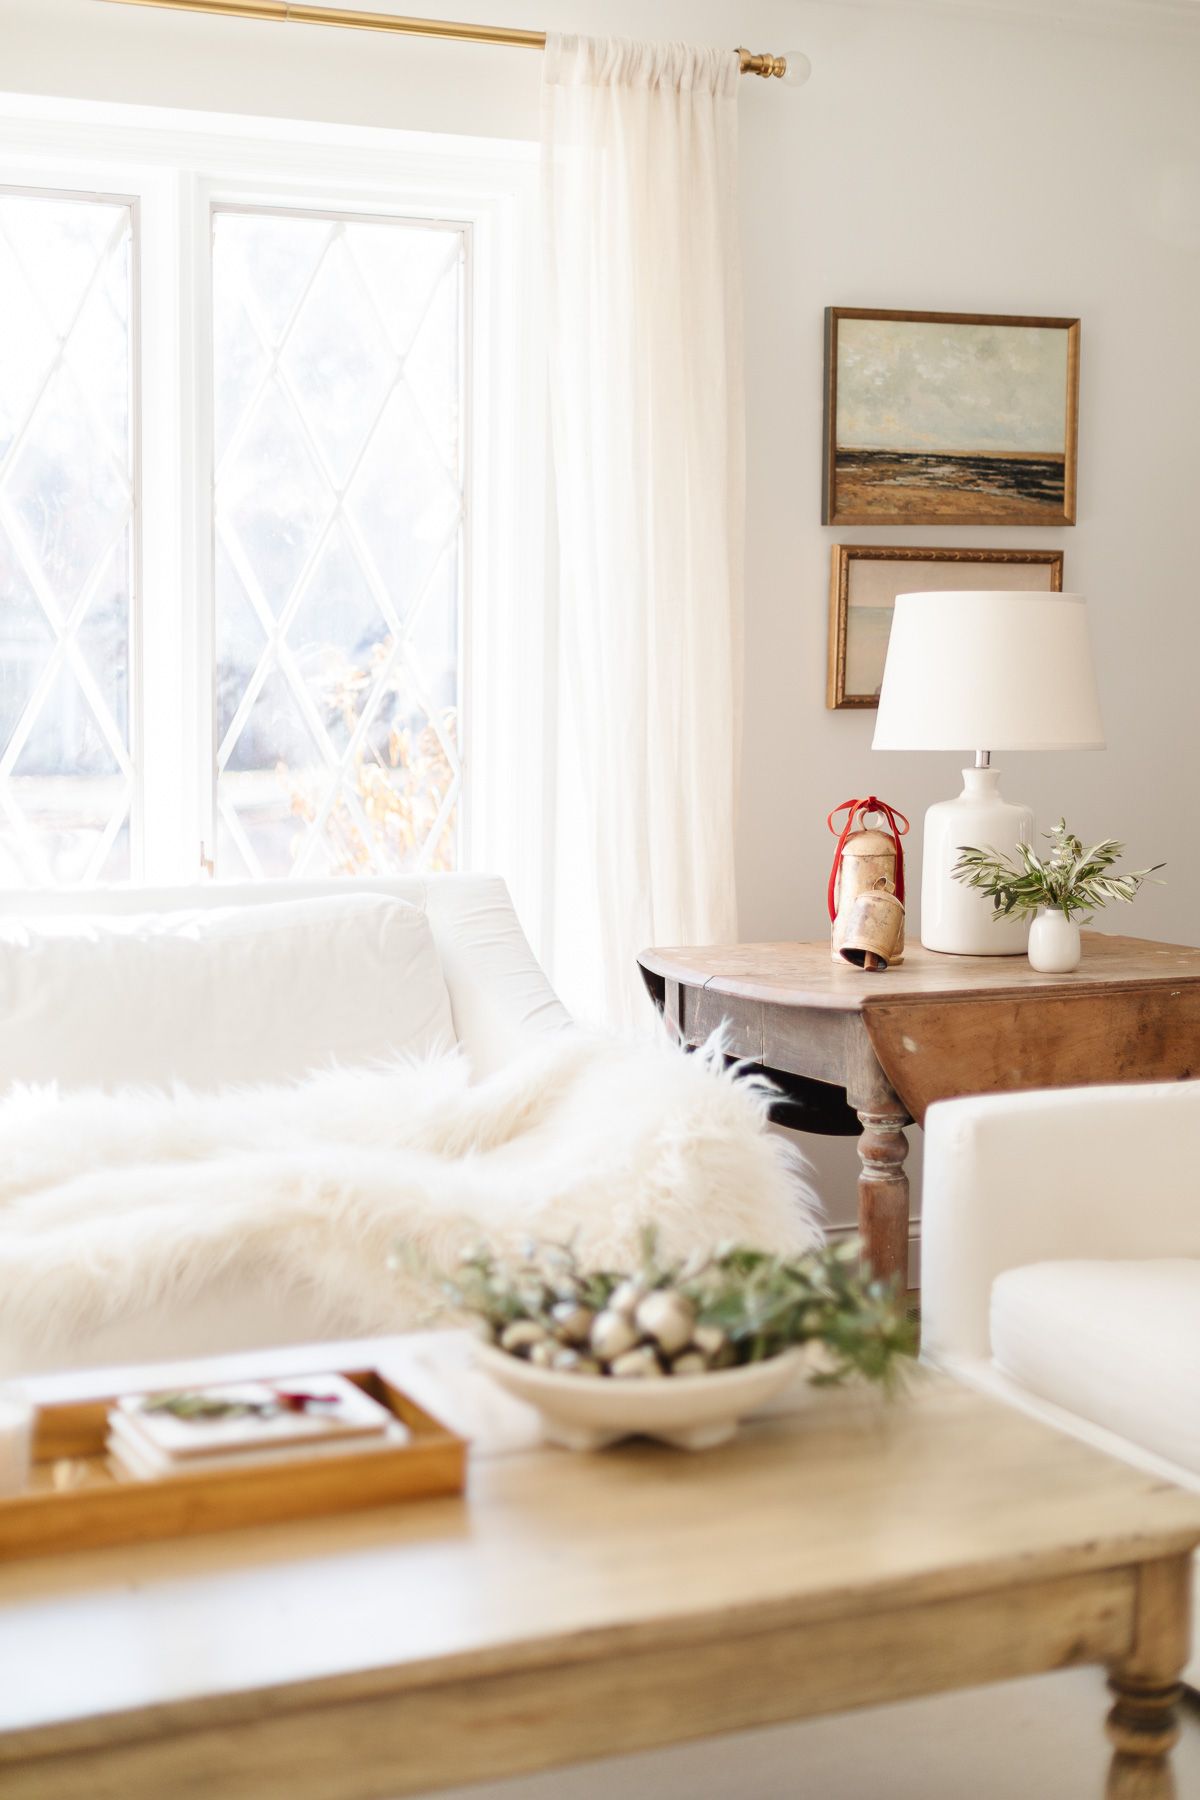
The smallest touches of fresh greenery in vases can last for weeks, and it’s such an inexpensive way to add a holiday touch. These branches are from our backyard.
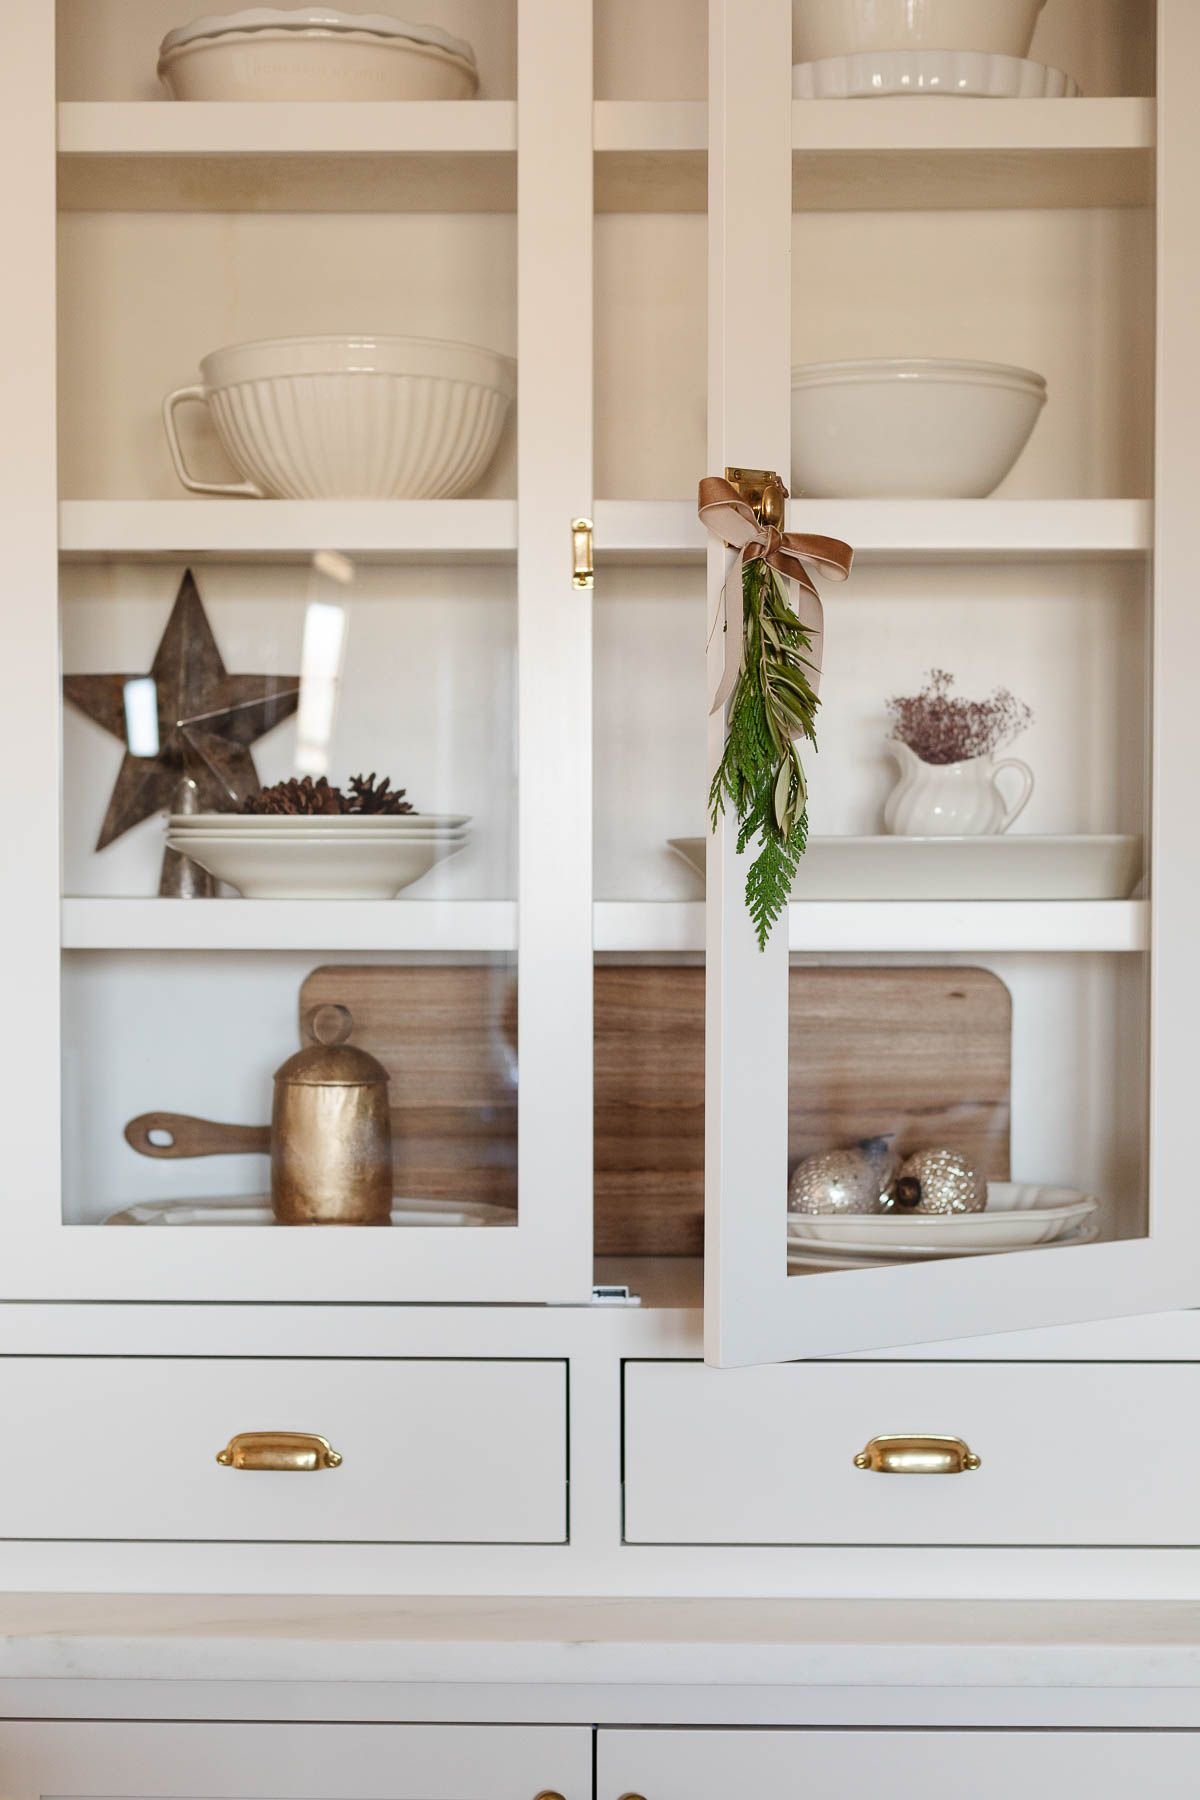
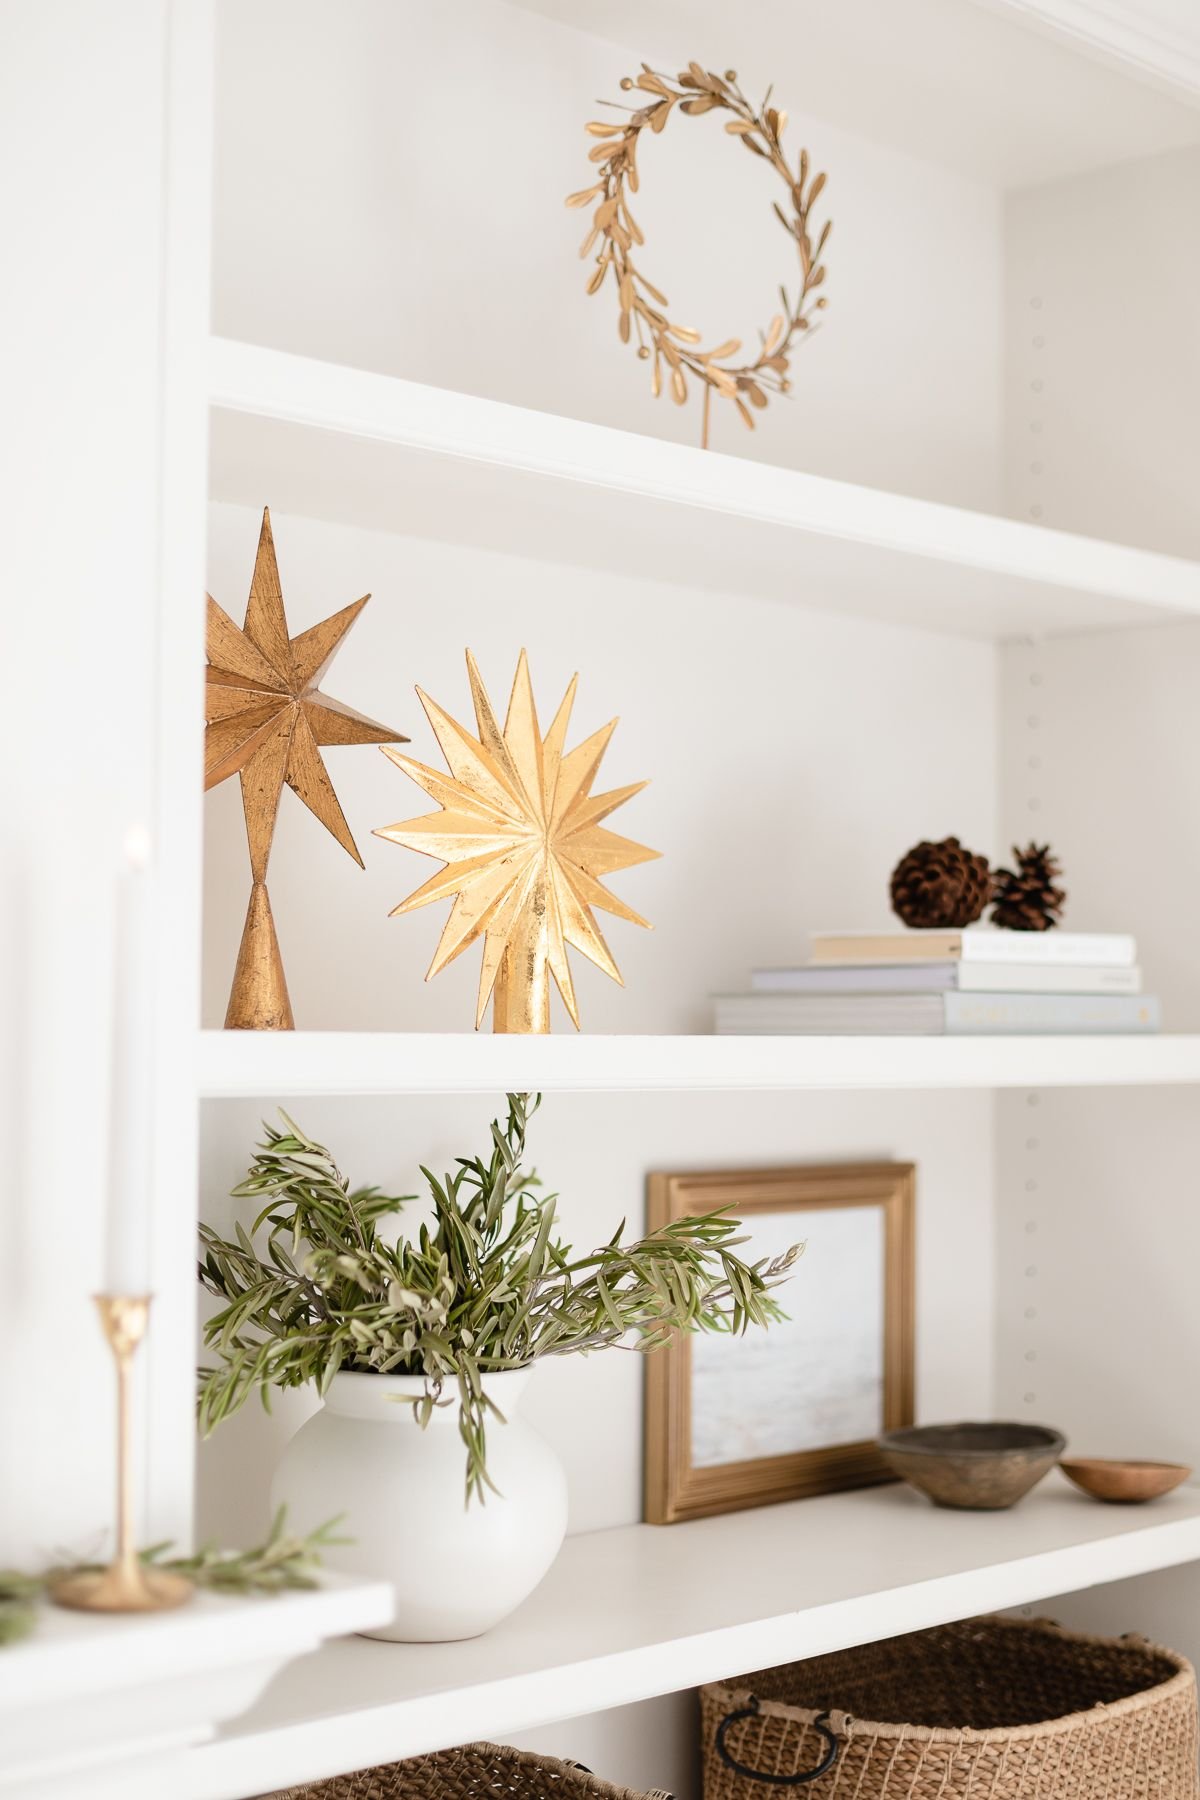
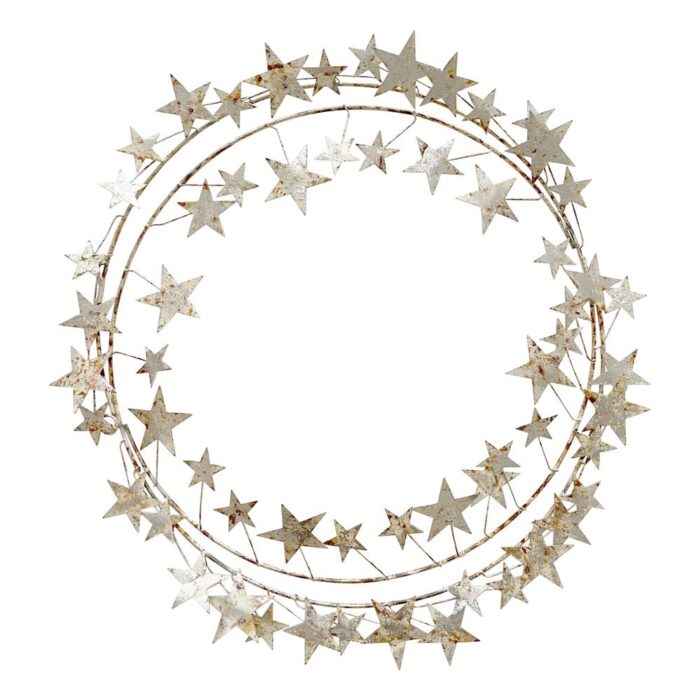
Silver and Brass Bells and Stars
From the charming metal star wreath in the kitchen, to the addition of stars and bells in our living room, these metallic accents add such a traditional look and feel of the season!
Add brass bells to your stairs, your wreaths, and your accent tables. They make a beautiful accent anywhere you place them.
Jingle bells are wonderful too, of course, and such a great traditional element. Learn how to make this simple centerpiece!


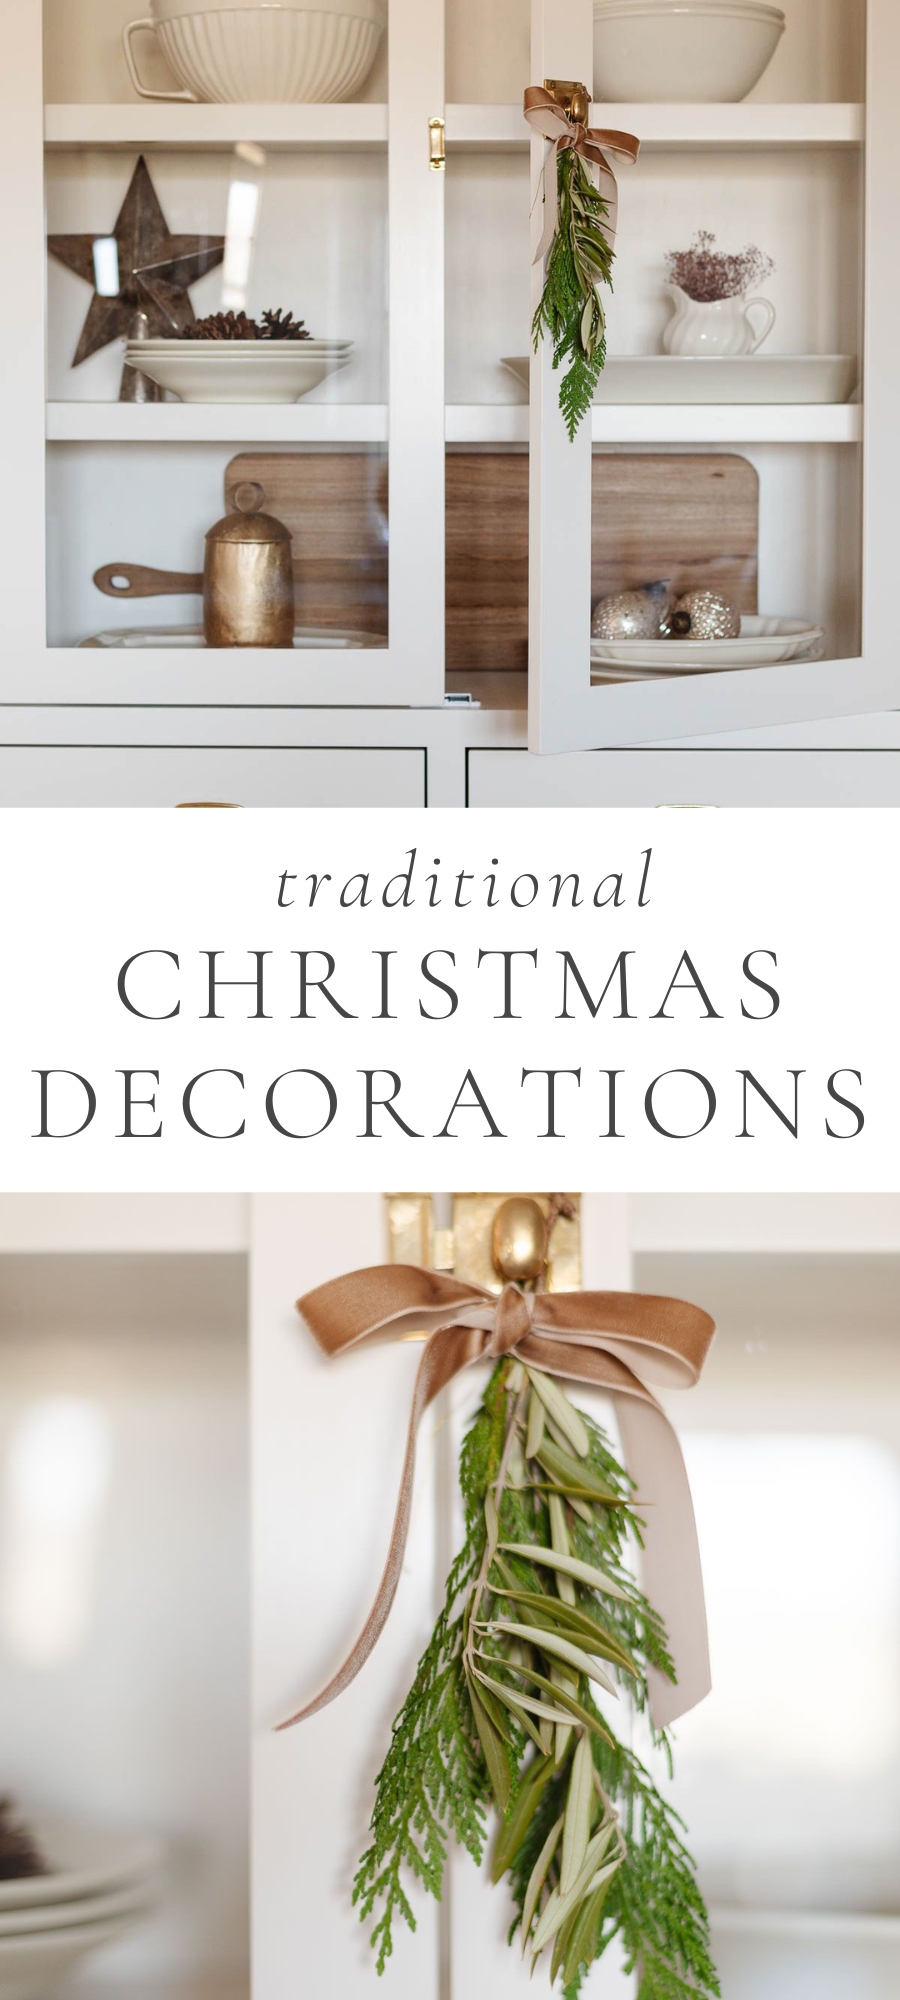
Velvet Ribbons
This year, we added a little traditional elegance with long velvet ribbons in lush colors of deep mauves and rusts. They add a luxurious feel to anywhere you place them.
These ribbons have added warmth to our garlands, our brass bells, and even our stockings.
Add Candlelight
Everywhere! Last but certainly not least, an easy way to add traditional Christmas decor to your home is with candlelight. We love both real and faux candles in our home, and both serve their purpose!
We added pillar candles (battery-operated flickering pillar candles) to the floor of the breakfast nook. Pillar candles were also added to our staircase, and we placed charming brass taper holders to our primary bedroom.
You can never have too much candlelight and twinkling lights!
Traditional Christmas Decor Sources
As seen draped over our headboard in the primary bedroom
Currently sold out, but you can find a very similar version here.
As seen on our bookshelves, currently sold out but watch for it to return. Silver is still available here.
As seen in our pretty centerpiece.


Over our bed, featuring the holiday print.

As seen on our stockings.

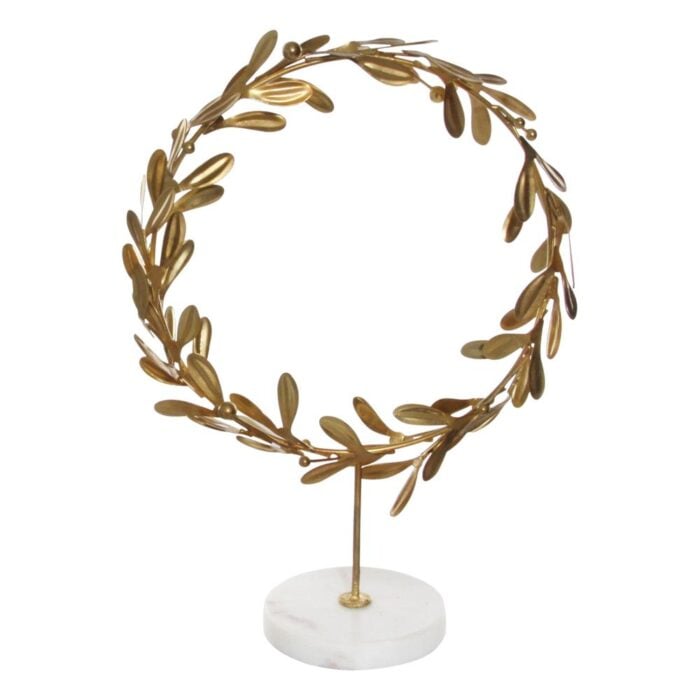
Gold Mistletoe Wreath on Marble Stand
As seen on our bookshelves.
Battery Operated Taper Candles
These are by far the best I’ve seen!

I’d love to hear from you! Are you a fan of traditional Christmas decorating? Do you switch things up year to year?


I’m sorry, I didn’t spell beautiful correct. Julie, it’s all beautiful and so inviting.
Thank you, Laura!
I’m in the process of “refreshing” and since I love your style, I’ve changed to the subtle colours. I’ve got to say I’m loving the peace and touch of class serenity. Your beautiful Christmas decor pushes me forward. Thank you for showing how simple becomes elegant. Wishing you and yours a joyous Christmas!
Hi Helena!
Thanks so much for your kind words. I’m so glad to hear that, you really made my day!
Have a wonderful holiday season,
Julie
Your home looks so elegant, Julie! Thank you for sharing! Happy Holidays!
Thanks for your kind words, Jane! Happy Holidays to you as well!
Julie
Thank you Julie, so very beautiful!
Thank you so much!
I hope you have a beautiful holiday season,
Julie
So elegantly done! Subtle changes with a big impact. Thanks for sharing.
Hi Eileen,
Thanks so much for your kindness! Have a beautiful holiday season.
Julie