Simple tips to design your room in your very own interior design mood board, without a room design app, software or any experience! Get the secrets and learn how to make a mood board in the easiest possible way.
It’s so much easier than you might think! These tips and tricks for creating an interior design mood board will have you envisioning a brand new space in no time at all.
I am not a designer, I am merely a design enthusiast that loves decorating our homes for our family. Through the years, I’ve found several ways to make design easier… even foolproof.
I always love sharing design inspiration with you! Especially when it saves us money or time, right? Don’t skip my posts about Easy DIY Wall Decor, Coastal Modern Home Decor, and Adding Character to a New Home.
Today’s trick? We’re going to learn how to make an interior design mood board – I promise, if I can do this, so can you!
You don’t need a room design app or special software to design your room. Fancy software is nice, but intimidating.
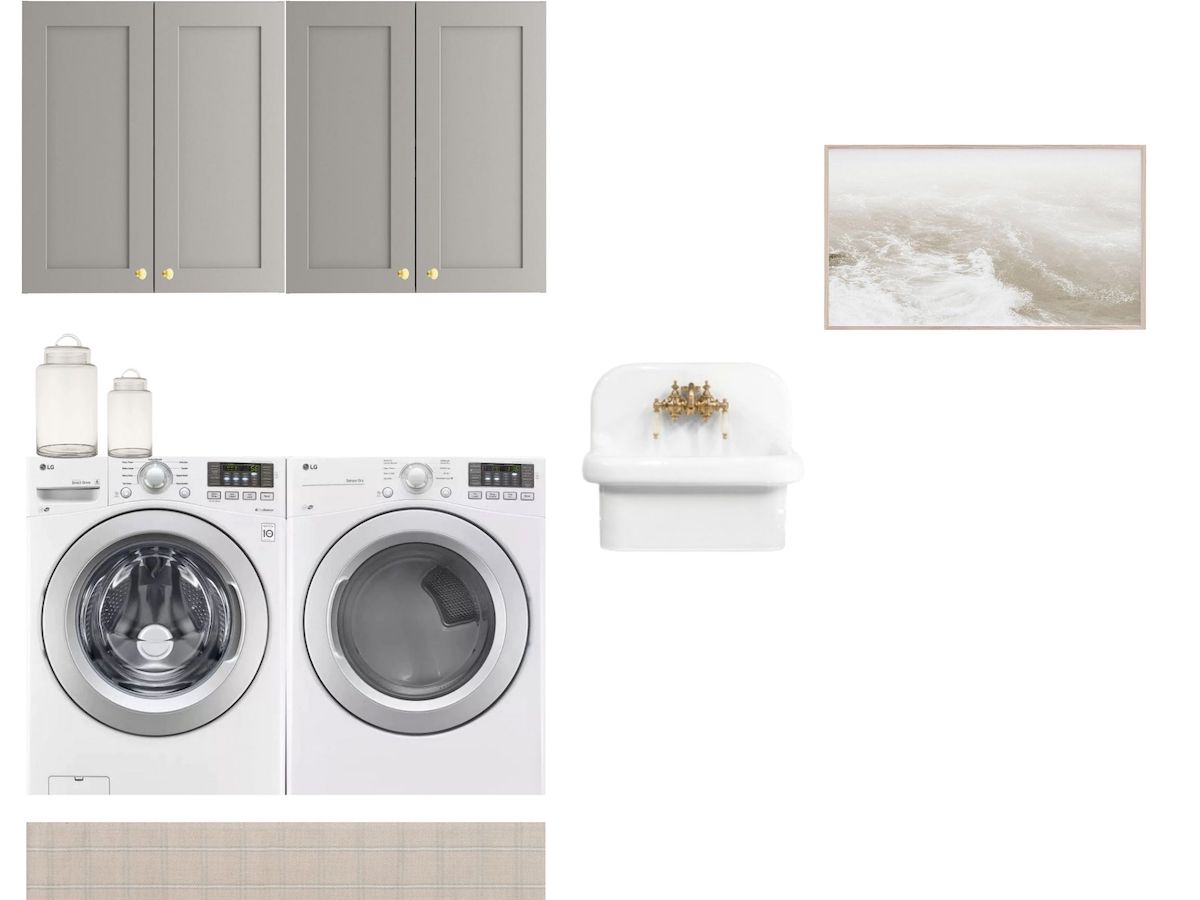
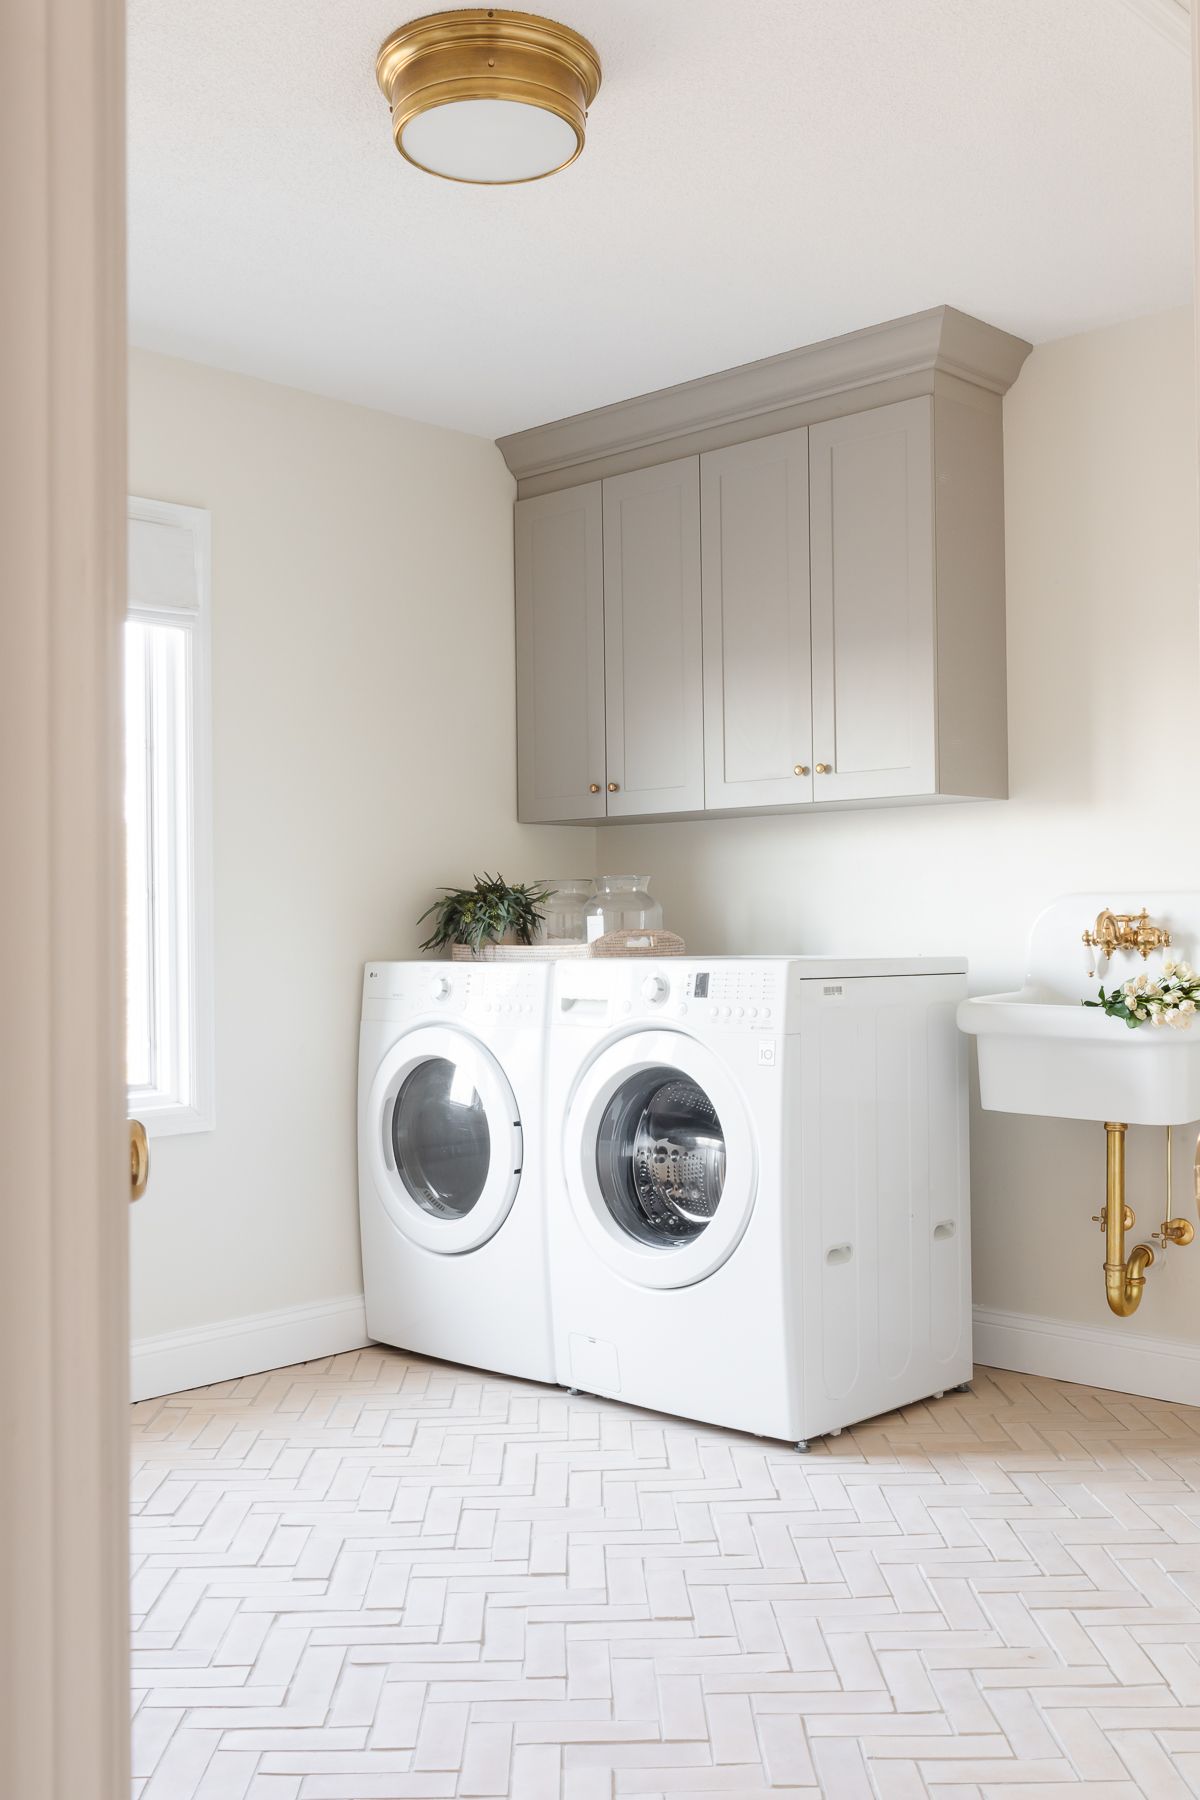
If you want to learn how I took the mood boards (above) and turned them into our Modern Laundry room, keep reading! Or, watch the video!
Interior Design Mood Boards: Getting Started
- Determine your style.
- Use catalogs and magazines as your guide. Study room layouts and consider what might work well in yours.
- Pin your favorites to a board dedicated to the space, then pare it down. Ask yourself common themes that you see among them all.
- Save any images you find of products you’d like to envision in the space.
- Use Microsoft Word or alternative software program.
While it’s nice to have fancy design software or a room designer, it’s not required! In fact, I wouldn’t have the slightest idea how to use one!
Instead, I determine everything for how pieces coordinate with one another to room layout in Microsoft Word or alternative software program. See more on how I do this below!
Mood Board Inspiration
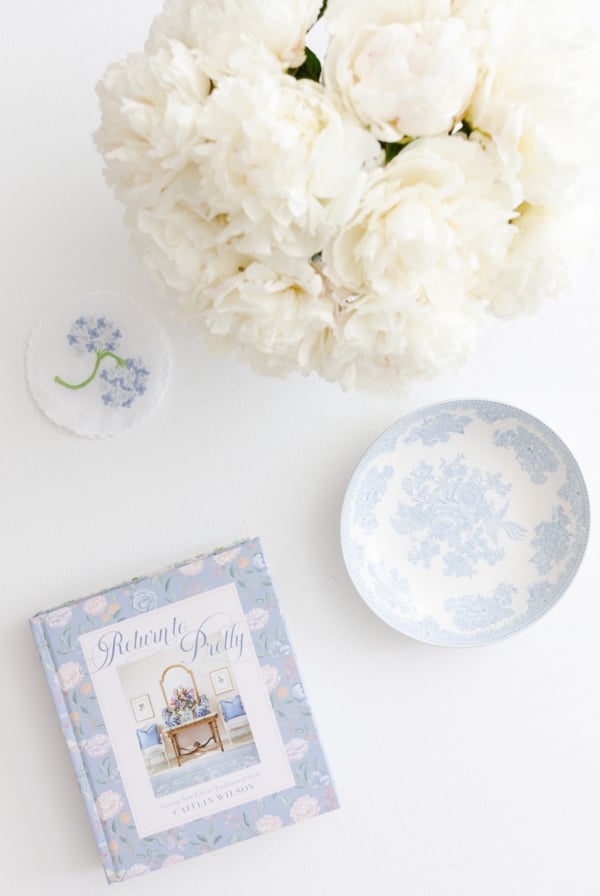
The art in the mood board above is actually free. Learn more about my favorite free art sources here!
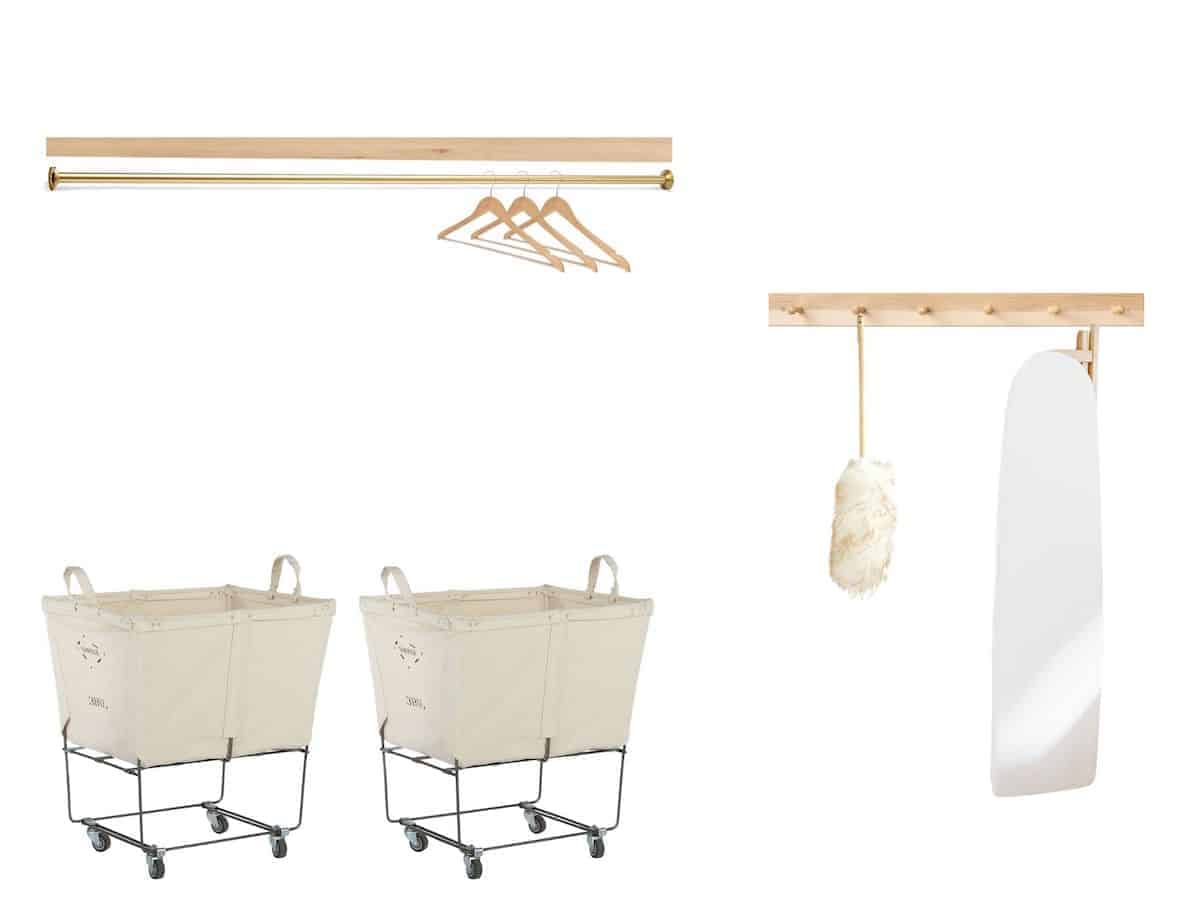
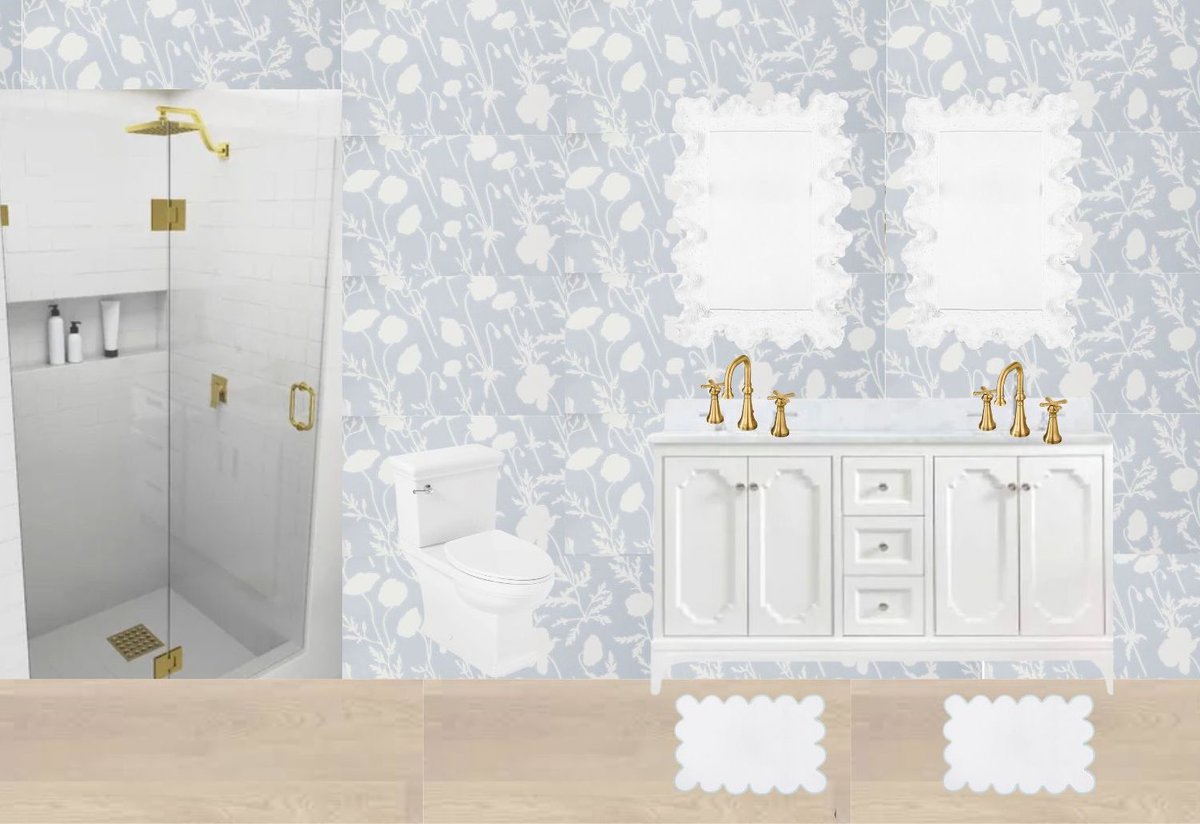
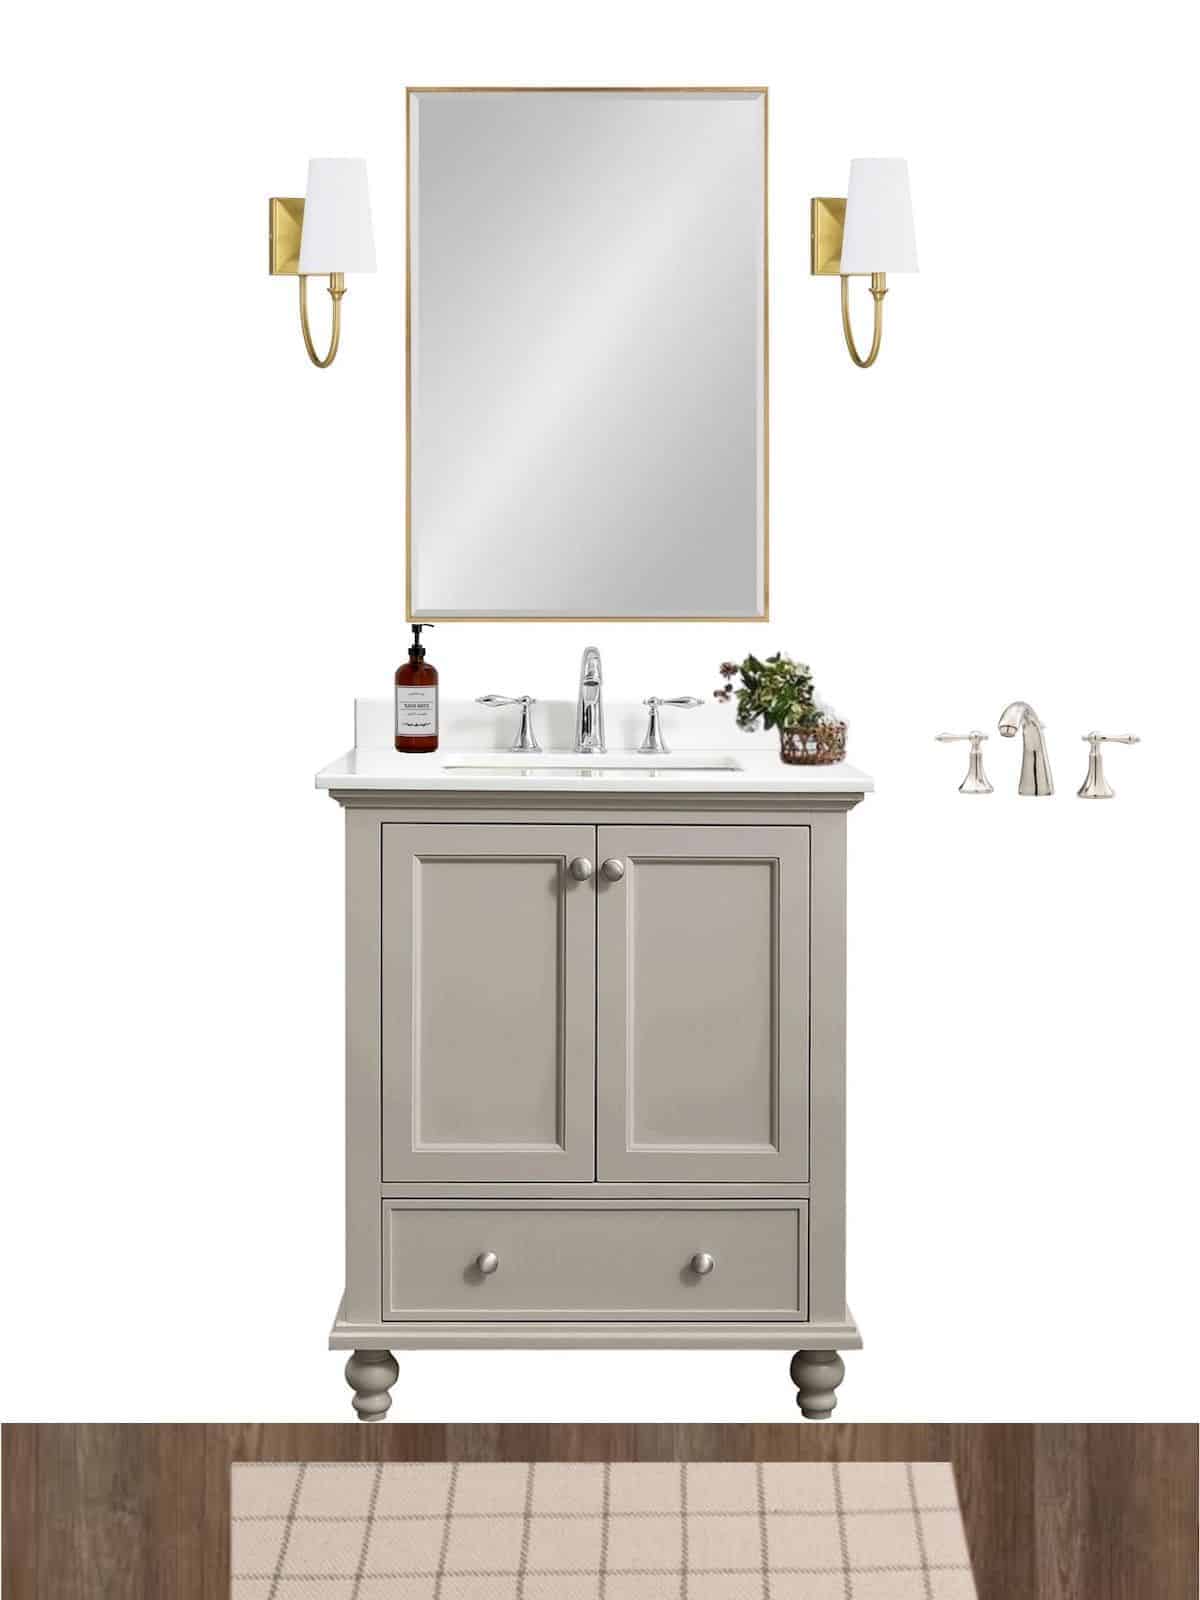
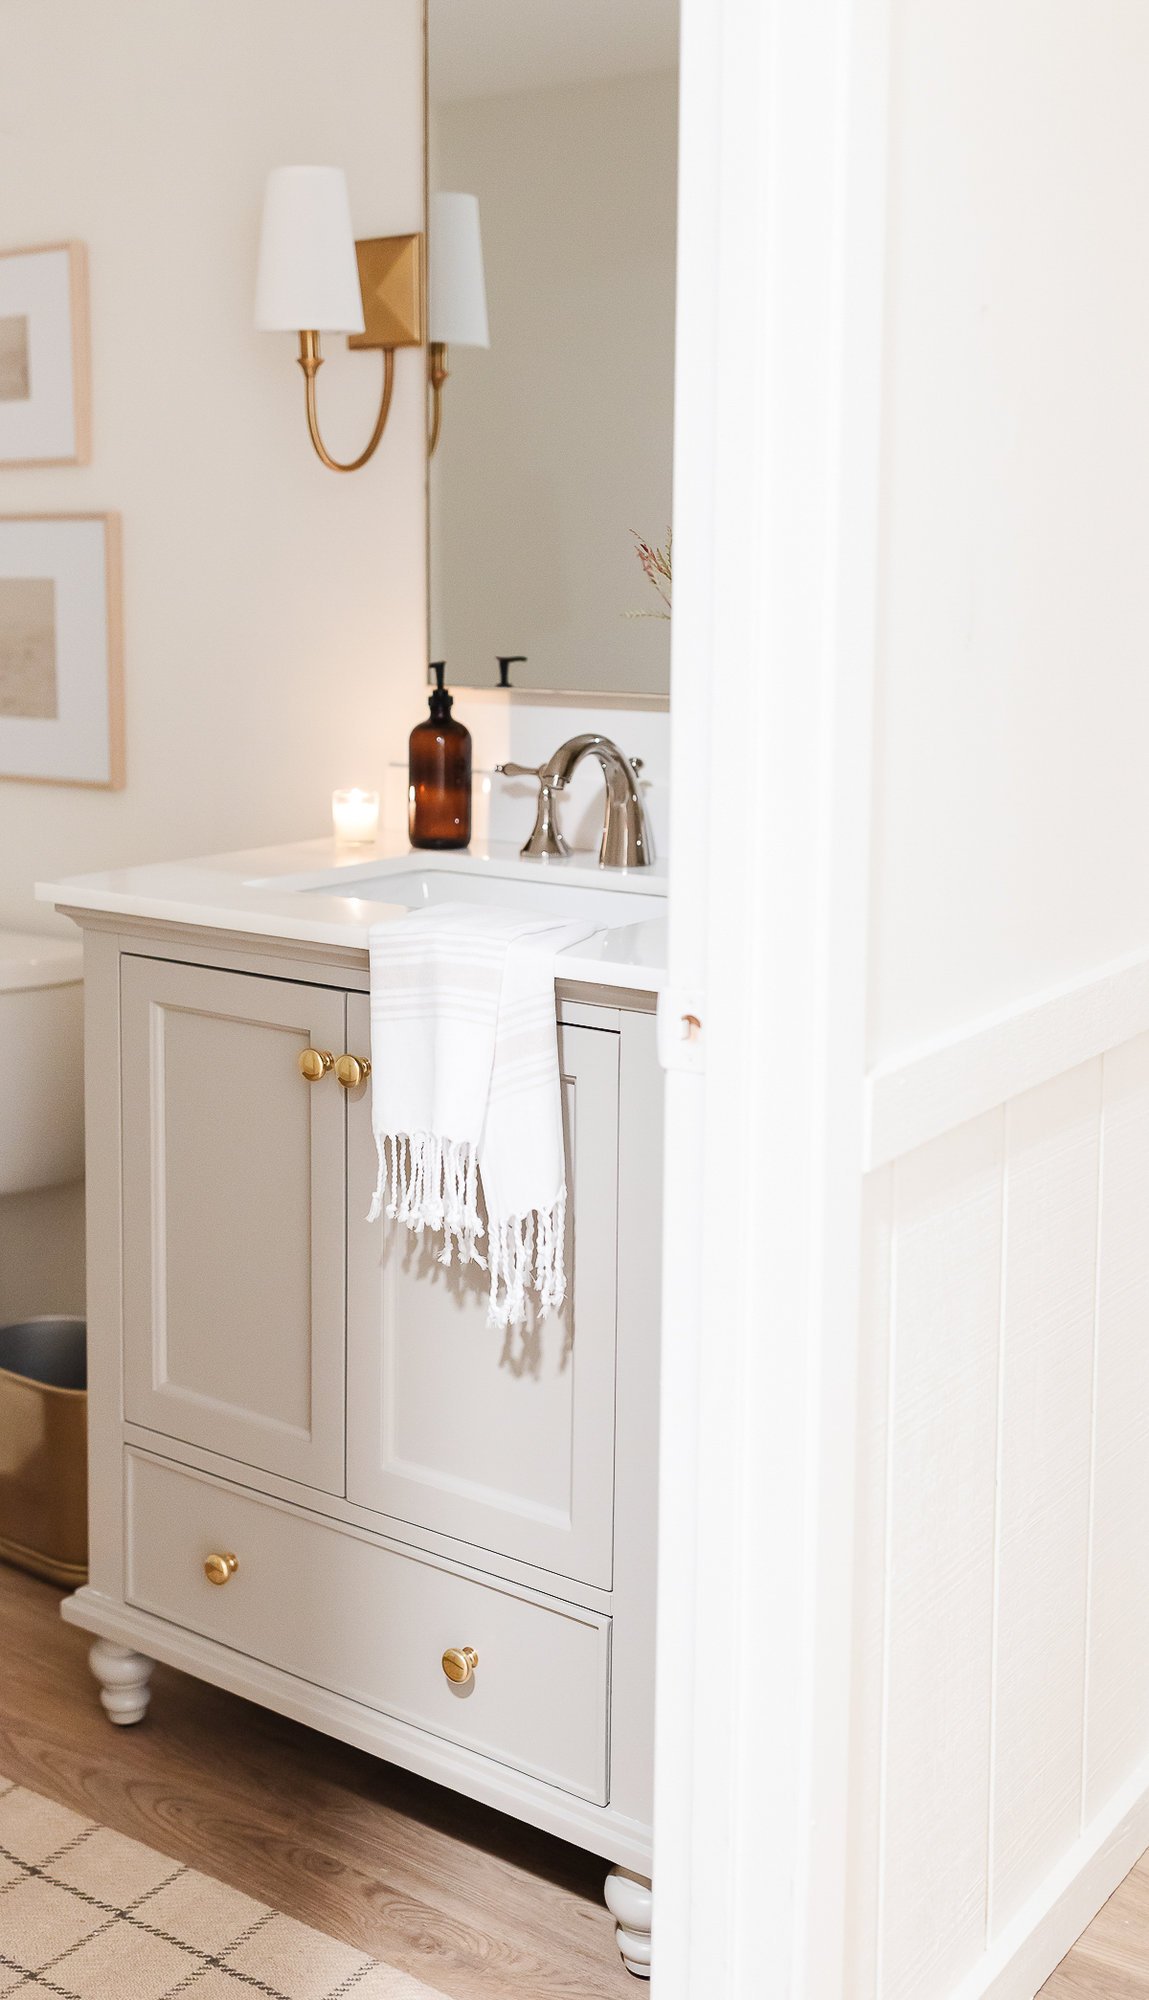
You can see below how I gather materials to see what plays well together before inserting into a photograph of the space. This helps visualize to see if it not only works, but works in the space.
Right now, I’m working on our primary bathroom at our Modern Lake House.
How to Make a Mood Board
- Create a new folder on your desktop.
- Find the images you want to use. Drag and drop them into the folder or right click to save image to the folder. {Remember, these are for your personal use only as they are copyrighted}.
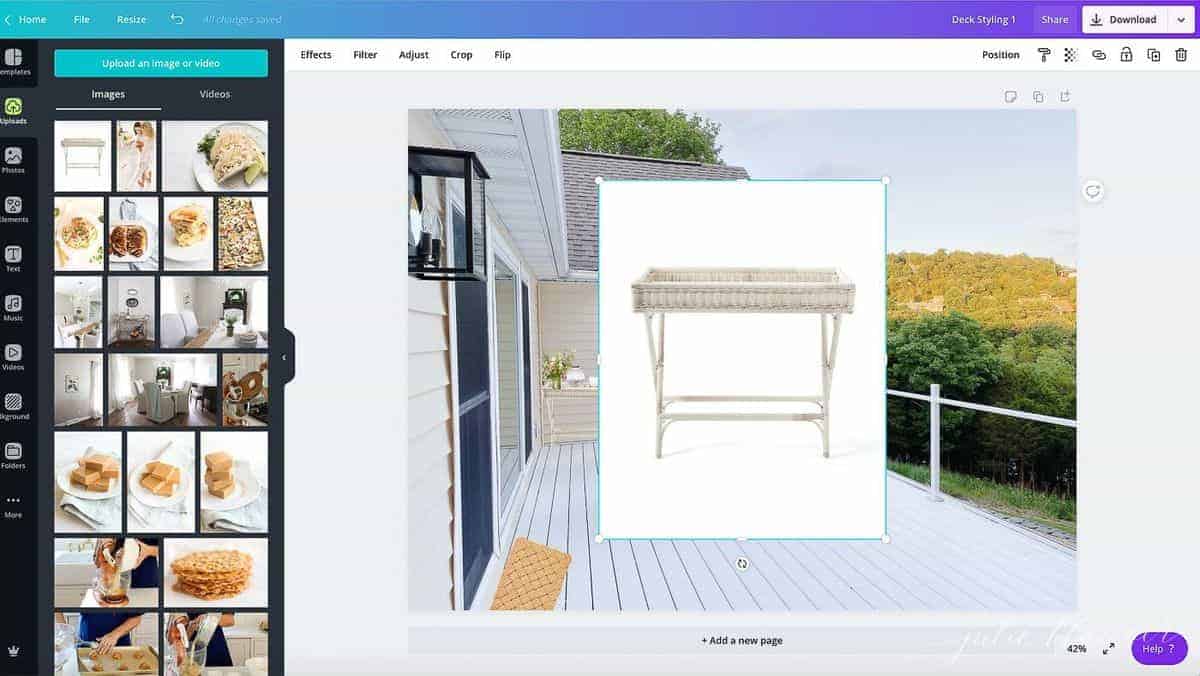
- Create a new Word Document or software layout and if needed, change page layout to landscape.
- Individually drag and drop each image one by one to the document. Crop images if needed and change the format to “in front of text”.
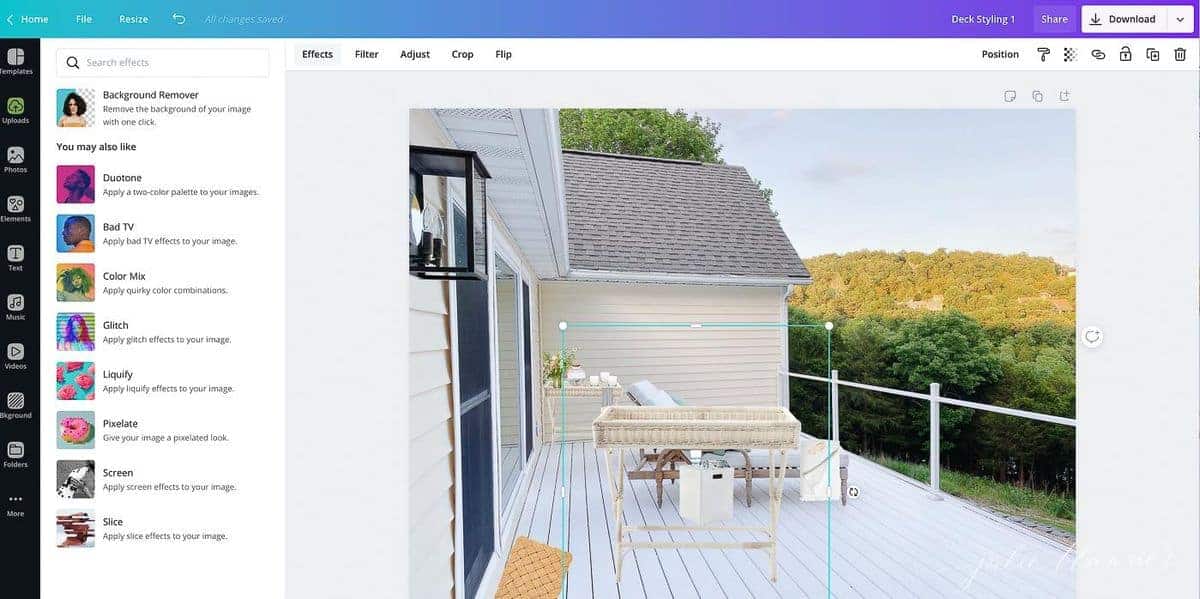
- Once all of your images are in your document, resize and rearrange as needed.
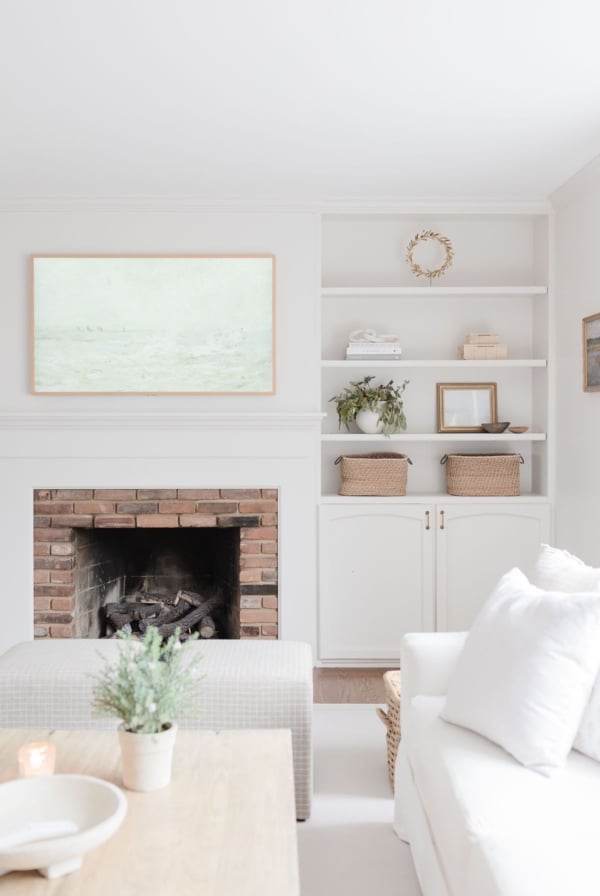
You can see how the room layout will work, how patterns, textures and colors look together as well. I do this for every room I design from “scratch” (rather than along the way) or before making big purchases.
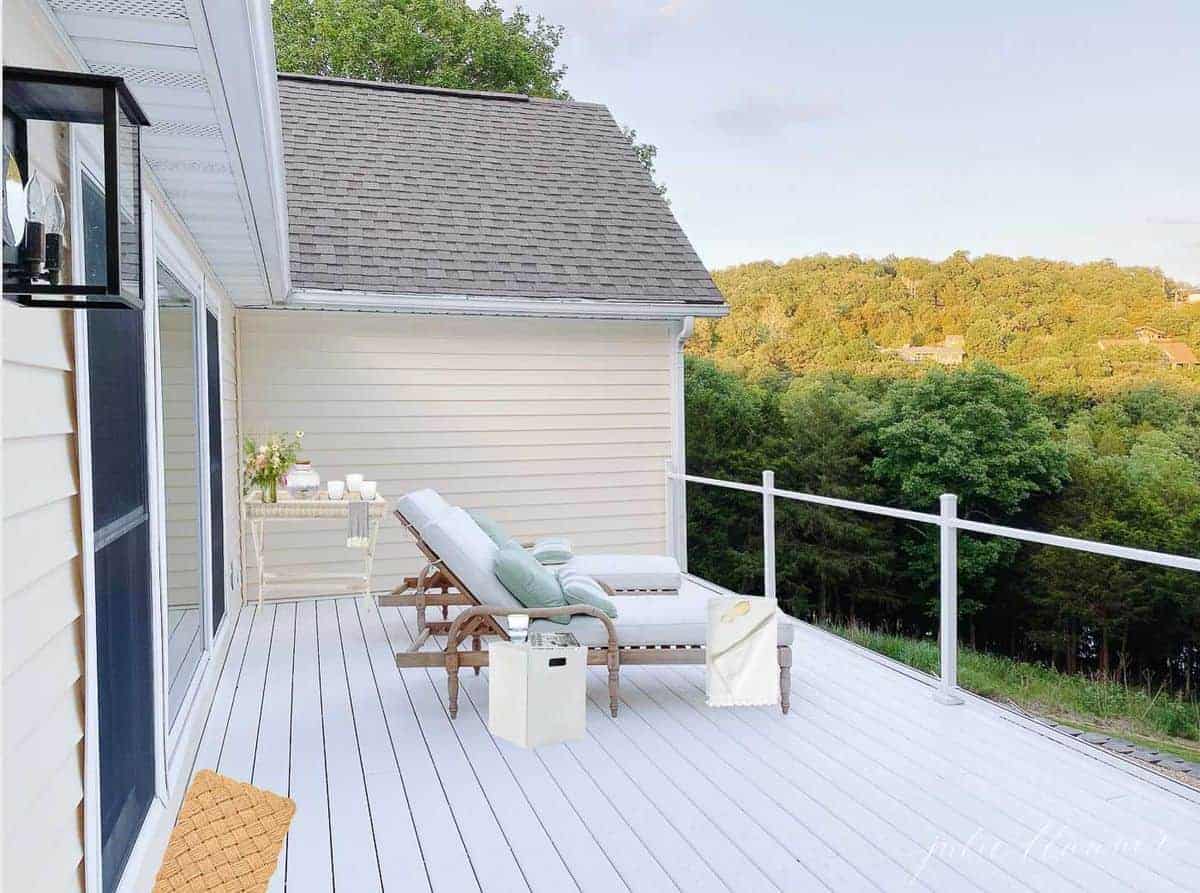
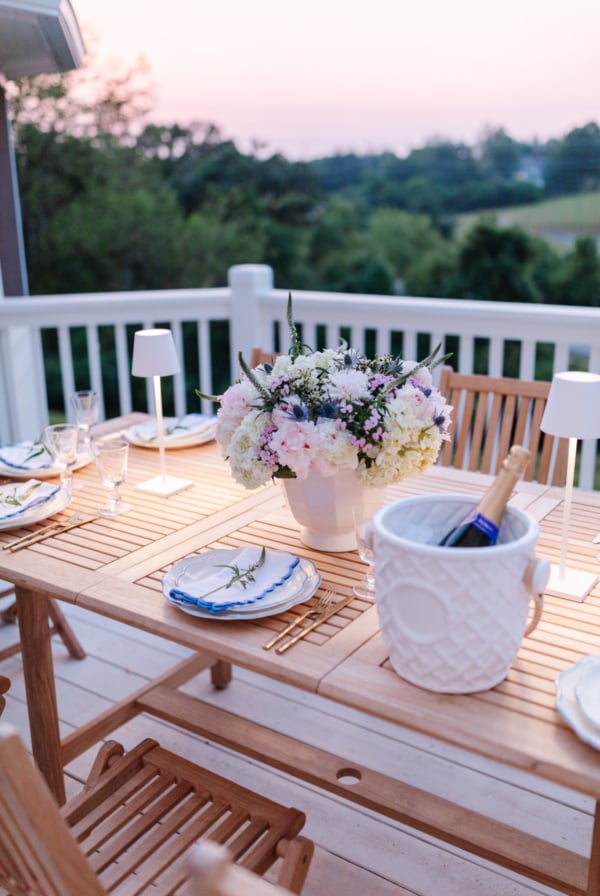
This even works for exterior spaces! See these examples of a mood board in process for our new deck at the lake.

Tips
- Feeling stressed about moving all those images around? Make an old-fashioned mood board instead! Cut and paste photos, fabrics and more onto foam board. There’s nothing like doing things the old fashioned way and you can see and feel how colors and textures play together.
- Measure. Knowing the dimensions of a room can help ensure you purchase pieces to scale. Learn How to Measure Furniture here.
- Another designer trick? How to find the source of an image. Sometimes you’ll find something you love in an image but you have no idea where to look to see if items are named. This little trick will help you find them every time!
- Shop! You can read about how to get the same piece/look for less here, or shop via my curated online store here! Be sure to check dimensions before you purchase and consider how they play into your room measurements.
Frequently Asked Questions
Mood boards are a layout of inspirational ideas and elements that designers often use at the start of a new design project. While they are used in all areas of design, interior designers use them to help a client envision the look and feel of a space and the elements they are suggesting.
That’s entirely up to you! That’s what makes it so much fun. You can consider a variety of colors, decorative accessories, inspirational images of nature or design that evoke a certain feeling. For an interior design mood board, gather your inspirational elements from stores and place them together to see how they look!
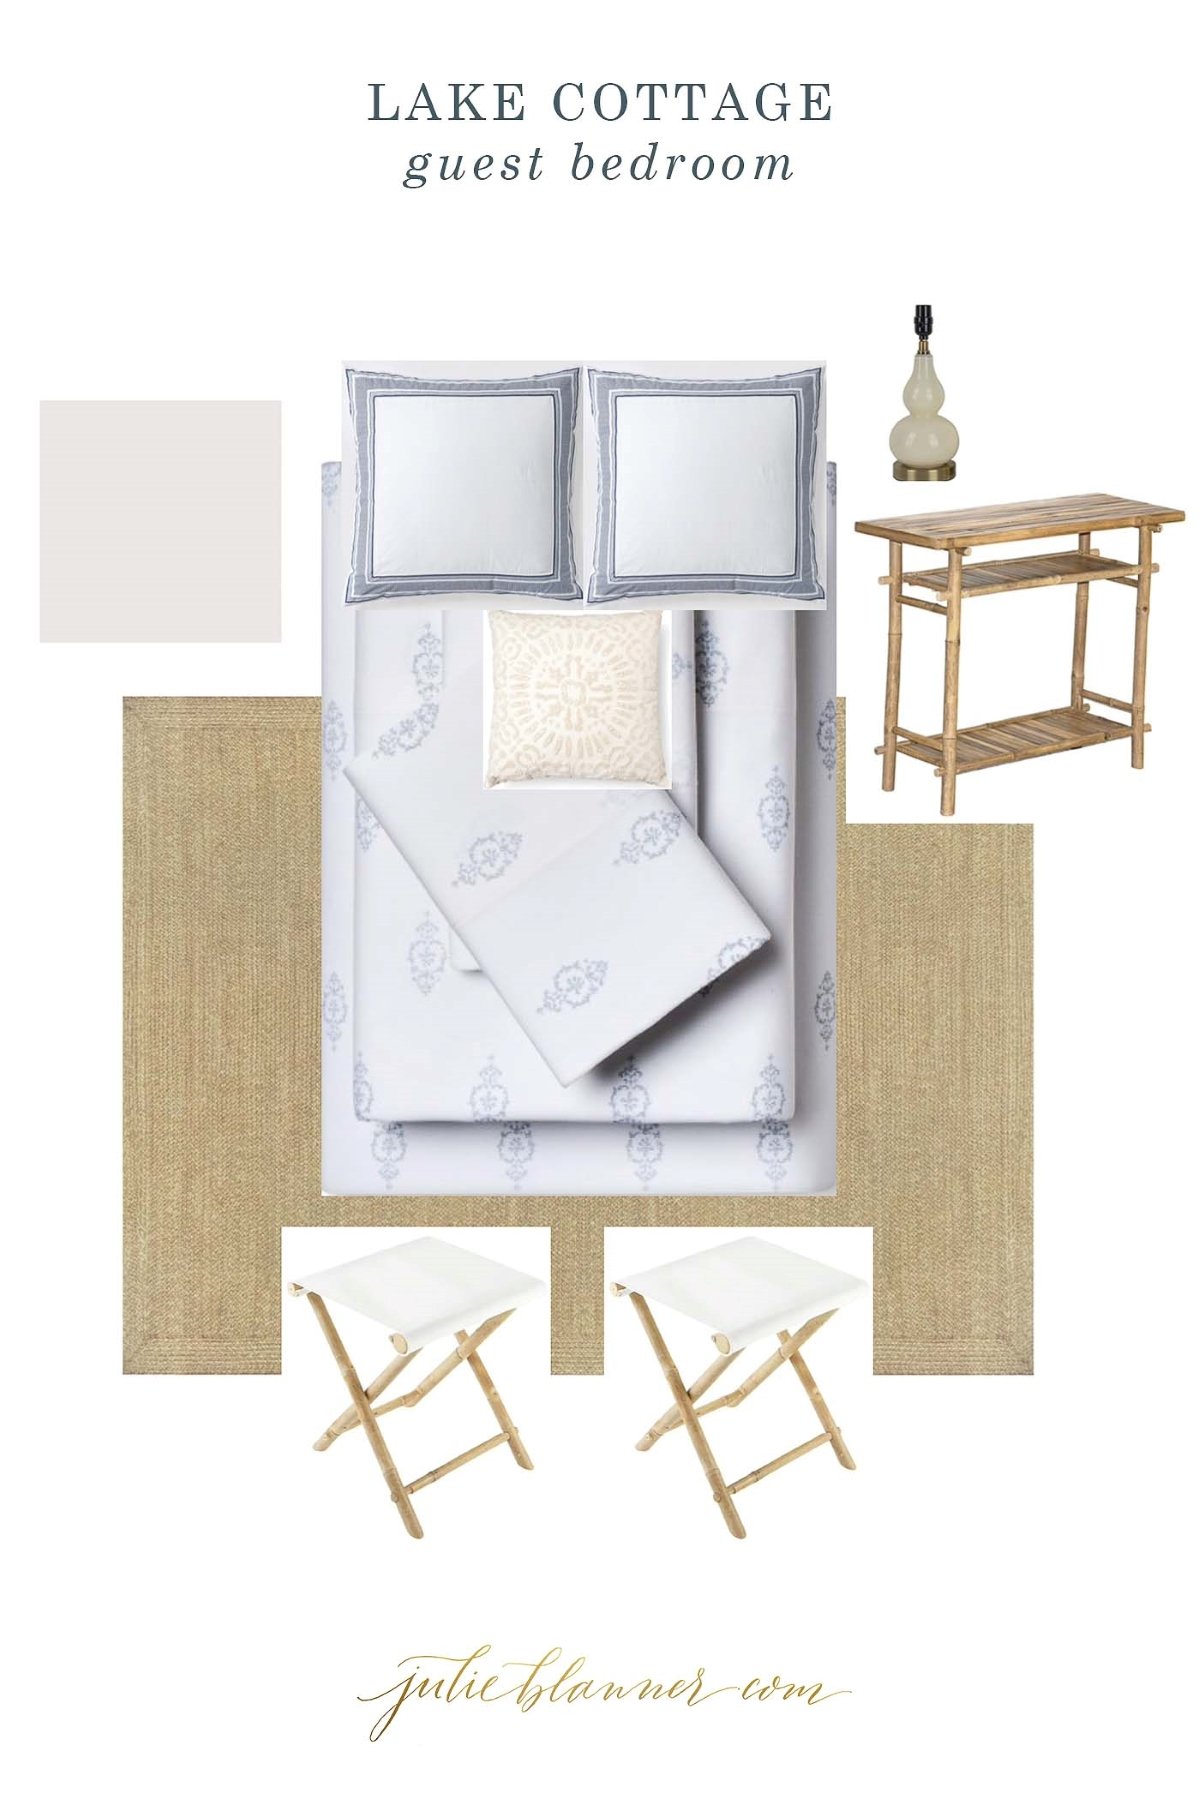
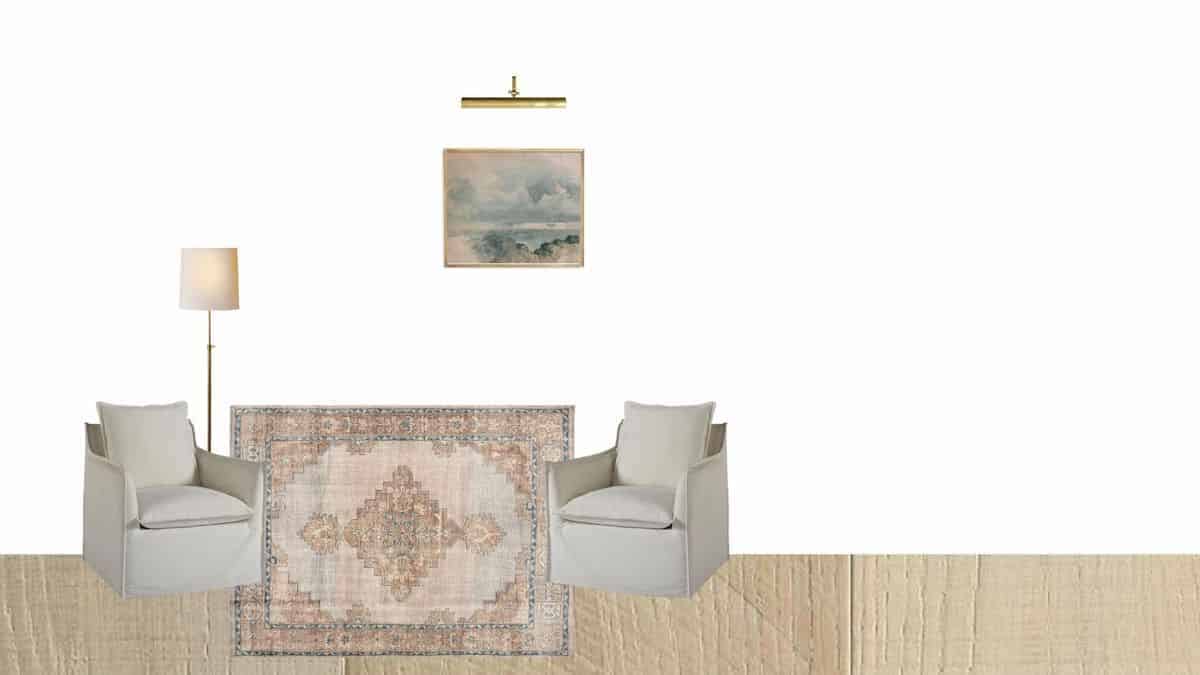
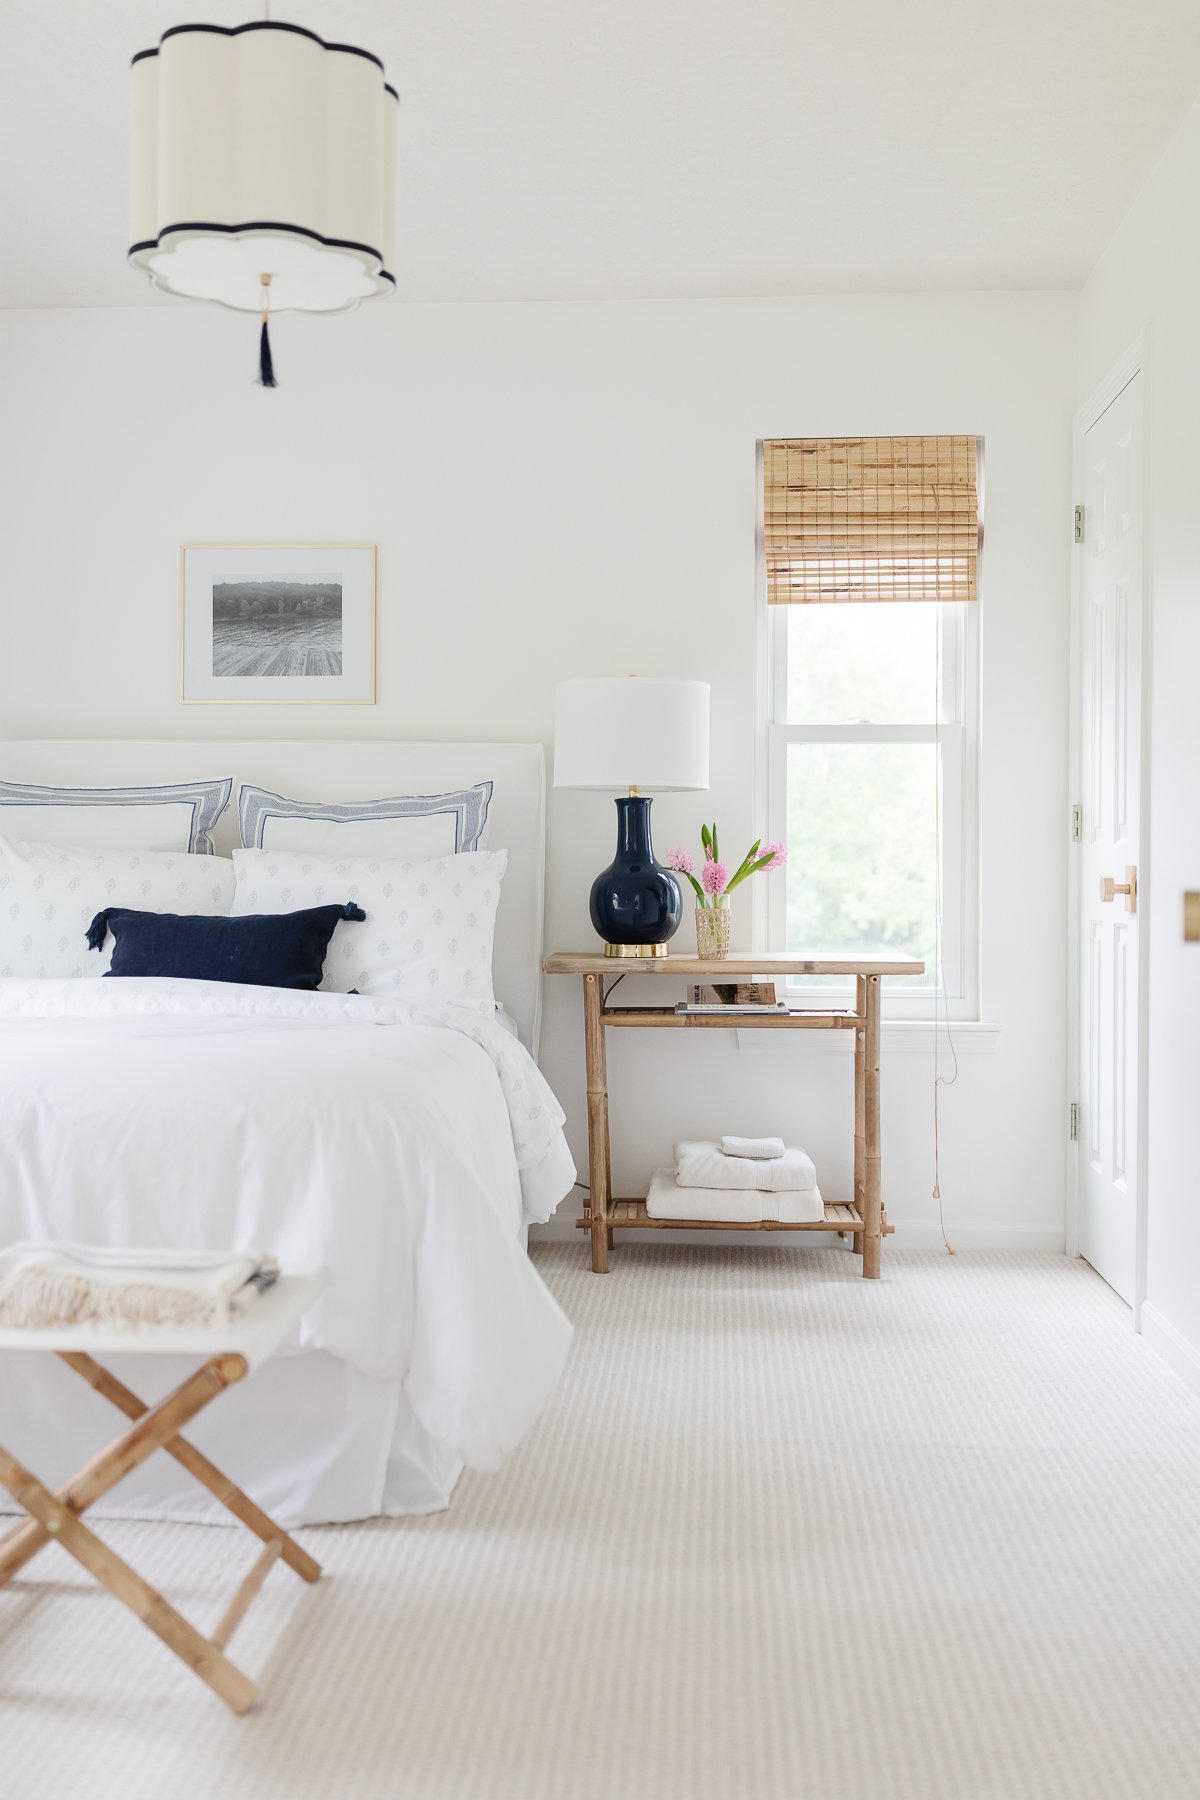
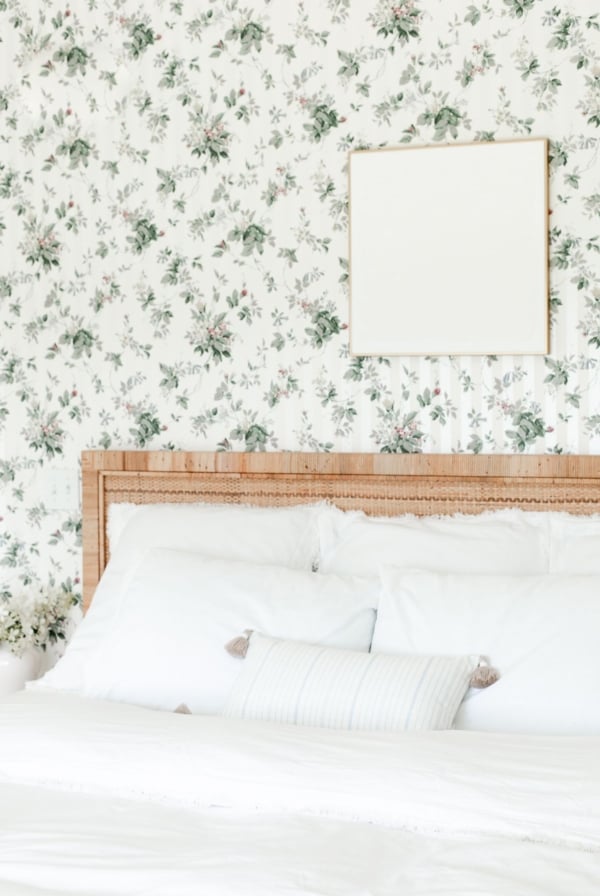
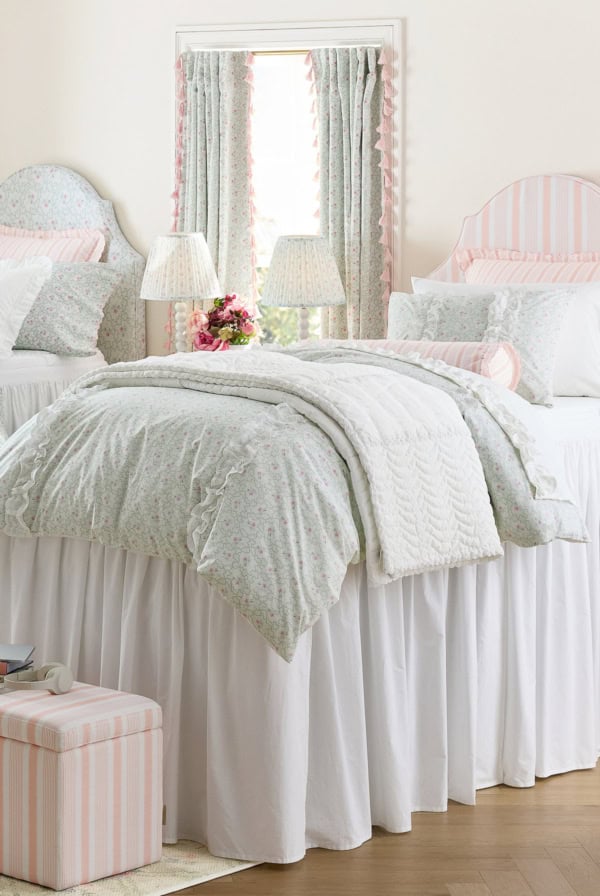
You can see an example here – above is how I designed the lake cottage guest bedroom. I played around with it in software until I loved the design.
What to Include in an Interior Design Mood Board
A few elements you might want to include in an interior design mood board:
- hard flooring
- rugs
- lighting
- furniture
- bedding and throws
- pillows
- towels
- hardware
- paint colors
- window treatments
- appliances
- decorative accessories
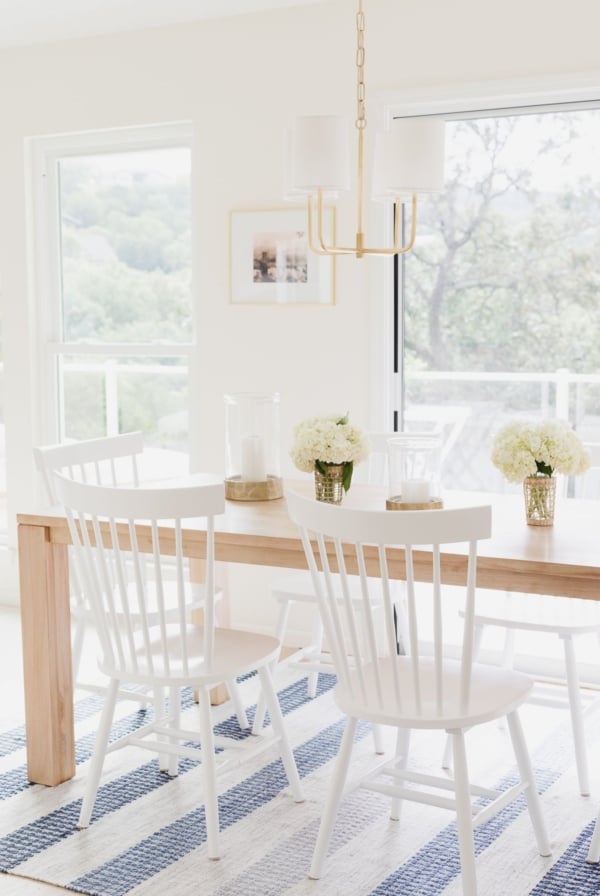
Here, I included the rug, furniture, a couple accessories, textiles and paint color.
I changed the orientation of the rug, selected a different lamp (the one I originally chose wasn’t available soon enough), added bamboo shades, a drum shade pendant light and a piece of art.


I gather paint and fabric samples to get a feel for how colors and patterns are going to match, but as far as moving the furniture around, I measure everything – the room and every piece that is going to be in it. I put it all on graph paper, then move it around until I’m satisfied. I’m really old school!
It works! I love it!
This is great information. When a large scale organization gets ready to do a redesign they do a lot of these. Using a board to attach fabrics, paint samples and the like is key to knowing how it will all look when it is put together. Thank you for sharing your great tips.
Thanks, Audrey!
Ballard has a great website with a section “How to Decorate” with lots of great information. They also have a very helpful “Room Planner” where you can input your room dimensions, measurements of your furniture, move things around, measure spaces, etc. We are building a house, and this is a very useful tool.
I really enjoy your blog with so many beautiful images. Love your kitchen, your flowers, design tips, etc.
They truly do! Thanks for sharing, Patti! Hope you have a beautiful weekend!
Same idea, but we use Pinterest by rooms in our house and edit out photos into more generic boards by rooms. Then we take the photos out and use them in PowerPoint to create decks of the entire house with links to the original source so we can easily track changes and manage text easily.
Great idea!
Wow! This is such a great idea. Can’t wait to try this.
Thanks, Dee!