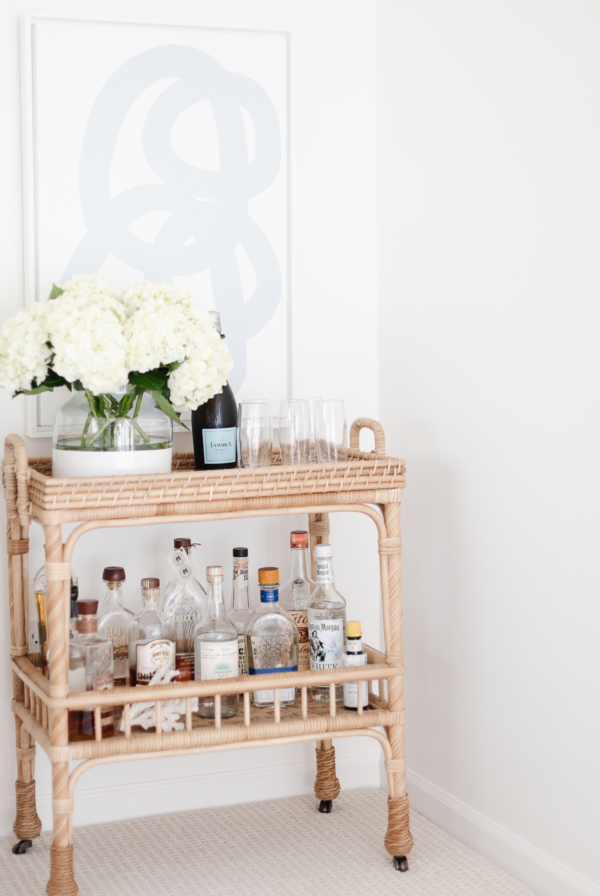

Flowers
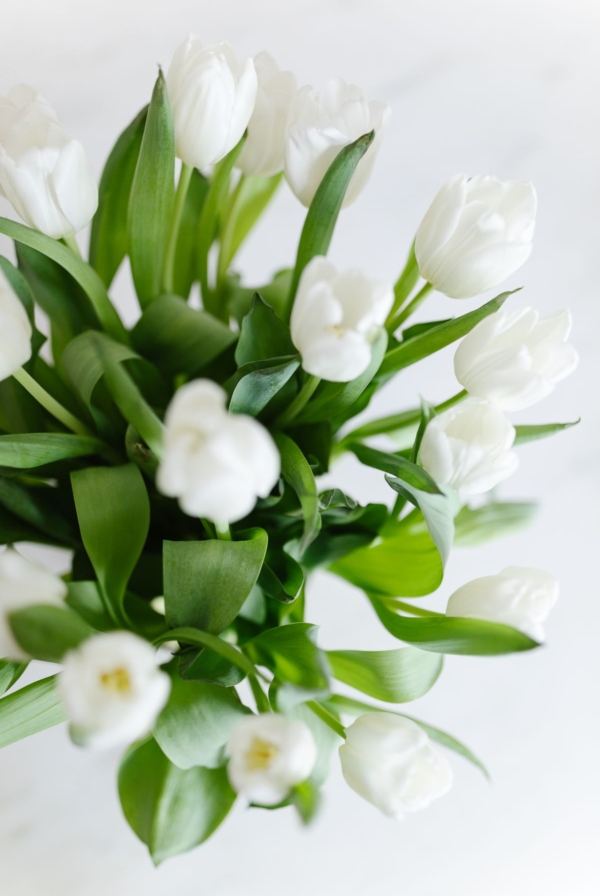
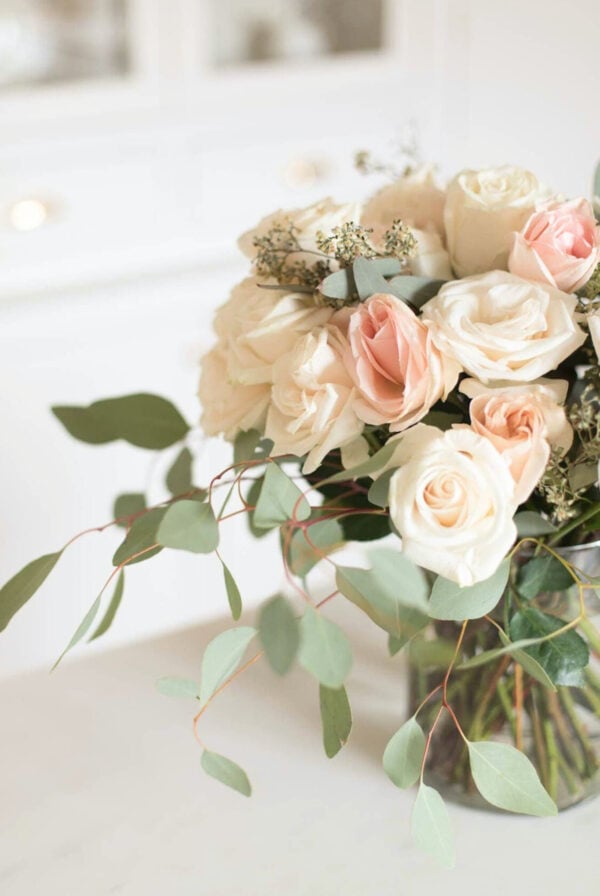
How to Select Flowers
Video
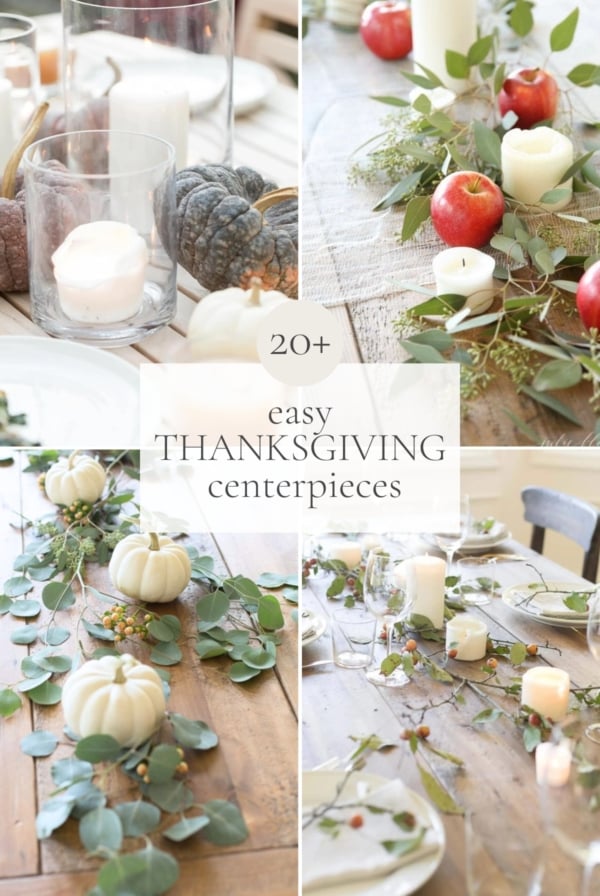
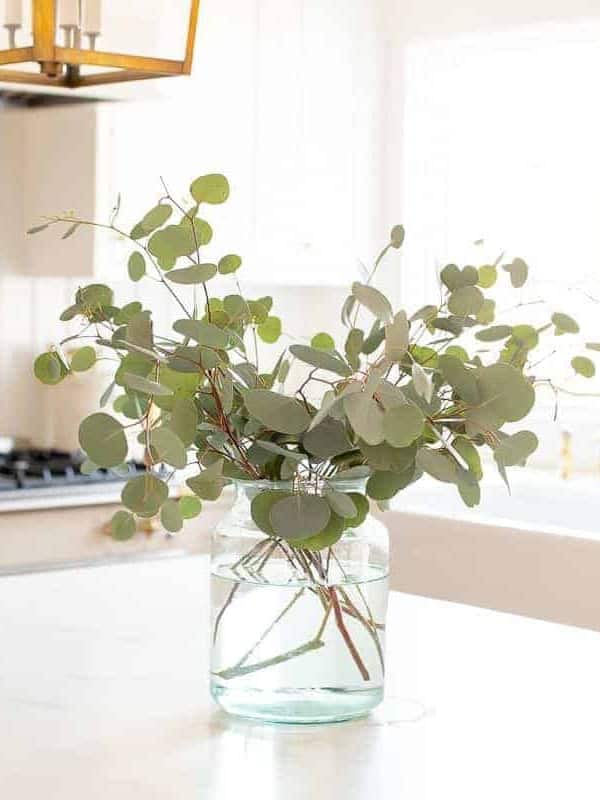
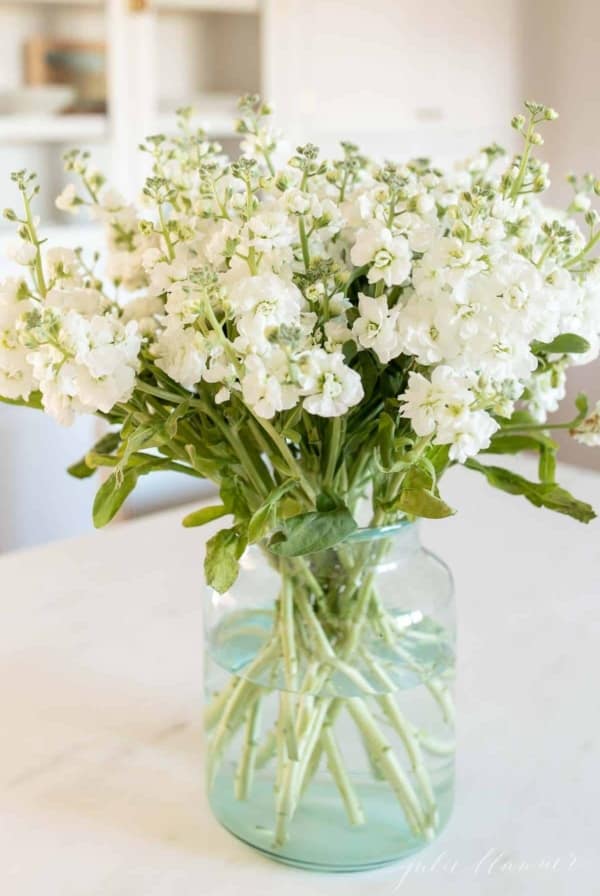
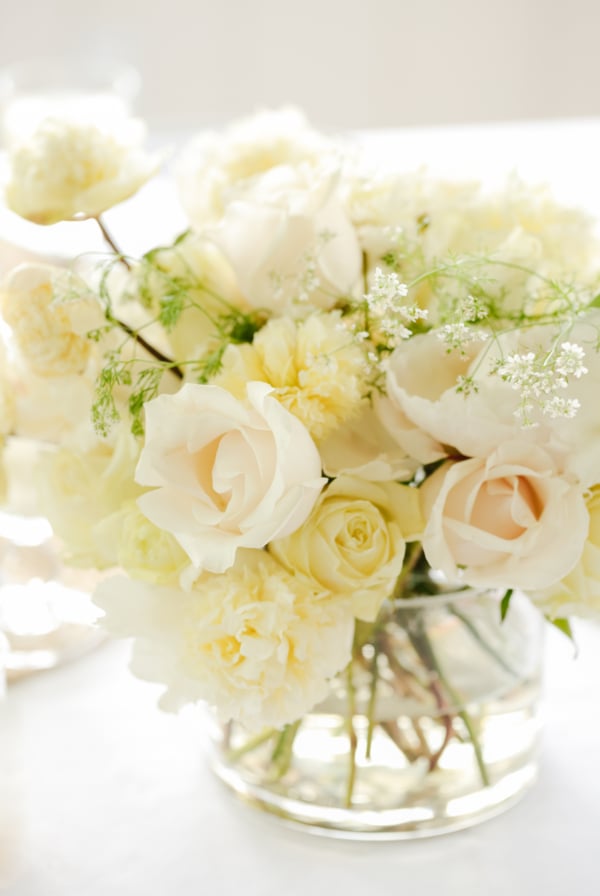
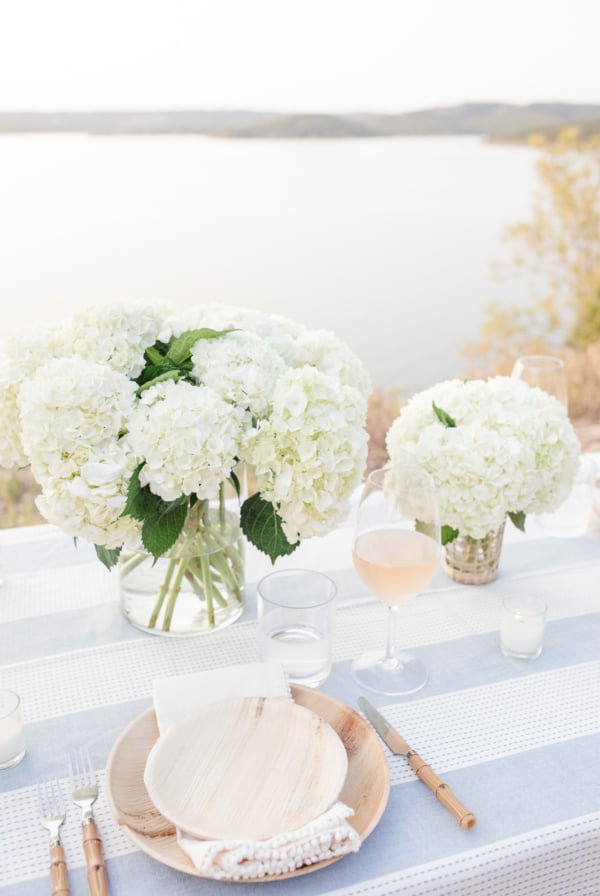
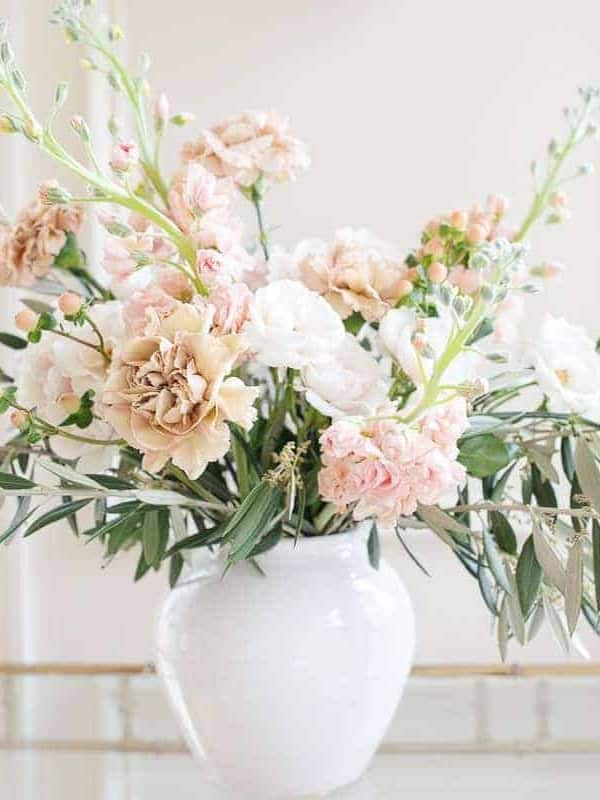
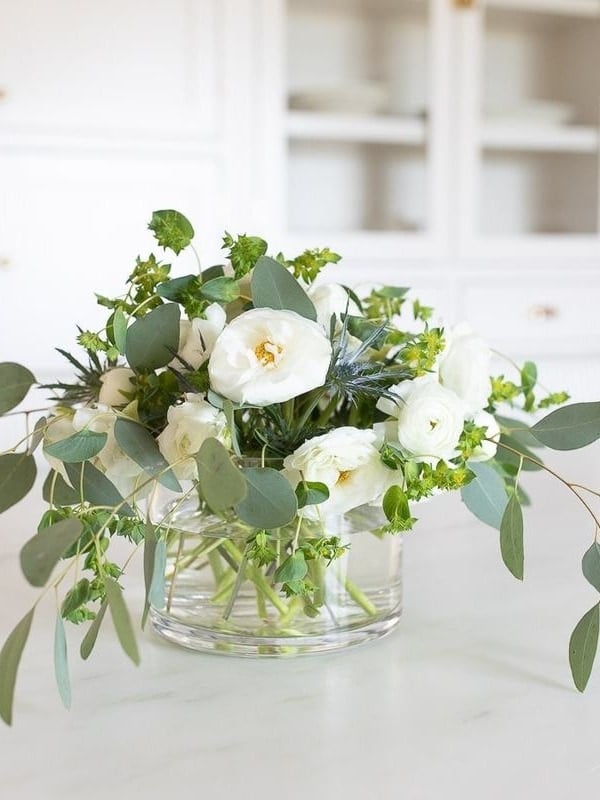
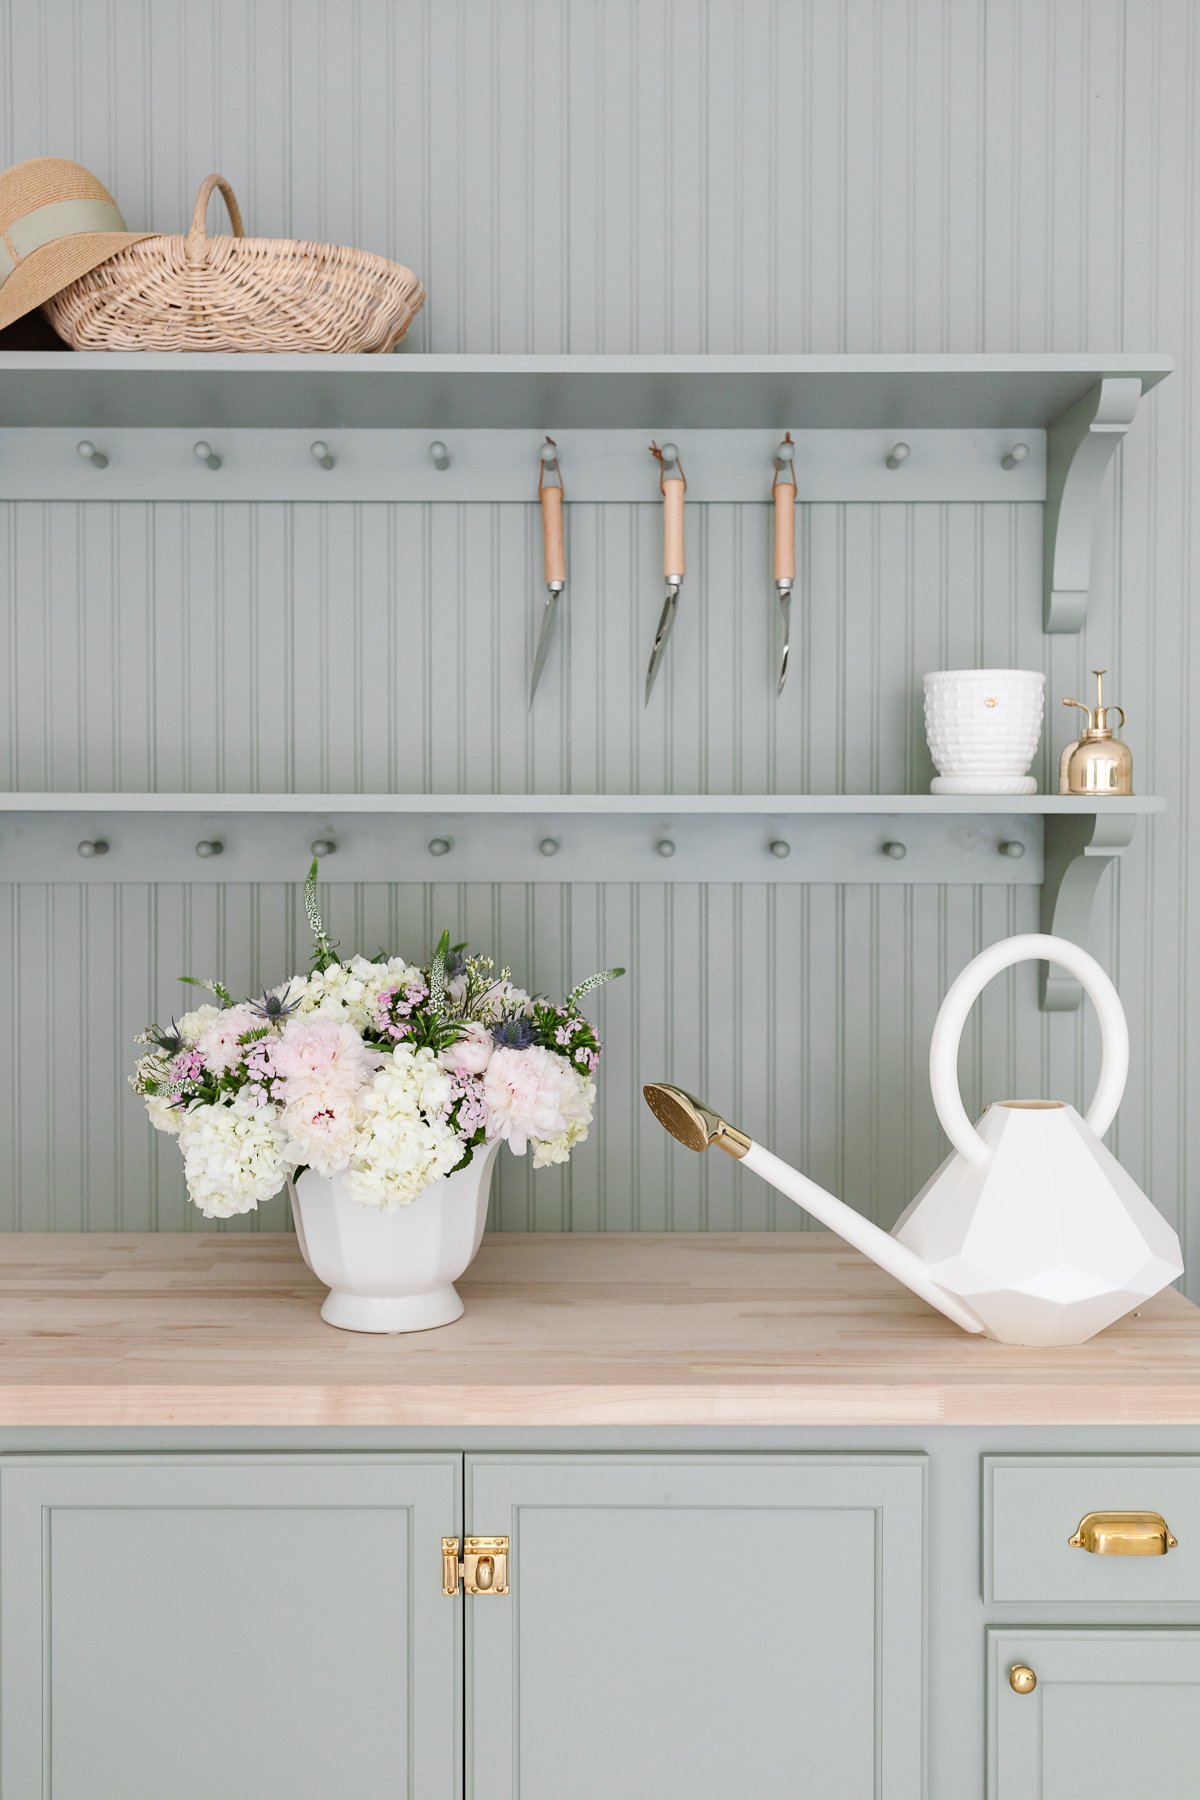
Everything You Need to Know About Trader Joe’s Flowers
Get the best tips for purchasing and designing Trader Joe’s flowers. We’re guiding you to learn when to shop, which flowers to buy, and how to make beautiful flower arrangements, too. Read More