Learn how to select furniture paint that won’t chip and offers a flawless finish. This is the best paint for furniture whether you’re painting wood or veneer! You’ll find our tried, true and tested favorite brand of furniture paint, along with a step by step tutorial.
This is a beginner’s guide to paint furniture effortlessly, for a professional finish.
Originally posted Marc 22, 2019 and updated with fresh content, details and new photos March 31, 2021.
Painting furniture is one of the easiest ways you can transform a piece. It’s an inexpensive way to update a tired piece of furniture or give it a fresh look.
Painting furniture is inexpensive and takes little more than time when you have the right products.
Through the years we have painted many Cabinets, Walls, Trim, Ceilings, and a lot of furniture. Through experience, we had learned a lot – often the hard way.
One thing we learned early in our DIY lives is that not all paint is created equal.
The kind of paint you use will determine how durable the finish is. It’s important to stand up to cleaning, bumps and more.
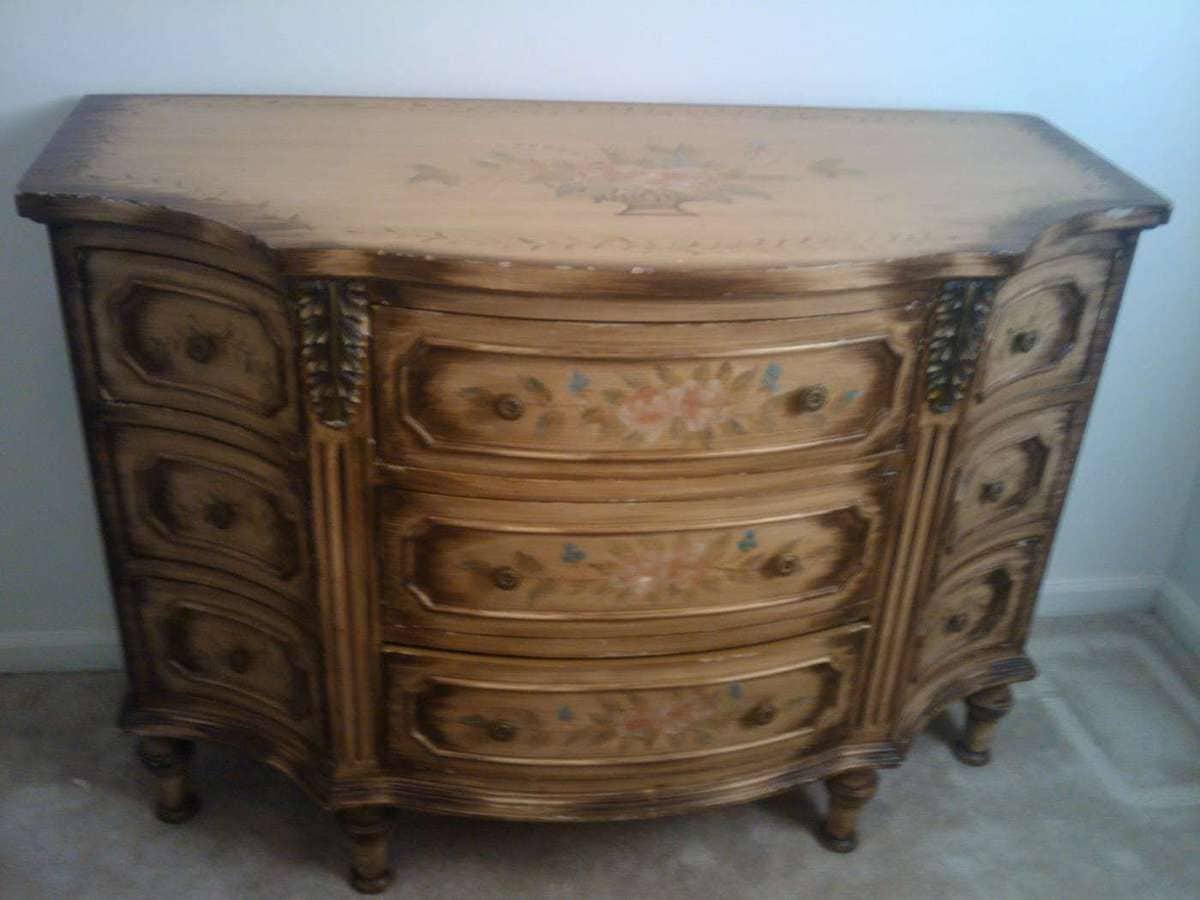
To save money, we opted to purchase used furniture for our girls’ rooms. We knew that with kids it would experience heavy wear and tear. Though we have always attempted to prevent it, we also knew that markers and glue would be inevitable.
Furniture Paint
So with that in mind, we painted pieces to match Pottery Barn Kids white in Sherwin Williams Creamy. We used a few different brands of furniture paint. It turned out, some were much more successful than others.
You know you’re using the right paint when it doesn’t chip, doesn’t dent, wipes clean, has a smooth finish and is dry to the touch.
You need to choose the best paint for furniture for the best long term results.
After comparing several pieces over time, we found that the best furniture paint is Sherwin Williams Pro Classic.
We have painted so many pieces of wood furniture with this paint, and not only does it provide a flawless finish, but it doesn’t chip. It has a hard, beautiful sheen.
Why You’ll Love this Paint
- It came as no surprise that our painters highly recommend it, too! This furniture paint yields a smooth finish and incredible texture.
- It is not only the best paint for furniture, but also for trim and doors! It doesn’t scuff the way most paints do and adheres well to wood.
- ProClassic goes on smooth without brush or roller marks. As proven by our children, it also stands up to wear and tear.
- This furniture paint easily wipes clean. Glue, washable markers, makeup and more have been removed from “white” paint.
- I love that it’s a latex paint so there isn’t a strong odor, which means you can paint a piece of furniture indoors or out.
- Painting surfaces is especially easy! When you use the right furniture paint, it’s a no fuss, no mess paint project.
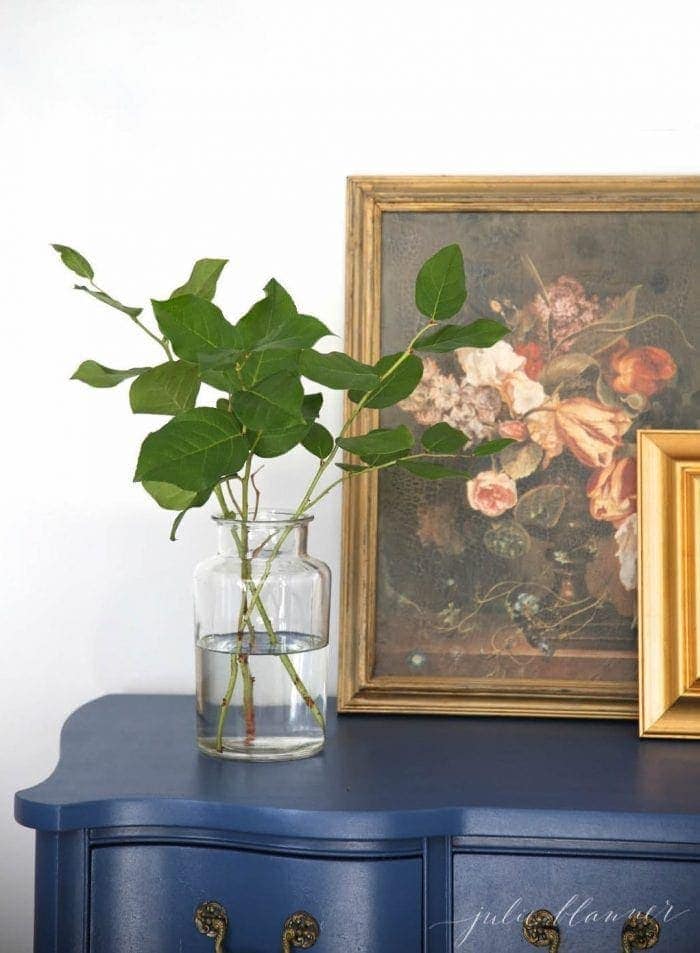
This credenza, pictured in our office is painted Van Deusen Blue from Benjamin Moore. We simply had it color matched in the Pro Classic Paint.
Unlike chalk paints, you don’t have to paint, distress, paint, distress, paint and wax. In fact, whether you’re painting a piece dark or light, you should only need two coats when using a quality furniture paint.
It’s available in all the general paint sheens. You can paint in gloss, high gloss, semi-gloss, or eggshell. I tend to prefer semi-gloss or satin, but high gloss is beautiful for a more modern finish.

Do I Really Need a Special Furniture Paint?
You may be wondering why you should use furniture paint. Well, not only is not all furniture paint created equal, but not all paint is created equal. Paint is designed for a specific use, the most common use being for your walls.
Furniture paint is a harder finish, and therefore more resistant to scratching. It also won’t peel off (yikes, could you imagine?) Sure, it’s possible with primer, but it’s best left for rarely-used pieces.
Also, furniture paint is so much easier to clean. Have you ever wiped your wall down with water? Chances are it left some kind of mark that can be seen in natural light.
Why This is The Best Paint for Furniture
- No need to use an oil based primer
- No need for top coats
- It’s a water based paint
Tips When Using Furniture Paint
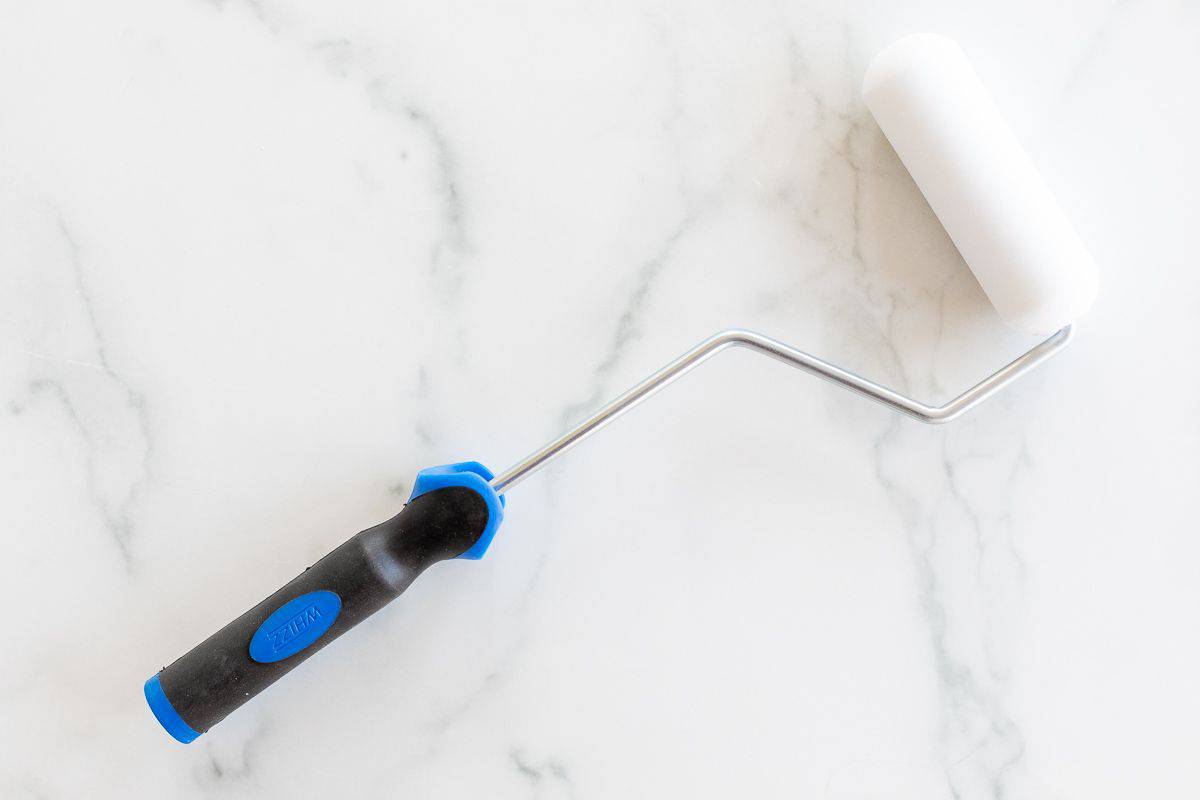
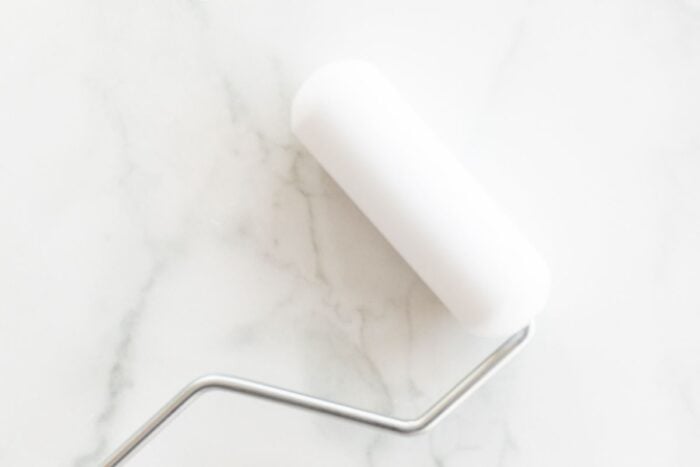
- Use a foam roller rather than a paint brush to avoid brush strokes, if possible.

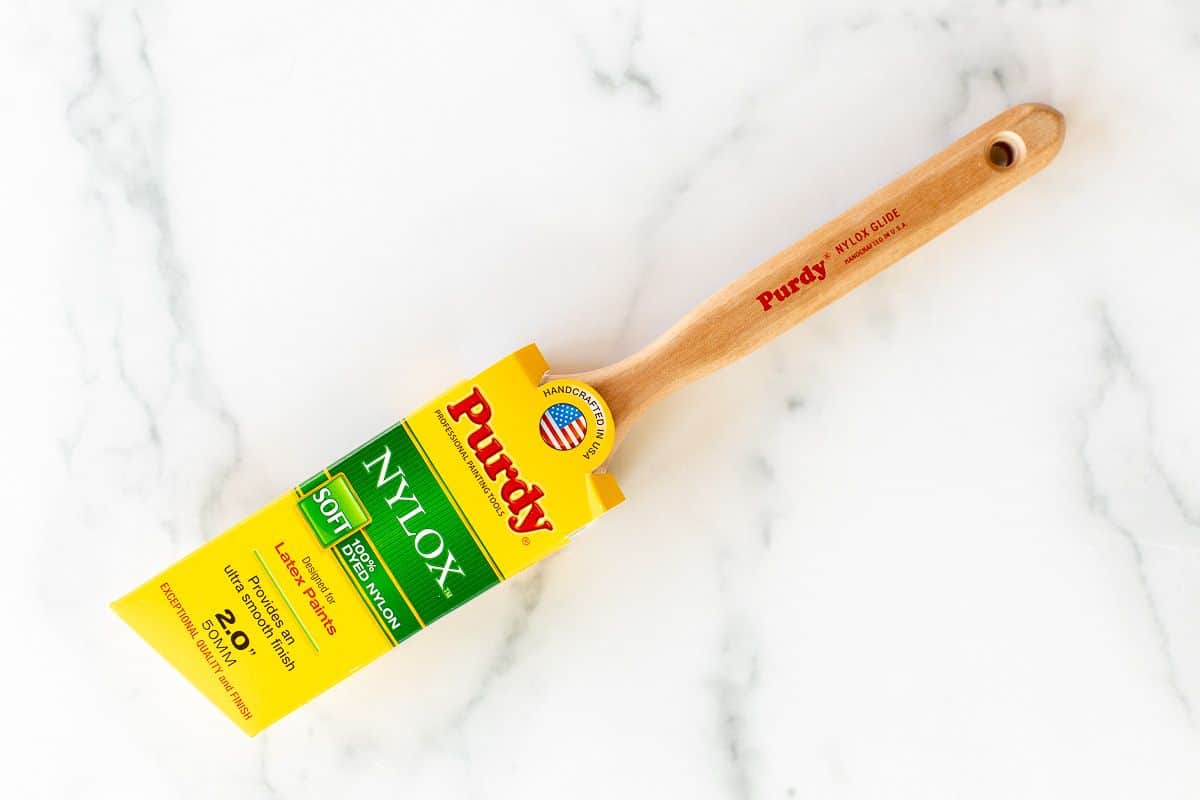
- If you do need to use a brush, use a good one! We prefer these brushes because they are the best quality.
- Use two coats of paint
- Work quickly – it dries quickly. When it becomes tacky you’ll notice more brush/roller streaks
- Let it completely dry between coats
- For the most luxurious finish, use paint sprayers.
Where to Use Furniture Paint
- Furniture
- Doors
- Trim
- Cabinet
Tools to Use for the Best Results
- Paint Sprayer
- 4-6” Skinny Mohair or Foam Rollers
- Roller Tray
- Roller Tray Inserts
- Drop Cloth
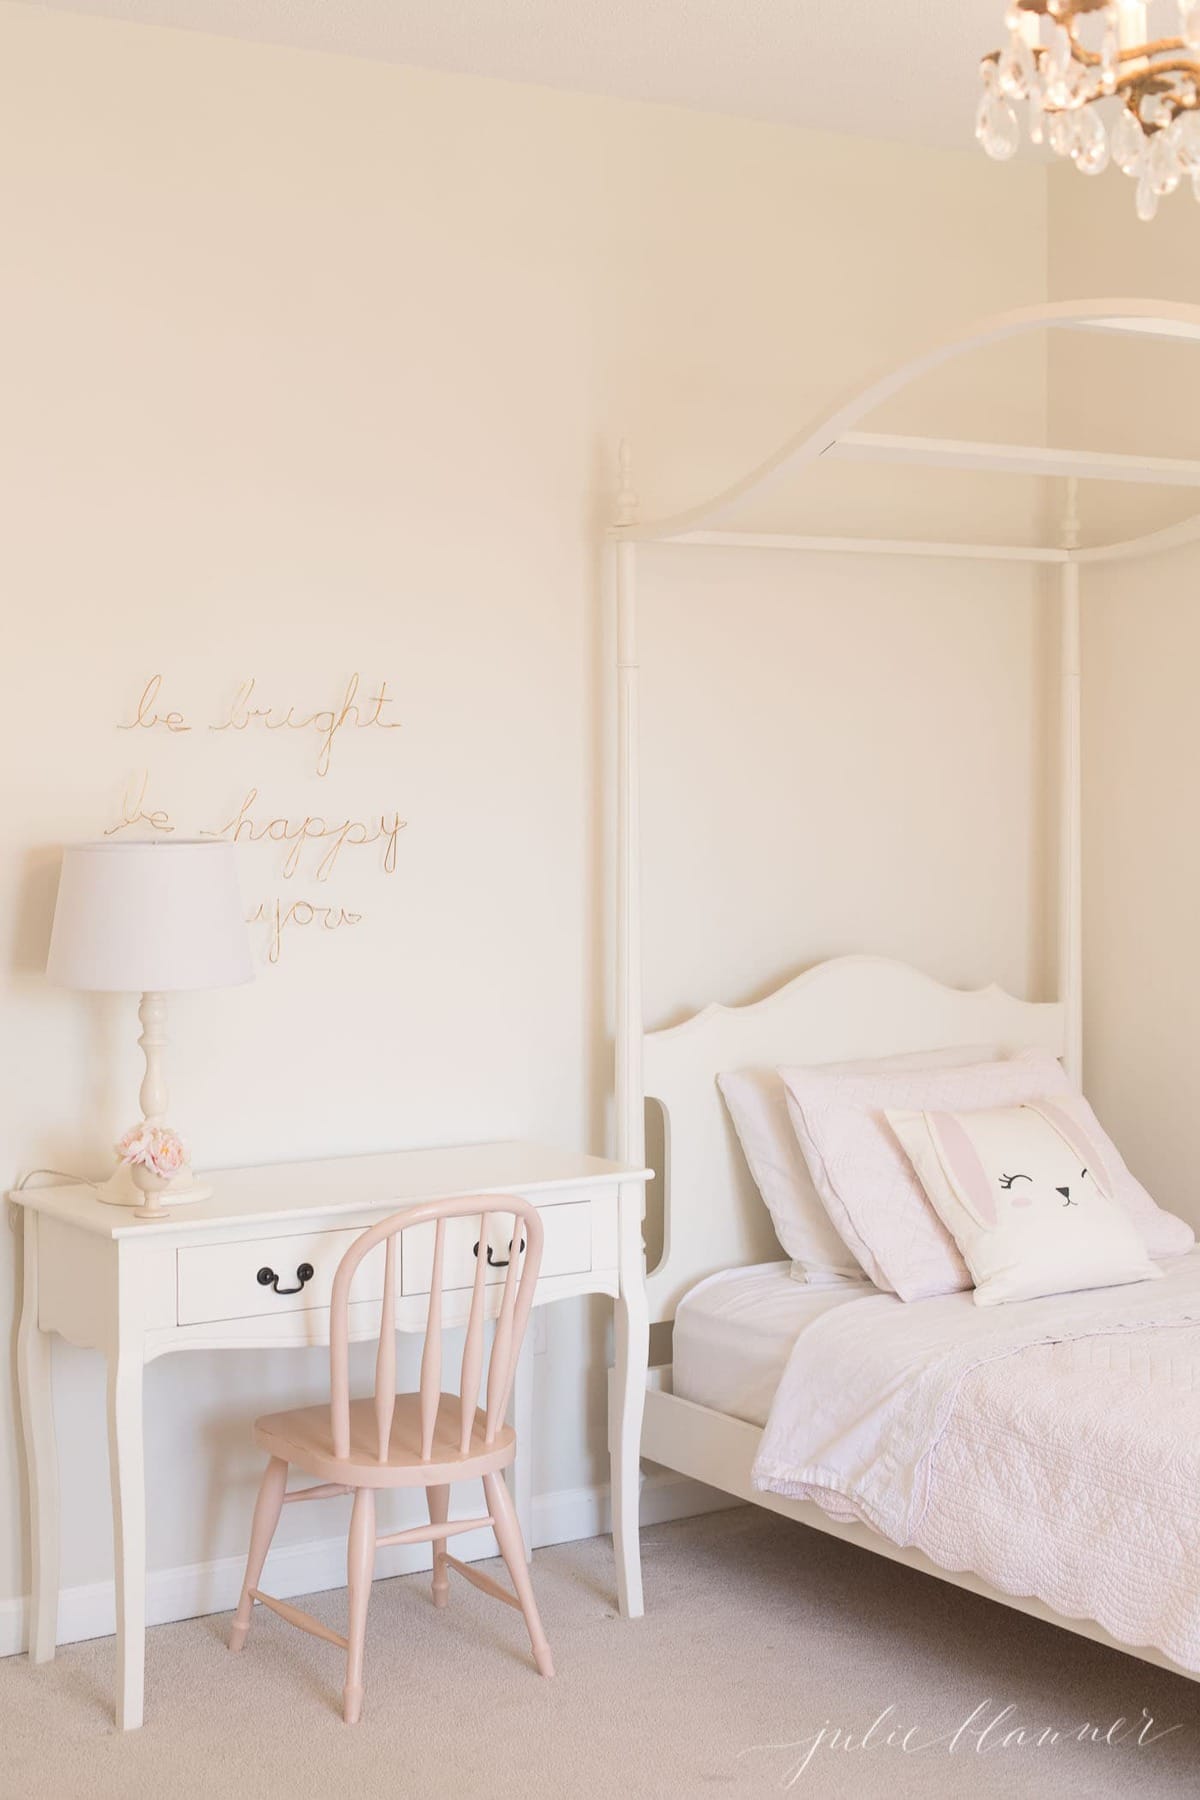
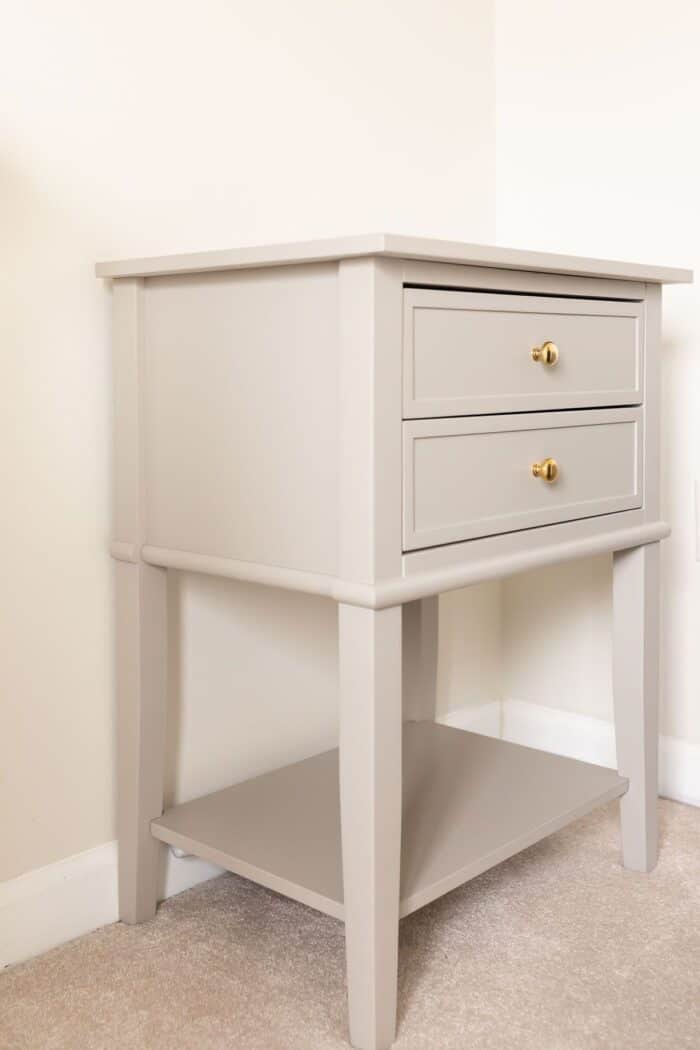
You may notice I didn’t mention anything about sand paper. Did you know you can paint without sanding? Learn how here. We used this trick in this Bedside Desk and it turned out so cute!
How to Paint Wood Furniture
It’s so easy! Follow along these simple steps to paint wood furniture in the easiest possible way. Prepping is just as important as painting.
Remove Hardware
First thing’s first! Remove hardware and any miscellaneous pieces.
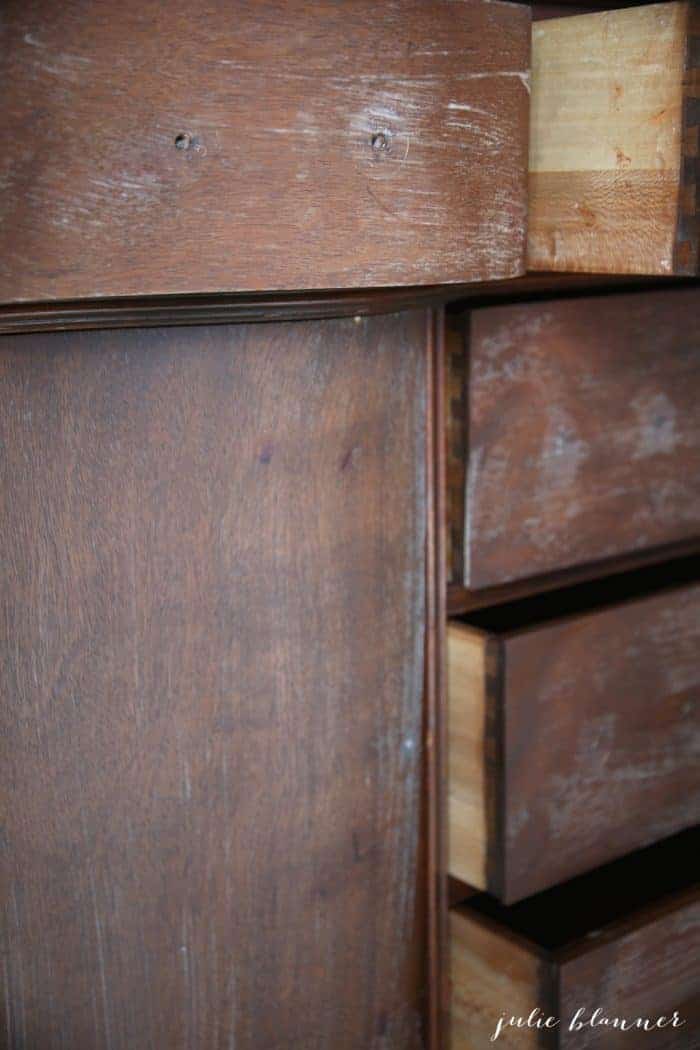
Remove Drawers
This will allow you to get the area that surrounds the drawers!
1. Clean
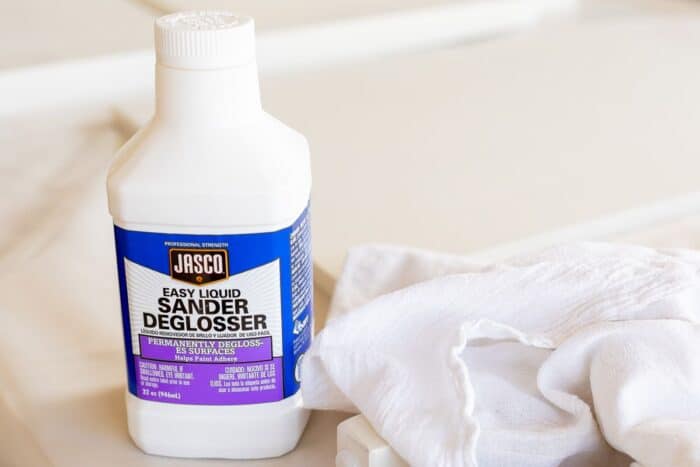
Of course, this step is really important for a flawless finish. If there is any grime, use a degreaser to eliminate it. (I like the one linked because it’s formulated specifically for wood.) Otherwise a simple cleaning spray will do the trick. Allow it to dry.
2. Sand – or don’t
Next up, you’ll sand. However, you don’t actually have to sand! Learn how to skip this step without sacrificing quality.
3. Clean, again
Next, clean it again. This time, you’ll remove any dust particles.
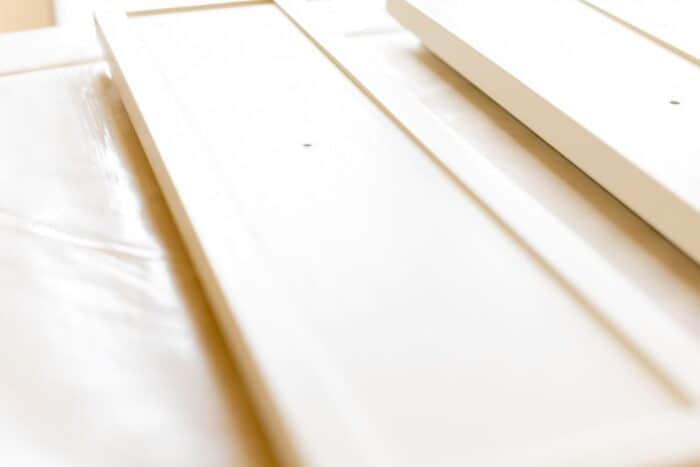
4. Paint Hard to Get Areas with a Brush
Paint any trim or areas that would be difficult to roll first. Skip this step if you’re using a paint sprayer.
5. Roll the First Coat of Paint
Dip your paint roller in the tray and remove excess. This will avoid drips.
Working quickly, roll each piece – resist the urge to go back over any imperfections. This will reduce the risk of any brush marks.
Wipe any drips, if necessary.
Allow to dry completely.
6. Roll the Second Coat of Paint
This will eliminate any imperfections. Apply a smooth, even coat, while working on each piece or section individually. Again, resist the urge to touch up.
Allow to dry.
7. Touch Up, If Necessary
Finally, if you need to touch up your piece, now you can. You don’t need to apply a third even coat. It should blend in seamlessly with the right furniture paint. Check out the after shot!
Wait 24 hours before putting the piece of furniture back together, putting hardware on or moving it. While paint may be dry to the touch, it takes several hours to cure, especially in high humidity. There’s no reason to risk damaging your hard work!
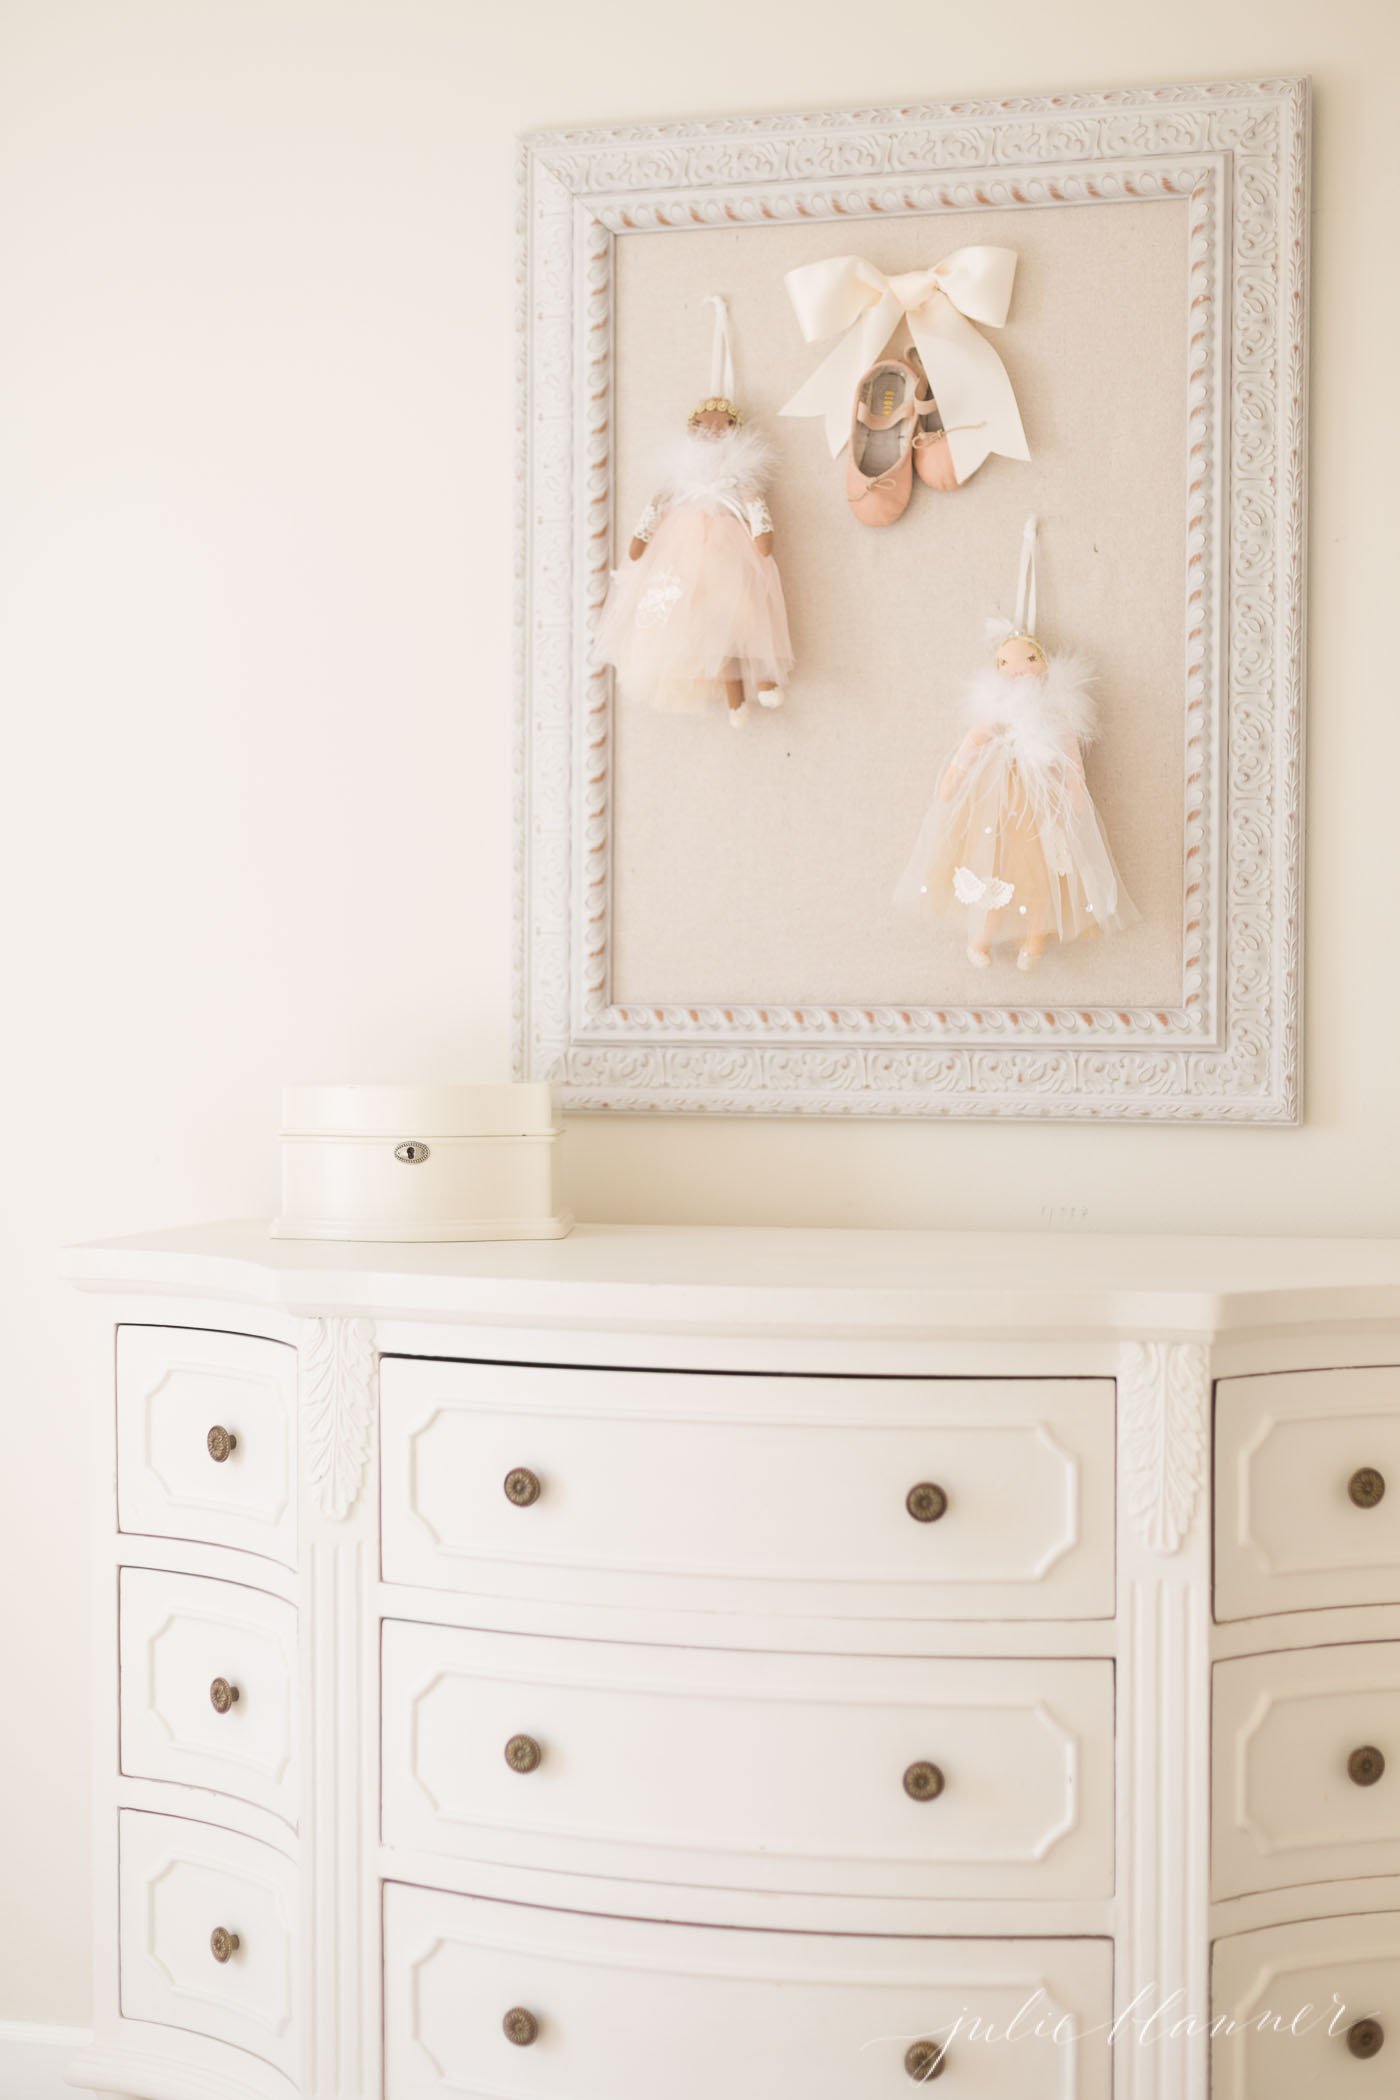
One of my favorite pieces of furniture in our home is our oldest daughter’s painted dresser we did many years ago. It looks just as beautiful today as it did when we created her nursery, painted in Creamy from Sherwin Williams!
Which ProClassic Paint is Best?
Choosing the right furniture paint turned pieces we bought as a temporary solution into a permanent fixture, saving time and money!
For our furniture painting projects, we use ProClassic Waterborne Interior Acrylic Enamel in semi-gloss. It’s an enamel finish in a water-based paint. Easy clean-up but holds up beautifully for us over time!
There are two other types of ProClassic paint, too… Alkyd Interior Enamel, which is oil based, and Interior Waterbased Acrylic-Alkyd.
Oil based paint has a reputation for holding up better over time, but it’s much messier to use. I’m sure the acrylic-alkyd is great too, but we haven’t tried it.
It’s always best to use a satin or semi-gloss paint sheen, and you can use a latex or an oil-based paint. With a latex paint like Pro Classic from Sherwin Williams, you can use a latex primer too.
While an oil-based paint will certainly hold up the best, it has a significant odor and the clean-up is more difficult to manage. For most DIY furniture paint projects, latex will work beautifully!
Sherwin Williams Pro Classic Paint (Waterborne Interior Acrylic Enamel) is the best furniture paint we’ve found. When combined with a degreaser or a quality primer, you don’t have to sand.
The only way to truly avoid brush marks is to use a paint sprayer.
However, you can also use a high quality brush, a high quality paint, and go over the finish with a great foam roller to avoid brush marks and drips.
You run the risk that the paint simply won’t stick as well. If you’d prefer to skip the sanding step, simply use a degreaser to help your paint stick well.
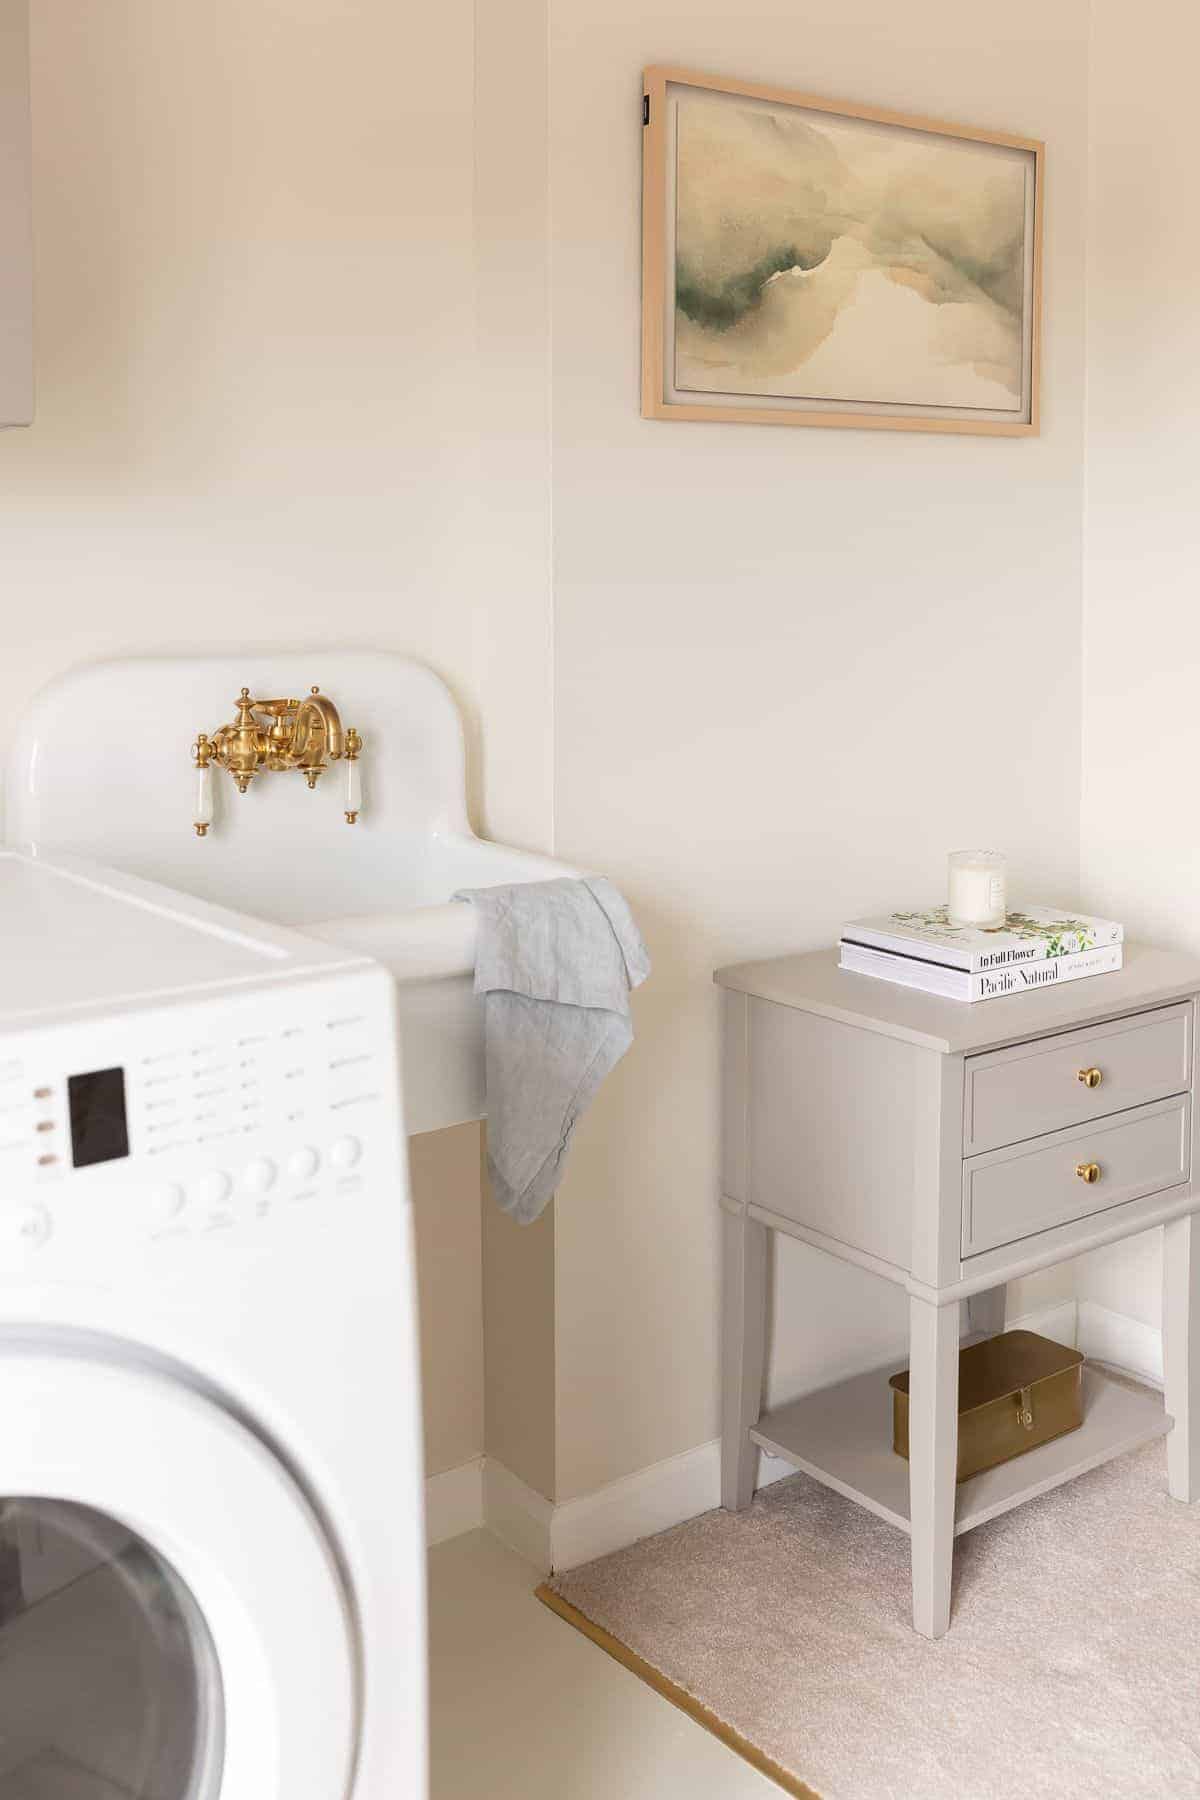
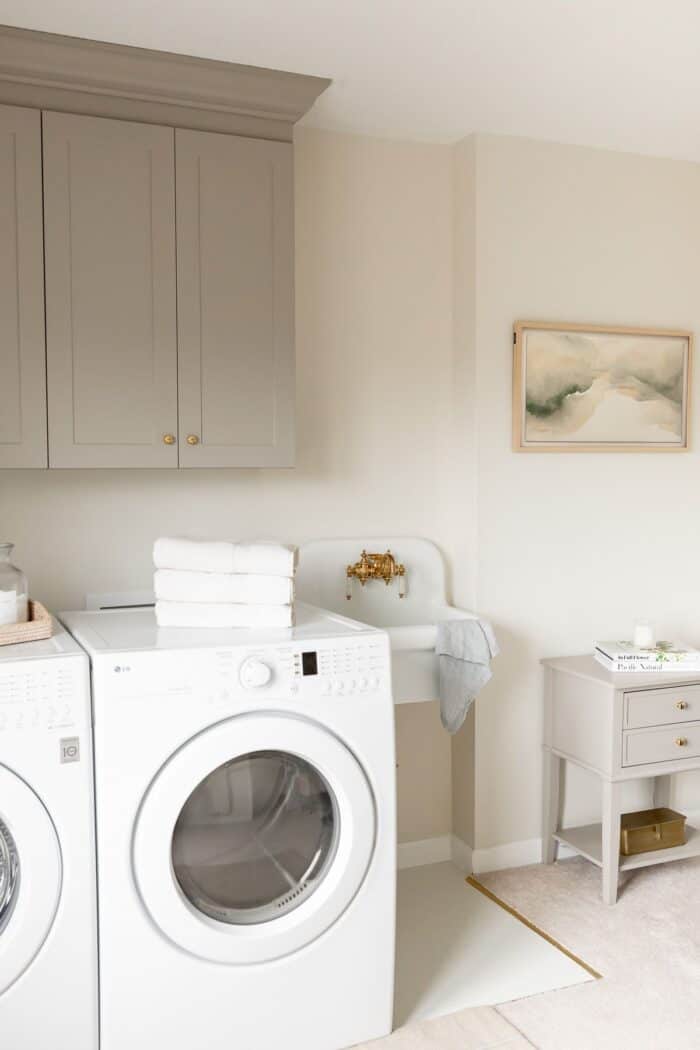
Love this paint color in our laundry room? Find the custom match in our Second Level Laundry Room post. It’s also quite close to Benjamin Moore Revere Pewter.


Julie – I bought an antique dresser off craigslist that has been previously painted. I would like to change the paint color…. what steps should I take to ensure the project is a success?
Exactly as listed at the end of this post. It works like a charm!
Hi Julie,
This article (and your blog, in general) has given me confidence to finally paint my old furniture!
I’d like to use this Sherwin Williams ProClassic paint. Would you mind sharing exactly what kind you use? I found several kinds (Interior Waterbased Acrylic-Alkyd versus Waterborne Interior Acrylic Enamel, and others). Would you be able to tell me which one you used on your daughter’s furniture? I would appreciate it very much.
Thank you!
Meli
That’s what I use, too! It adheres really well.
Hi Julie, I really enjoy reading your newly discovered blog! I’m addicted lol! Can you please share what color you used for the blue-painted dresser. I love it!
Thank you!
Hi Julie – my 4 year old kiddos (soon to be 5) were ready for their own rooms and this post inspired me to find a used bed frame for my daughter and paint over with Creamy. Followed your instructions and I can see how a paint sprayer is the best (just wasn’t ready to invest in one) – but it turned out wonderful! Thanks for sharing your tips and paint colors – appreciate you! 🙂
Yay! Thanks for sharing! I’m always happy to help!
Thank you for the inspiration! We have our second daughter on the way and we need a dresser for her. I’ve been looking on Craigslist for a used dresser I like with no luck, we were going to buy new but it’s hard finding solid wood quality ones. I think we might just paint a dresser like yours I love the before and after photo!
Thanks, Felicia! Have you tried setting up an alert? You can learn more here.