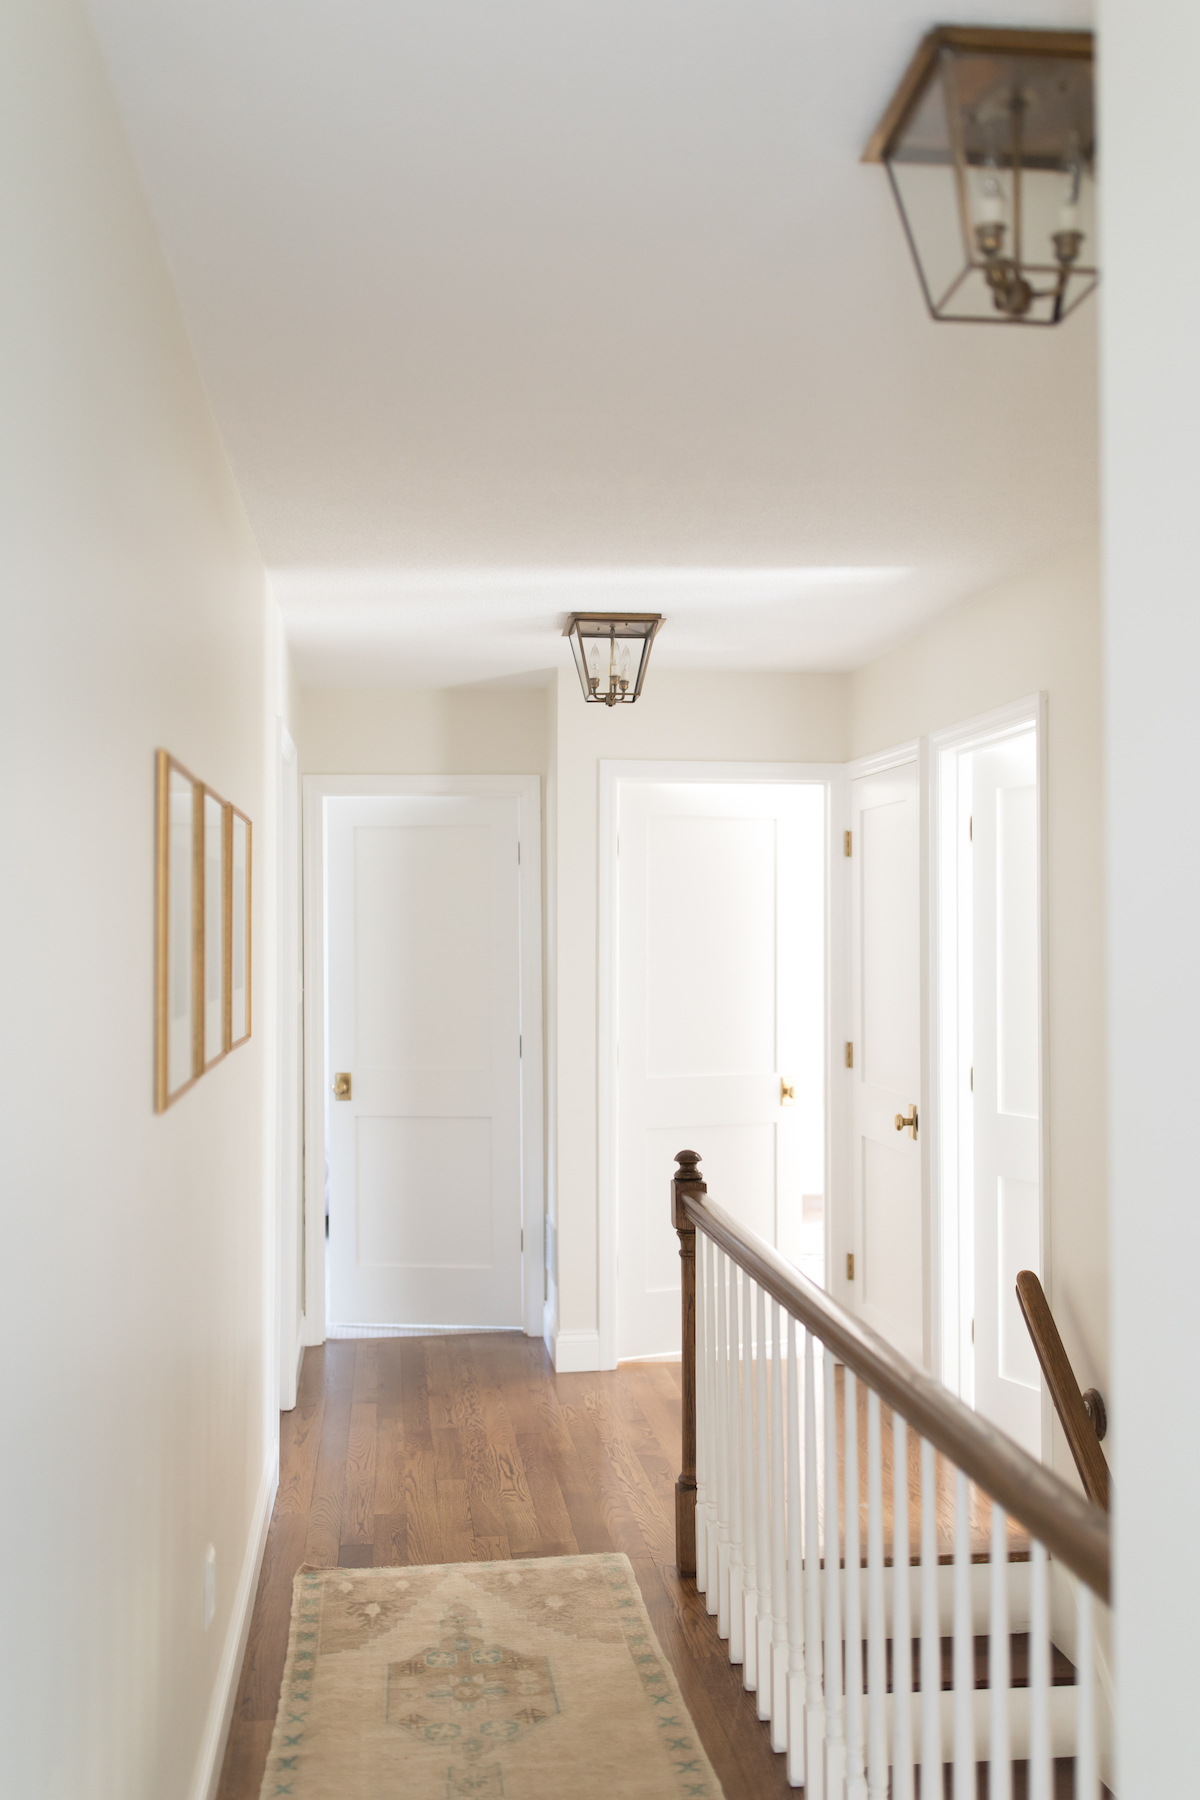
If you’re wanting an easy, quick, and impactful project, try painting interior doors! This simple project can instantly brighten your space and make it feel fresh and new. Here’s everything you need to know about how to paint interior doors.
I love easy-to-do projects, especially ones that can be done in a weekend and that completely change the feel of a space. Painting is one of my favorite things to do in a space, because it makes such a huge difference.
A fresh coat of paint can make stark spaces feel cozy, small spaces feel bigger, and dark spaces feel brighter. That’s probably why painting is always one of the first things I do when we move into a new house.
Even if you’re not up for a whole-house paint job, something as simple as painting baseboards can make a huge impact! Here’s the best trim paint I’ve found.
But for now, let’s talk all about painting interior doors!
Reasons for Painting Interior Doors
Obviously, not everyone will have the same reason for wanting to paint their doors. But whatever your motivation, it all comes down to one reason – wanting to create a beautiful home that you can love!
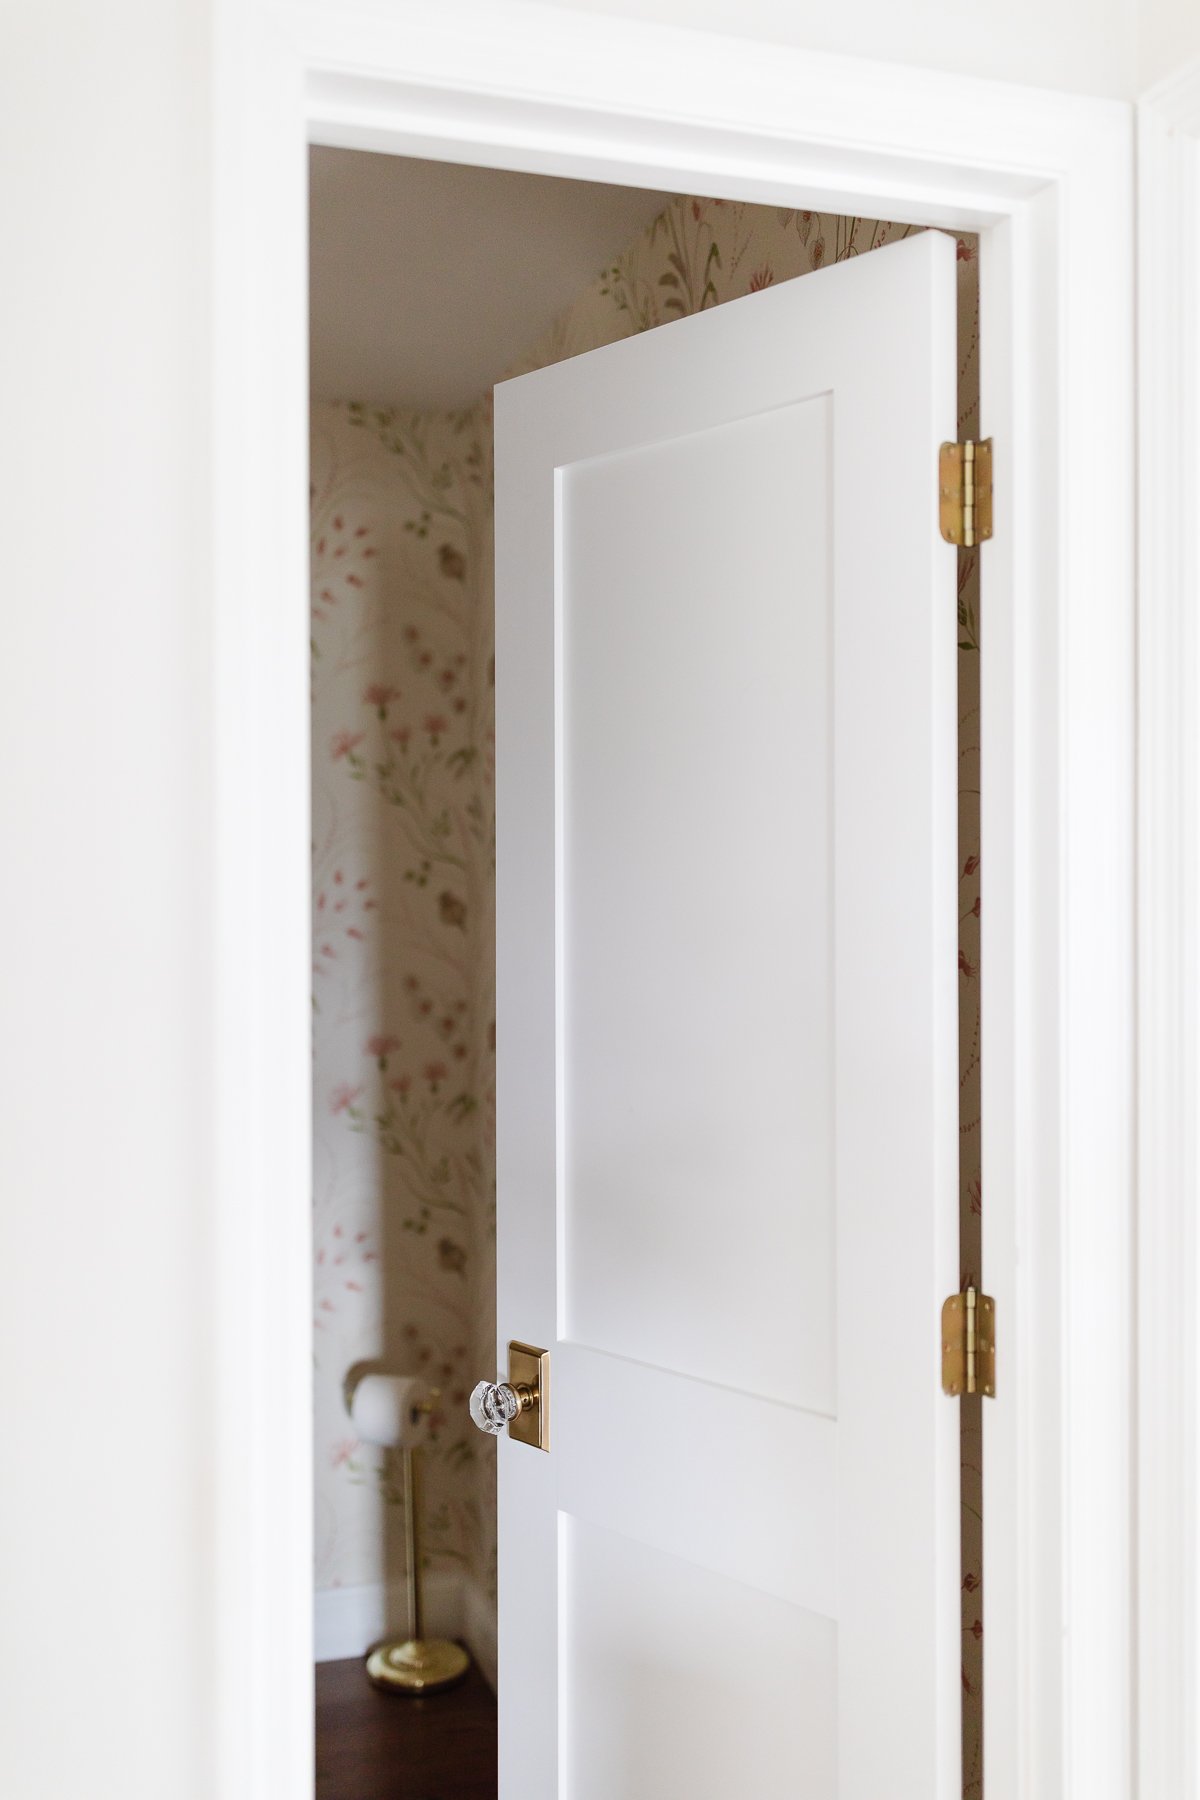
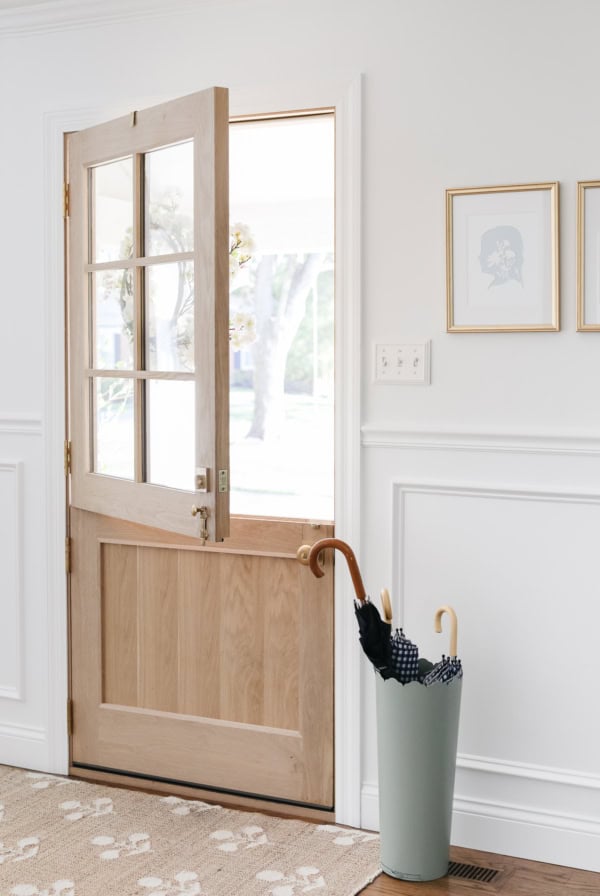
- Outdated wood doors – Some wood doors are absolutely gorgeous just the way they are, and others are a little less desirable. Or maybe the look is just a bit heavier and darker than what you prefer. Painting your doors is a way to lighten the look and feeling of a space. Read more about Shaker Doors, Dutch Doors and Dutch Door Hardware.
- Needed repairs – Perhaps your doors have holes or cracks needing to be repaired. After some putty, sanding, and a coat of paint, they’ll look like new again.
- Freshen up – Let’s face it, after a while, no amount of scrubbing is going to make doors look completely clean. Sometimes it takes a fresh coat of paint to give your doors the facelift they so desperately need.
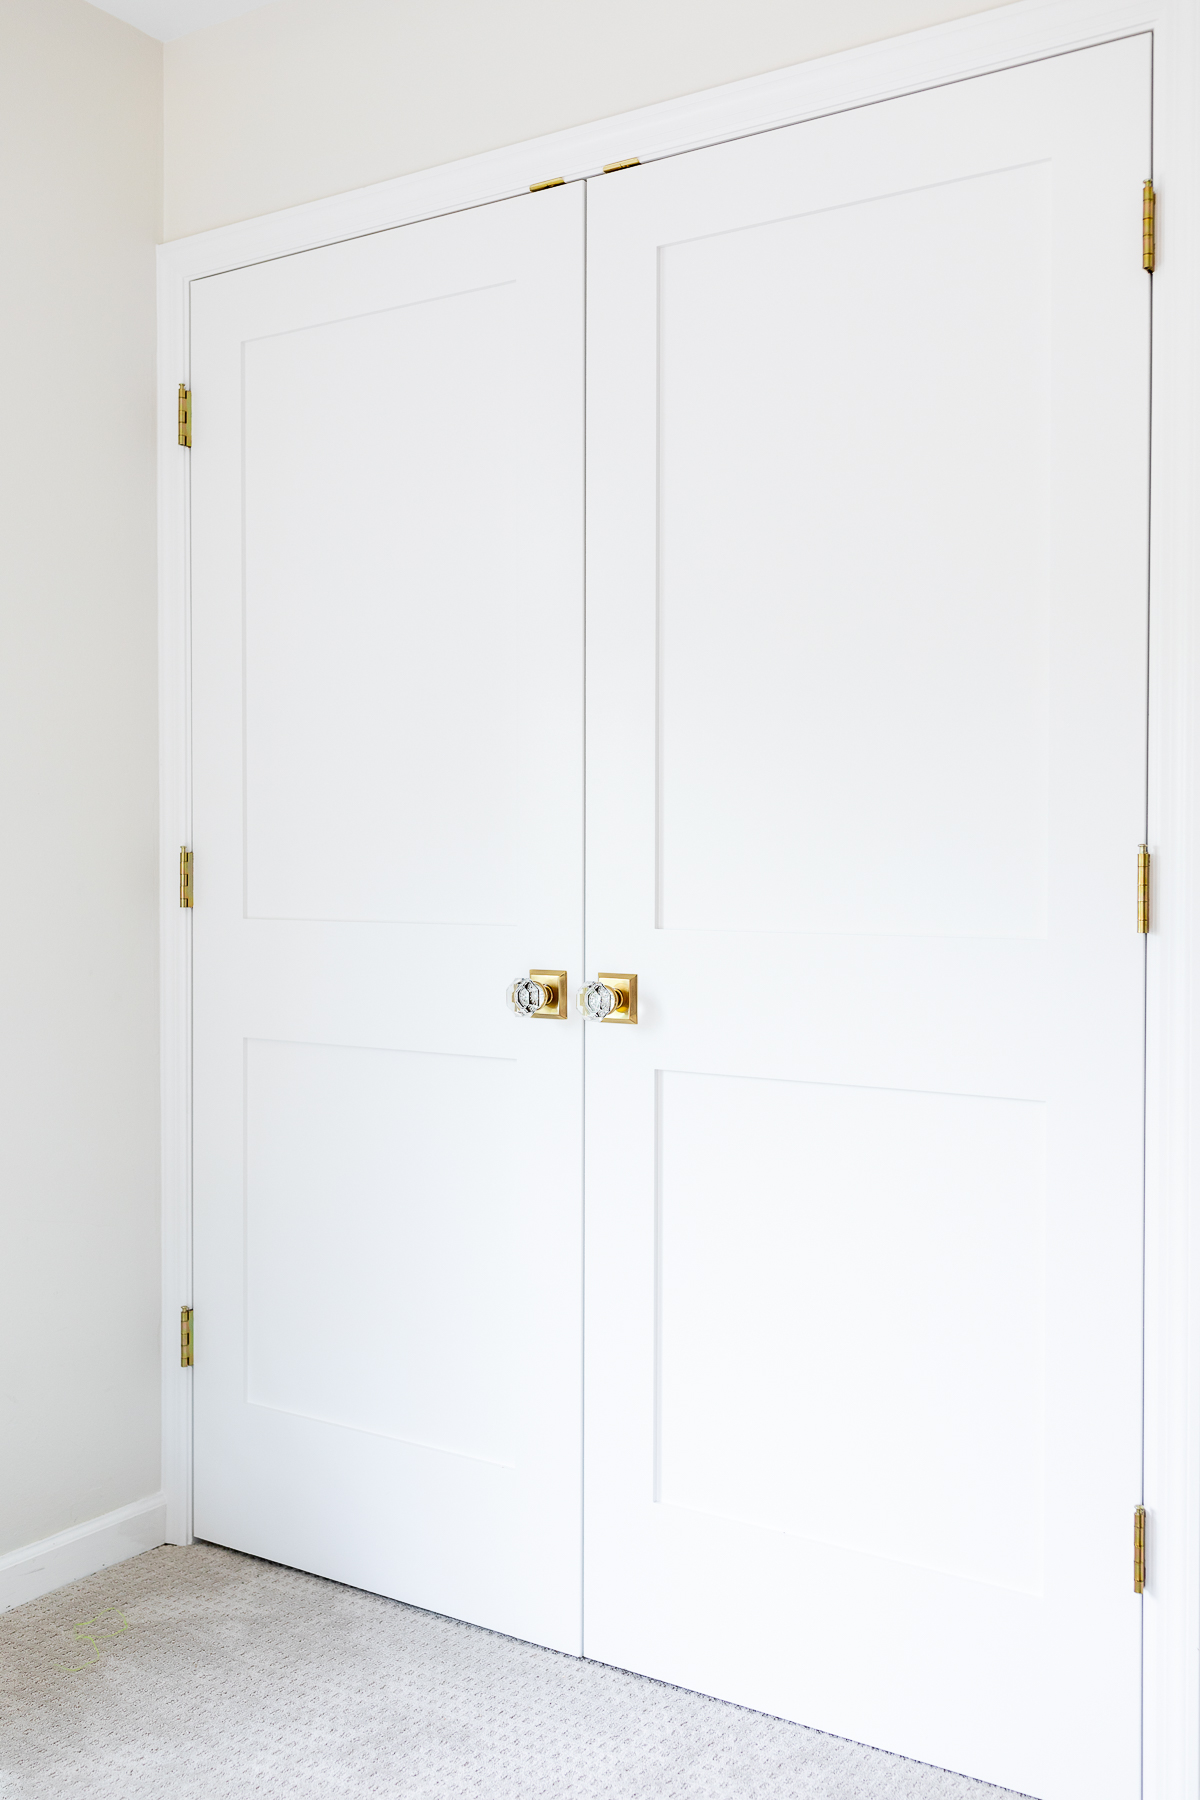
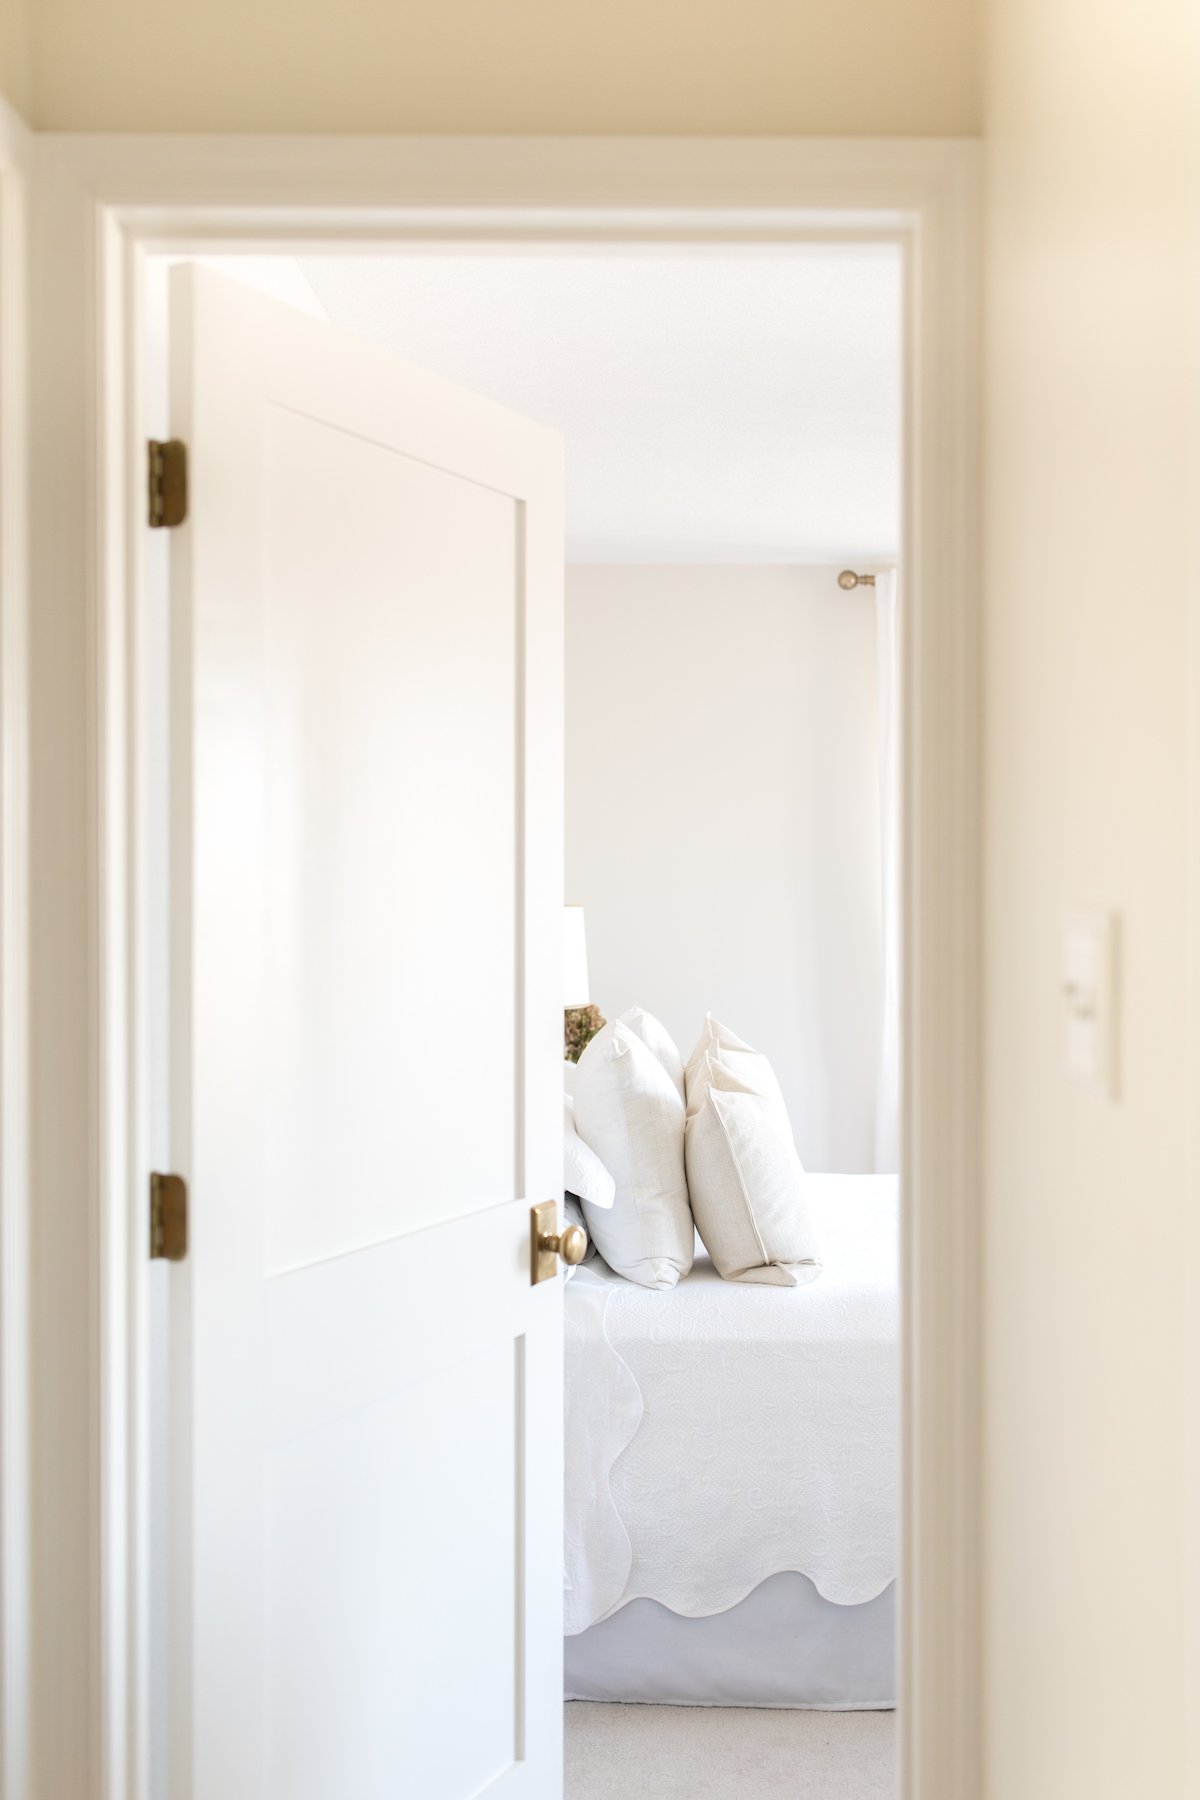
- Paint it white – There’s nothing like painting trim white to freshen and breathe new life into your space. Why not paint your doors while you’re at it? It could be just the thing your home needs to feel clean and fresh.
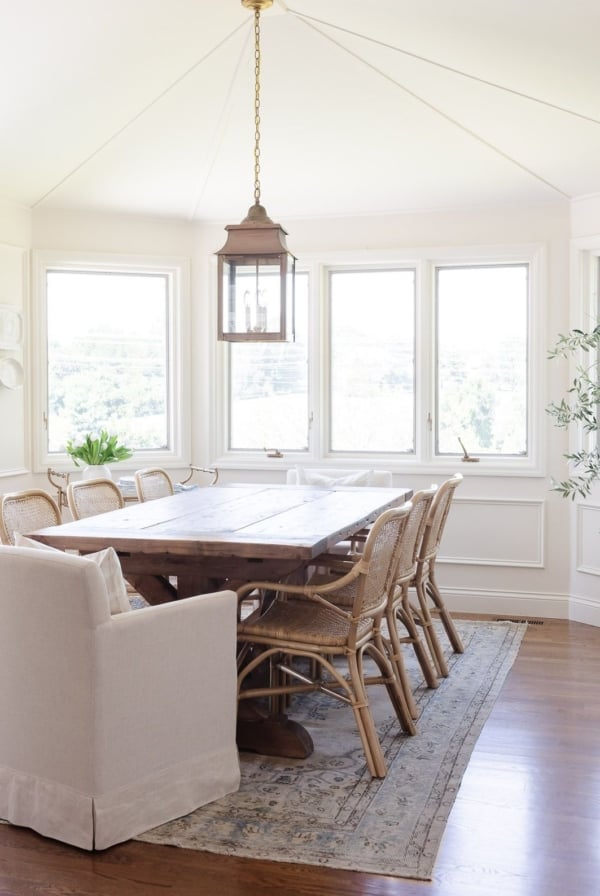
- All one color – A trend that has been popular is painting walls and trim the same color. Often this effect is done with a white or light neutral color, but it can be done in any color. Once you’ve chosen your color, you paint everything in it – your walls, trim, window sills, baseboards, ceilings – and yes, your doors.
- Paint it black – Another growing trend is painting interior doors black. It may sound counterintuitive, like it would steal all of the light out of a space. However, when it’s done right and there are enough other elements to balance it out, the effect can be modern and absolutely stunning.
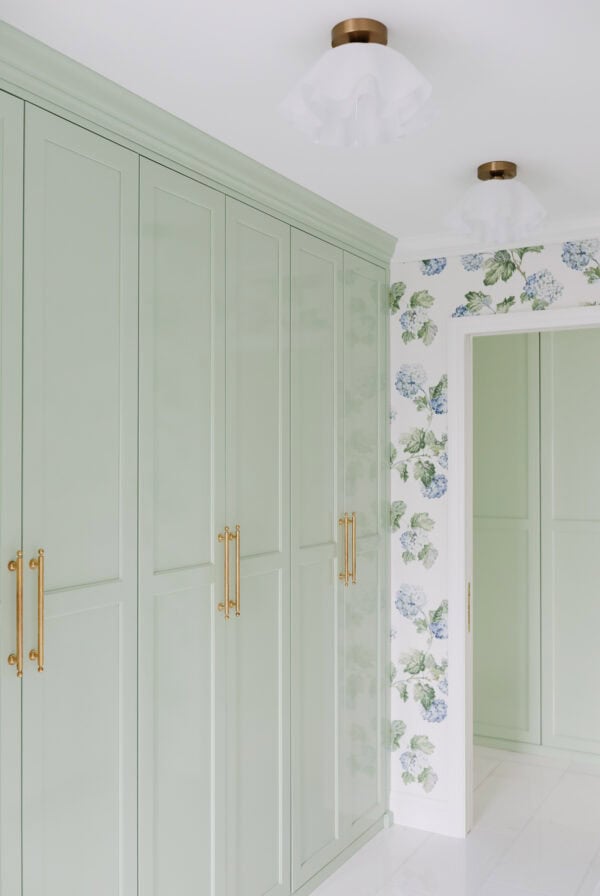
- Pop of color – Perhaps you’re not looking to paint every interior door, but to highlight only one or two. For example, a pantry door in a kitchen would look sweet painted a muted green color, or a mudroom entry could be a happy yellow. Choose any color that coordinates with your decor, and create a focal point using one of your doors.
What Kind of Paint to Use on Interior Doors
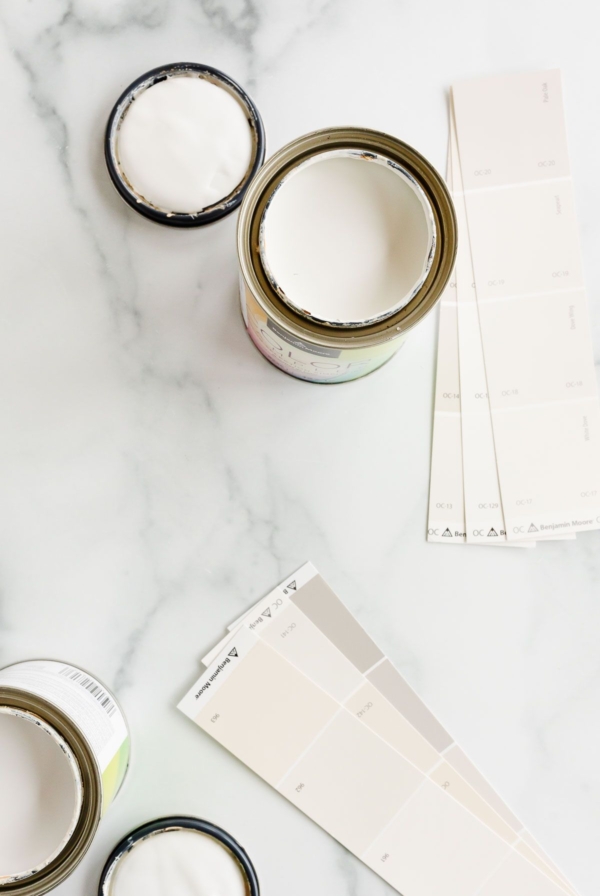
So we know why someone may want to paint their doors, but now there are the logistics of how to go about doing it. For starters, you’ll want to choose the right paint. The type of paint you use can make or break your project, so do your research and know what you’re getting.
Different brands have their own line of paint for trim and doors. Choose a high-quality paint that will stand up to every day wear and tear. This is not the the time to go with the cheapest option you can find.
Doors are sure to collect fingerprints and other smudges. It’s best to choose a paint that will clean up easily. This isn’t the place for a flat or eggshell finish. Choose a good-quality semi-gloss or gloss finish. Gloss will look very shiny, so if that isn’t your favorite look, use semi-gloss for a beautiful soft glow.
For more information, read all about the different Paint Sheens.
Should I Spray or Brush Interior Doors?
The decision to use a paint sprayer or a roller and brush really comes down to personal preference and the kind of work you are willing to put into the project.
Only spraying can give you a smooth factory finish. You simply can’t get it with a brush and roller. There will always be some visible brush strokes, no matter how hard you try. However, you can still get a beautiful finish with a brush and with much less prep work!
If you’re spraying, it’s best to remove doors from their hinges to protect surrounding areas from overspray. Even if you leave doors in place, make sure to tape off surrounding areas with plastic very well.
If you’re using a brush and roller, it’s probably still best practice to remove the door from it’s hinges so you can paint it laying flat. However, it’s easiest and less time consuming to leave it hanging in place.
In the end, it’s a judgment call on how you want to do it. Both ways have pros and cons, but both ways can give you a beautiful finish that you can enjoy for years to come.

Getting Started
Work quickly. This is a project where you’ll need to do a lot of prep beforehand to be prepared!
Paint dries quickly, so in order to keep pesky lines from drying in place, you need to work fast. That’s why my instructions include the order you should paint the rails and stiles, and how they should cover up some of the paint you’ve already done.
If you work too slowly, the paint you’ve already done will dry in place and it will show through.
Tools You’ll Need
With a few basic tools, you can get started on this simple painting project.
- Screwdriver – for removing doorknob hardware
- Degreasing cleaner
- 120-grit sandpaper or liquid sander
- Sandable wood filler or spackle – for any needed repairs
- Tack cloths – to remove dust
- Primer – such as Kilz (read label to make sure it’s compatible with your paint)
- Paint – choose a high-quality interior semi-gloss paint for trim and doors
- 2″ paint brush – a good-quality nylon bristle brush works well
- 4″ high density foam mini roller & roller covers – for the smoothest finish possible
- Paint tray and liners
- Painters tape – to tape off door hinges or inset glass
- Razor blade knife – to cut away tape
- Drop cloth – to protect floors
How to Paint Interior Doors
I’m going to be sharing a how-to on painting interior doors using a brush and foam roller. It’s a popular way to do it, because it doesn’t require any expensive tools or special skills. It’s an easy and quick home upgrade that anyone can do!
- Remove any hardware, including the doorknob and deadbolt. Set it aside in a Ziplock bag for safekeeping.
- If you’re removing the door from its hinges, do it now. Skip this step if you’ll be painting the door while it’s hanging in place.
- Clean the door with a degreasing cleaner to remove any fingerprints or built-up grime.
- Apply sandable spackle or wood filler to repair any holes or cracks.
- Use 120-grit sandpaper to lightly sand the surface, or use a liquid sandpaper to lightly scuff the surface. See my full tutorial on how to paint over stained wood without sanding.
- Use tack cloths to remove any leftover dust before priming.
- Lay down drop cloths to protect floor from drips.
- Cover hinges with painters tape.
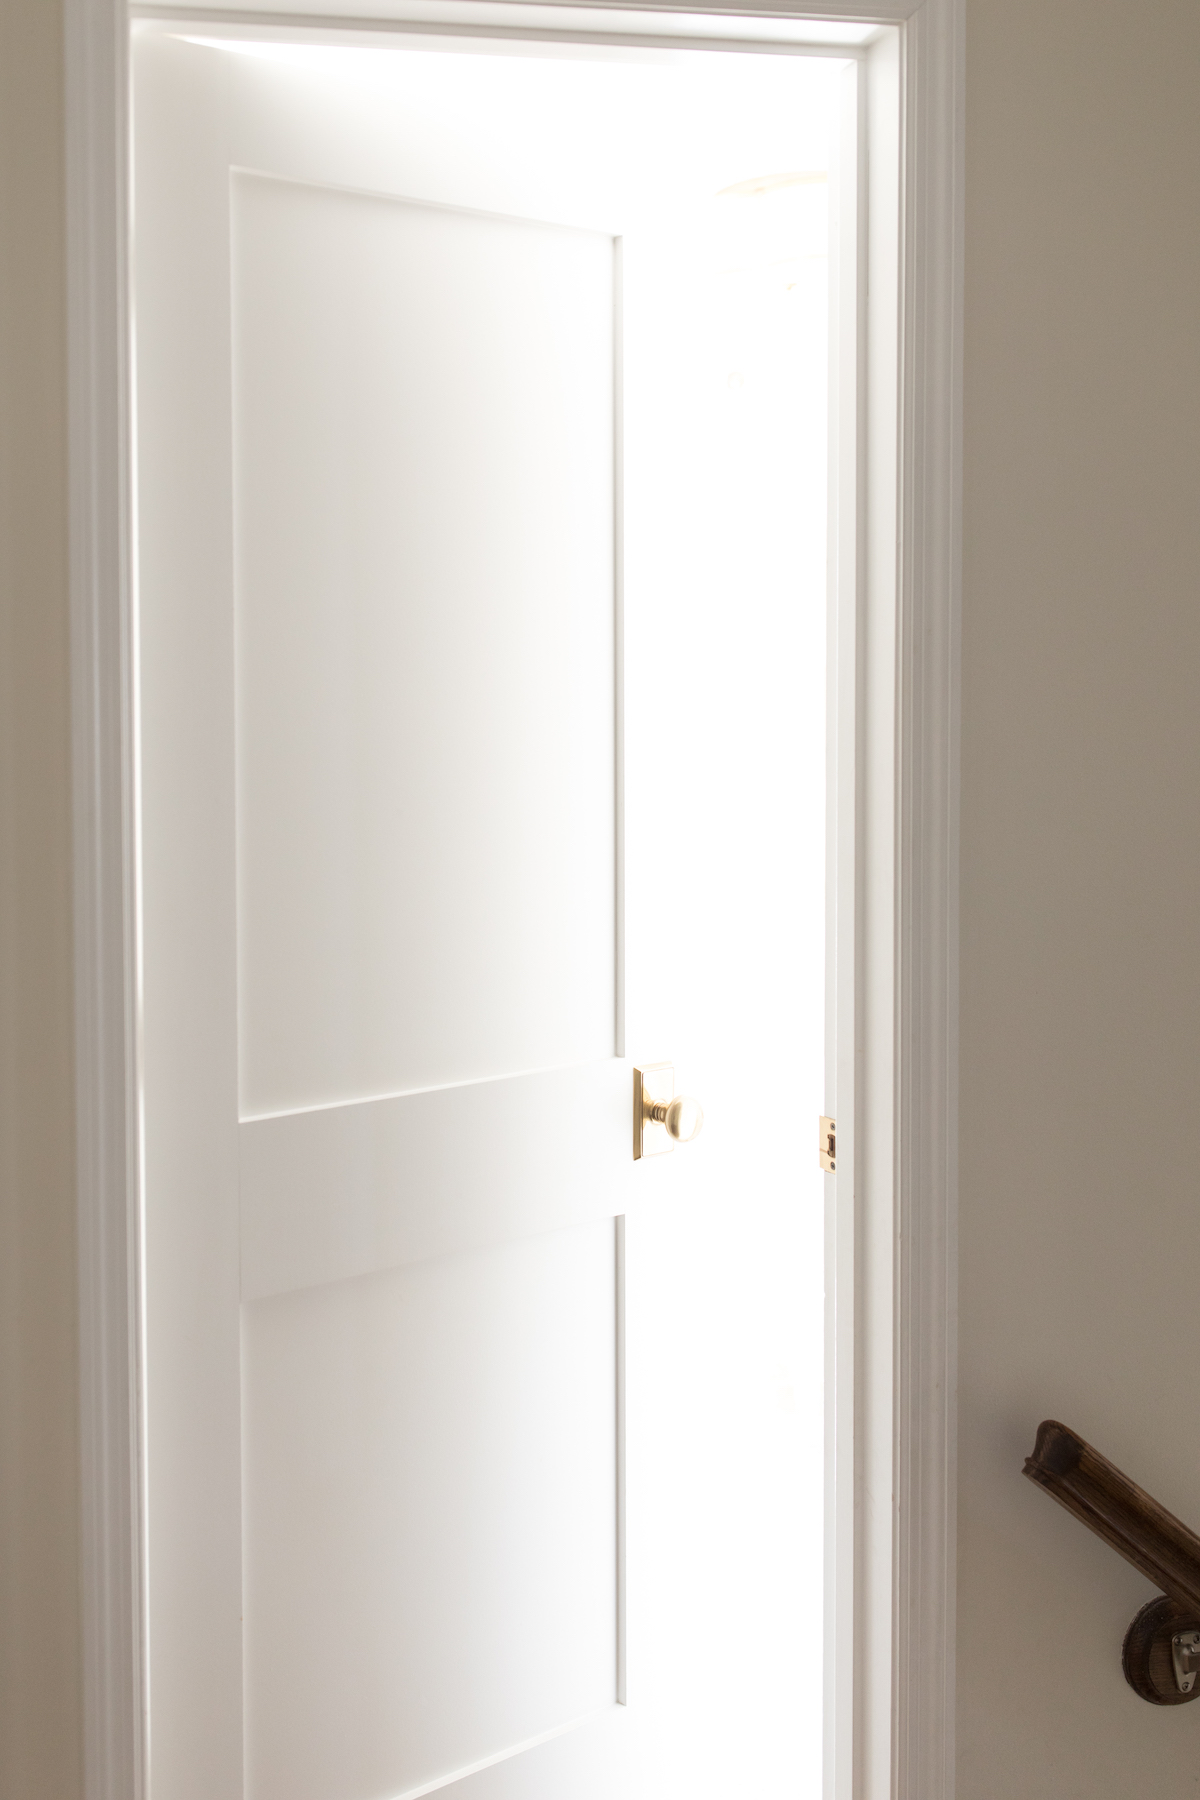
- Apply primer first. If your door is a flat panel, prime using your foam roller. Try to roll it on in an even layer.
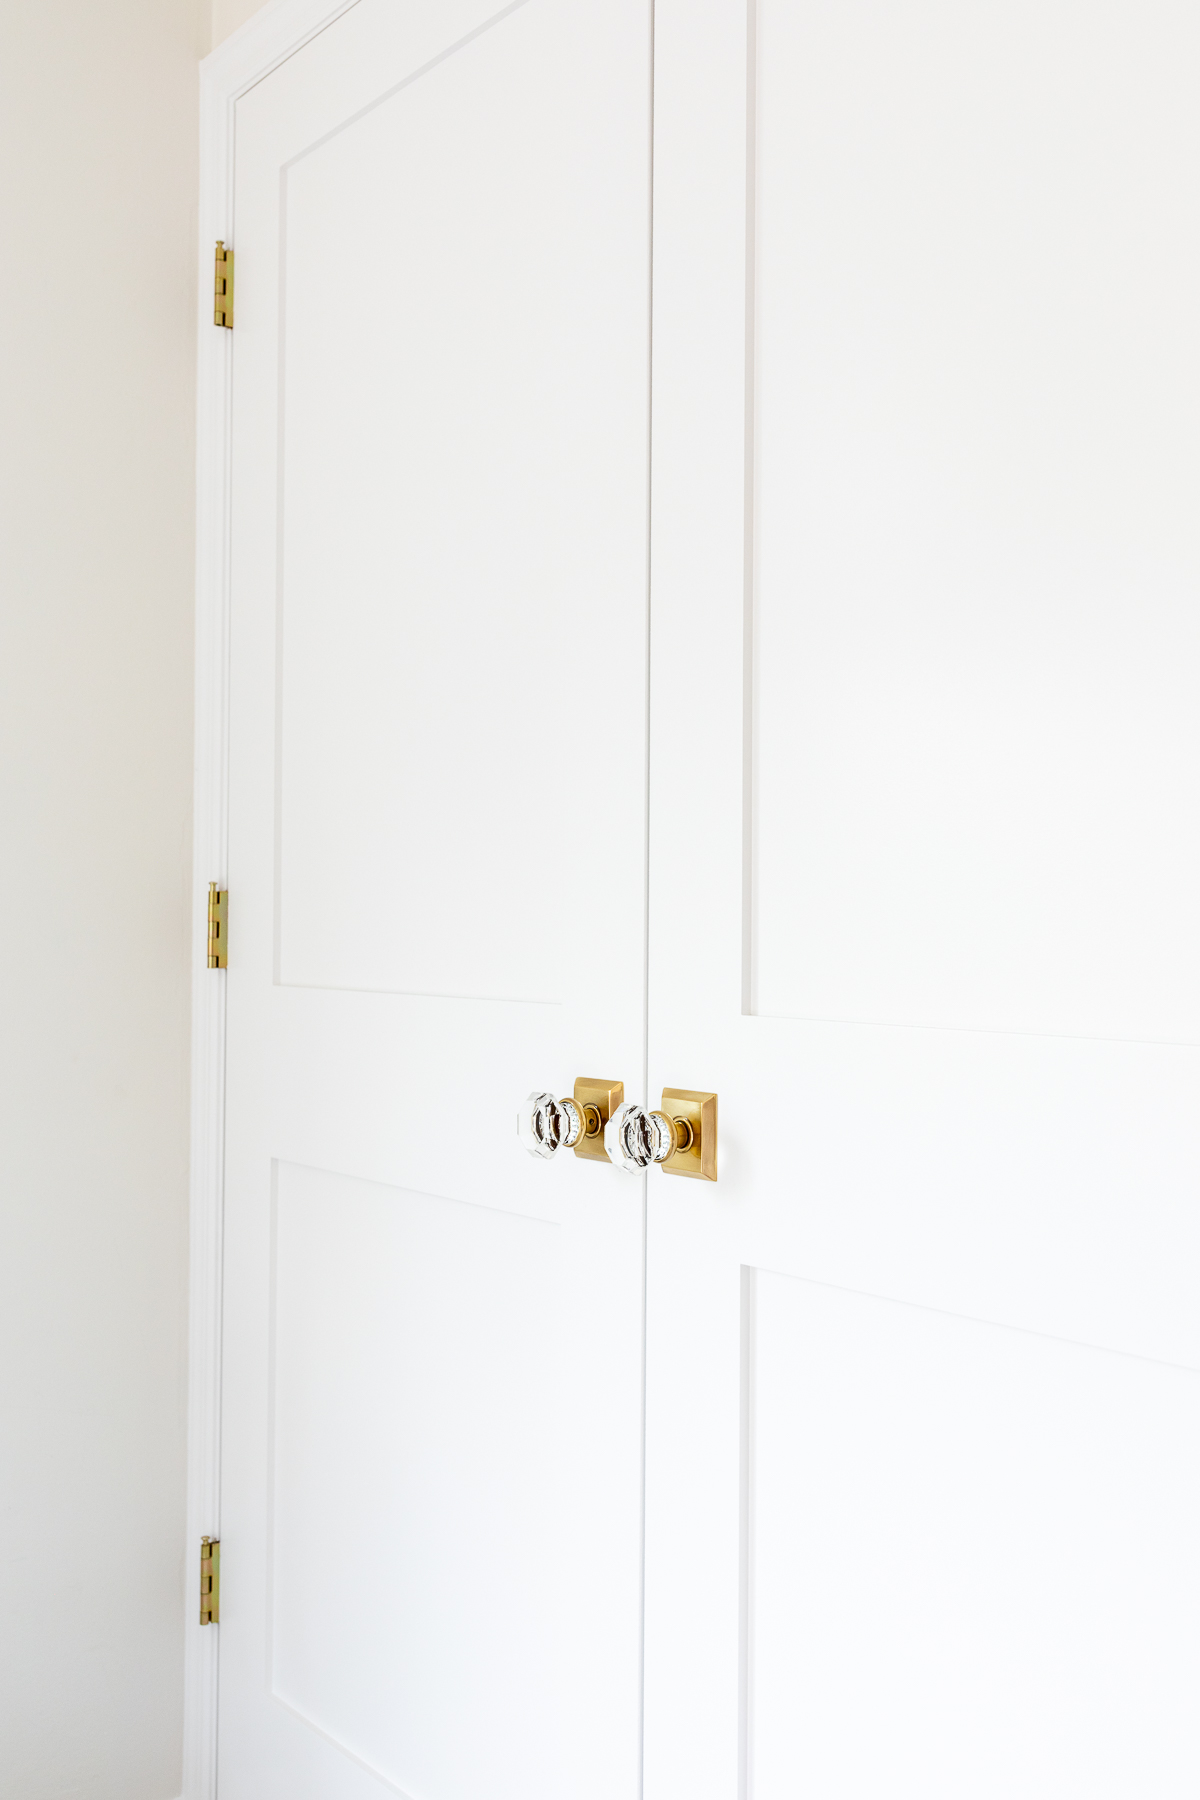
- If you have recessed panels, brush the recessed areas first, then follow along with the foam roller on the faces of the panels. Prime in the direction of the wood grain.
- If the door has horizontal rails in the middle (not the top and bottom rails), use the roller to prime those next, stopping when you get to the vertical side rails.
- If it has a center vertical stile, use the roller to prime that next so that it blends over the the horizontal rails you just primed.
- Next, prime the vertical stiles on the sides of the door using the foam roller. They should blend over the horizontal rails you’ve already primed.
- Then end with the horizontal rails at the top and the bottom, so that they blend over the vertical stiles.
- Let primer dry completely.
- Complete the same steps using your paint color. Paint two coats.
- Let dry completely before rehanging door and reattaching hardware.
Tips
- Use a good quality paint brush. I like a 2-inch angled nylon brush with a short handle. It’s so easy to use!
- Use good quality paint. Talk to the experts at your local paint store. They can help you choose the right type of paint for your job.
- Remove the hardware from your door. I know I said it before, but don’t skip this step! Nothing looks worse than a beautiful door with a painted doorknob.
- Paint in the direction of the woodgrain. It just looks better when the paint follows the wood.
- Don’t overwork the paint. It’s tempting to go back and keep touching up, but you can end up leaving more brush marks. You can always go back and sand a bit and touch up later, but for now just leave it alone.
- Remove any tape from hinges or inset glass areas while paint is still wet. Waiting until it is dry can cause paint to tear. If needed, score tape with with razor blade first.
Frequently Asked Questions
Choose a high-quality semi-gloss interior paint that is meant for trim and doors. Each brand will have their own line for this use. Semi-gloss will be easy to clean. Flat and eggshell aren’t as easy to clean, so they’re not as well suited to doors that will be touched often. Gloss is also suitable, although many people don’t like how very shiny it is.
If you’re painting over wood that has a lacquered finish or an already-painted finish, it’s best to sand before painting. Use a 120-grit sandpaper to sand lightly. This scuffs the surface enough to give the paint something to adhere to. Alternatively, if you’re painting over wood, you can use liquid sandpaper to have the same effect. Use a primer after sanding.
Yes! It’s amazing the change that a fresh coat of paint can do for doors. It can completely change the look of a space. You’ll love the look of freshly painted interior doors. Just make sure to follow the steps in my tutorial so that your project turns out like you envision it.


Did you paint your doors and window trim the same color as each room even if you use a different warm white in each room?
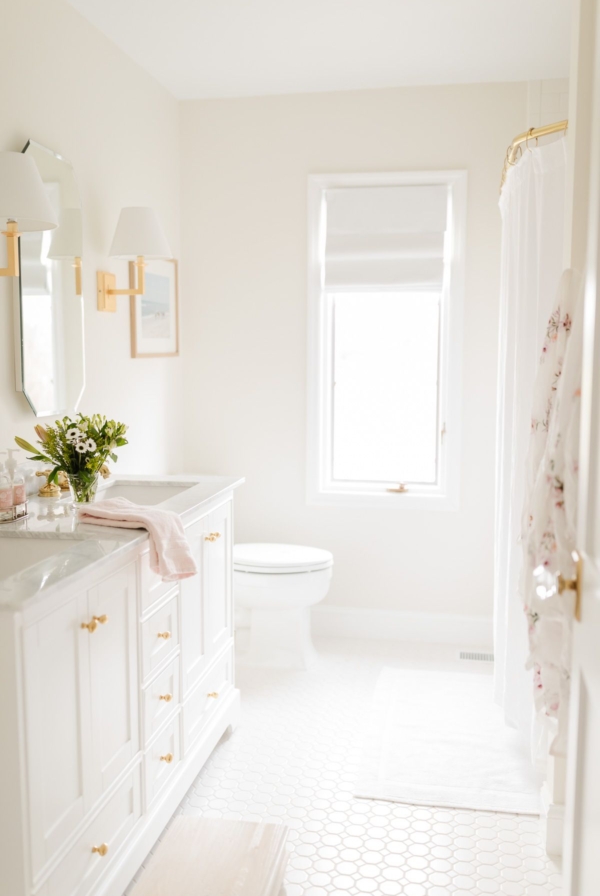
Hi what color did you just paint the bathroom on your reel
Hi! It’s Decorator’s White and Classic Gray
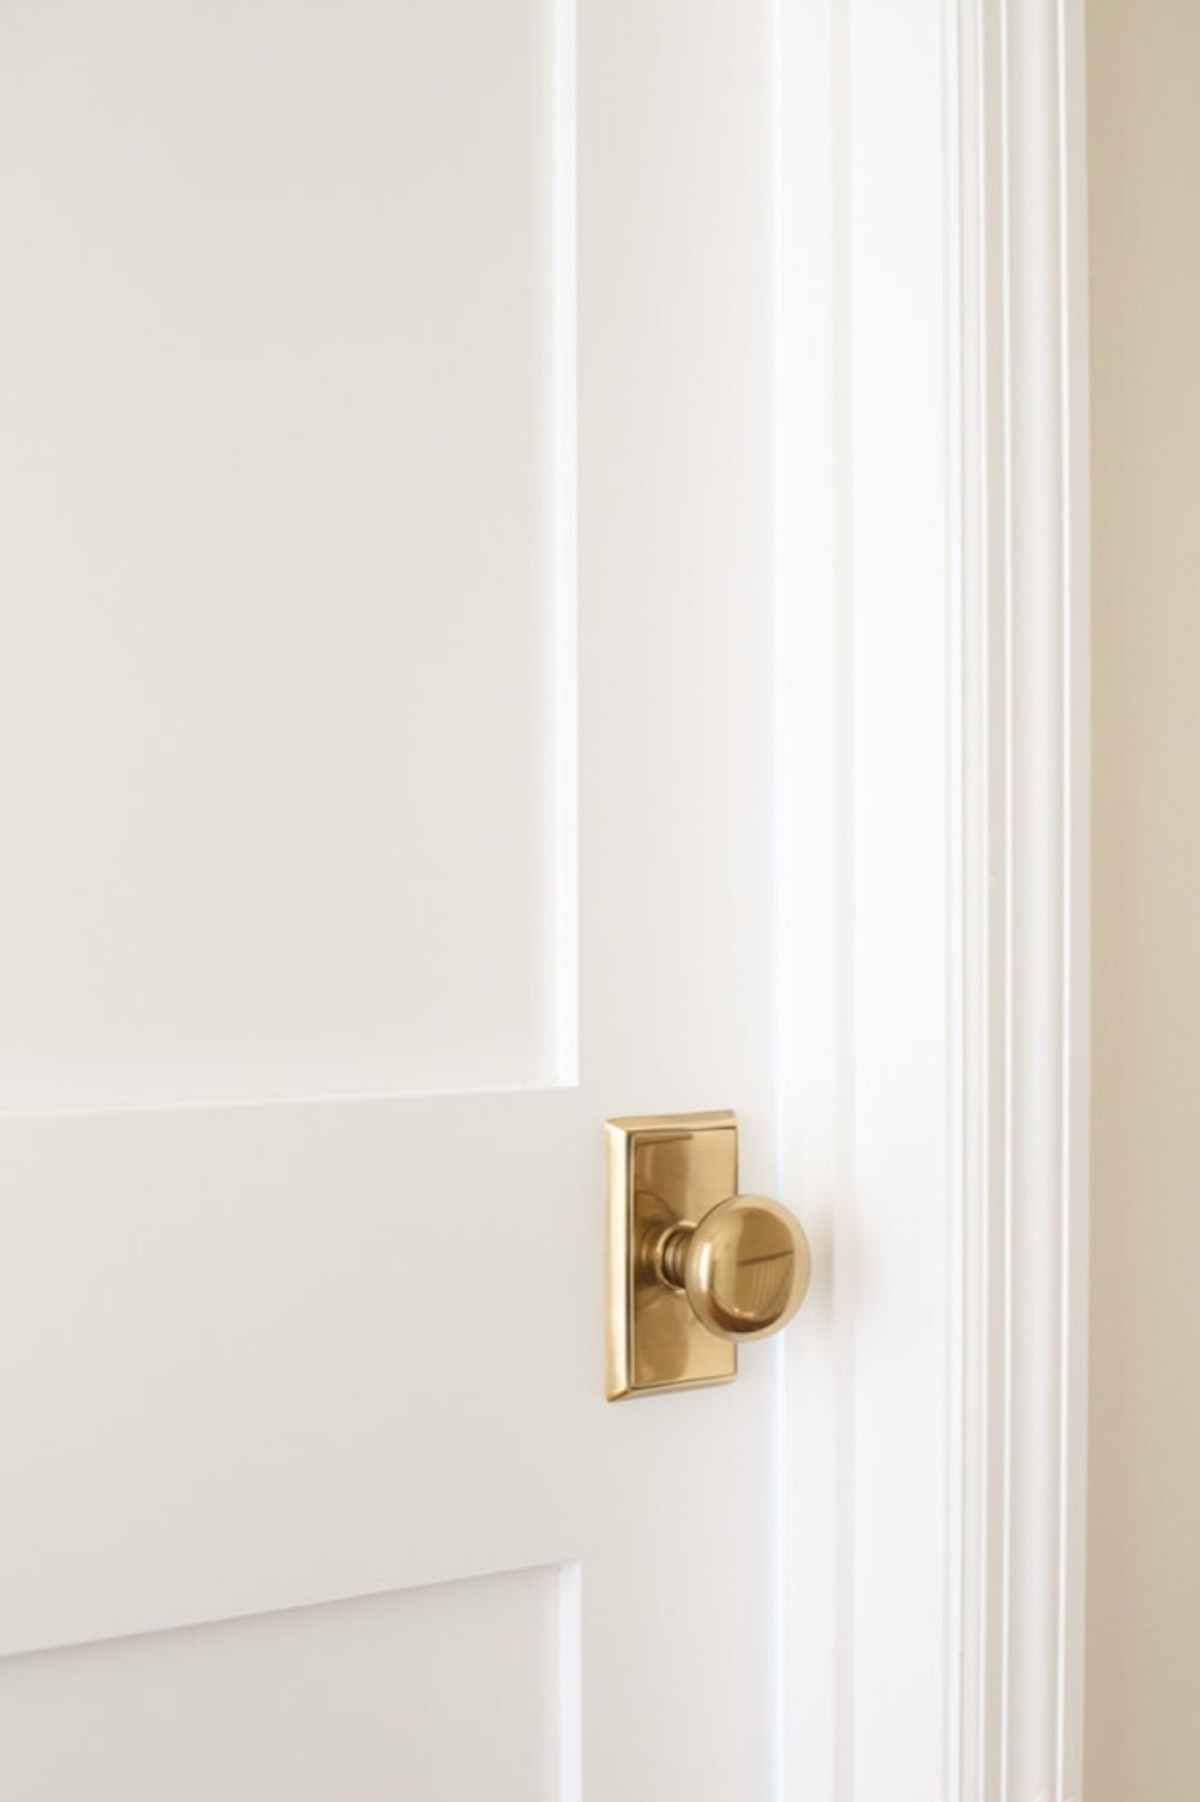
What finish are those Emtek nobs?
I link directly to my finishes. You can learn more about our Brass Door Knobs here. Enjoy!
Hi Julie! I am enjoying your blog and appreciate all of your advice and knowledge. Would you mind sharing what color paint you used on your interior doors, casing, and most of the trim. Thank you so much!