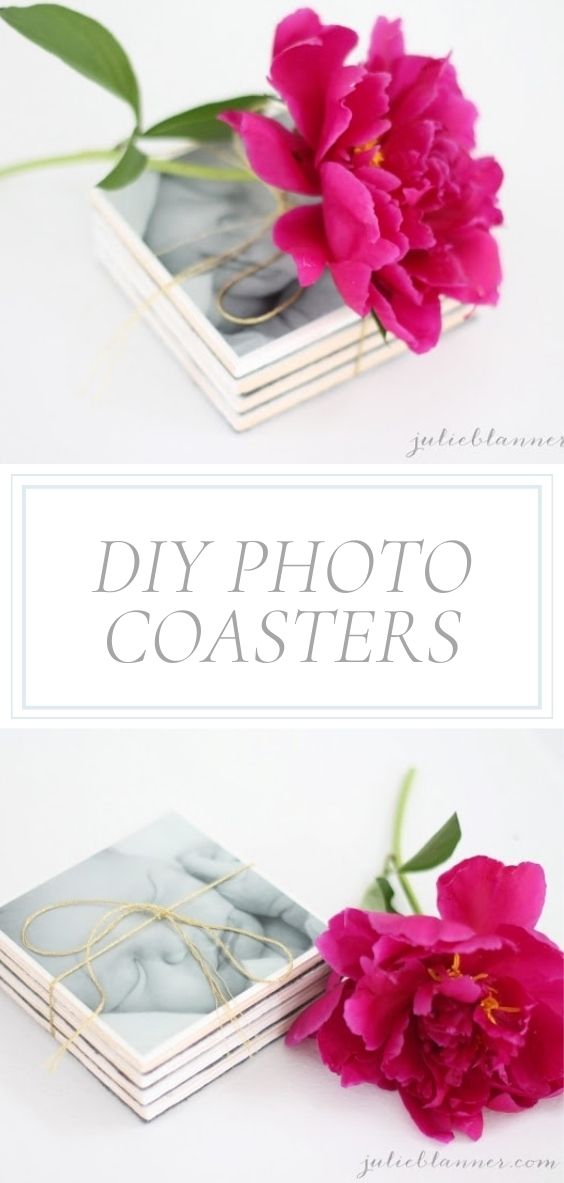
These personalized DIY photo coasters are sure to make anyone smile. Make your own in 30 minutes – for just a few dollars! Picture coasters are so easy and quick to make, you can gift a set to family and friends and keep one for yourself.
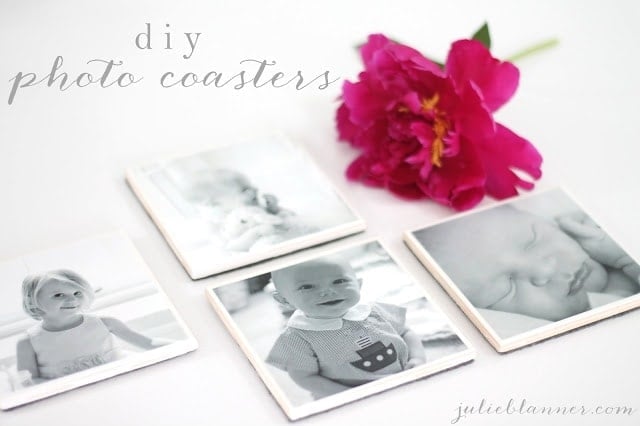
I enjoy giving personalized gifts. This easy photo gift idea takes only 30 minutes of hands-on time, plus drying time. Yet it can be used and cherished for years to come.
With camera phones always at the ready, we all have plenty of photos to choose from. It’s time to get those photos off of our phone’s camera roll and start enjoying them!
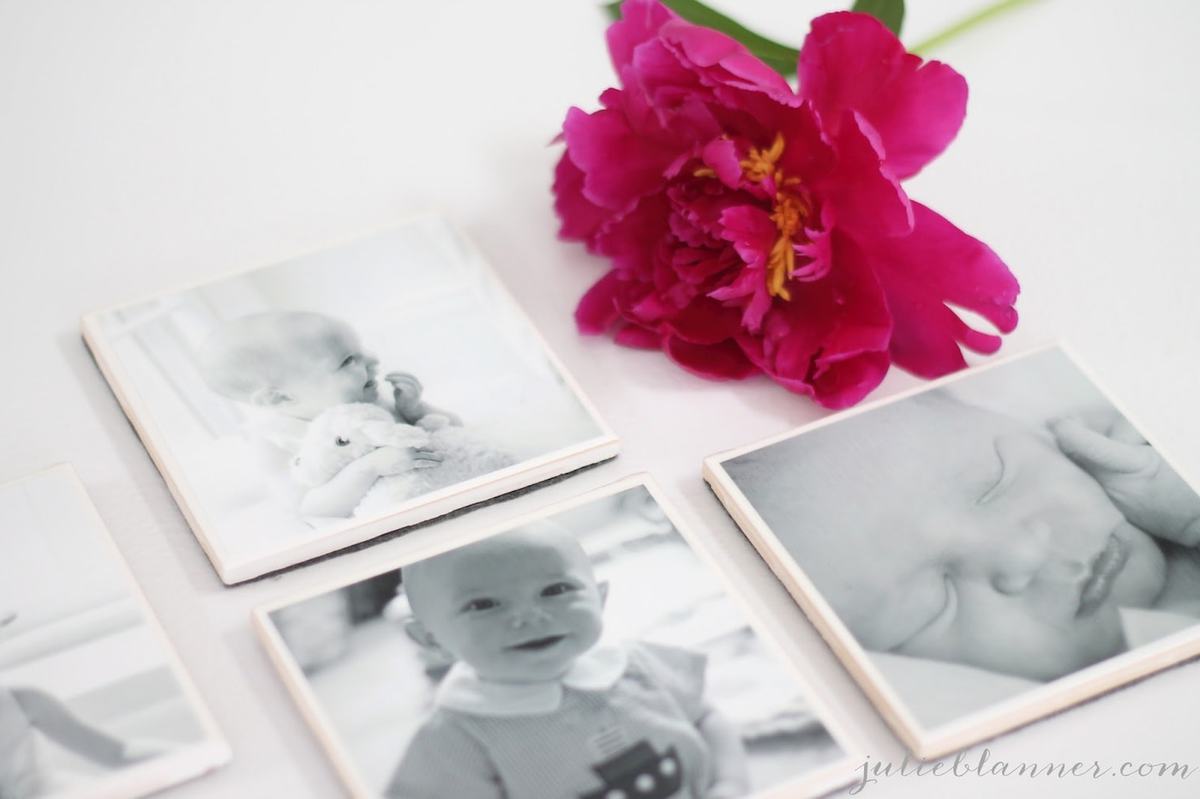
This project is so fun, because I get to see some of my favorite photos every day. Plus my girls love seeing pictures from when they were little. You’ll love seeing your photos, too. And when you’re ready for new photos, this project is so easy, you won’t mind making a new set.
Of course, this project is functional too. Beverage coasters protect tabletops from getting unsightly rings from drinks like water, beer, soda, and juice.
So why not try making a set of DIY photo coasters today? You can make them in no time, and you’ll love having them on hand the next time you pass around drinks.
Looking for more photo display ideas? Tack them onto a DIY Fabric Pin Board, hang them from a classic Peg Rail, create a grid of black and white photos in a small hallway, or turn them into paintings using my Photo to Canvas Painting tutorial.
Picture Coaster Supplies
Craft these DIY photo coasters using some of my must-have craft supplies in just 5 simple steps.
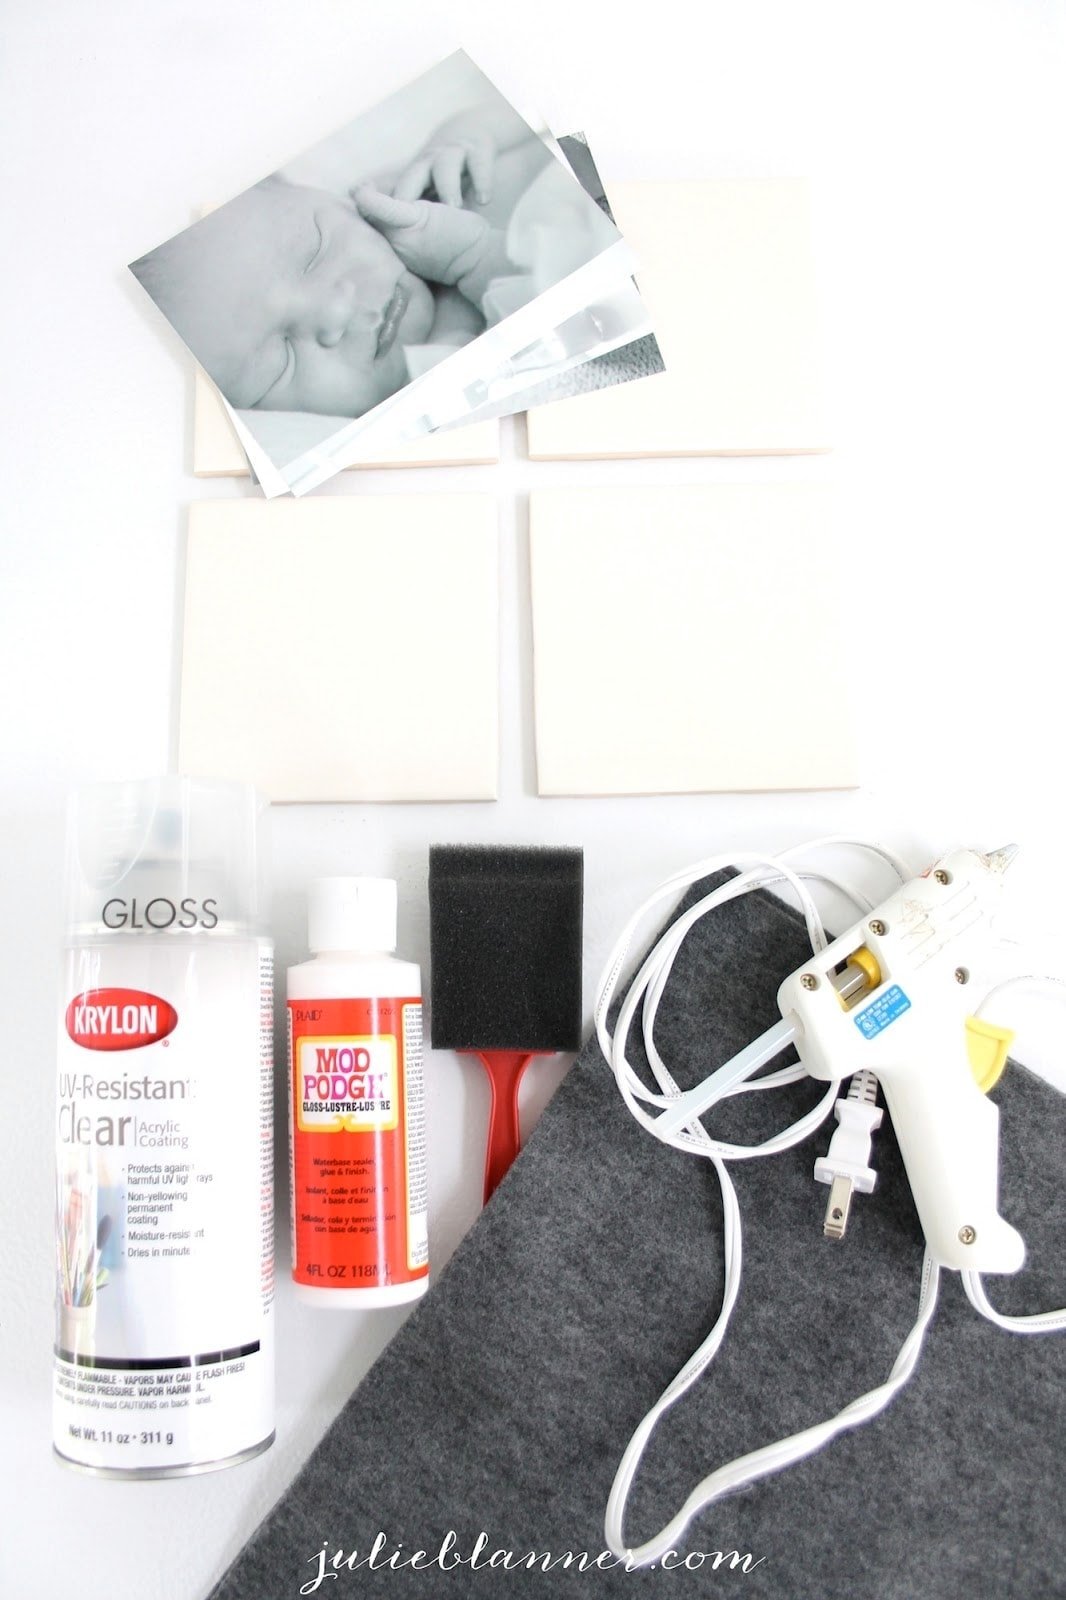
Here’s What You’ll Need:
- Photos – cut just smaller than size of the tiles
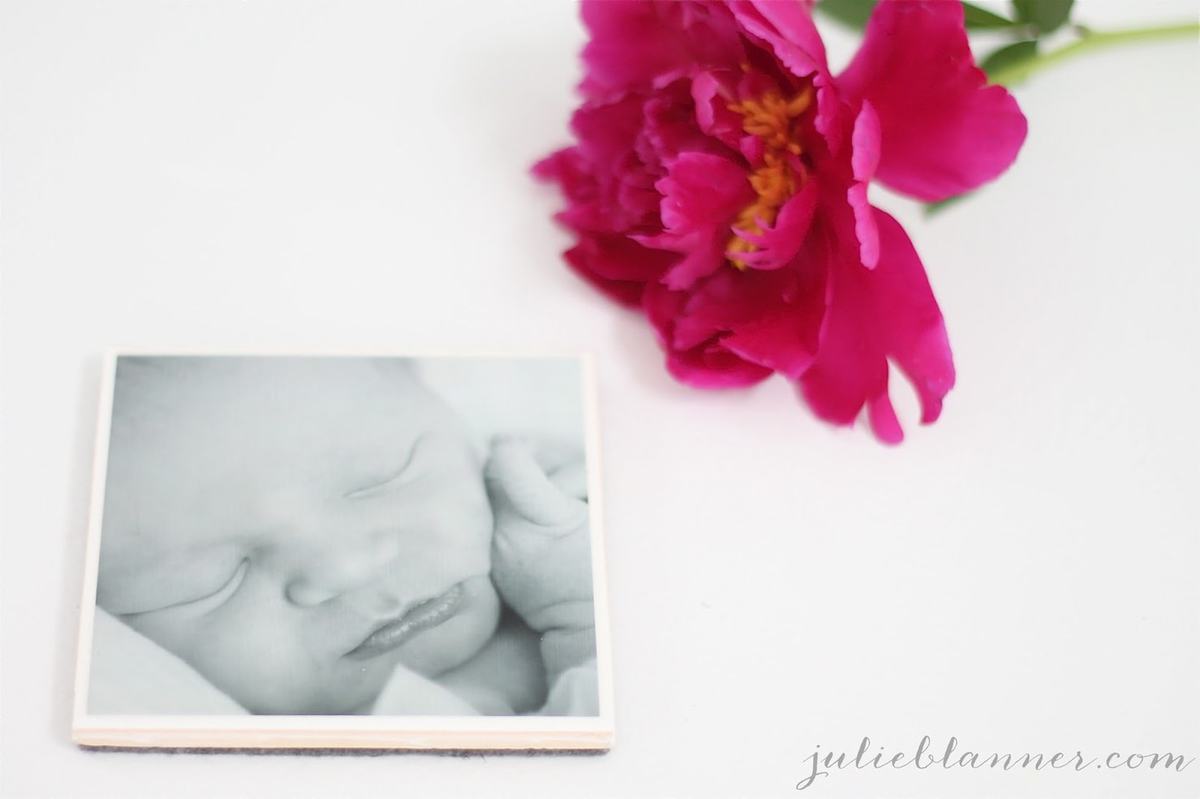
- Tiles – 4″ x 4″ ceramic or porcelain in a smooth finish
- Mod Podge – a clear drying adhesive
- Foam Brush – to brush on the Mod Podge
- Clear Coat Spray Paint – for a final protective finish
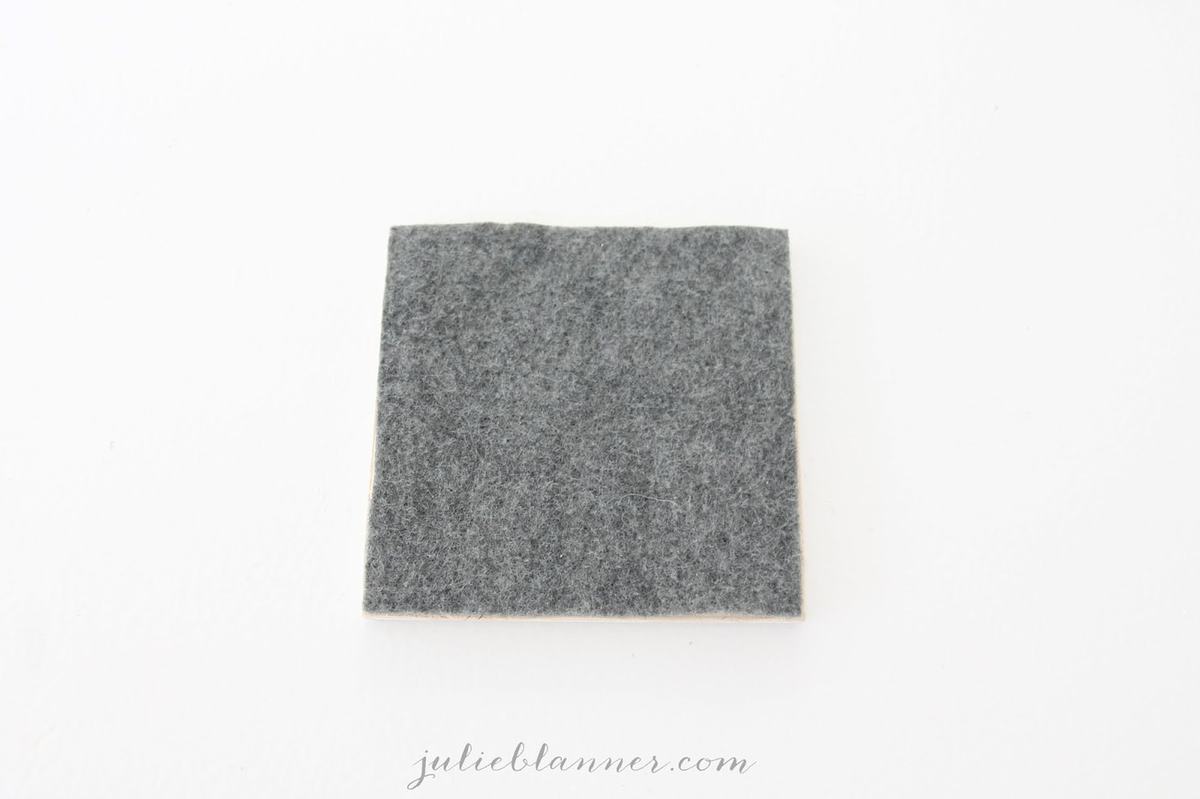
- Felt – for backing
- Glue Gun & Glue Sticks – to adhere the felt backing
DIY Photo Coasters Step by Step:
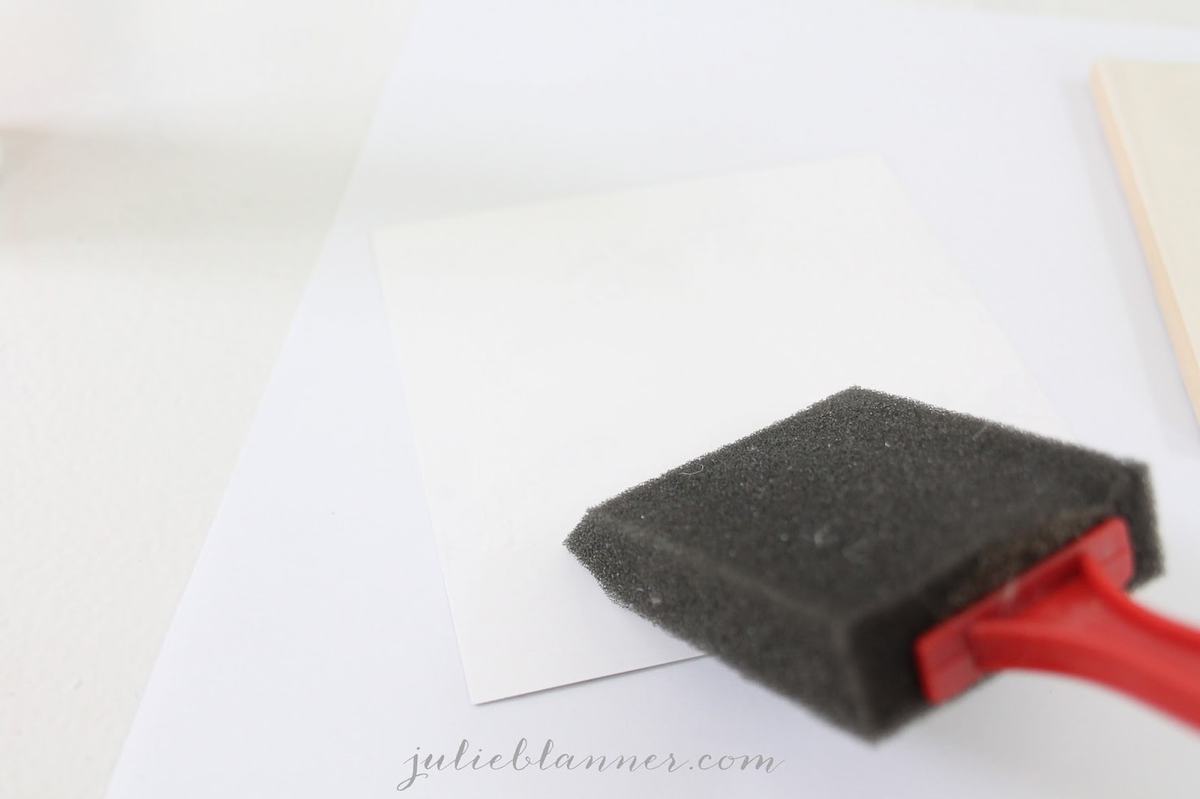
- Using foam brush, spread a coat of Mod Podge evenly over the back of photo until it is completely covered. Make sure to cover to edges of photo.
- Center photo over tile and adhere to the tile. Press firmly from center to outer edges to smooth out any air bubbles. If it isn’t on straight, you can lift up while Mod Podge is still dry and try again.
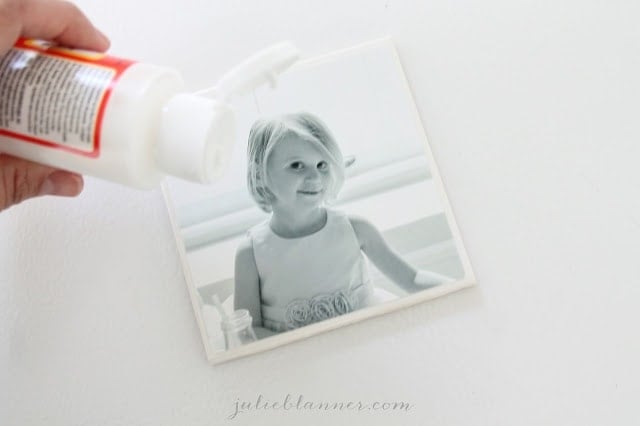
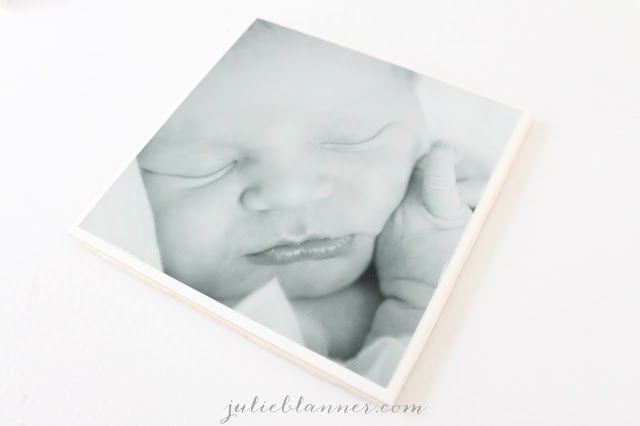
- Allow to dry for a few minutes, then use foam brush to spread a thick coat of Mod Podge evenly on top of photo to the tile edges. It will go on white but dry clear. Allow to dry for 1 hour. Repeat 1 or 2 more times until you have a thick, clear finish over photo.

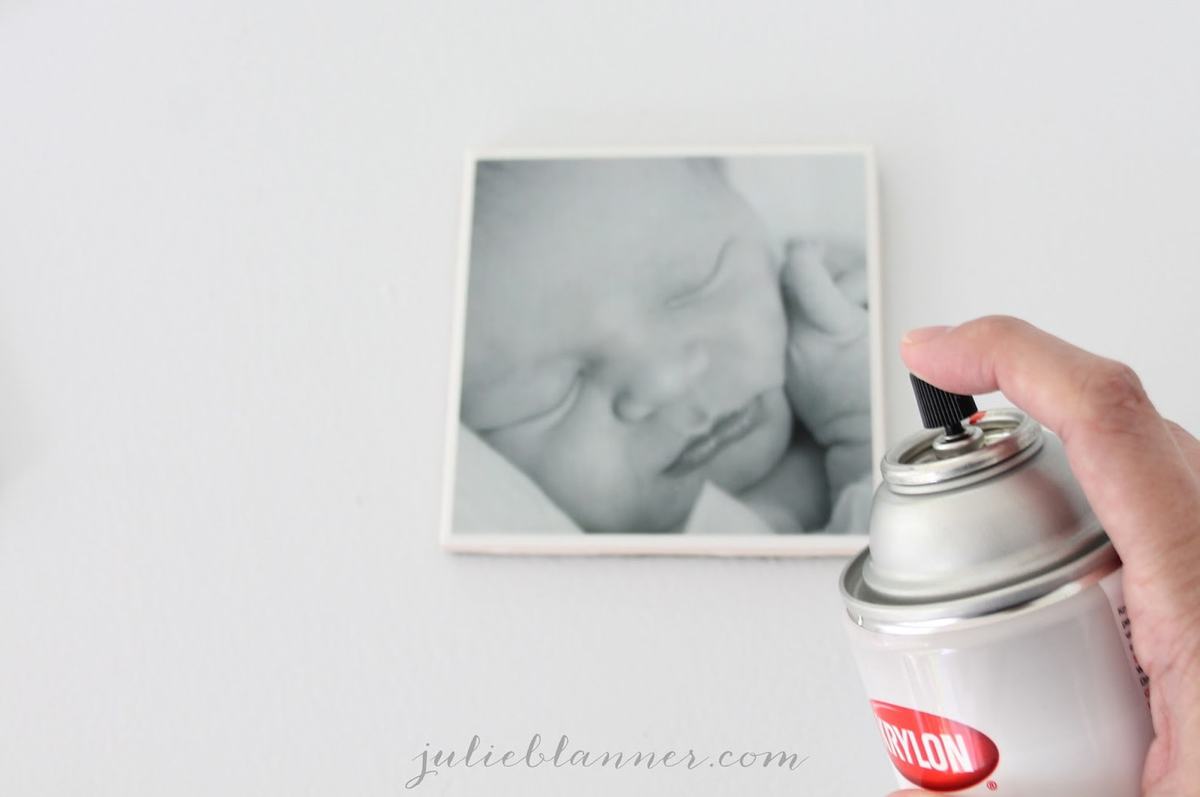
- Once completely dry, thoroughly coat the coaster with clear protectant spray and allow to dry for 24 hours.
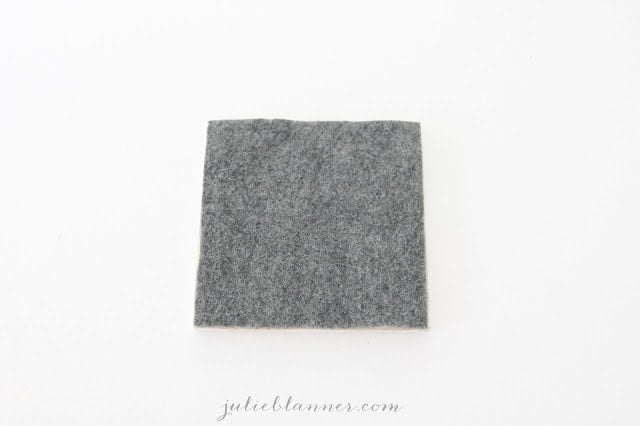
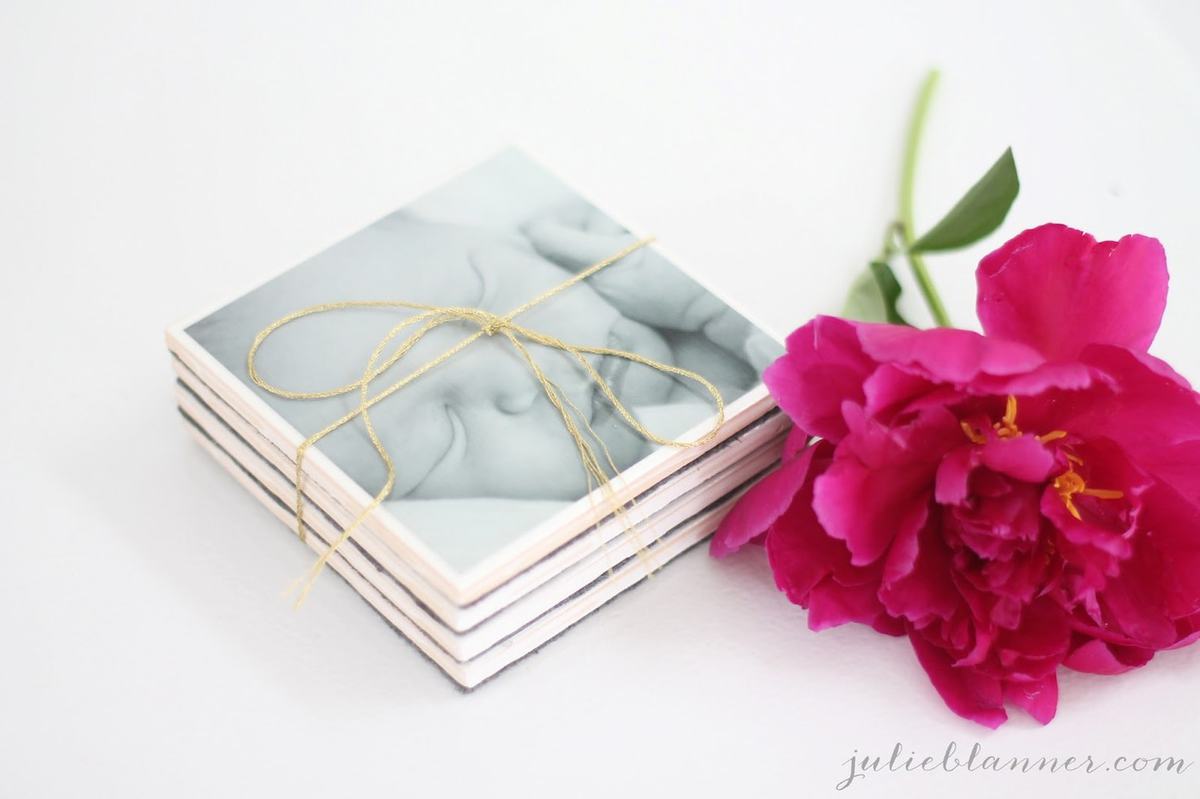
- Cut felt to size of tile and adhere to the back of tile with hot glue.


And if you love non-traditional gift wrap like I do, try stacking your photo coasters together and tying them together with a bit of twine. Tuck your favorite flower through the top by its stem.
The bright pink of this flower looks stunning up against the black and white picture coasters.
Tips
- Choose photos with simple backgrounds. Busy or cluttered backgrounds make it hard to focus on the person in the photo, which is what you really want to do.
- A lot of tiles have a wavy or uneven texture. For this project, you need a smooth finish in order for your photos to lay completely flat. It doesn’t matter if your tiles are matte or glossy as long as they’re smooth.
- If you position your photo onto the tile and it isn’t straight or to your liking, you can pull it back up while the Mod Podge is still wet. Simply pull it carefully by one corner until it comes up. You can reposition as many times as necessary. If it helps, you don’t have to press it down firmly until you’re sure you like the placement. Apply more Mod Podge if it starts to feel like it isn’t adhering well.
- It can be easy to miss the edges when you’re spreading Mod Podge on the back of the photo. If that happens and the edges aren’t staying down on the tile, simply pull up lightly to expose the edges and use the tip of your foam brush to apply more Mod Podge. You can apply it past where the photo will be, since it will dry clear. Then press down firmly until the photo edges adhere well.

Variations for Photo Coasters
- Editing – With photo editing apps, it’s easy to experiment with your photos. You could add text, turn it into a watercolor, make it look vintage, or even blend it with other photos.
- Polaroid – Cut your photo short – into a rectangle – instead of a square and Mod Podge it against the top edge of the tile as usual. This will create the look of a Polaroid print, with a thick white edge across the bottom. This works especially well for photos in landscape orientation (horizontal).
- Silhouettes – Instead of photos, use my silhouette portrait tutorial to make shadow profile coasters instead. It would be charming!
- Color – I used white ceramic tiles because I love classic white, but you can find tile in almost any color. Big box stores will carry white and black tiles in stock and maybe even popular colors like gray, navy, and aqua. If you don’t see the color you’re looking for, you can probably find it online or by special order. Picture coasters would be fun in any color!
- Shape – Give these a modern twist by making them with hexagon shaped tiles. Geometric shapes are popular right now, and you can find hexagon tile at most home improvement stores. Tip: Find a template online to make cutting your photos a breeze.


This is the 2nd time I made them and had no trouble the first time. This time I accidentally used my glossy Modge Podge and they turned out horrible. I also printed them at home so printed them again at Costco. They don’t have matte finish so got luster. This time they turned out perfectly so was probably a bit of both things. Just thought I’d mention it in case anyone else is trying it. I use the clear stick on bumpers instead of the felt and they work great.
Thanks for sharing.
My coaster has streaks from brushing the mod podge on it… is it supposed to have them? If not any suggestions on how to not have streaks from the podge? I used a foam brush as directed and let glue dry 24 hours between layers
You have to work quickly – it’s kind of like painting wood, if the paint starts drying before you are done, it will leave streak marks.
Hey I am doing this for a Christmas gift and when I sprayed on the sealer it ruined the photos. They became distorted and the faces on them almost looked as though they were melting. Do you know why this might happen?
Did you print at home? If so, that’s why. Otherwise the only thing I can think of is that I always print photos in matte, but that shouldn’t make a difference. I printed at Walmart Walgreens and CVS without having an issue .
Yea, I printed at CVS. How many layers of mod podge did u do? Maybe I spayed to close or to slowly to pictures?
Maybe? 2 layers.
Another question, we’re your photos printed on photo paper or regular paper? If photo paper, did you have them printed at a photo center type place or would a laser printer work? Thanks!
No problem, Lindsey! I had them printed & would recommend the same. I’m not sure if ink from a home laser printer would set properly, but you could always test one! I haven’t attempted printing photos at home for years, out of laziness.
I love this idea! I want to try for Christmas gifts. Starting early this year. 😉 But…where do you get the tiles? Thank you for the tutorial!
I purchased them at Lowes, but you can find them at any hardware store. So incredibly easy!