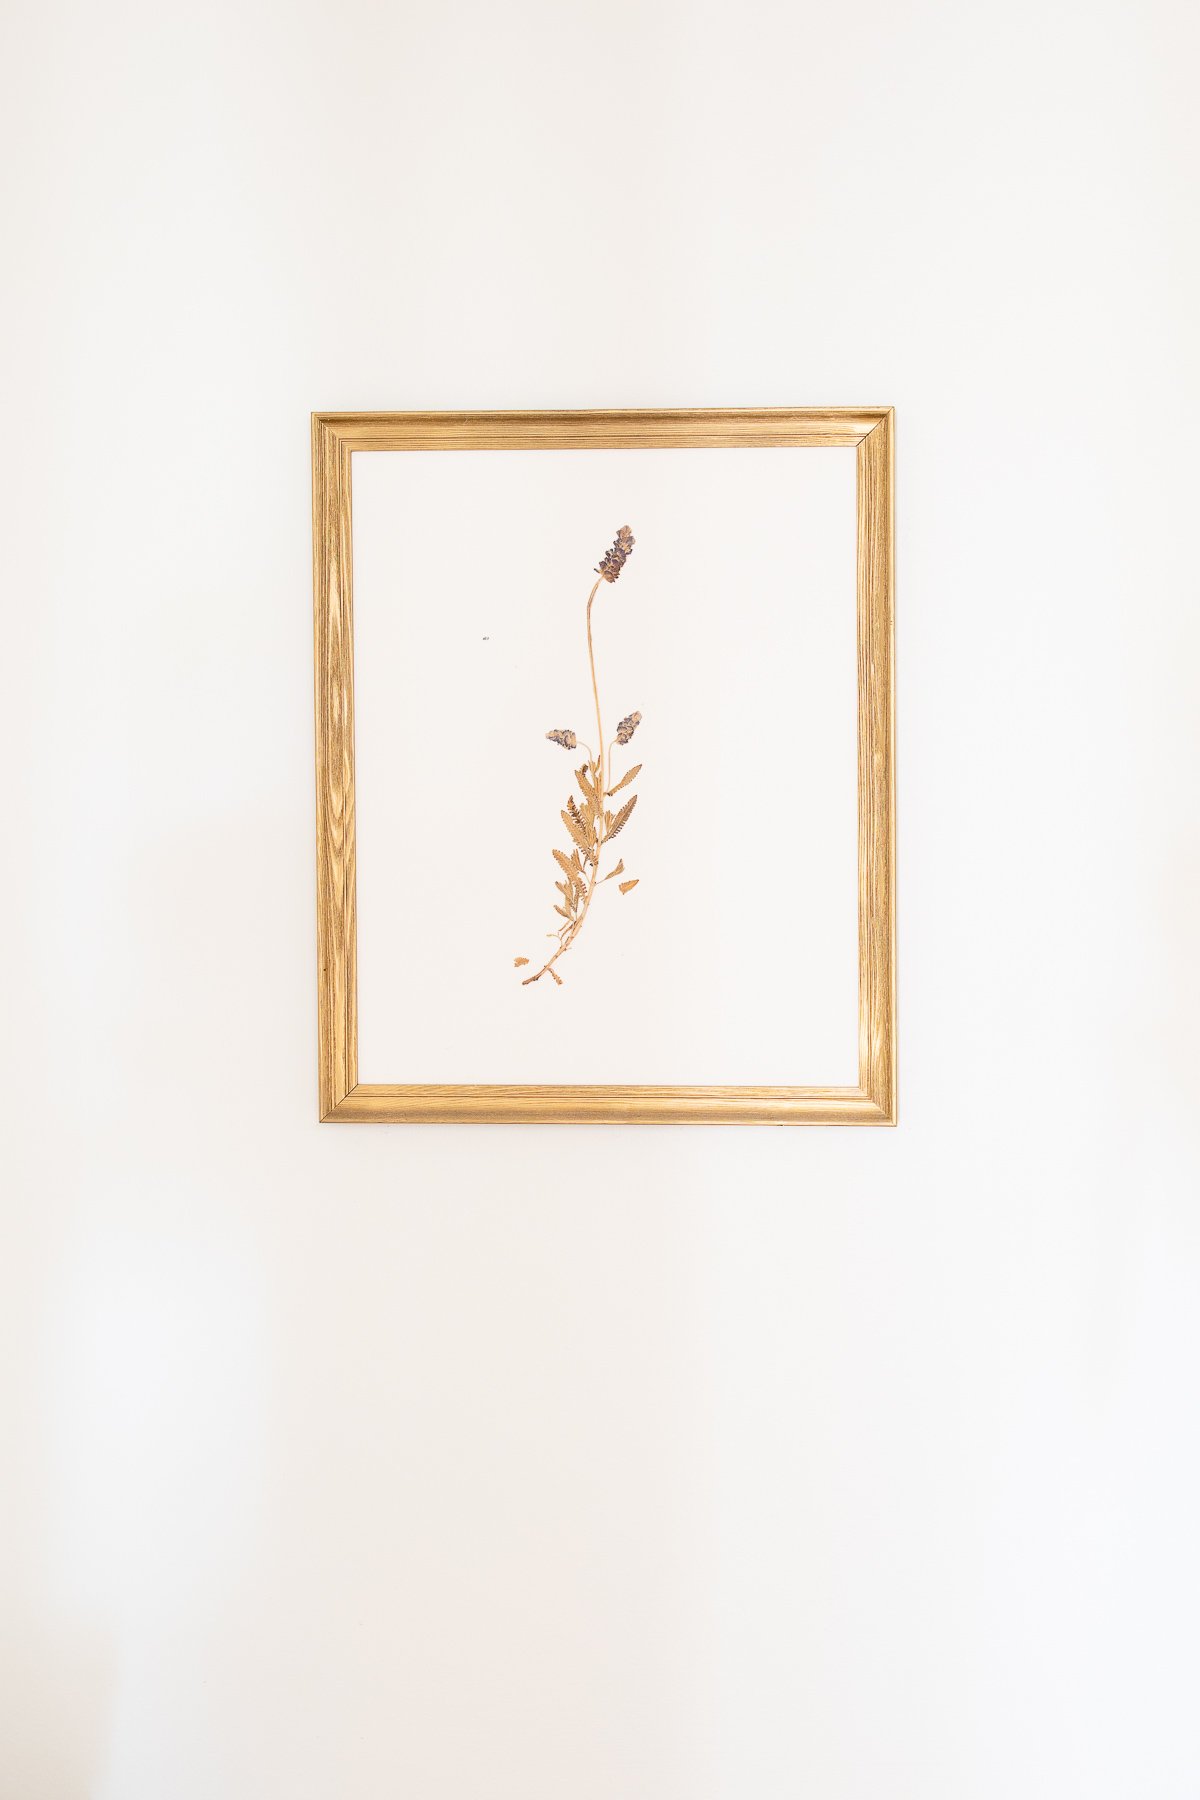
Pressed botanical art lends an air of natural elegance to any space. This style is classic and beautiful in the most effortless way, because Mother Nature has done most of the work for you!
With this simple tutorial, creating your own botanical art is effortless.
The unique shape, color, and texture of each flower creates a one-of-a-kind work of art. This DIY is quick, easy, inexpensive, AND you get a work of art of your own.
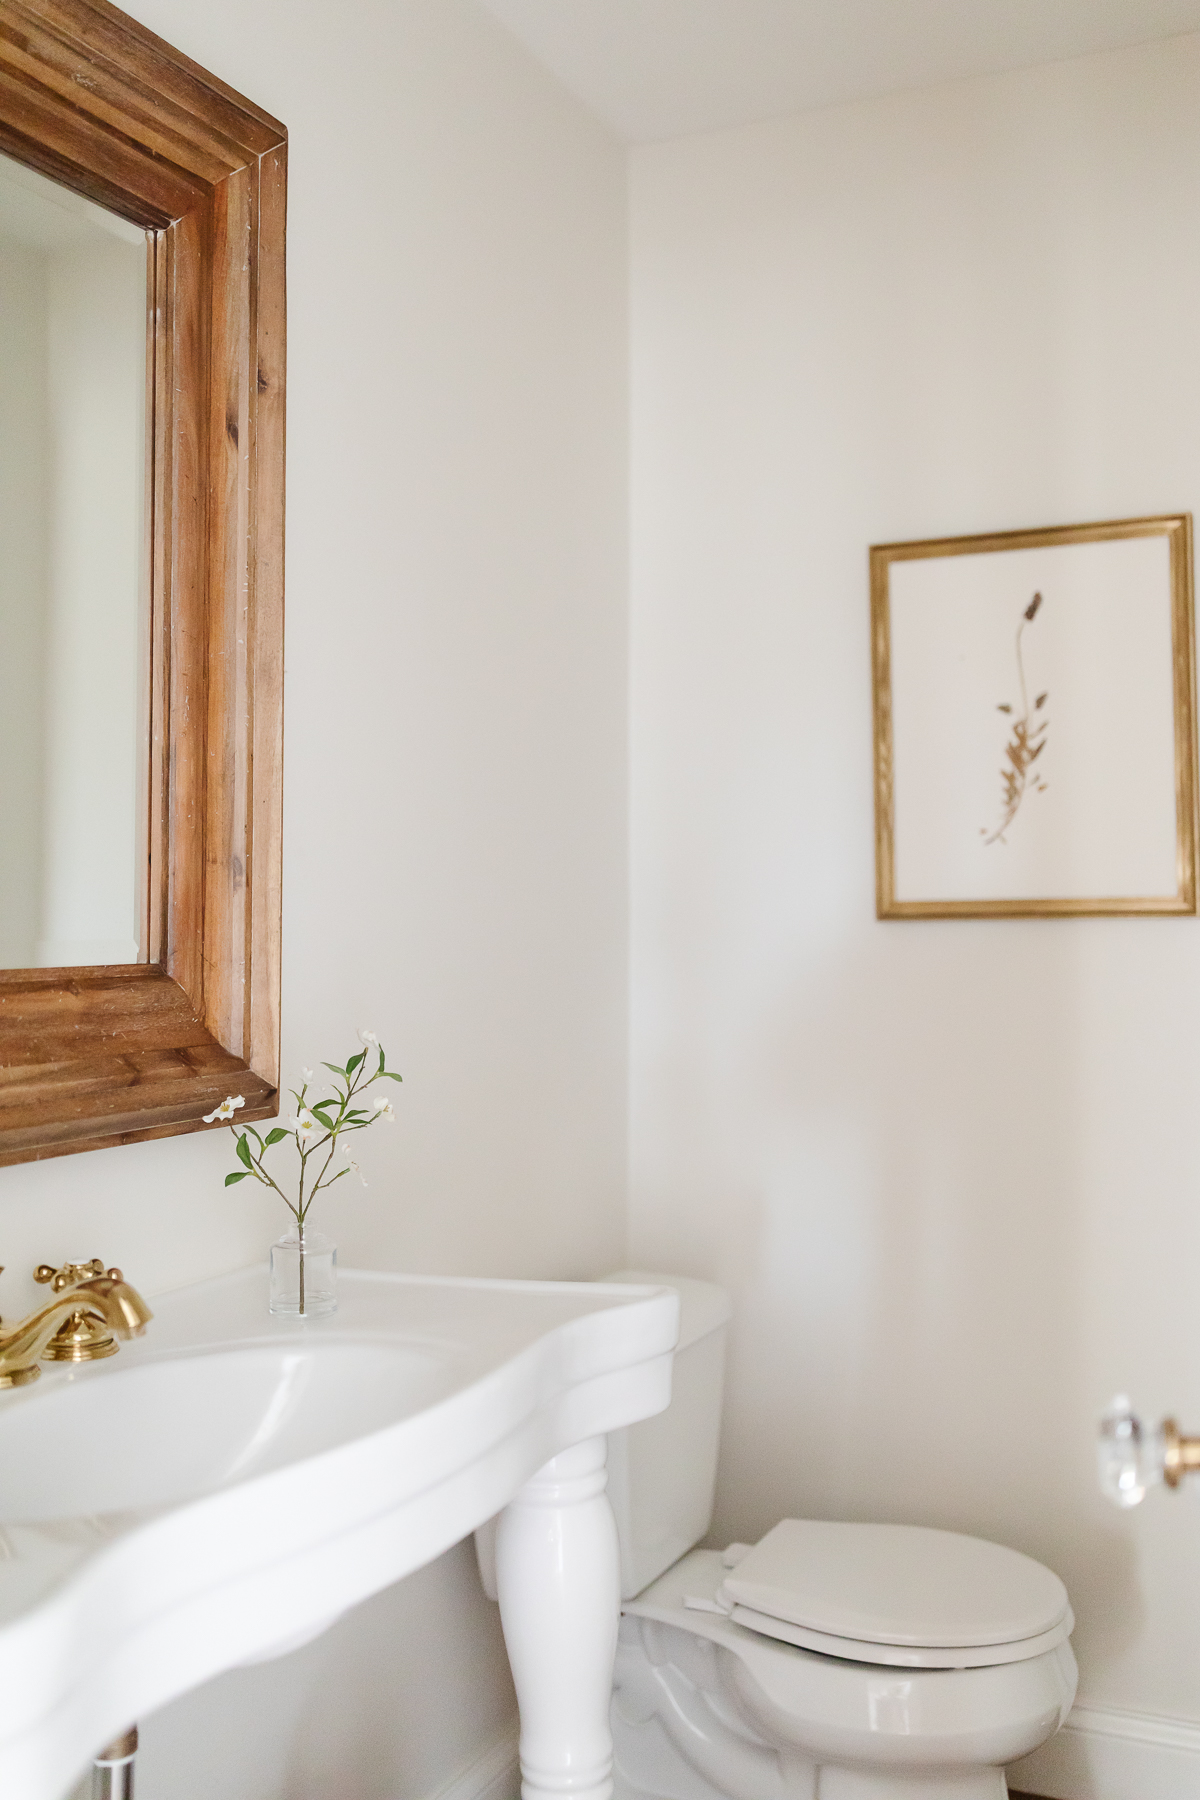
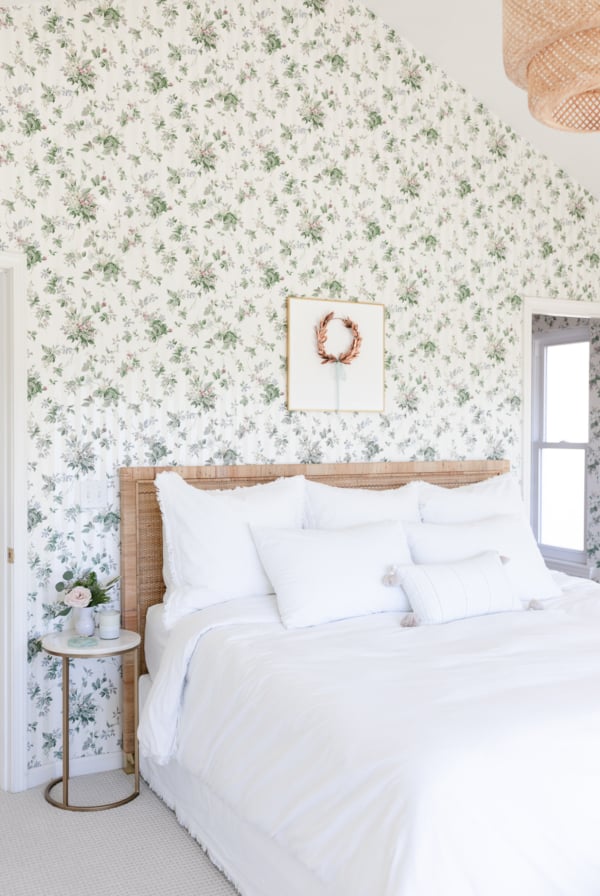
For years I’ve been filling our home with framed botanicals, many printed from vintage books. Chris gifted me an original botanical on our copper anniversary. Printing presses used to copper plate botanical images for printing into books.
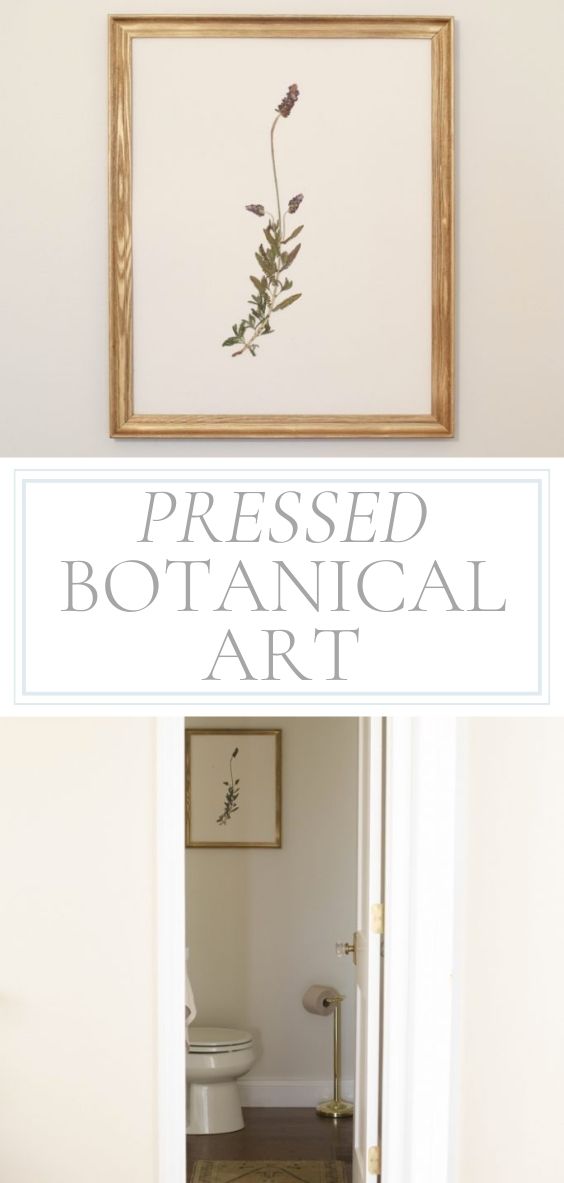
Pressed Botanical Art
Pressed botanical art is very expensive. Giannetti, now known as Patina Home and Garden, offer beautiful botanicals starting at $600. Restoration Hardware offered small pressed botanicals on linen for $200.
I decided to try pressing my own botanicals before splurging on buying one, and I ended up with more than just beautiful art for my walls. I found that sometimes the process is just as beautiful as the final result. It’s a lesson I need to remember – enjoy the process!
Supplies
It doesn’t take much to get started making your own botanical art. In fact, you probably have several of these supplies already on hand. Here’s what you need to create your own pressed botanicals:
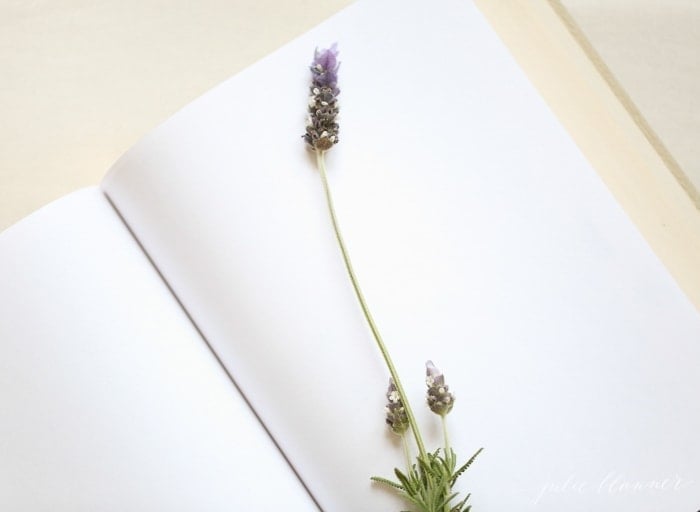
- Stem from your plant of choice {herbs, ferns, flowers}
- Heavy book (optional)
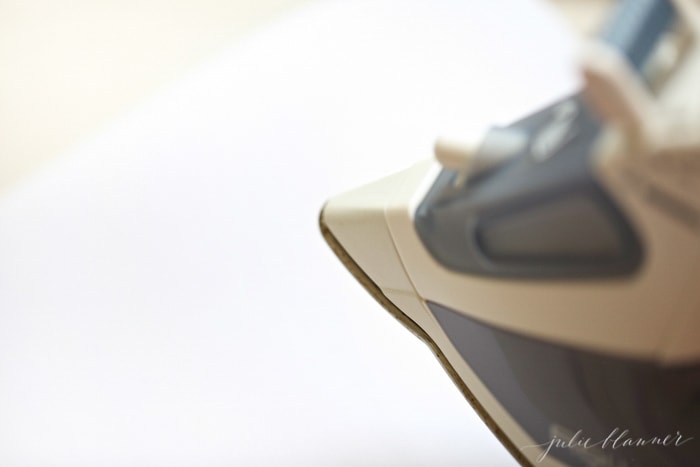
- Iron & ironing surface
- Several sheets white paper
- Mounting paper or linen, trimmed to size of your frame
- Glue
- Toothpick
- Tweezers
- Spray adhesive
- Frame
How to Make a Pressed Botanical
This really is such a doable DIY. If you know how to work an iron, you can press your own flowers! No more waiting weeks to enjoy the results! They’ll be ready to frame within minutes.
For the complete tutorial, see the printable instruction card below.
- For thicker flowers, place two pieces of paper in the middle of a thick book, center your stem on the page, and close the book with the flower inside. Stand on your book for several seconds to press the flower.

- Place a few sheets of paper on hard surface or ironing board. Position yours stem in the center of the page and layer 2 additional sheets of paper over the top.

- Iron your stem on medium-high heat without steam. Apply pressure for a few seconds in each section, and lift iron to reposition. Continue until you’ve ironed entire stem. Do not move iron while it is on the stem, because doing so can cause breakage.
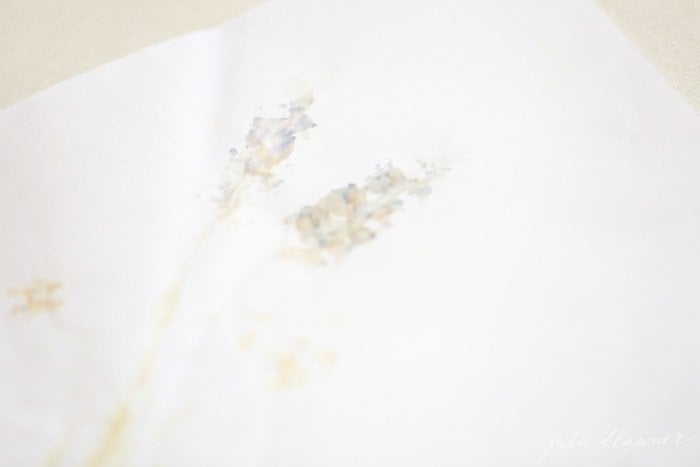
- Replace your paper with new, dry paper. Reposition your stem if needed to achieve desired shape – at this point the stem will still have moisture and will be flexible. Repeat step #3 until stem is completely dry. As you do, the oils from the stem will transfer to your paper.
- Once dry, you can mount your stem for framing. Carefully lift off paper using tweezers, and position on mounting paper or linen. Using a toothpick, line the back of the stem with glue and adhere. While glue is still wet, you can use tweezers to manipulate it, reshape it, remove small pieces, etc. Work carefully, or stem could break.
- Use spray adhesive to secure your botanical art to your frame backing or a flat cardboard insert cut to size of frame. Insert glass into frame, then your art behind the glass, and secure it with the tabs on the back of the frame.
- Hang according to frame instructions.

Pressed Botanical in a Book
- Place a stem between a sheet of parchment paper and tuck it inside the pages of a heavy book.
- Stack heavy books or weight on top. Leave it for 6-8 weeks for best results.


Thanks for this. I remembered my mother had some alpine flowers framed and I think they were on kozo paper, which was very handsome in our entryway. I’ going to the park tomorrow to look to botanicals.
Hi Julie, Gorgeous!!
Do I put glass over them?
I didn’t, but you absolutely could!
Do you know how long they will last? I’m concerned that there will be fading and possibly the plant/flower coming apart over time.
For years! They’re completely dried already so should remain in tact as long as they are not touched. My grandmother had dried flowers that retained their color for as long as I could remember. Enjoy!
I just tried this with some lavender blooming in my garden, and it worked great… the pressed stems are beautiful with such a nice natural flow to them! I’m about to go to the store to buy fabric backing and frames to complete the project. I’m surprised by how long my stems are though, once I measured — I hope I can find frames to fit. I was going to make 2 tall thin pictures, but since my stems are so long, I may just make one large picture like you did. Thanks for sharing this technique… so much better than waiting weeks while the flowers press in books.
So glad you enjoyed it as well! If you have Facebook/Instagram, tag me, I’d love to see!