If you love the style of Pottery Barn for babies, kids and teens, you’re in for a real treat! We’re sharing all of our favorite Pottery Barn Kids look for less items in this fantastic shopping guide.
From furniture to rugs, lighting and decorative accents, we’re saving you time and money! Get all our best ideas for creating the high end look for a little less.
We’ve been so lucky to shop at our Pottery Barn outlet here in St. Louis for many years. I can’t even count how many incredible steals I’ve found in there!
From window treatments to art, lighting and rugs, we’ve long loved the cozy, traditional style of Pottery Barn. While we’ve incorporated our favorite items into our St. Louis home (see the before and after here), we love finding the look for less, too!
That’s why we’ve creating a series of shopping guides – to help you save money and find exactly the right piece to bring a room to life! Today, we’re focusing on items at Pottery Barn Baby, Kids and Teen.
If there’s anything you’re hoping to find, don’t hesitate to reach out! We love sharing our favorite finds with you. We’ve gotten wonderful feedback on our Serena and Lily Look for Less and Arhaus Look for Less collections, so we’re excited to add a new one.
Pottery Barn Kids Look for Less
If you loved our Pottery Barn Look for Less guide, I think you’ll love this one too. I hope you’re as excited as we are about all these fun finds!
Newest Finds
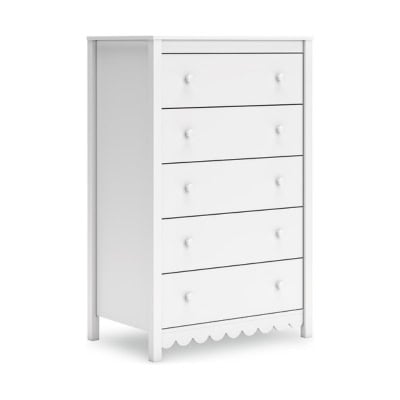
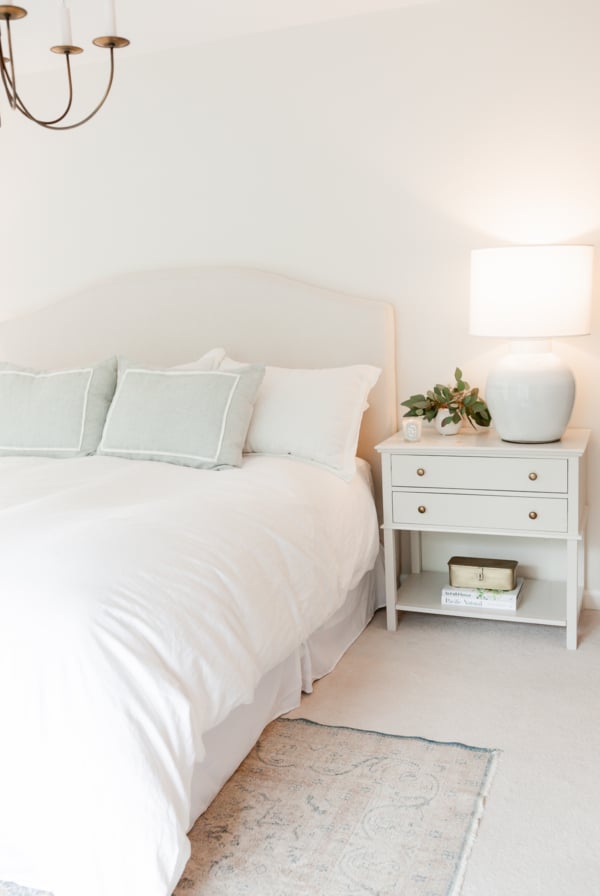
Scalloped Dresser
For under $300!
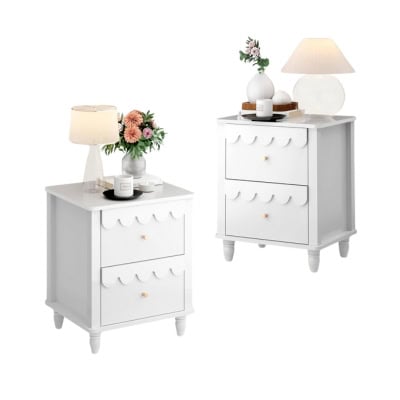
Scalloped Nightstands
The pair for under $200!
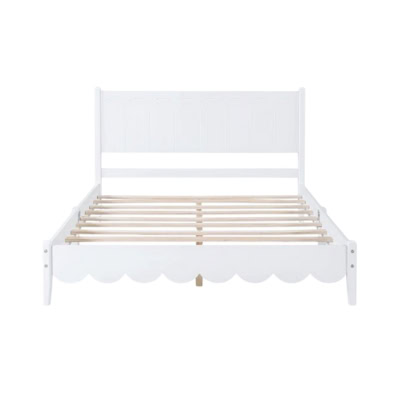
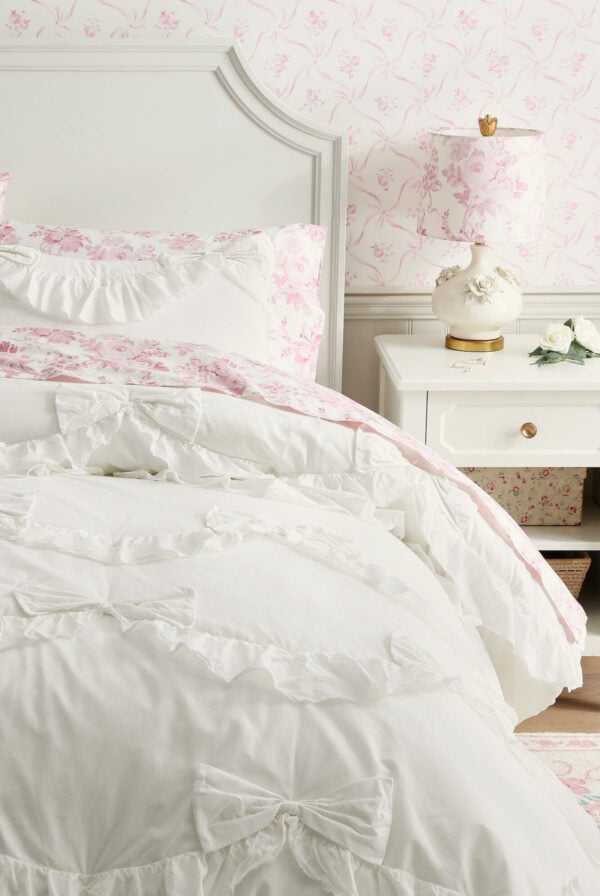
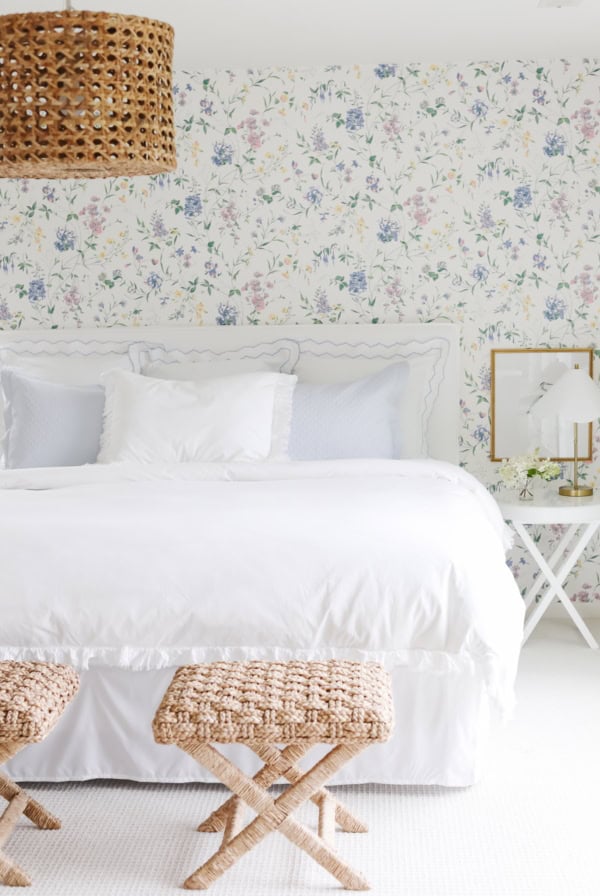
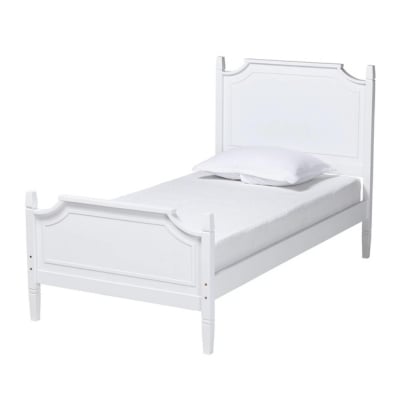
Scalloped Bed
Get a full sized scalloped bed for under $400 – similar to the Penny bed!
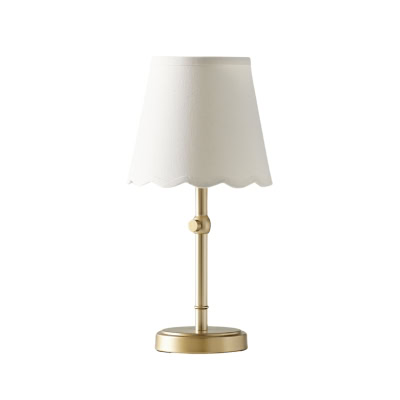
Amelia Table Lamp
Adjustable, $99!
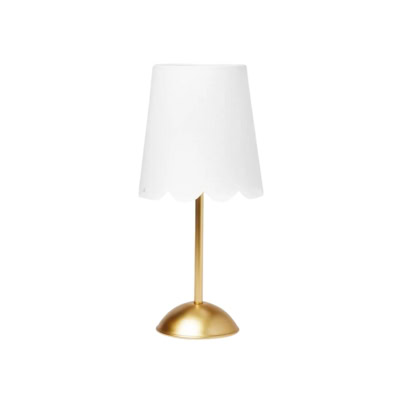
Scalloped Accent Lamp
Just $15!
Furniture
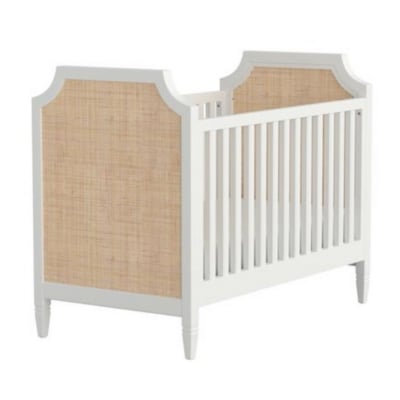
Ava Regency Caned Endpanel Crib
$999
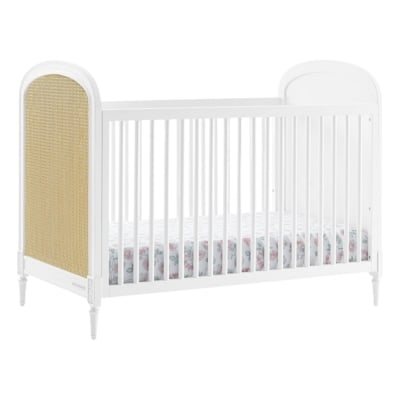
Delta Convertible Caned Crib
$375
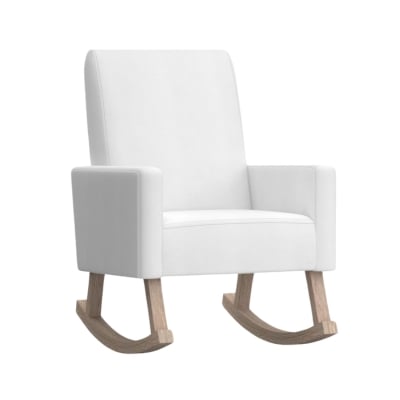
Phoenix Convertible Rocking Chair
$899 and up
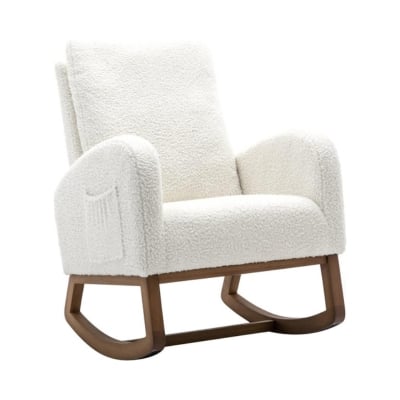
Modern Rocker
$199-$249
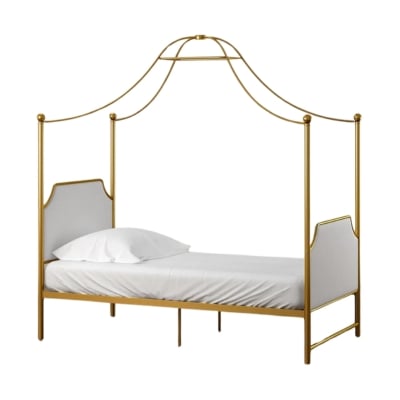
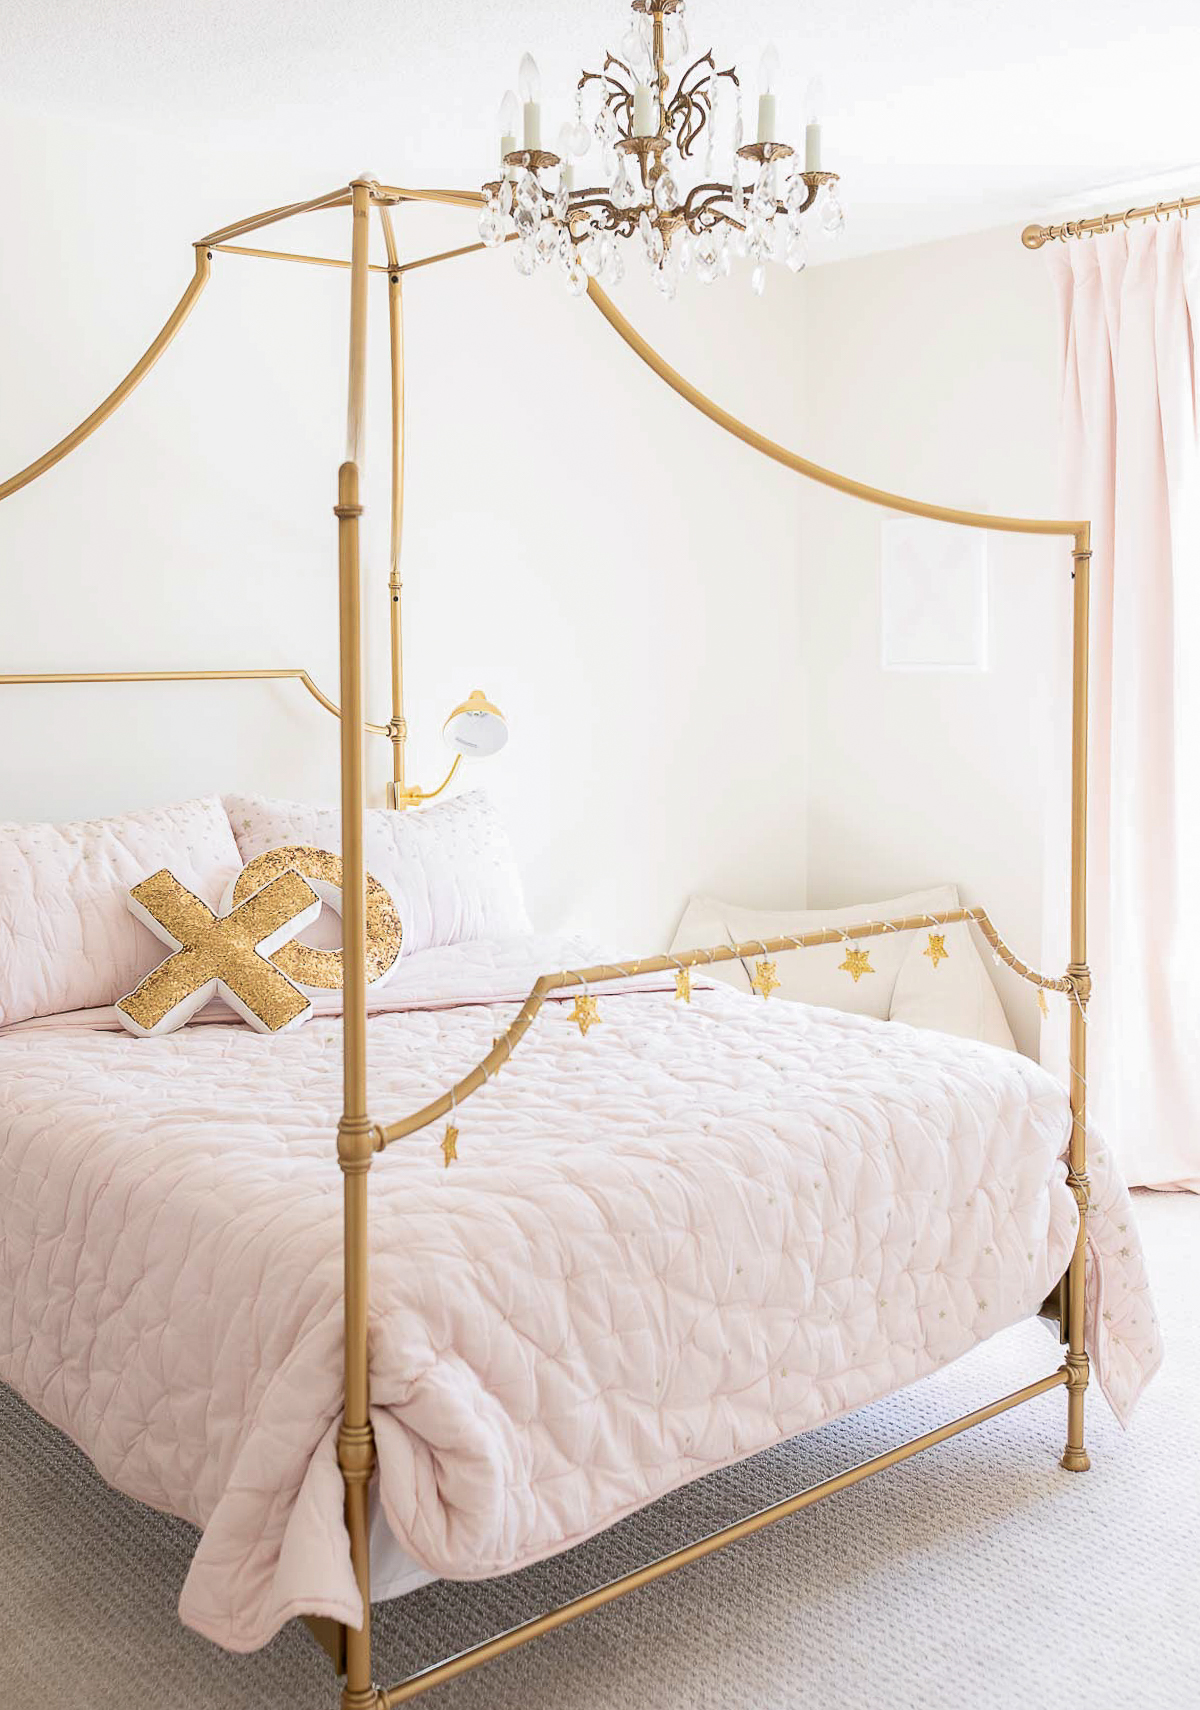
Gold Canopy Bed
This one is quite similar to our now-discontinued Maison Canopy Bed, and at a fraction of the cost. It comes in at under $200 for the twin!

Sydney Convertible Crib
$799
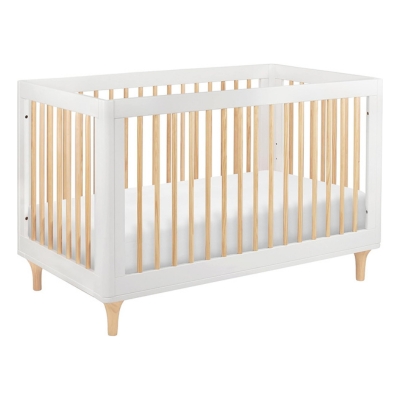
White and Natural Crib
With a conversion kit – just $499 and I think I like this even better than the original!
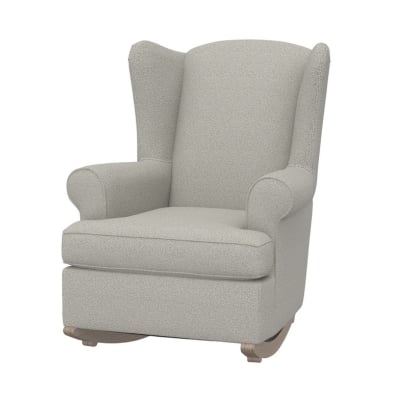
Wingback Rocker
$1299-$1599
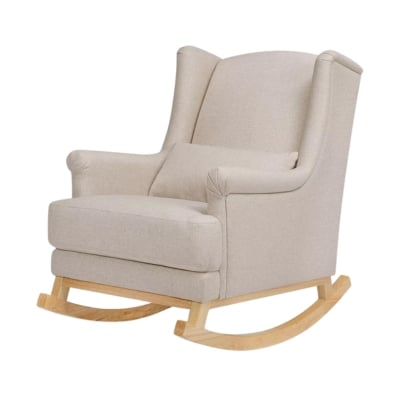
Wingback Rocker
In two highly rated colors, $349.99
Ava Regency Bed
$999 for a twin
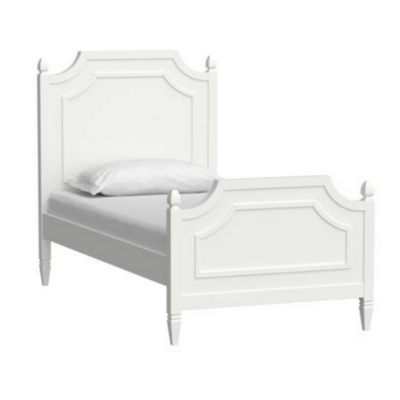
Traditional White Bed
Just $250 for the twin
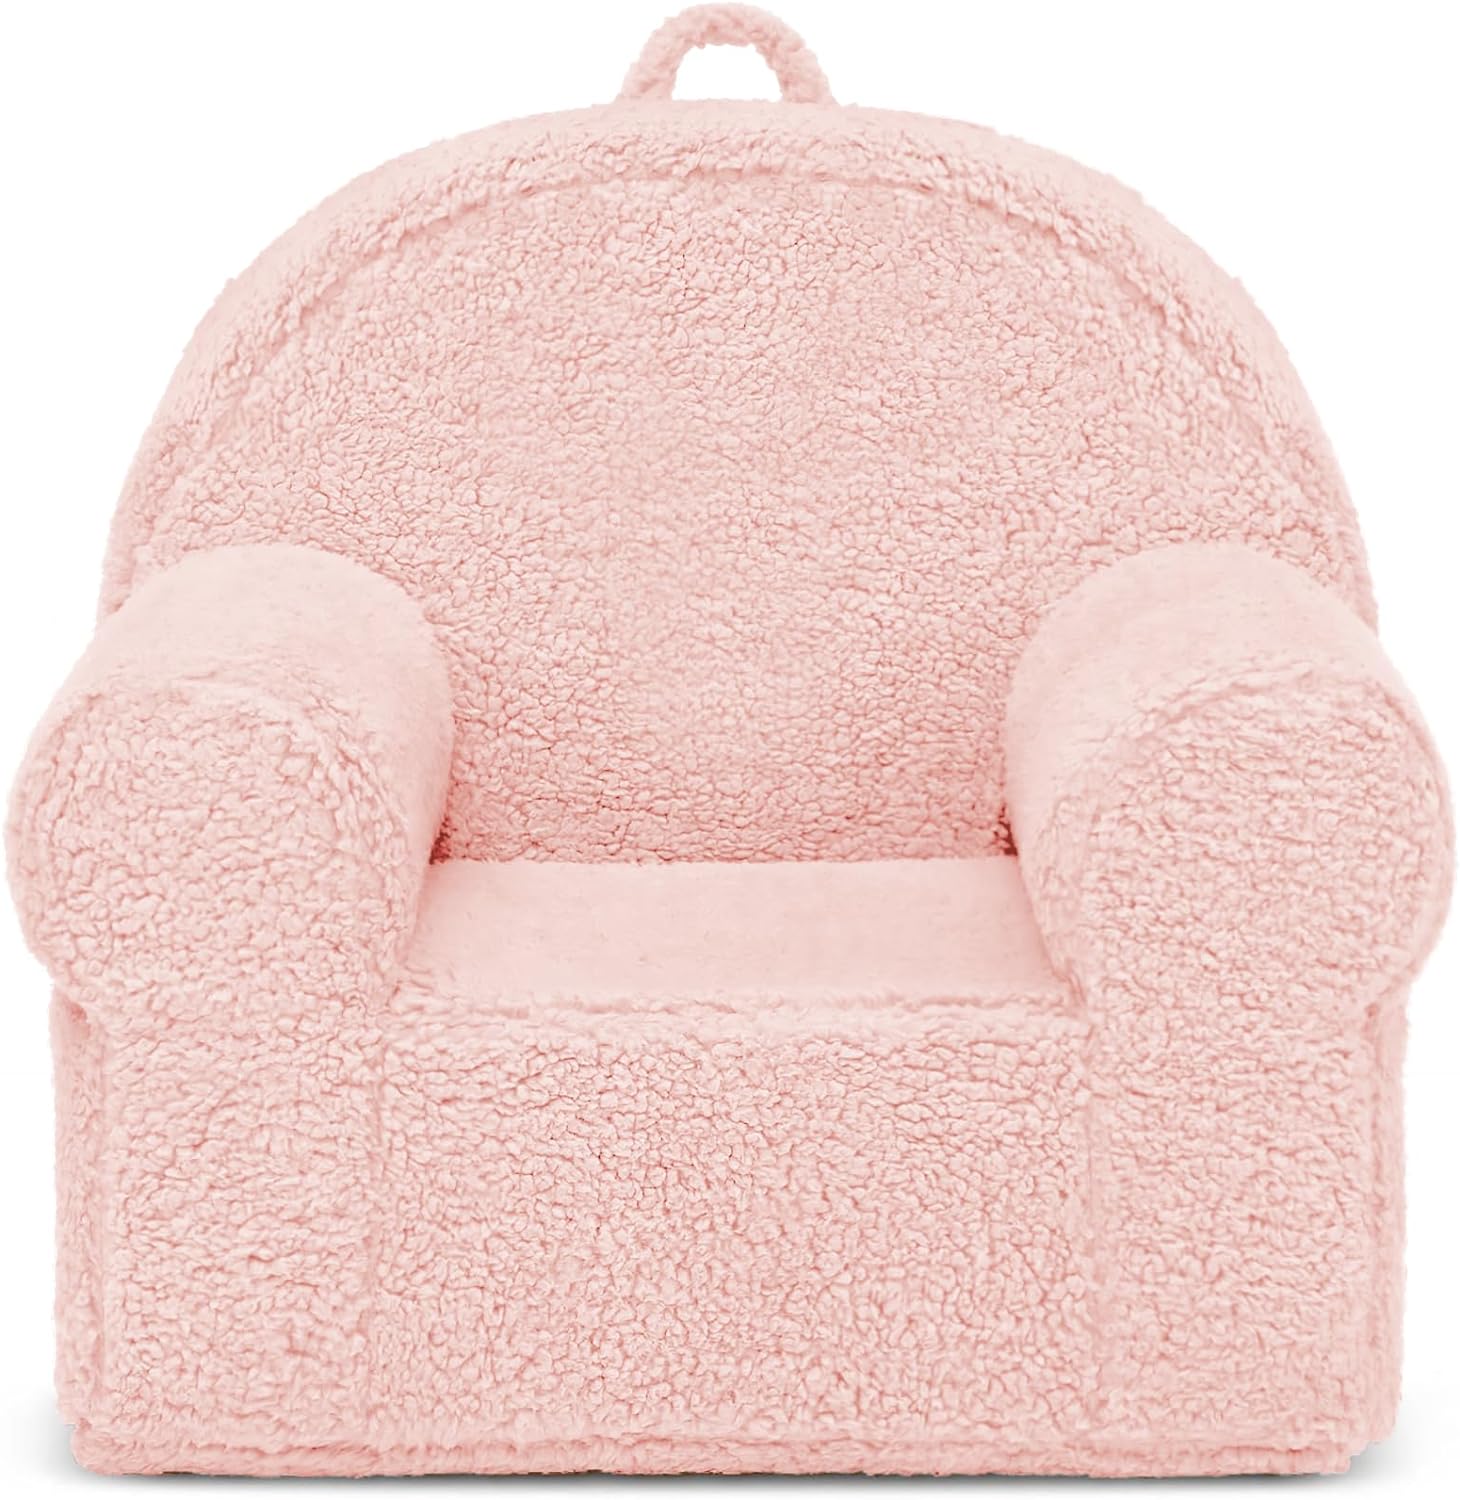
Sherpa Chair
The Pottery Barn Kids Anywhere Chair in sherpa starts at $159, but this one is under $60!
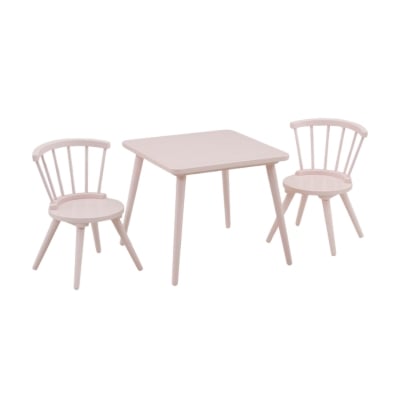
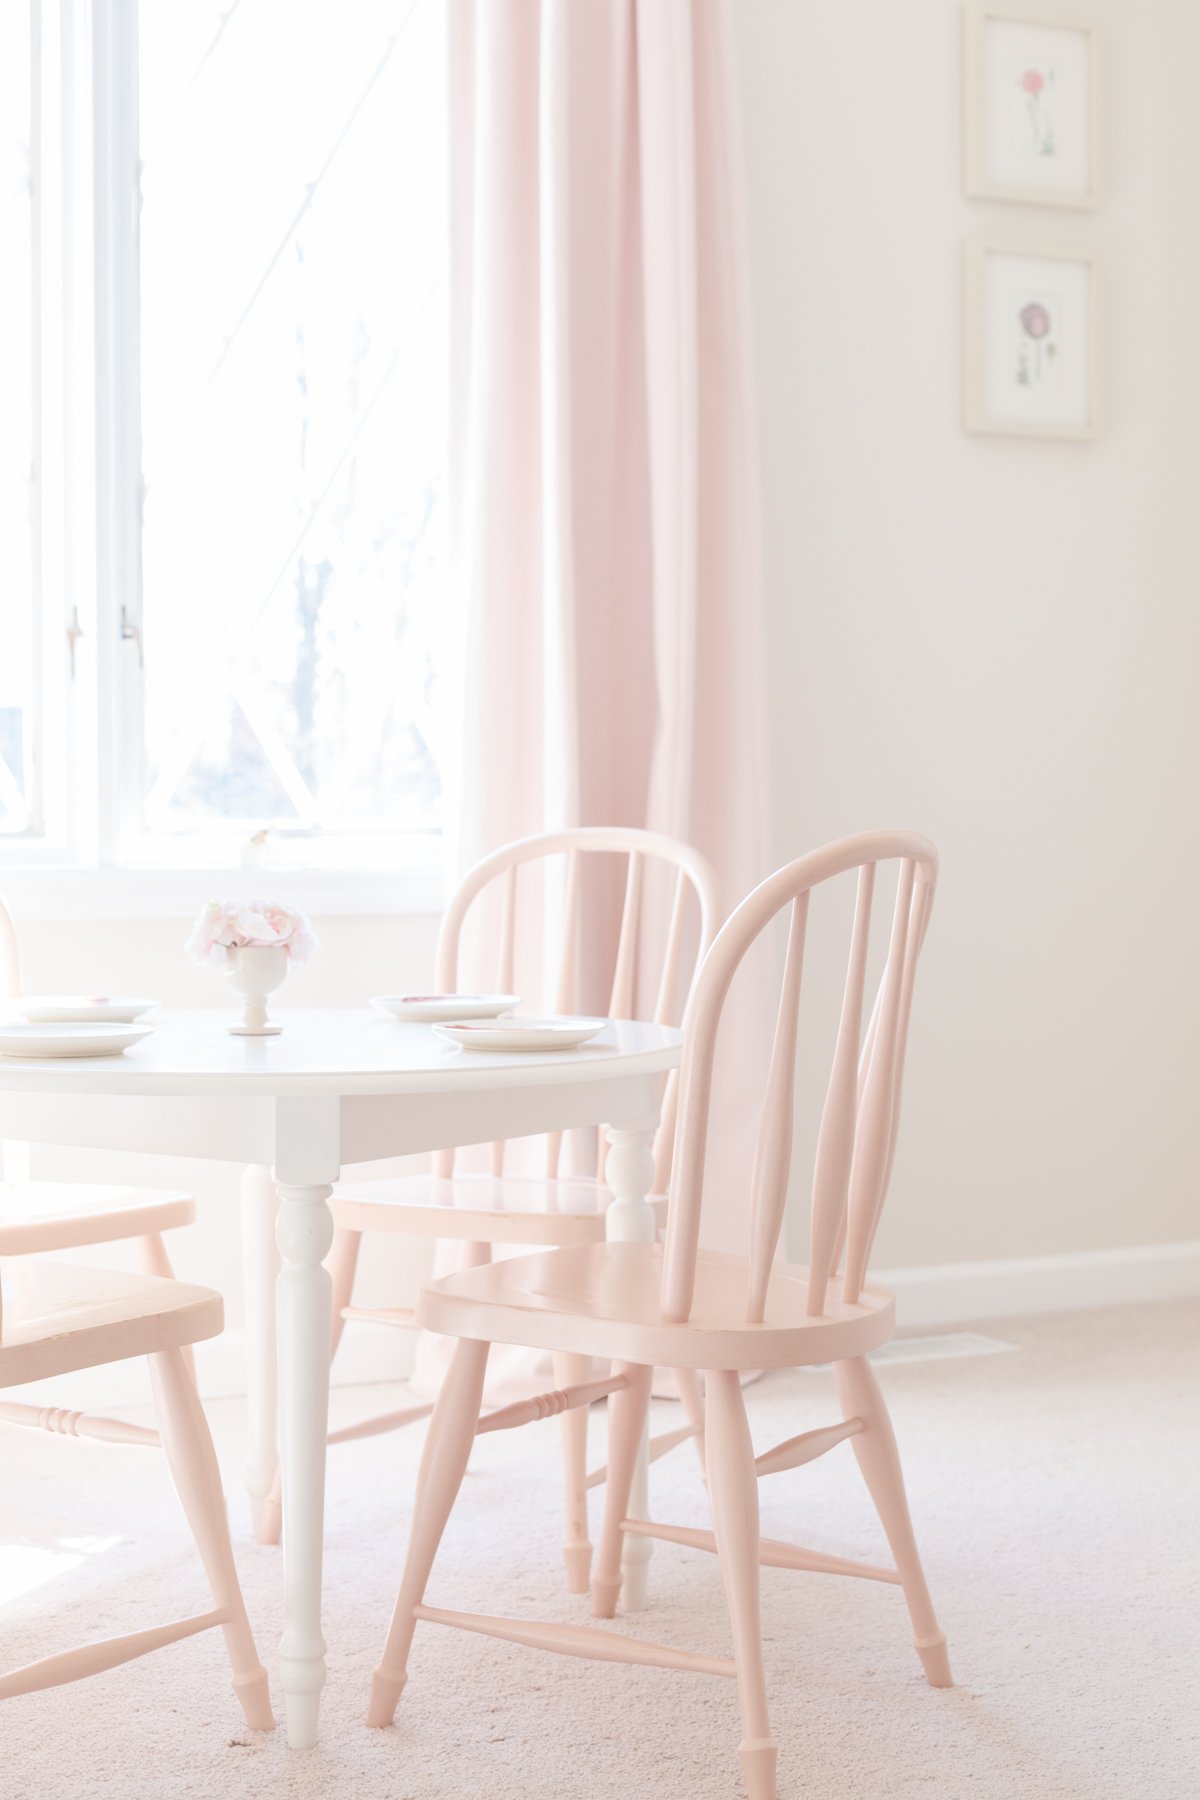
Pink Table & Chair Set
Table and set of two chairs is just $130
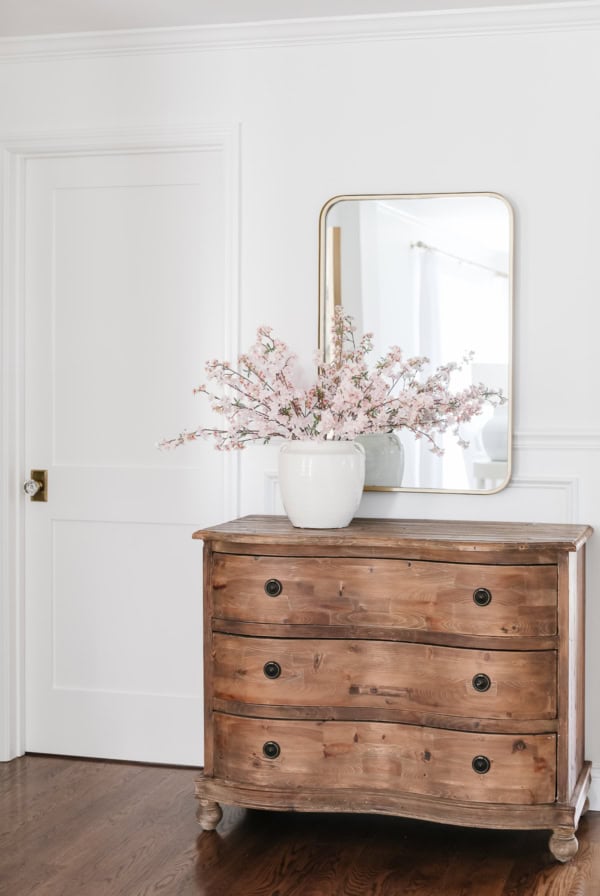
Mirrors and Decor

The Emily & Meritt Bow Mirror
A PB best seller, priced at $249
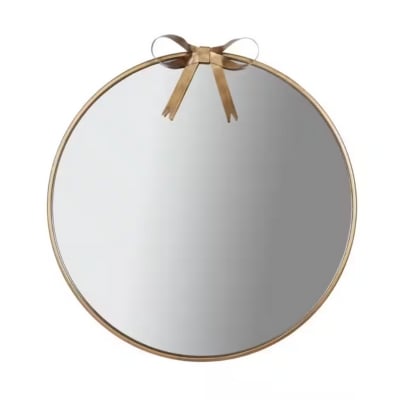
Round Gold Bow Mirror
$149
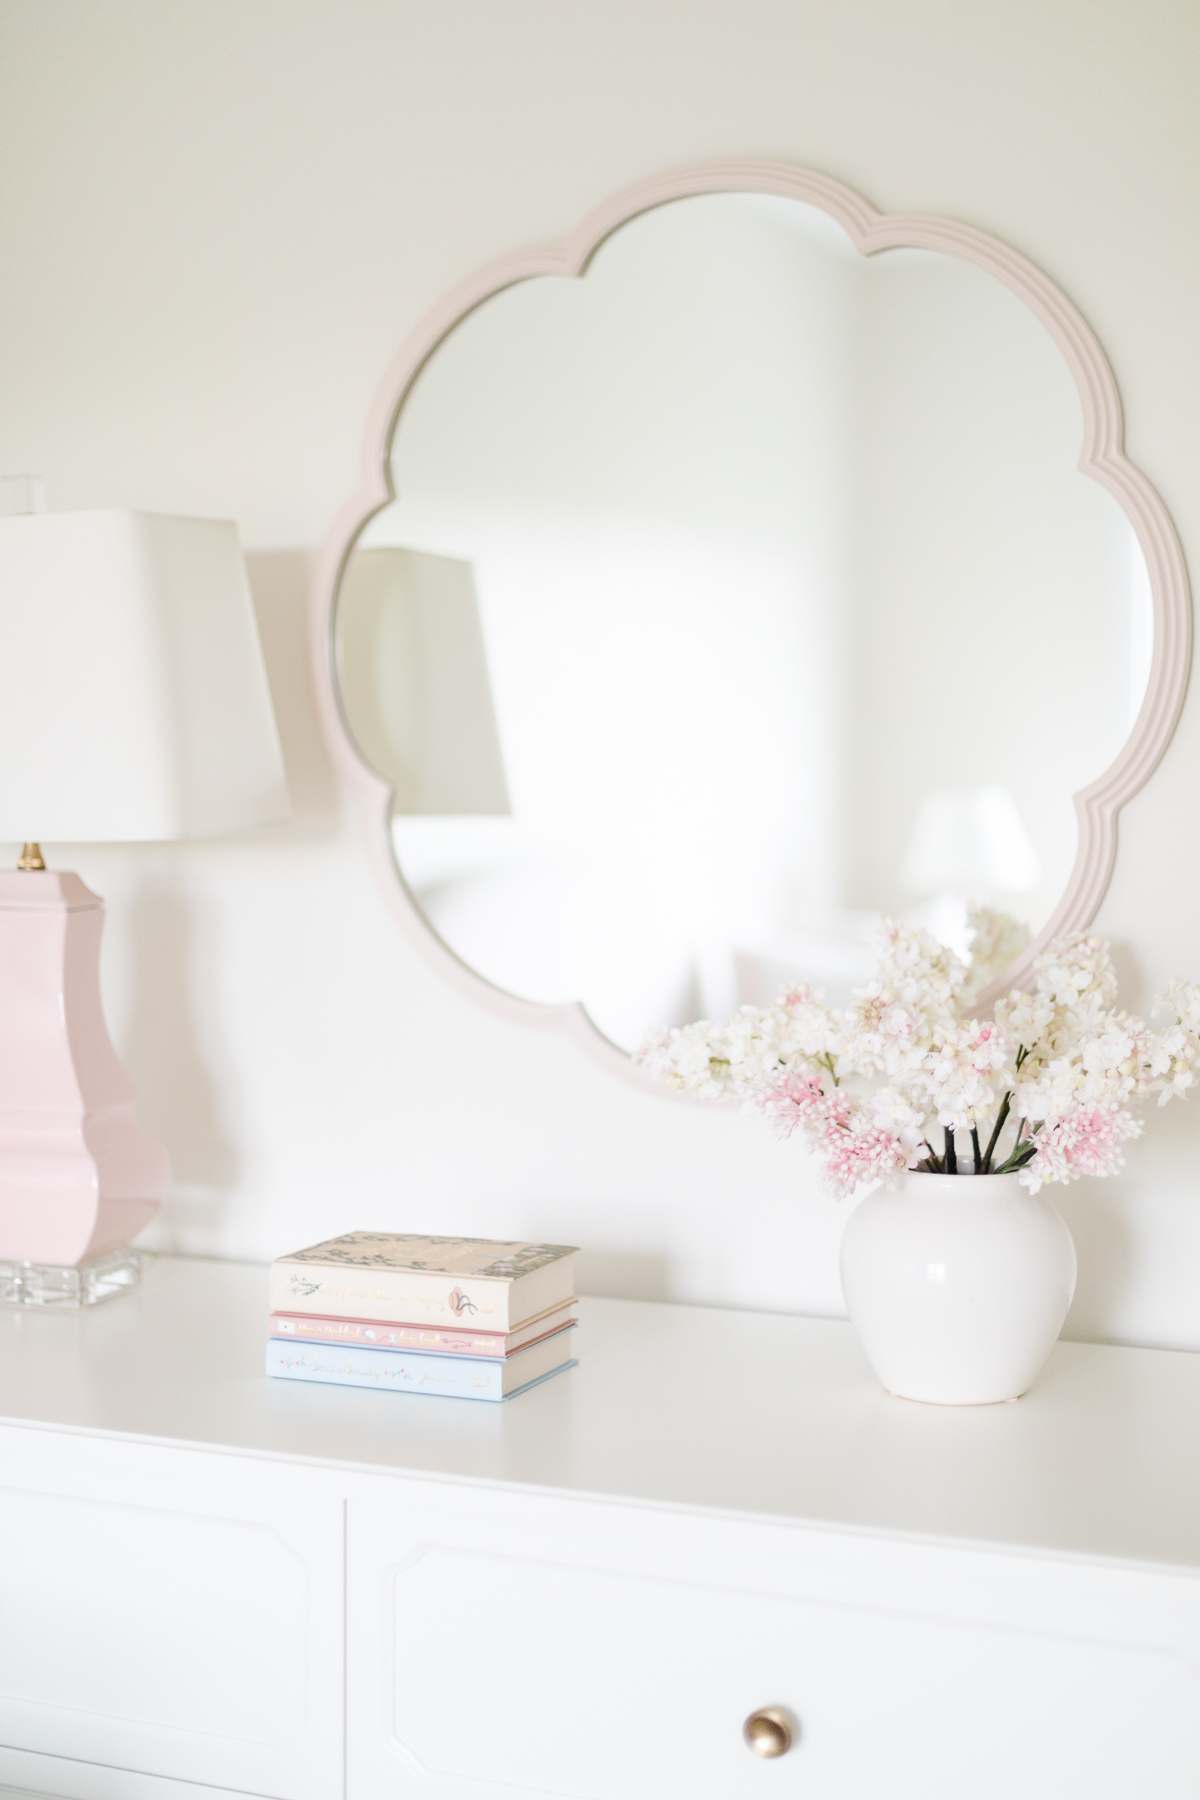

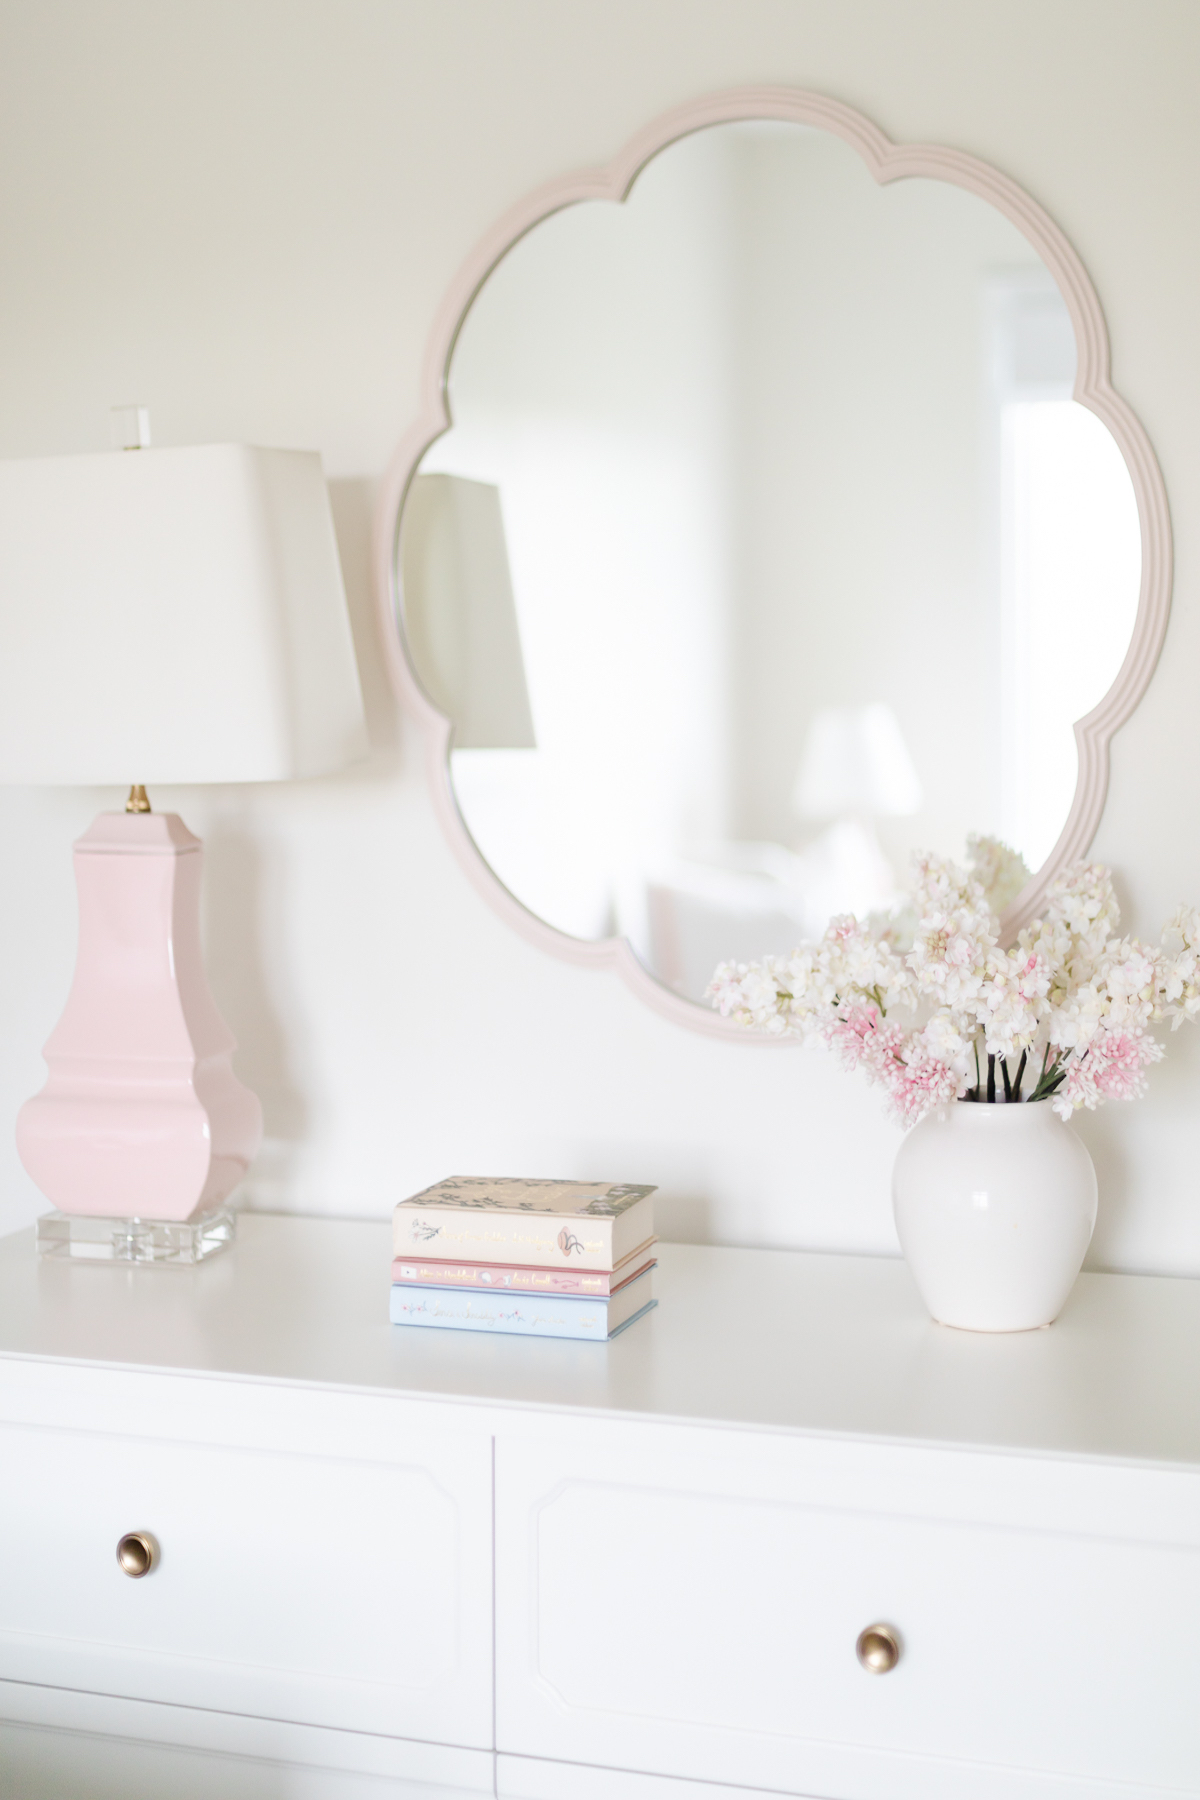
Blush Scallop Mirror
We have this beauty, too – $229!
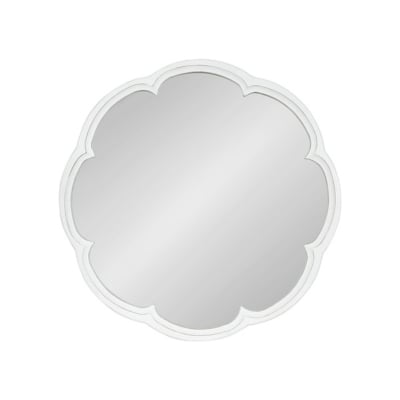
Scallop Mirror
Just $169 (+ 25% coupon)
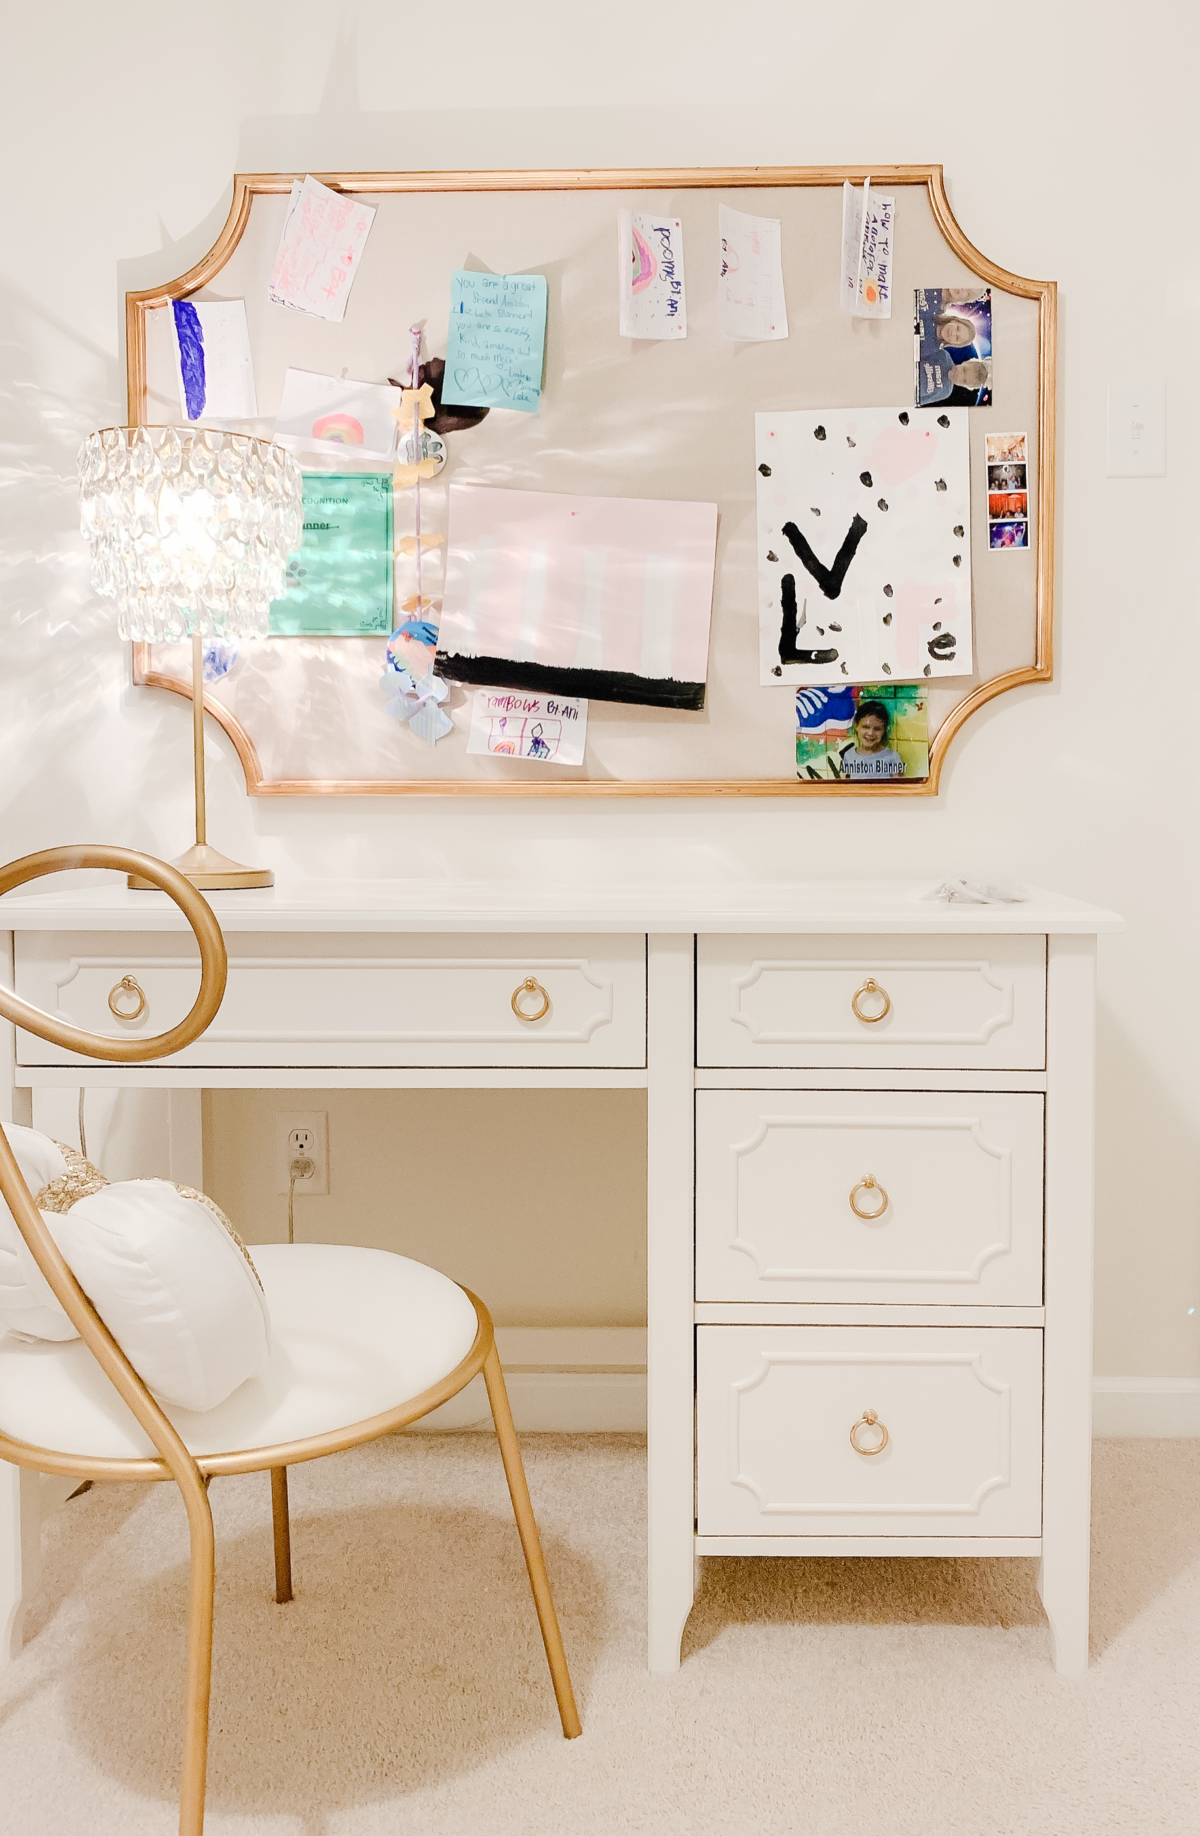
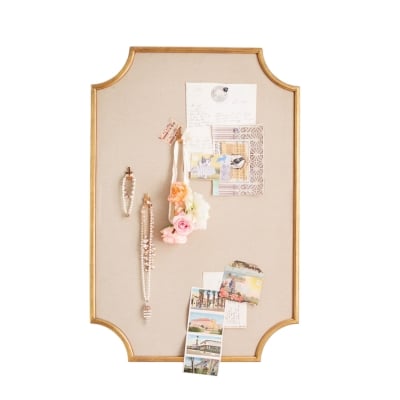
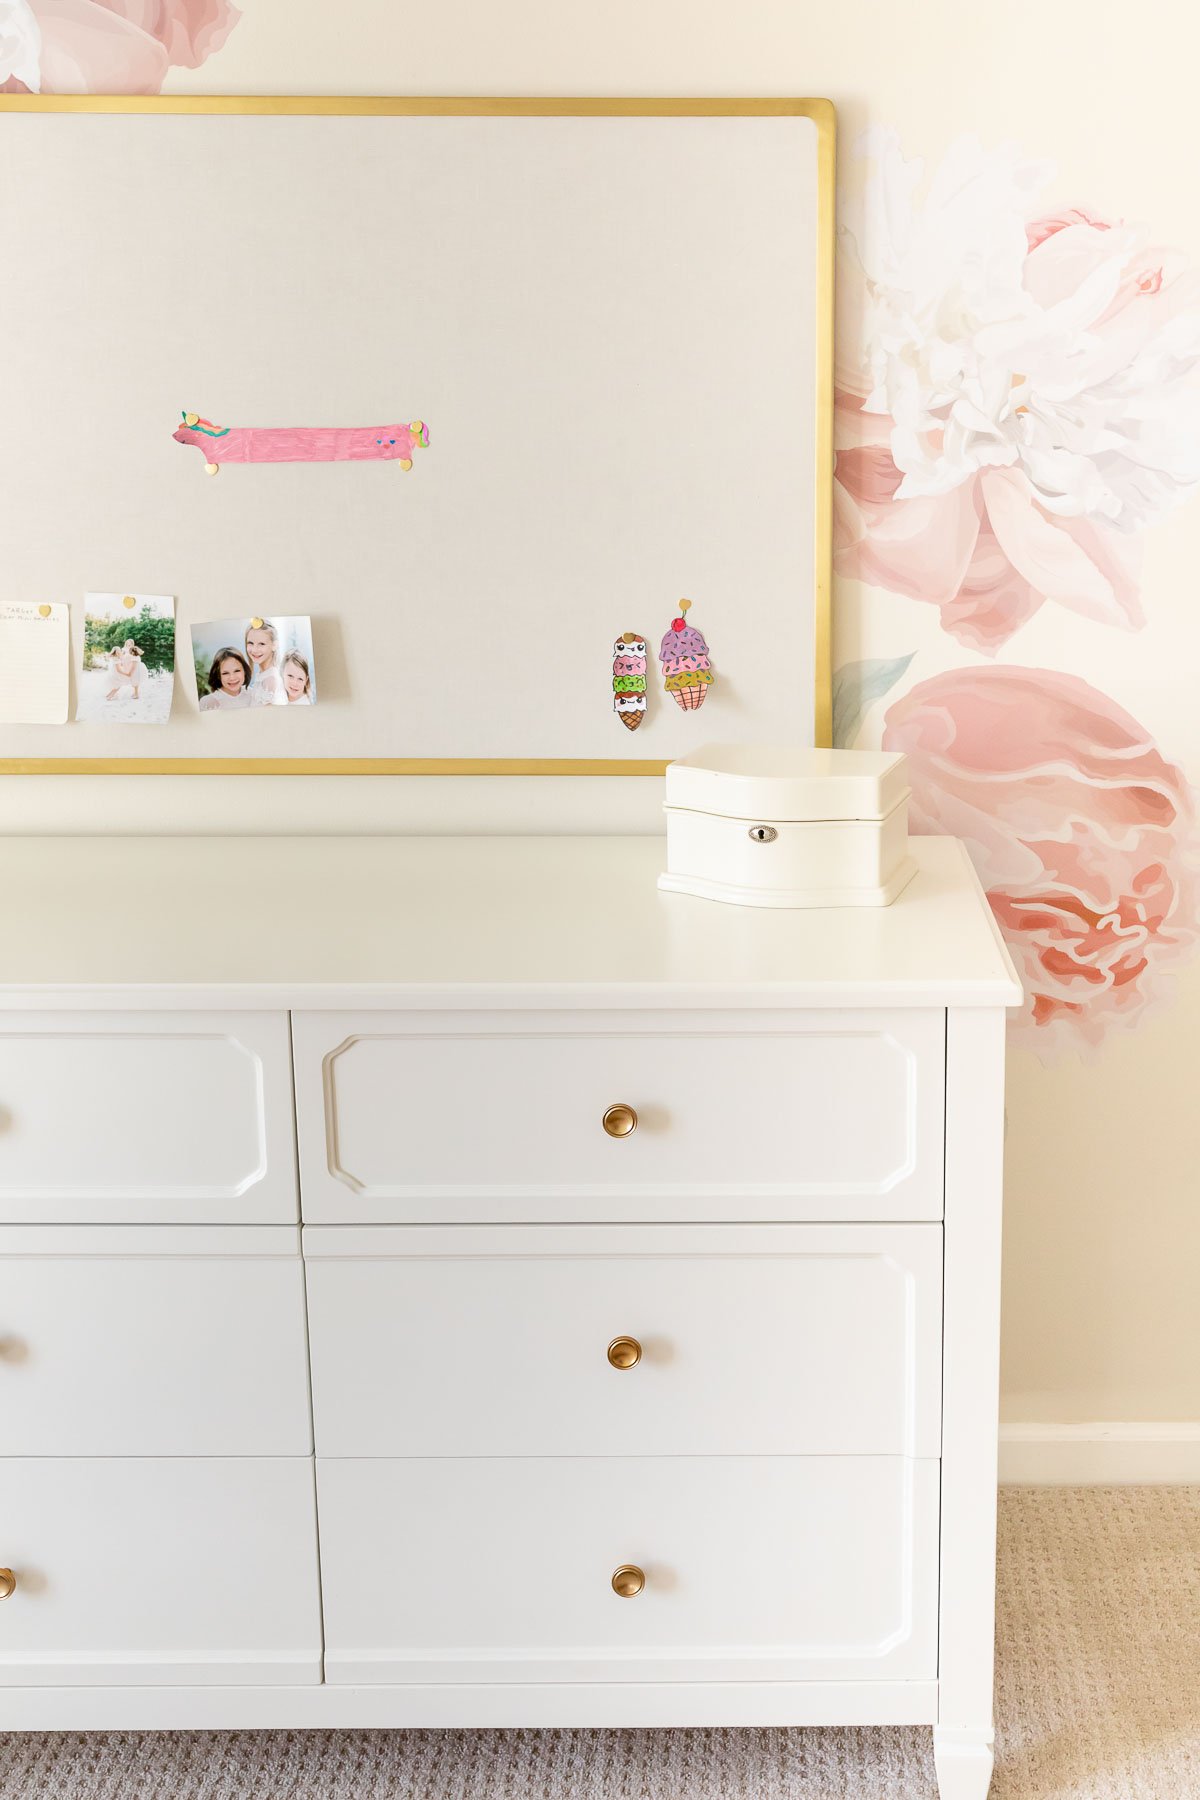
Emily & Meritt Scallop Statement Pinboard
We have this and love it – see it hung horizontally below! $279
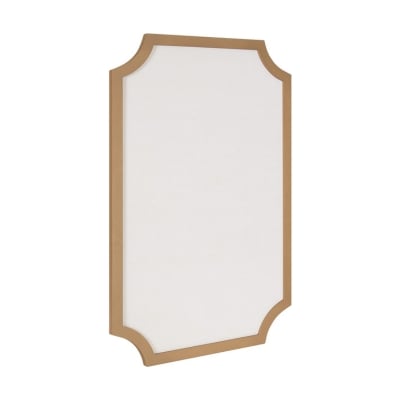
Gold Scallop Pin Board
This look for less is just $112!
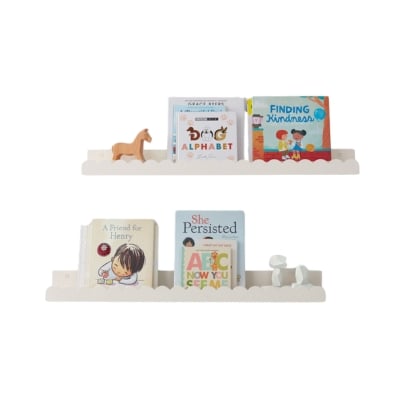
Scalloped Shelving
One 3ft shelf is $79
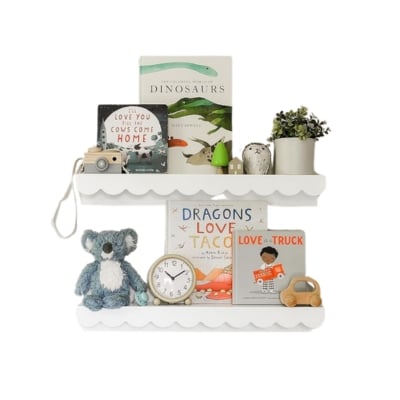
Scallop Nursery Shelves
$49 for a pair of two
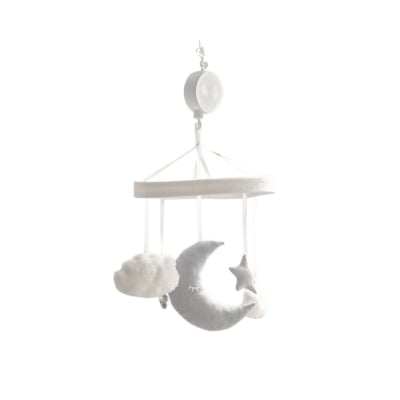
Skye Moon & Stars Musical Baby Crib Mobile
$79 + purchase an arm
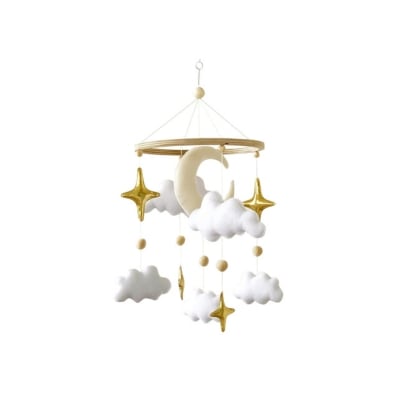
Moon and Stars Mobile
I love this one even more than the original! Just $39.99 (purchase an arm separately)
Rugs and Bedding
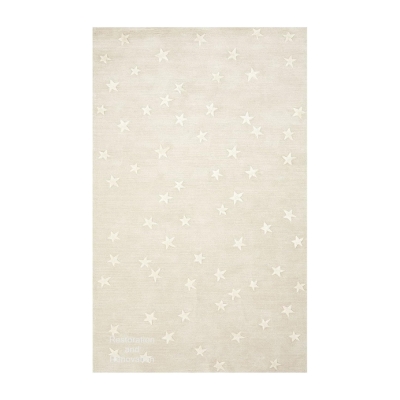
Starry Skies Rug
One of their best-selling rugs! $649 for a 6×9
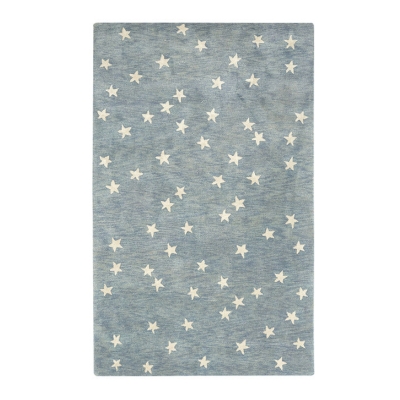
Star Rug
One of my best finds – it’s available in all the same sizes and colors of the Pottery Barn version, too! $389 for a 6×9
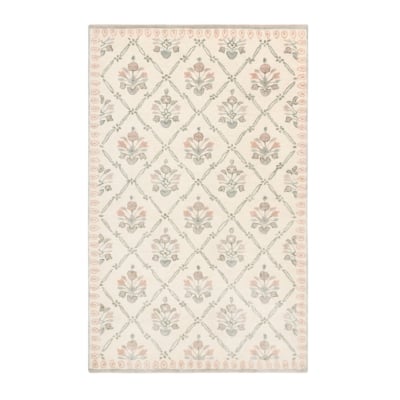
Floral Bouquet Rug
$799 for a 7×10
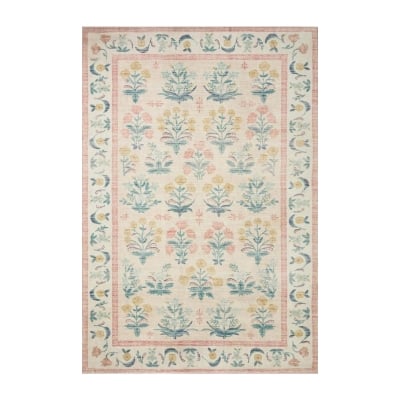
Rifle Paper Co Blush Rug
$320 for a similar size
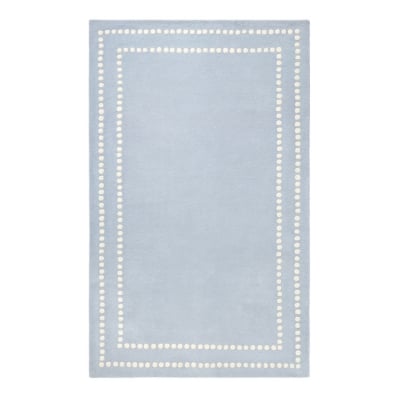
Pearl Dot Border Rug
A Pottery Barn Kids best seller that comes in a variety of pastel colors. A 6×9 pearl dot rug is $649.
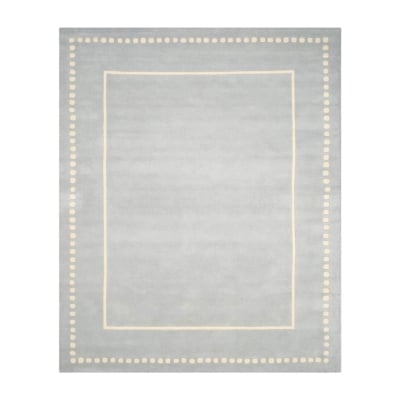
Dotted Border Rug
This one also comes in an array of colors, and the 6×9 is under $200!
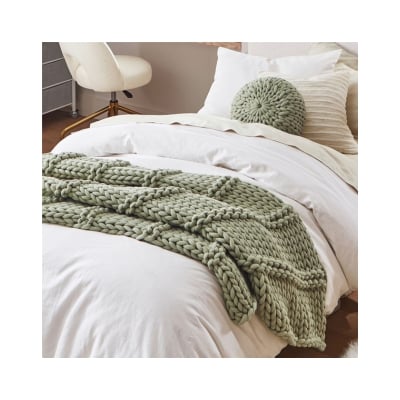
Chunky Knit Throw
This Pottery Barn Teen best seller comes with a pillow for $178.50.
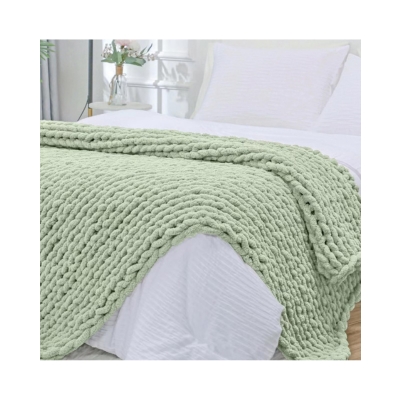
Knit Blanket
This throw is a similar look for so much less!
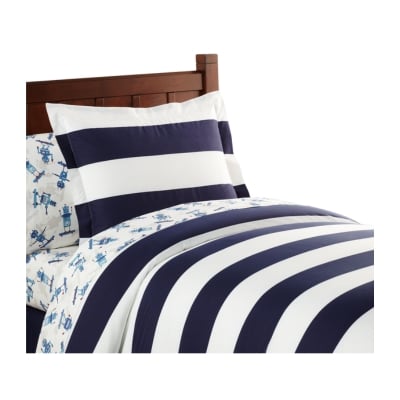
Rugby Stripe Duvet Cover
$95.50 with a sham!

Rugby Comforter Set
In three color options, at just $40 for a twin set.

Amazon Storefront
Follow my Amazon Storefront to find more holiday looks for less.