Can you paint ceramic tile? Yes, and I’m sharing everything you need to know about tile paint including where to purchase, how to apply, and more! This is a complete tutorial and guide to help you understand painted tile.
This project is affordable and surprisingly durable. Using this paint is an easy and inexpensive way to update tile floors and walls – even for high traffic areas!
We’ve actually painted tile more than once. It’s a great trick for a temporary makeover, to buy time before a renovation, or simply to update old tile you’re not ready to replace.
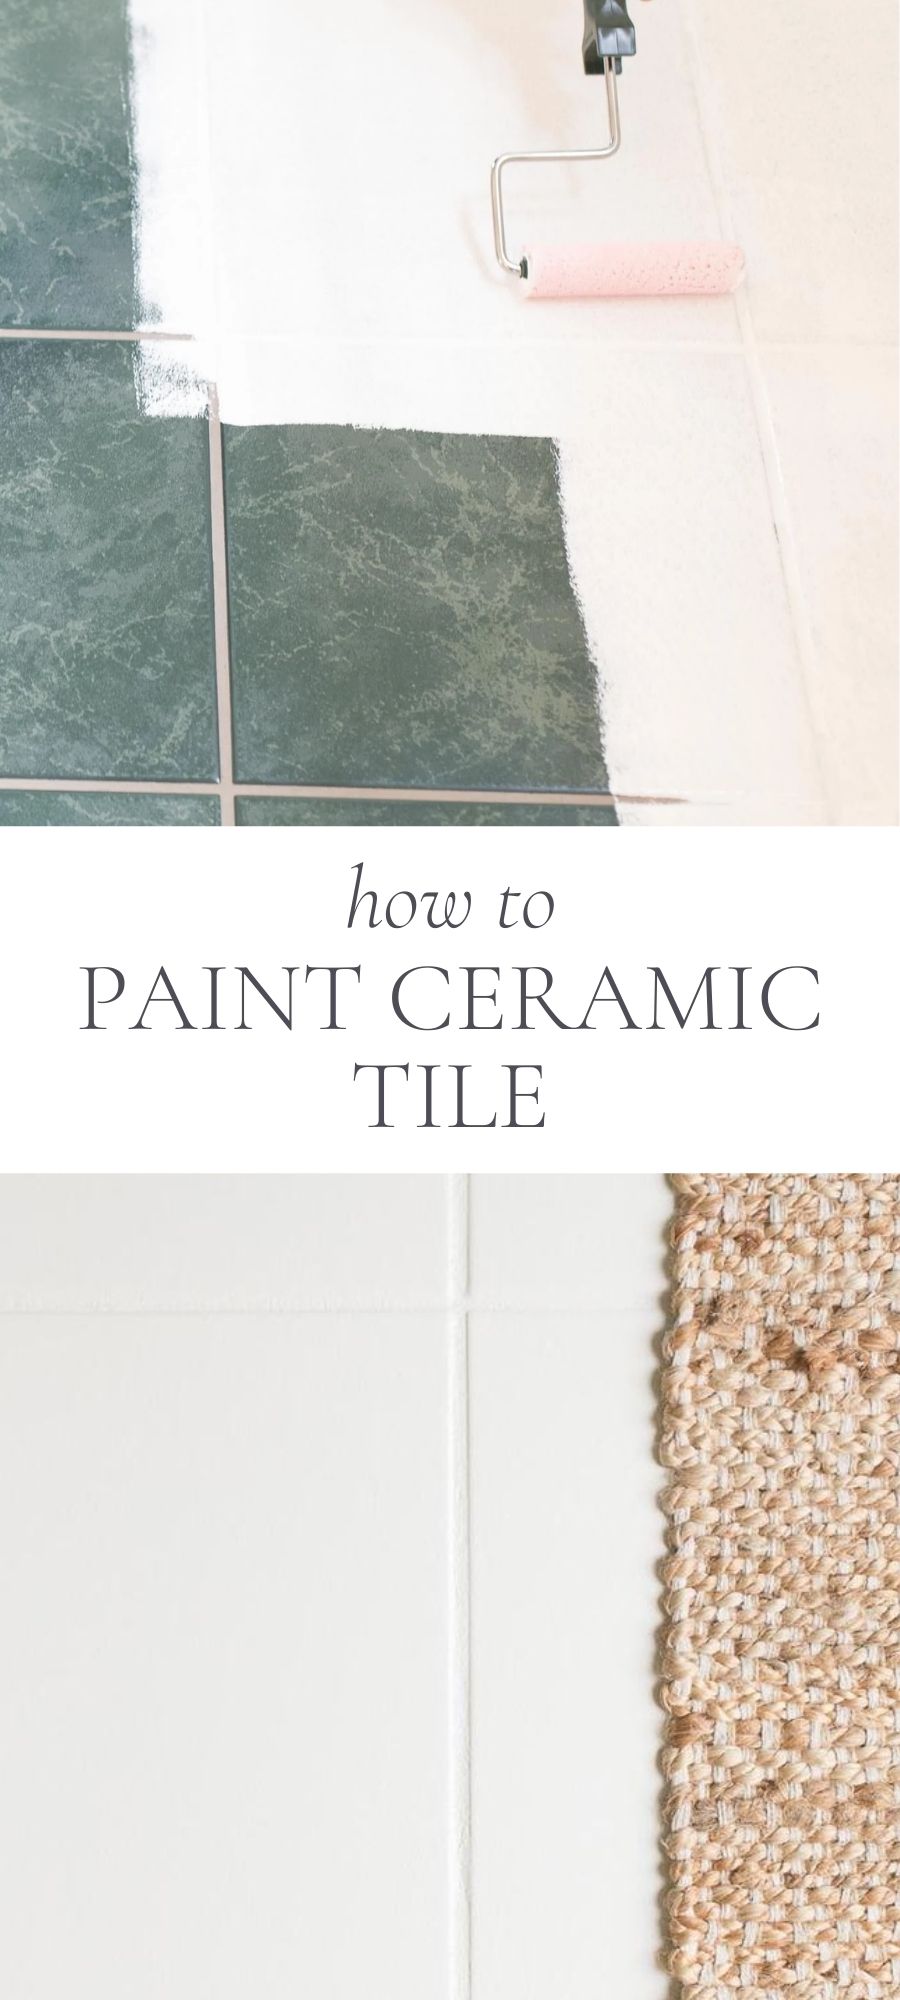
Throughout this post, you’ll see photos of our entryway at the lake (once a 90s green tile) and then our most recent St. Louis primary bathroom. I hope that our detailed efforts will provide you with the most complete, comprehensive guide to tile paint on the internet!
Painted Tile
While hardwoods are undoubtedly my favorite kind of flooring, we actually have lots of tile between our two homes! I like to use this inexpensive, natural grout cleaner for keeping up with cleaning, and we’ve even done a grout refresh for a fresh new look! Learn How to Choose Grout Colors too.
You can also read all about Subway Tile and Hexagon Tile if you’re interested in learning more about tile projects.
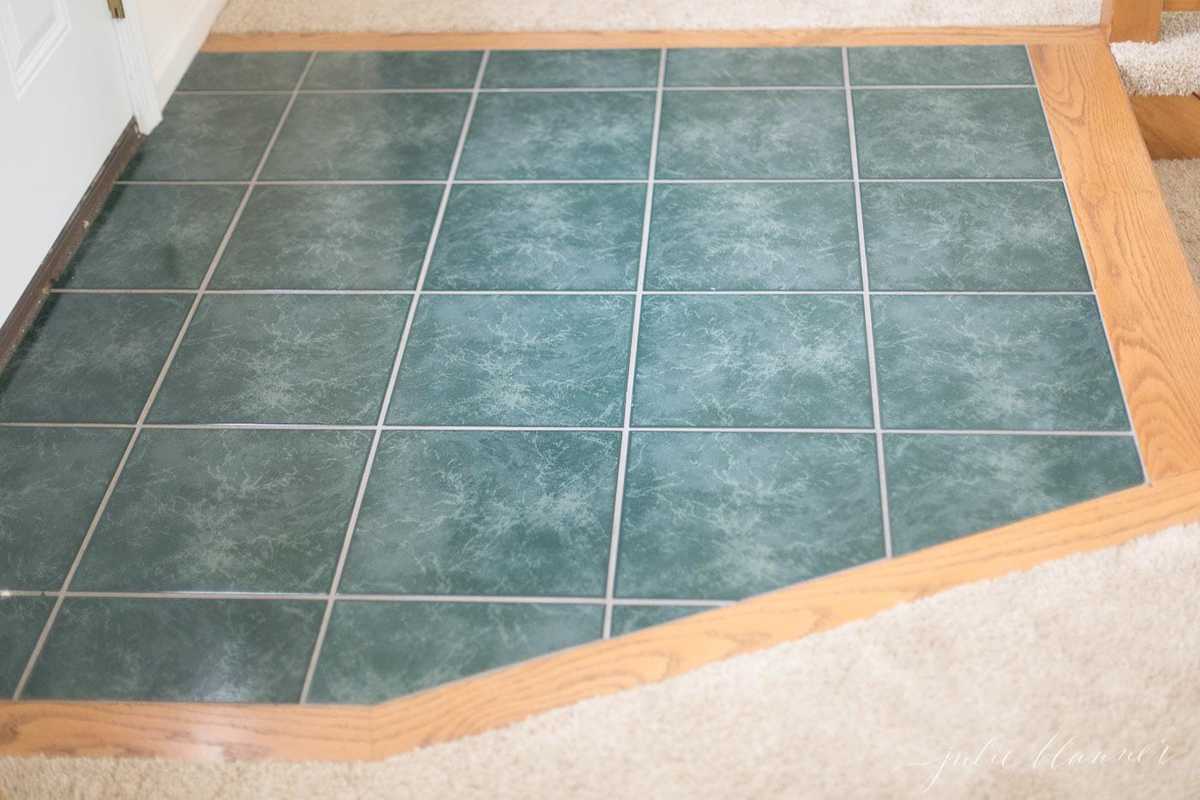
Several years back, we purchased a lake cottage full of charm – and some 90’s features like hunter green tile. Over time, we’ve updated by removing wallpaper and changing light fixtures.
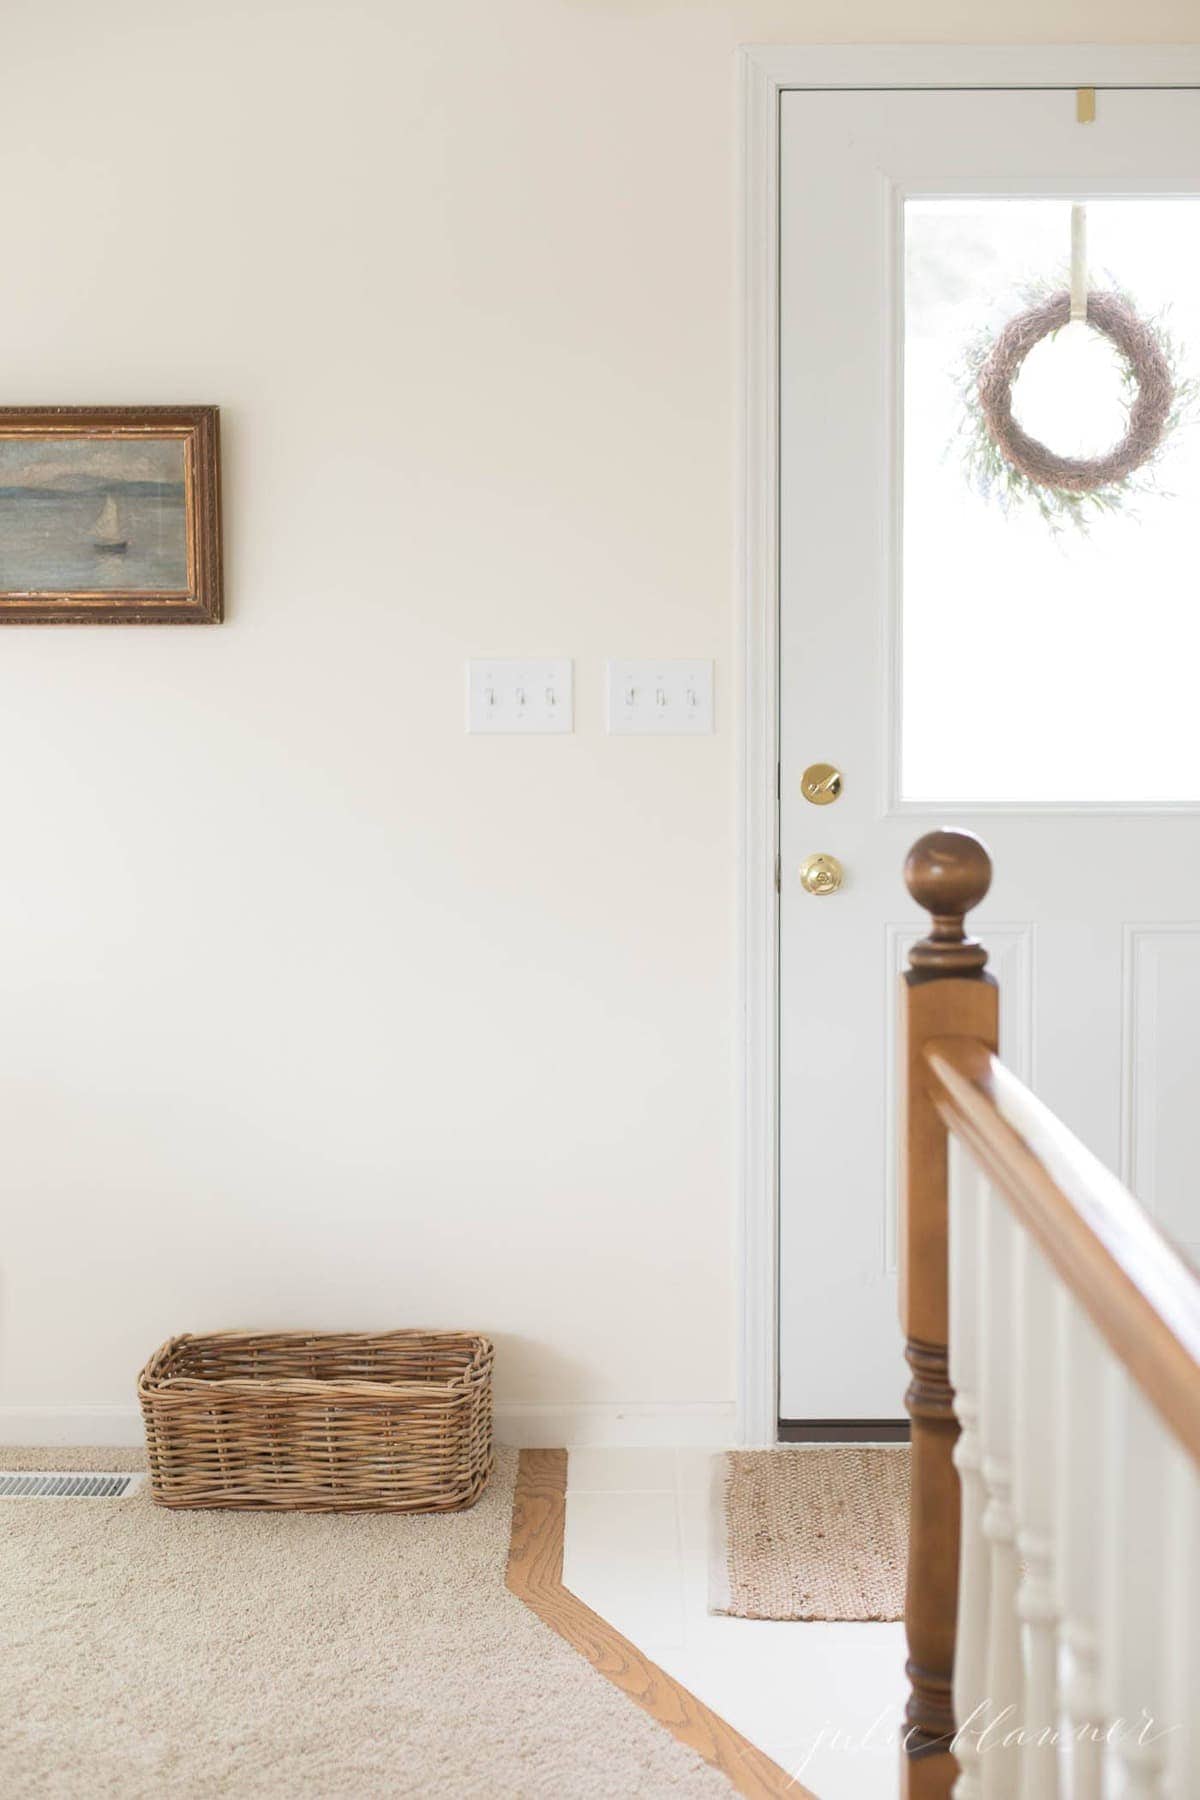
The green entryway tile started to feel more and more out of place and was central to our open floor plan. It was also infringing on our “white” walls and furniture – so that’s when we knew we had to change it, even if only temporarily before we could replace the flooring in this space.
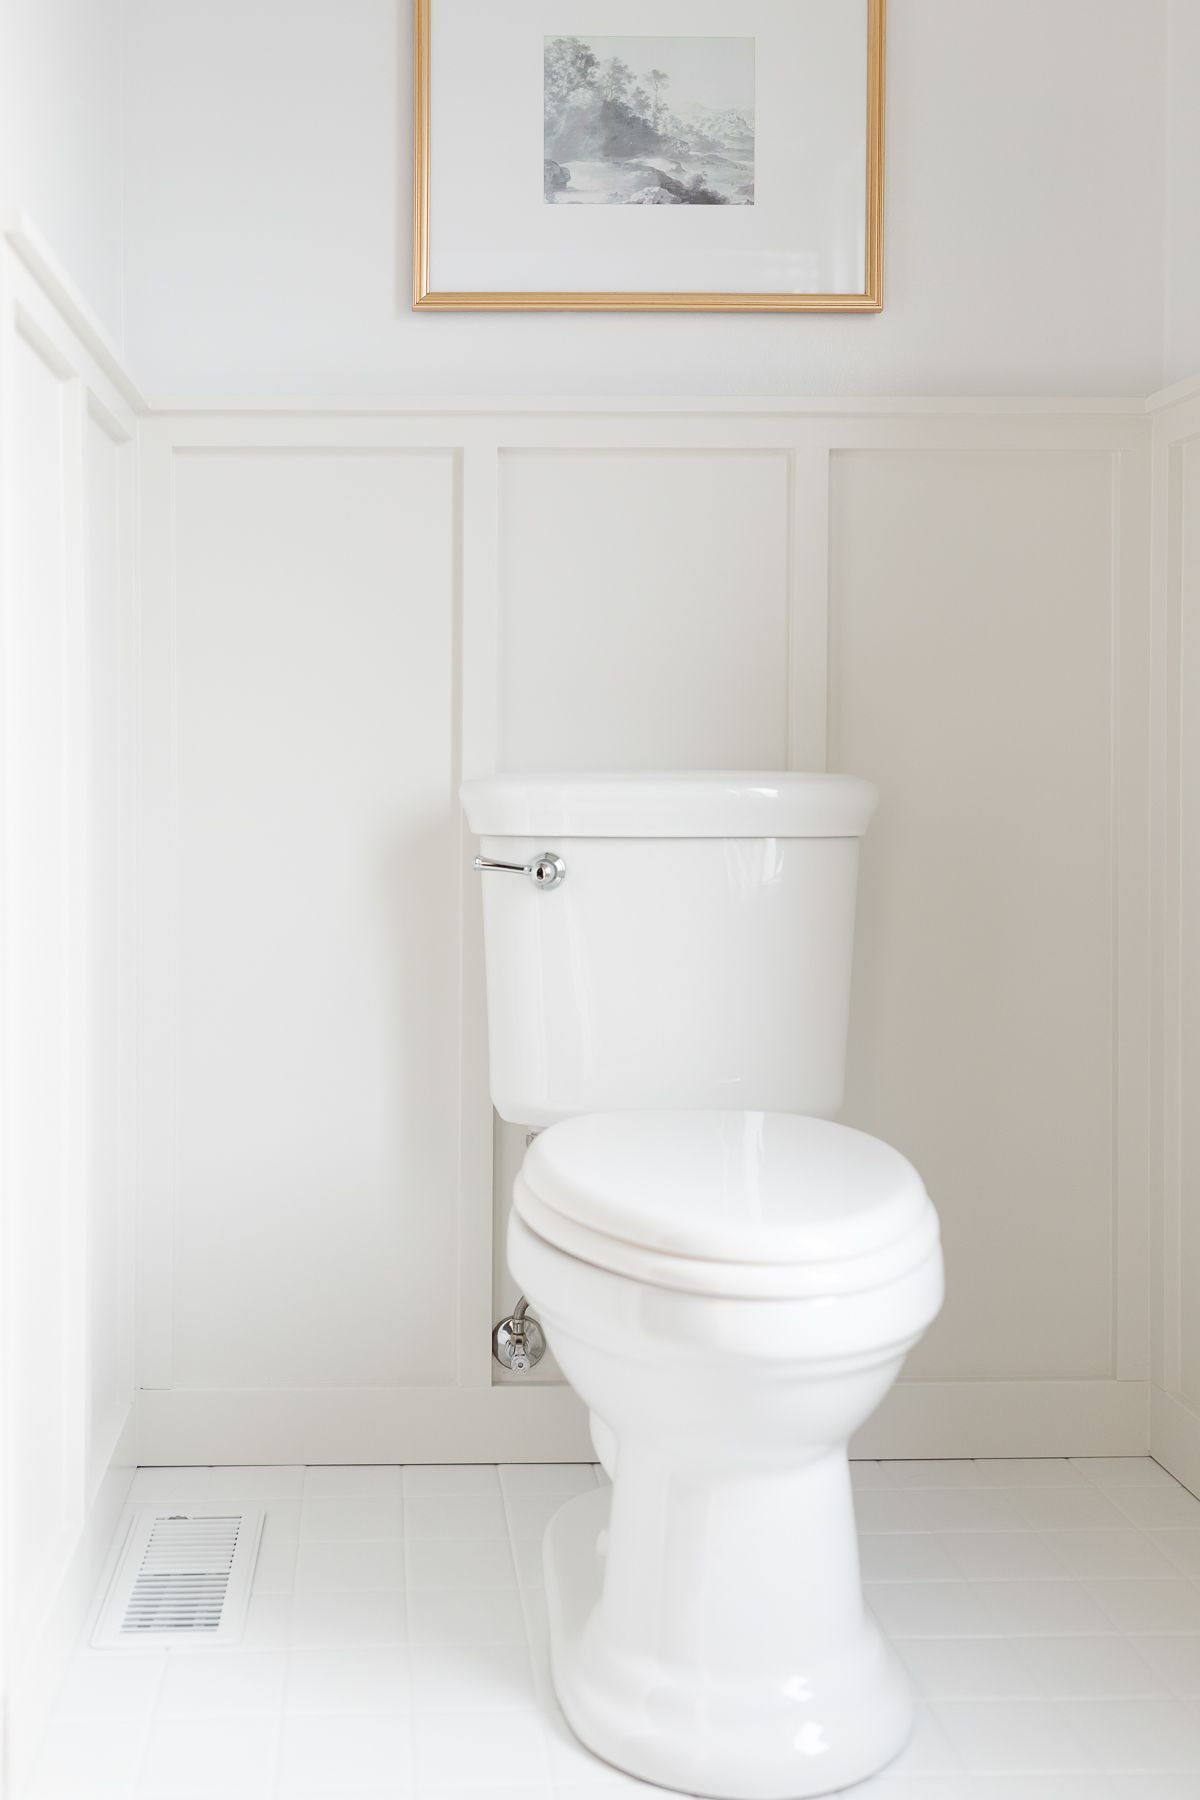
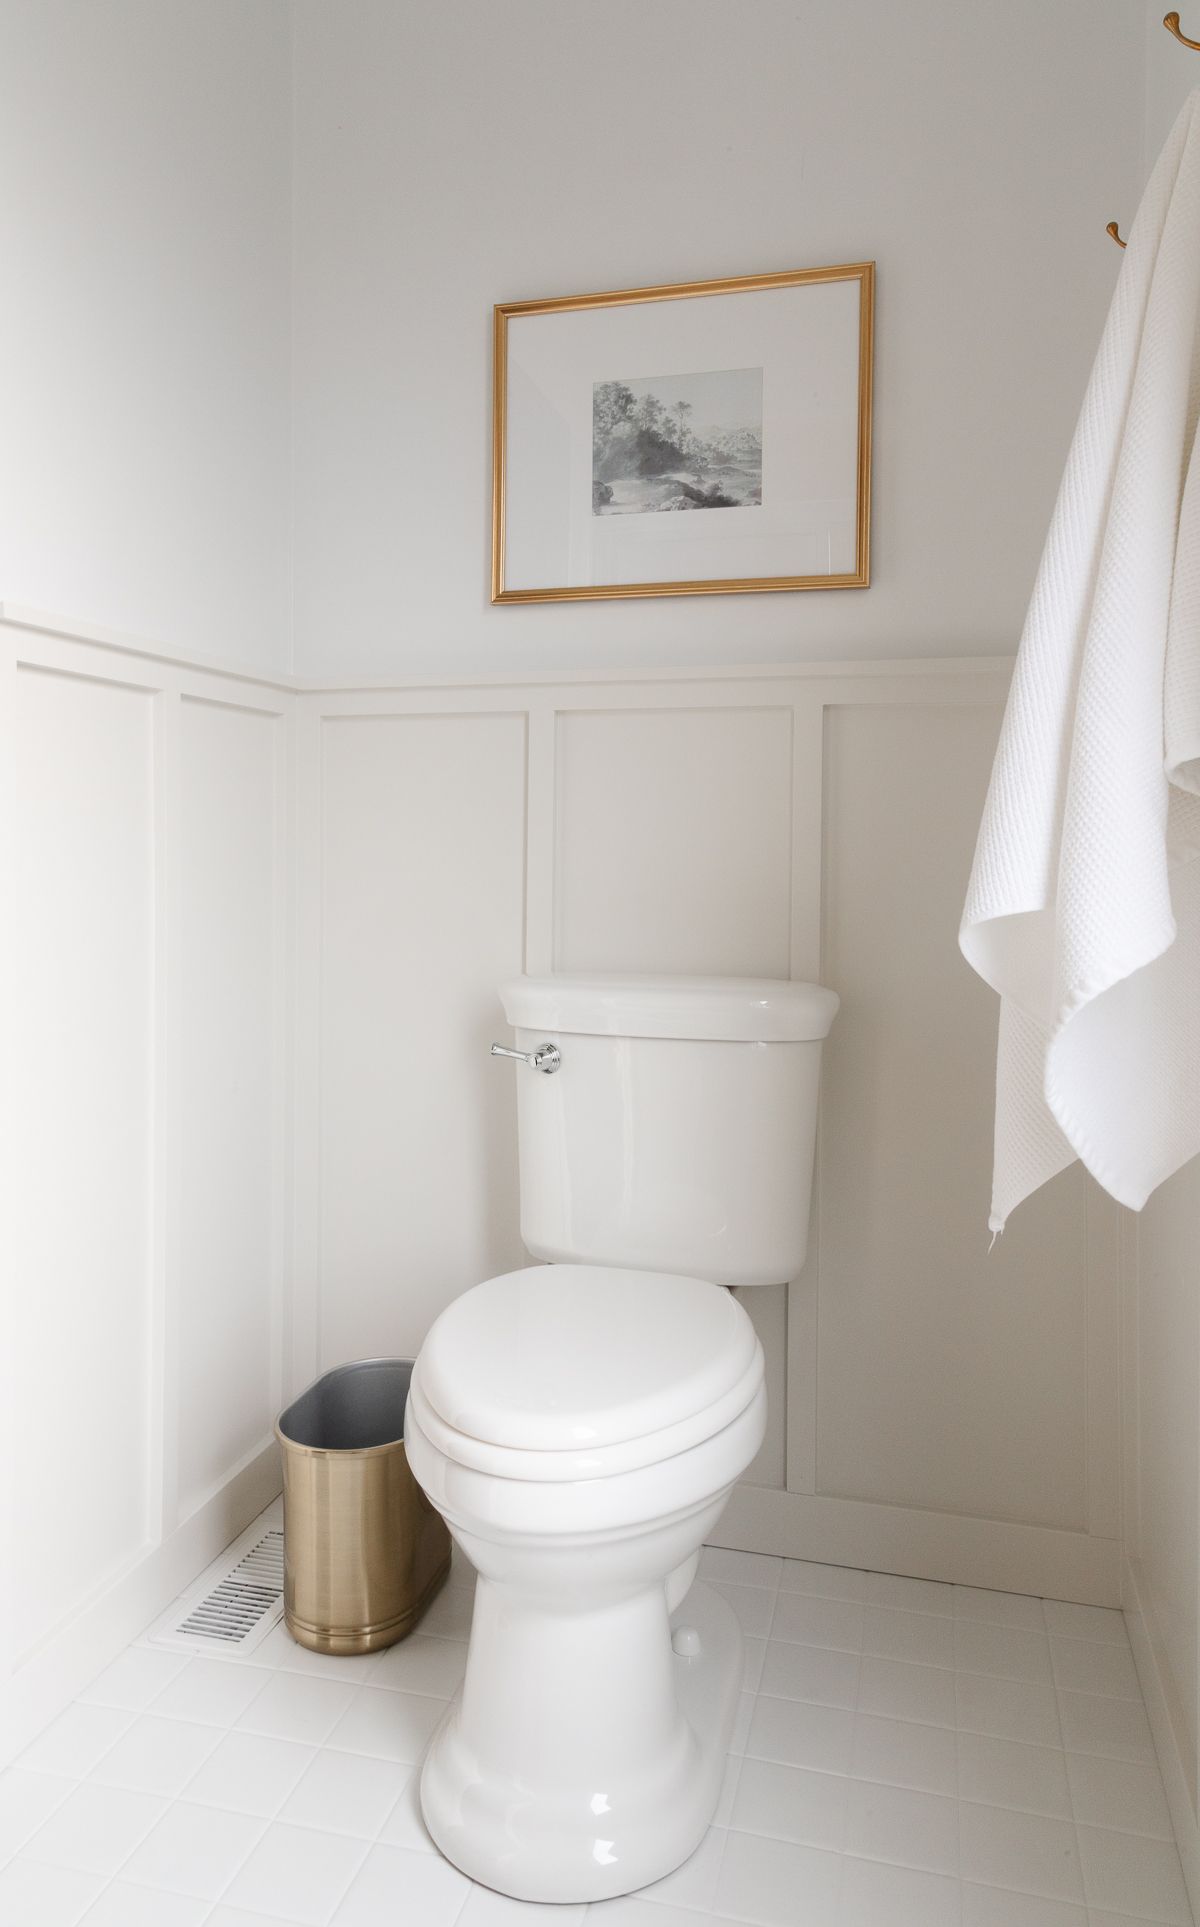
As far as our primary bathroom… the idea behind the painted tile here was the same. We wanted to update the space for the time being as we save for a long term renovation, giving us a cleaner, brighter look that we love!
Can You Paint Ceramic Tile?
Yes! You can paint both floor tile and wall tile with ceramic tile paint if you follow a few simple steps using high quality product. It can handle substantial wear and tear (more on that later in this post).
High quality ceramic tile paint is very durable and can be used as floor tile paint if you do a few basics – sand, clean, and prime first.
Painting floor tiles is so much easier than we ever anticipated. For our small entryway it was a quick project with a lot of downtime to allow the primer and paint to properly dry and cure between coats. We loved it so much we didn’t hesitate to think of this easy fix once again – check out the bathroom before and after!
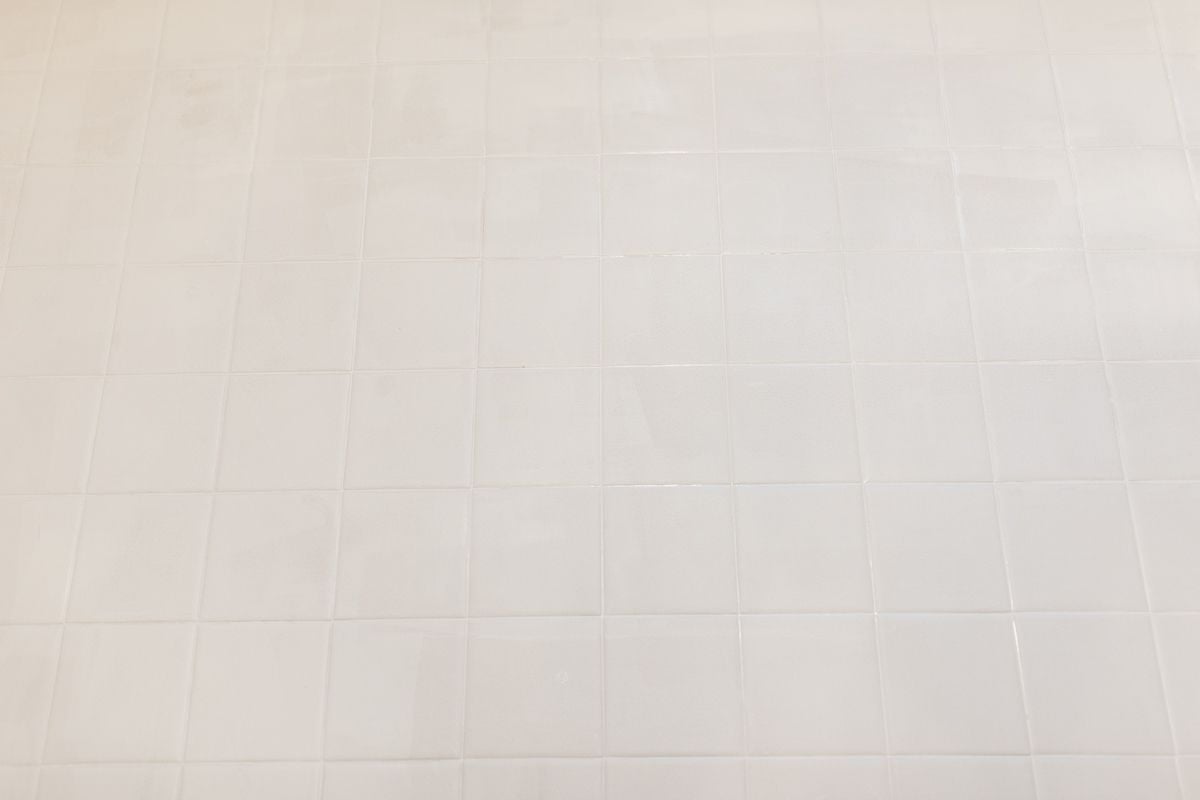
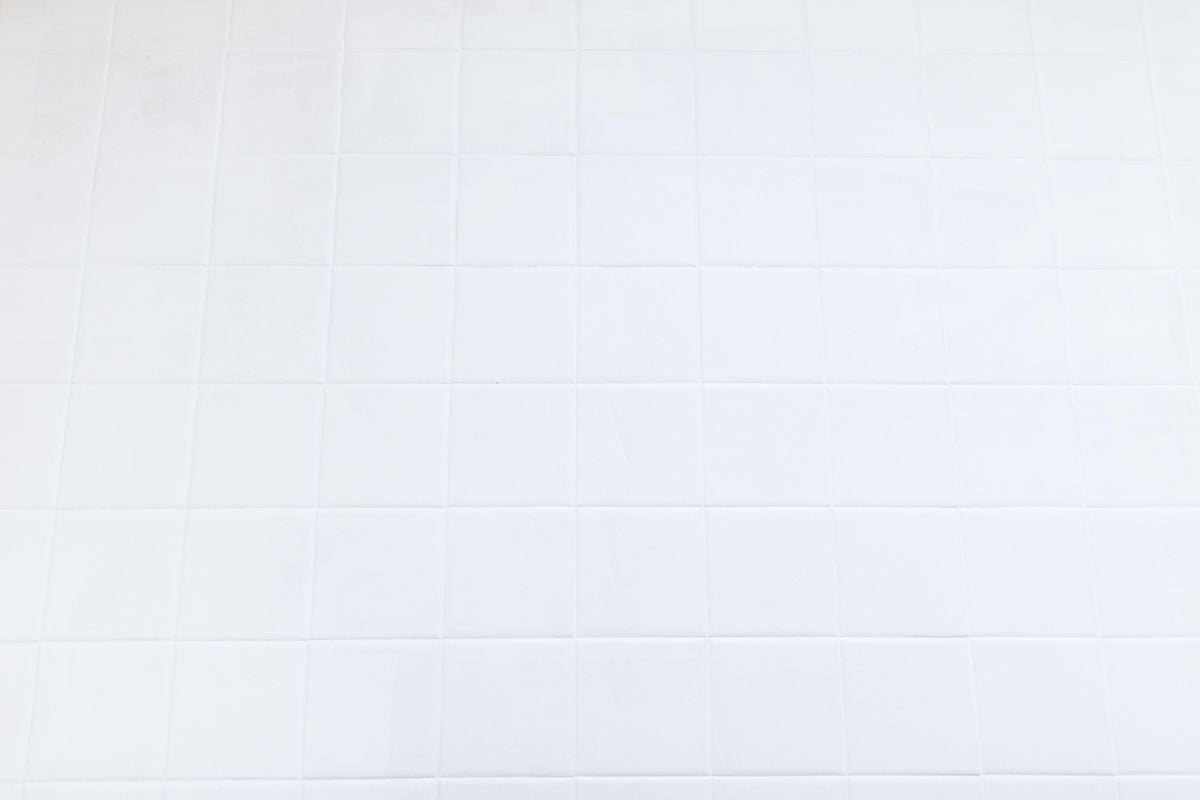
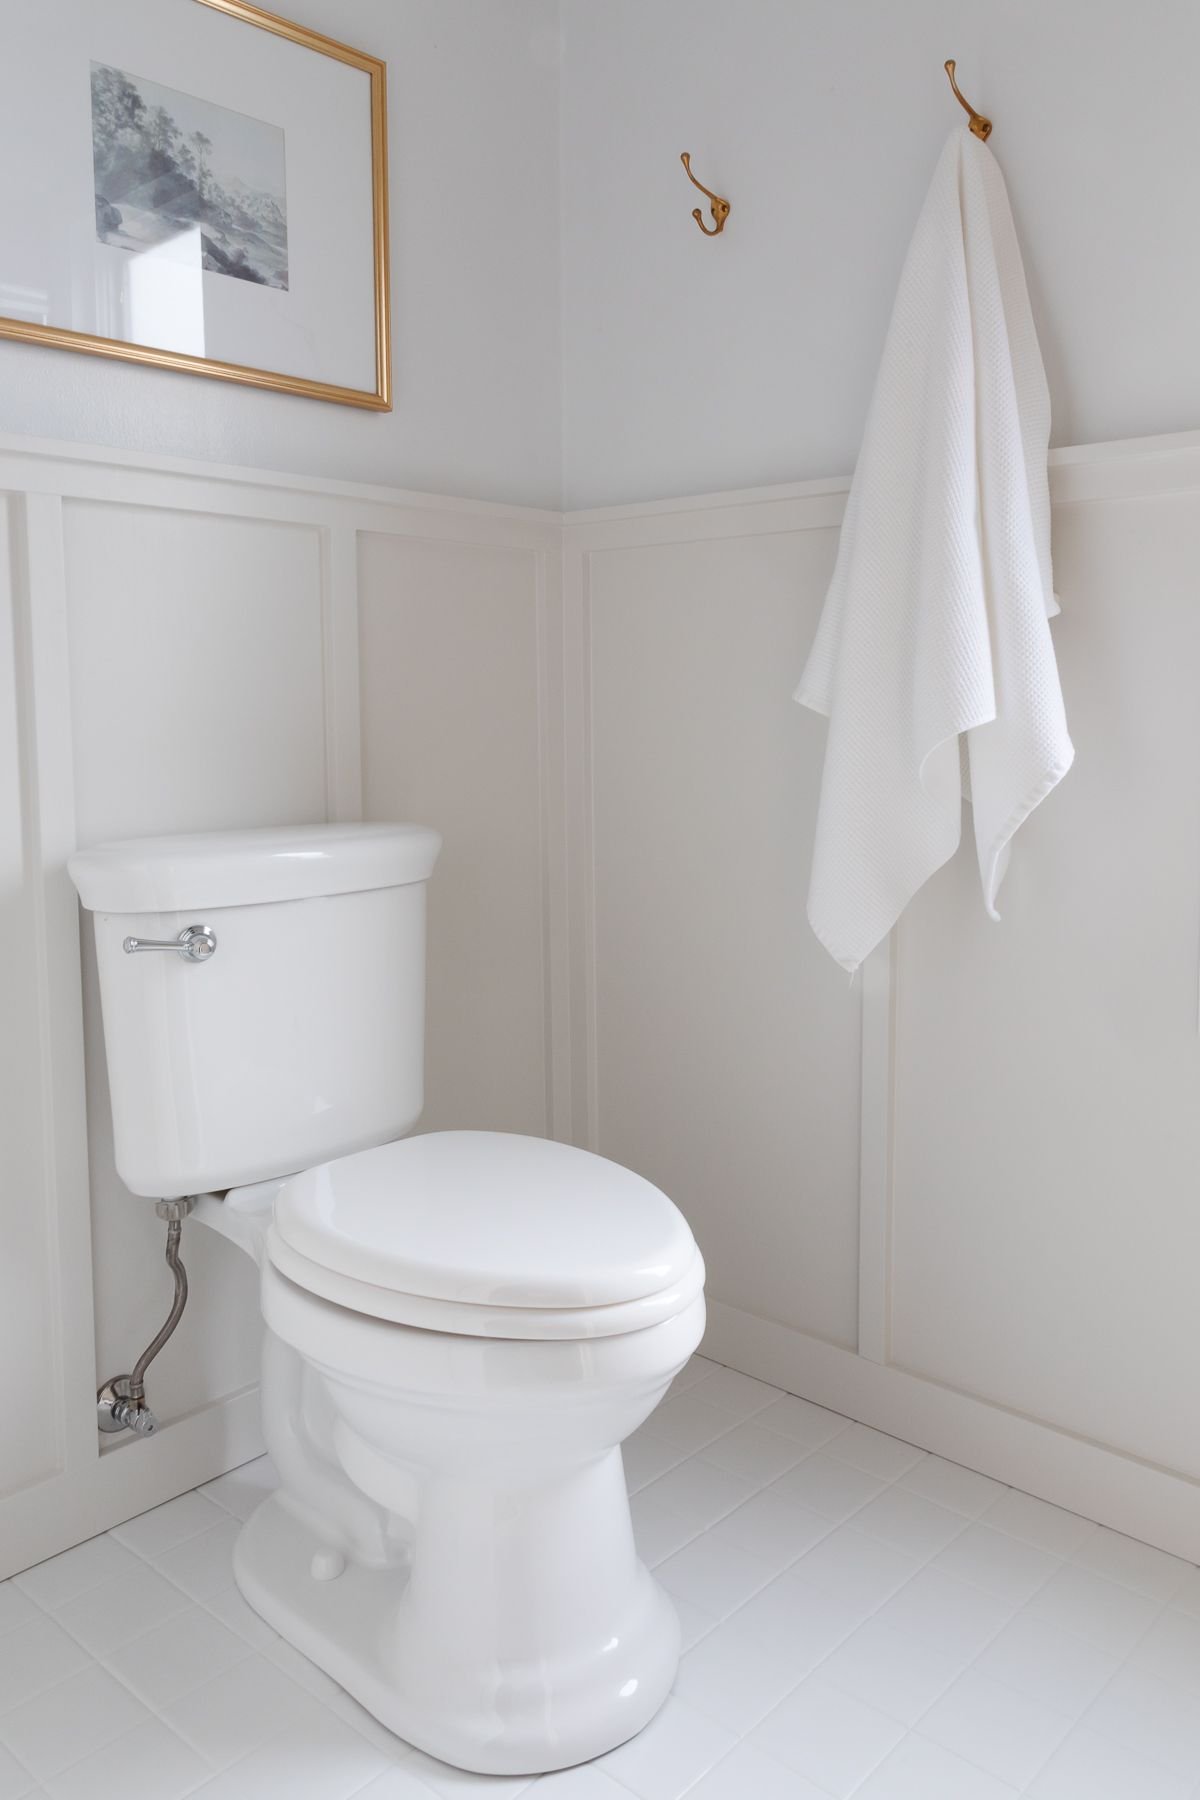
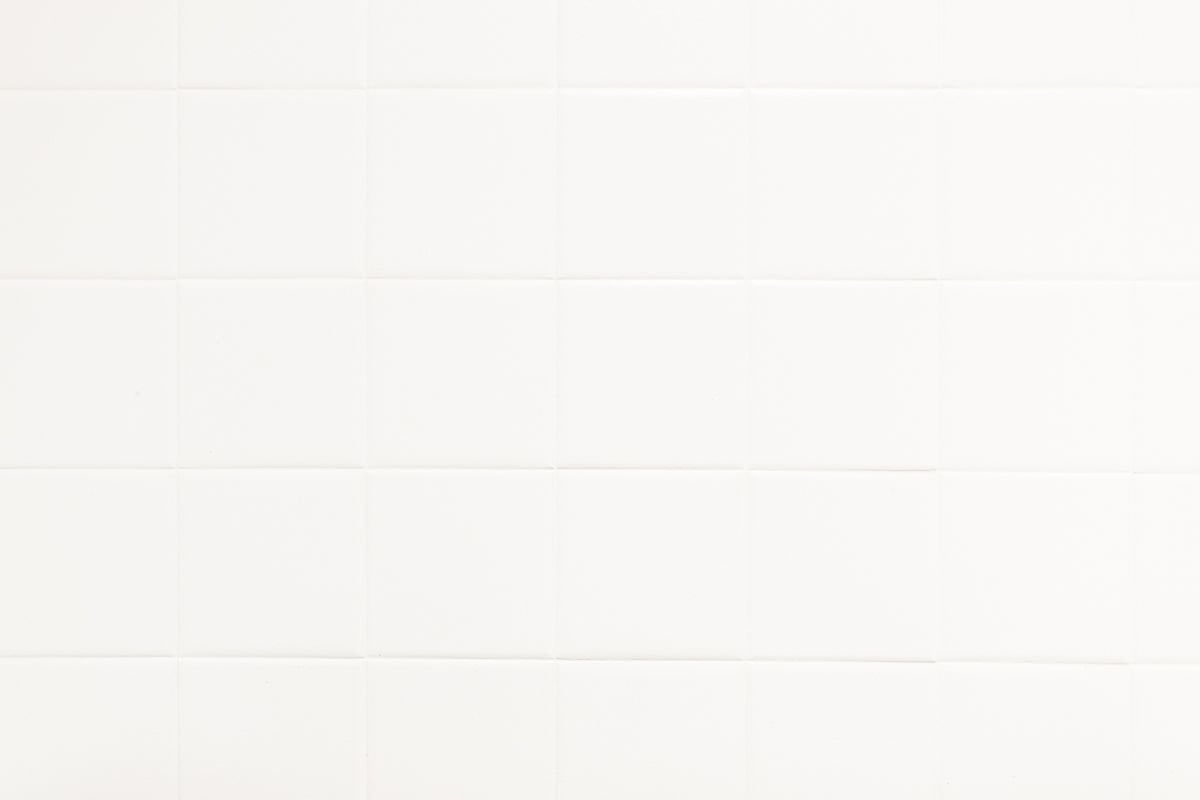
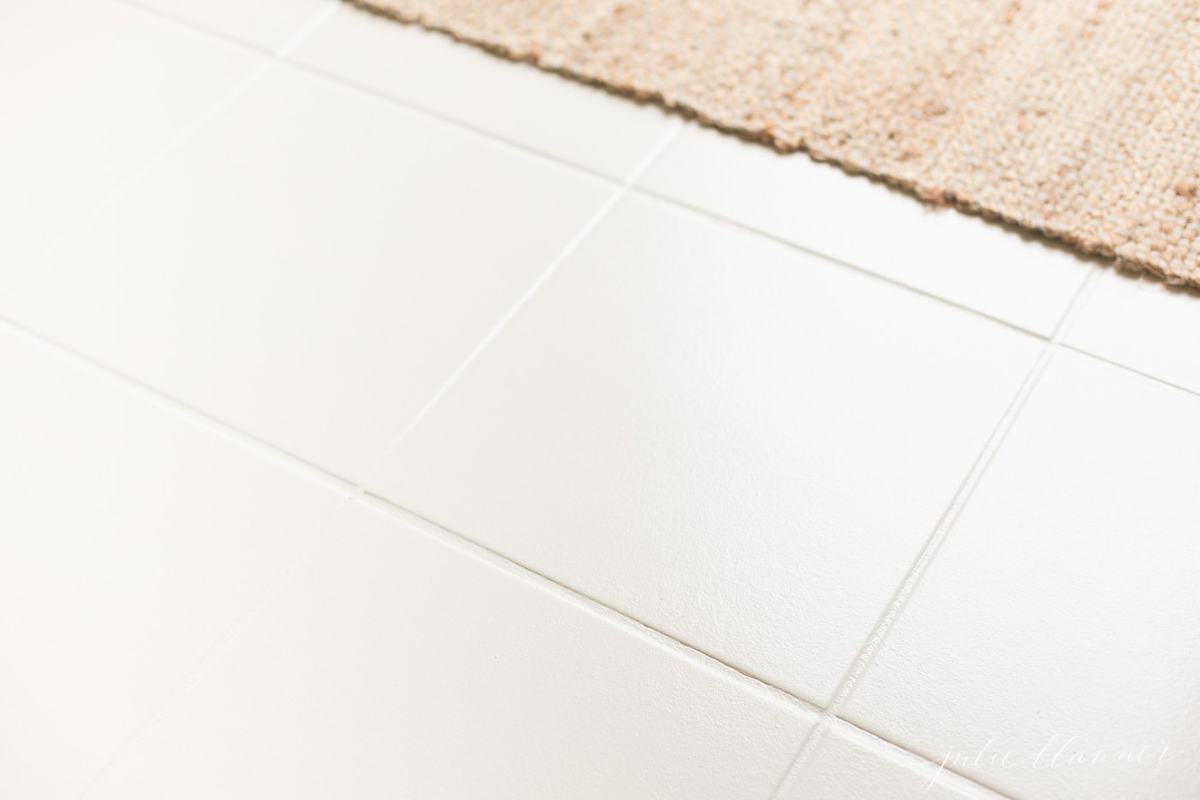
I’m in love with the clean, white look of our bathroom floor now! We painted this floor tile in Benjamin Moore Decorator’s White – the same color as the walls above our board and batten (painted in Benjamin Moore Classic Gray).
Before we get into the step by step tutorial on how to paint tile, I want to cover all the questions you may have!
Frequently Asked Questions
This project cost less than $80 in all, and we had a lot of product leftover! Of course, we already had rollers and painter’s tape on hand.
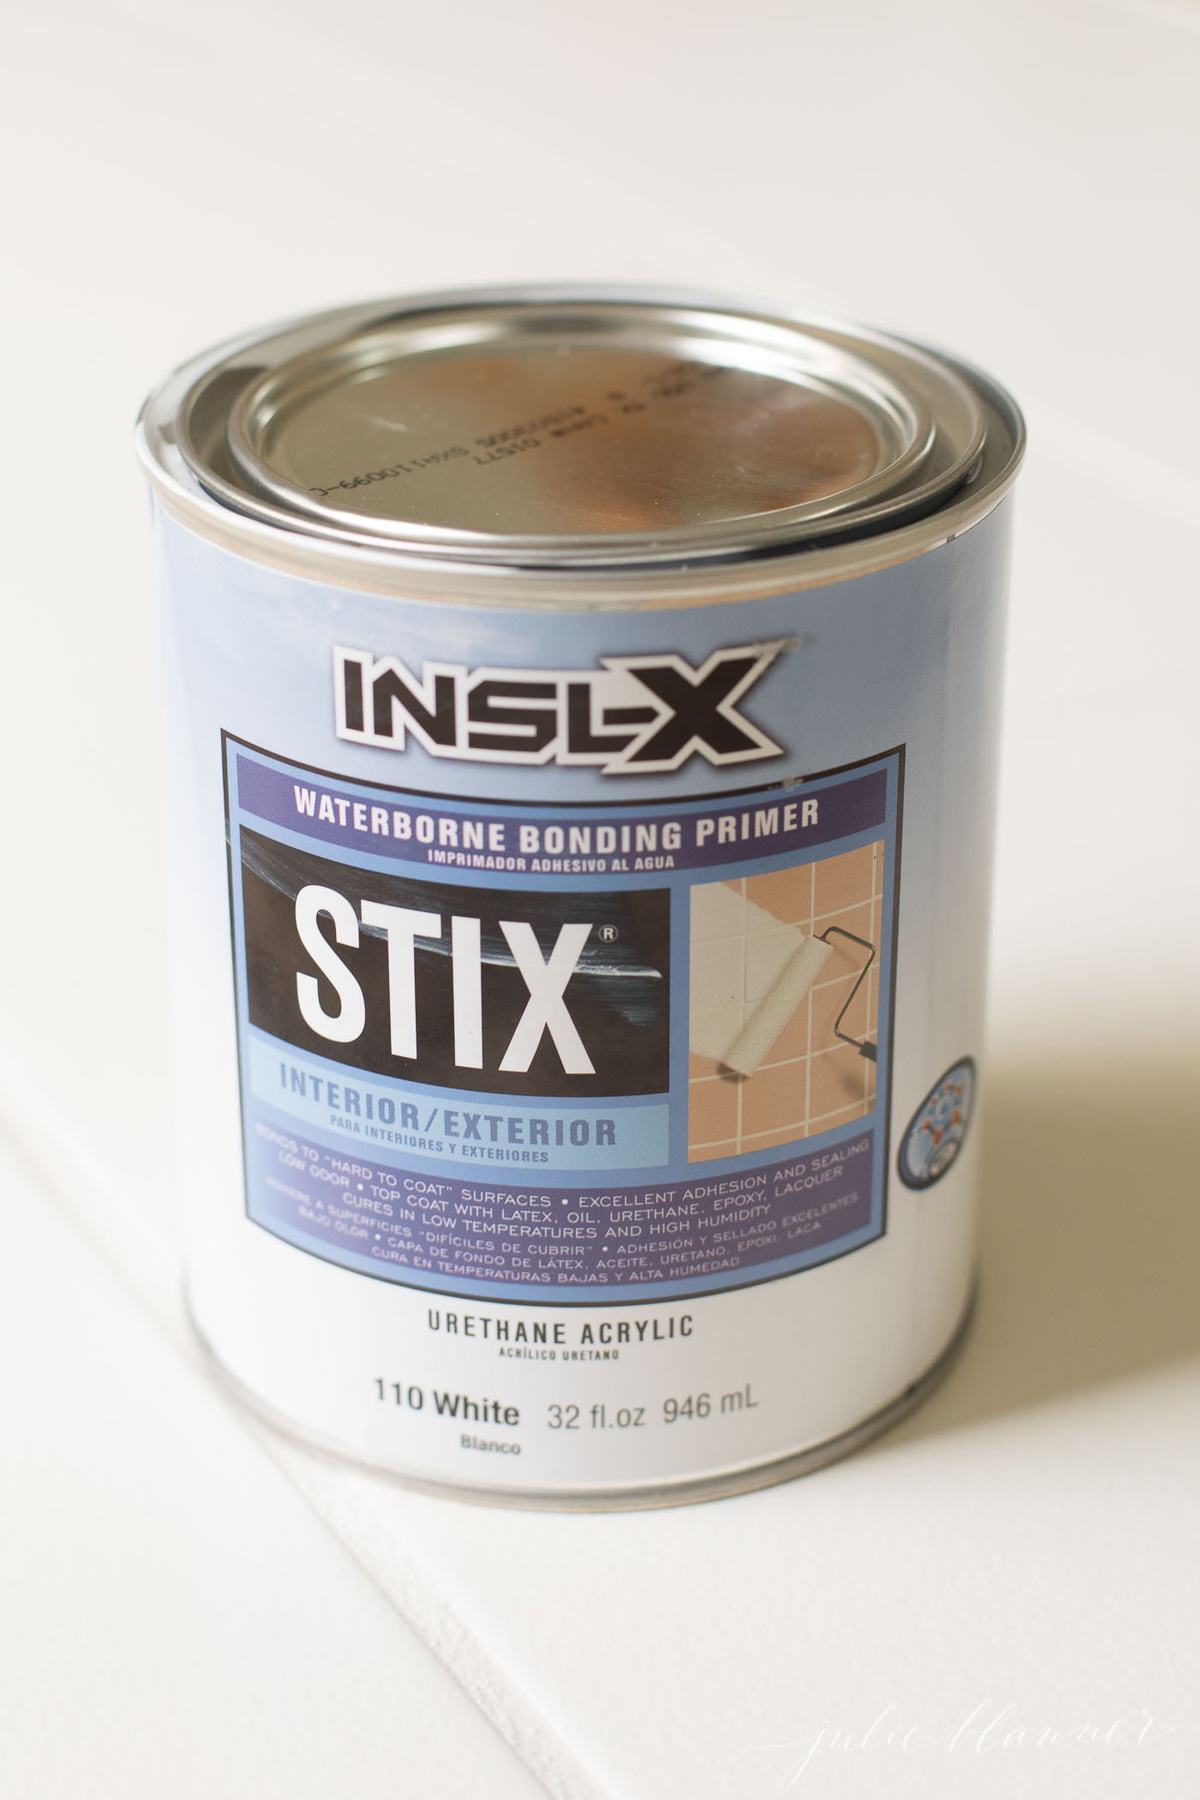
I highly recommend INSL-X Waterborne Bonding Primer STIX because it adheres to hard to coat surfaces and is very durable.
Anywhere that needs an update! It’s the perfect solution for dated tile in an entryway, kitchen, laundry room, mudroom, bathroom floors – yes, even high traffic areas! You can choose any color you want, too! I chose to match the upper walls in our bath, but it can be tinted to the color of your choice.
As you can see, we decided to paint over the grout lines for ease and a monotone finish, but you can tape to retain them if you prefer.
YES! We loved this project even more after we decided to remove it in favor of installing one continuous floor (rather than breaking up the floor plan at the entryway). It had to be removed using a hammer and crow bar. This paint did not chip at all. We were blown away at how well it adhered.
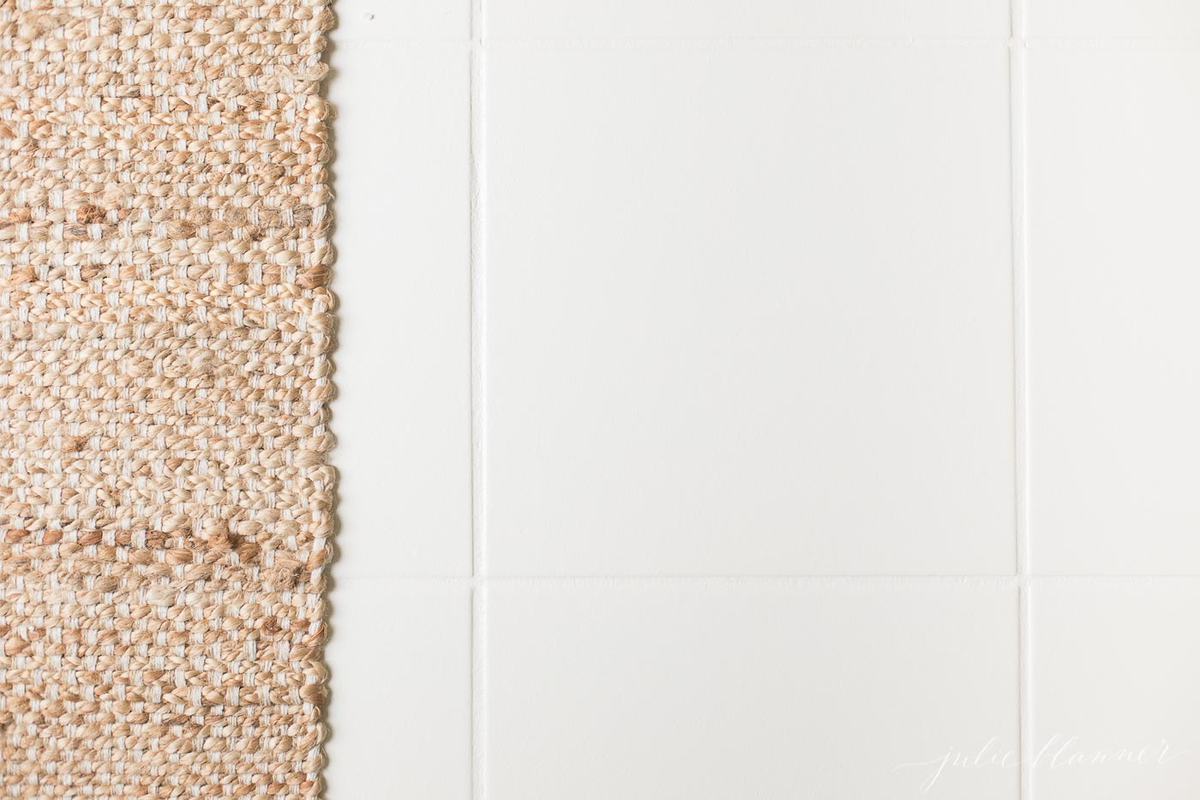
Even with a crowbar (which we used when we eventually removed this tile for new flooring), the paint finish on our lake entry did not chip! That’s why we felt so good about moving forward with out next project here in St. Louis.
What Ceramic Tile Paint Should I Use?
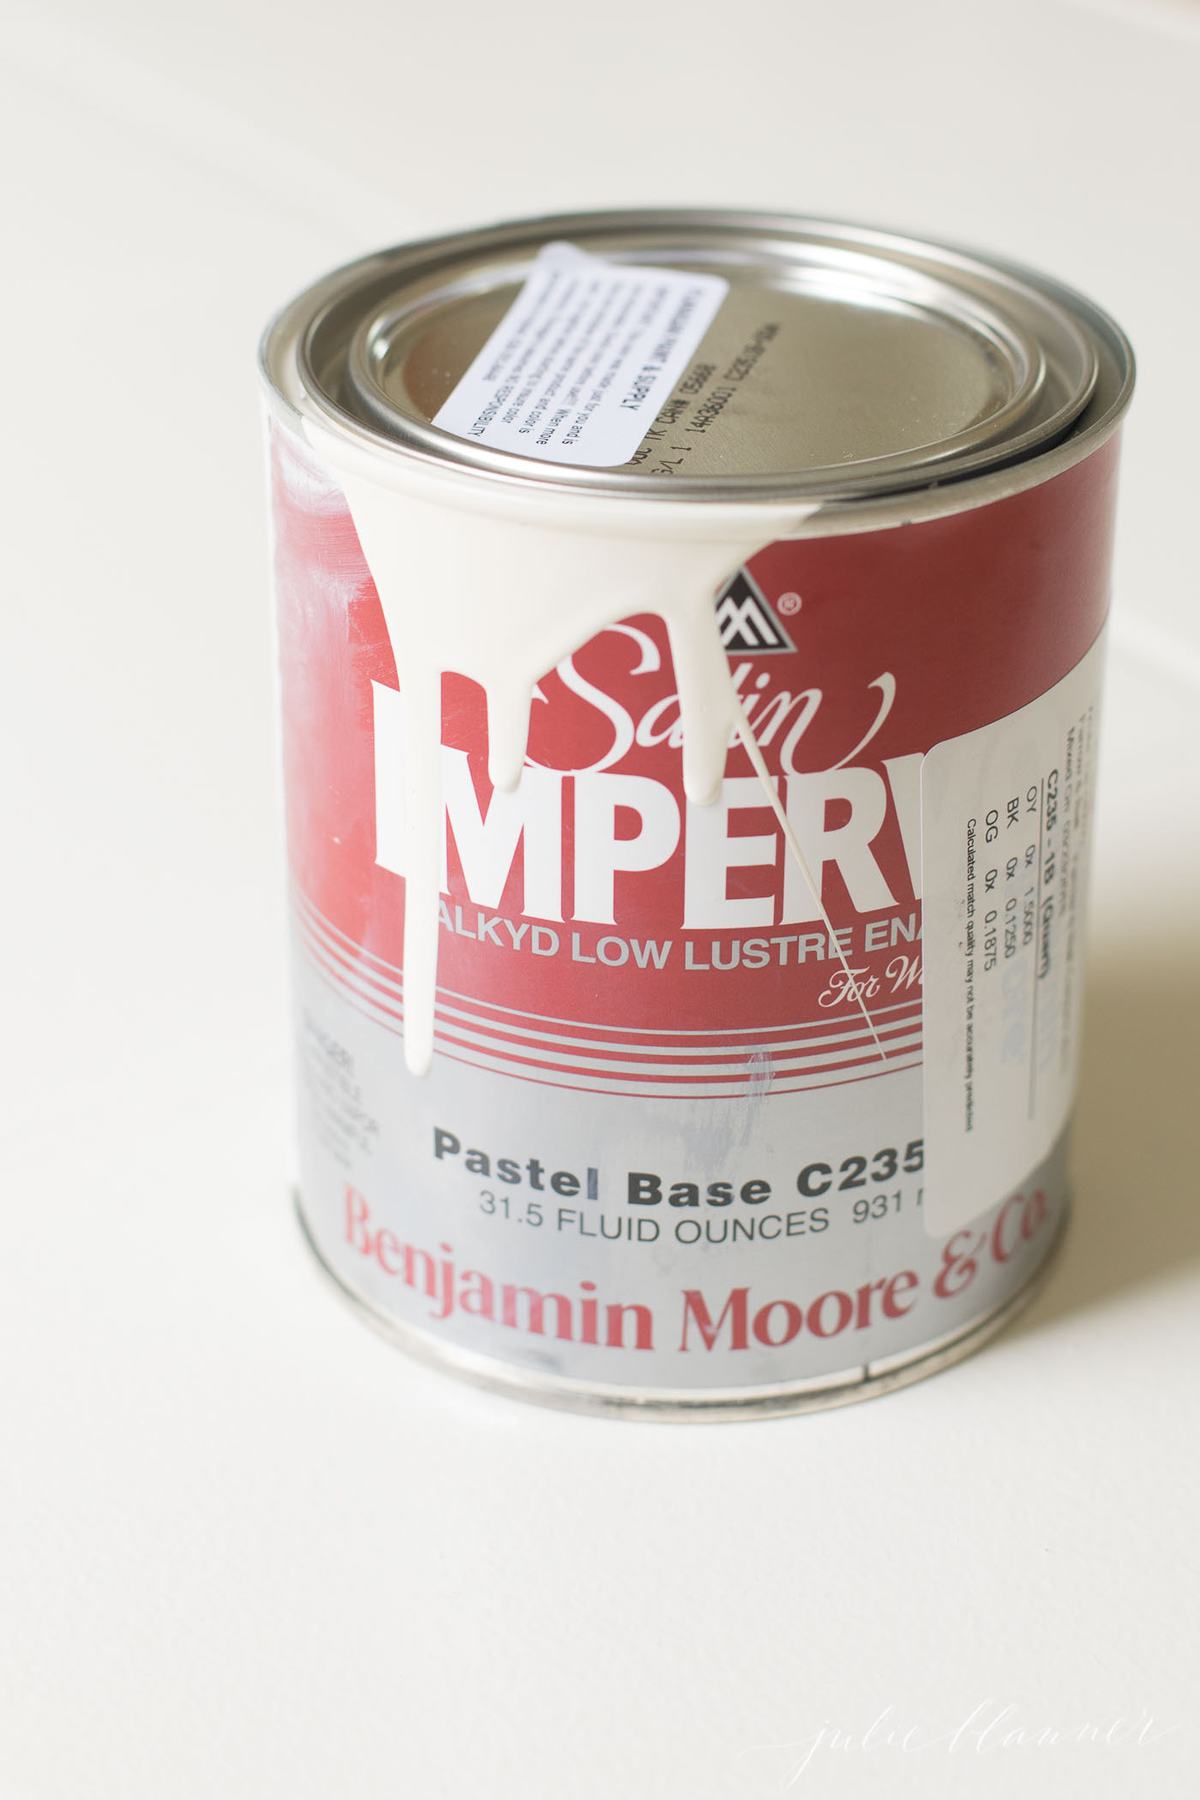
The type of paint you select is very important. You’ll want to choose a high quality product specifically meant for ceramic tile. We love Benjamin Moore Satin Imperial Low Lustre Enamel.
An enamel is very durable and stain resistant so it can handle a lot of wear in high traffic areas. Latex paint is not a good fit for this project as it won’t stand up to the wear and tear.
Supplies to Paint Tile:
- Medium grit sandpaper
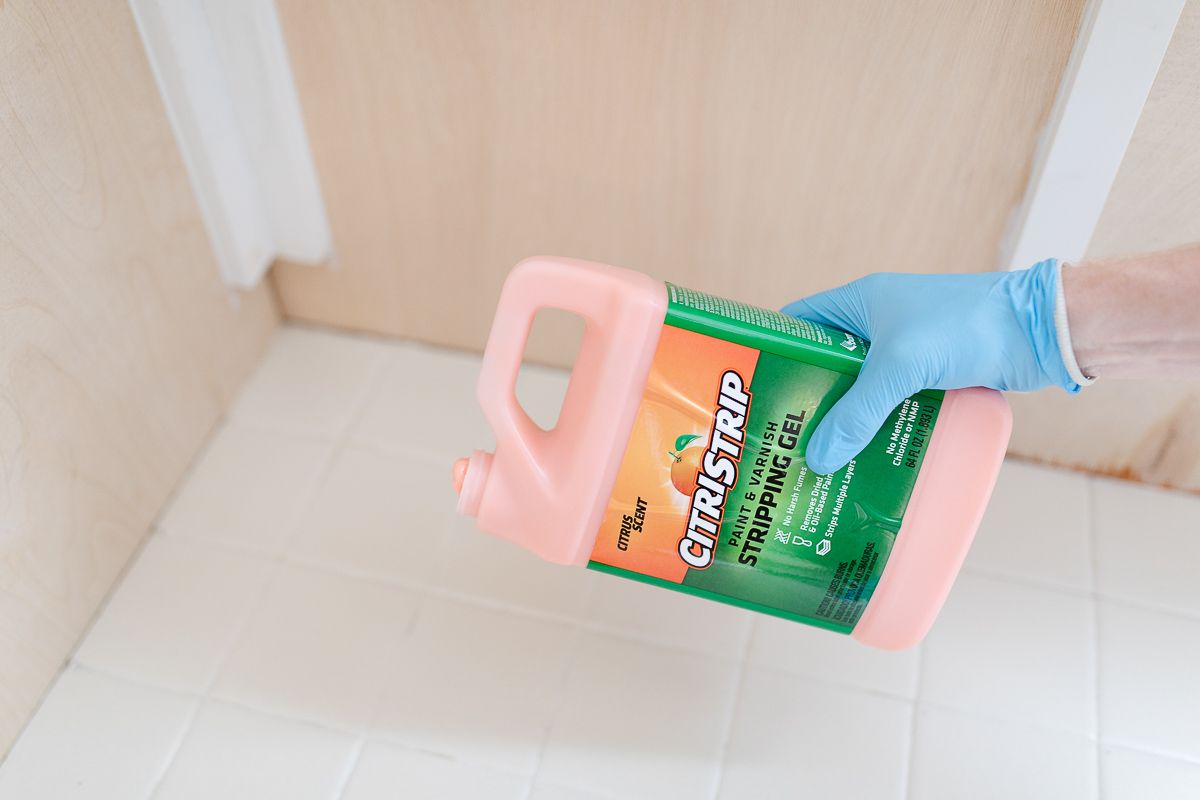
- Stripper
- Paint Stripper After Wash
- Painters Tape
- Smooth surface roller
- INSL-X Waterborne Bonding Primer STIX
- Ceramic tile paint (We used Benjamin Moore Satin Imperial Low Lustre Enamel)
How to Paint Tile:
- Tape around tile to protect surfaces around tile if needed.
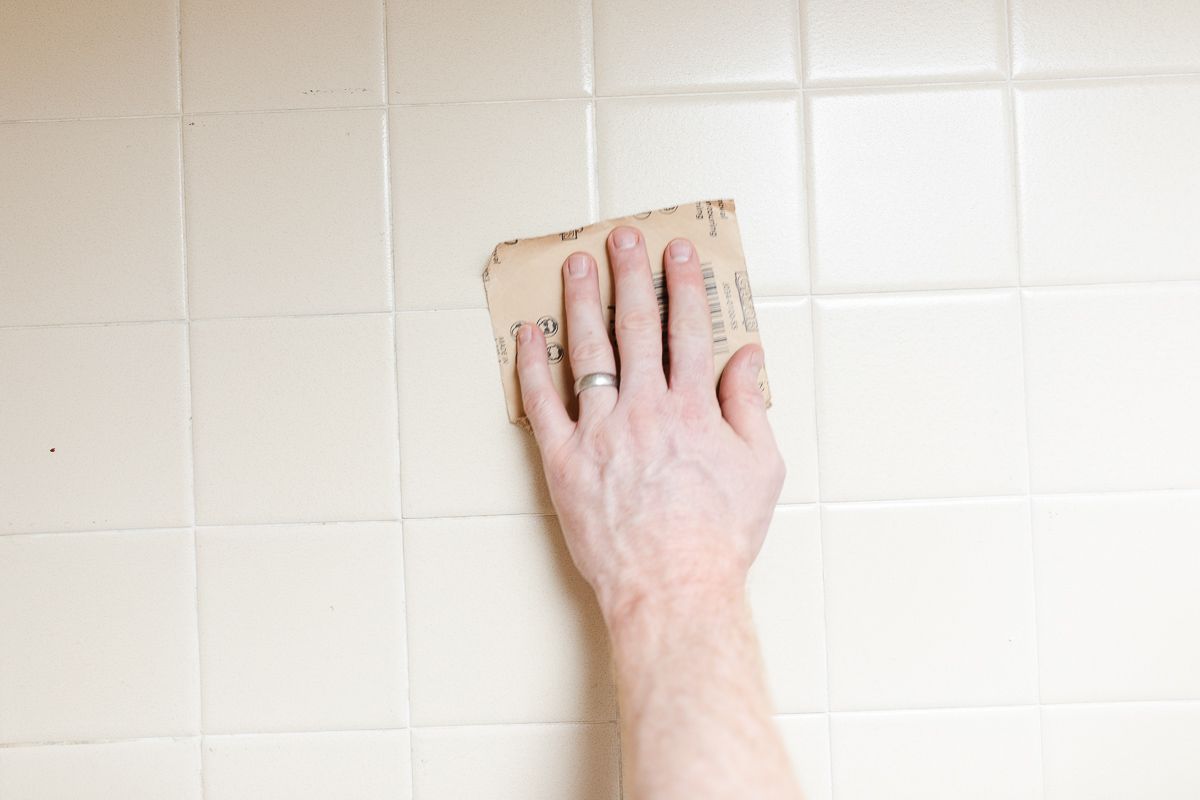
- Hand sand using medium grit sandpaper with a sanding block, or if possible an electric sander to rough up the surface so that primer can adhere.
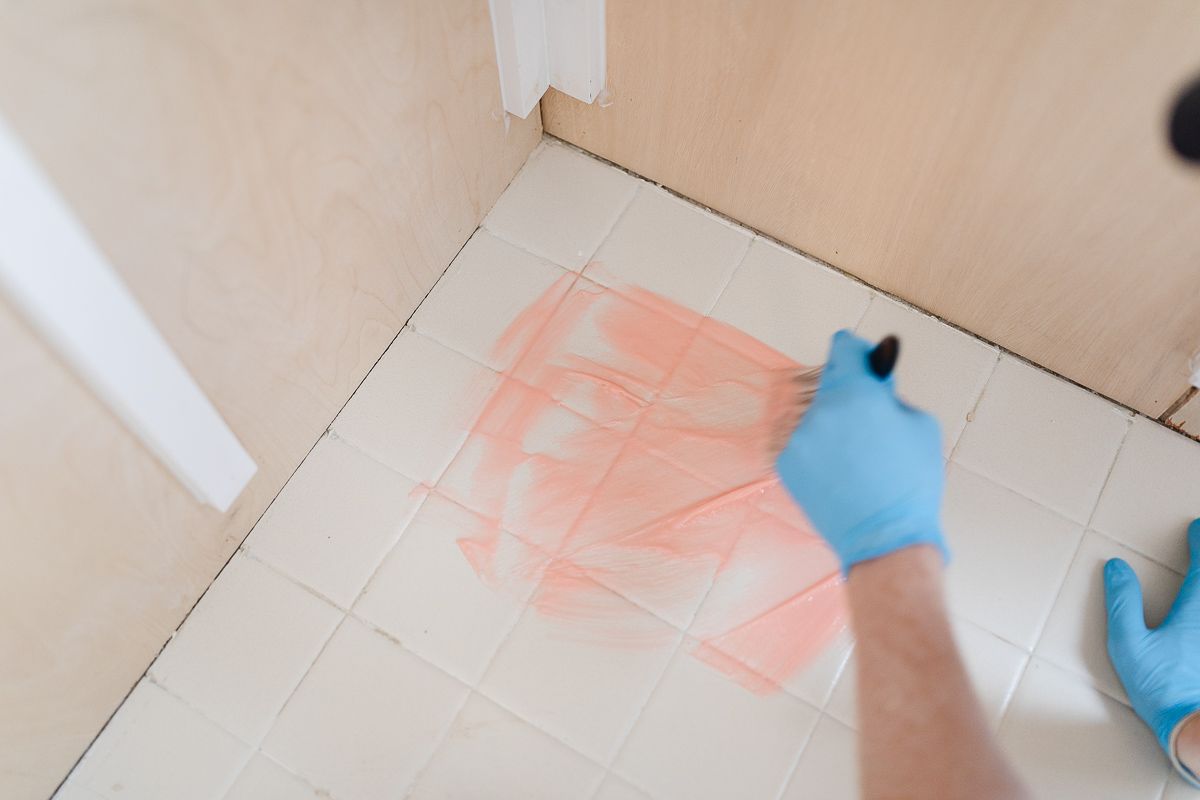
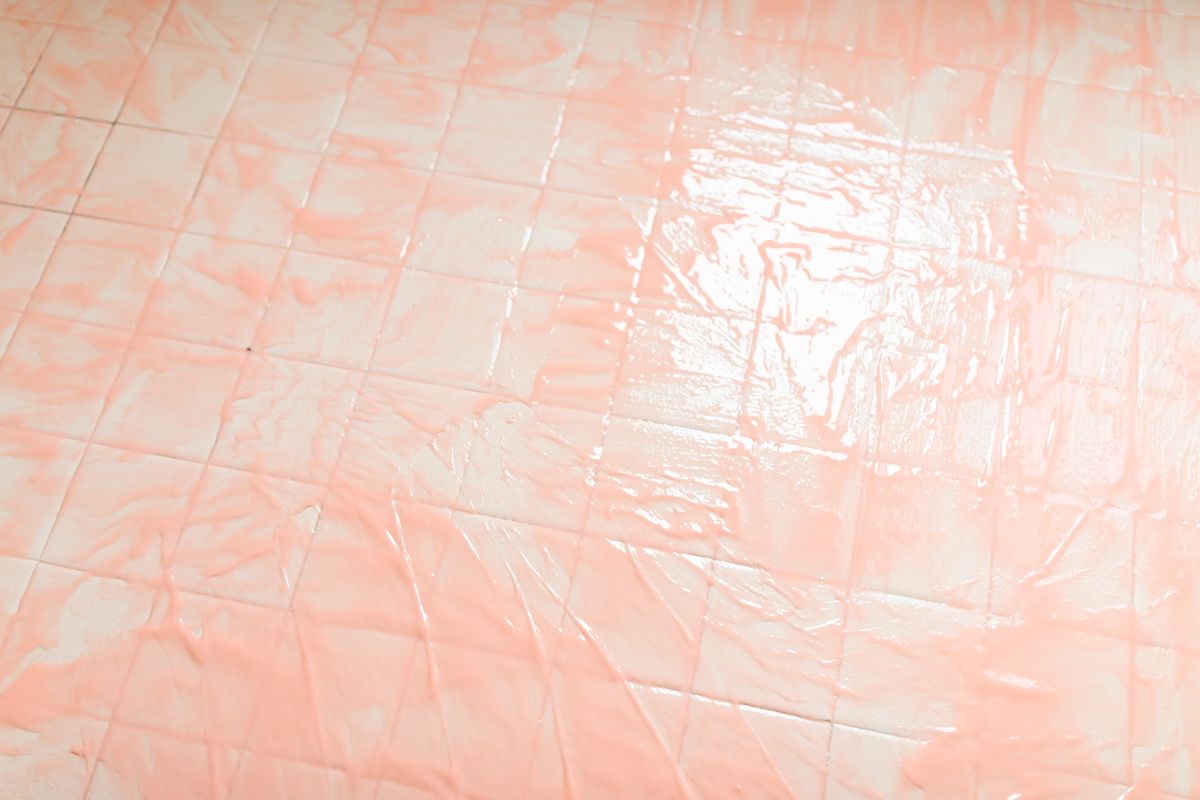
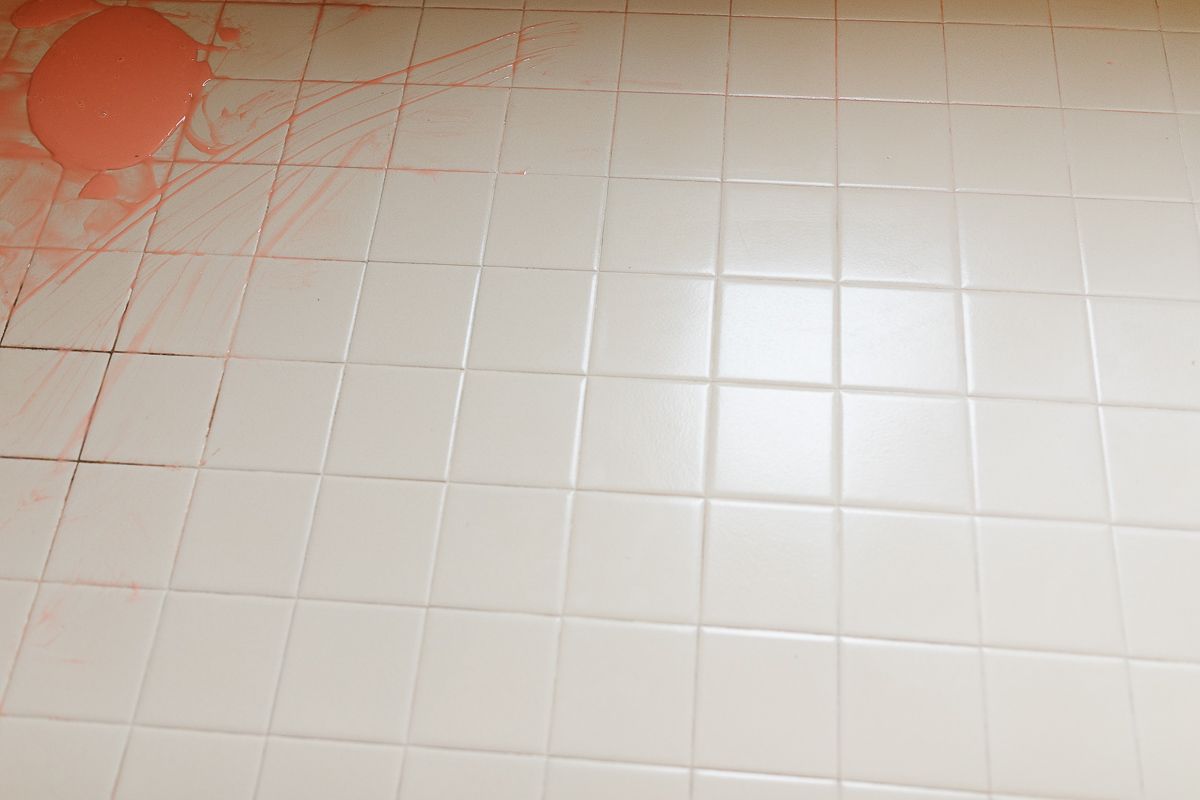
- Thoroughly clean the tile with a stripper.
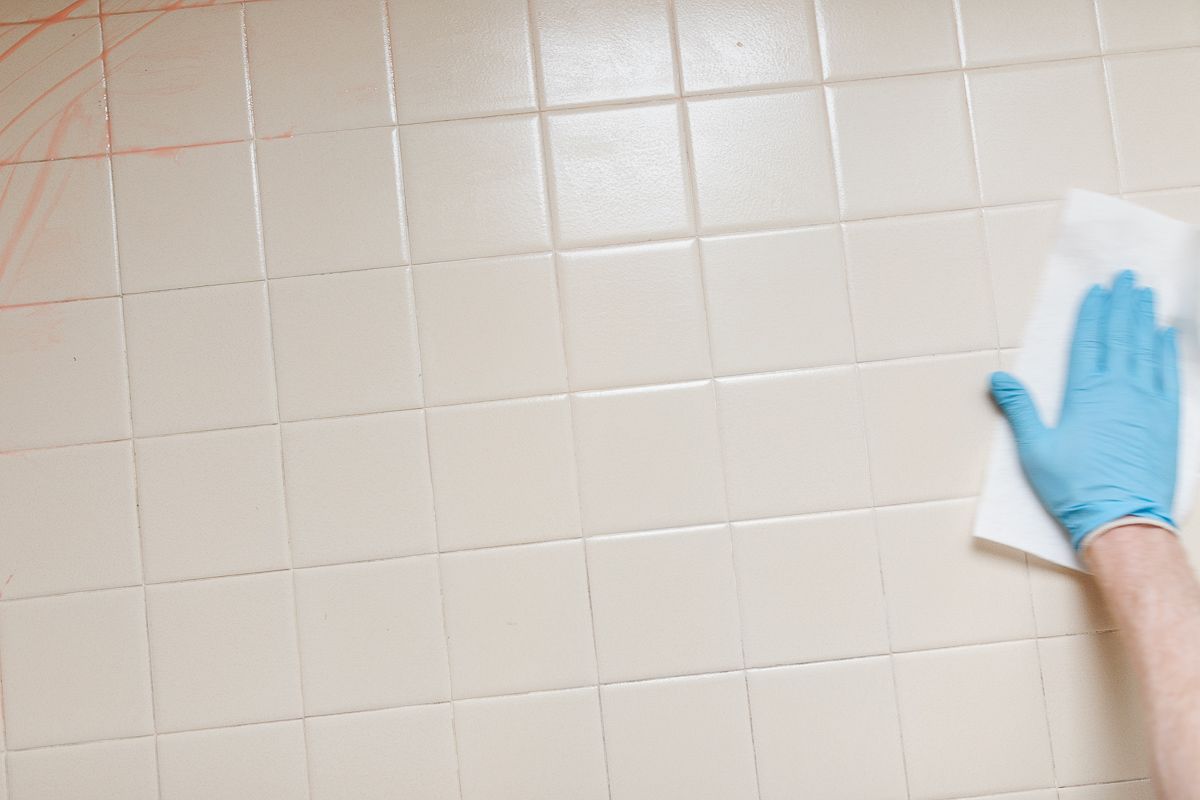
- Rinse clean (ideally, you can use an after wash product as noted in the supply section above) and allow to dry.
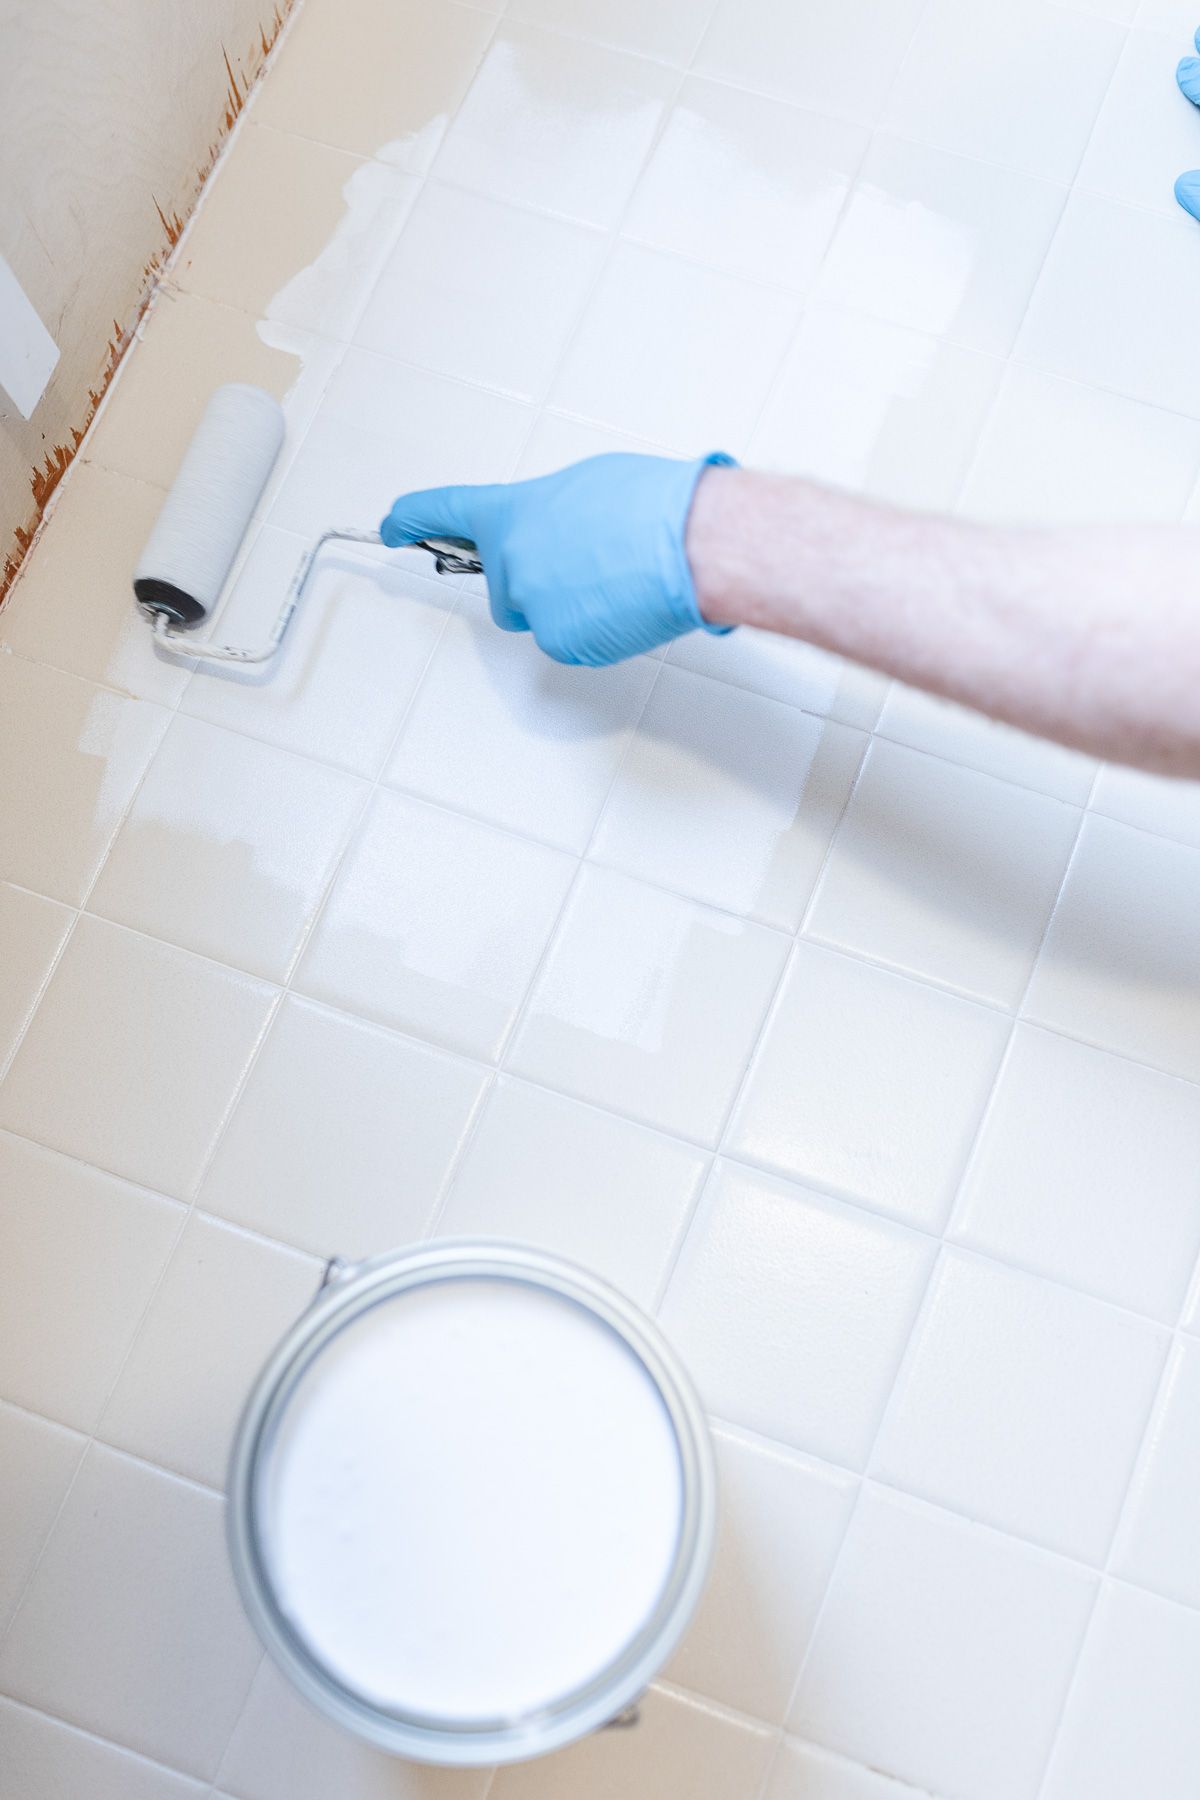
- Prime tile and allow to dry. Use a second coat if needed.
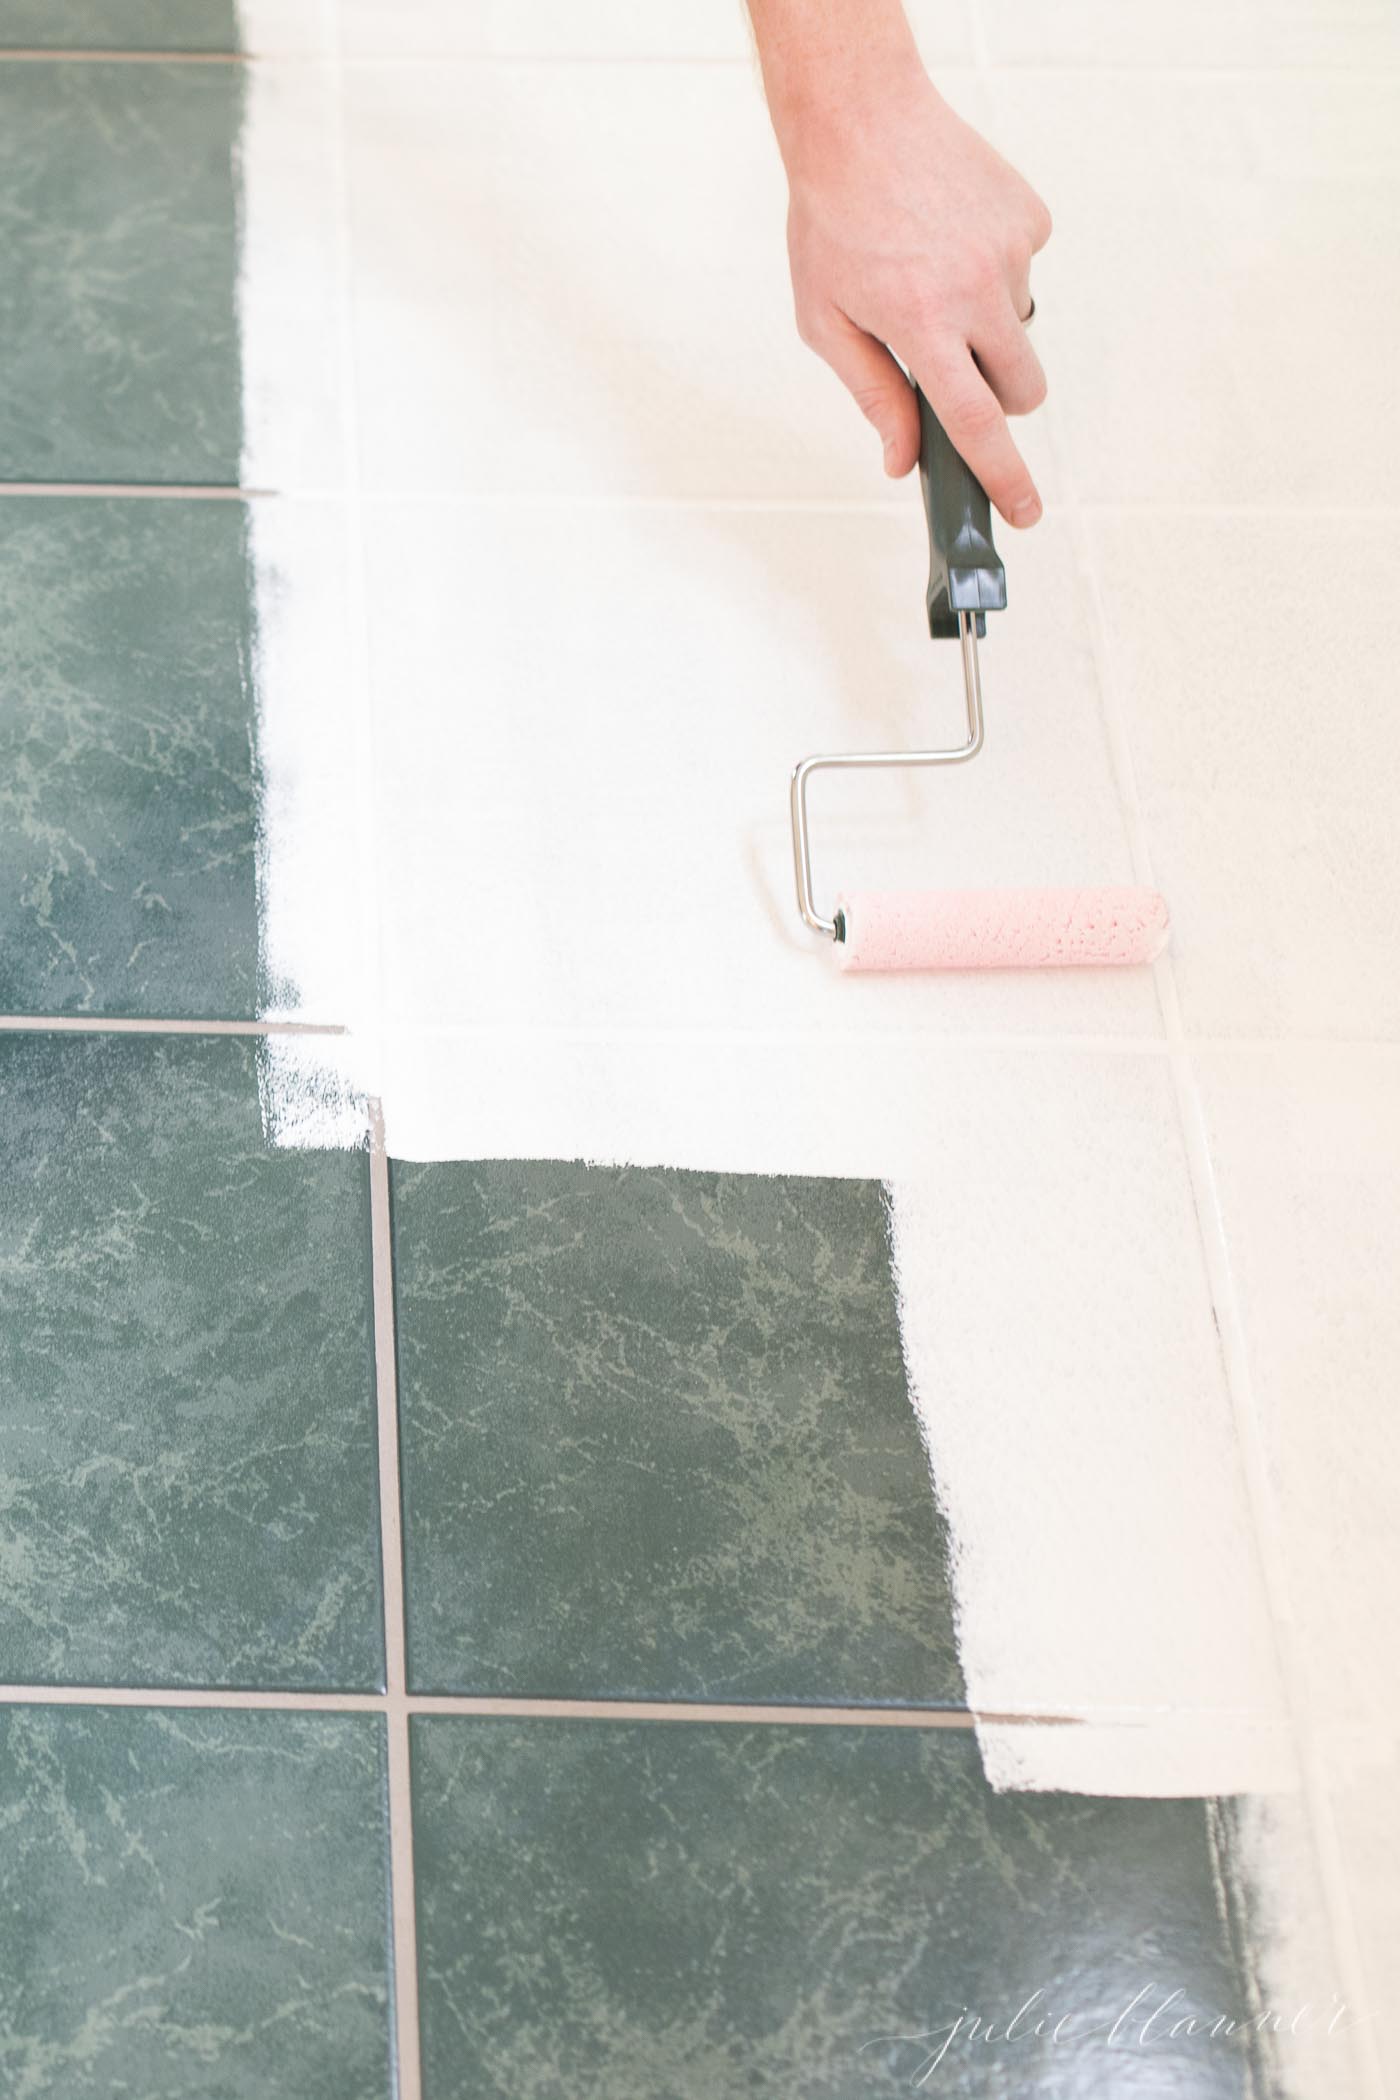
- Roll on your paint, starting with the farthest corners of your space and working your way towards the door as you exit. If you choose to do a second coat, lightly sand between coats so the paint properly adheres.
Extra Points: If you’d like, you can take this project one step further and seal with a coat of polyurethane sealer. This might be a good idea if you’re working with a high moisture area, but we haven’t felt that we’ve needed it thus far!
Tile Paint Tips
- If you have any tile cracks that need to be repaired prior to painting, add a little caulking and smooth out with your fingertips.
- The same thing goes for grout repairs. Ensure that you’ve filled in our replaced any bad grouting, as the tile paint won’t cover damaged areas!
- Sanding is an important step, so don’t skip it! It helps buff any shine out of the tile, leaving you with a surface that is better able to accept the primer and paint.
- Only use tile paint intended for this project! Traditional latex paint will not hold up over time.
- The Benjamin Moore product we used is ready mixed in white and black. However, you can have it matched to any color in their deck, or a color of your choosing! We chose Decorator’s White, as it’s a color I’ve wanted to try for a long time.


I seriously had no idea you could do this! I’m going to talk my wife into redoing our downstairs bathroom! THANK YOU!
Fabulous tip!! I wish I had known this at our old house!!
I’m so glad I found this, there are quite a few spots in my home that I would like to paint!
So cool! I did not know that!
How long did this project take? Did you allow the stopper to dry for 48 hours or just wait until it air dried?
Just a couple hours total allowing it to air dry in between.