Subway tile is a popular choice in home design, but that doesn’t mean it is “trendy” or that it will go out of style any time soon. It is a classic, timeless, and beautiful option for your home. Learn where to use it, how to choose the perfect grout color, plus eight design patterns for how to lay it.
Classic subway tile has been a design staple in homes for decades – and it’s no wonder why! It is inexpensive, easy to clean, and it looks great with any design style.
Subway tile was first introduced in 1904, when it was used in the New York City subway. Designers La Farge and Heins wanted to create clean, bright subway stations underground, and that’s just what this amazing tile accomplished.
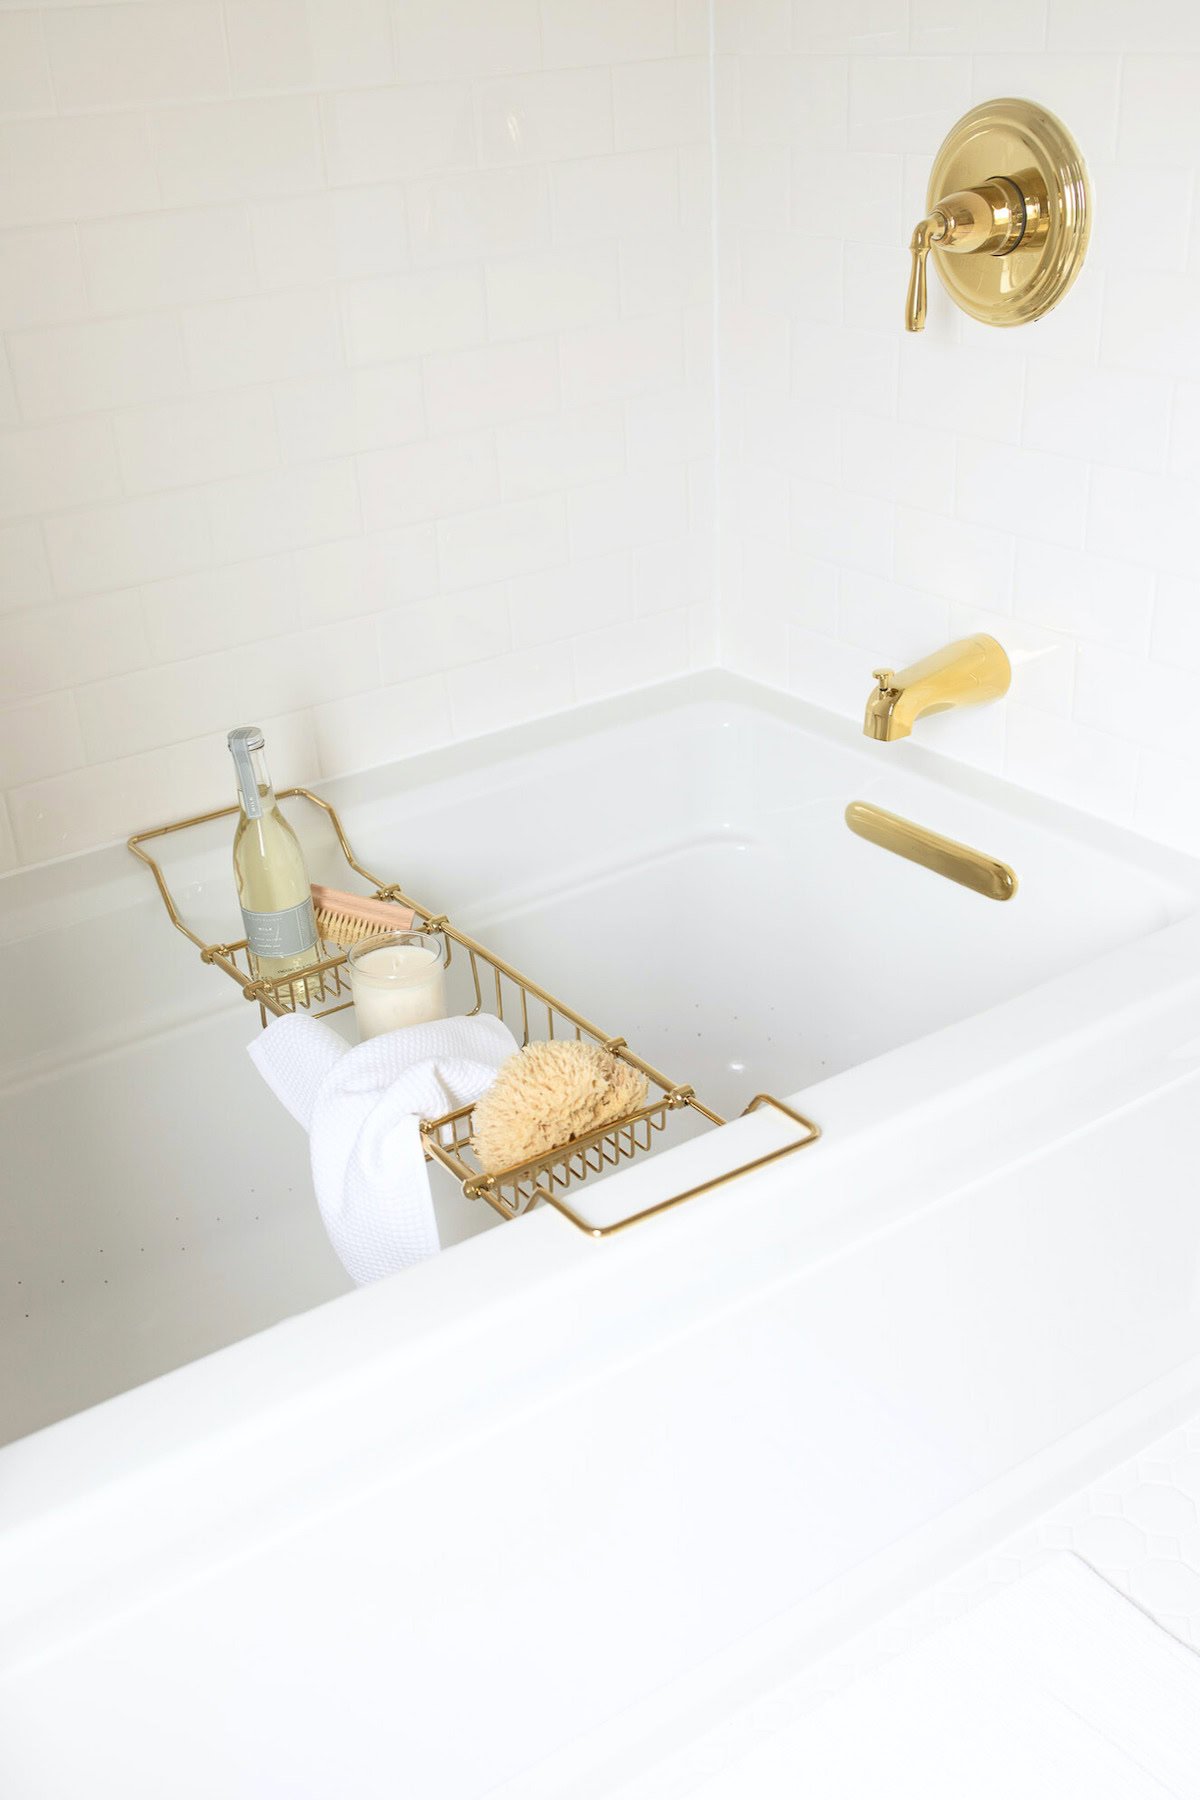
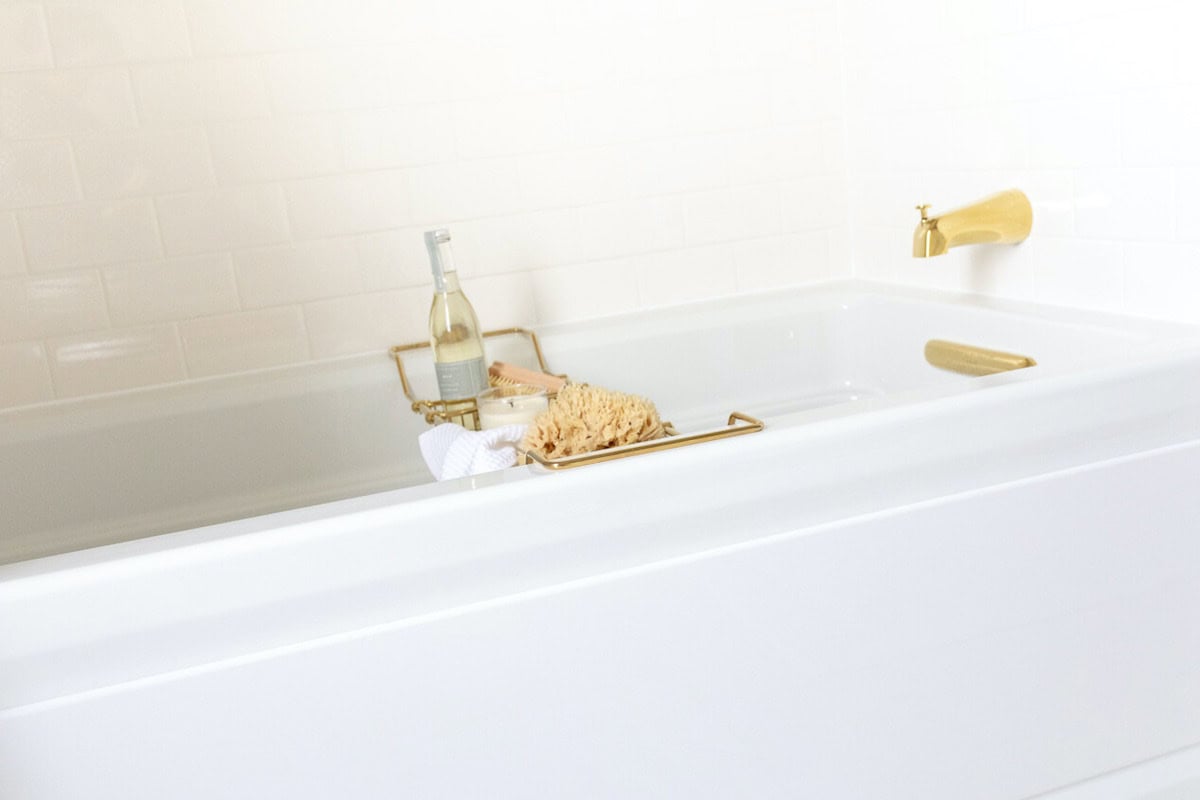
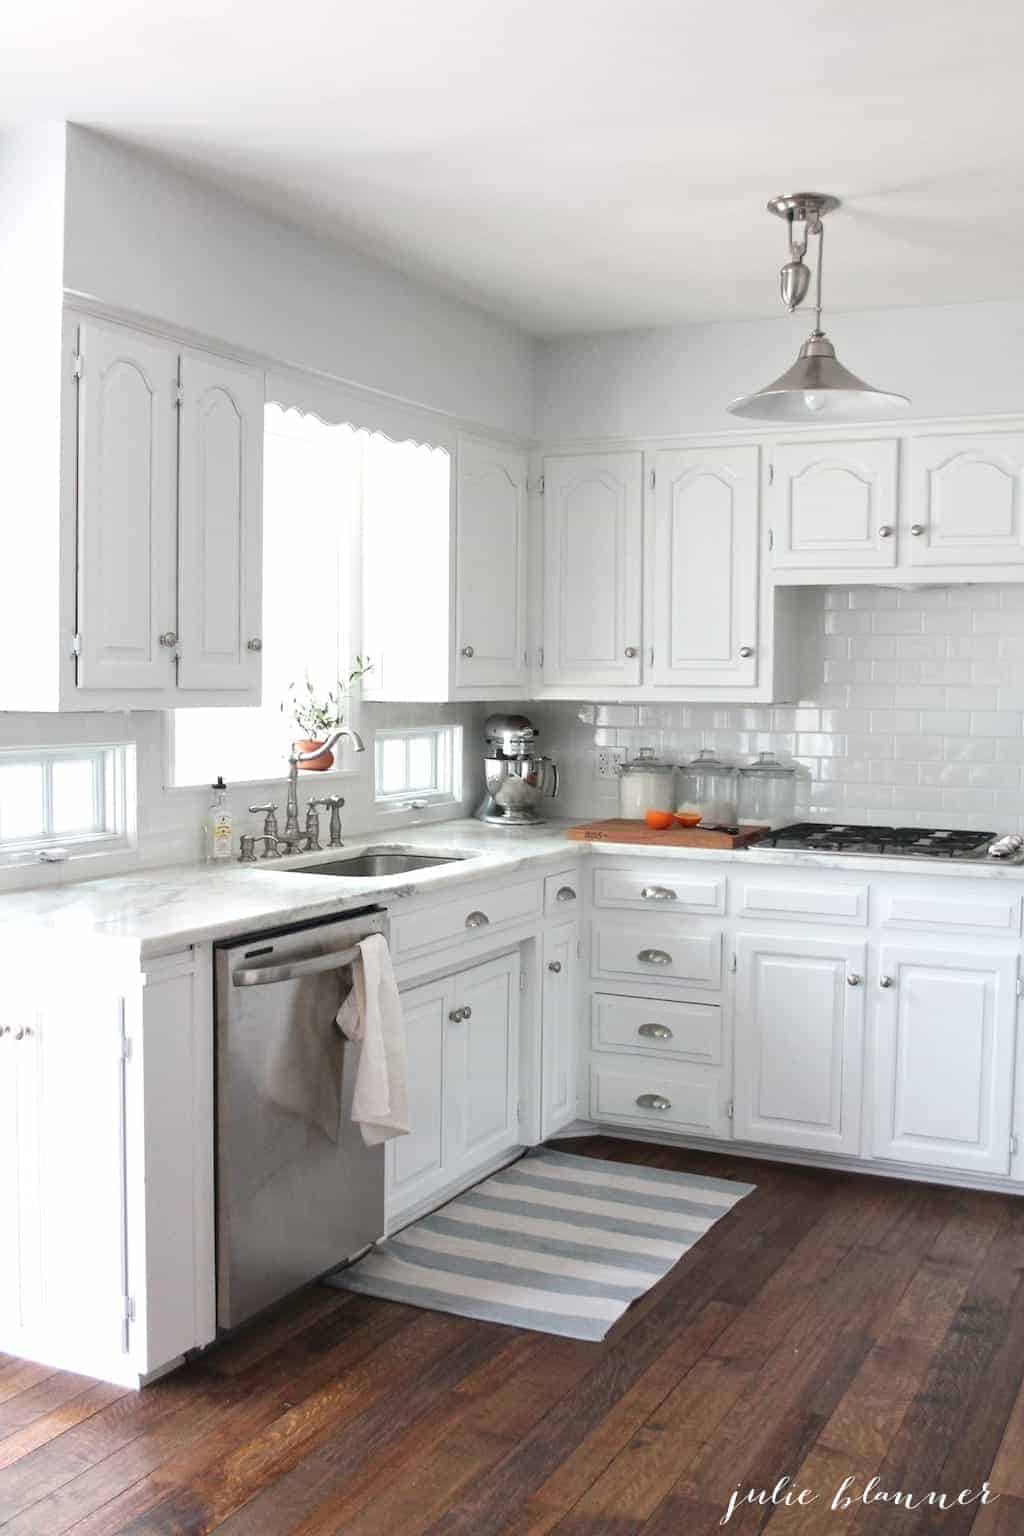
Interior designers soon recognized its many applications, and subway tile began to appear in homes everywhere. Not to mention it was everywhere in homes, from bathrooms to kitchens to laundry rooms and more! I’ve used subway tile in my own home to create a classic, calming spa bath and a bright and airy kitchen renovation.
What Is Subway Tile?
Subway tile has traditionally been a white 3 x 6 glazed ceramic tile, but with its popularity that definition has evolved to include more sizes, colors, and materials.
Today, subway tile includes any wall tile that is twice as long as it is wide – 2 x 4, 4 x 8, 6 x 12, etc. It can even include tiles that aren’t exactly that ratio, such as 4 x 10 or 4 x 12. If it is a long, narrow rectangular shape, it probably counts as subway tile.
I love the look of classic white, but subway tile comes in any color you can imagine! Deep blues and greens, subtle grays, bright corals – whatever your design style, you can match it with this tile!
Glazed ceramic tile is still a popular option for subway tile, but it is no longer the only option. This versatile tile comes in porcelain, glass, and a variety of natural stone, such as marble, travertine, limestone, and slate.
The stone can be polished or honed for a glossy or matte finish. Really, the possibilities are almost endless, so you’re sure to find something you truly love!
Where to Use Subway Tile
Subway tile can be used in so many different spaces throughout your home. It looks clean and fresh wherever it’s found, and it adds instant style to any space.
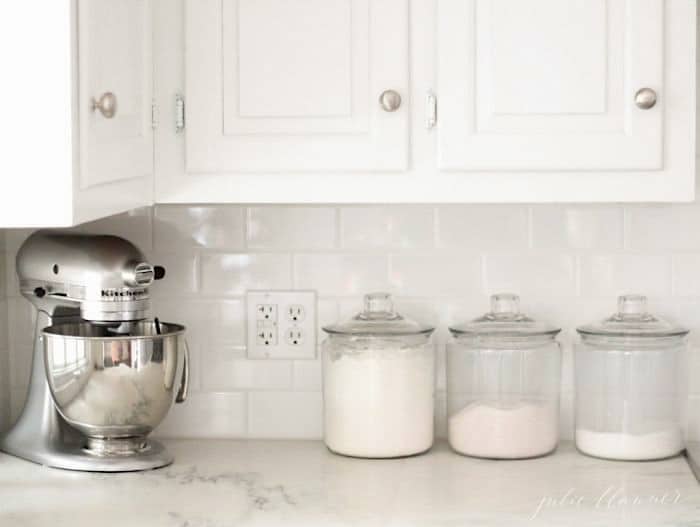
Subway Tile Backsplash
Subway tile is perfect for kitchen backsplashes. It is stain resistant and so easy to clean for those small drips and spills that happen in kitchens. Sometimes it isn’t easy to find ways to work a lot of style into kitchens, because everything in them has to be so functional.
Having fun with a unique subway tile backsplash is the perfect way to pack a lot of style into a small space. Function and style – subway tile checks both boxes!
Bathroom
Tile in general is a great choice for bathrooms, where there is a lot of moisture in the air. It’s easy to clean and disinfect, which we all know is a must in bathrooms.
Try using it as a backsplash to your bathroom countertop. Run it partway up your wall for a timeless wainscoting. Or create a dramatic feature wall with subway tile to the ceiling. Wherever you use it, you can’t go wrong with this tile.
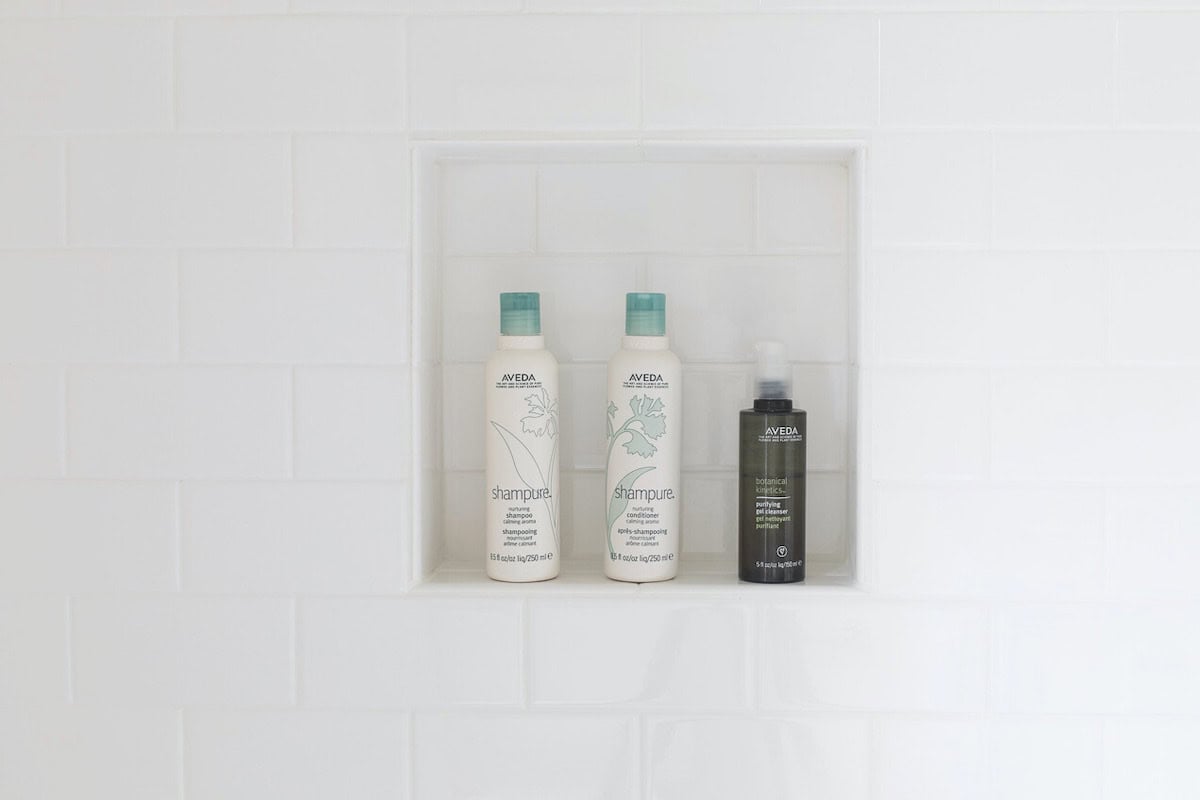
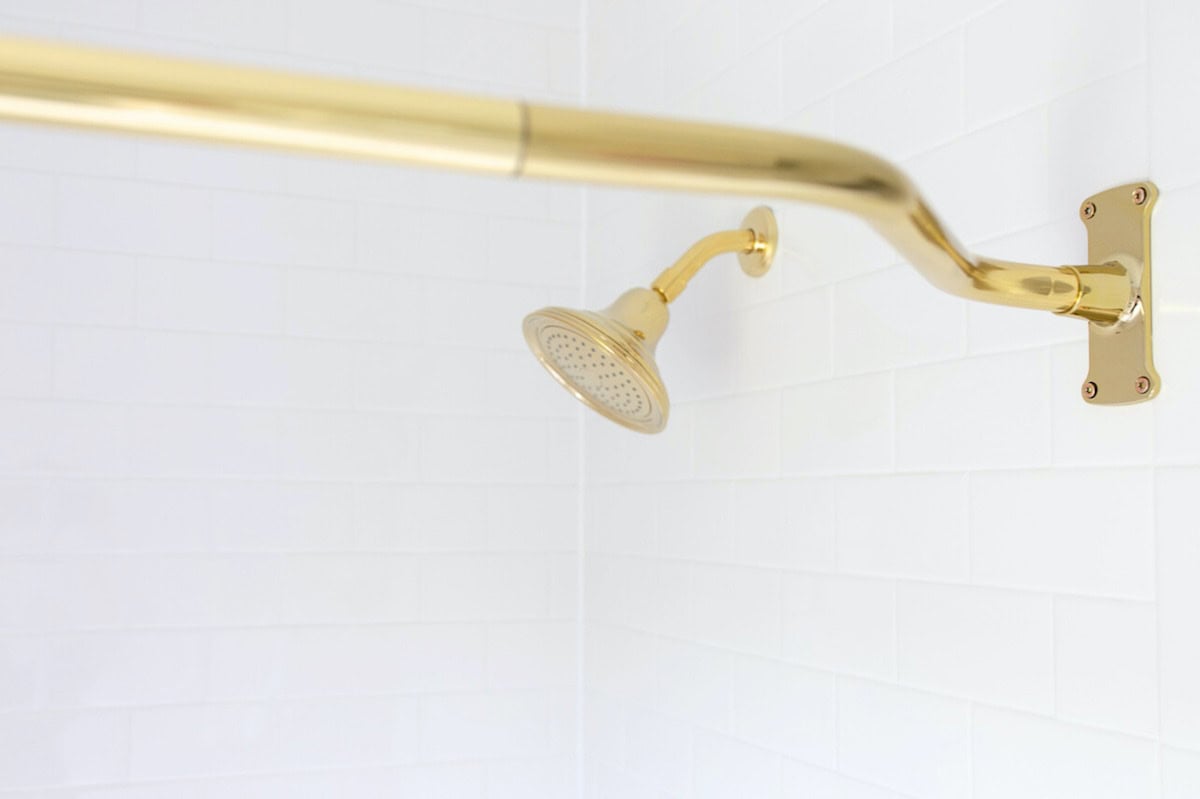
Shower
I love clean white tile in a shower, but I’ve seen some beautiful, dark and moody showers as well. Tile is a great material in showers, but subway tile in particular is perfect, since its long shape can make small spaces appear larger. Run it horizontally to make your shower feel wider or vertically to make your space appear taller.
If you want mostly neutral with a little flair, you can use a second color to create an accent row or niche. Showers are sometimes overlooked spaces, but choosing the right tile and pattern means you’ll end up with a unique design that is truly your own.
Important Note: Subway tile is not suitable to use on floors. Because its width is relatively thin compared to its length, it simply won’t hold up to normal use, and it will end up cracking in the center.
Grout
Once you’ve chosen your tile, it may seem like the hard work is done. But choosing the right grout can make or break your design. When choosing grout, you need to think about three things – color, spacing, and visual impact.
What look are you going for? Do you want your tile and grout to be subtle and blend together? Or do you want them to be bold and contrast with each other?
Which do you want to be the star of the show – the tile color or the grout lines? Having an idea of what you’re hoping to achieve will help you make the right choice.
Don’t miss the Best Grout Cleaner and How to Stain Grout – two of my most popular tile posts! Learn more about Choosing Grout Colors here.
Color
The effect you want your grout color to have depends on the color of your tile. If you want to have an understated, calming finished product, choose a grout color that is closely related to your tile color. It doesn’t have to be the same color, but it should look subtle when held up side by side. It will give you subtle contrast and lightly define the shape and pattern of your tile.
If you want a dramatic finished look, choose a grout color that contrasts with your tile color. For example, dark grey grout with white tile, or white grout with dark tile. The more contrasting your grout color is, the more attention it will grab from your tile. That’s fine, if it’s the look you’re going for. Just know that contrasting grout shows off the shape and pattern of the tile more than the tile itself.
One more note: Bright white grout can make even white tiles look dingy. Plus its harder to keep clean. It may be best to choose a soft white grout, or even a very light grey.
Spacing
Choosing the spacing between your tiles goes hand in hand with choosing your grout color. If you are trying to create higher visual contrast, you may want to consider wider grout lines.
They will give you a more dramatic look. If you’re trying to have a more subtle overall look, go with narrower spacing. You can still achieve contrast through the color you choose, but it will be more understated with narrow spacing.
Visual Impact
The color and width of your grout work together to create its visual impact on the space. This just means how much attention it demands in a space. If you want your backsplash or shower to steal the show, go ahead and create a high contrast using grout. If you’d rather have it be a supporting character, choose a color that will help it blend in to the background a bit more.
Remember, blending in doesn’t mean boring. Even subtle tile creates a beautiful layer in a room. You can add visual interest in other ways, such as textiles and accessories.
Subway Tile Patterns
One of the best qualities of subway tile is that it can be used to create countless different patterns, each creating a unique look and design style. Do you want classic and fresh? Modern and minimal? Here are some popular subway tile patterns to consider:
Offset, aka Running Bond
This is probably the most timeless subway tile pattern. It’s the basic brick pattern – tiles are laid horizontally with the edge of one tile lining up with the center of the tiles above and below it.
One-third Offset
This tile pattern is similar to the running bond, except instead of tiles lining up at the halfway point, they line up at 1/3 the length of the tiles above and below. This creates the illusion of steep stair steps running up the grout lines.
One-fourth Offset
Create this pattern in the same way as the other two offsets, except line the edges of the tiles 1/4 of the length of the tiles above and below. So from the first row, offset the next row by 1/4, then 1/2, then 3/4, then you’re back to lining it up with the first row. You’ll create the illusion of irregularity, but it won’t look chaotic.
Straight Set, aka Stack Bond
This one is for all of you who love a minimal, modern look. Simply line the tiles horizontally on top of each other so that they all line up, with no offsetting. You’ll end up with clean horizontal and vertical lines that look refreshingly uncluttered.
Vertical Stack Bond
Another modern option, this is the same as the Straight Set, just turned on its side. Lay the subway tiles side by side running vertically up the wall. You’ll end up with vertical stripes! This pattern is perfect for any space with a low ceiling, since it will make it feel taller and more spacious.
Herringbone
This tile pattern is popular and timeless at the same time. It’s created by laying a tile at a 45-degree angle, then laying the second tile in an L-shape against its short side, so that their end joints line up. Continue laying tiles at 45-degrees, matching their end joints, to create an interwoven look.
Diagonal Herringbone
This is a modern twist on the classic herringbone pattern. It’s created in the same way, except rotated so the tiles are laid vertically and horizontally instead of at 45-degree angles.
Start by laying your first tile vertically. Lay your second tile horizontally against its short end, matching up end joints. Lay your third tile vertically so its short side rests against the long side of tile 2, with their end joints lining up. You should be creating what looks like a stair step up your wall.
Crosshatch, aka Basket Weave
This pattern only works if your subway tiles are truly an even ratio – two or three times as long as they are wide. Basically, create “squares” by laying tiles horizontally on top of each other, then vertically next to each other. Then alternate between horizontal and vertical “squares” to create a woven grid effect.
Frequently Asked Questions
Measure the length and width of your walls, then multiply those lengths and widths together. This is the area you will need to cover with tile. Add 10% to that number to account for end pieces and errors.
The short answer is yes! Spacers keep all of your grout lines even, especially at the corners. They also keep tiles from shifting while you work. Some tiles made for shower and backsplash applications have built-in spacers. These look like a couple of tiny bumps on each edge of the tile. If your tiles have these, you can push them up against each other without spacers. This will create very narrow grout lines.


Really enjoy reading your articles! We are finishing our kitchen renovation and the last decision is the backsplash. I’m deciding between beadboard and subway tile. Our countertops are honed imperial danby, white cabinets and white oak floors. We have beadboard in the back of the coffee bar. From your articles I know you have used both, what are the pros and cons? I love the look of beadboard but not sure about durability. It won’t be behind the sink but will be the range. Thanks for any input!
I go into that at length in the Beadboard backsplash post – I love it and wouldn’t change a thing. It adds so much warmth.