Learn how to DIY a board and batten wall in any room of your home, with ease. This is an affordable, easy project that anyone can take on – in fact, it’s beginner friendly!
With a few basic tools, you’ll be wishing you could add this kind of charm and texture to every room of your home! The ease of this project, with straight cuts and simple measuring techniques, is what sets it apart from many other DIY wall treatment tutorials.
Board and batten is modern and fresh, yet also feels appropriate in historic homes. It’s a great way to upgrade any room in your home.
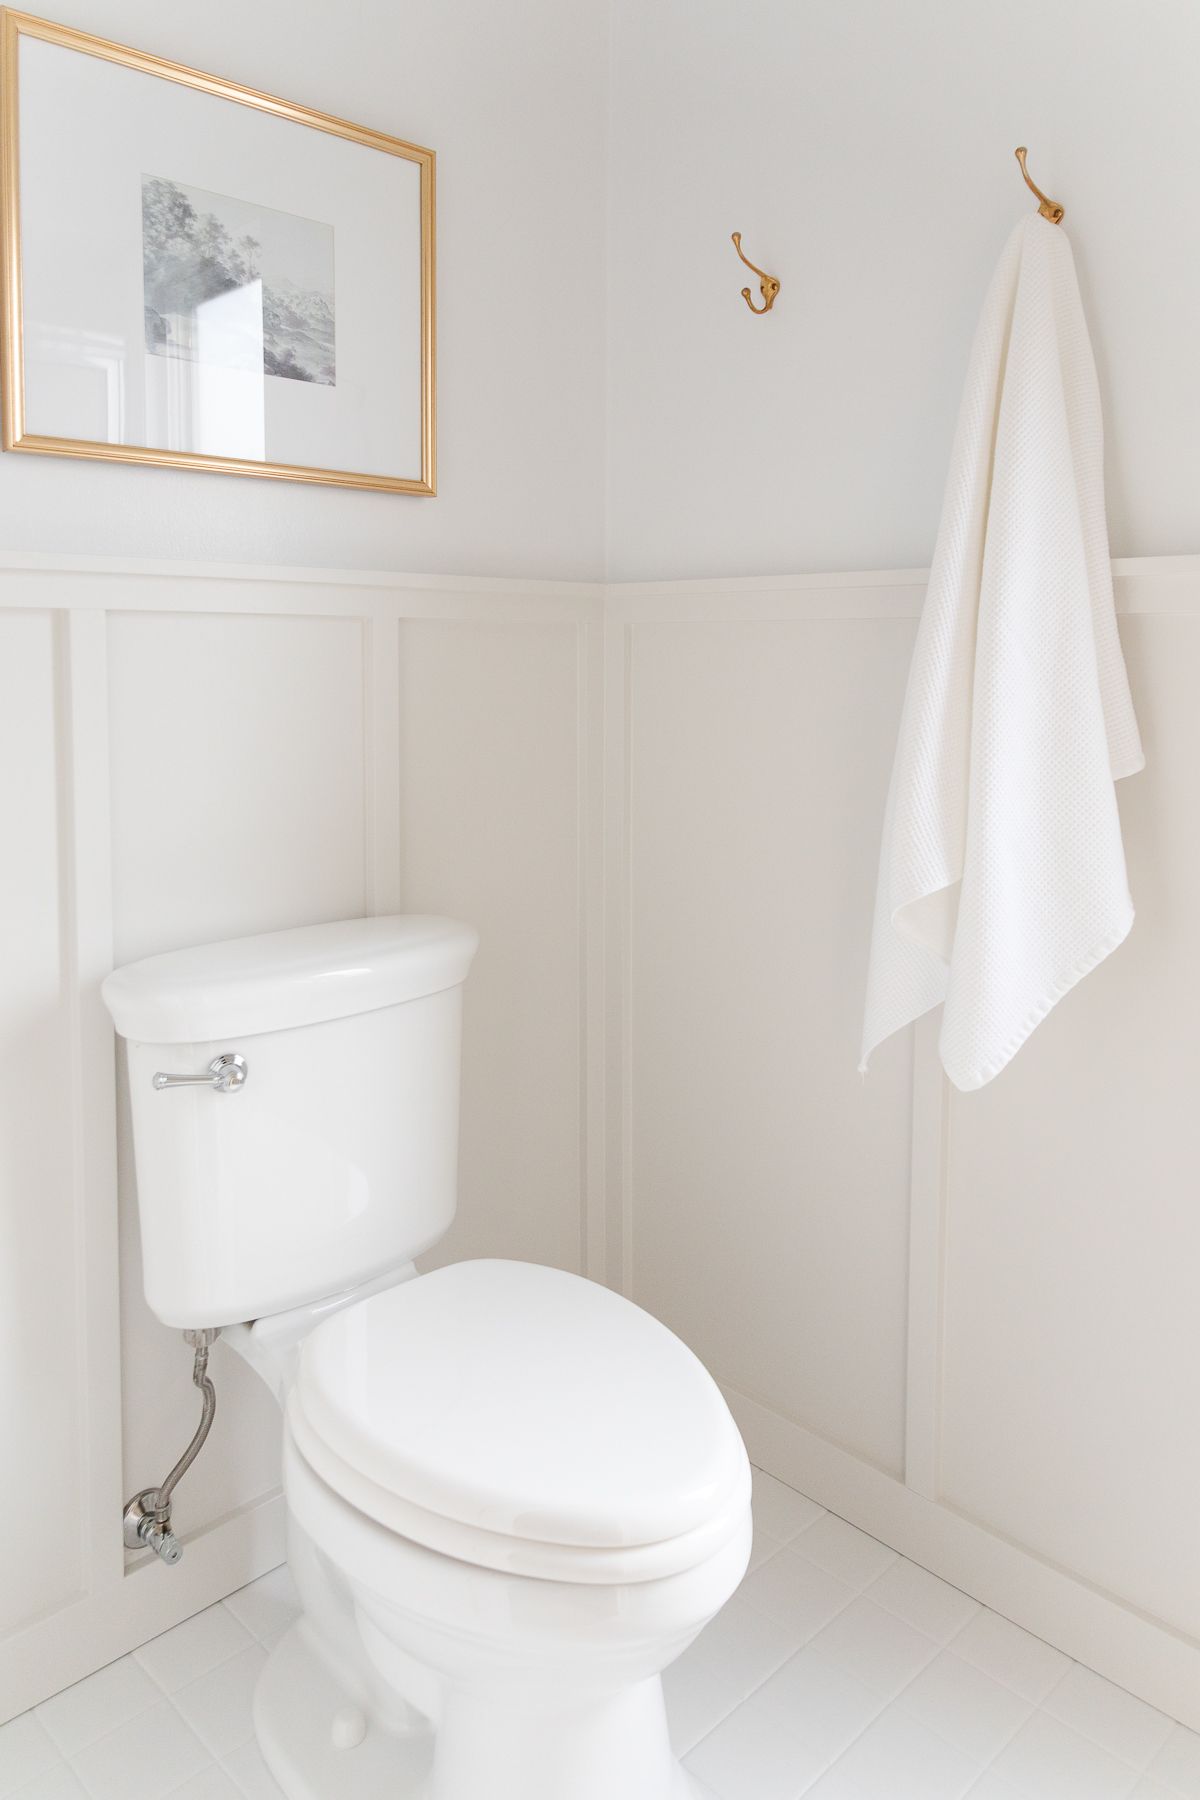
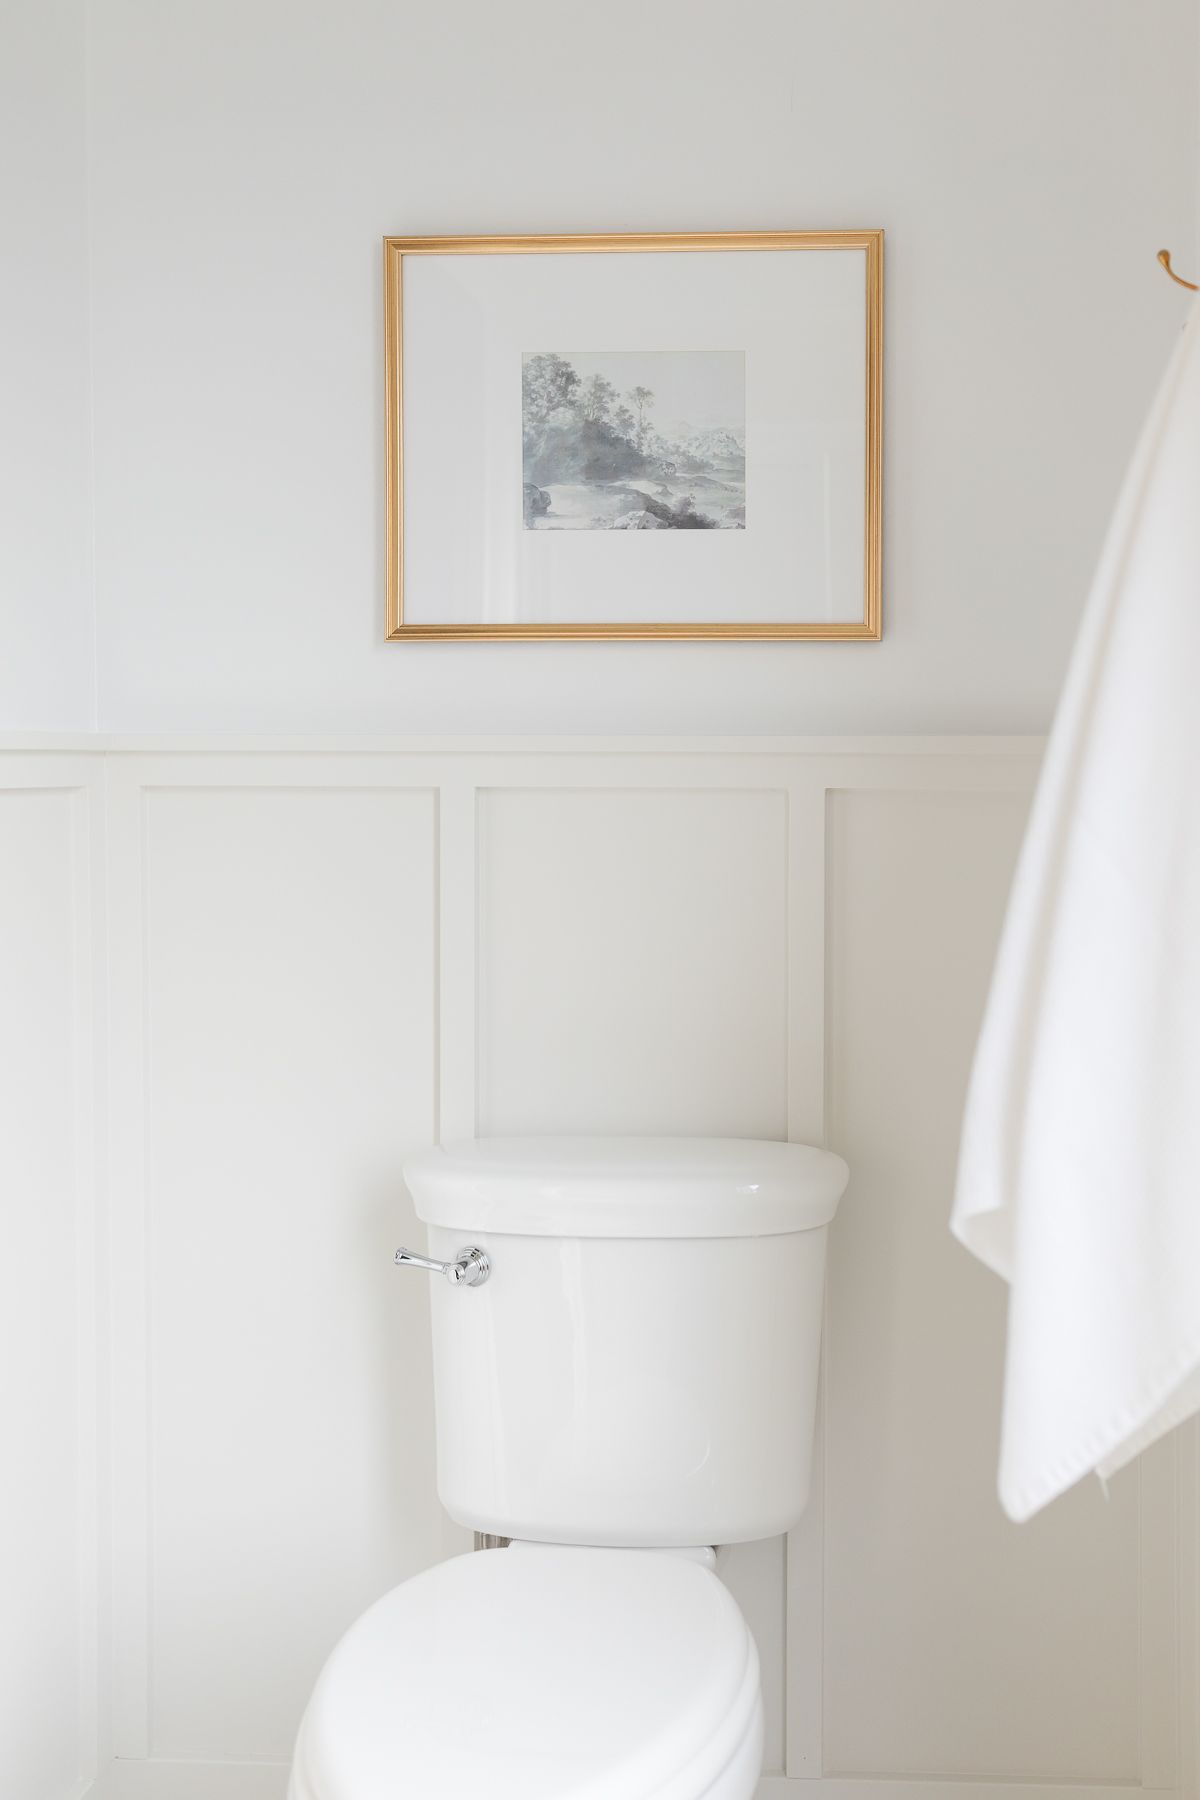
When we first approached this partial update in our primary bathroom, we weren’t sure how to handle the walls. This space has always felt very builder grade, with no historic elements or the kind of vintage tile you’d love to retain.
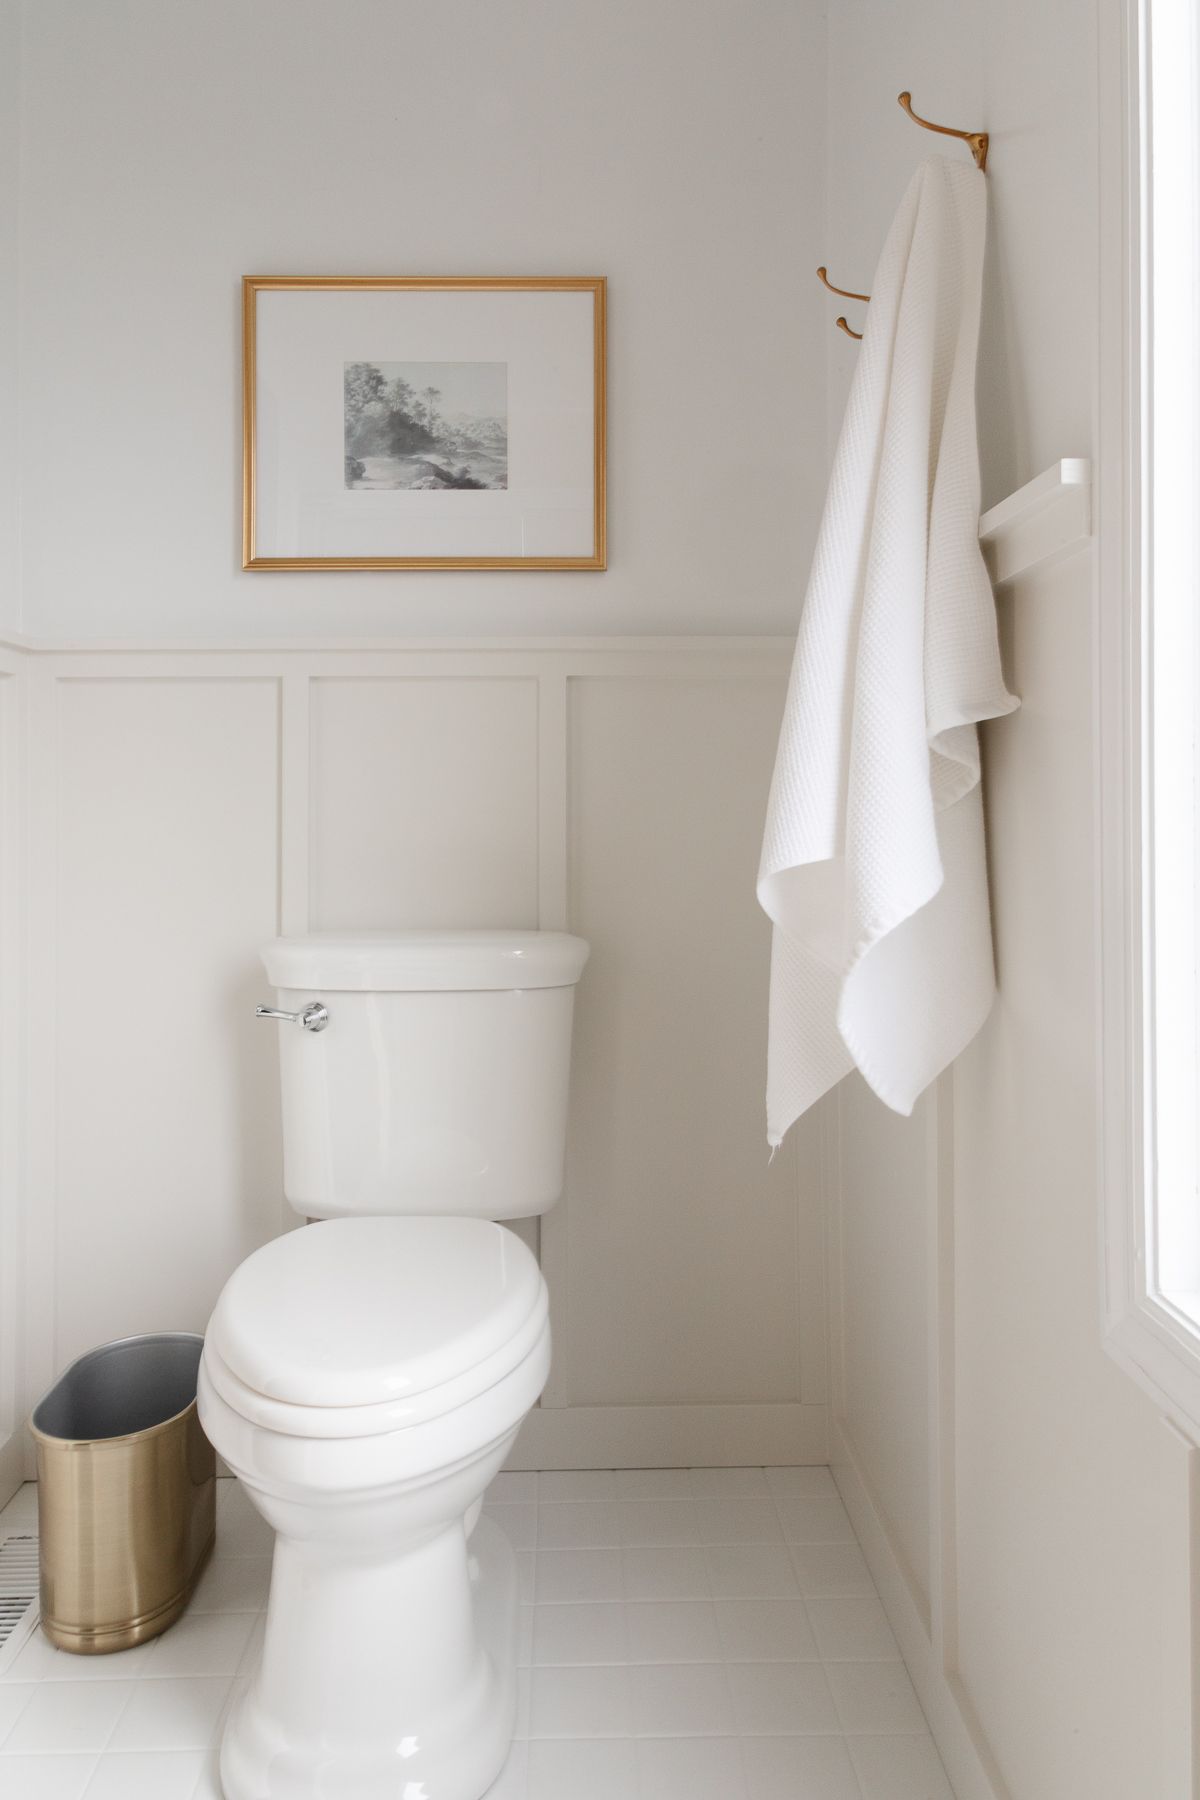
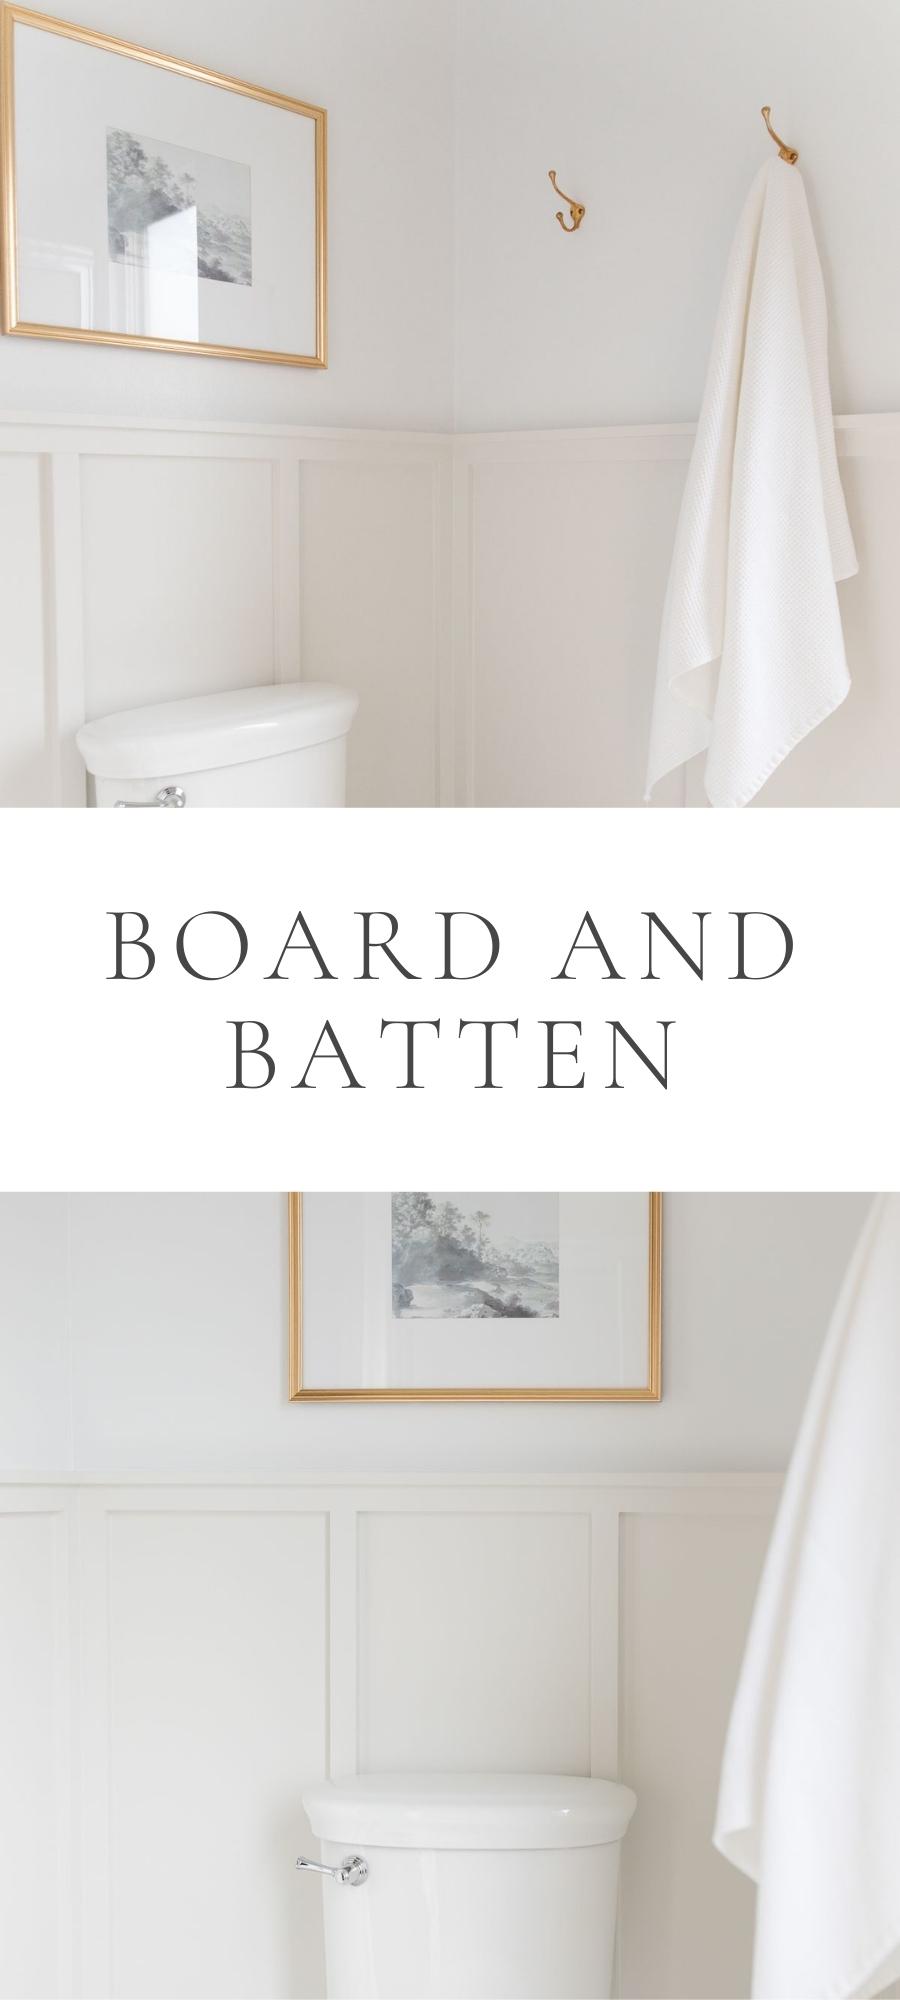
So, we set out to add a little charm where there was none! We painted the tile floors and added these pretty board and batten walls for interest and texture. Now it feels cohesive, intentional and polished. (Click through to that post to find all the colors and sources for this tiny little space.)
We are so thrilled with the results and it’s become one of my favorite ways to add charm to a builder grade home! Use the drop down Table of Contents menu to navigate this post, and don’t forget to pin it and save for later!
Board and Batten
I’m a big fan of projects like this one – I think wall paneling adds immediate architectural interest to a room. Check out Beadboard, Picture Frame Moulding, and coming soon… Cedar Paneling!
Today I’m walking you through the steps to recreate this look in your own home. I promise, it’s easier than you might think. Yes, you’ll need a few tools, but they are easily borrowed or even rented at your local hardware store.
I know you can do this – if we can, so can you! I hope we’ve created the most comprehensive board and batten tutorial around, to make it oh-so-simple.
What is Board and Batten?
Board and batten is both an exterior siding treatment and an interior wall paneling treatment.
Traditionally, it features wide boards and narrow wooden strips (these are called battens) in an alternating pattern. The boards in between the batten strips are often approximately a foot wide. The battens are usually (but not always) 1/2 – 1 inch wide.
In historical terms, the wooden batten was placed over a seam between the wide boards (used for siding or walls) to create a stronger and more energy efficient seal. In fact, this type of siding is also often referred to as “barn siding” and lends a sense of informal charm to many of its uses.
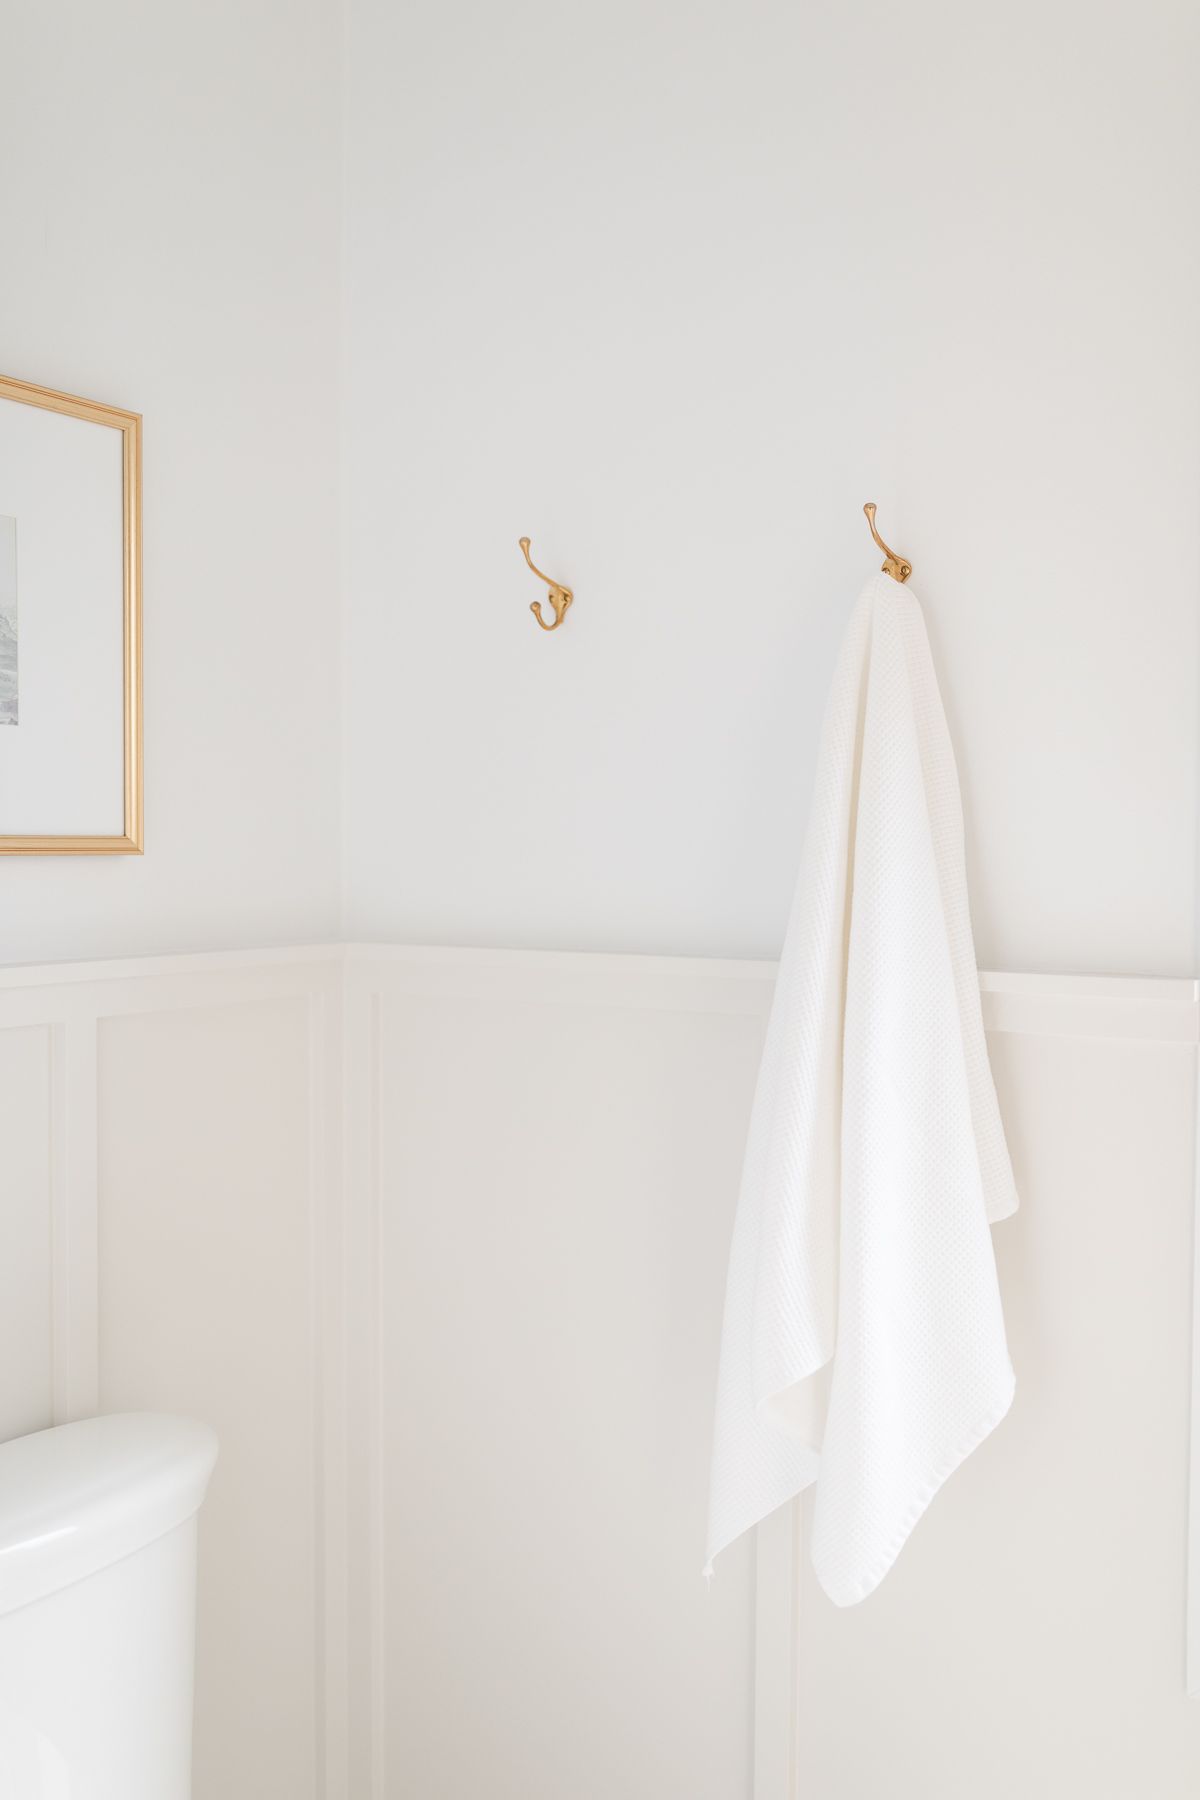
Don’t Skip These: Our primary bath features board and batten walls painted Benjamin Moore Classic Gray. Walls are Benjamin Moore Decorator’s White.
Where to Use Board and Batten
It really does make sense in so many areas of your home. However, keep in mind that you don’t want to overdo this wall treatment. As much as you might want to add it to every room, restrain yourself and remember that less is more!
- Bathroom
- Living Room
- Entry
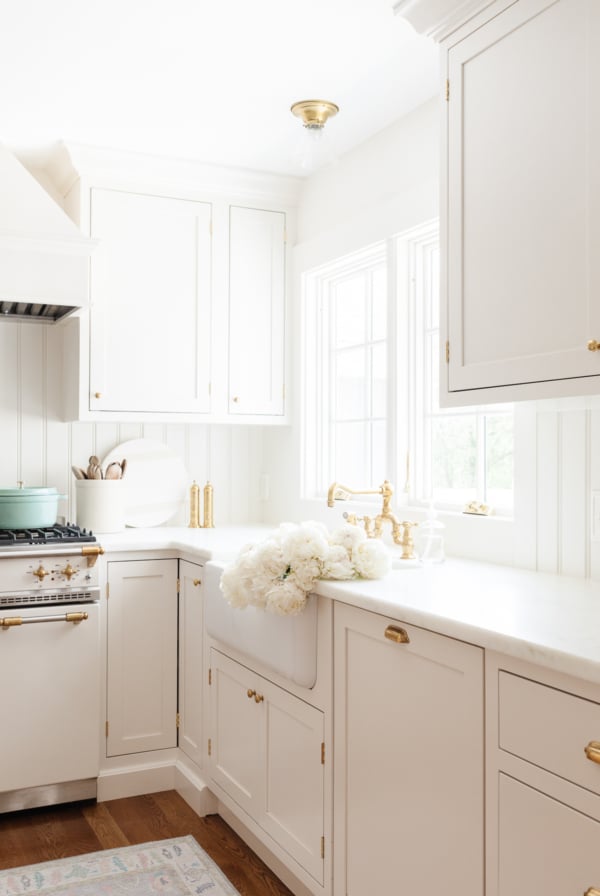
- Kitchen
- Bedroom
- Hallway
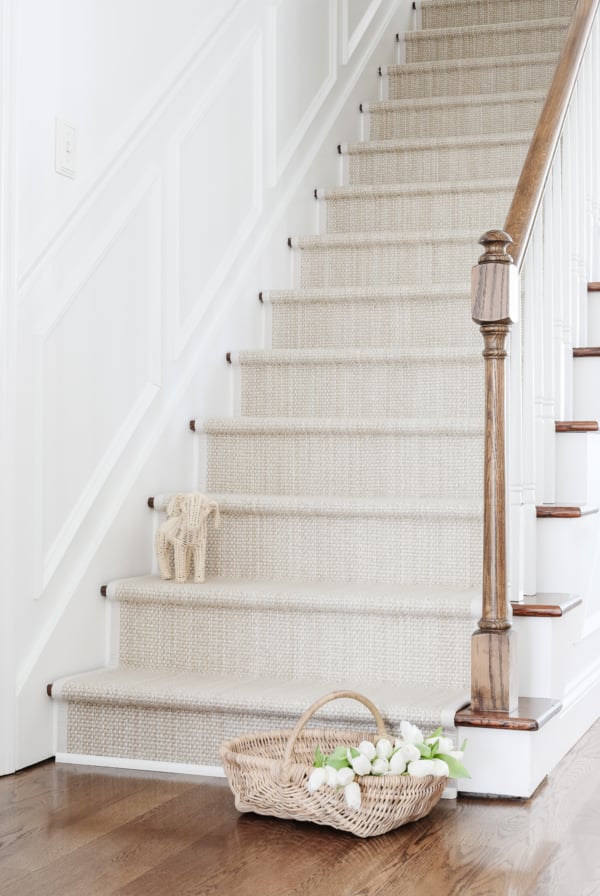
- Stairwell
- Exterior Siding
Materials Needed
- 5mm panel underlayment – This is the board that goes behind the batten (if you’re using one).
- Batten boards
- Taller batten boards (if you’re using for baseboard as we did)
- Brad nails
- Construction adhesive – This is great to have so you can attach the battens prior to nailing, but it’s not totally necessary and is fine to skip.
- Caulk (Just make sure it’s paintable.)
- Wood Filler
- Sandpaper
- Primer
- Paint (Or choose a paint + primer in one)
- Paint tools: roller, brush, tray and tape
- Drop cloth
Tools
- Circular saw – You can use any kind of saw, just choose something that will work for both your board cuts and your batten.
- Brad nailer – You can use a regular hammer here but this makes it much easier!
- Level
- Measuring tape
- Stud finder
- Putty Knife
- Prybar and Hammer (to remove old baseboard)

Measurement Tips
- Measure your batten and draw up final plans.
- Round up to the next foot to figure out what to buy (3ft 3in becomes 4ft). Remember the wood you are buying generally comes in lengths like 6ft and 8ft, so you might need a few more pieces of wood compared to the total length you need.
- Remember, each car is different, but 8ft is the max we can safely fit in our car (with the trunk open and the little red flag tied to the wood sticking out a foot or two).
- You will need horizontal batten (top and baseboard) and vertical batten – if they are the same width, just add them all together. In our case, we extended the board and batten all the way to the floor, so the “baseboard” batten was taller than the rest. That meant we calculated it separately!
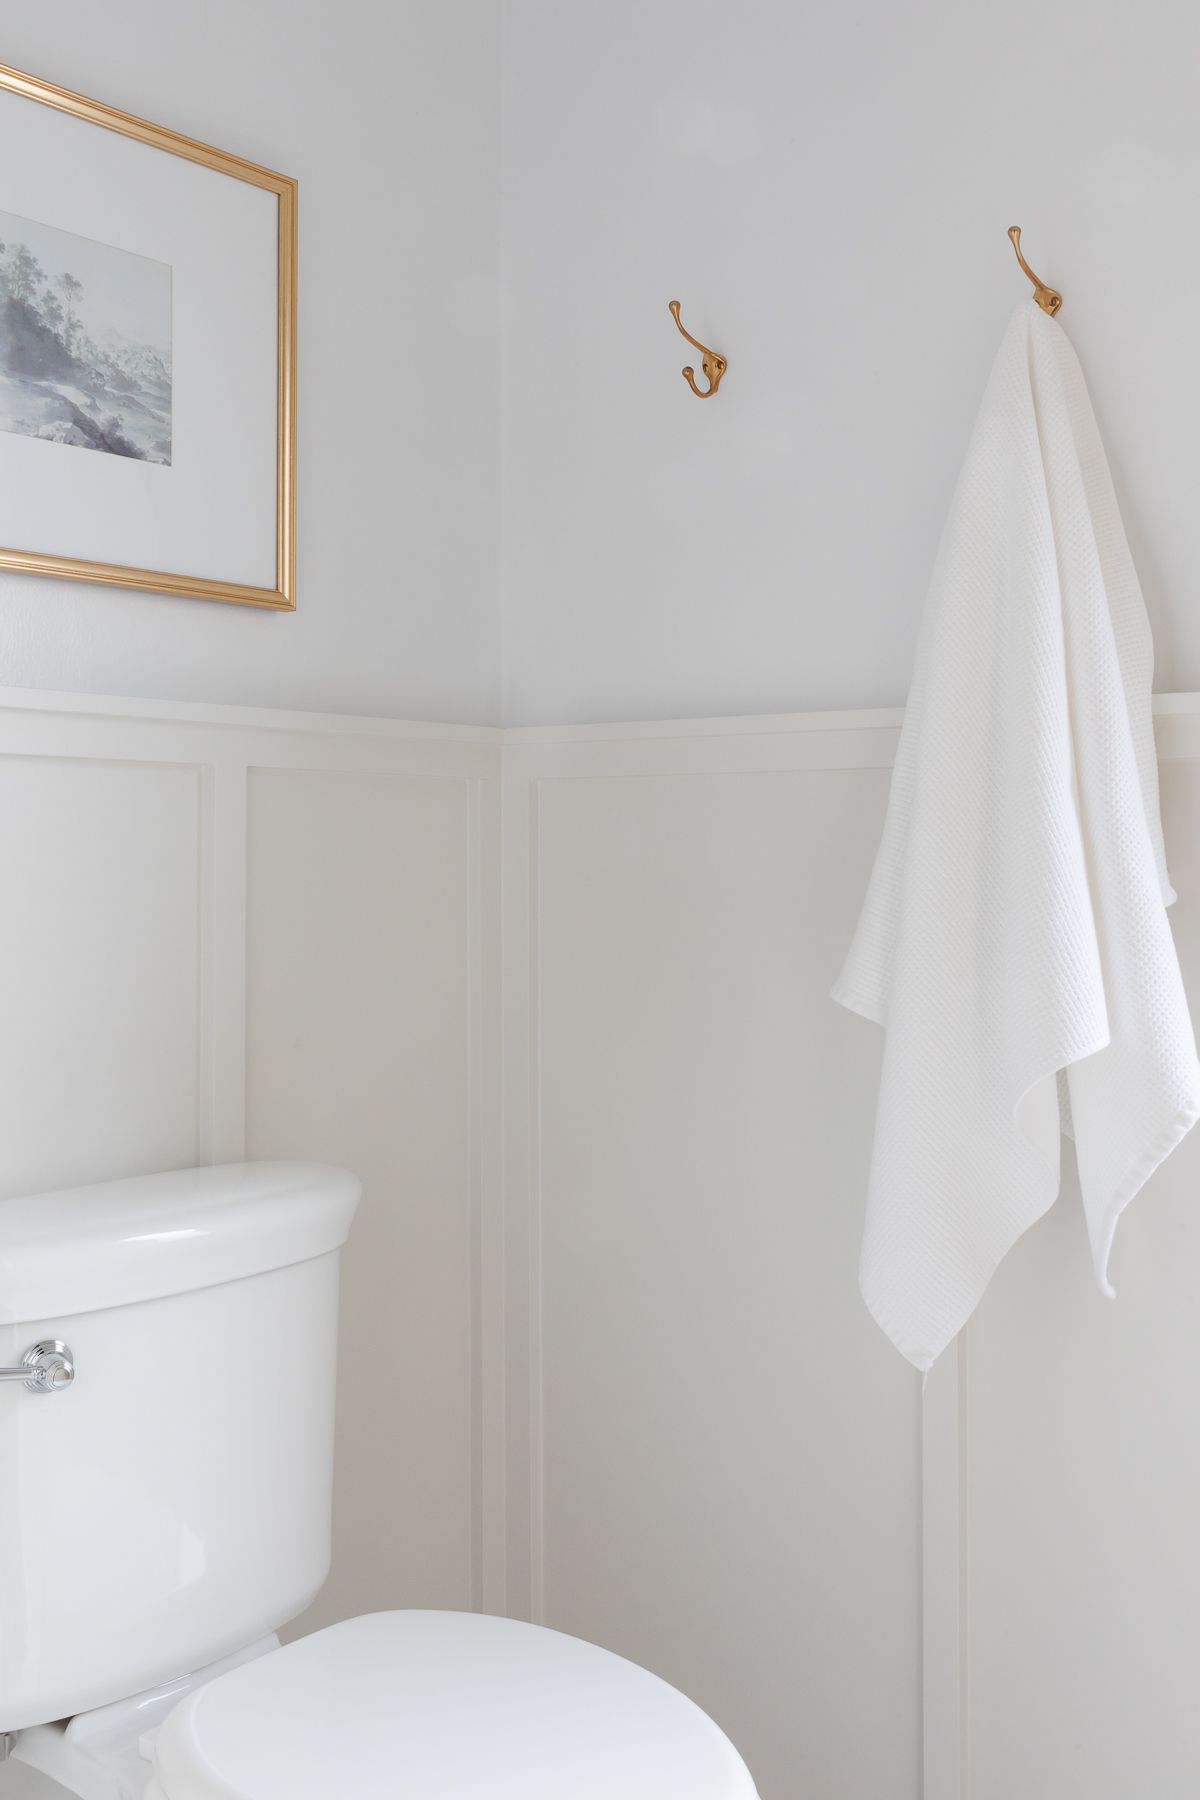
- At the top, a small ledge often looks great, and you will need extra batten to create the effect (we used a 1×2 with the short edge on the wall above a 1×2 with the long edge on the wall)
- You will need to cut some of the board to fit on the walls, so you may need an extra piece or two. Getting a rough estimate before helps limit the trips to the hardware store!
- Measure again.
- Measure the batten for the actual size (1” x 2” will actually be something like 3/4” x 1.5”)
- Think about how much space you want between each vertical batten. For our bathroom, we wanted a centered look. Behind the toilet the boards are approximately 16″ apart, but on the other walls we stretched them to more like 20″.
- On your drawing, draw a batten on each end and as many as you need between, then start filling in the measurements.
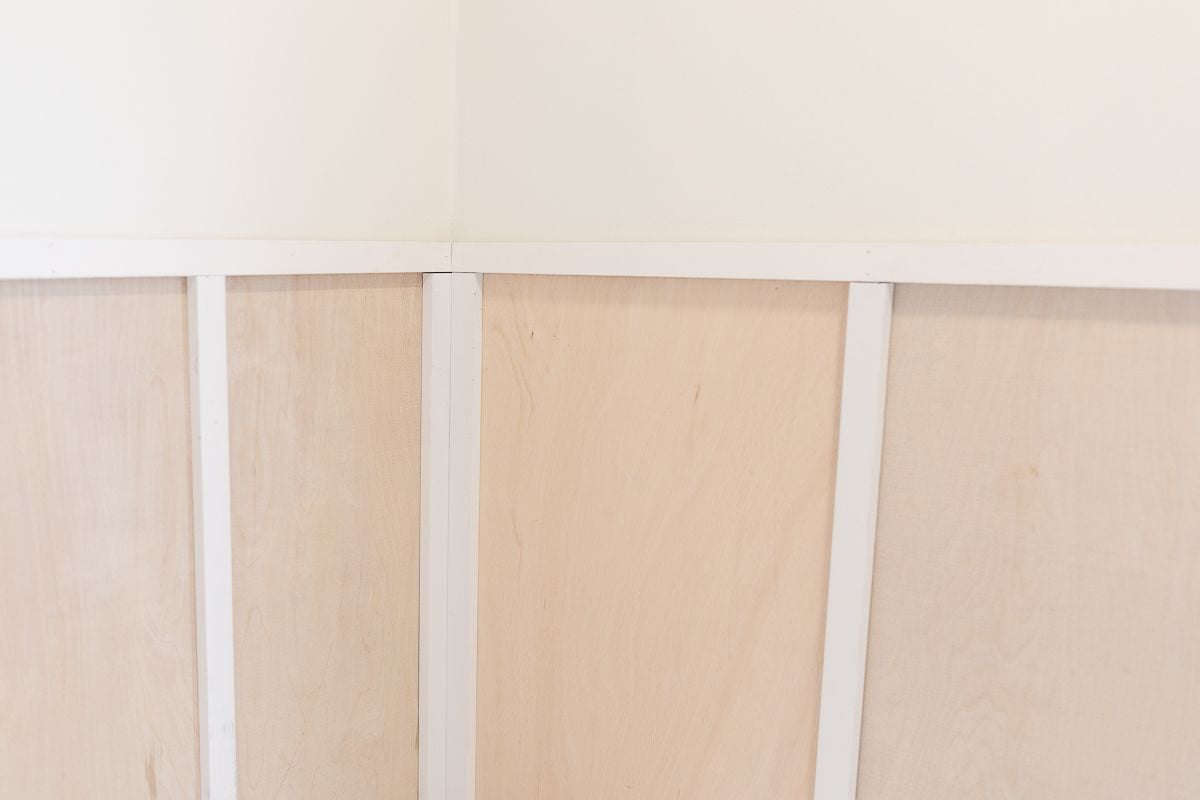
- In a corner where two batten meet, you will just make the corners touch instead of overlapping, so make sure you add that space in the drawings.
- Think about where you need to cut the board so you can hide the seam behind batten (definitely the best part of using batten since the seam doesn’t have to be perfect).
- Measure again. It might sound crazy, but we measured three times, and the 4th time I knew I had it all right.
DIY Board and Batten Instructions
Setting it all up for success means measuring a lot. So you can purchase the correct amount of boards and batten, draw out your plan first (and be ready to adjust it a few times!)
- Measure. Begin with your horizontal boards, measuring and cutting.
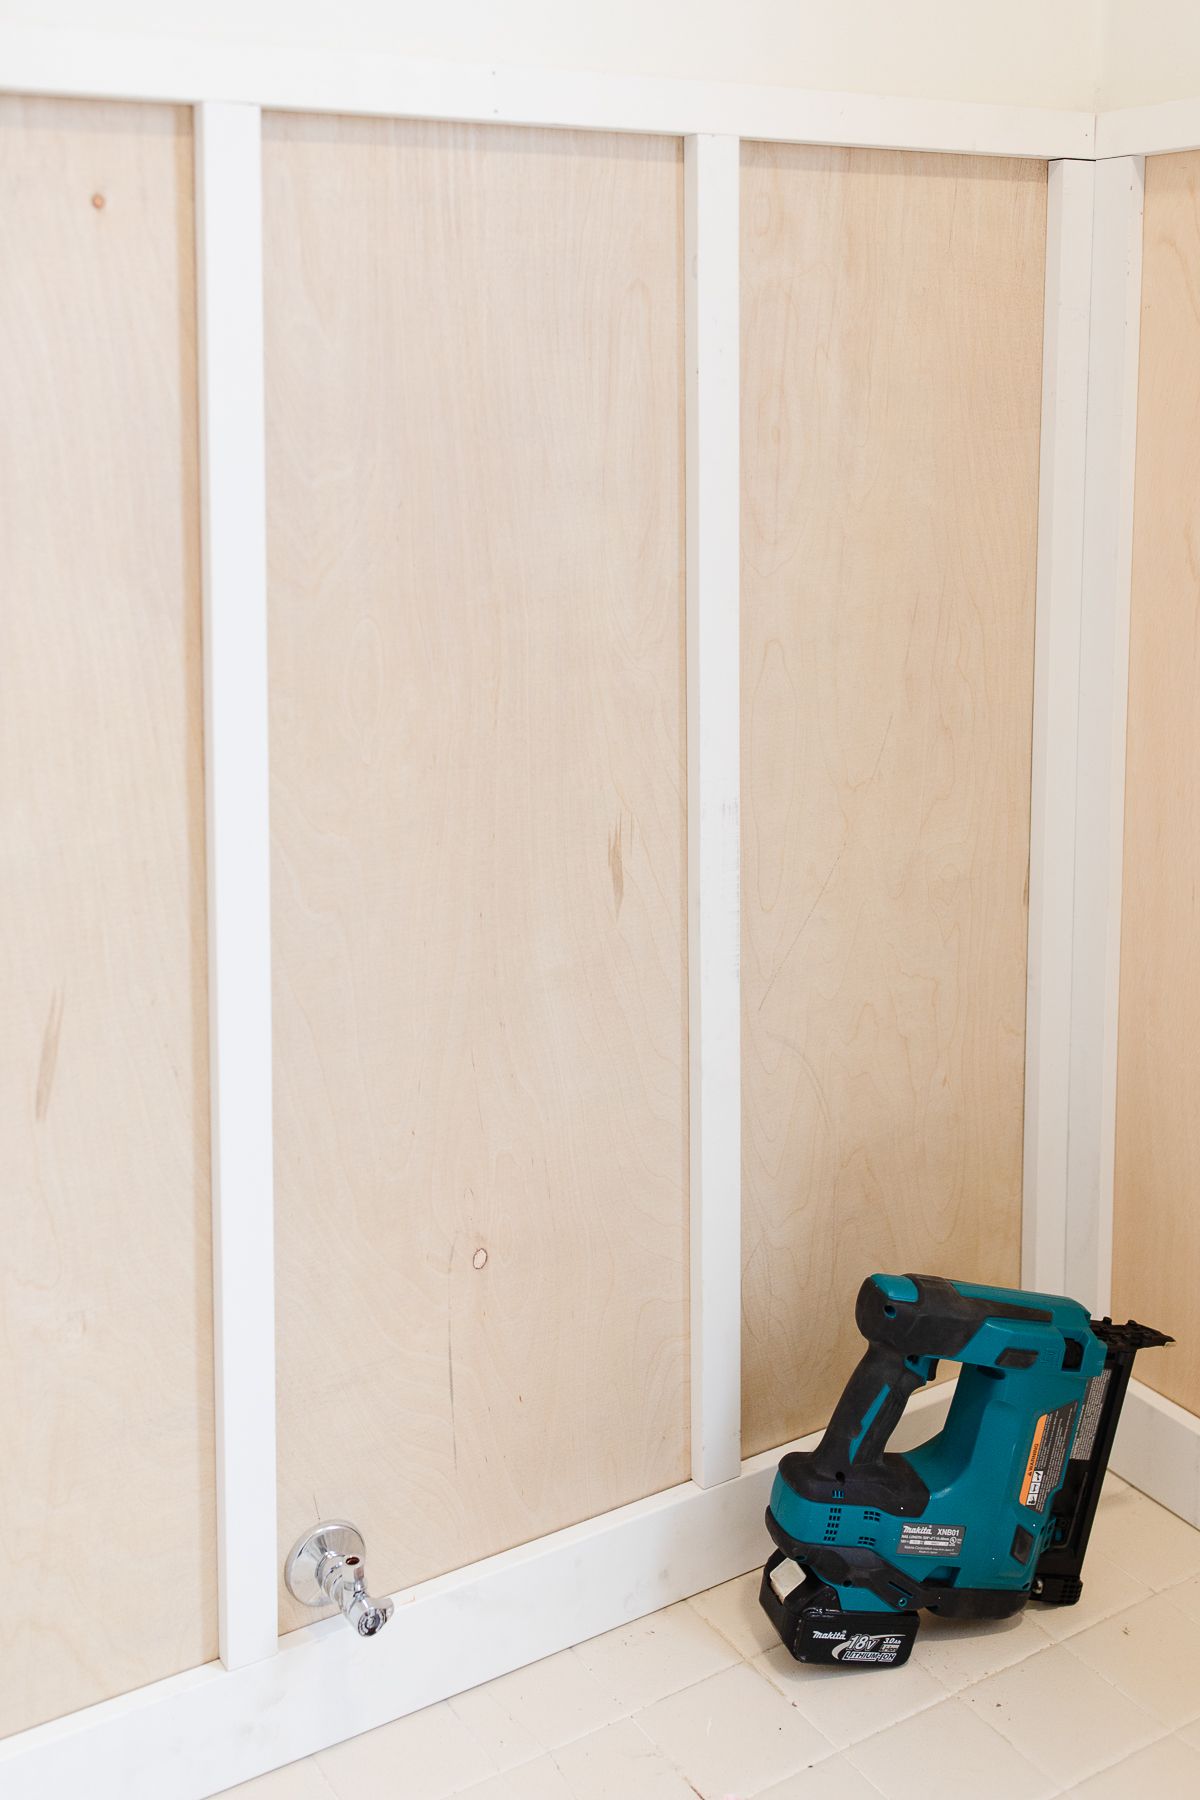
- Begin Cutting. Cut the difficult parts first, like those that will go around a window or have outlets (or, in our case, a pipe for the toilet). Take your time, take each piece of wood to the space it is going to and do a “dry run” before you start cutting.
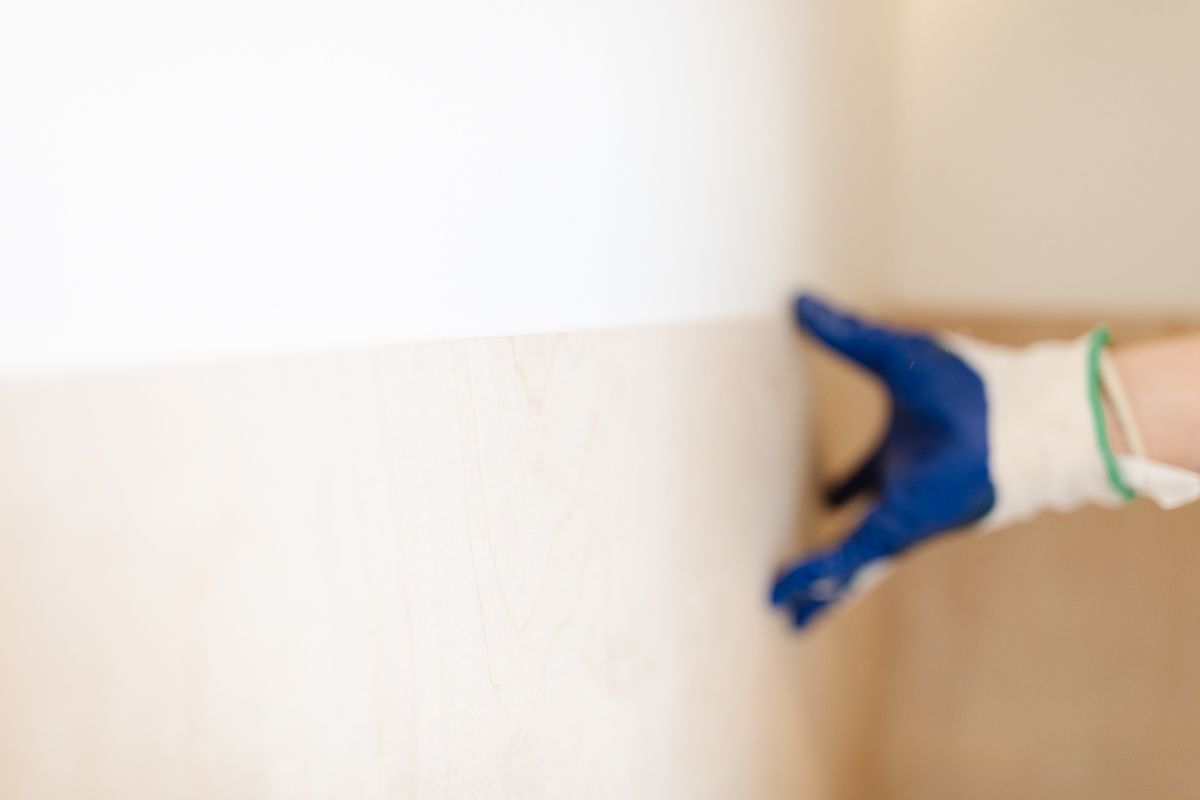
- Begin Installing the Backboard – Fit it all in then nail into place with your brad nailer. Put nails along the top, bottom and near the seams – anywhere a batten will be. This will save you a lot of time later when it comes to filling nail holes and sanding!

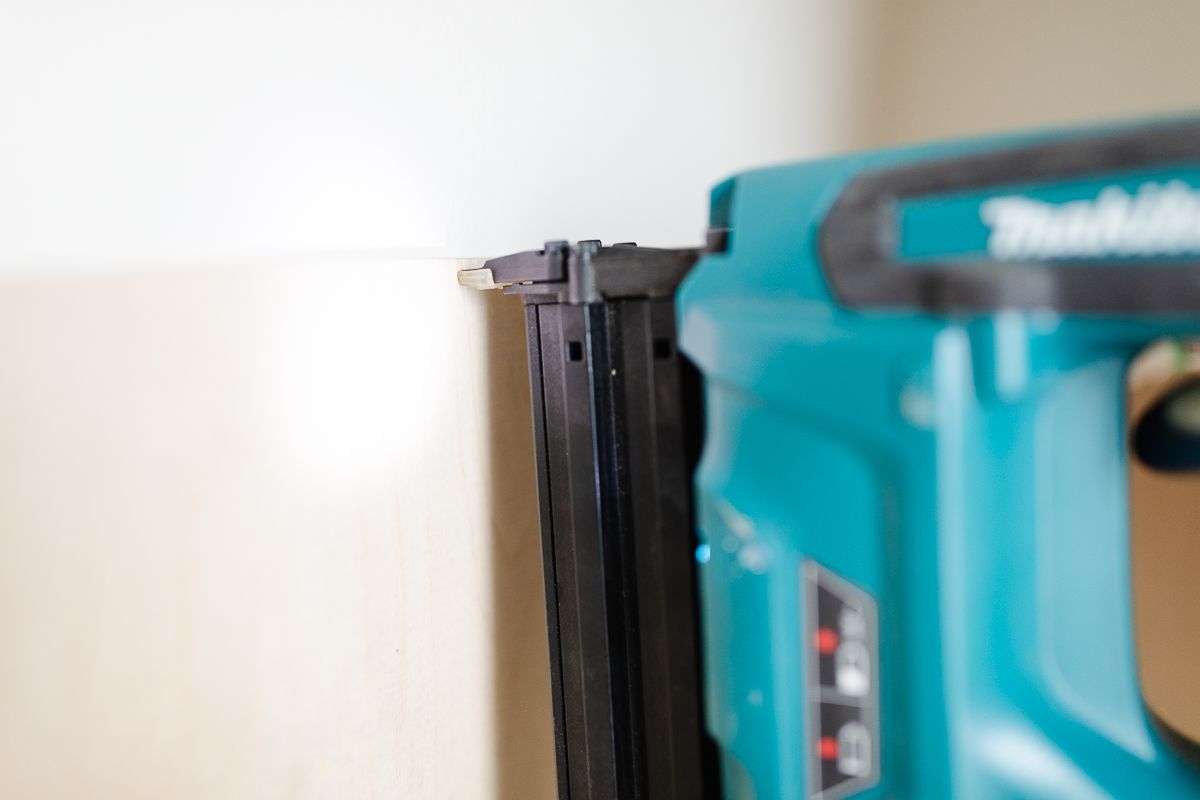
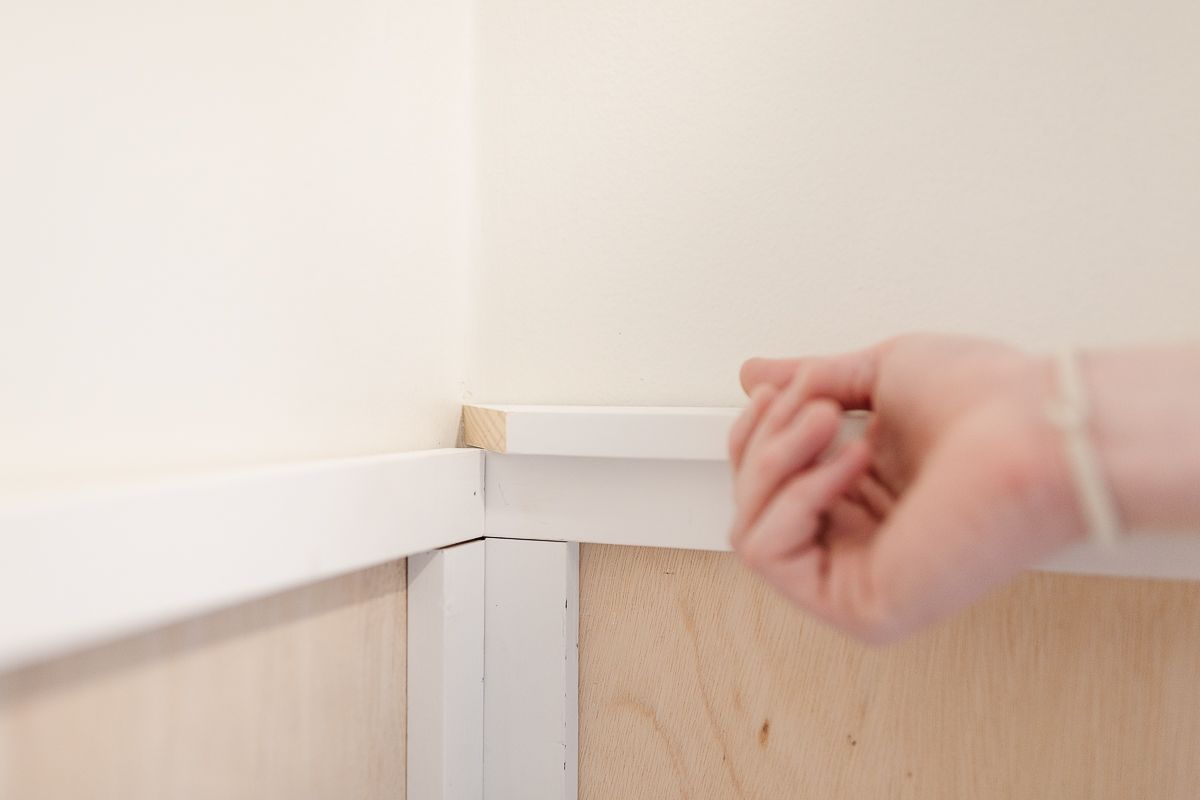
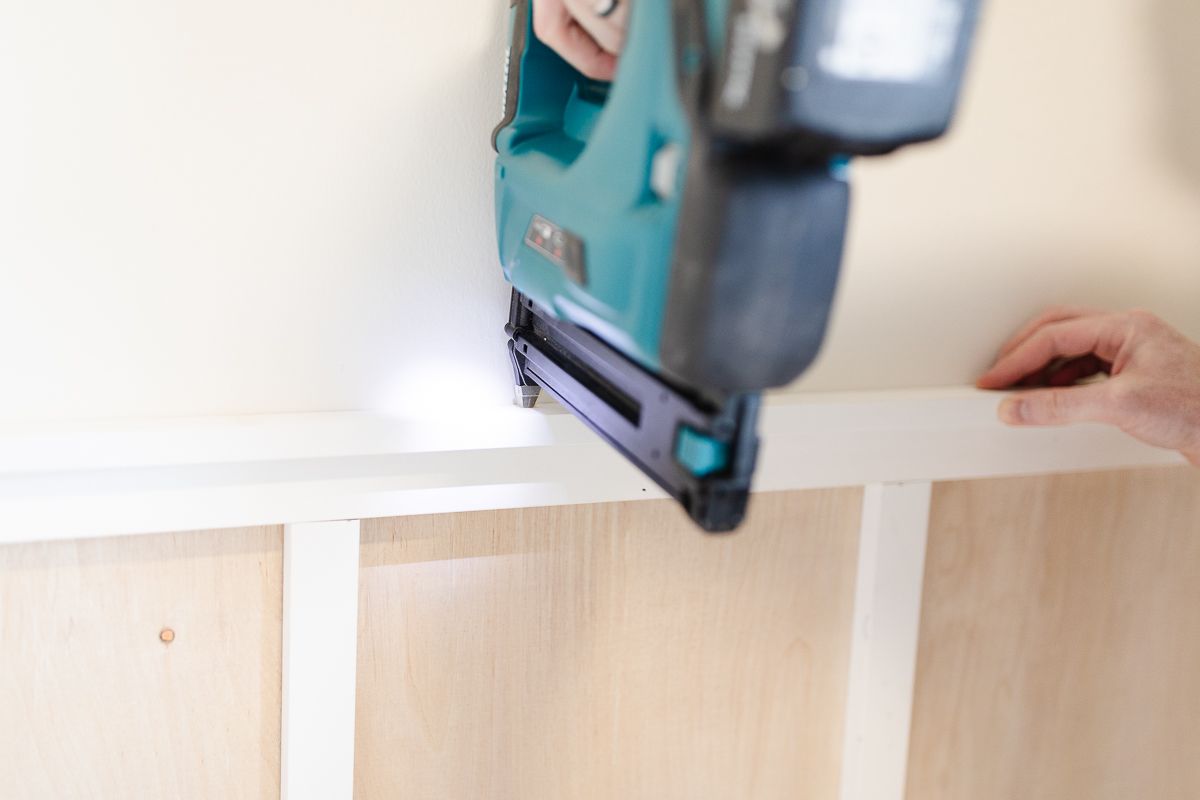
- Install the Horizontal Batten – Cut the top horizontal batten to size and install. If you are installing a small ledge like we did, you will want to install the first piece so it covers all the board below, then goes just slightly above so the top piece (ledge) butts against the wall above the board you installed. You can cut and install 90 degree corners if you would like, but a standard butt joint is also just fine! Use enough nails to secure the batten, but more isn’t necessarily better. Secure should do the trick.
- Next, Install the Bottom Horizontal Batten. This can be “taller,” like a baseboard (what we did) or the same height as the other horizontal batten. Be patient, and make additional cuts to each piece if it just isn’t fitting right (I had to cut a few pieces 3 times to get it right).
- While holding the horizontal board in place (you can use liquid nails if you’d like during this step), use a nail gun to attach it to the wall. Place a nail every 10 inches or so on the top and bottom of the board to ensure it is fixed to the wall properly while the glue has time to dry.

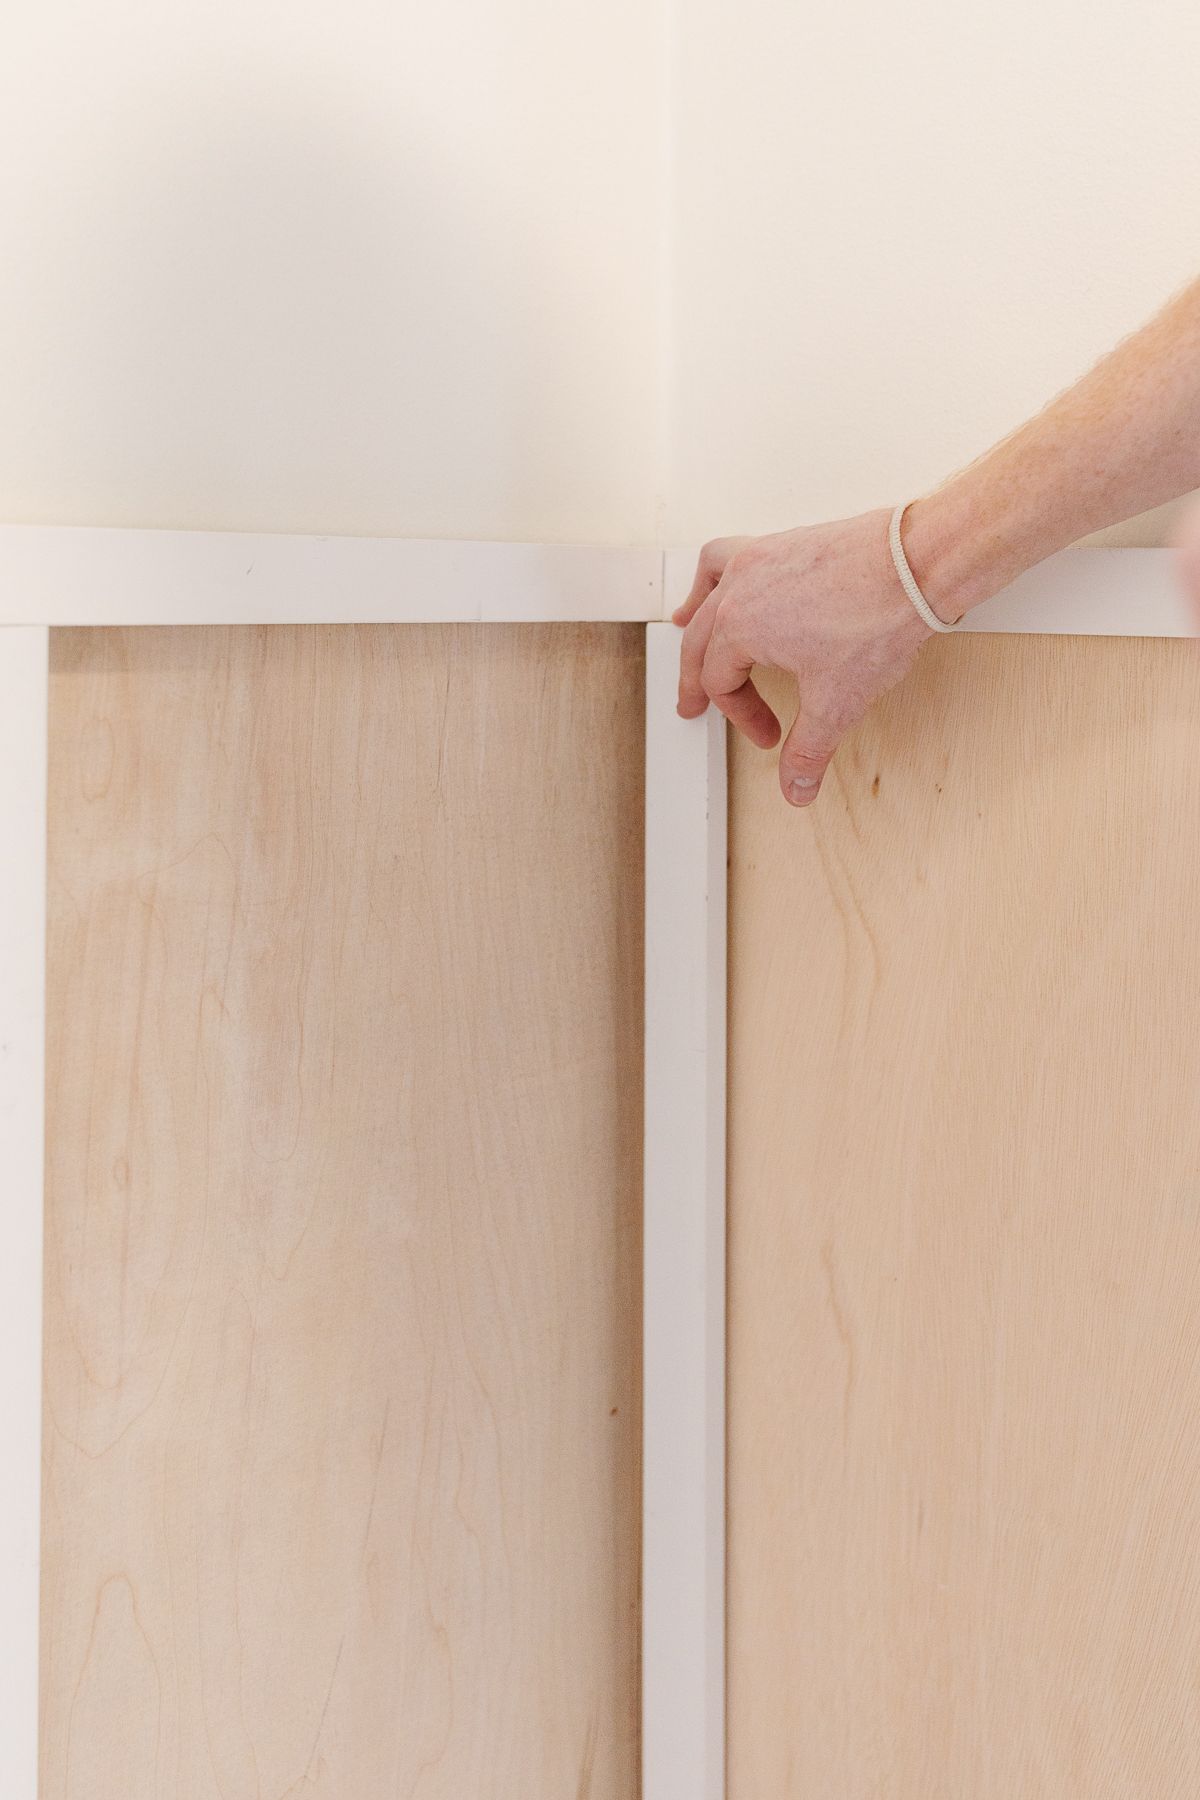
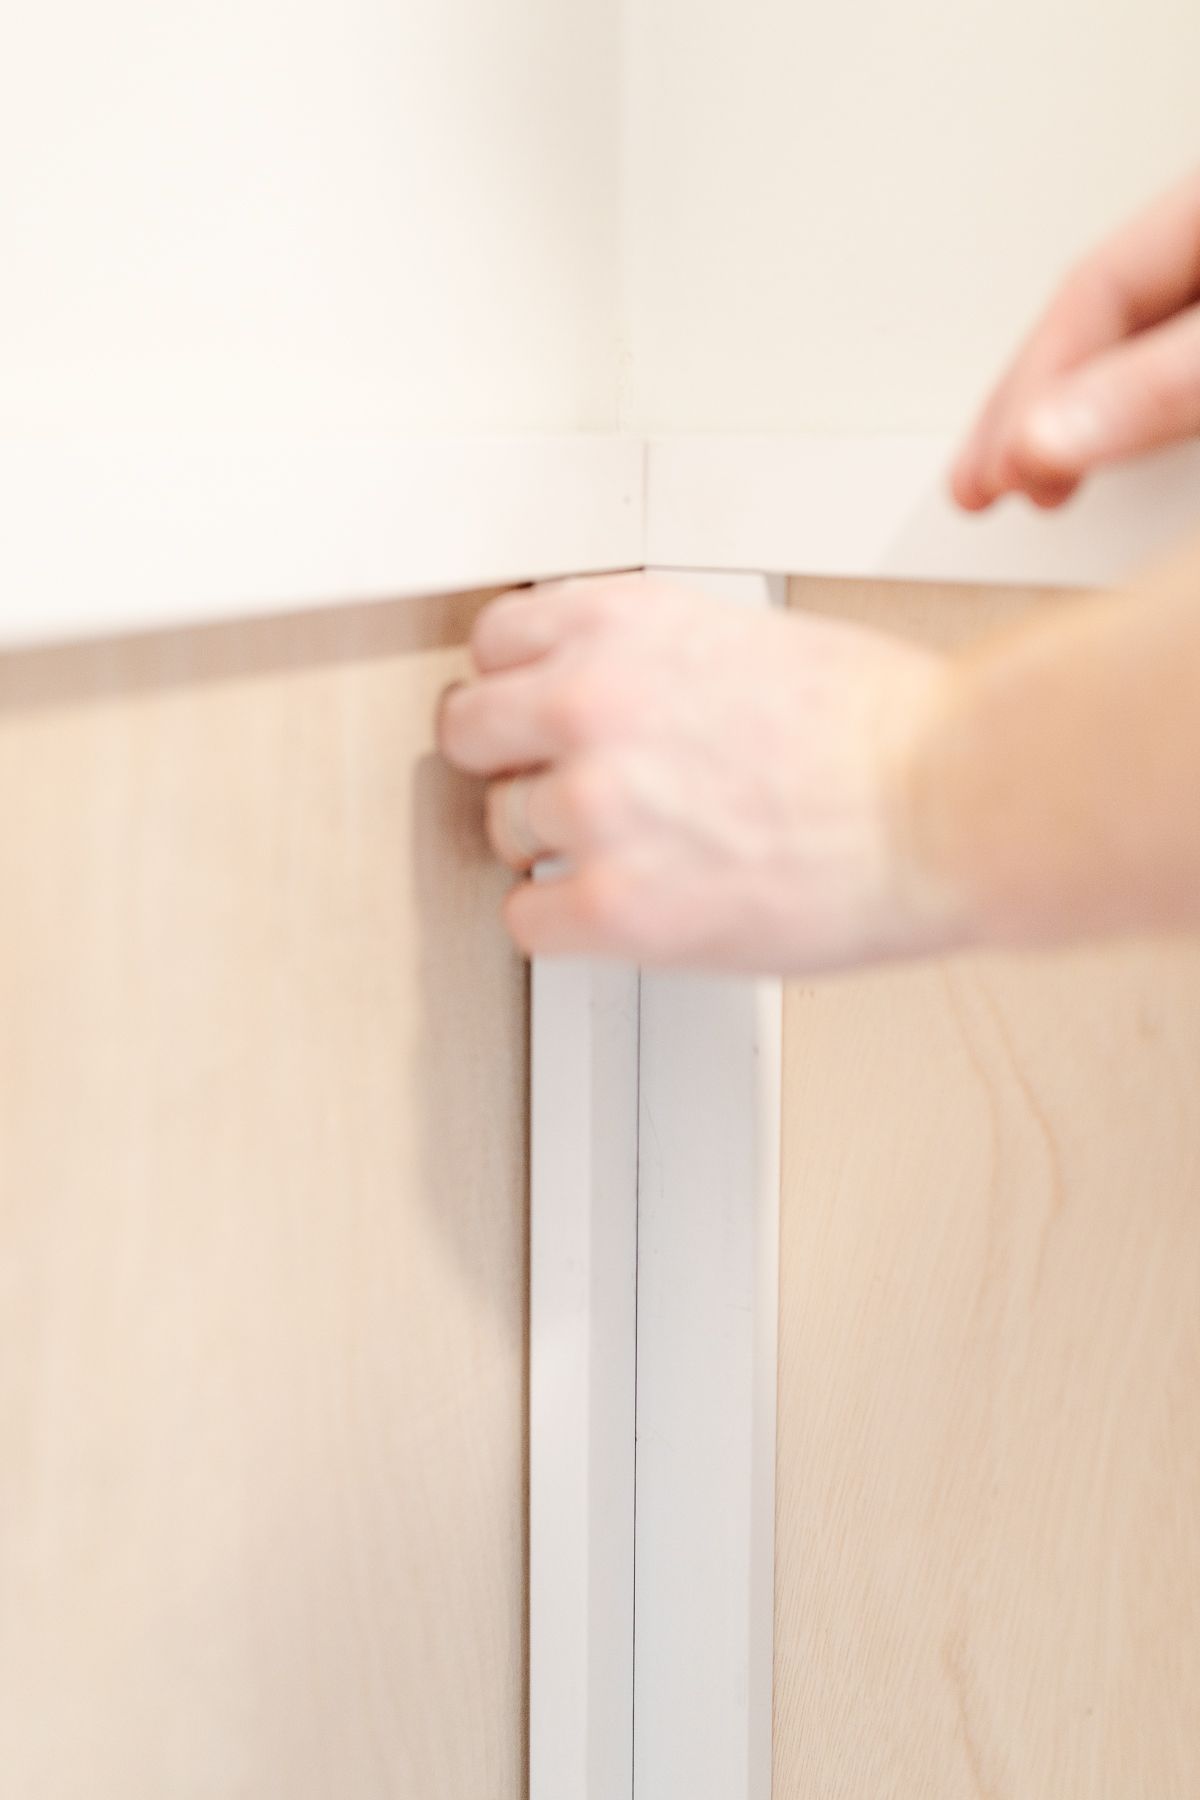
- Now, Install Vertical Battens. Measure around the area you are going to install each batten, as measurements can change just enough every few inches or feet. If it doesn’t fit, don’t force it. Take the batten back to the saw and cut off just a little bit more.
- Nail the vertical batten with just enough nails to make it secure, working your way out from the middle until all vertical panels are attached to the wall.
- Add your shelf (if you choose to do so).

How to Caulk and Paint Board and Batten
- Caulk all the cracks. You want to put some caulk in all the spaces, whether between the board and batten, the batten and the wall or a corner. Caulking is critical for the finished look you are going for
- When applying caulk, you just need enough to fill the cracks, especially if you are using a product with a lot of stretch like Big Stretch.
- Don’t go overboard with application. A cup of water and lots of paper towels are super useful for application.
- Dip you fingers in the water, smooth the caulk, wipe off the excess on the paper towel then repeat. Don’t shortcut here. Water helps a ton, and most people use way too little water instead of way too much.
- Let it dry overnight.
- Fill the nail holes with wood filler and let it dry completely. Sand the filled areas lightly until everything feels smooth (no need to overdo it).
- Paint all the 90 degree edges with a brush, but don’t go crazy. Just get in the angles enough that your roller can cover the rest. Let that paint dry completely
- Get your roller out and roll the whole project. Focus on uniform application instead of everything looking perfect.
- Let the first coat dry completely, then apply a second coat. Don’t go overboard, just get it all covered consistently again.
- Relax and enjoy a successful weekend project!

Project Tips
- If possible, do a dry run first! This ensures that your pieces are fitting together the way you’d envisioned.
- If you have totally smooth walls, you can skip the backerboard step entirely. Some tutorials skip it and just add the trim directly on the drywall.
- If you are putting boards behind the batten (which we did), you will generally want a thinner, smooth board. We choose 5mm panel underlayment because it was the thinnest board at the hardware store with a smooth finish. It doesn’t have to be great quality wood, just something smooth enough.
- At the top, a small ledge often looks great, and you will need extra batten to create the effect (we used a 1×2 with the short edge on the wall above a 1×2 with the long edge on the wall) – batten is needed at each edge, with corners needing batten on each wall.
- Your joints might not be perfect, but don’t let this discourage you – it’s something that happens to professionals, too, especially with wonky walls in older homes. Caulking can work miracles, so don’t worry.
- If possible, line your battens up with your studs. They are evenly spaced (usually), and attaching the battens to them creates immediate security.
- While some tutorials will guide you towards real wood like pine furring strips for this project, MDF is a great material here. It’s somewhat flexible (a big bonus with gaps in older homes). It requires no sanding with smooth edges, too, which can also be a wonderful bonus!
- I prefer to measure, cut and install each piece, then move on to the next one.
Frequently Asked Questions
You can use any kind of wood strips for interior board and batten, and even MDF. Exterior siding board and batten pieces are generally made of cedar furring strips.
This DIY board and batten project is surprisingly inexpensive. It’s a great way to achieve a custom look in any room of your home.
Shiplap and Board and Batten are very different wall paneling styles. Shiplap is wooden boards (same width) that fits together snugly (often running horizontally in traditional use). Board and batten is varying widths of narrow boards with space left in between, often installed vertically.


What’s the spacing between the battens on this project?
It appears more than 12”
Jill
Hi Jill,
For our bathroom, we wanted a centered look so we actually spaced them differently on the wall behind the toilet and the other two walls. Behind the toilet the boards are approximately 16″ apart, but on the other walls we stretched them to more like 20″. I hope that helps!
Julie
What paint color did you use for your bird and batten? Love the neutrals
Hi Lauren!
We will be sure to add that info to this post, thank you for asking! The color is Benjamin Moore Classic Gray.
Enjoy,
Julie