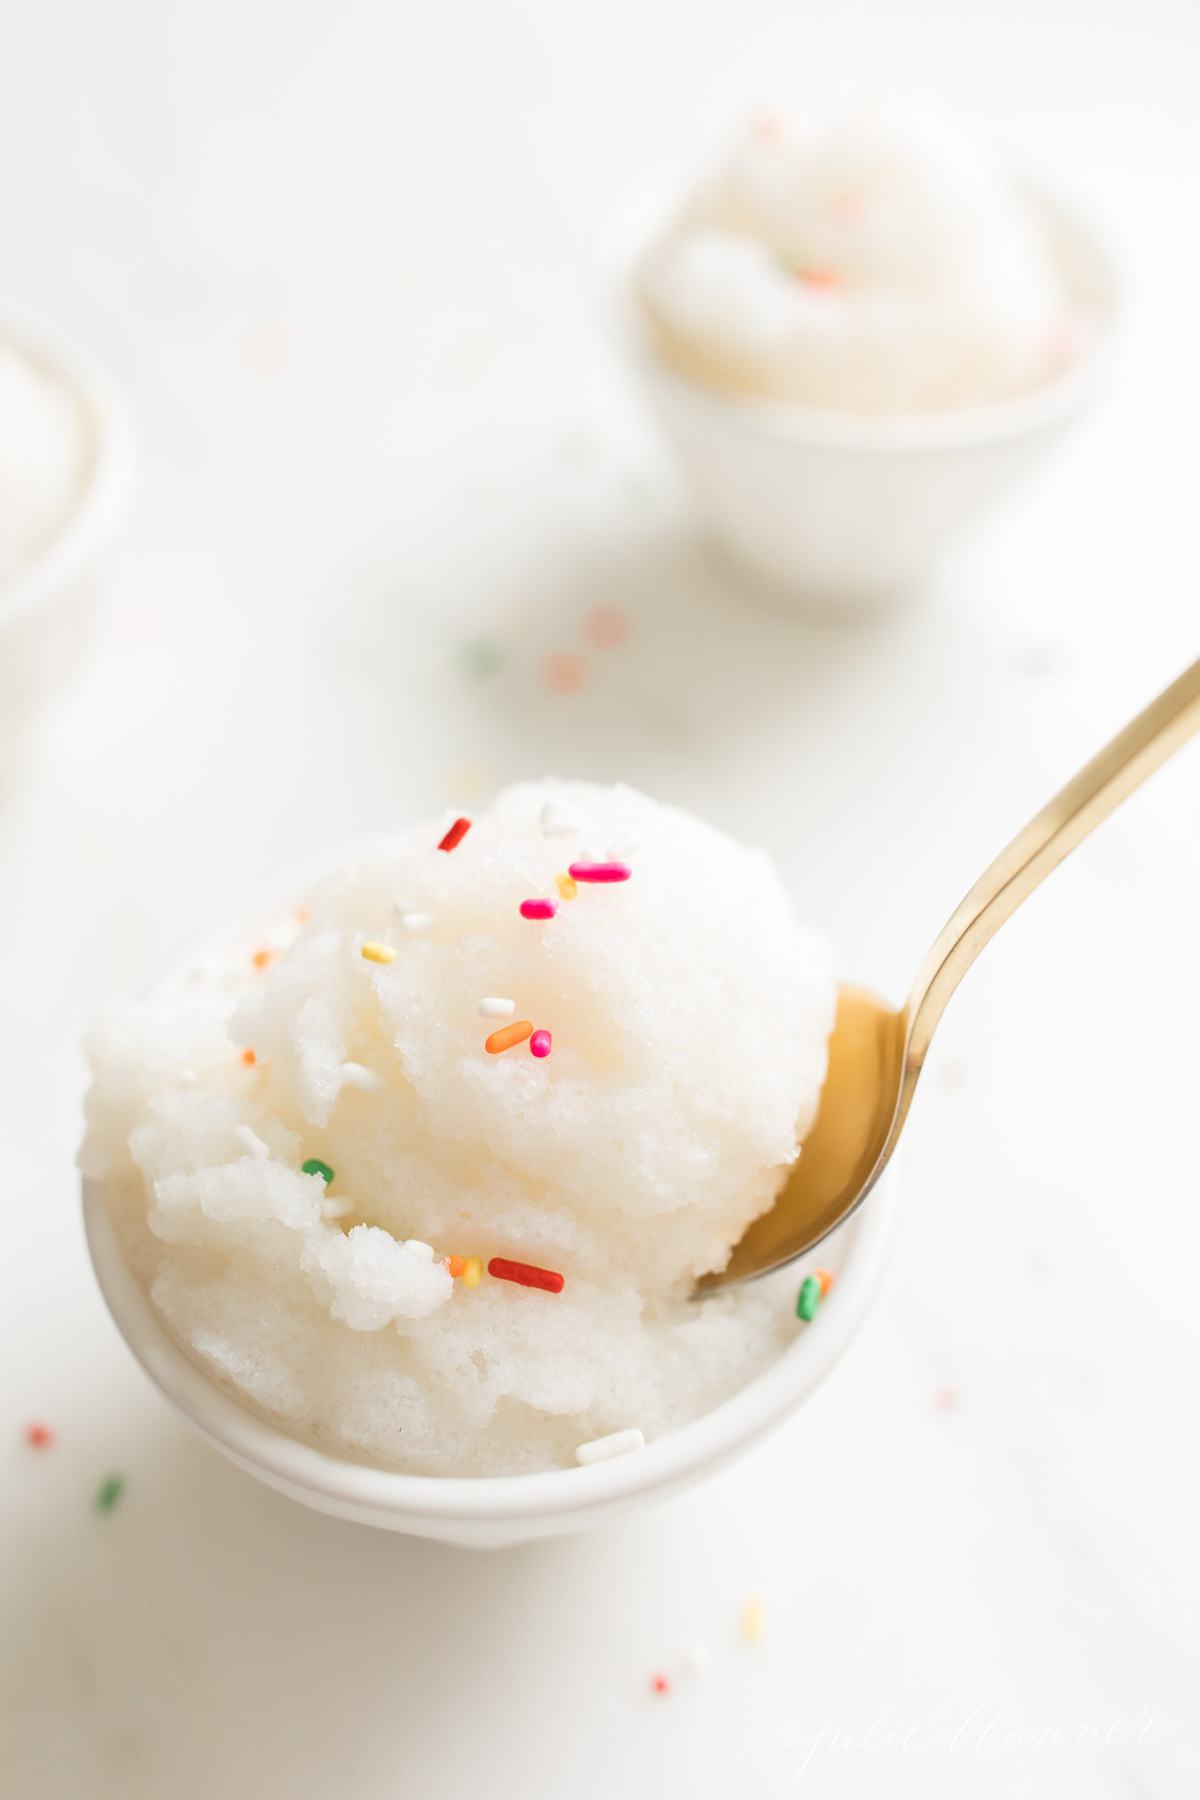
Learn how to make snow ice cream that tastes as creamy and delicious as your favorite ice cream shop! This simple snow ice cream recipe is magic – quite literally. Wrap up the joy of the winter season with a timeless, memorable treat!
This delightfully sweet treat takes just a couple minutes to make and is made with just four ingredients you probably already have in your kitchen.
This post was originally shared December 15, 2019, and updated with fresh content and details December 7, 2021.
One of my fondest childhood memories was when we’d have a snow day and we’d bring in a big bowl of fresh snow for my mom to whip up a batch of her famous Snow Ice Cream!
It takes just a couple minutes, and feels so special. It’s an easy recipe that is sure to create fond memories for your children, as well as smiling faces!
It’s such a wonderful family activity. This childhood favorite is still among my very favorite recipes today. I’m so excited to share it with you!
What is Snow Ice Cream?
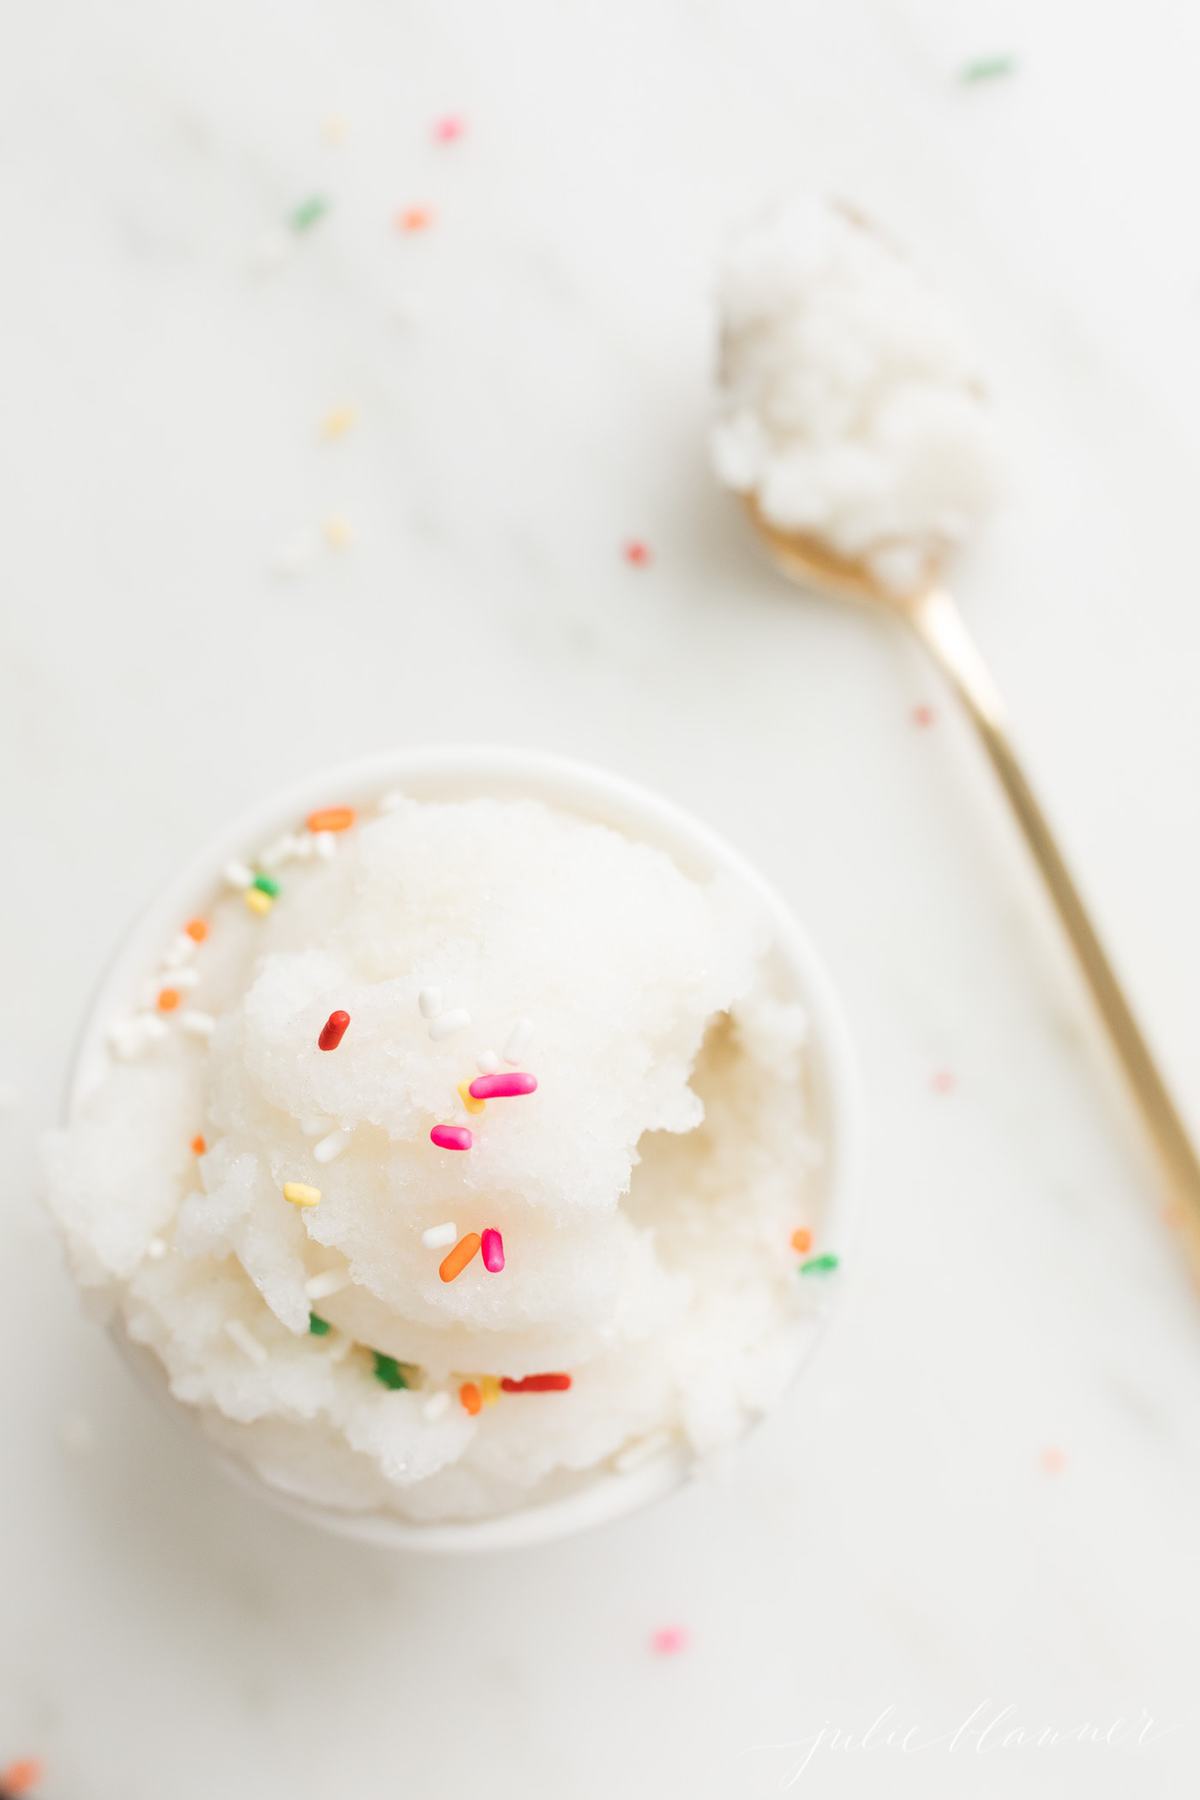
Snow Ice Cream is like a snow cone – with cream (which is one of my favorite summer treats!) No need to wait though, you can have this in the comfort of your cozy home during the cold winter months.
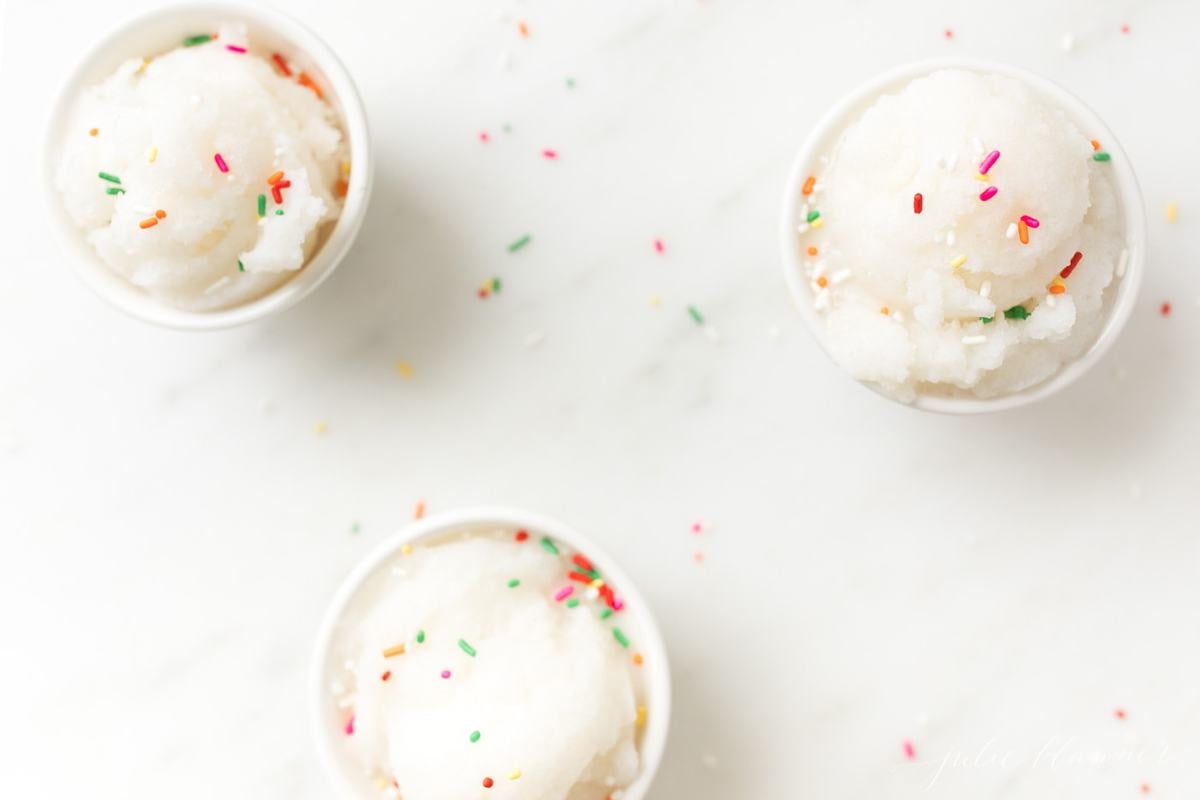
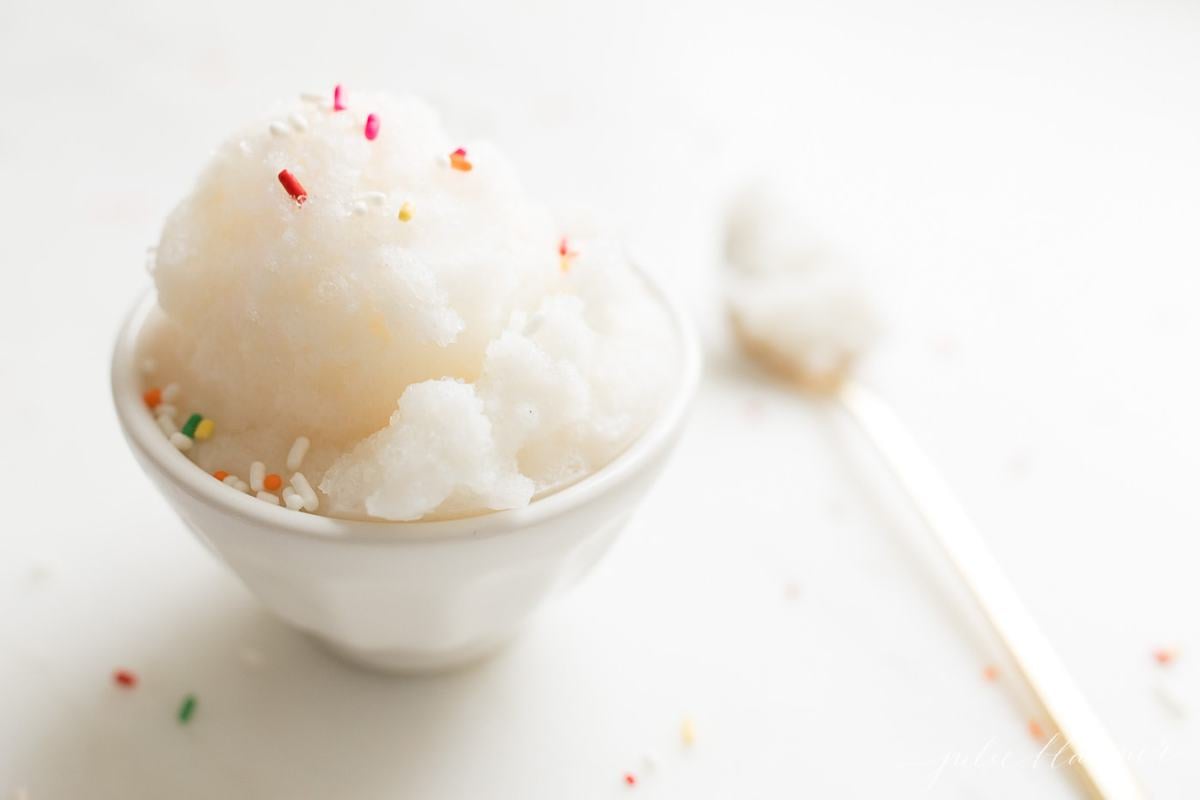
It’s delightfully sweet and surprisingly creamy. Sprinkles add a little extra fun and a sweet crunch.
Snow Cream is about gathering snow together in between making snow angels and sledding, celebrating and making memories. And that’s as delicious as it gets!
Why You’ll Love this Snow Ice Cream Recipe
- So easy
- You probably already have the ingredients
- Fun variation options
- Your kids will think you’re the coolest
Snow Ice Cream Ingredients
- Cream – or milk, whatever you have on hand. I prefer to use Whole Milk, Half and Half or Heavy Cream if possible, but any milk including 1% or skim will do! You can make this recipe with rice milk to make it naturally dairy-free!
- Vanilla – adds great flavor
- Sugar – granulated sugar sweetens up this simple treat
- Snow, of course! – you’ll need several cups of snow – especially if it melts quickly. Err on the side of caution and bring in more than you need and freeze until you’re ready to mix it up. This snow ice cream recipe was designed for snow, but you can use fresh shaved ice if you prefer. Fresh fallen snow is generally considered safe to consume as long as it’s clean. I recommend enjoying during the first 24 hours.
Optional
- Sprinkles
- Chocolate Chips
- Nuts
- Chocolate Sauce – try this homemade magic shell for even more fun.
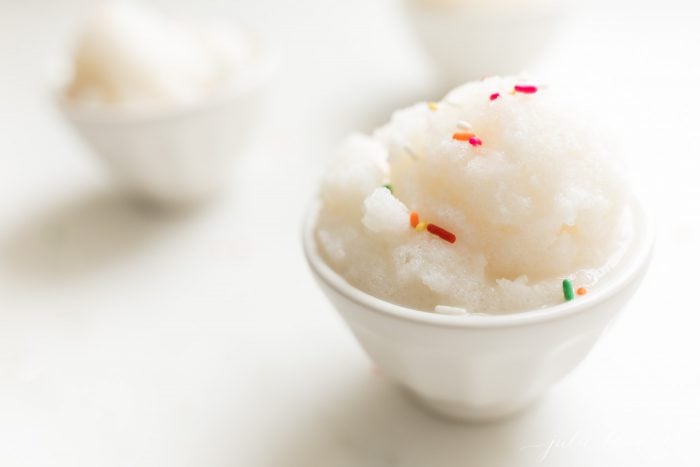
How to Make Snow Ice Cream
- Gather – Gather ingredients. It’s important to be prepared to avoid melting the snow.
- Combine – Whisk milk, sugar and vanilla extract in a large bowl until smooth.
- Add Snow – Fold snow into your milk mixture and scoop into bowls.
- Garnish – Top with your favorite sprinkles, sauce and/or whipped cream. Learn how to make homemade whipped cream here.
Variations
- Use Chocolate Milk
- Use Strawberry Milk
- Use Sweetened Condensed Milk – just eliminate the sugar and milk, blend to taste.
After all, sometimes you’re in a pinch on a snow day!
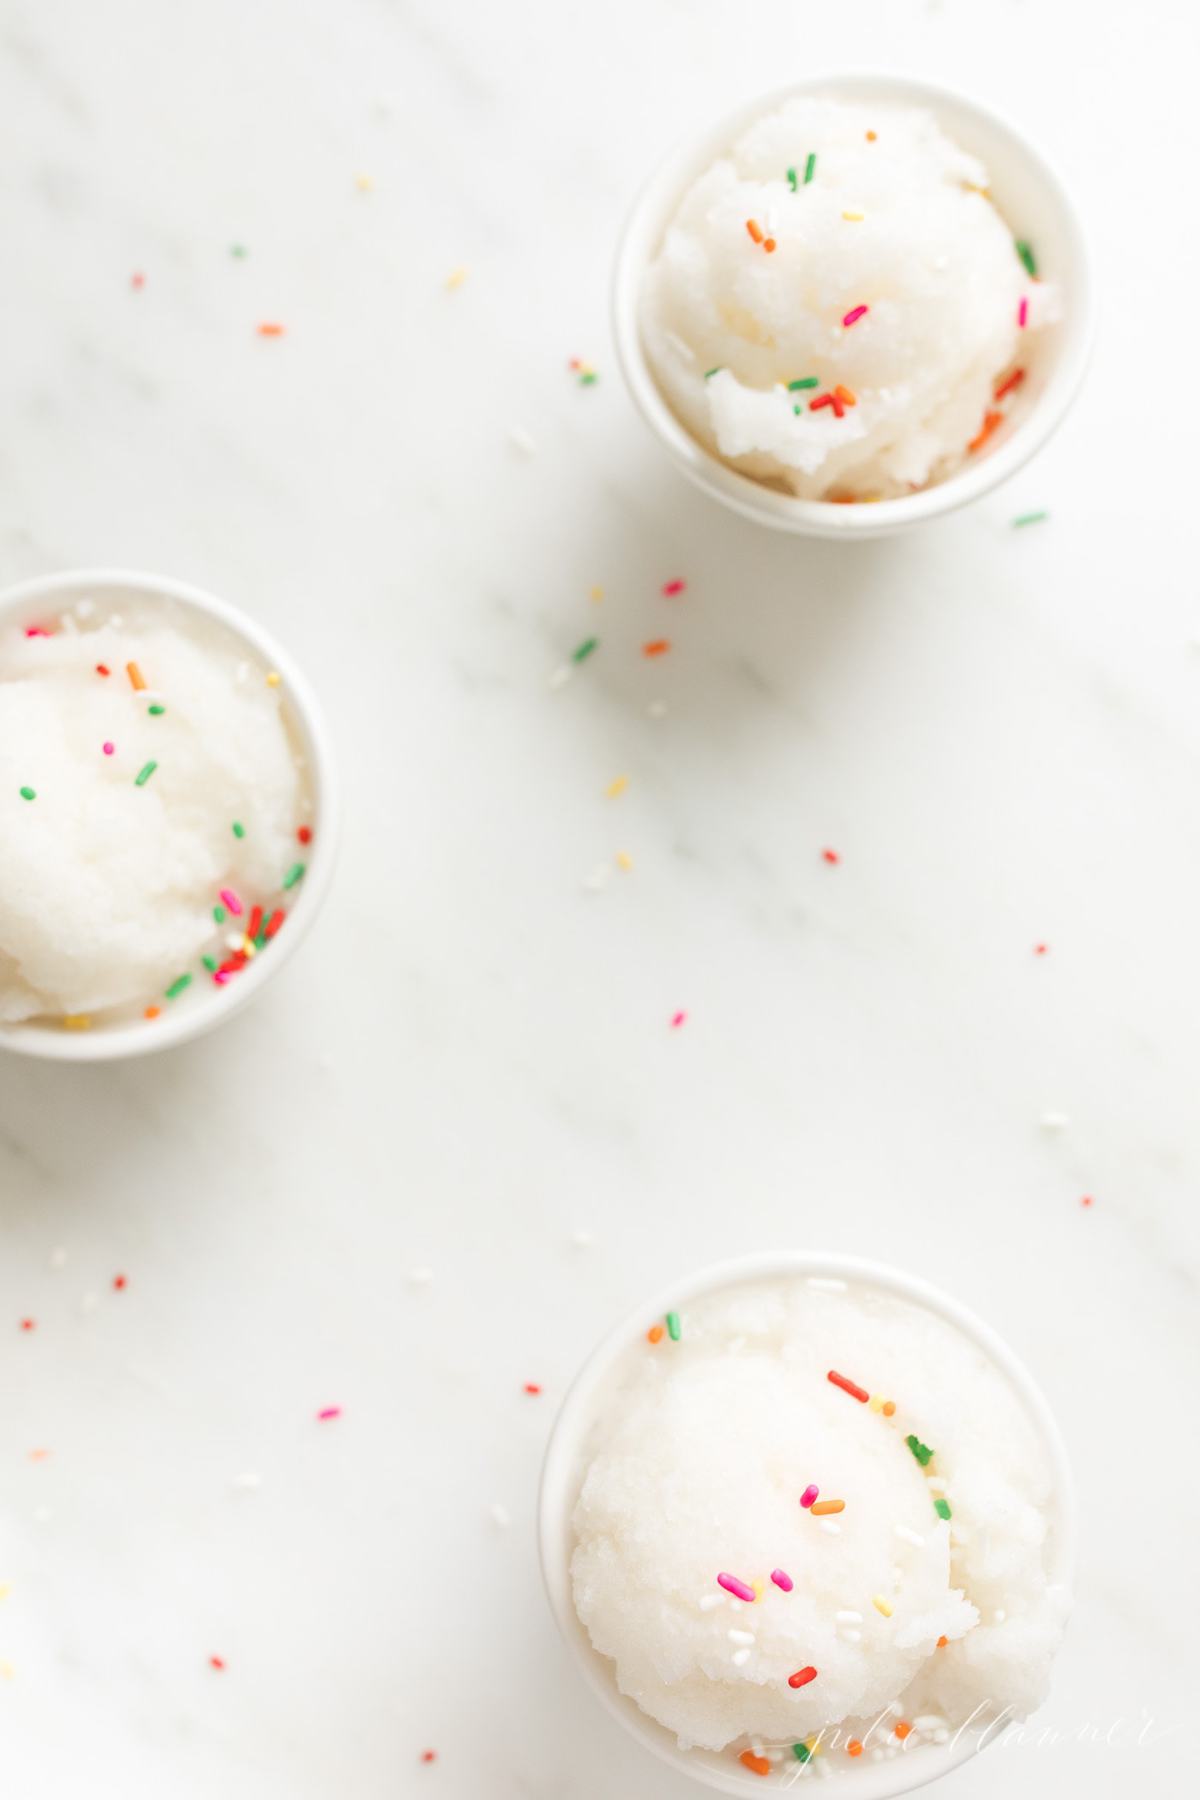
Tips for Making Ice Cream with Snow
- Your results will largely depend on what kind of snow you have. If needed, freeze your snow for a few minutes first. If you have a wet snow, you’ll use less milk or cream. A dry snow may use more.
- Start by adding a small amount of milk. After you incorporate the snow you can blend in more milk as needed. If the consistency is too runny, add more snow or freeze.
- Be sure to blend sugar into milk mixture first to help the sugar dissolve so it doesn’t result in a gritty dessert.
- Gather ingredients and make your mixture first before bringing in snow as it will quickly melt. You can always pop it in the freezer, if needed.
Frequently Asked Questions
Yes, it is! Experts agree that any contaminants found in our snow as it falls are minimal, and enjoying this treat is totally harmless.
Yes. Think of it like a shaved ice or a slushy! Once it freezes, you can enjoy it again later on, but the consistency will change.
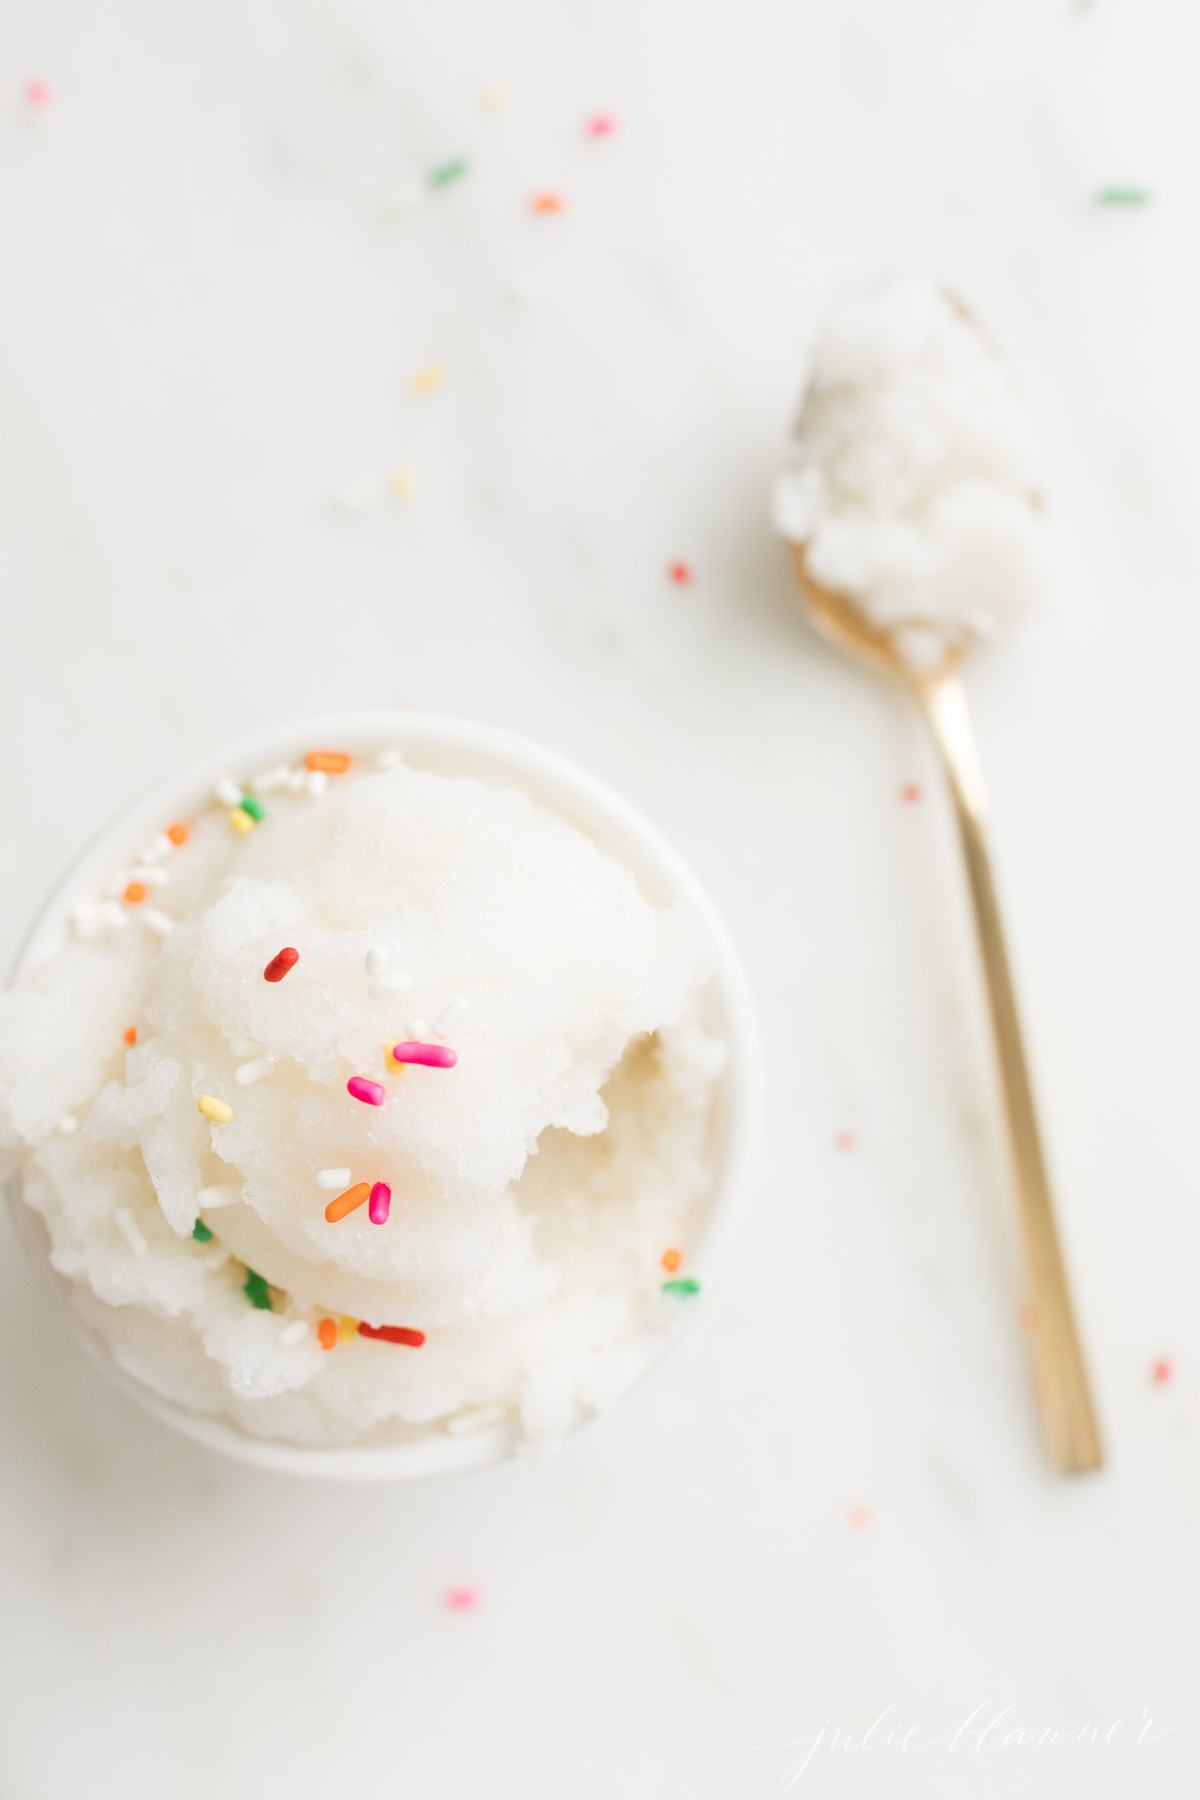
More Snow Inspiration
Hungry for more? Get my BEST Baking Secrets delivered directly to your inbox and connect on Instagram Facebook and Pinterest!
More Ice Cream Recipes
- Peanut Butter Ice Cream
- Bubble Gum Ice Cream
- Mascarpone Ice Cream
- Homemade Peach Ice Cream Recipe
- Marshmallow Ice Cream
- Creamy Chocolate Ice Cream
- Red Velvet Ice Cream
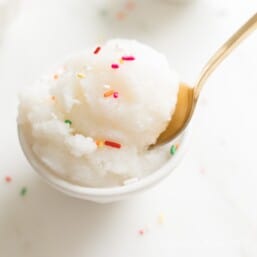
Snow Ice Cream
Ingredients
- 1 cup milk any kind, including heavy cream
- ½ cup white granulated sugar
- 2 teaspoons vanilla
- 8 cups clean snow approximate, can substitute shaved ice
Instructions
- In a medium mixing bowl, whisk milk, sugar and vanilla until sugar dissolves.
- Collect clean snow. Pour mixture over the snow and whisk until well combined.
Julie’s Tips
Substitutions
- Cream – or milk, whatever you have on hand. I prefer to use Whole Milk, Half and Half or Heavy Cream if possible, but any milk including 1% or skim will do! You can make this recipe with rice milk to make it naturally dairy-free!
- Sugar – Substitute with sweetened condensed milk, just eliminate both the sugar and milk, blend to taste.
- Snow – this recipe was designed for snow, but you can use fresh shaved ice if you prefer.
Variations
- Use Chocolate Milk
- Use Strawberry Milk
Optional Add-Ons
- Sprinkles
- Chocolate Chips
- Nuts
- Chocolate Sauce
Tips
- Your result will largely depend on what kind of snow you have. If needed, freeze your snow for a few minutes first. If you have a wet snow, you’ll use less milk / cream. A dry snow may use more.
- Start by adding a small amount of milk. After you incorporate the snow you can blend in more milk as needed. If the consistency is too runny, add more snow or freeze.
- Be sure to blend sugar into milk mixture first to help the sugar dissolve so it doesn’t result in a gritty dessert.
- Make your mixture first before bringing in snow as it will quickly melt. You can always pop it in the freezer, if needed.
- To make this dairy free, use rice milk!
- Top with sprinkles, chocolate chips, chocolate sauce or nuts if you wish.
Video
Estimated nutrition information is provided as a courtesy and is not guaranteed.








How fun is this?? We got a record snowfall this past week – 21 inches! – and my kids will have an absolute blast making this!
My kids look forward to making your snow ice cream each winter! I love that it’s so simple and delicious too!
Thank you! Such sweet (and delicious) memories!
Ok it literally just snowed here TODAY!! Can’t wait to try this with my boy!
My kids are going to enjoy this so much. Never thought of making snow ice cream. Thanks for sharing!
What a super fun idea for a snow day!