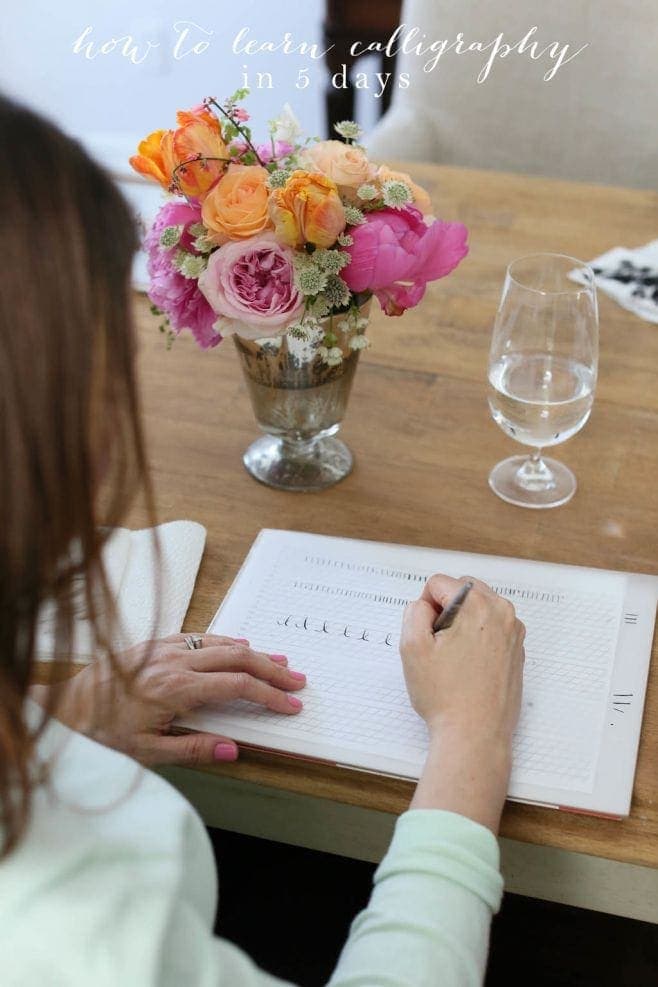
Happy Friday! You know what that means – it’s time to learn calligraphy! Today, we’re getting back to basics. When you first learned how to write in elementary school, you used lined paper & started with basic strokes. The same applies when learning calligraphy. Today, we’re going to get used to the feeling of writing with the pen, learn how to apply the pressure that results in beautiful strokes, & practice, practice, practice!
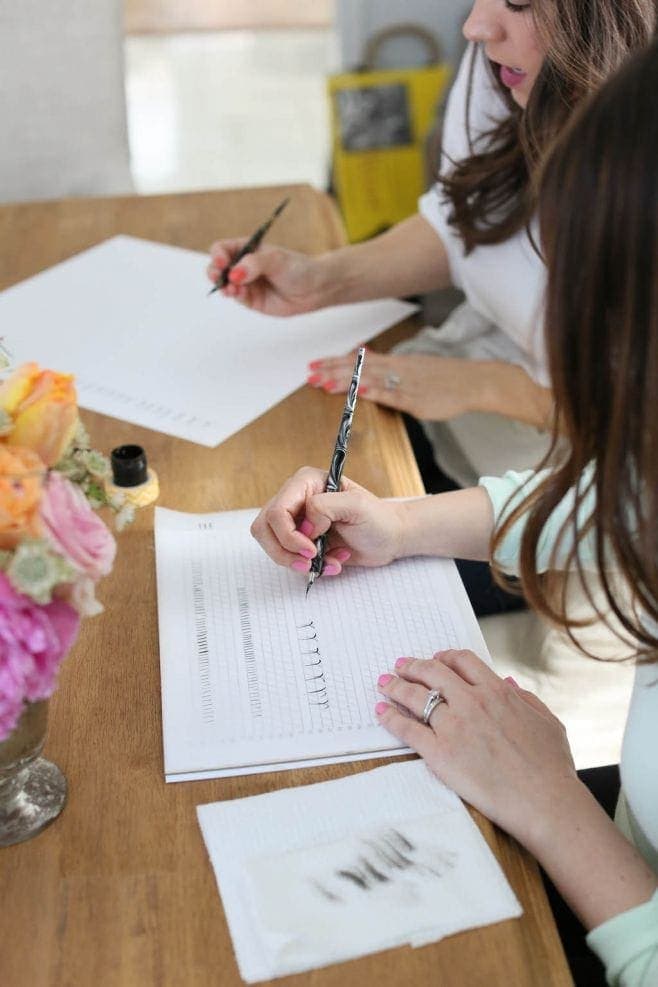
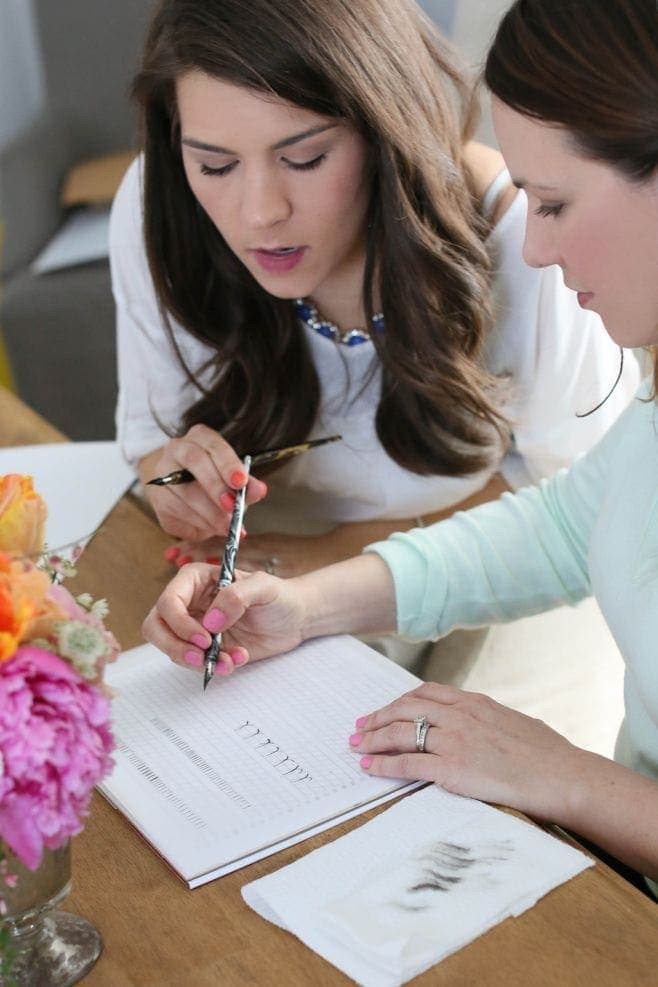
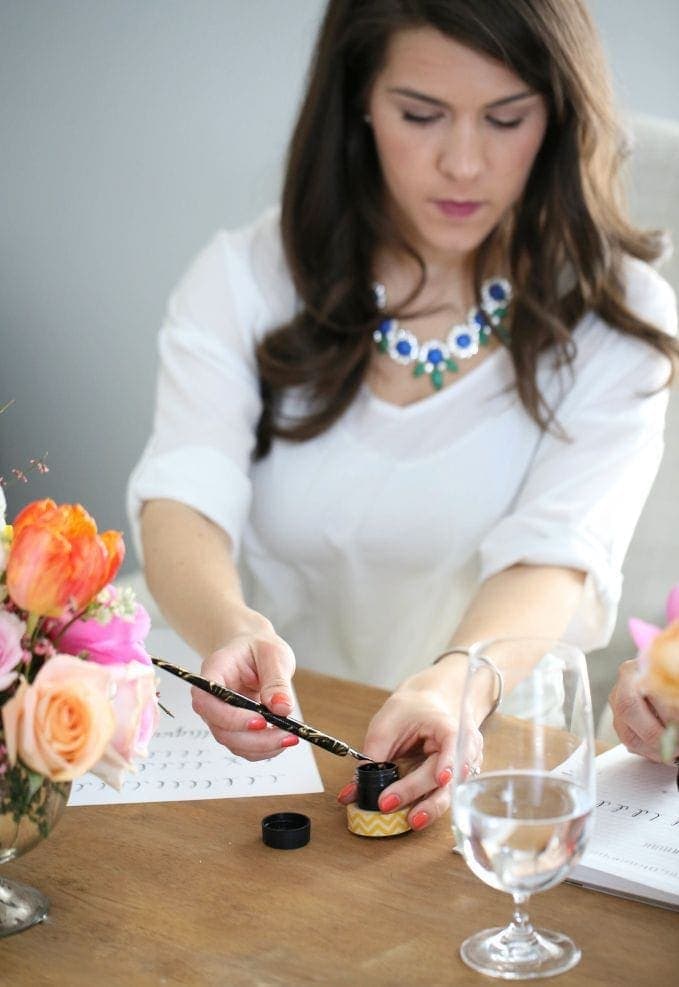
It’s time to get out your practice grid, tracing paper, pen, ink & damp paper towel {to blot excess}.

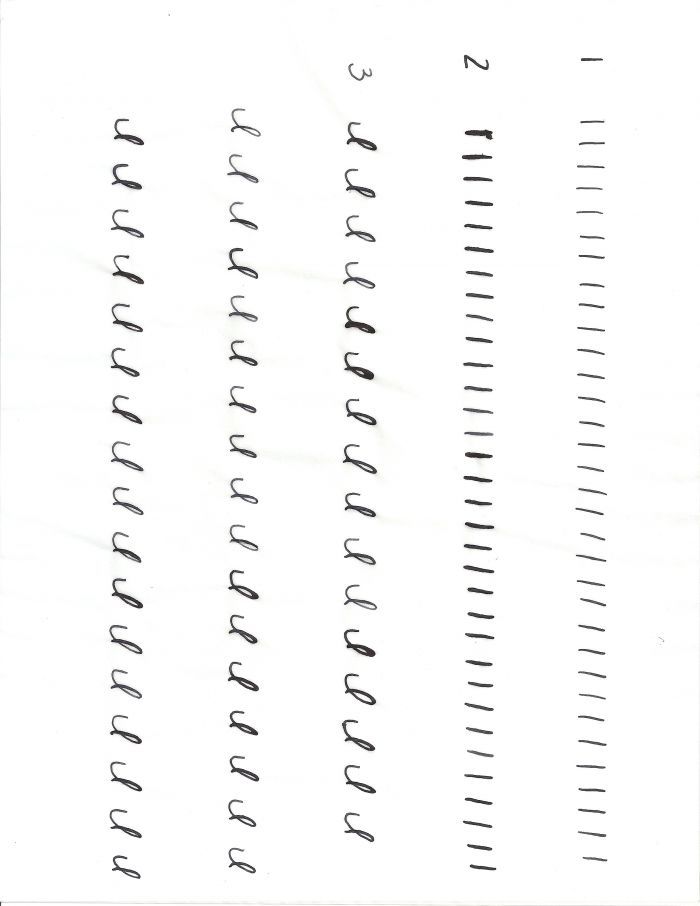
1. Start with straight down strokes. This will help you get used to the feeling of it. Do a line without applying pressure, followed by a line with light pressure {don’t get too carried away}. Notice that you get different thicknesses according to how much pressure you apply.
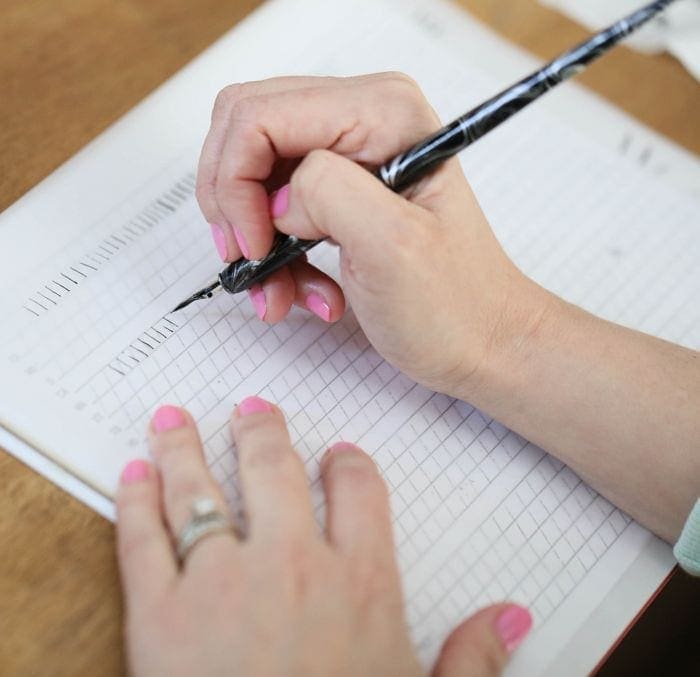
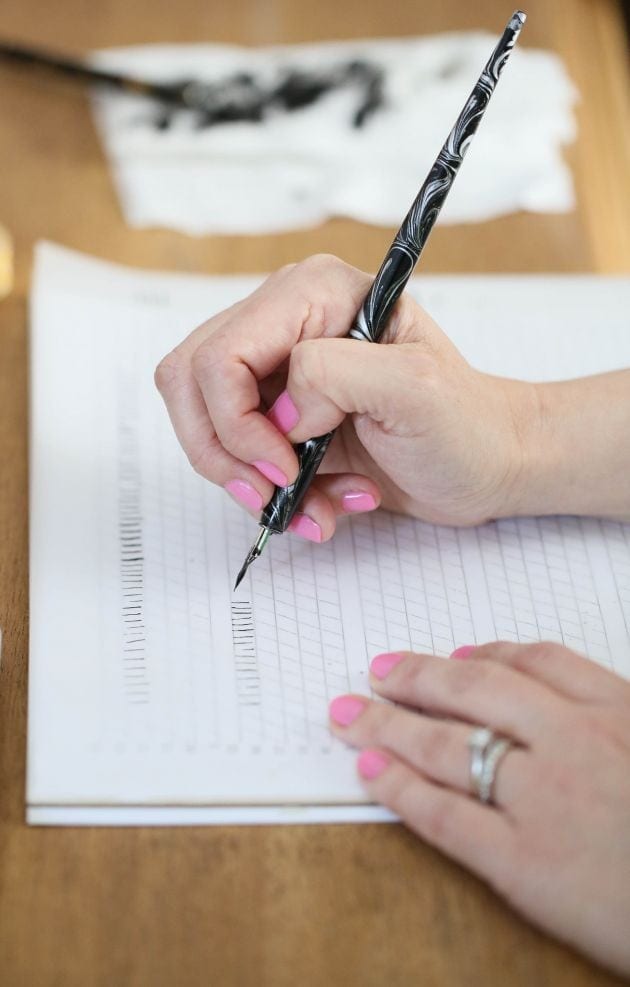
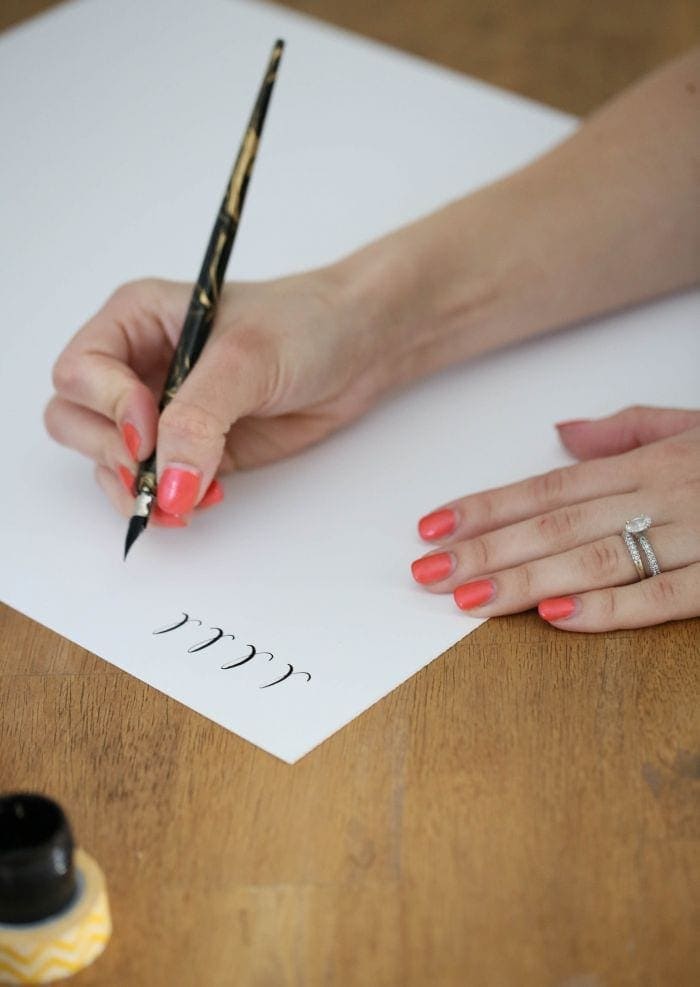
2. Let’s practice upstrokes. Create a loop {letter “l”} without pressure going up & light pressure going down. Fill a sheet or two with these beauties!
Now if you’ll recall, I’m learning with you, so don’t judge! I’m sharing one of my practice sheets so you can see the strokes. Madi was pretty impressed with my “l’s”! Okay, she was just being nice, but we all have to start somewhere! Just remember, it takes practice to perfect, don’t be scared to lift your pen, & this is just our first lesson.

These basics may not seem like much, but they’re essential to learn before you develop a style of your own. You’ll come to appreciate how each letter is formed. The next 2 weeks are much more intense, so get ready for some fun!
You won’t want to miss a lesson, so subscribe here & have them sent directly to your inbox. Thanks to Emmy Ray of Handmaker of Things for the gorgeous flowers, Jenny Wheat for photographing my journey & of course, Madi Sanders for teaching me!

The series, in order:
Calligraphy Resources & Left Handed Calligraphy
LET’S CONNECT!


Hey, I am so excited to start this series!! I was just wondering, I bought the speedball dip pen from Michael’s and I was curious if the tip was going to be too fine for this learning process? I can definitely do strokes, but the loops are what I’m worried about. I don’t think the nib is removable as well. I was just buying a starter to see how it works and if I can even try this little passion I’ve tucked away. Thoughts?
Thank you again for this series!!
You can definitely try it and if you find it’s not coming easy to you, purchase a pen and nibs then? Enjoy!
I want to start Calligraphy and I was wondering where you get your practice grid sheet please.
It’s in the first lesson. Just follow the links at the bottom of each post from the beginning to complete the series in sequence. Enjoy!
I’m excited about learning calligraphy. It’s something I’ve always wanted to do. Thanks for offering the course. Happy Fourth!
Have a great weekend!
I HAVE BEEN SEEKING OUT WAYS TO LEARN THIS AWESOME WORLD OF CALLIGRAPHY, THANK YOU I’M SO HAPPY.
Hi Julie! Can you tell me what straight pen holder and nib you are using in this post? I read the “Getting Started” post, but I think you are using something different here!