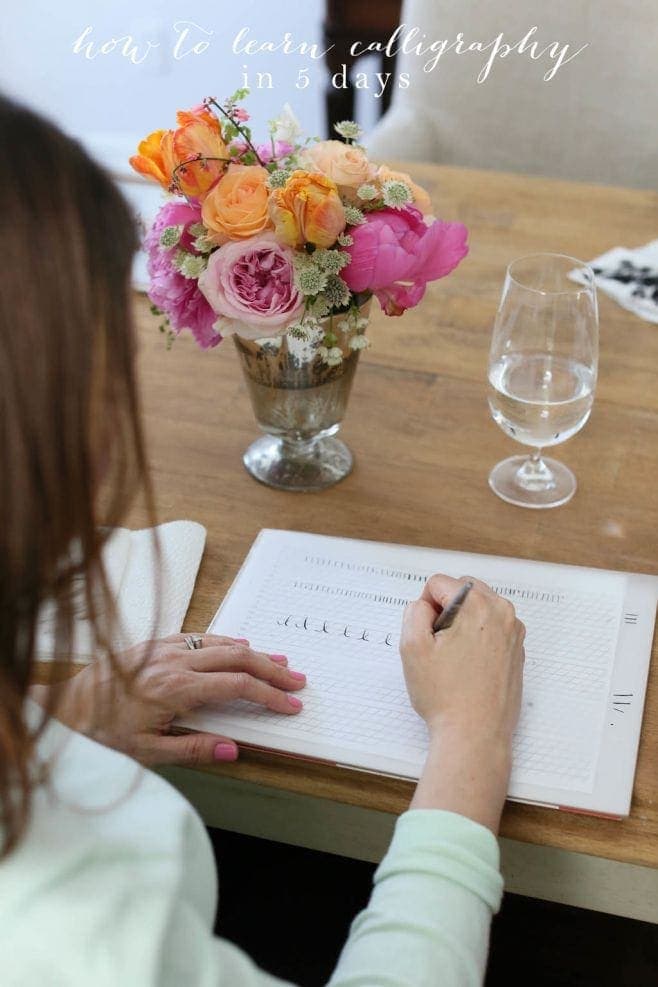
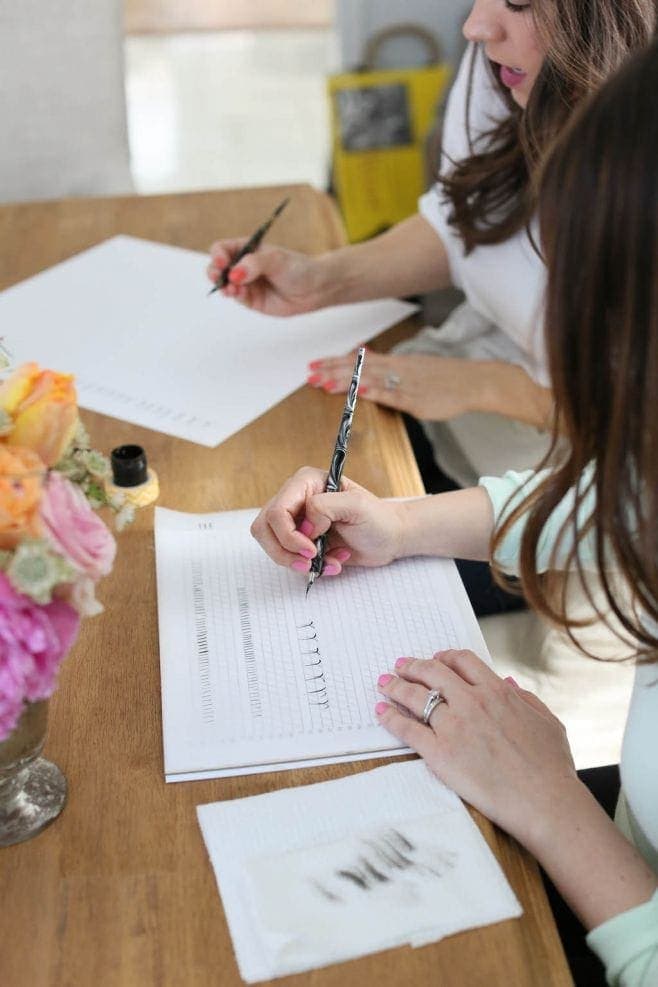
Happy Friday! You know what that means – it’s time to learn calligraphy! Today, we’re getting back to basics. When you first learned how to write in elementary school, you used lined paper & started with basic strokes. The same applies when learning calligraphy. Today, we’re going to get used to the feeling of writing with the pen, learn how to apply the pressure that results in beautiful strokes, & practice, practice, practice!
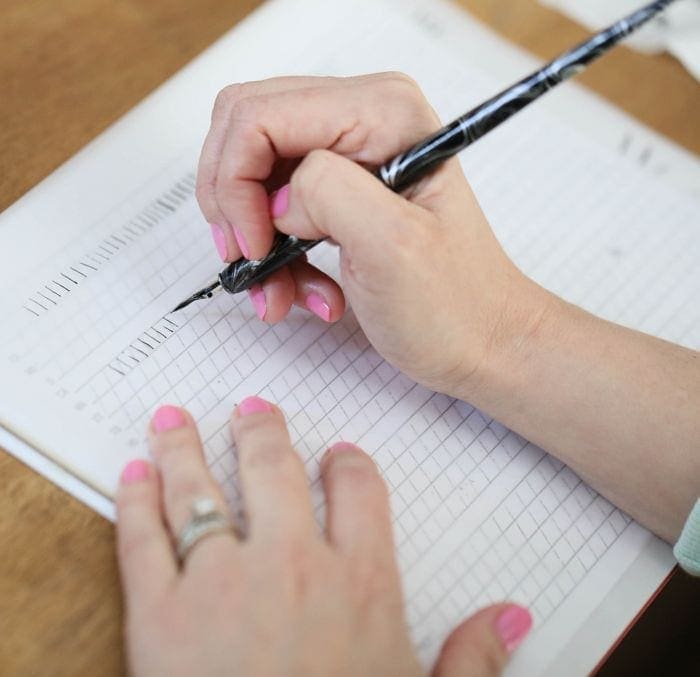
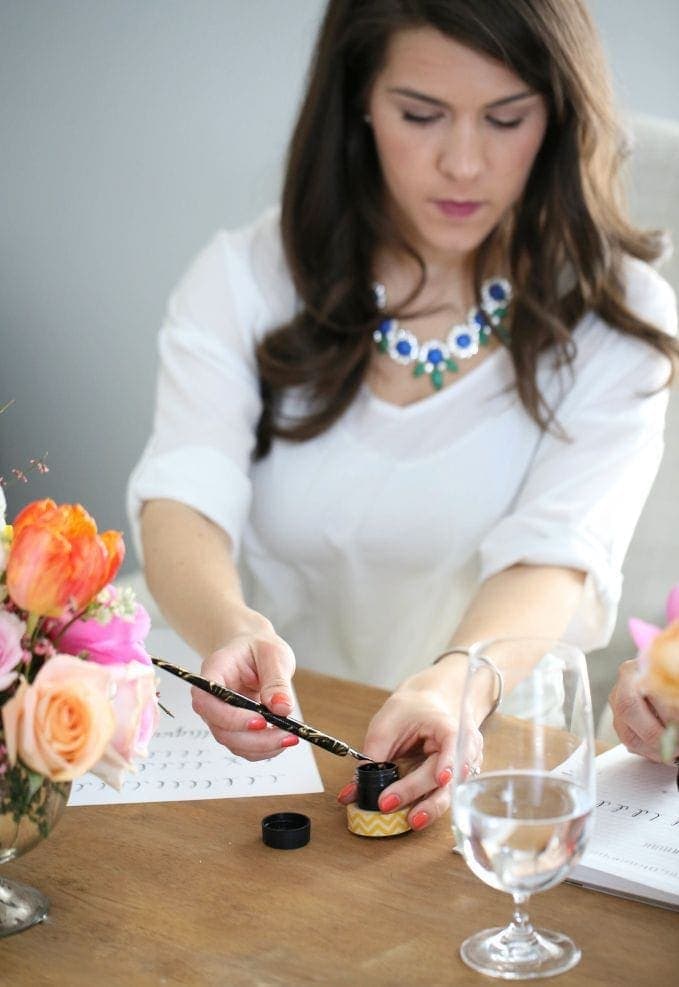
It’s time to get out your practice grid, tracing paper, pen, ink & damp paper towel {to blot excess}.

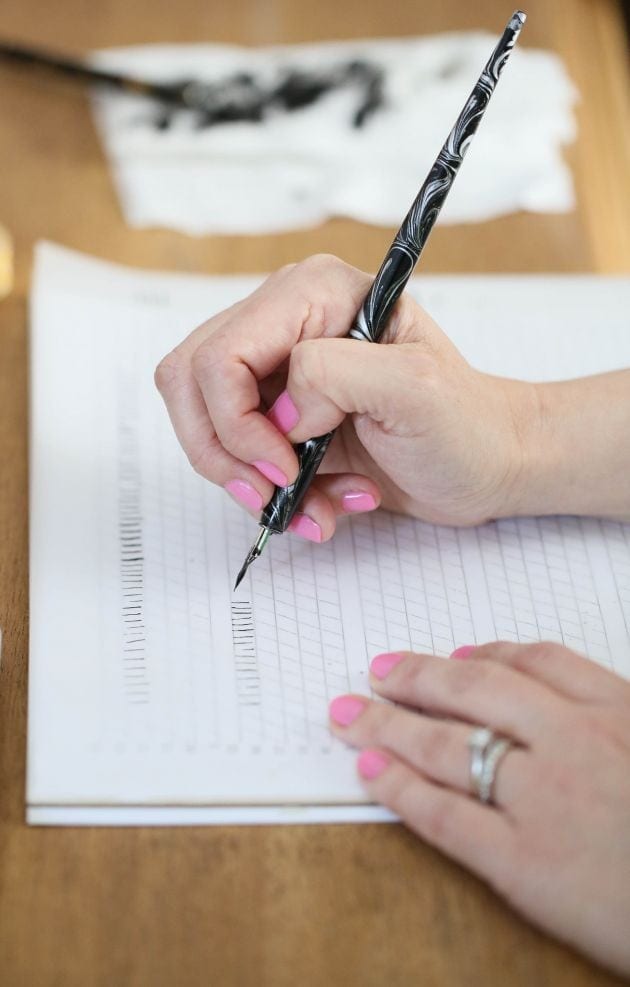
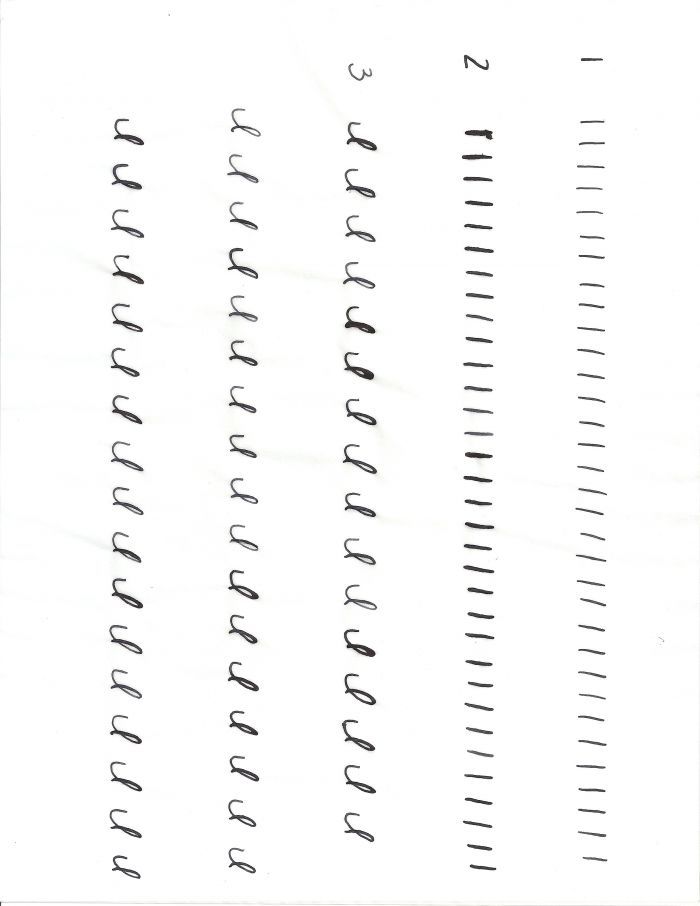
1. Start with straight down strokes. This will help you get used to the feeling of it. Do a line without applying pressure, followed by a line with light pressure {don’t get too carried away}. Notice that you get different thicknesses according to how much pressure you apply.
2. Let’s practice upstrokes. Create a loop {letter “l”} without pressure going up & light pressure going down. Fill a sheet or two with these beauties!
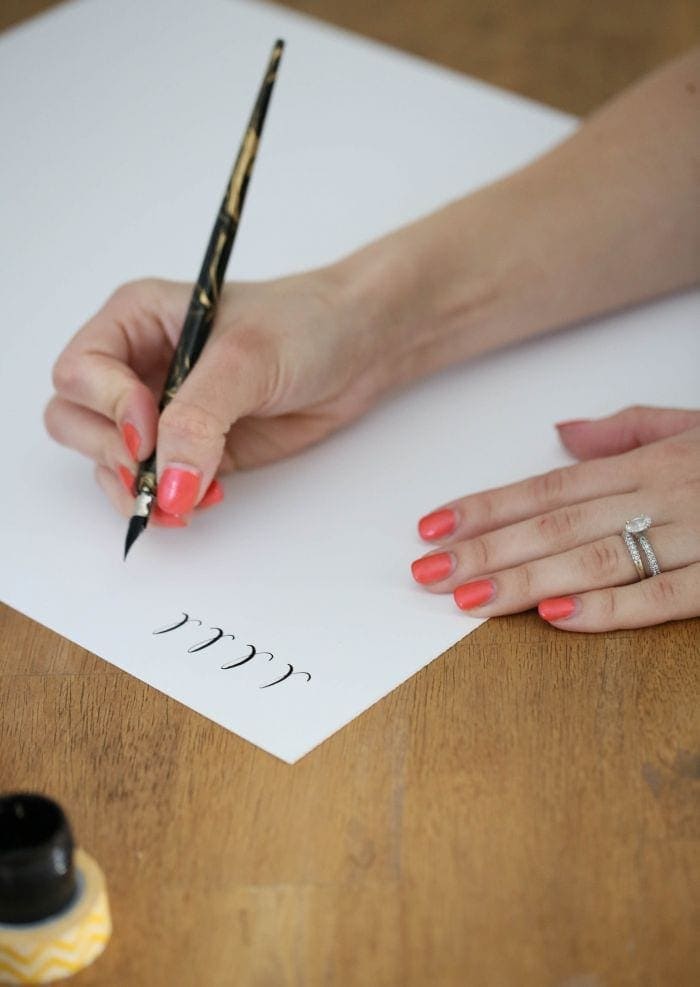
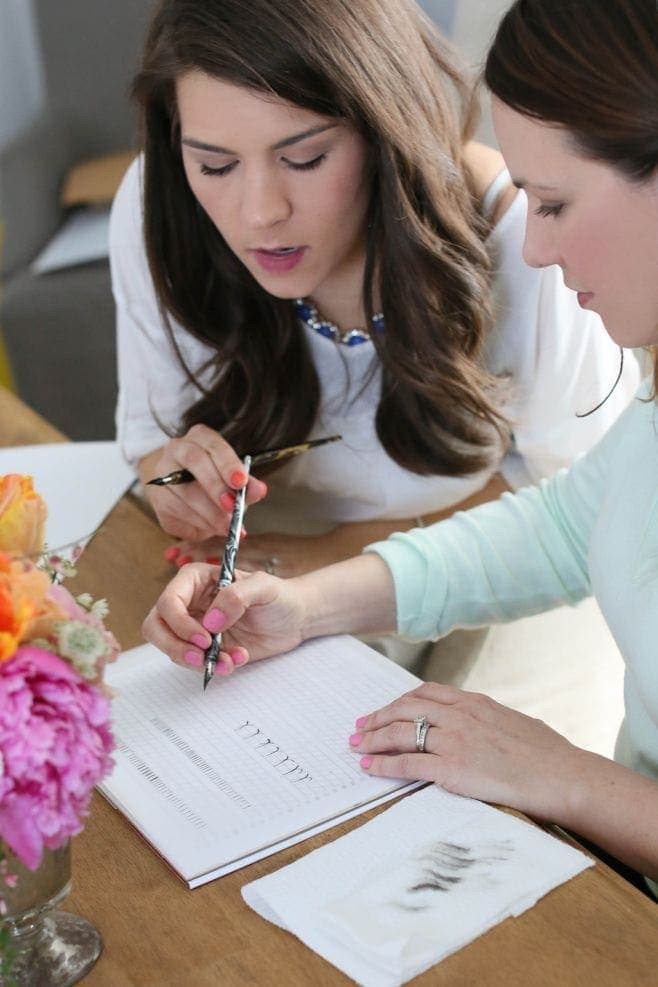
Now if you’ll recall, I’m learning with you, so don’t judge! I’m sharing one of my practice sheets so you can see the strokes. Madi was pretty impressed with my “l’s”! Okay, she was just being nice, but we all have to start somewhere! Just remember, it takes practice to perfect, don’t be scared to lift your pen, & this is just our first lesson.

These basics may not seem like much, but they’re essential to learn before you develop a style of your own. You’ll come to appreciate how each letter is formed. The next 2 weeks are much more intense, so get ready for some fun!
You won’t want to miss a lesson, so subscribe here & have them sent directly to your inbox. Thanks to Emmy Ray of Handmaker of Things for the gorgeous flowers, Jenny Wheat for photographing my journey & of course, Madi Sanders for teaching me!

The series, in order:
Calligraphy Resources & Left Handed Calligraphy
LET’S CONNECT!


What pen do you use?
Hi Julie,
I am always fond of beautiful handwriting and it’s happened I saw your blog. And, I’ve always really wanted to learn calligraphy and it is one on bucket list for 2015..Hopefully I can make it for the basic steps first for 5 days.
I hope you enjoy it! Once you get the basics down, it’s all about practice. A lot of beginners have found success & I know you will, too!
Hi Julie!
I started this series a few weeks ago, bought all the same supplies, and for the first few times I was practicing, everything was great. However, the third time I went to practice the ink would not adhere to the nib. Everytime I dipped it in, it would come out clean. So weird. So I just wanted to know if you or Madi had any thoughts as to why this would happen?! Ive tried different nibs and ink and am still having trouble 🙁 Any thoughts would be appreciated! I am excited to get back to it! This is a great series!!
Try re-inking several times. It can take a bit to ink the first use. I’ll see if Madi has any other ideas!
Thank you so so much! I really appreciate it!
Hi. I realize I’m late with this, but if you’re still having trouble:
The problem is that brand new metal nibs have a layer of varnish/lacquer on them to keep them from rusting. Ink won’t stick to the varnish. There are a couple ways to get the varnish off: you can clean the nib with rubbing alcohol, or you can heat the nib in a candle flame for a couple seconds (not so long that the metal glows, though!). Some people say that cleaning the nib with your own saliva will work too, but I’m not sure about that.
Any way you do it, this will get the varnish off, and the ink will now stick! Hope this helps.
what is the thickness of the nib you’re using? i am trying to learn with the calligraphy set i was given which uses ink cartridges and the lines seem to be a lot thicker than the ones you’re doing! xx
All of our recommended supplies for beginners are listed earlier in the series…enjoy!
https://julieblanner.com/learn-calligraphy/
Julie and Madi, thank you so much. I’m left handed and started two days ago and could not get the hang of this. Looking at your photos I realise I was holding the pen wrong! It’s looking so much better already! Thank you again!!
I’m so happy to hear that, Jessica! I really appreciate the feedback & hope you continue to enjoy the series!