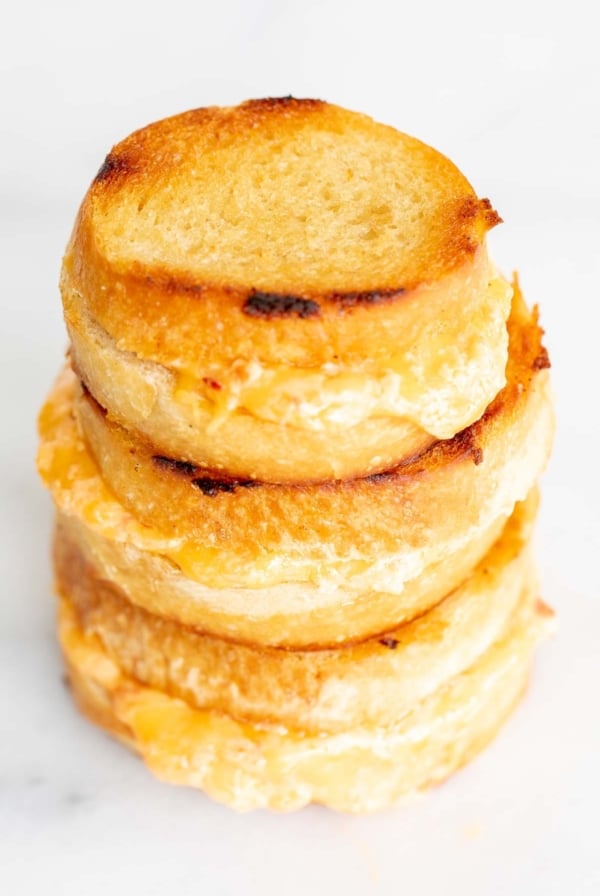
A grilled ham and cheese sandwich is a classic comfort food loved by many! A hot ham and cheese toastie is salty, buttery and filled with creamy melted cheese.
Bonus? It just doesn’t get any easier than this! It’s a combination that has been popular in delis and diners for years, and with good reason. Learn how to make this incredibly simple throwback sandwich with a few of my favorite tips!
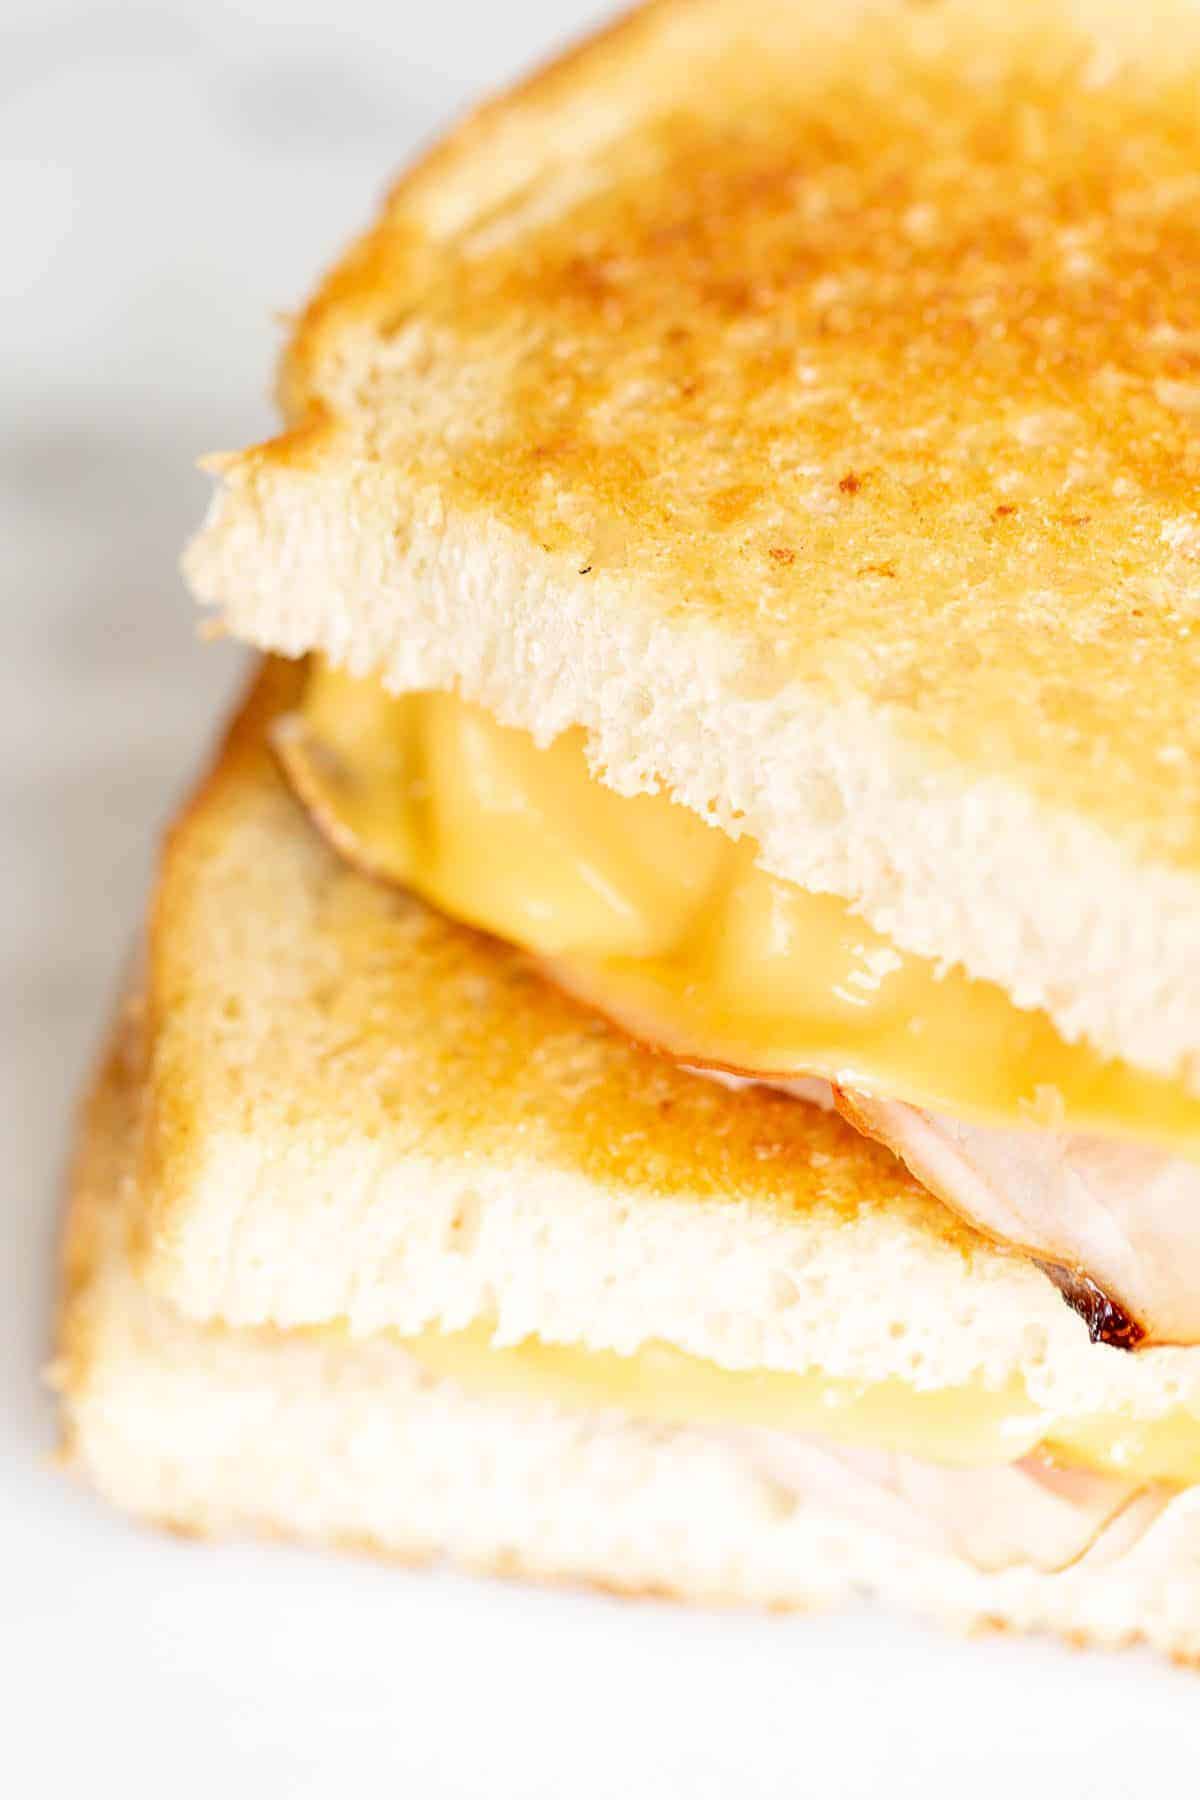
A grilled ham and cheese sandwich is a family favorite around here. We eat a lot of sandwiches for summertime lunches at home and easy breezy weekends at the lake.
They are just so easy to make and something that truly pleases everyone! Customize them with your favorite ingredients and elevate them with gourmet condiments, meats, cheeses and breads if you’d like (and boy do we ever)!
I’ve been developing some incredible grilled cheese combos of late, and I can’t wait to share them all with you. Check out this Gourmet Grilled Cheese and this delicious Grilled Cheese on the Grill for more great ideas!
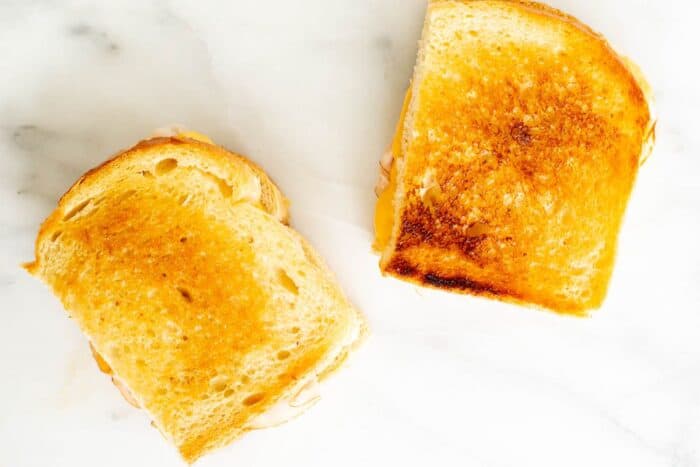
Sometimes though, a classic is best for a reason. Take these grilled ham and cheese sandwiches… toasted up to buttery perfection on your stovetop, you can’t go wrong for feeding the family!
When I found out that our friends across the pond call these sandwiches ham and cheese toasties, I loved them even more. Isn’t that the cutest? I think we’ll call them toasties forever now!
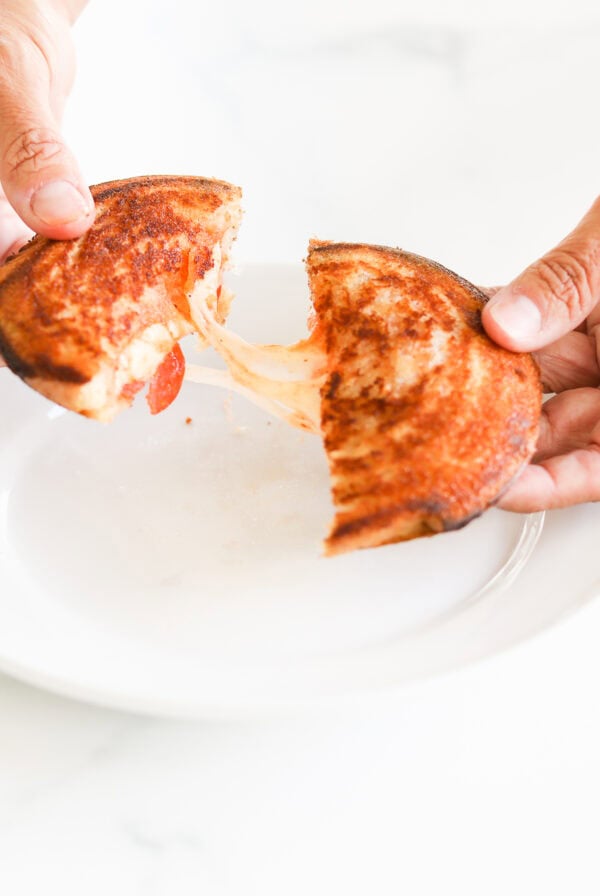
They are filling, warm, and oozing with creamy soft cheese. What could be better? Let’s get started.
Why You’ll Love
- Kids love them
- So do adults!
- So easy to customize
- On the table in less than 10 minutes

Grilled Ham and Cheese Ingredients
- Bread – For a classic cafe-style grilled ham and cheese, choose a good quality white sandwich bread, or try my favorite homemade Artisan Bread. But get creative and use your favorite bread if you’d prefer!
- American Cheese – It’s just so creamy when it melts! We like to buy from the high quality deli blocks of American at our local grocer. Of course you can choose any cheese you’d like.
- Ham – Thinly sliced is best.
- Butter – salted butter is best for a grilled ham and cheese!
Variations
- Use any bread you’d like. Read more about the Best Bread for Grilled Cheese.
- Experiment with cheese, too! Try gouda, gruyere, or white cheddar for fresh spin.
- Replace the ham in this recipe with salami, prosciutto, bacon, pancetta, capicola, or guanciale.
- Use mayo instead of butter. It totally changes the flavor!
How to Make a Ham and Cheese Toastie in Just Four Easy Steps

- Spread butter on one side of each slice of bread.
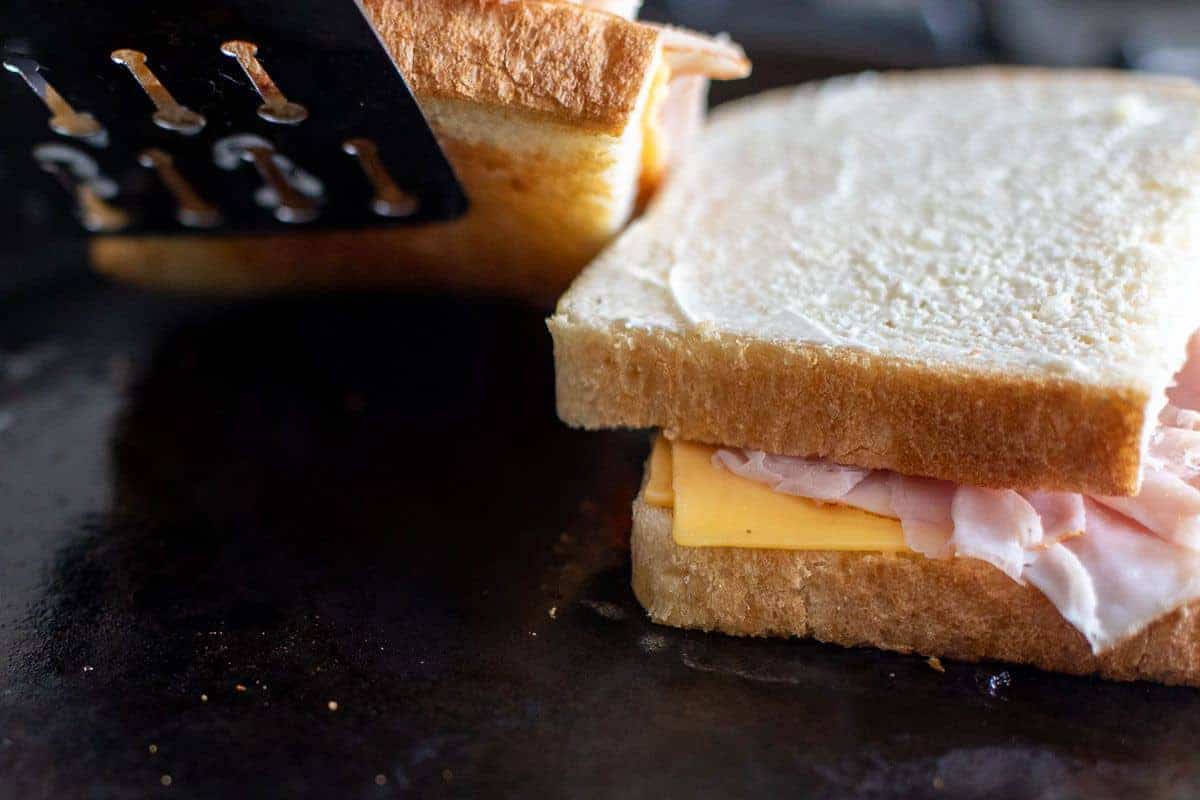
- Warm skillet to medium heat. Place one slice of bread butter side down, top with ham and cheese and a second slice of bread butter side up.
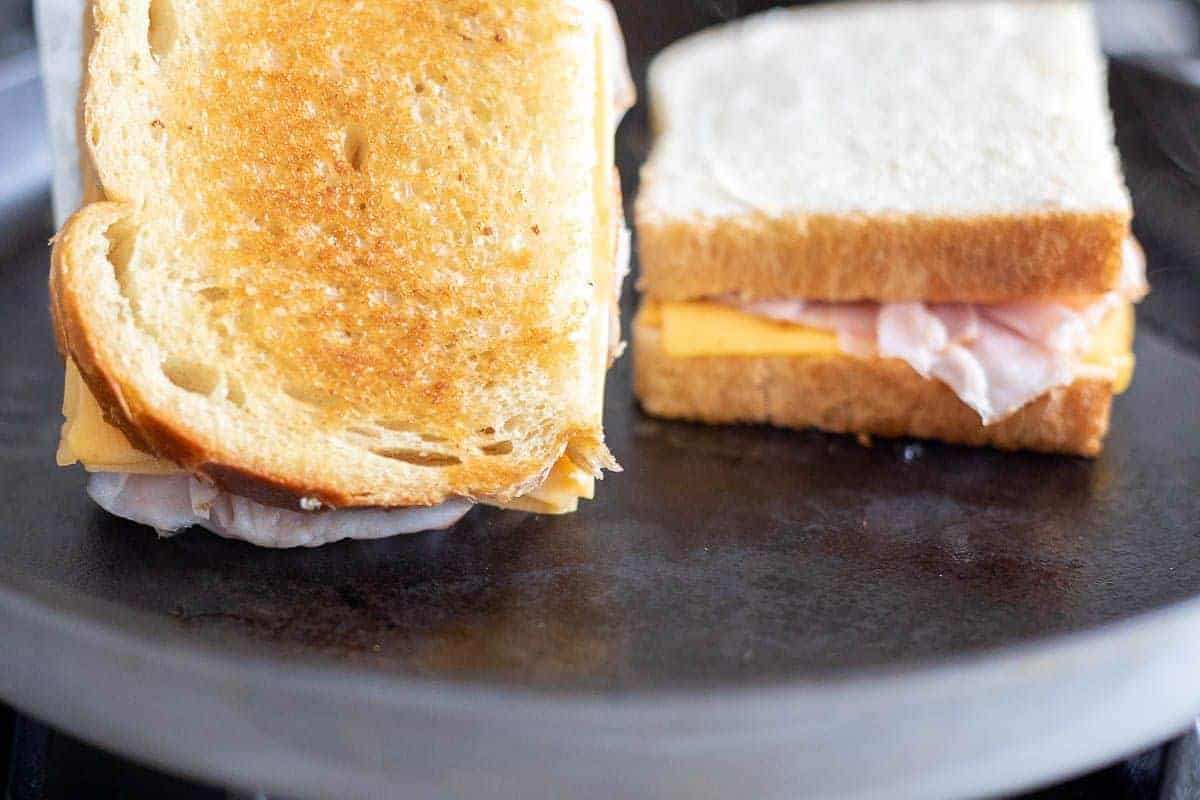
- Grill 2-21/2 minutes until bread is slightly golden in color. Use a spatula to flip. Grill other side 2-21/2 minutes until golden brown.
- Slice and enjoy!

Side Dishes to go with Grilled Ham and Cheese
- Tomato Soup
- Italian Salad
- Pasta Salad
- Cabbage Salad
- Fruit Salad
- Cheddar and Apple Soup
- Simple Spring Salad Mix
Tips
- The key to a great grilled cheese is great bread. Experiment to find your family favorites! Read more about the Best Bread for Grilled Cheese.
- High quality cheese is important too. Choose cheese that it is fresh sliced from your local deli – or buy a fresh block and grate it yourself.
- The more even the slice of bread, the more evenly it will brown.
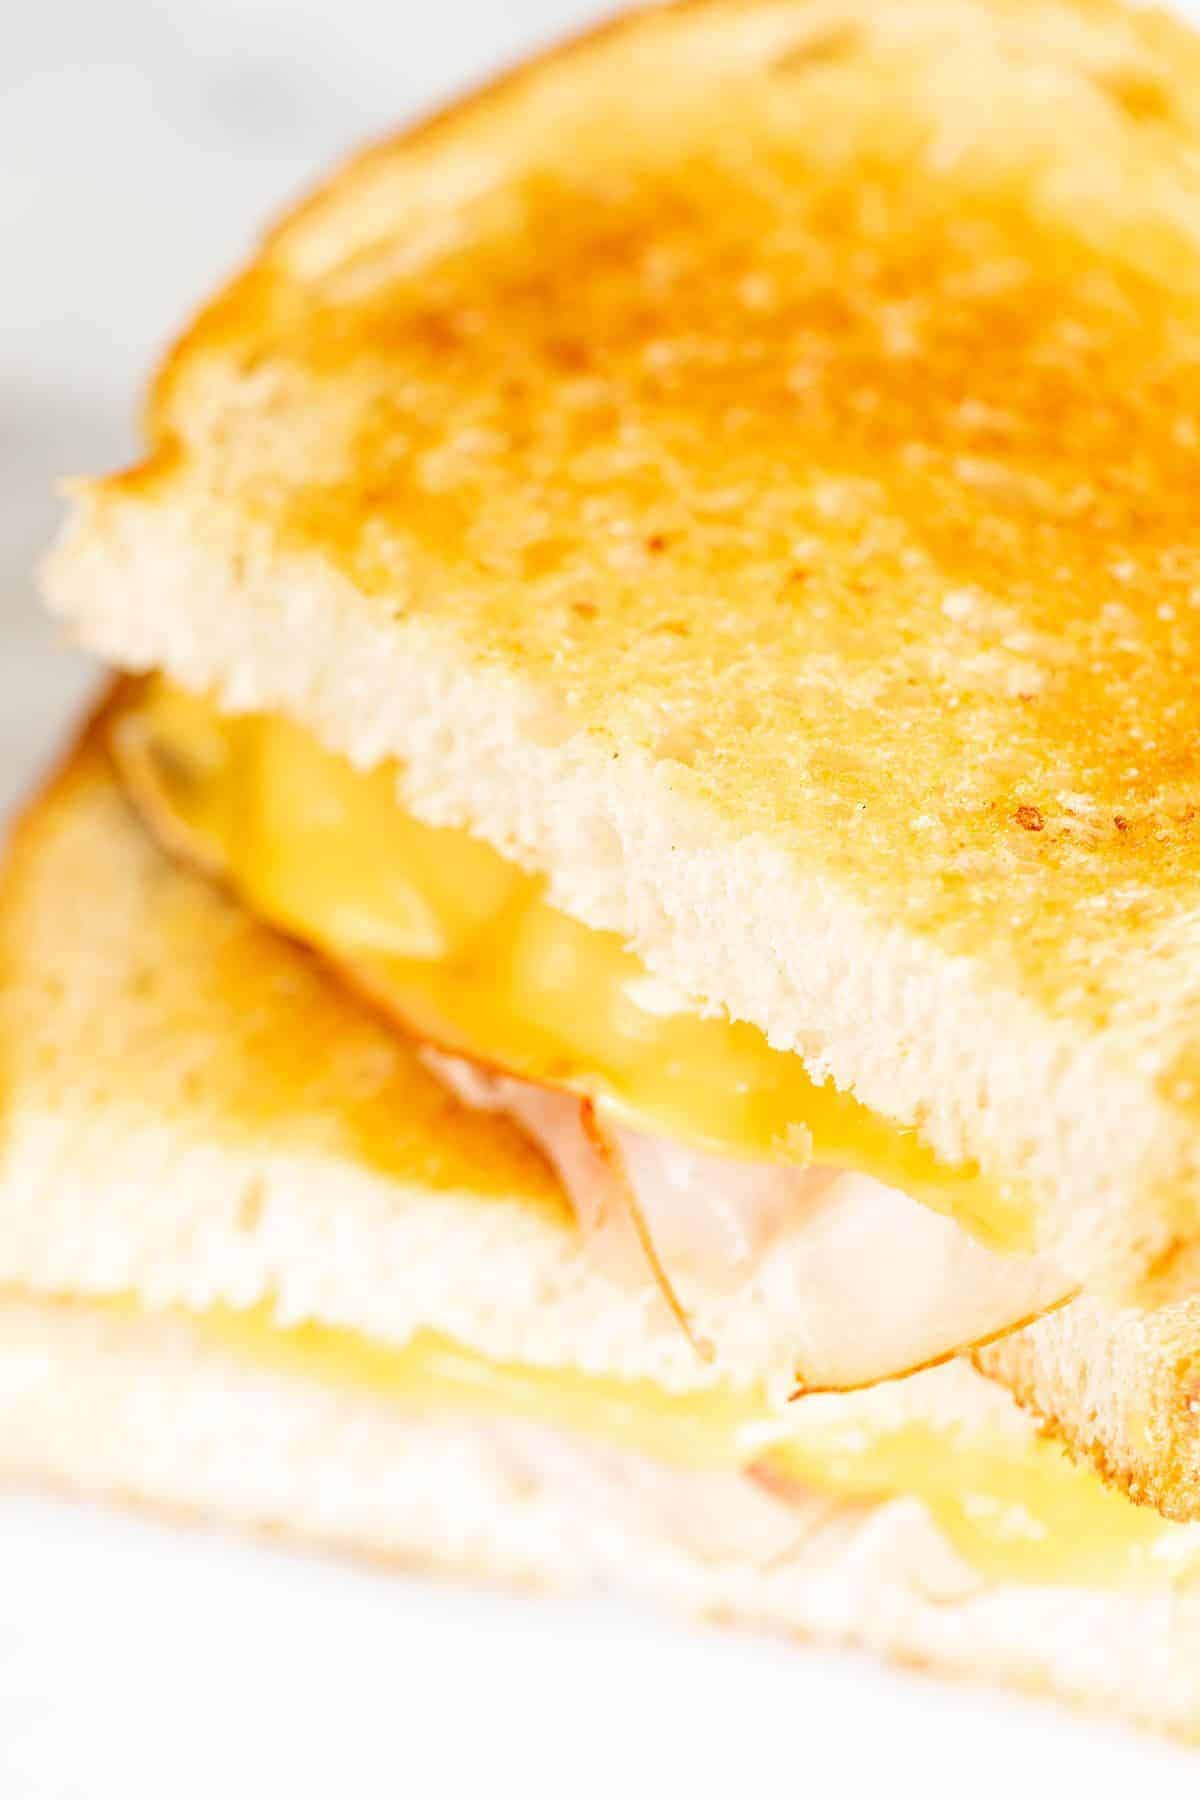
Scaling up, down or substituting? You’ll love this printable Measurement Conversion Chart!
Frequently Asked Questions
Salty, sharp and pungent cheeses are excellent matches for ham. Blue cheese and sharp cheddars work well. In a classic ham and cheese toastie, try a high quality American cheese for the best creamy melting quality.
One of the strongest theories is that an Irish immigrant to England was the first to produce a ham and cheese sandwich in the 18th century. Sandwiches have quite a history!
How to Store
- At Room Temperature – Grilled cheese sandwiches can sit out while serving for up to two hours safely. Of course, they are absolutely best when they’re hot out of the skillet.
- Refrigerate – You can refrigerate your grilled ham and cheese for up to three days when wrapped in an airtight container. Slowly reheat in your skillet after bringing it to room temperature for 30 minutes (allowing for more even heat in the skillet).
- Freeze – Flash freeze on a sheet pan before wrapping tightly and storing in your freezer for up to three months.
Dietary Considerations
- Nut Free
- To make this grilled cheese gluten free, simply choose a gluten free bread product.
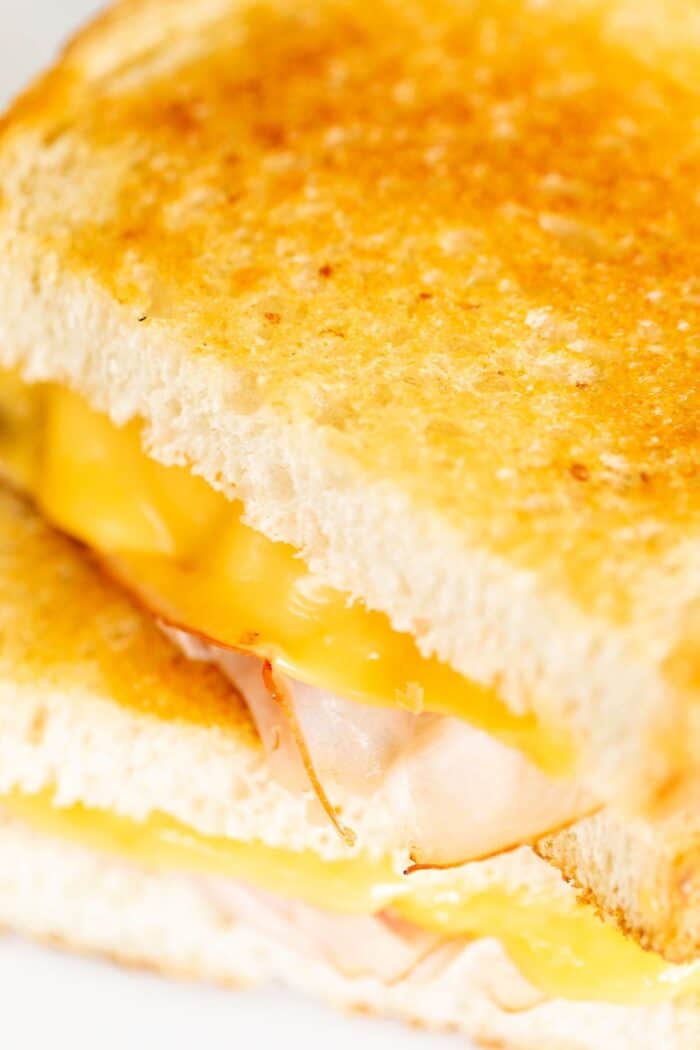
What do you think? Are you a fan of a classic grilled ham and cheese? And are you as excited as I am to call it a ham and cheese toastie? I’d love to hear from you.
More Sanwich Inspiration

Grilled Ham and Cheese
Ingredients
- 2 slices sandwich bread white, multigrain, sour dough, Texas toast or your favorite
- 2 slices cheese American, cheddar or swiss – or your favorite
- 3 slices deli ham sliced thin
- 1 tablespoon butter salted
Instructions
- Spread butter on one side of each slice of bread.
- Warm skillet to medium heat. Place one slice of bread butter side down, top with cheese and ham. Place a second slice of bread butter side up.
- Grill 2-2½ minutes until bread is slightly golden in color. Use a spatula to flip.
- Grill other side 2-2½ minutes until golden brown. Slice and enjoy!
Julie’s Tips
- The key to a great grilled cheese is great bread. Experiment to find your family favorites! Read more about the Best Bread for Grilled Cheese.
- High quality cheese is important too. Choose cheese that it is fresh sliced from your local deli – or buy a fresh block and grate it yourself.
- The more even the slice of bread, the more evenly it will brown.
Variations
- Sub your favorite deli meat or prosciutto for the ham
- Try a variety of cheeses until you find your favorite!
- Sub the butter out for mayo on one side of the bread.
Video
Estimated nutrition information is provided as a courtesy and is not guaranteed.



I think 21/2 minutes is much too long, I’m good after 150 seconds.
Slather your favorite mustard (hot, brown, dijon, yellow) on the inside of the sandwich before grilling.
Hi Lynda,
That’s a great idea! Thanks for your comment.
Have a good weekend,
Julie