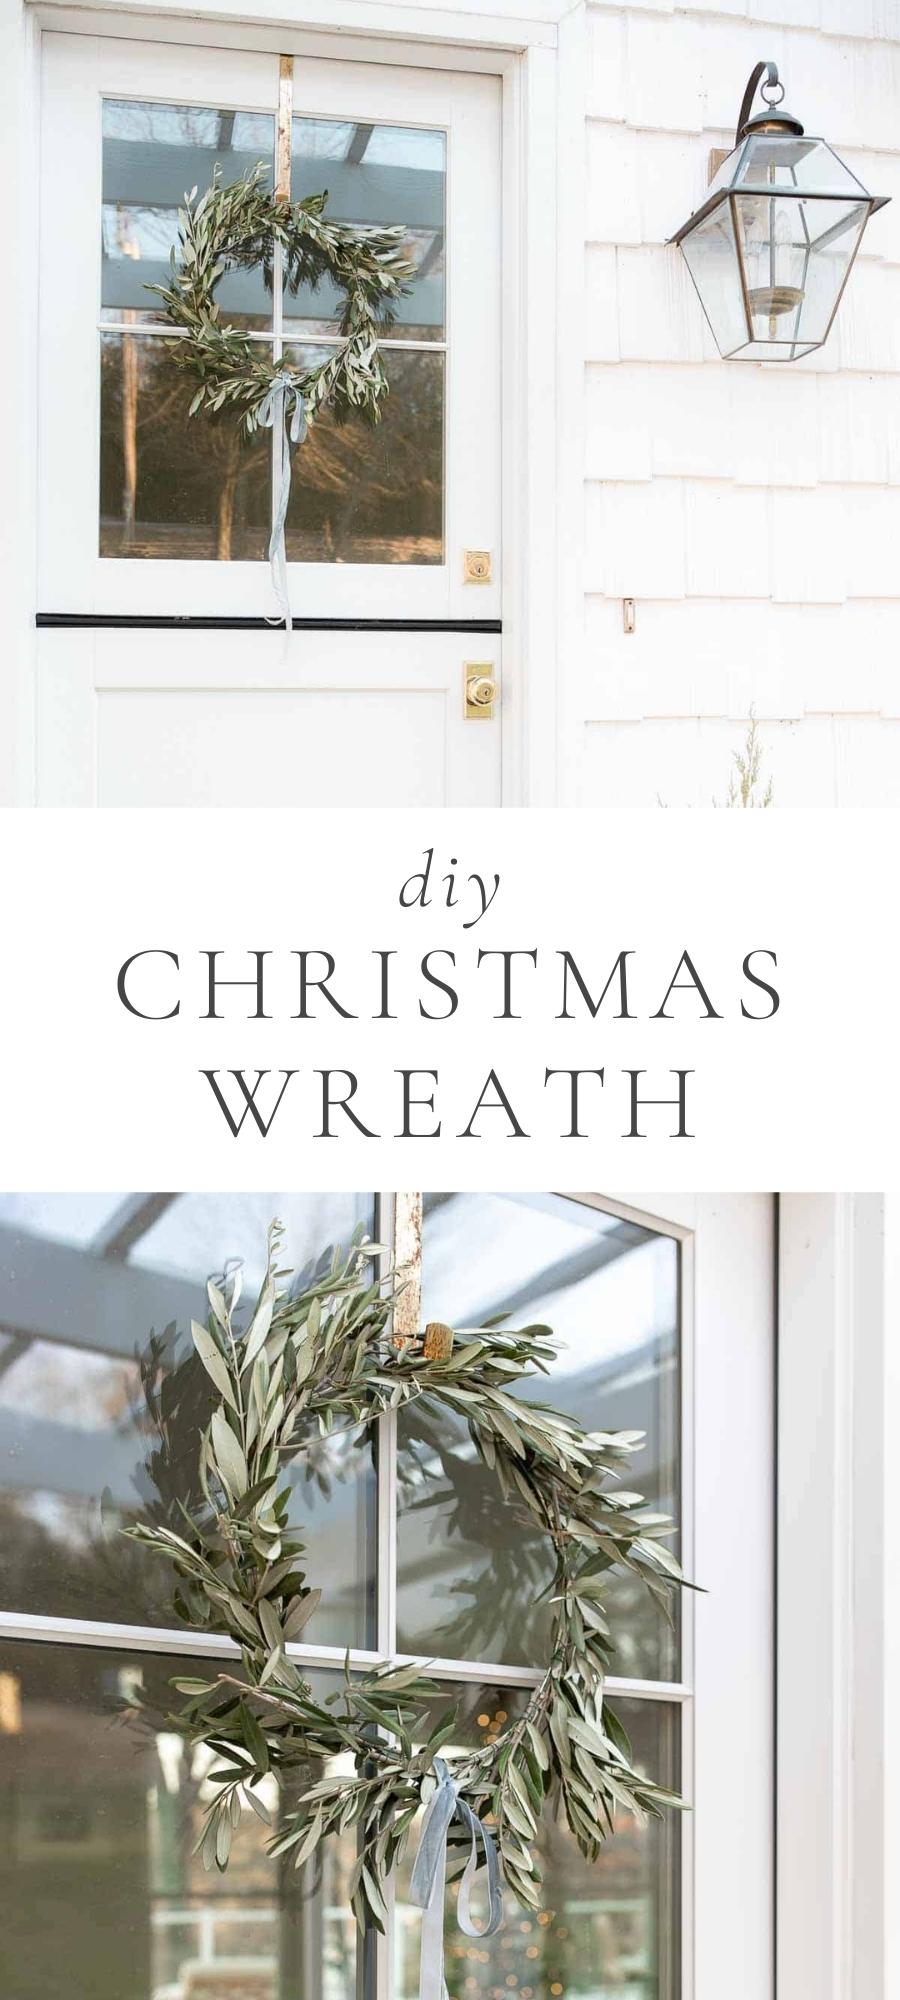
Making a wreath for the holidays is so much quicker and easier than you think. The options are endless and it’s so much fun to customize your own DIY Christmas wreath!
Creating your own DIY wreath is fast, easy and fun. Join me for this quick and easy tutorial to add a little holiday charm anywhere in your home!
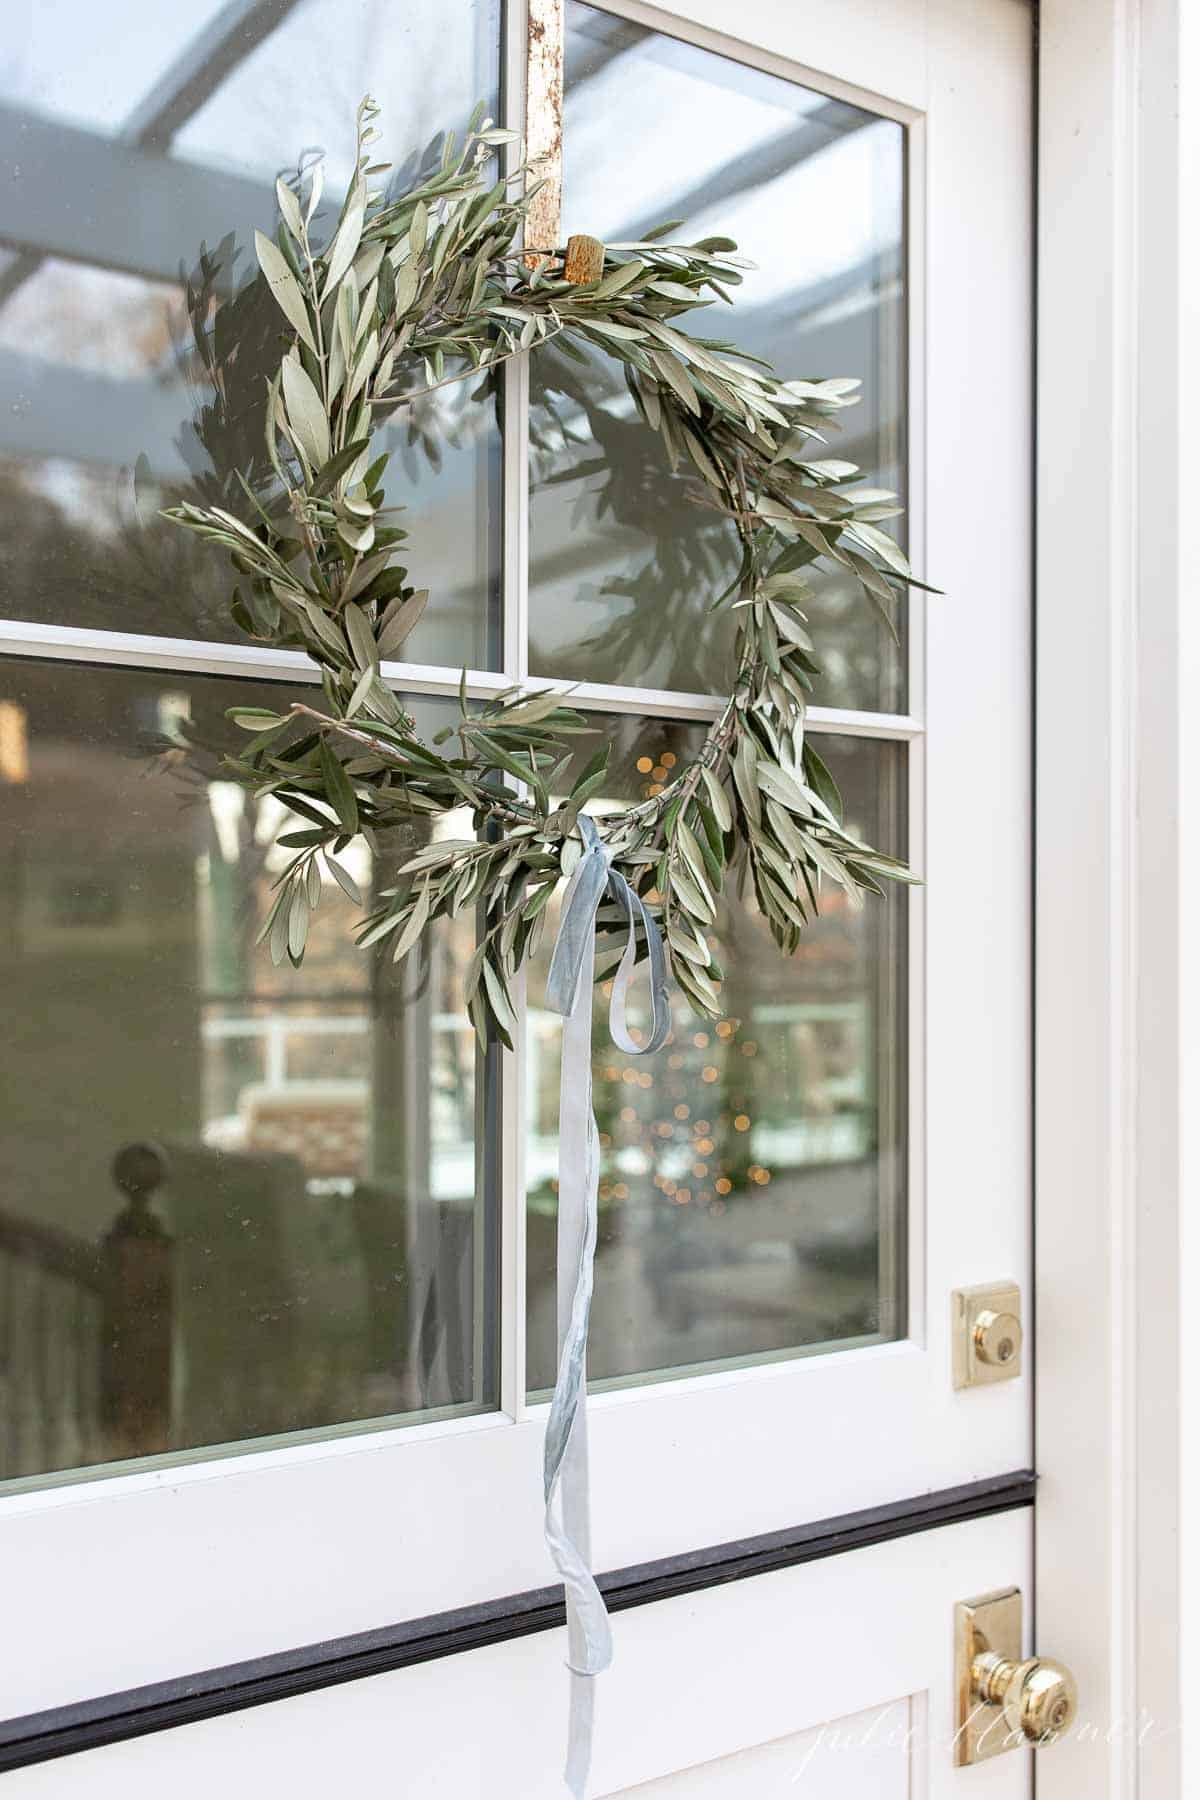
There’s something so effortless and charming about creating your own DIY Christmas wreath from collected materials. You can forage your own backyard, utilize remnants from cut trees at your local hardware store or tree farm, or purchase greenery (learn where to buy flowers).
I’ve made so many wreaths through the years using this simple tutorial – all in 10 minutes or less!
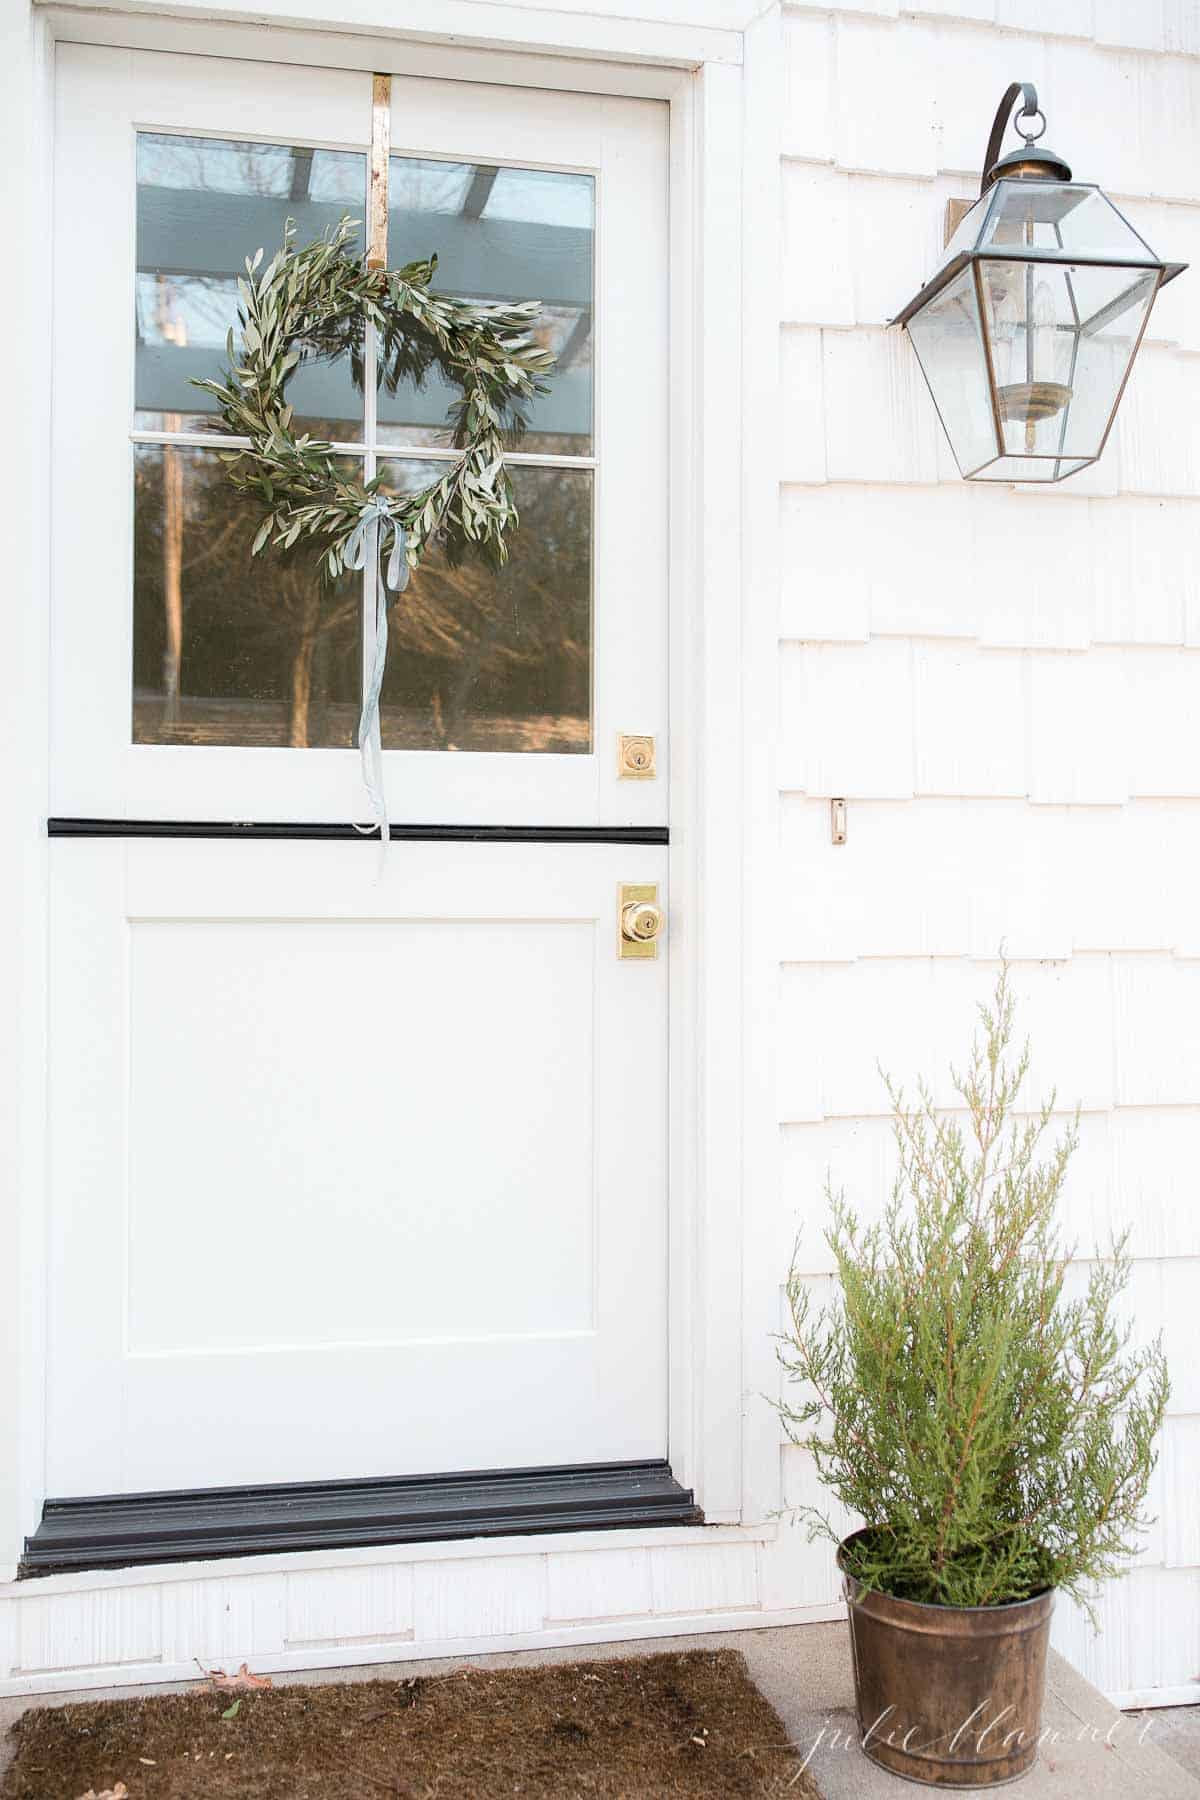
There’s no reason to purchase an expensive Christmas wreath that you’ll have to store 11 months a year when making a wreath is so easy, inexpensive and environmentally friendly!
A DIY wreath is so versatile and customizable! Many branches dry beautifully, while colder winter temperatures keep a wreath looking fresh on your front door for weeks, even months! (You can get my tips on How to Keep Live Christmas Wreaths and Live Garlands Fresh here).
You can make this easy DIY wreath as simple or elaborate as you’d like! A simple wreath fits seamlessly into Minimalist Christmas decor. You can add more branches, a variety of branches and even accents like berries, bells, fruits and flowers!
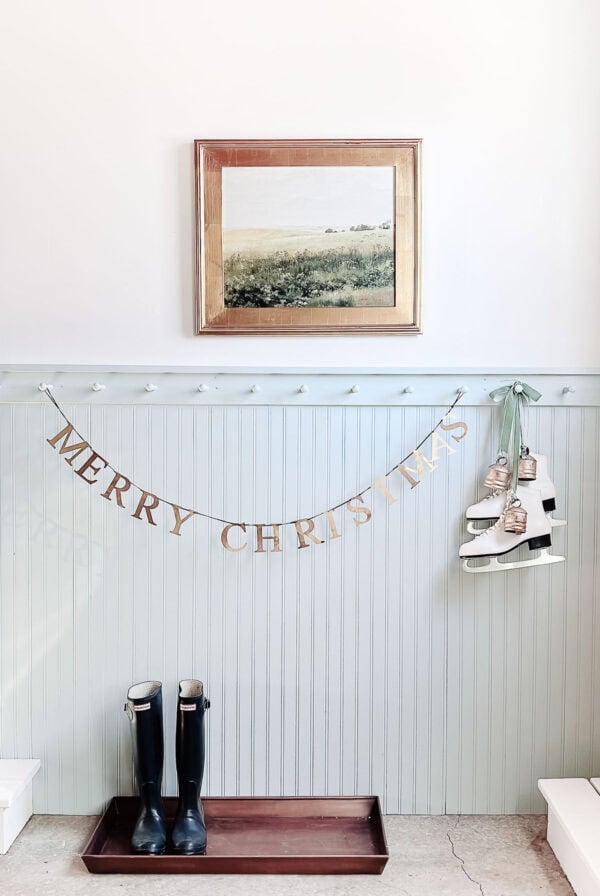
If you love this charming little wreath, don’t skip the entire Scandinavian Christmas tour for more inspiration!
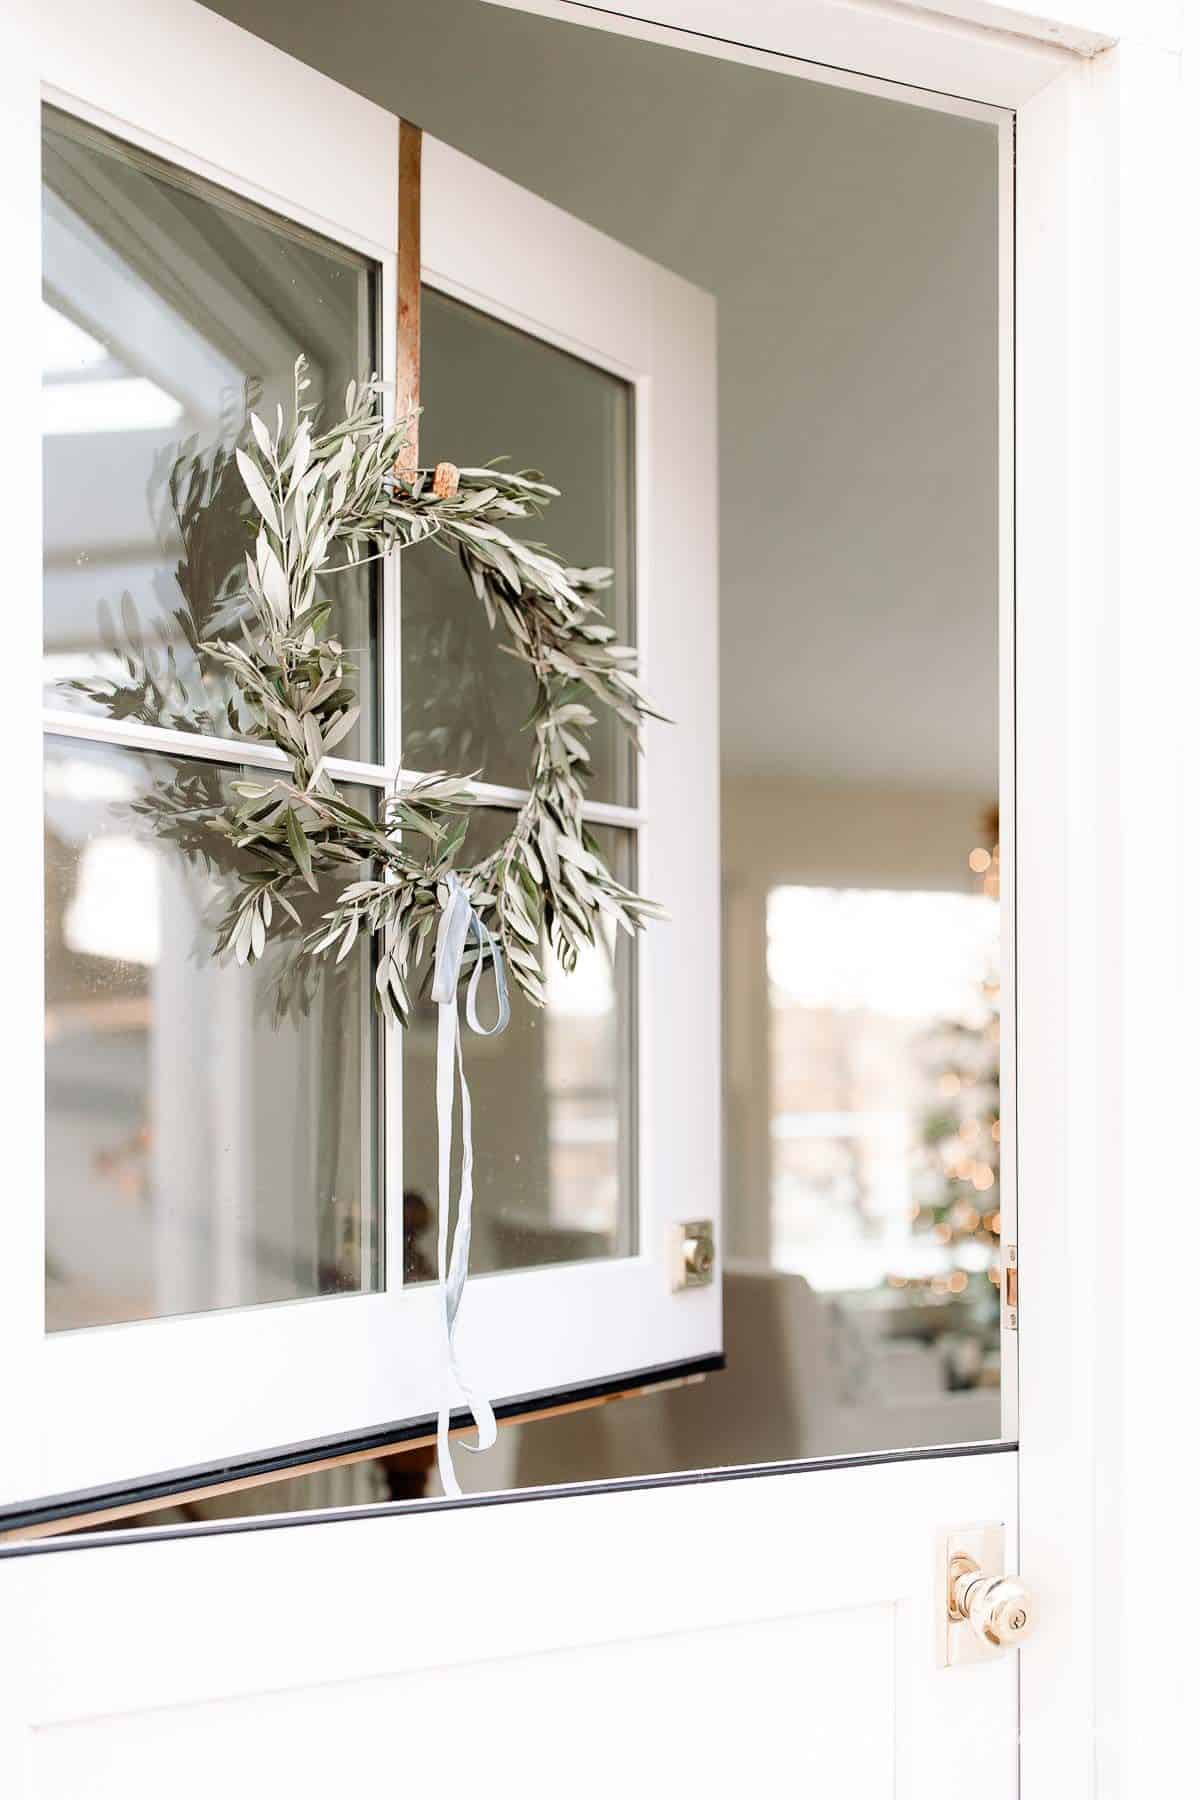
DIY Christmas Wreath Materials
Branches – Olive, juniper, evergreen, cedar, pine and eucalyptus are all great options for an effortless diy wreath! Use whatever is easily accessible to you! You can forage, purchase or ask your local hardware store for remnants cut from trees. I bought my olive branches from Trader Joe’s – learn all my best secrets for buying florals there!

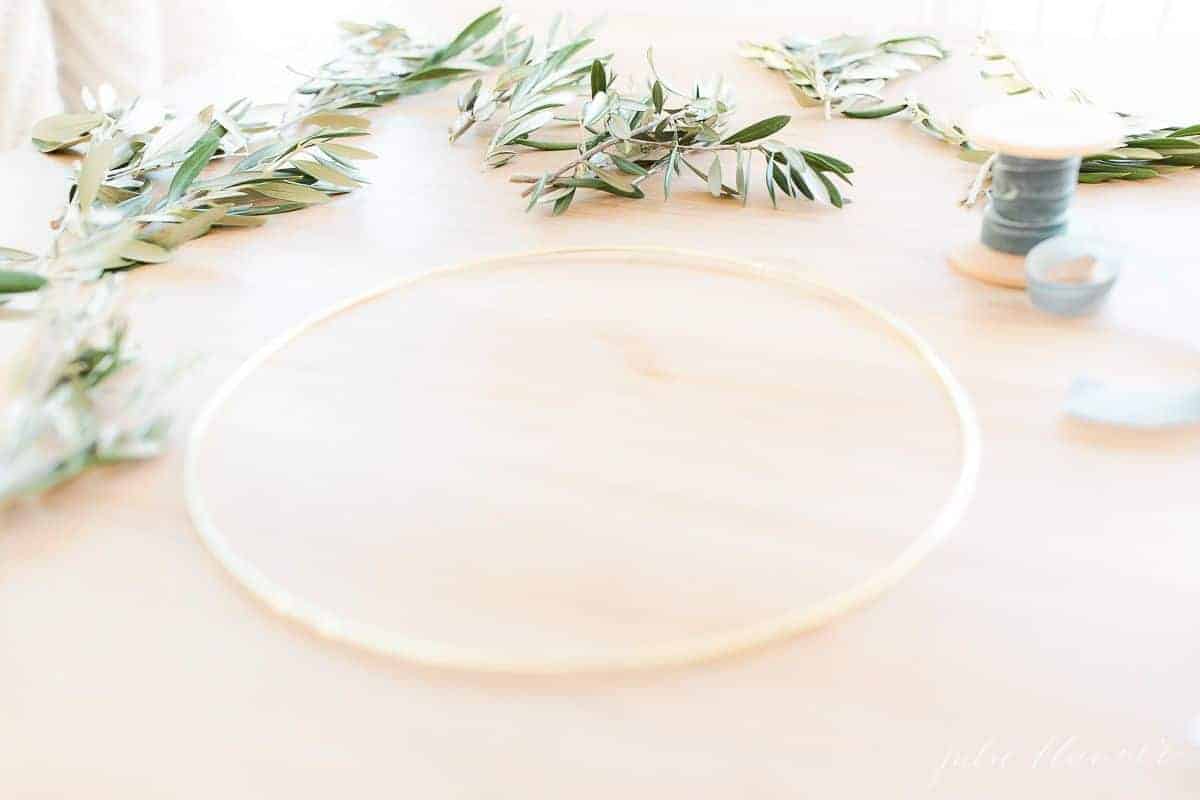
Hoop – Any ring will work well. For this olive wreath, I used this simple gold hoop. Keep in mind you’ll want to select a size that works for your space. 12″, 18″, 20″ and 24″ are most common. Your wreath will be slightly larger than the ring you select. You can even use an embroidery hoop!
Floral Wire – Thin gauge floral wire is easy to work with and will secure your branches to the ring. You can also use floral tape in a pinch.
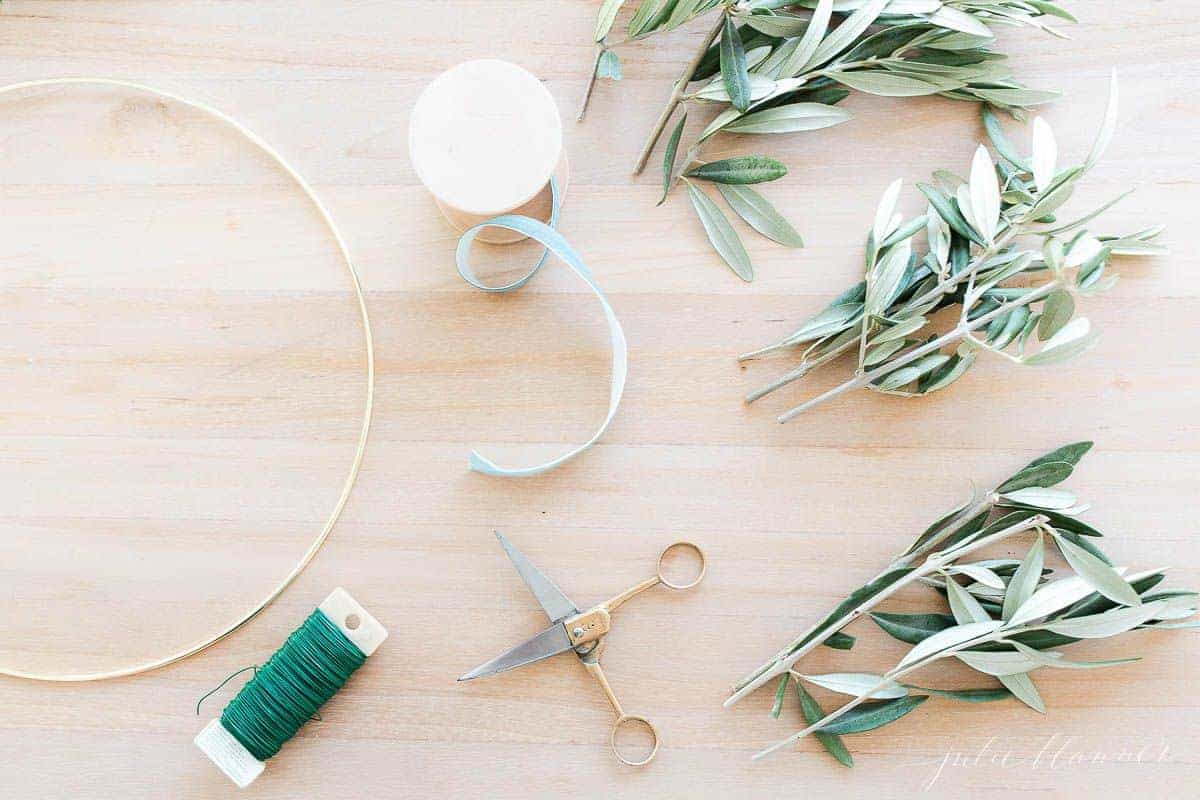
Instructions for Making a Wreath
- Cut branches into somewhat equal sizes. Stack them in small groups of three to make your work easier.
- Starting near the center of your stems, secure them to the ring using floral wire 3 at a time. Work the wire to the base of the stem, wrapping 5-6 times each.
- Add another set of 3 branches, staggering below to cover the wire of the previous section.
- Continue until wreath is full. Add in a single stem to fill any gaps, if needed.
Of course adding a beautiful ribbon is always welcomed! Double faced satin, velvet and silk are among my favorites to add. You can hang it on the hook, secure it using a pin or tie it around the wreath itself.
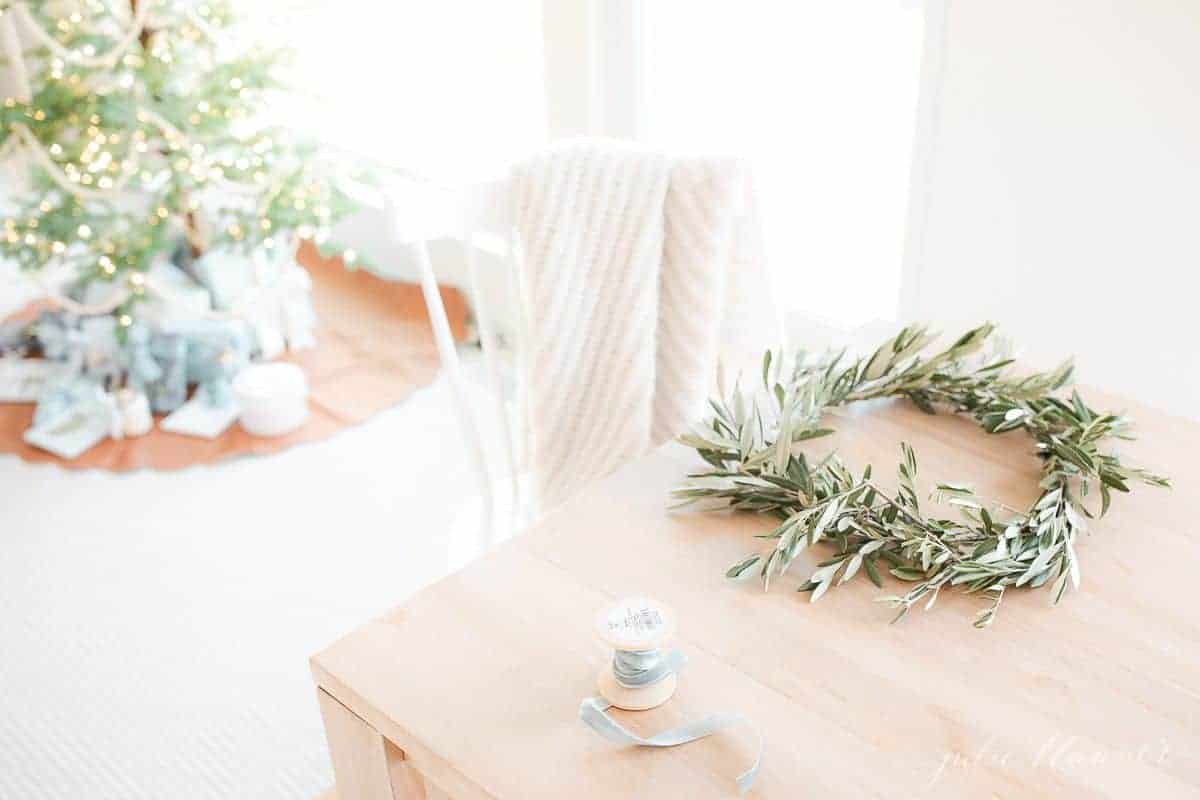

Tips
- Don’t be afraid of imperfections! This wreath comes together quickly, and it’s easy to hide the mechanics behind your next group of foliage.
- Use various lengths of greenery if you want a more loose, gathered and wild look.
- Wiring around the base of your stems (where leaves are still attached) is best to help the wire grip the wreath form well.
Frequently Asked Questions
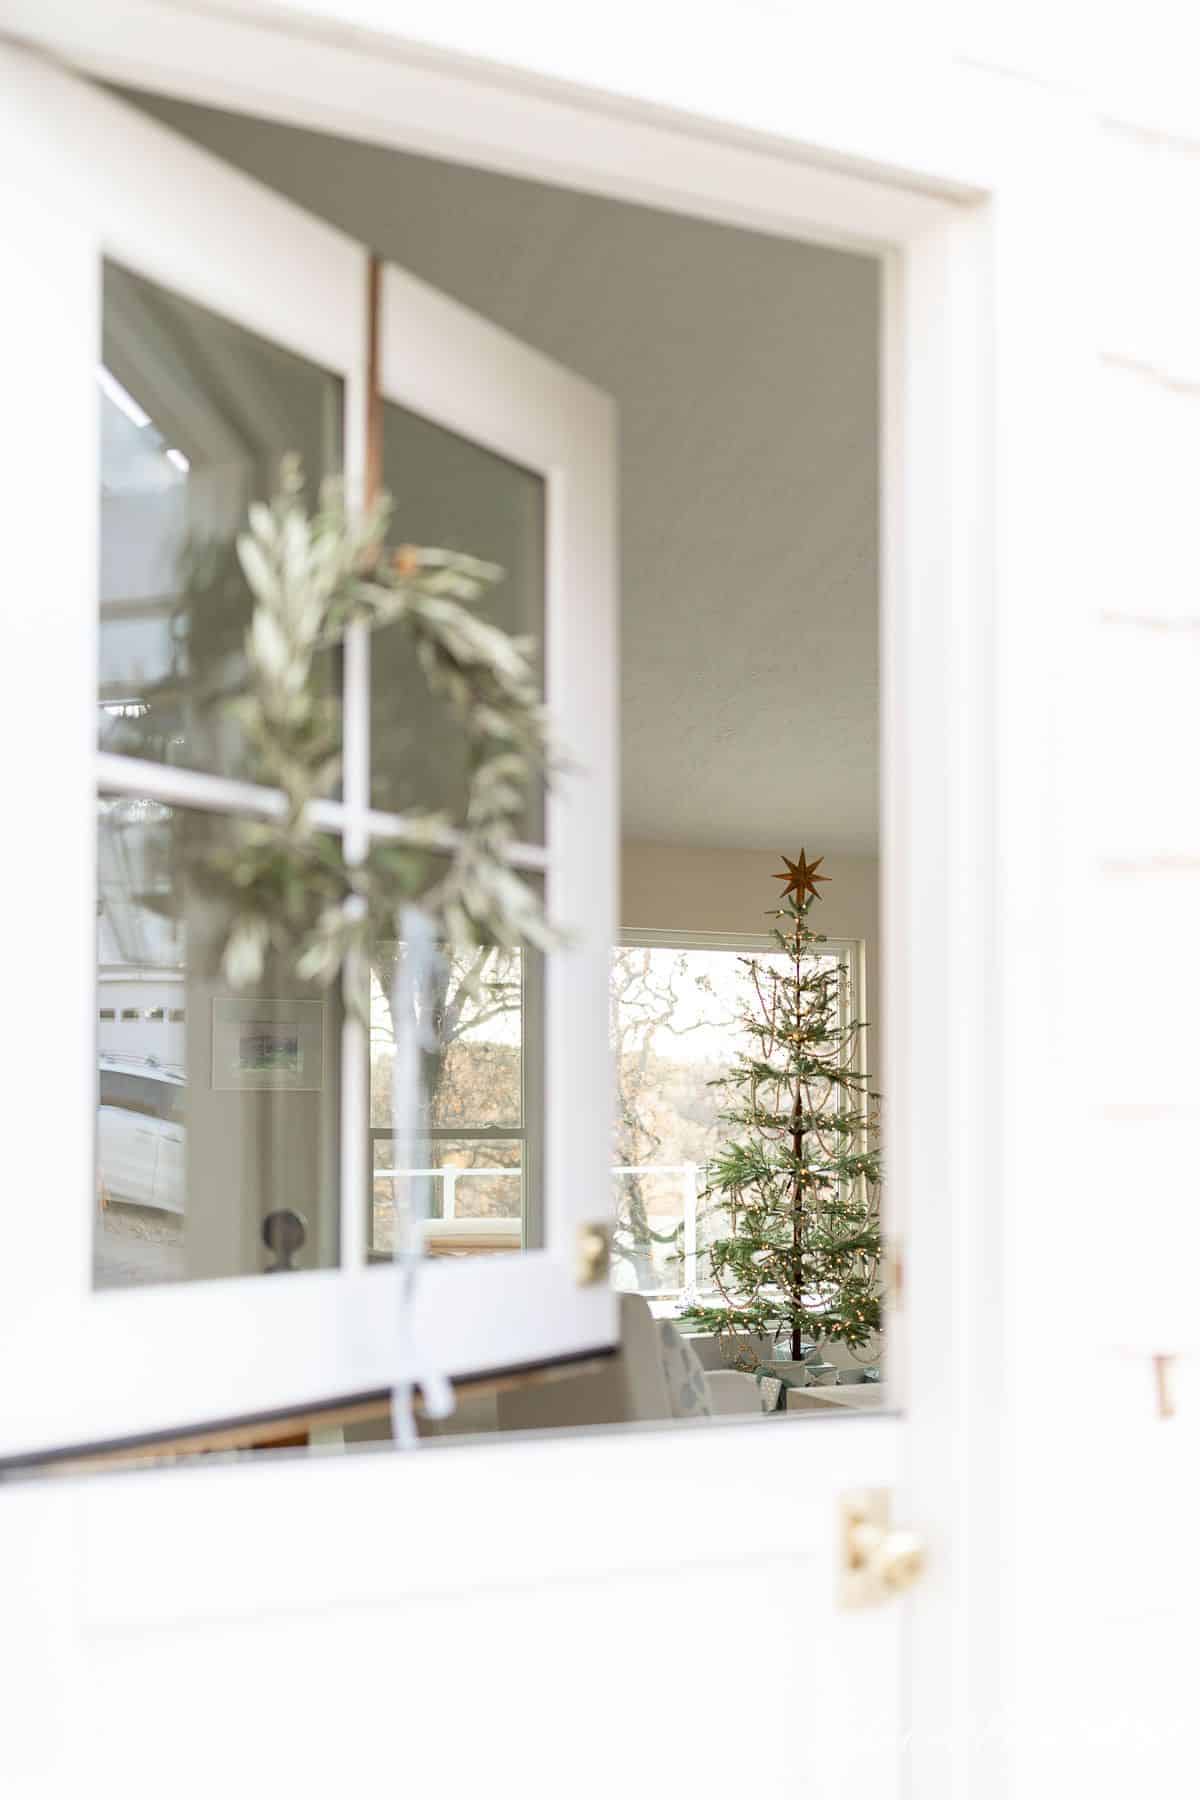
It is historically considered a symbol of triumph and was worn on the body. In Rome a victor was crowned with laurels or olive wreaths. Traditionally, the Olive tree is viewed as a symbol of peace and friendship, so it has a beautiful meaning when hanging on your front door!
I love how these leaves look as they dry, so I’ll leave it up through the holidays for as long as eight weeks! With colder temperatures, this olive wreath will stay fresh looking for as long as three weeks.
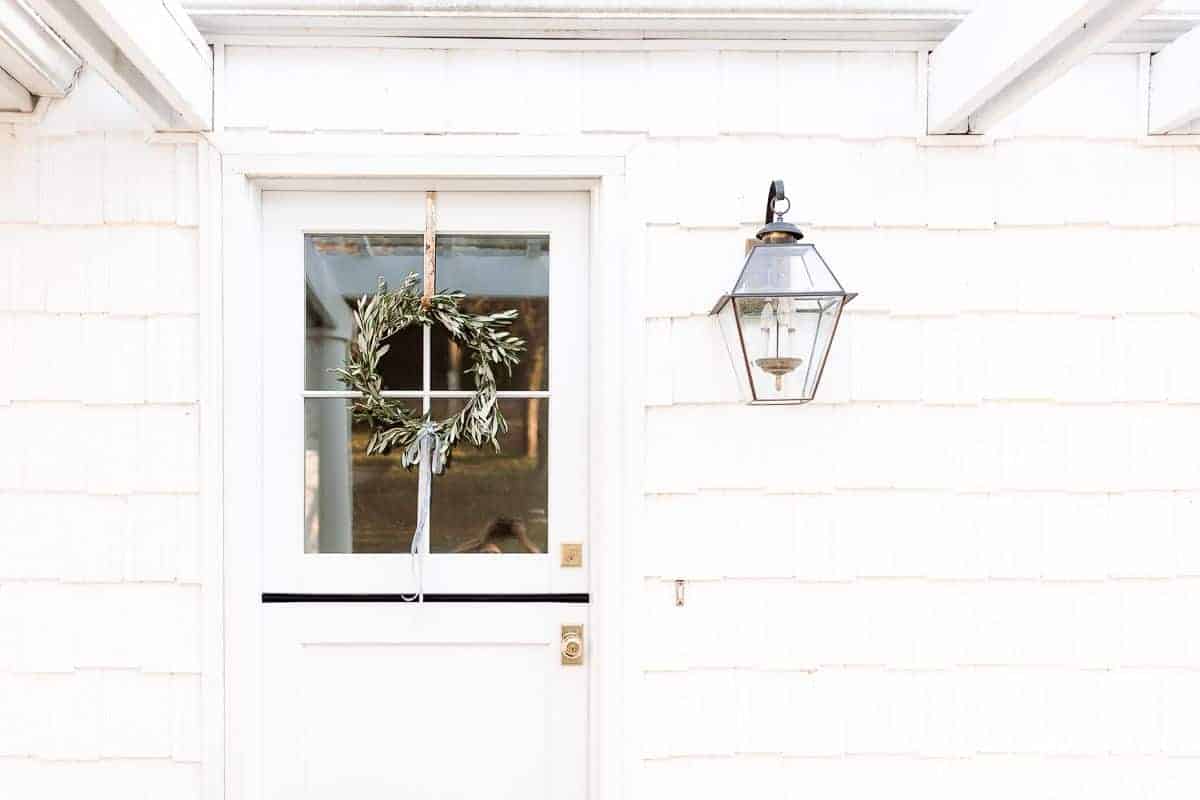
Where to Hang your DIY Christmas Wreath
While I love a traditional door greeting, I find that adding wreaths throughout the interior of our home is such an easy and effortless way to decorate for the holidays!
Try hanging a wreath in any of the following places.
- Windows
- On a range hood in your kitchen
- Switch out art in any room
- In your foyer
- Over sconces
- On chandeliers
- Add a wreath on kitchen cabinet door fronts
- Add small wreaths to your china cabinet hardware
Before I decided to hang this wreath on the front door of our lake cottage, I tried it in our little reading nook under the stairs. I think it looks so sweet here too!

This olive wreath is part of our Scandinavian Christmas decor. What do you think? Where would you hang a little DIY Christmas wreath like this one?
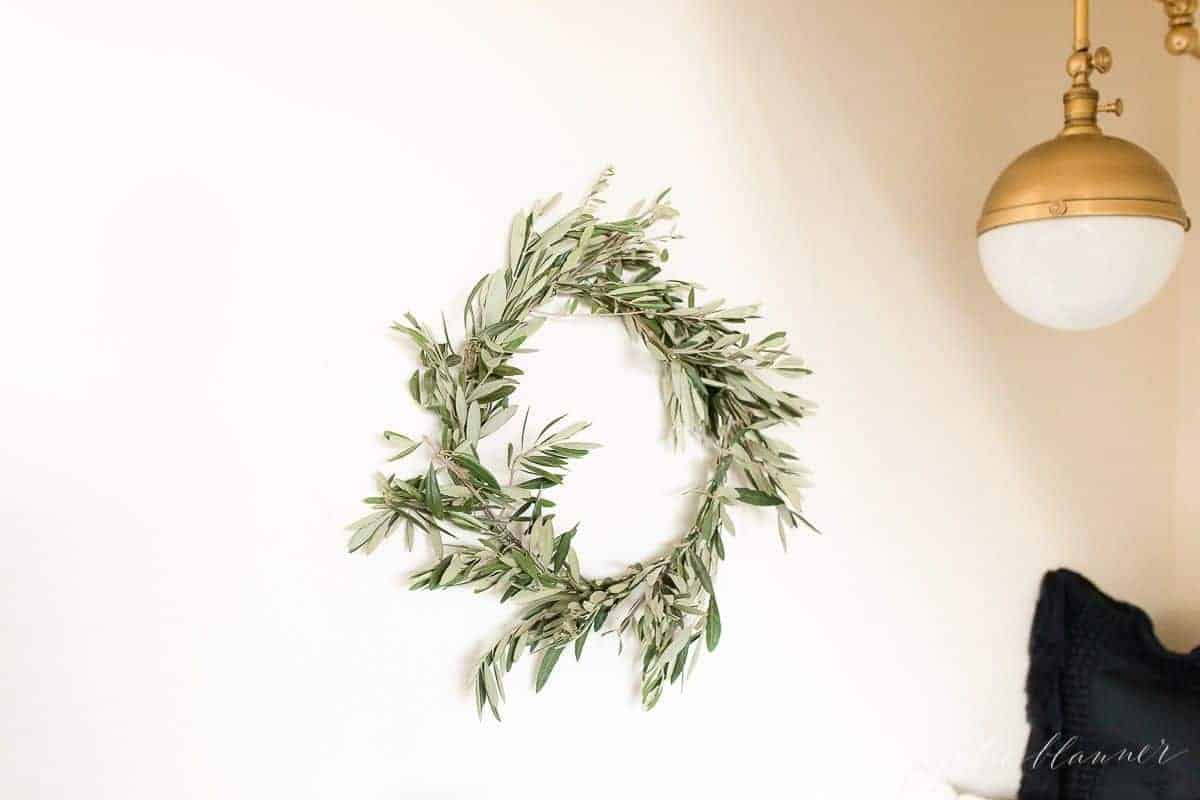
In a previous year, I used this same technique but with seeded eucalyptus instead. This wreath is one of my favorites, using just $3 in eucalyptus!
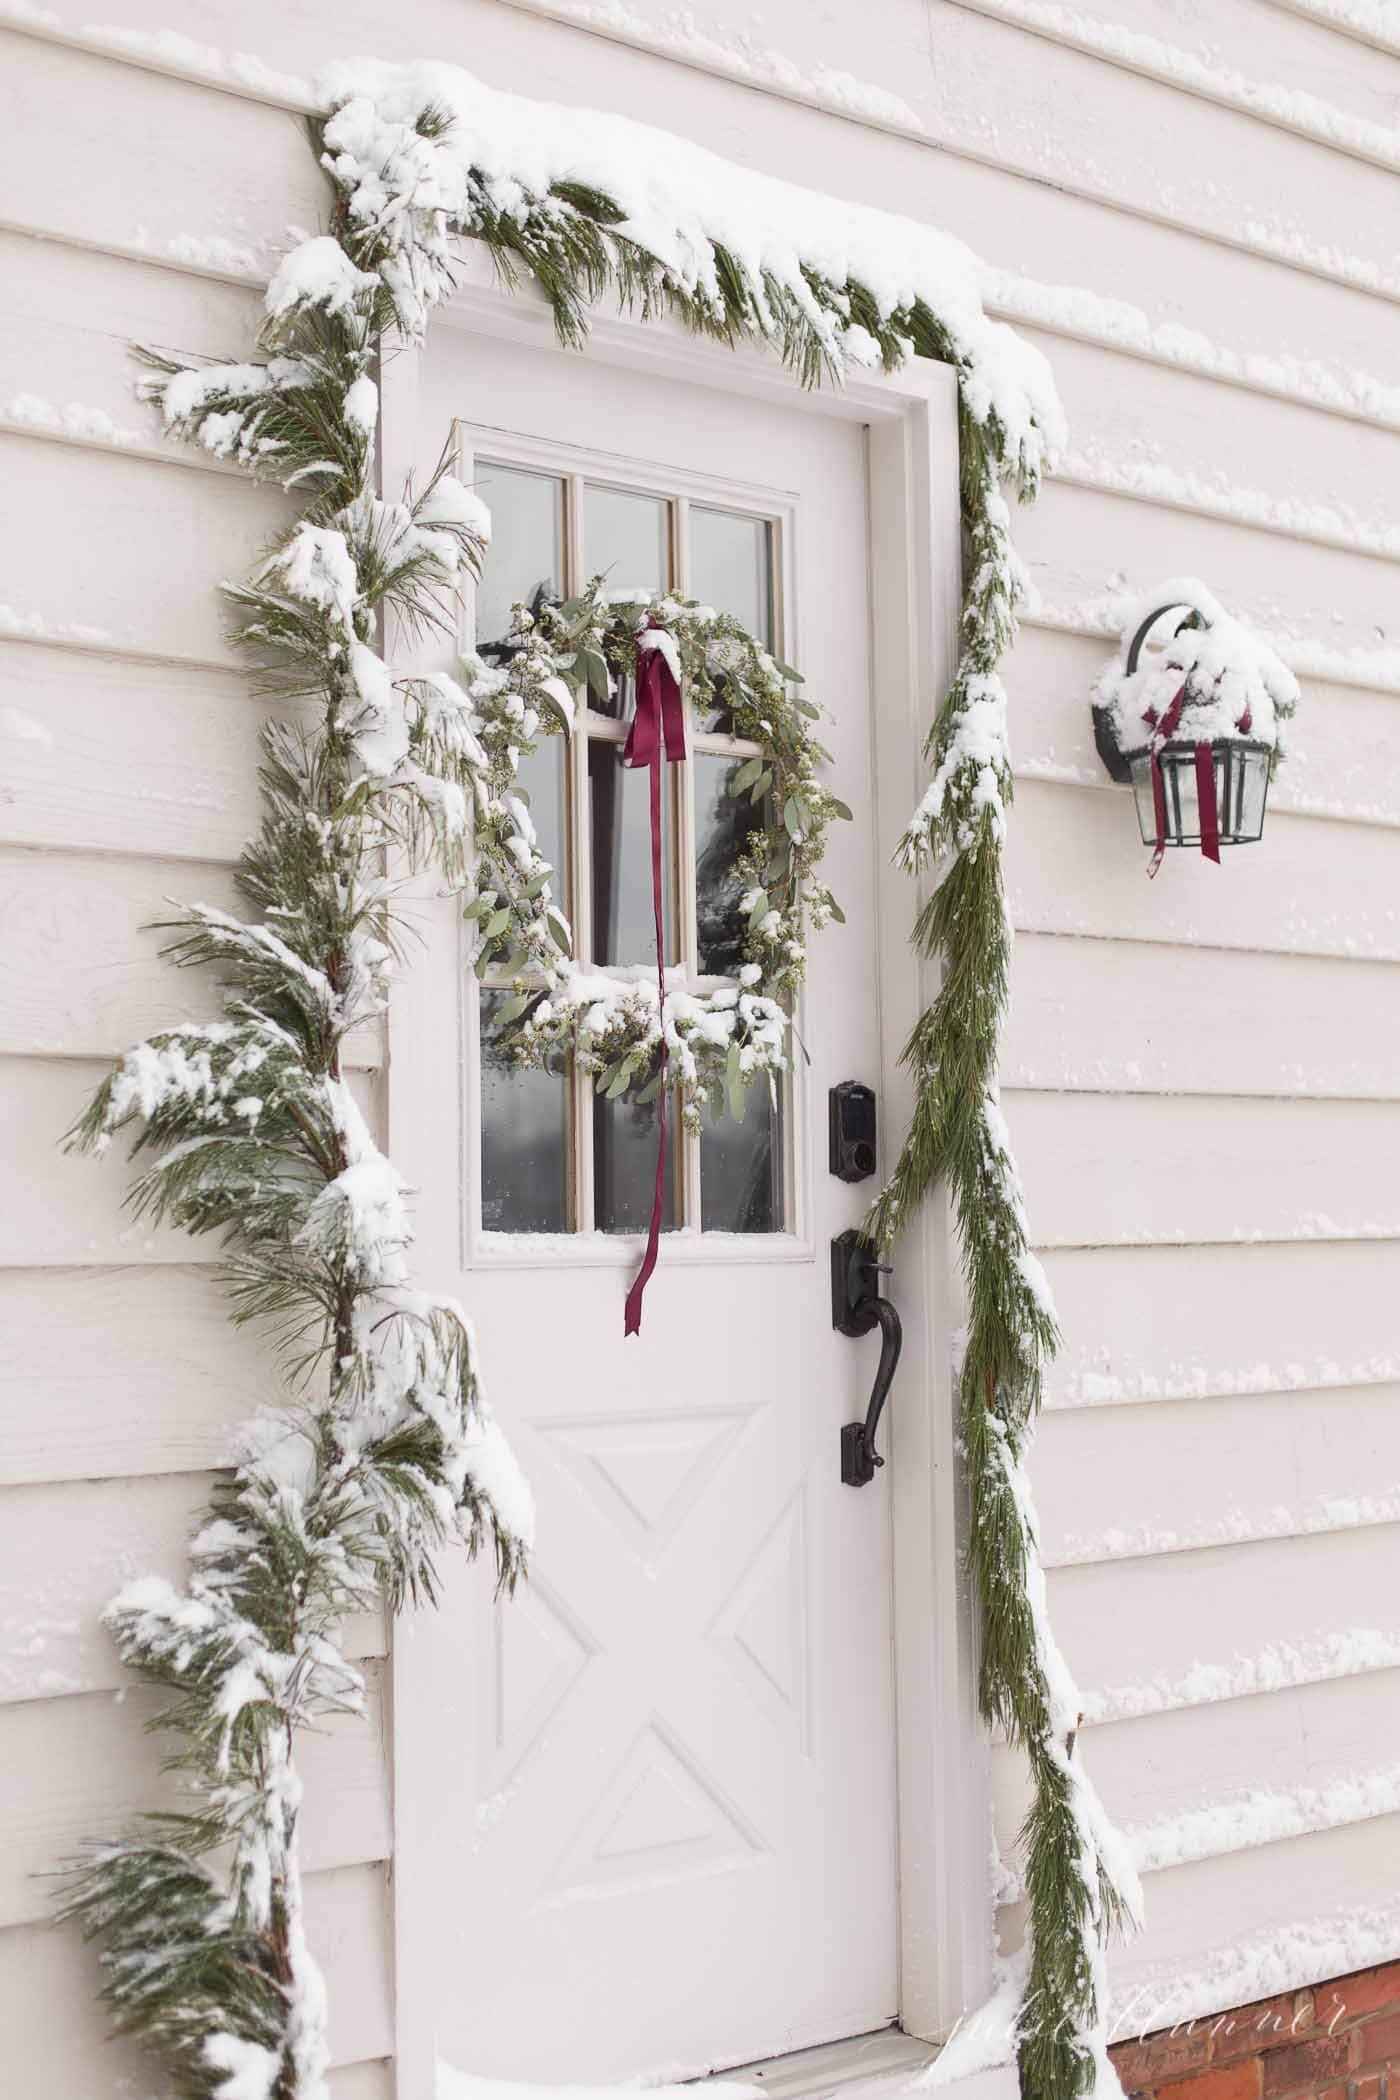
Have you ever made your own DIY wreath? I’d love to hear from you! If you complete this project, be sure to come back and let us know how it turned out.






Me too. Did find the home tour eventually
I clicked on the link for the home tour and got instructions on how to make a wreath.
I’m SO sorry! Too many kids playing around me while I was sending this morning. You can see the tour here. Hope you have a beautiful weekend!