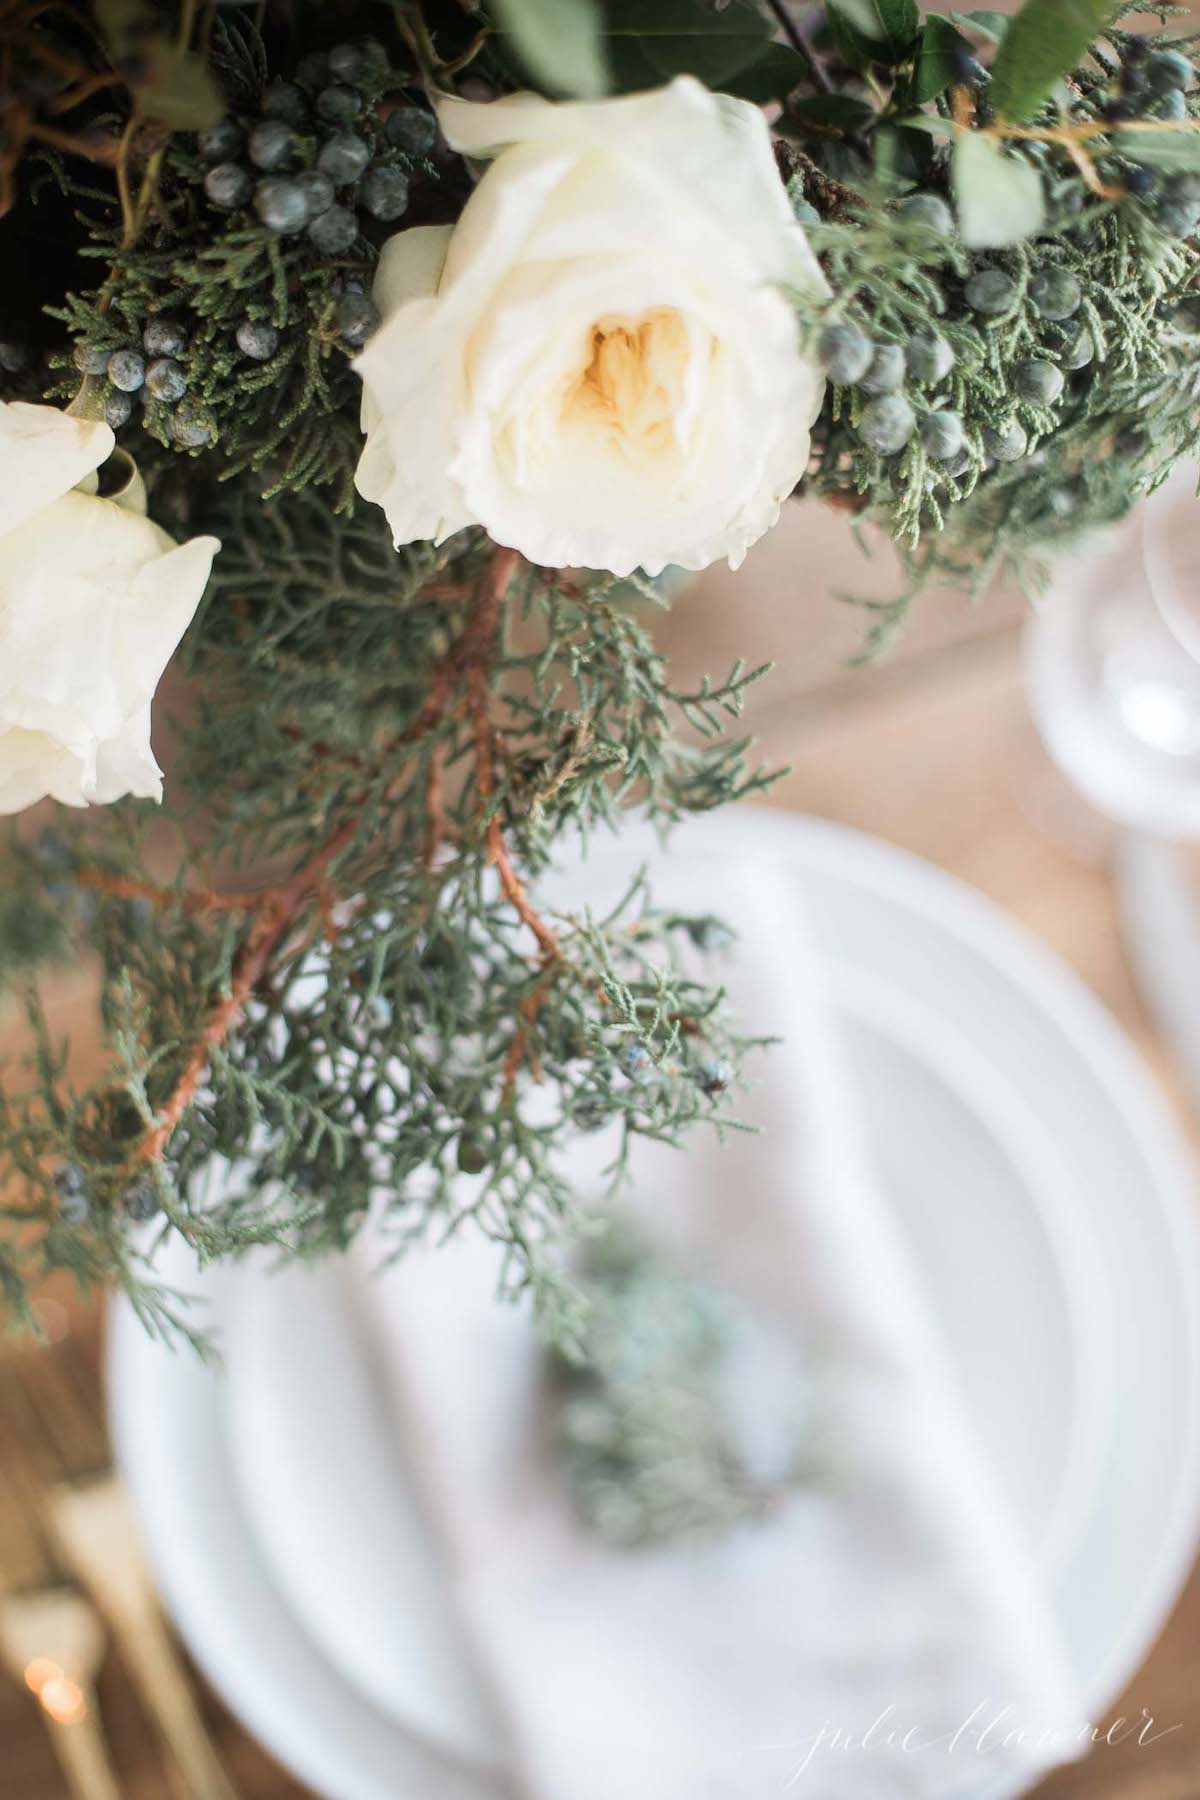
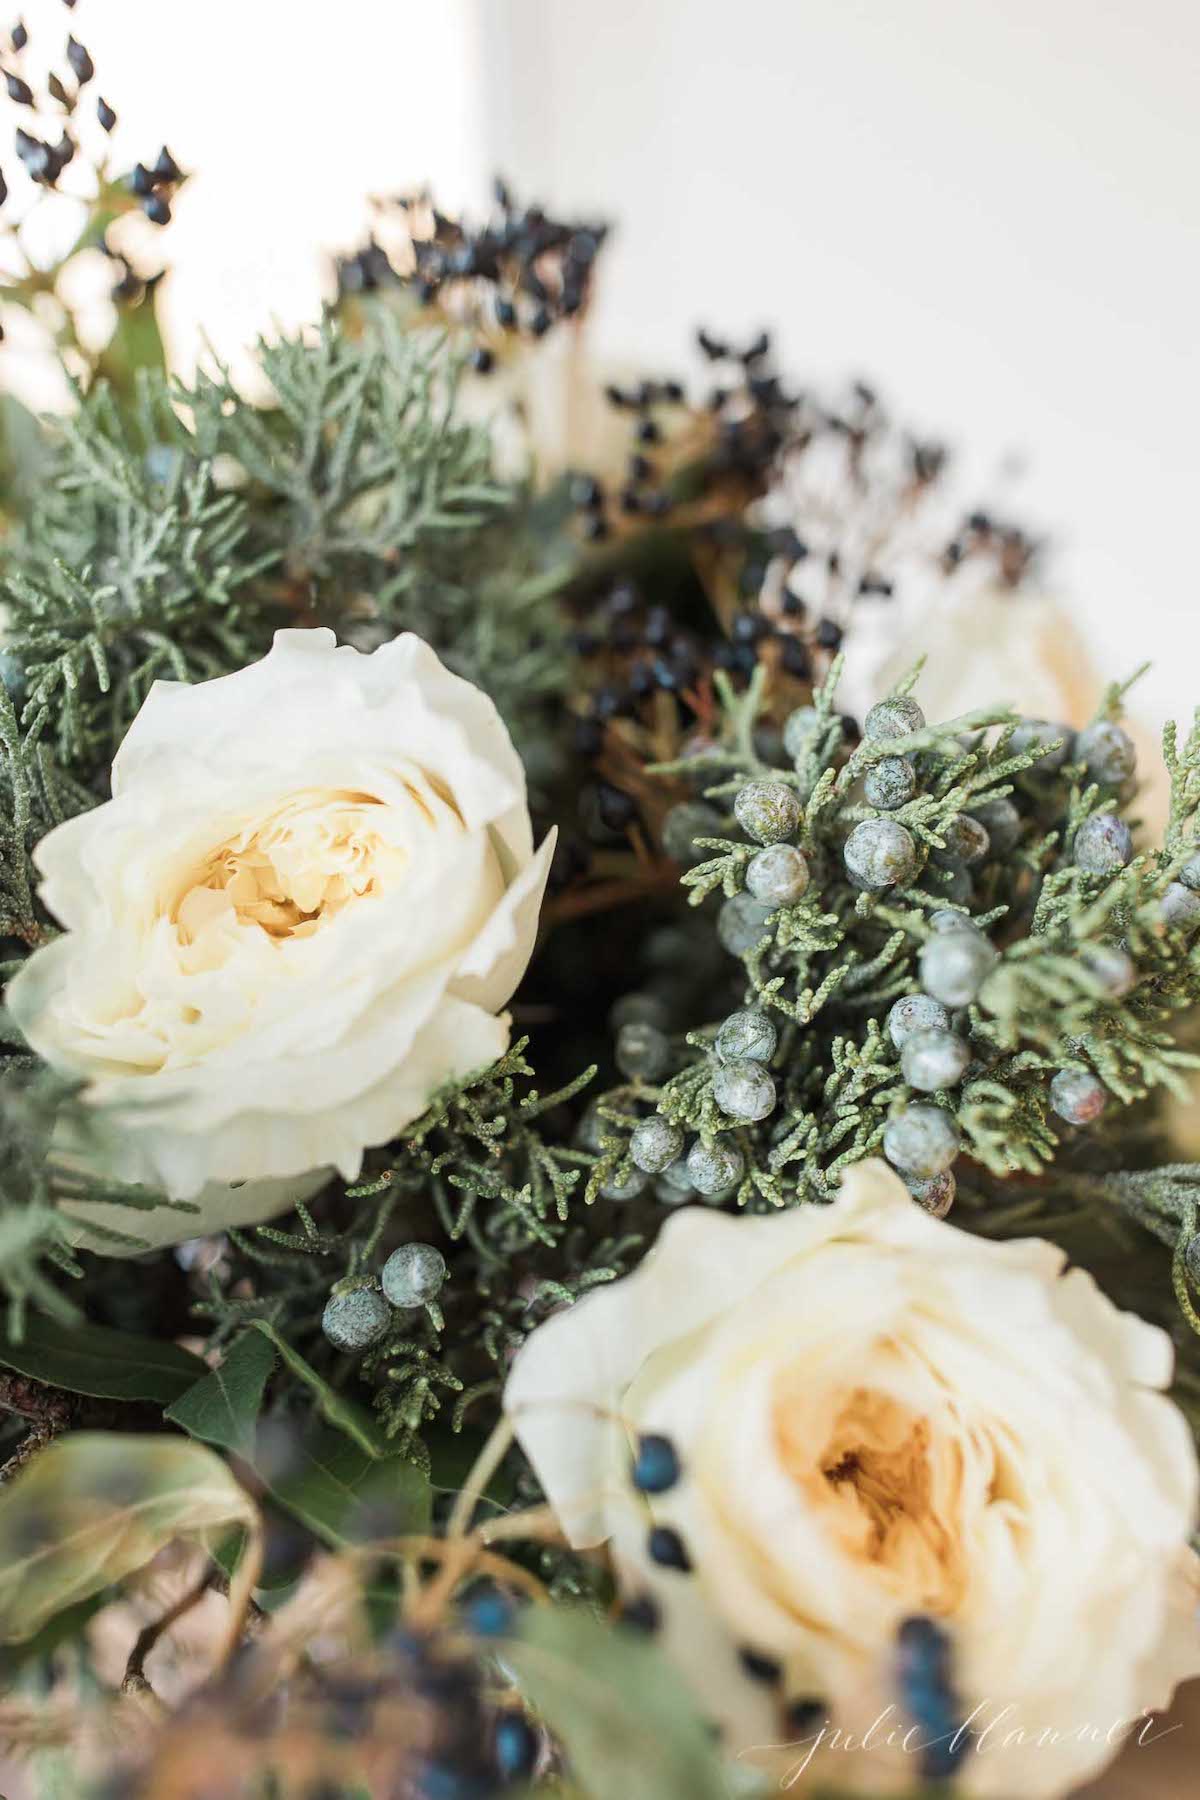
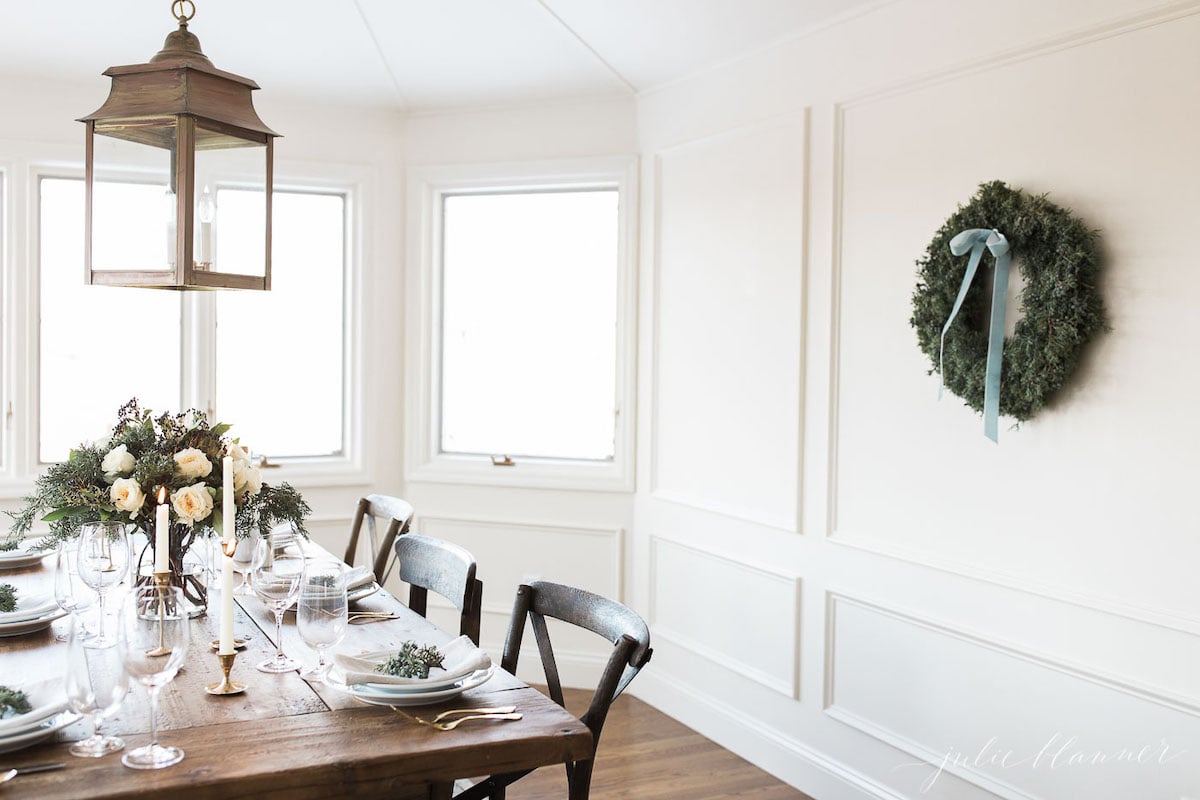
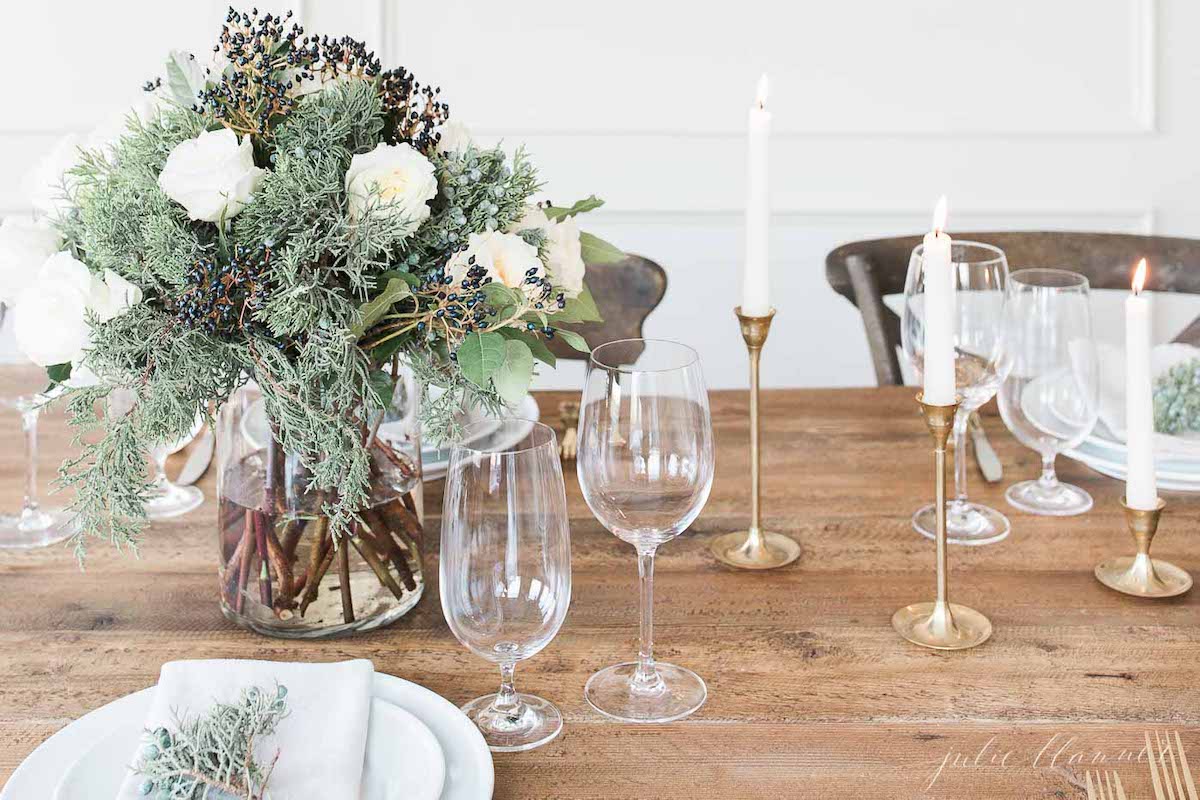
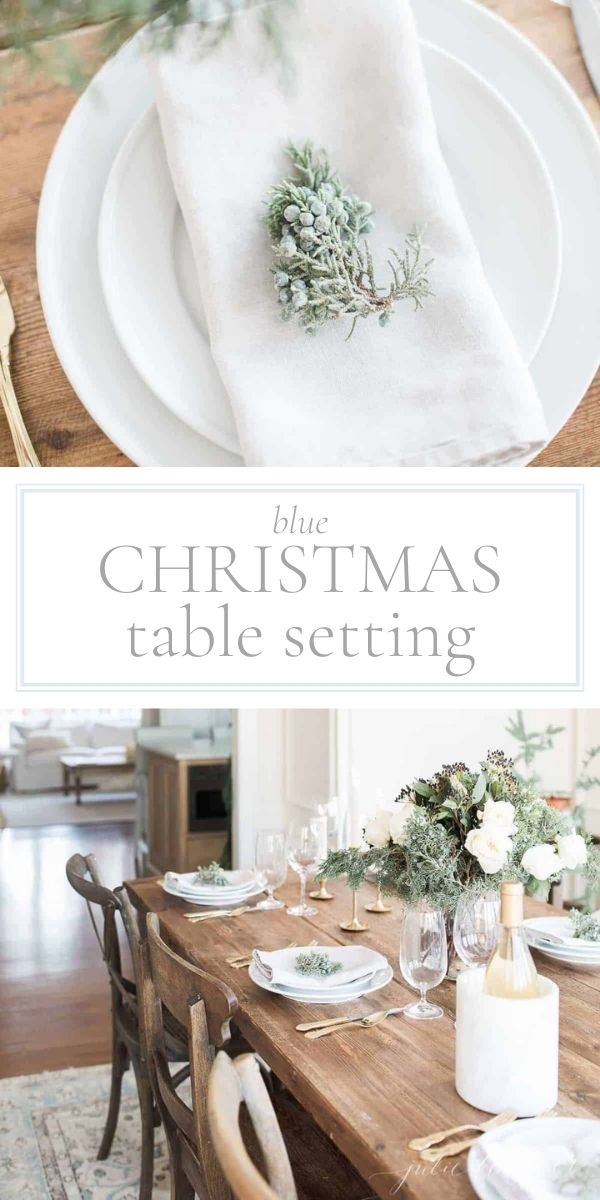
This holiday table will leave you feeling blue, in the best possible way. Soft touches of blue juniper berries, privet berries, and white roses create a soft blue Christmas centerpiece.
Learn how we put this pretty table together. It’s so much easier than you might think – and all done with grocery store flowers!

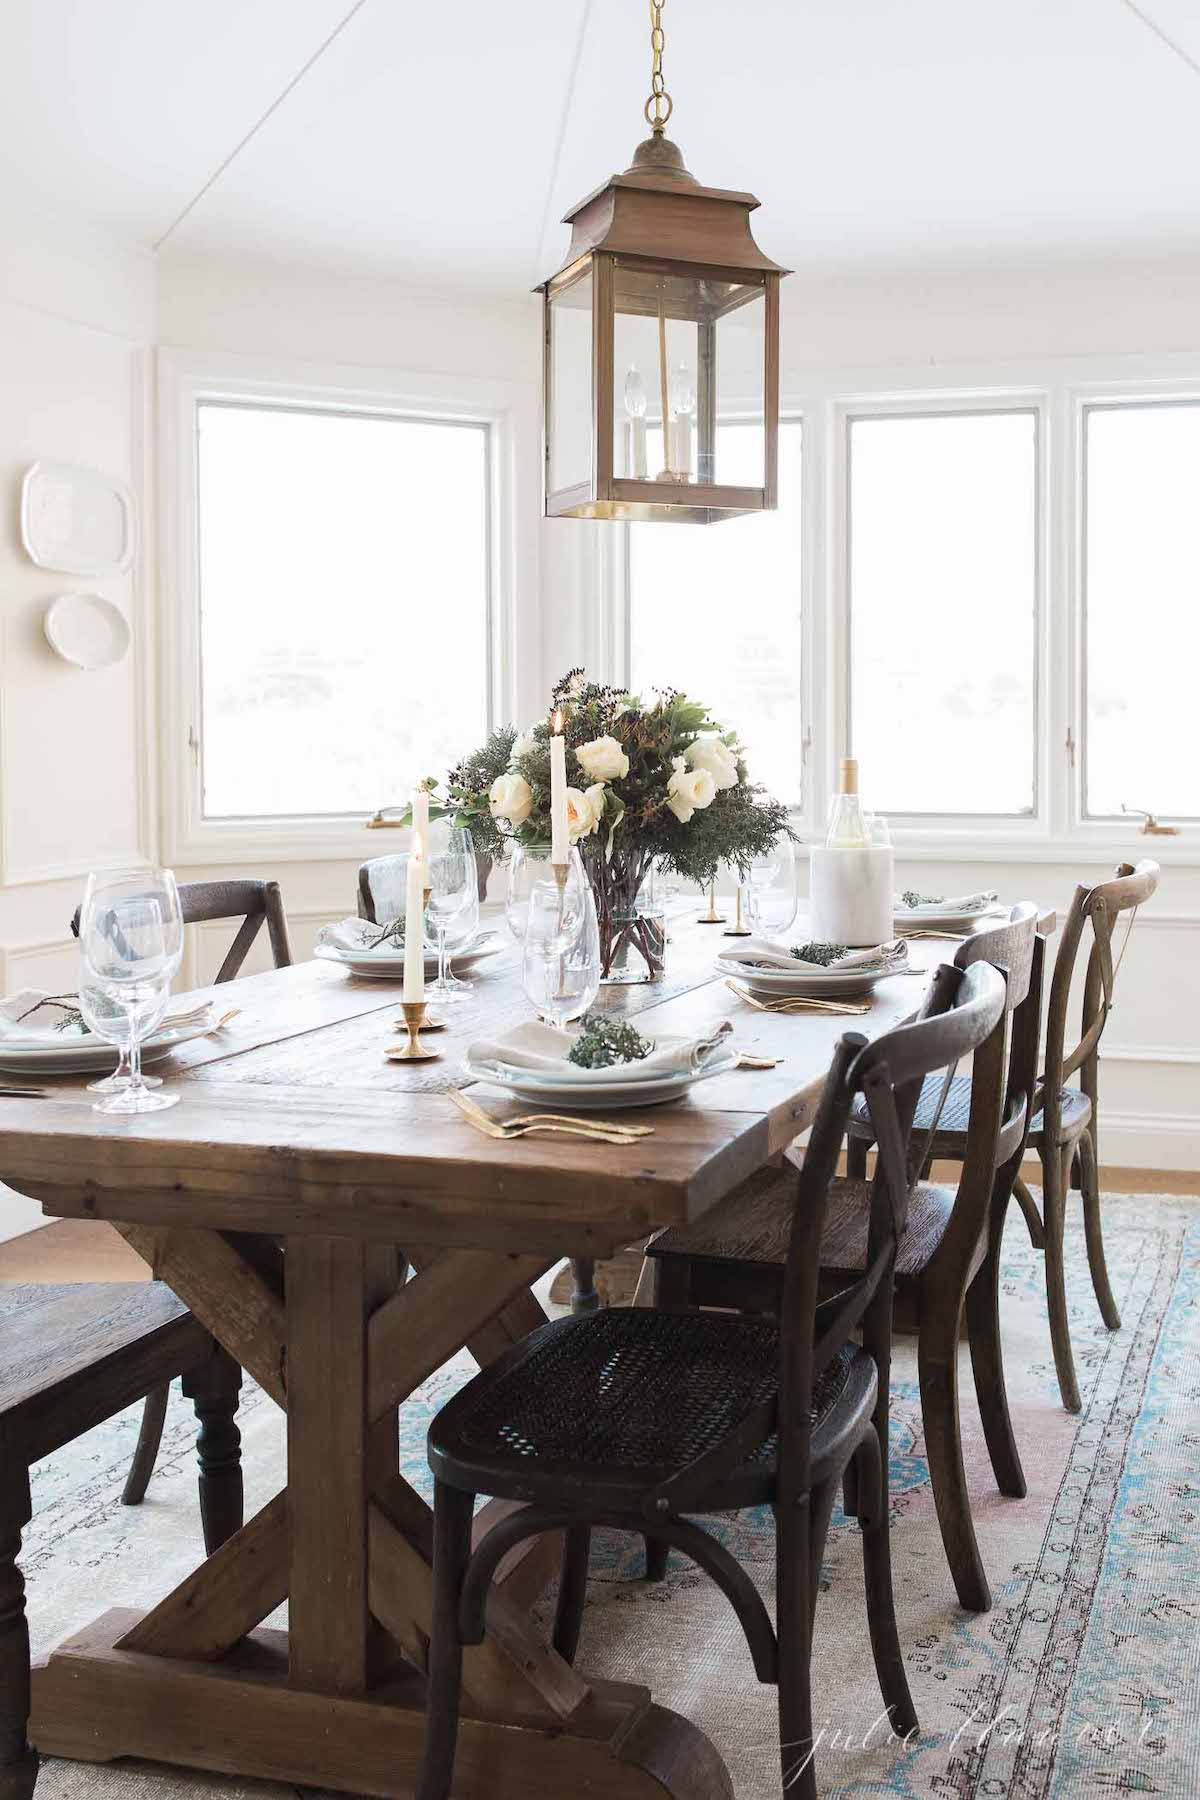
It’s that time of year – I’m sharing our breakfast nook all decked out with a pretty blue table setting.
I’m so excited for the holidays! I’ve been playing holly jolly Christmas songs and making some of our favorites including Peanut Butter Fudge, Peanut Clusters and hot chocolate.
Can you believe it’s already time to share a little fresh holiday decor? I feel like November is flying by, and I have so much I want to create and share in the weeks ahead.
Blue Christmas Centerpiece
I have a complete guide for both Christmas Centerpieces and Fall Centerpieces! There’s an incredible collection of inspiration from years gone by that I just know you’ll enjoy.
My Christmas decor is generally a slow crawl – I like to pace myself and enjoy the process, versus getting stressed out about having it all done in a day.
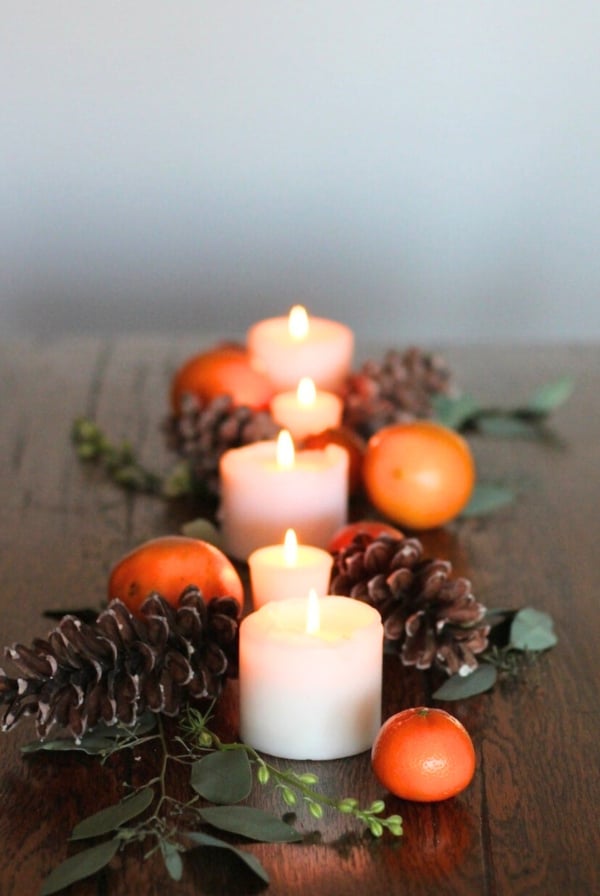
This year, I wanted to create a holiday table in a slightly different color palette. I was inspired by the soft beautiful shade of blue in juniper berries that grow at the lake cottage and a pretty velvet ribbon I found.
It was the inspiration I always look for when deciding on my Christmas decor each year!
As a minimalist, I draw from everyday staples (listed below) and accent with foraged greens and flowers. This blue Christmas centerpiece is no different!
Blue Christmas Decor
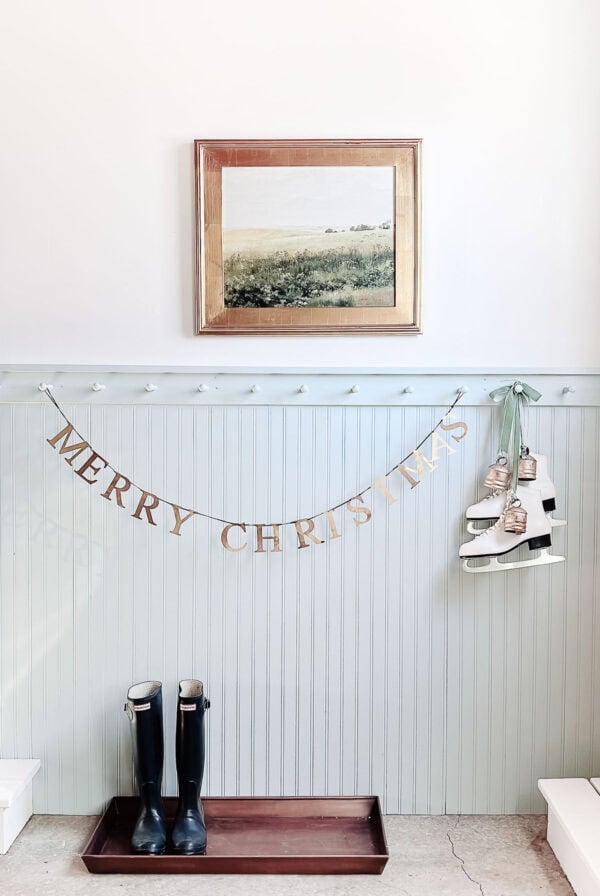
Head over to the complete tour of our blue Christmas home! It wasn’t the Elvis kind of blue Christmas, I can promise you that – this one was soft, subtle and so calming.
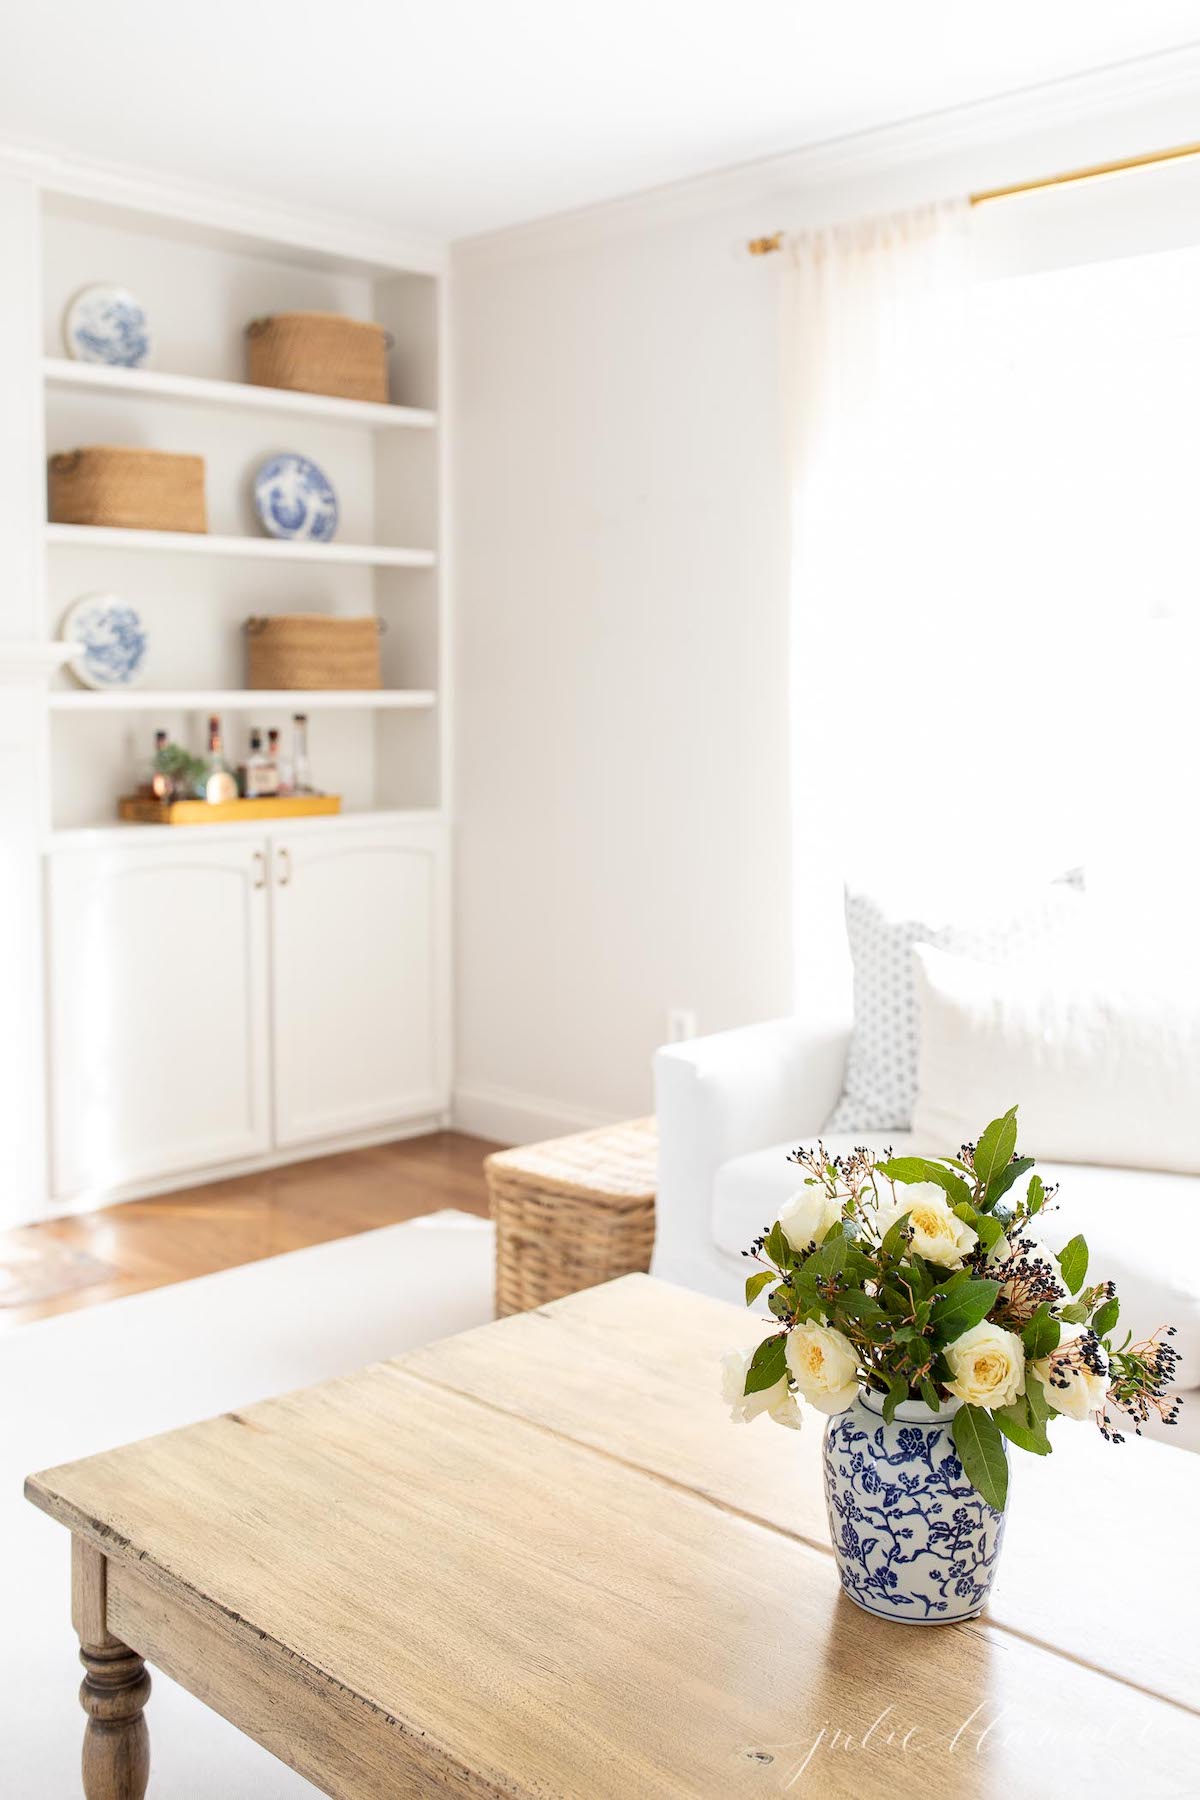
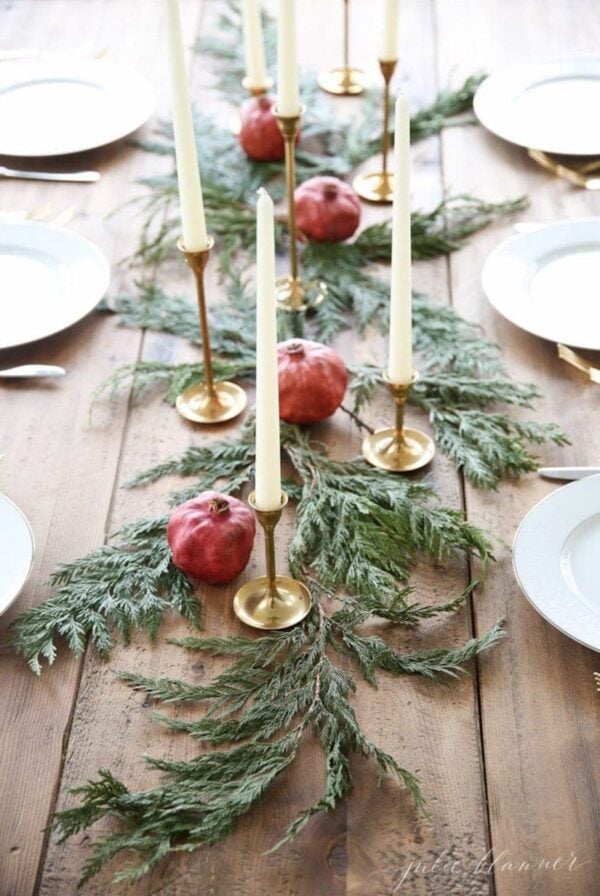
We created this tablescape as part of our classic blue Christmas decor. Subtle touches of blue velvet ribbon, blue berries, and blue and white chinoiserie pieces brought this look to life.
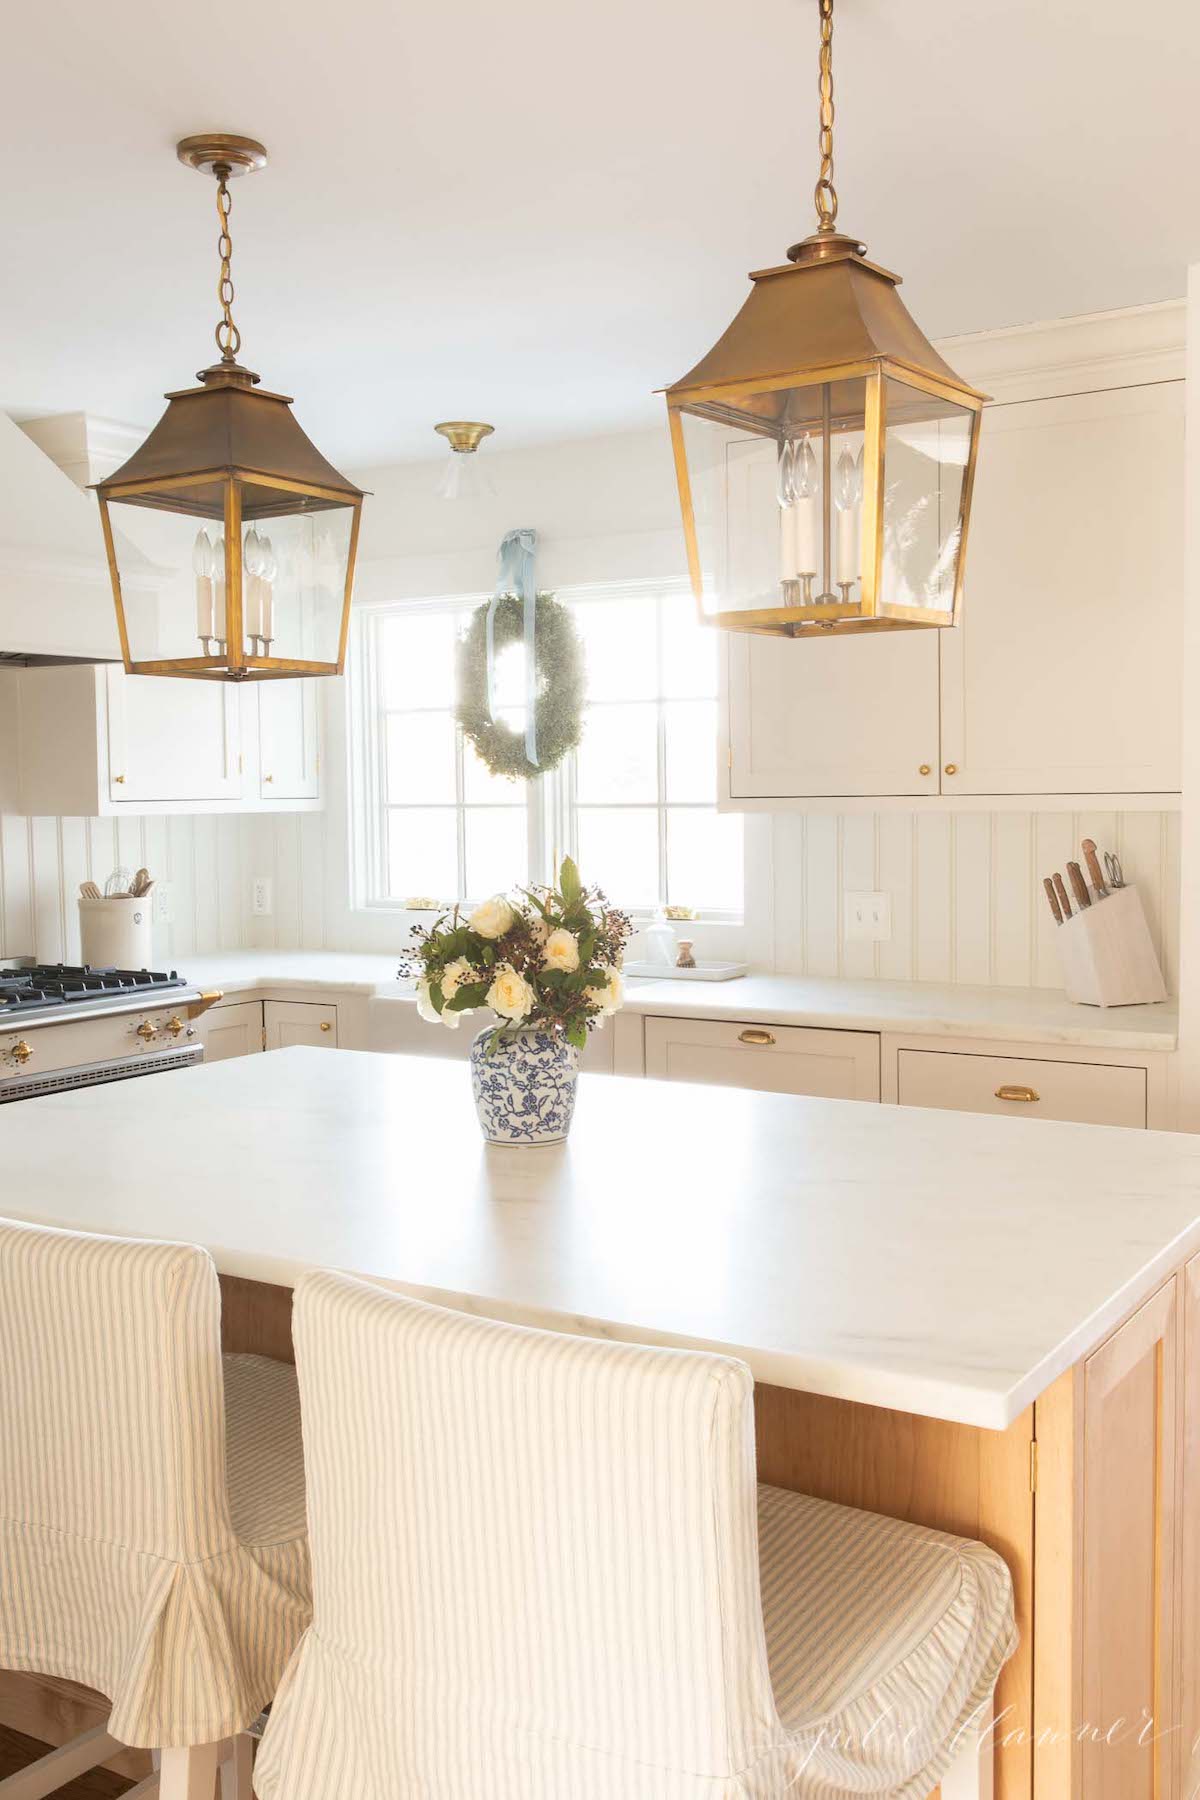
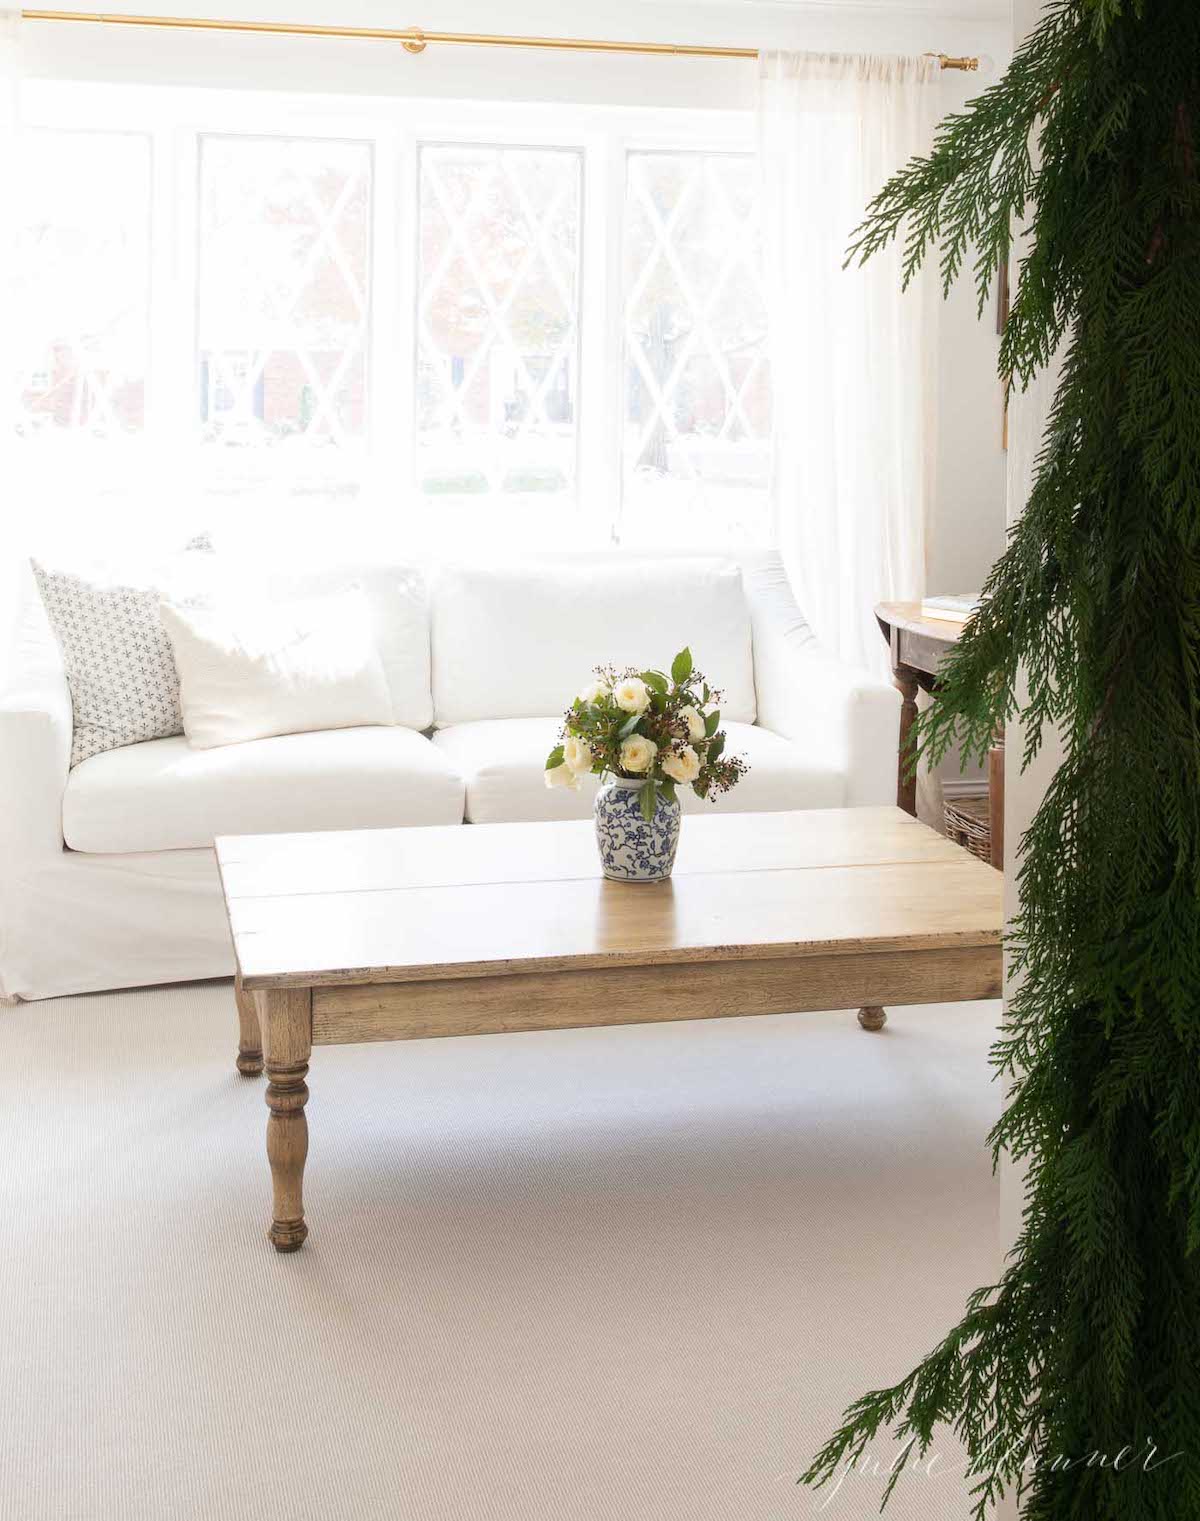
In fact, we used this style of blue centerpiece in several areas of our home – on the kitchen island and as part of our coffee table decor as well.
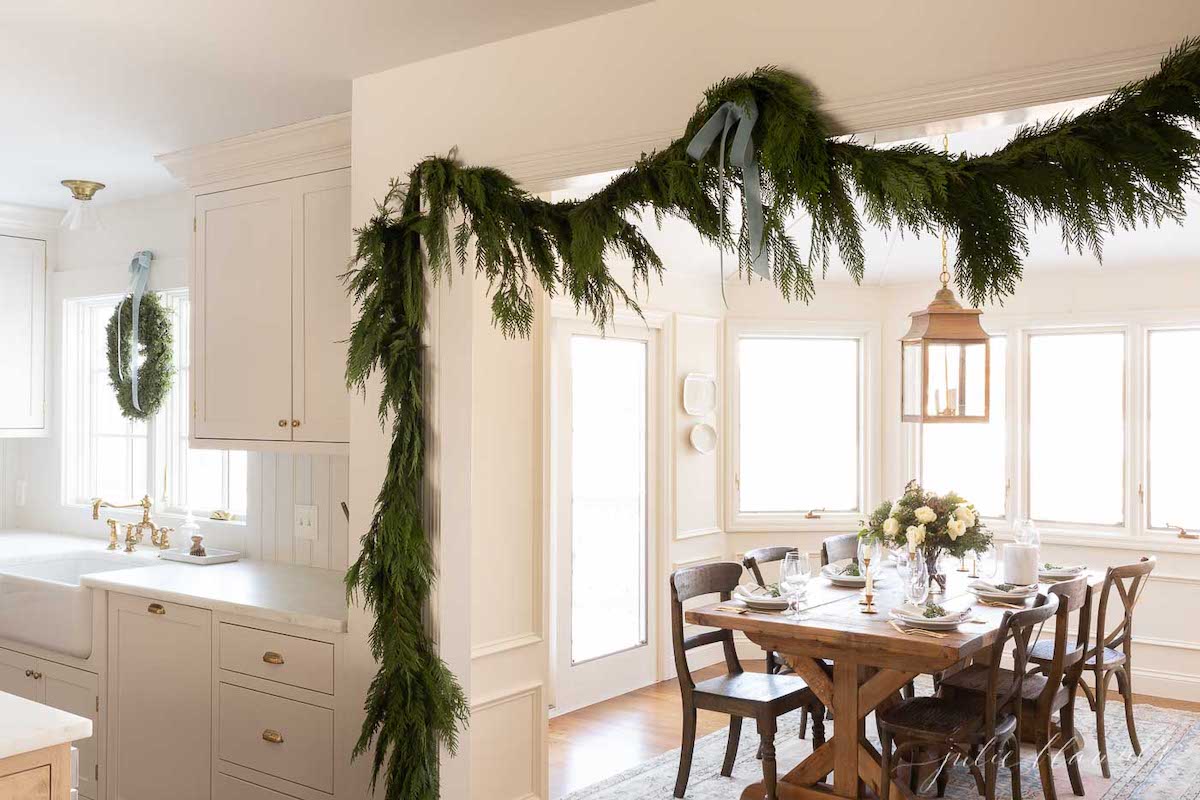
To make this look feel more dramatic, I added a cedar garland around the door frames of our kitchen. It adds the most beautiful scent and frames the breakfast nook beautifully!
Tools to Use
Ingredients
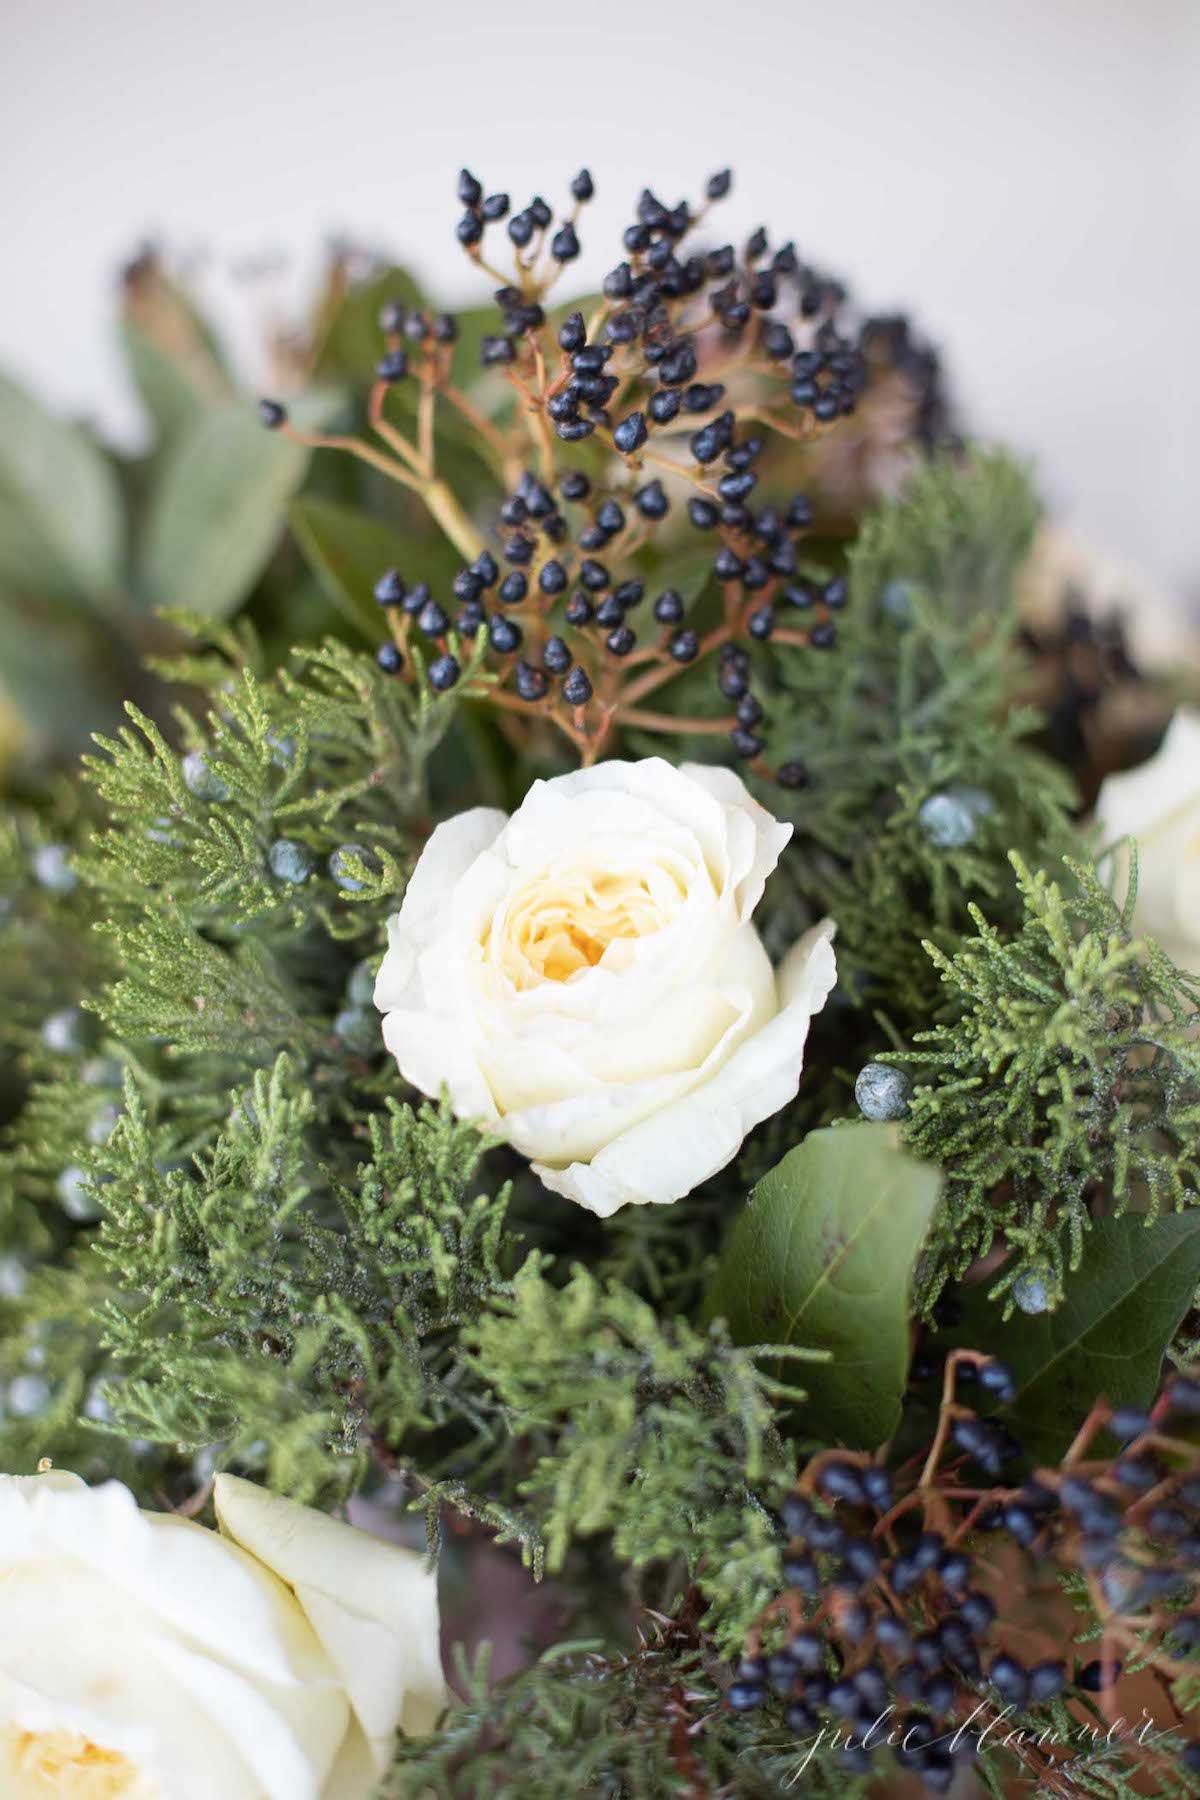
You’ll need three types of stems. In my case I used juniper, privet berry, and garden roses.
- Juniper
- Privet Berries (any berries will do, hypericum tend to be easily accessible)
- Garden Roses (however, any roses will do)
Nothing inspires me quite like the shape, fragrance and lush petally look of garden roses. These cream beauties have the most incredible scent! This centerpiece is quite simple to create, I promise.
How to Make
- Fill your vase with water.
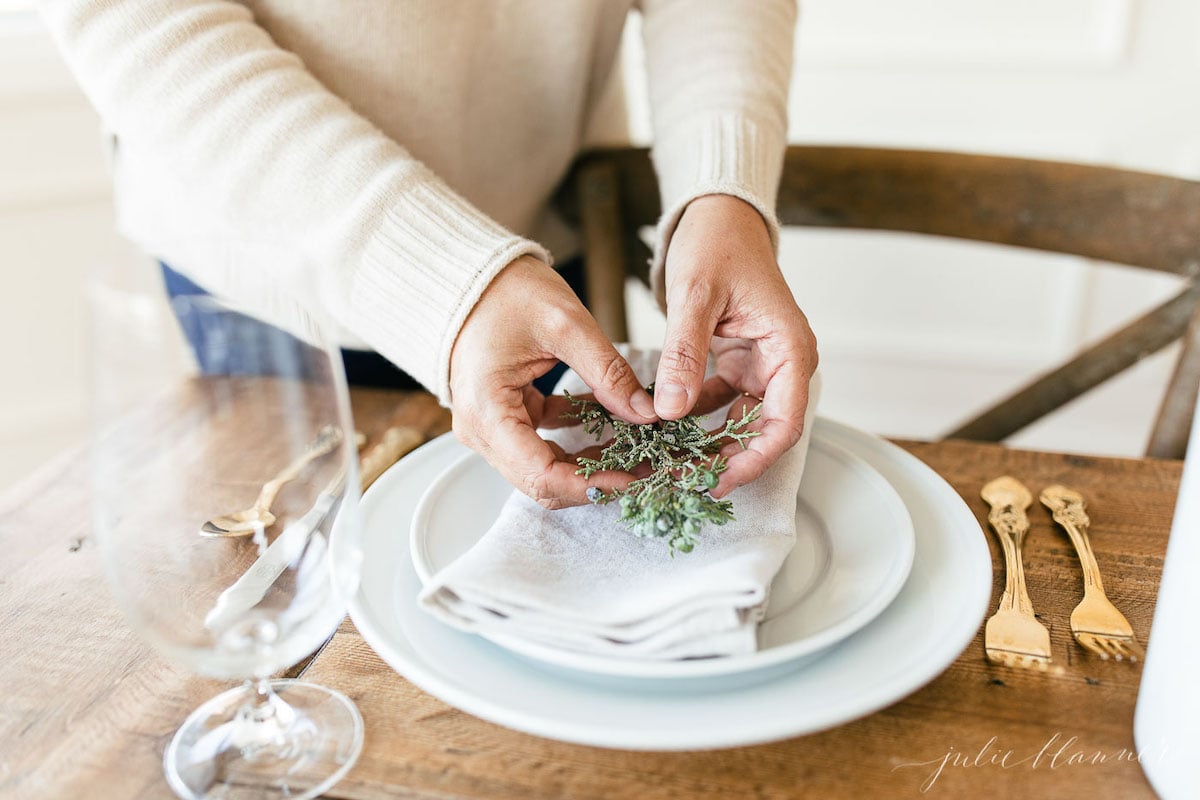
- Prep your stems by removing any leaves that may fall below the top of the vase.
- Working along the outside, add your first layer of greenery. Choose the greens that drape the best – in this case it was my privet berry simply because it had a longer stem. On the outside of the vase, angle the greenery so you can see how you’d like it to fall and what length you would like it to be. I like to do this near the edge of a counter top so I can visually see where I need to cut. Cut at an angle, and repeat with all the stems.
- Add your second layer of greenery, in this case stems of fresh juniper, again working along the outside.
- Measure and cut your garden rose blooms working in all directions, turning your vases as you work. Work your way inward.
- Continue with any additional flowers.
- Fill in any holes with greenery until your arrangement feels full and adjust as needed.

Tips
- Cut stems at an angle.
- Replace with fresh water as needed.
- Refrigerate to extend the life of the arrangement.
- Create 1-2 days in advance. Roses get comfortable and tend to open up more over time.
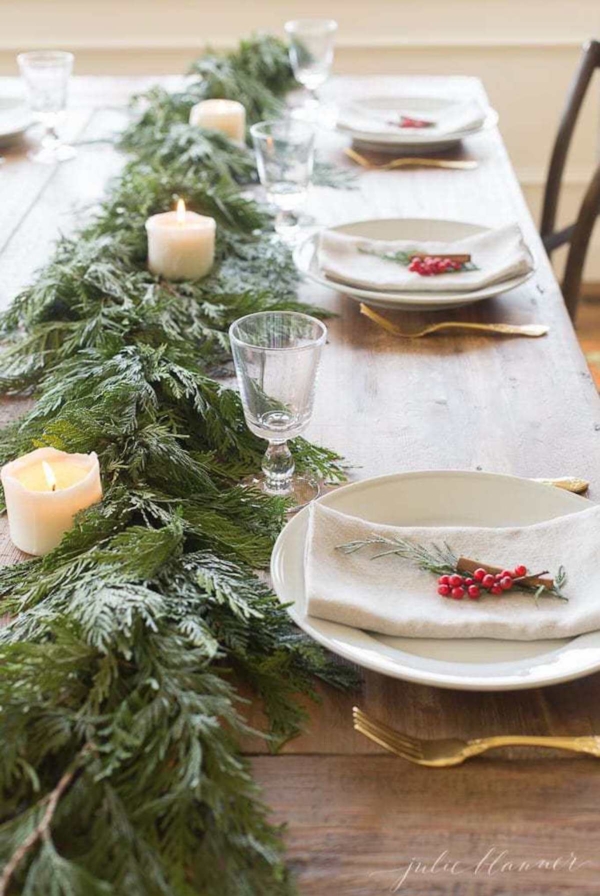
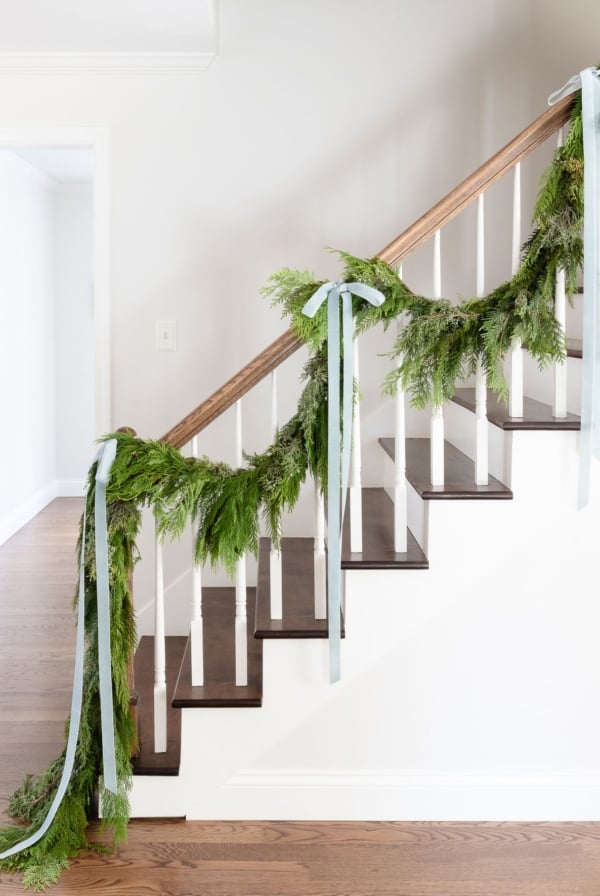


That garland makes such a welcoming addition to your dining room. It’s gorgeous!
xo Michael
Thank you so much Michael! It makes me happy every time I walk by!