Are you considering your flooring options? Learn all about peel and stick floor tiles – what they are, how much they cost, their pros and cons, and more. See if they’re the perfect type of floor for your space!

If you’ve been here long, you know we’ve remodeled our fair share of homes. That includes redoing several floors, so I’ve spent a lot of time researching the best flooring options for different types of spaces.
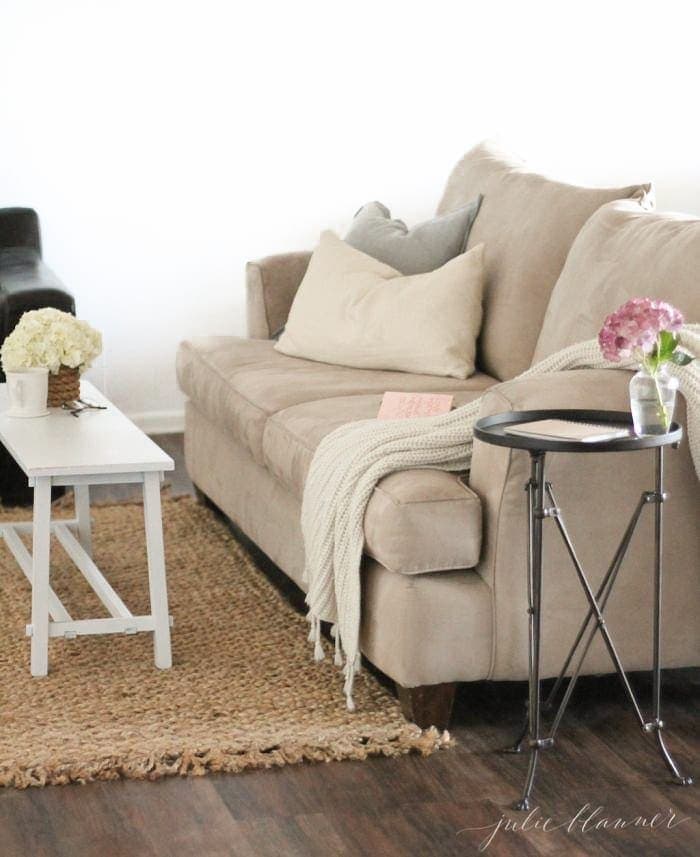
There are so many great types of flooring to choose from! We recently put beautiful White Oak Floors in our home and lake cottage. Hand scraped hardwood, carpet, brick, painted concrete, luxury vinyl planks, and peel and stick vinyl planks – we’ve used them all!
We used the peel and stick planks in the basement of our previous home. It looked like real wood, plus it was inexpensive and easy to lay. Did I mention it was inexpensive? Oh yes, I did, but it’s still hard to believe we completed a large space for just $300!
Now instead of planks, let’s talk about peel and stick floor tiles. They’re similar to planks but with some notable differences.
What Are Peel and Stick Floor Tiles?
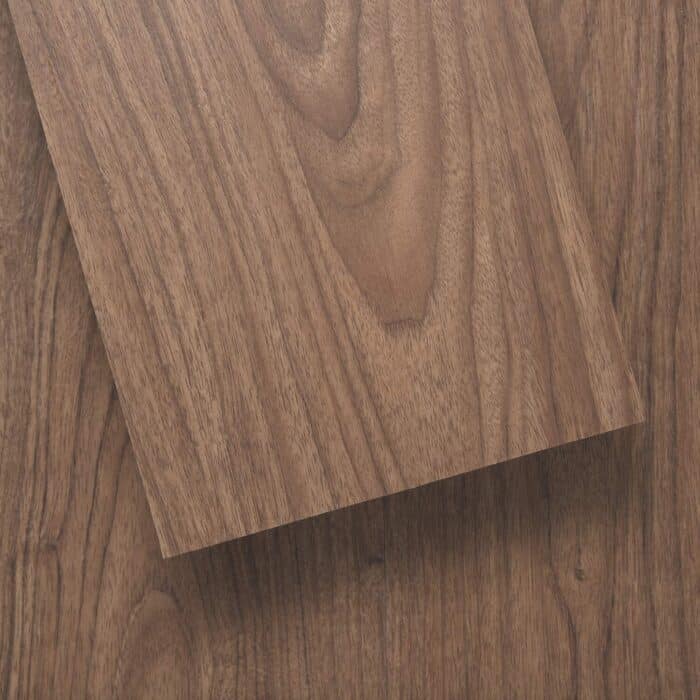
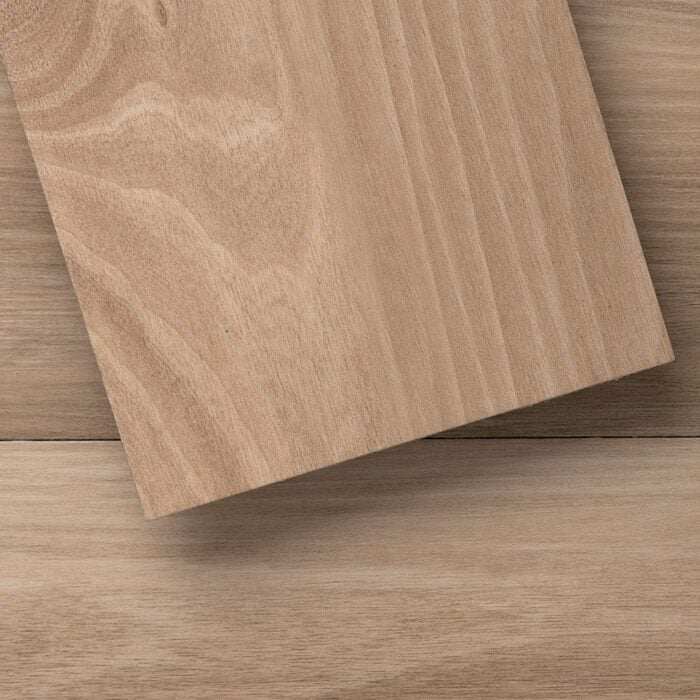
Peel and stick flooring is just what it sounds like – vinyl flooring with a self-adhesive backing, PVC core, digital image (i.e. wood or stone), and wear layer on top. Basically, you peel off a paper backing and you stick the tile in place.
Vinyl tiles are different from planks in their shapes and photographed images. Peel and stick planks look like long planks of hardwood. Peel and stick floor tiles look like, well, tile.
This means that vinyl tiles are usually square shaped, with the most common being the 12″ x 12″ and 18″ x 18″ sizes. You can also find them in rectangles such as the 12″ x 24″ size – see Subway Tile for different stacking patterns!
With improvements in technology, you can find self-adhesive floor tiles in just about any color, pattern, or “stone” you’re looking for. It can resemble marble, travertine, slate, quartz, sandstone, limestone, and cement. Some types of peel and stick tiles can even be installed then grouted to look even more like real tile.
Benefits of Peel and Stick Floor Tiles
There are a lot of reasons to consider peel and stick floor tiles for your home. Here are a few of them:
- Wide Selection – Choose from a huge selection of colors, patterns, and different stone looks to get just the style and design you want.
- Inexpensive – Most styles and patterns cost $0.60 – $1.20 per square foot. Even premium designs by top brands are fairly inexpensive – $2 per square foot (Armstrong) and $3 per square foot (Trafficmaster).
- Easy installation – Tiles can be cut with a utility knife and installed without an extra underlayment. Finish a room in an afternoon!
- Can be installed over other surfaces – This works best if your floor is smooth and level, such as a linoleum or hardwood floor. They may work over existing tile floors if you fill grout lines until flush. Follow your product’s instructions for specific prep needed.
- Water resistant – Peel and stick floor tiles are water resistant, in that water will not damage the surface of the tiles at all. They aren’t water proof, however, because there is nothing to stop standing water from seeping in between the seams and reaching the floor underneath.
- Easy on your feet – Unlike real tile that can be cold and hard on your feet, vinyl is a bit soft and warm. It is easier underfoot and makes standing for long periods of time a bit easier.
- Easy to remove – This type of flooring has a bad reputation for being difficult to remove. However, with the right tools (a heat gun and extra strength solvent to remove glue residue) it really isn’t that difficult. Plus, it can be done without damaging the flooring underneath.
- Replace one tile – If a tile gets damaged, it is possible (although it can be difficult) to remove just that one tile and replace it. Other types of flooring require you to remove the entire floor up to that point.
- Easy to clean – A broom, dustpan, and damp mop are all you’ll need to keep these floors looking like new. You don’t want to get them overly wet, so light mopping is all they need.
Cons
Of course, no flooring is foolproof. Here are some of the downsides to self adhesive floor tiles.
- Not real stone – Obviously, if you want the look of real stone, this is an option, but it will never be real stone. When compared to the real deal, it will be fairly obvious that this isn’t it.
- Home value – Self adhesive floor tiles won’t increase your home’s value. In some cases, they may even lower it a bit.
- May shift – Make sure to follow installation instructions on your specific product! If your floor isn’t properly prepped for adhesion, tiles may shift over time and leave small gaps in between.
- Off gassing – The adhesive may release gases, causing to smell for several days or even weeks. Some people are more sensitive to the smell than others.
Where to Use Self Adhesive Floor Tiles
Peel and stick floor tiles are ideal for light to medium traffic spaces. Also, avoid areas that may be exposed to a lot of water, such as kitchens and an high-use bathrooms.
Self adhesive tiles would be great in these areas:
- Guest bedroom and bathroom (not often used)
- Powder room (without shower or bathtub)
- Laundry room
- Walk in closets
- Storage/utility rooms
- Multimedia rooms
- Game rooms
- Home office
You may even consider using them in high traffic areas, such as kitchens, living and family rooms, and main bathrooms under certain conditions. Perhaps you want a quick update while you save for a full remodel. Peel and stick floor tiles could help you love your home while you wait!
Installation
Self adhesive floor tiles are pretty straight forward to install, so they make an easy DIY. However, if you’re not sure it never hurts to hire a professional.
All it takes is a utility knife to score the tile, then it should snap fairly easily. A small square helps to keep lines straight. If you’re installing groutable tiles, you’ll need the necessary tools for grouting – the grout, a float, a bucket, and a sponge.
The floor you’re installing over should be clean, level, and smooth. Ideally this would be underlayment such as plywood, hardboard, or cement board, but it could even be your home’s subflooring or concrete. The main concern is for it to be level and completely free from dust and debris – these can prevent the adhesive from working properly.
Some people have had success installing self adhesive tiles over existing flooring, such as linoleum. Make sure to read the instructions of your particular product first. It may require special preparation, such as leveling or priming.
The tiles don’t move much once they’re in place, so make sure to put them down straight and in line. If you need to make small adjustments before they’re all the way down, you can use a scraper and a heat gun to get them up.
How to Clean Peel and Stick Floor Tiles
It’s easy to keep your floors looking their best. With these simple tips, you can care for them with minimal effort.
Sweep using a broom or stick vacuum, like you would any kind of floor. It’s best to catch spills quickly if possible. Liquid likely won’t damage the top of the tiles, but it could seep into the seams.
Use a lightly damp rag or mop and your favorite all-purpose cleaner to clean the tiles as needed. A Swiffer-type mop would work great as well. Avoid using abrasive cleaners and sponges, since they can scratch the tiles. Also avoid using too much water.
That’s it! It really is that easy to keep your floors clean and fresh.
Variations
- Hexagon peel and stick tiles create a modern look.
- Use light and dark marble tiles to create a checkerboard effect.
- Use light, medium, and dark tiles to create a buffalo check pattern – this would be cute in a small powder room.
- Try creating different patterns with rectangle tiles, such as a herringbone or stack bond.
Let’s stay in touch! Join our newsletter for access to exclusive content, never-before-seen photos, your questions answered, and our favorite projects. You’ll receive the best design secrets delivered directly to your inbox! Sign up here!


Hello! Love what you did with your basement space. I especially like knowing that my two kids could roller-skate when we put down the vinyl planking. Did you ever find out what color you put down? We are going with a Lowe’s brand and are having a difficult time deciding on which color.
Thanks!
They discontinued it to our dismay. We removed a bar and couldn’t find it to add more.
Could tell me what color your vinyl planking your basement was at Lowe’s? Do you still like it two years later. We are thinking about putting it in our entire basement and then to follow upstairs in the kitchen. So I really want to pick a nice color not to dark and not to trendy. Thanks!
We still absolutely love it. I can’t recall off the top of my head, but I have extra in a package at home – I’ll let you know when we return from vacation. It has been so easy to clean glitter, marker, and glue off of it!
The best flooring for the basement is none other than vinyl flooring. Its easy to install and it is really best in places that is humid/moisture. Aside from that, its really inexpensive. I personally love vinyl ones for it really works well in our home.
Excellent, Looks great! Was it a fairly cheap re-model? We thought about doing that in our basement but we decided on on tiles as we had a terrible flood a couple of years ago. We got a great deal in the UK.
Excellent round-up!
If it helps at all: we live in Quebec, so the basement is somewhat more humid than the rest of the house BUT dries out like crazy in winter, temperatures in the basement can fluctuate by up to 10 degrees in a day, and, while flooding is unlikely where we are, it can be a concern. We went with the stick-on vinyl wood look-alike strips (your first option) and recommend them +++.
It looks enough like wood that someone commented on how wood in our basement is a bad idea, so they ‘fit’ with the rest of the house. It cleans so easily (cat puke, litter box accidents, paint spills from the toddler, etc = no problem). It’s really resistant. And it’s affordable. Oh, and for a very cold environment (quebec…), you can add extra insulation under the floor, and the vinyl won’t get chilled like wood or tile.
Also, if it helps: we picked a darker version of the same ones that are used on the floor of the medical clinic where I work. Those have been there for 10 years and don’t have a mark/scratch/discoloration. (And if there IS a scratch, you can take a hairdryer to it until the glue melts, and replace the tile in question. Not that it’s been necessary after 10 years in a medical clinic, but the option exists).
I agree! I put vinyl wood plank type flooring into my basement and it is impervious to water and can take a beating, plus it looks darn fabulous. Best inexpensive choice ever!
That’s great to hear, Jackie!