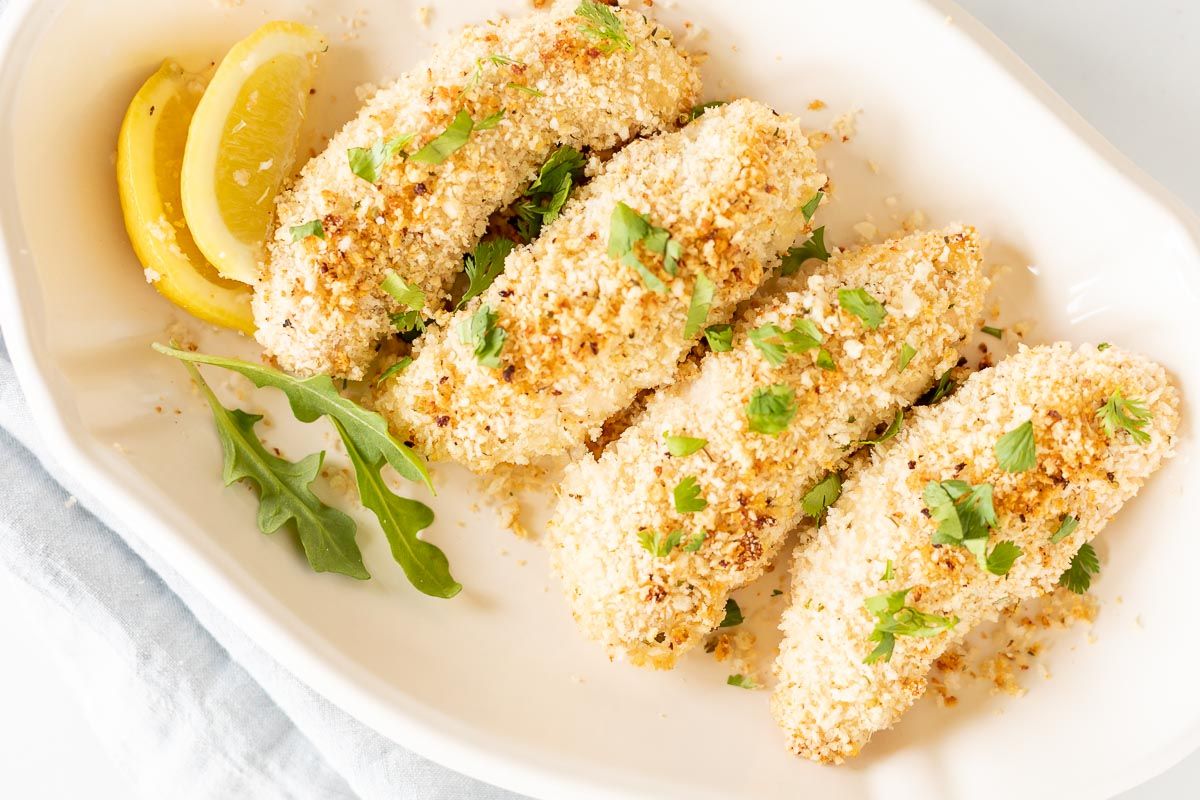
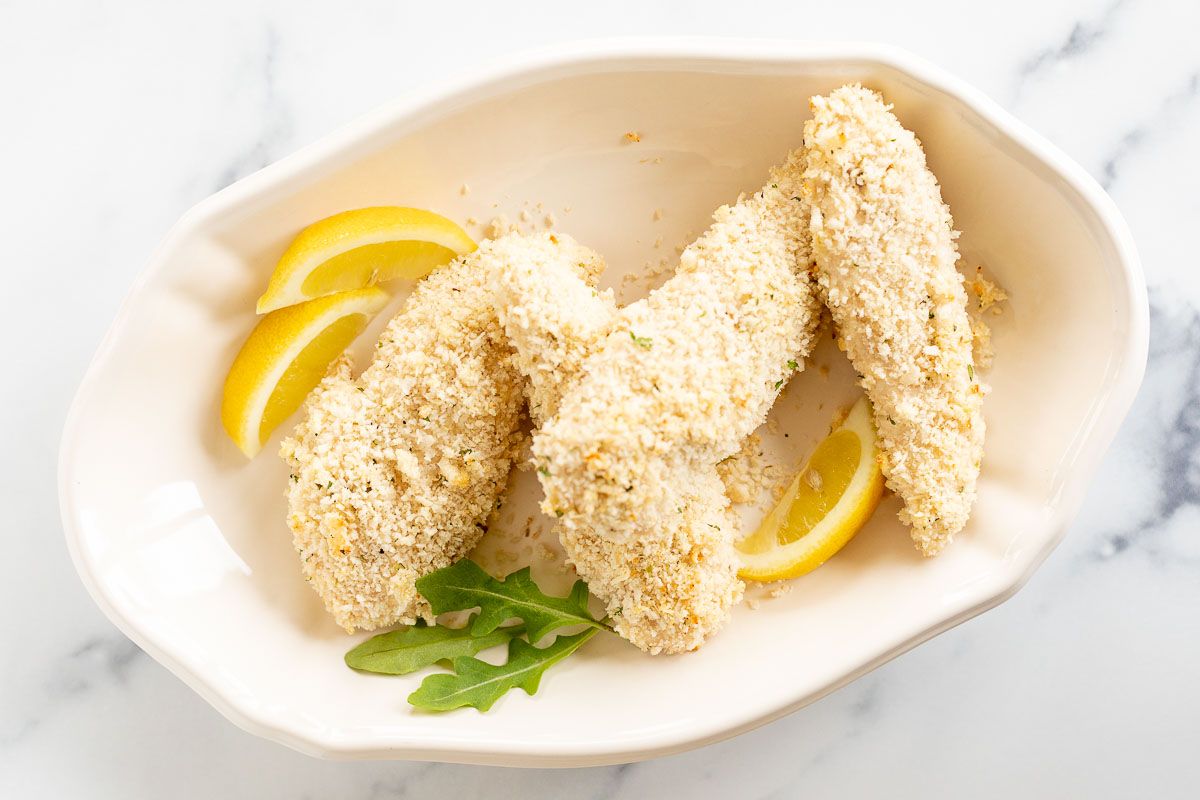
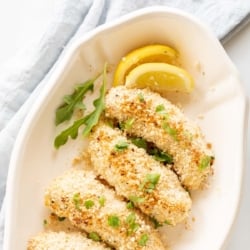
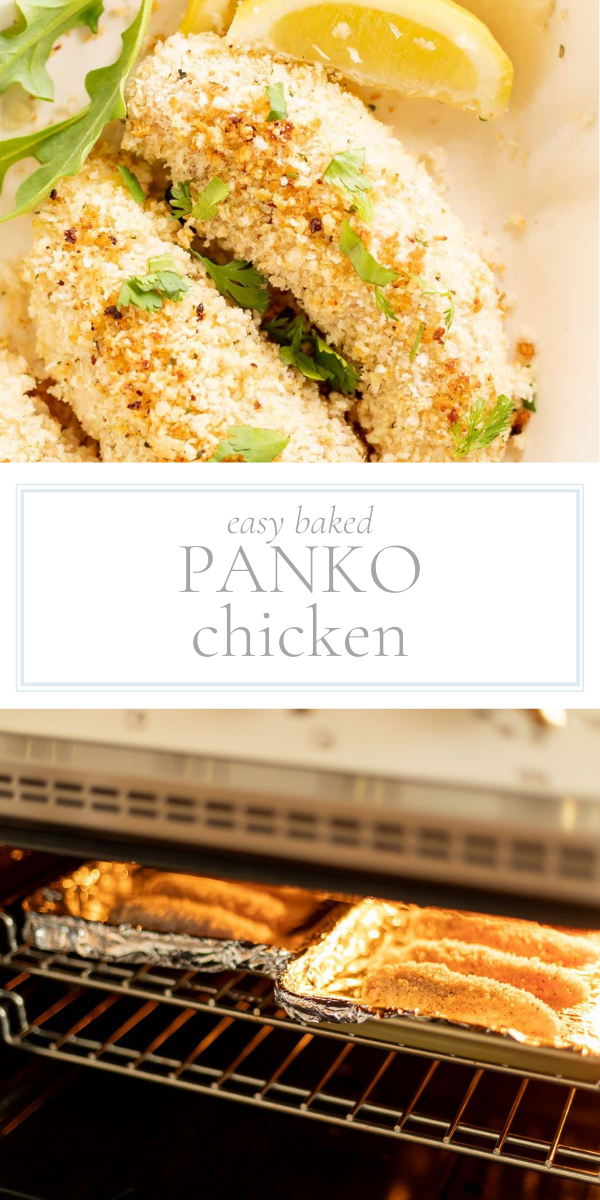
Panko Chicken is crispy on the outside, tender and juicy on the inside. This family favorite dinner recipe is easy to make in the oven, stovetop or air fryer in just a few minutes. It is made with a few simple ingredients and is perfect with salads, pasta, potatoes and more!
Panko Chicken is similar to my ever popular Spiedini recipe, but with a lighter, crispier Panko coating in an easier weeknight format.
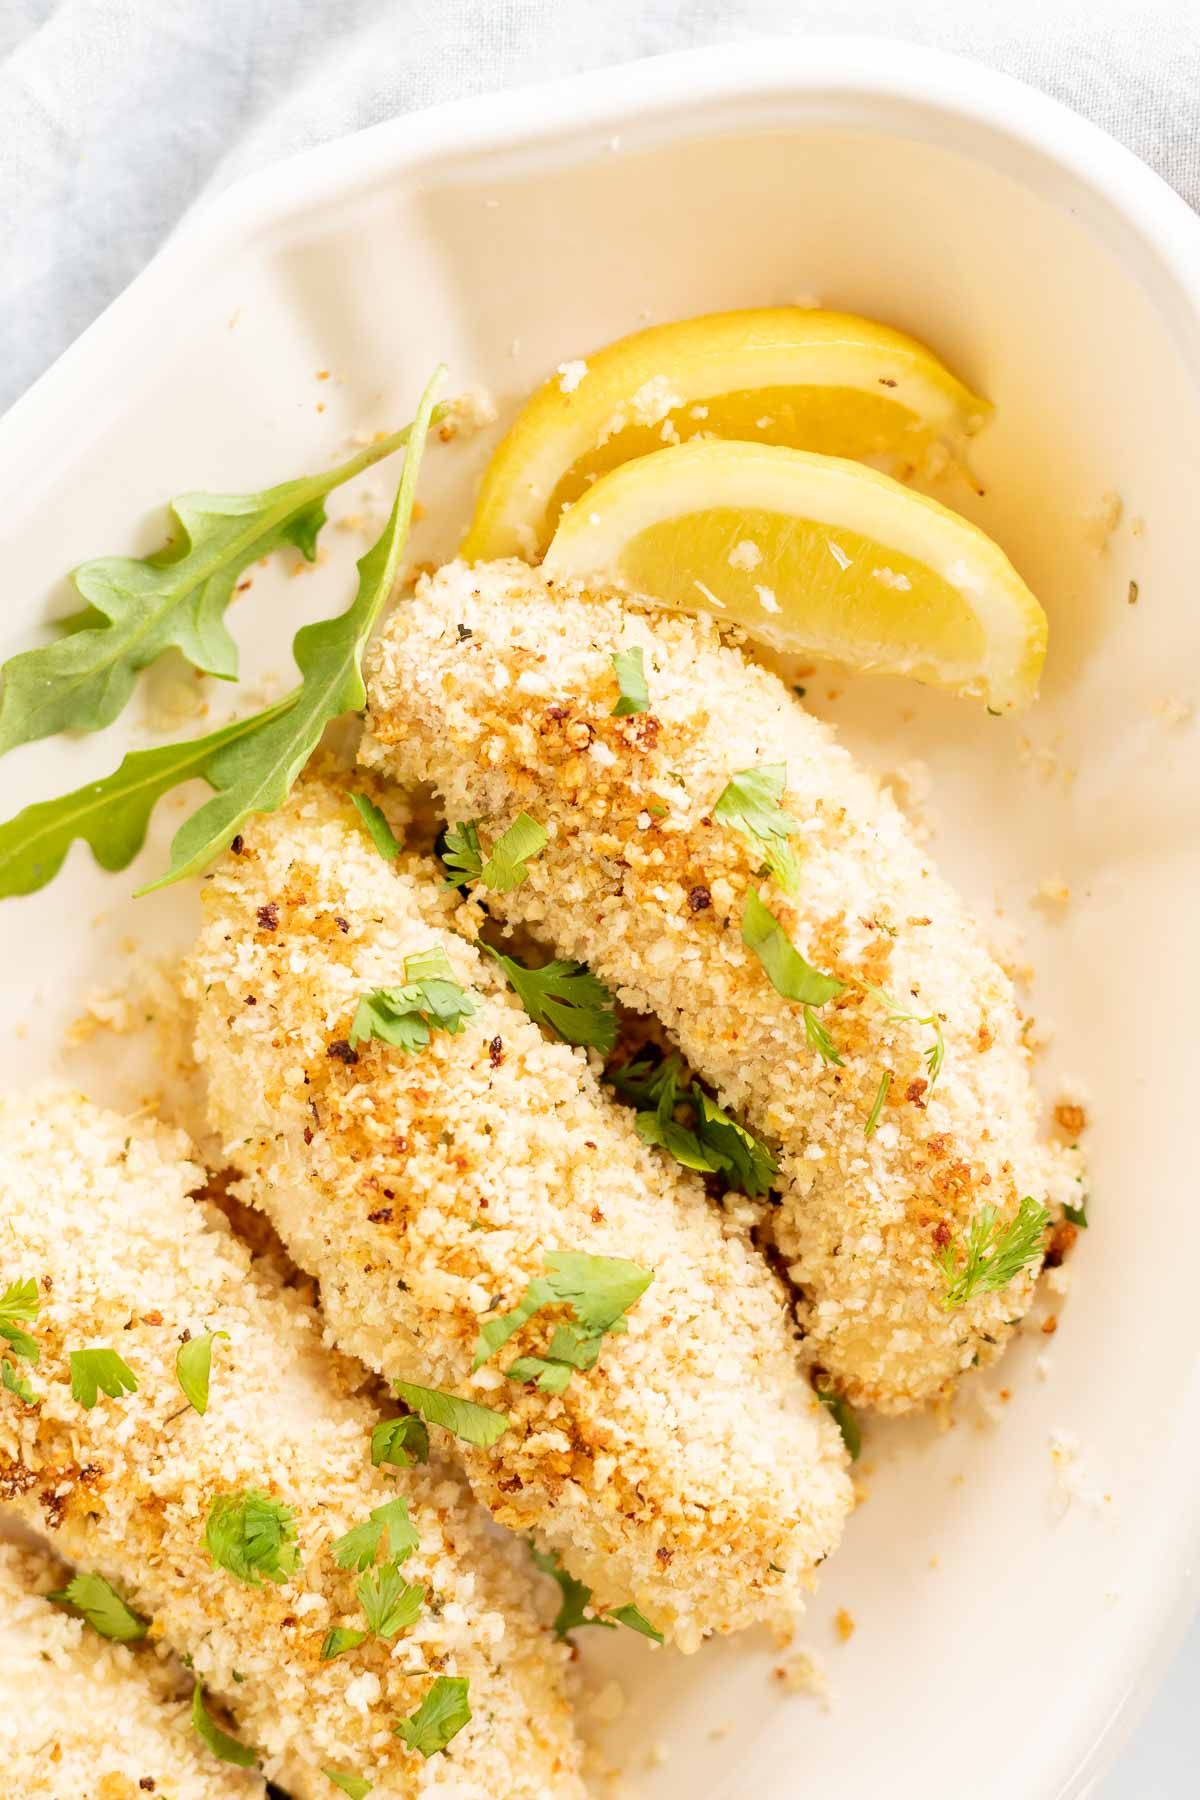
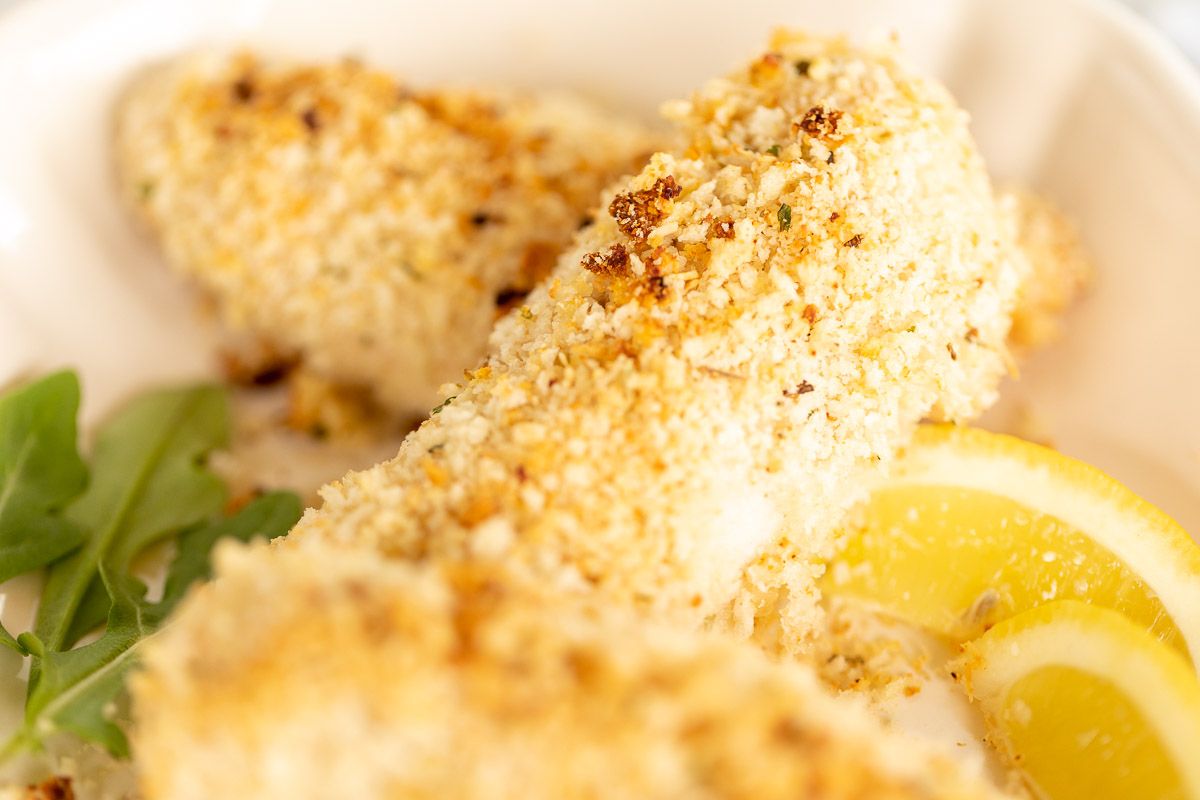
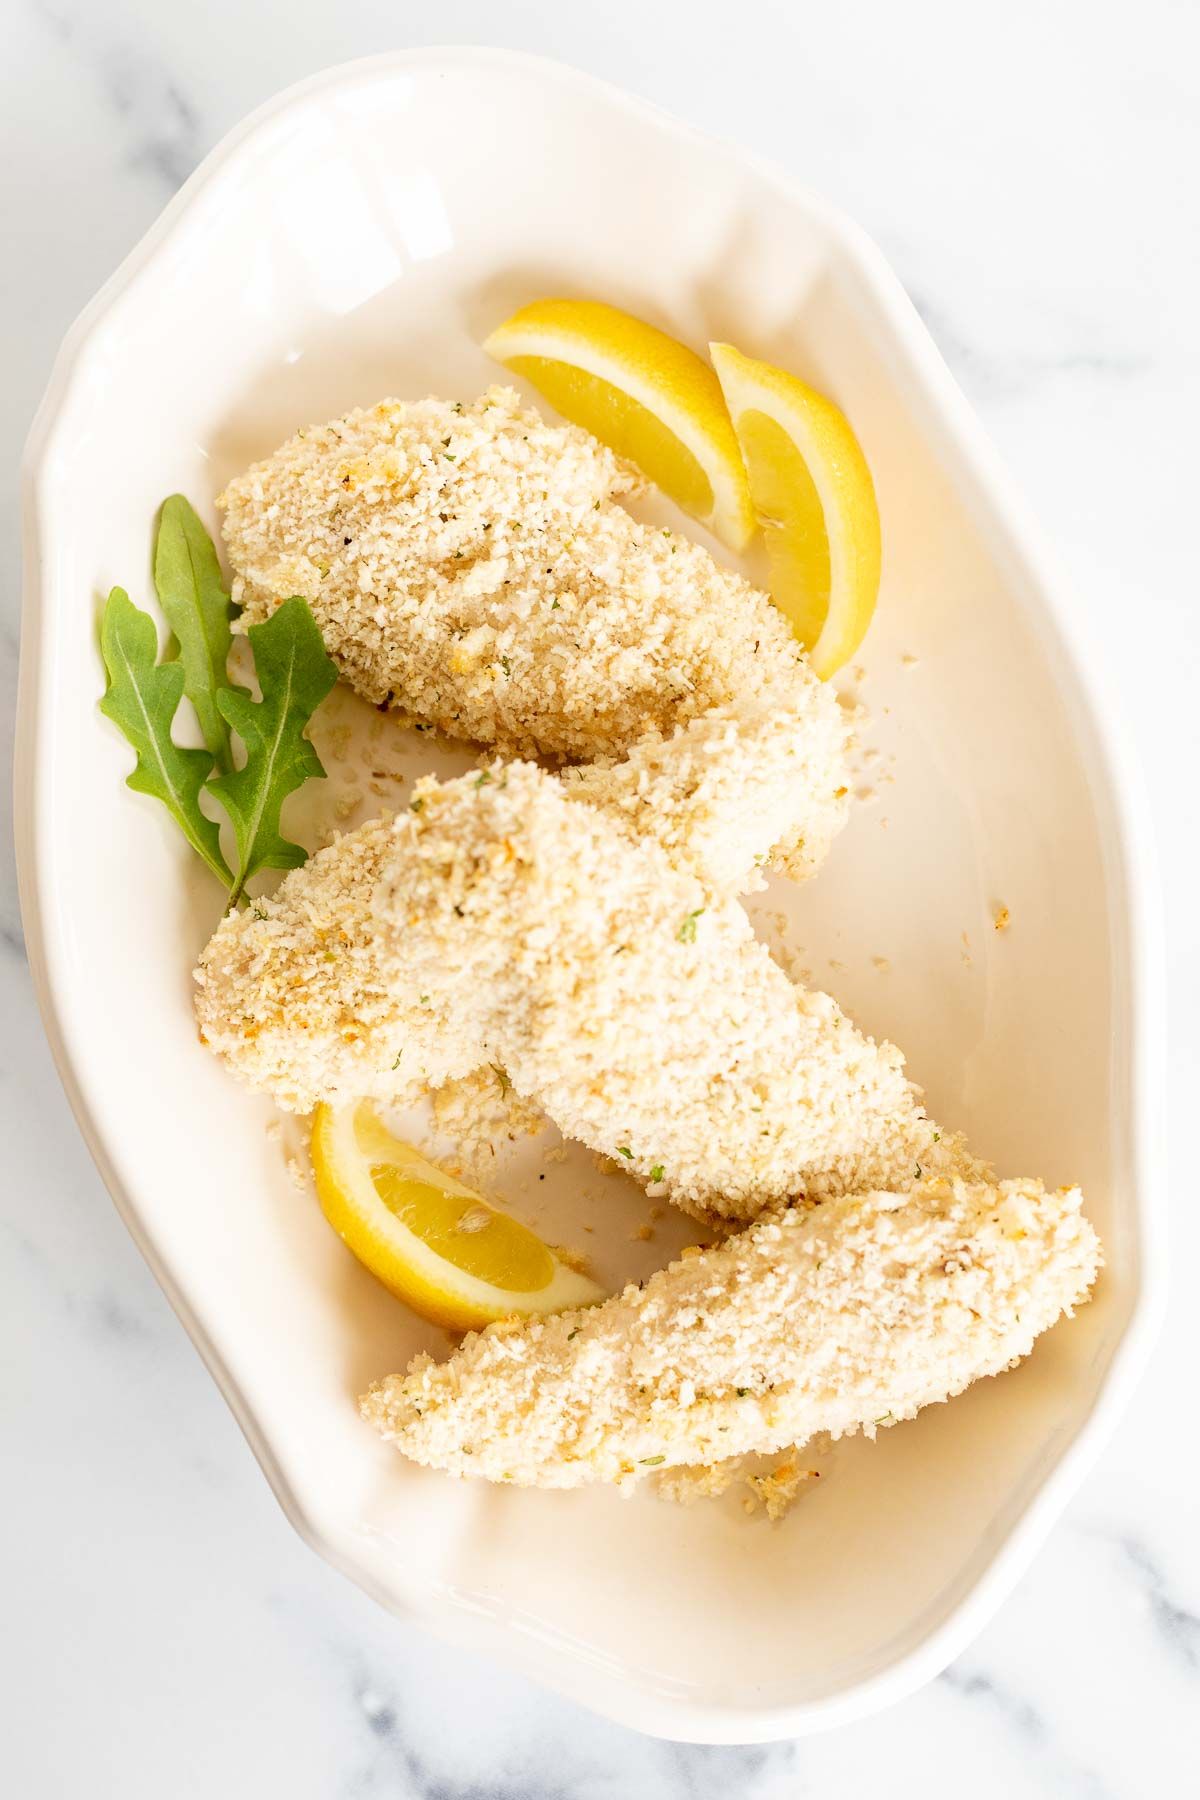
It’s tender, juicy and has an amazing crunch in every bite, Panko Chicken light, bight and flavorful dish that is always crowd-pleaser. Fresh grated parmesan adds a hint of salty flavor and balance. This dish is loved by kids and adults alike.
It’s a lighter version of child approved chicken tender and old school fried chicken.
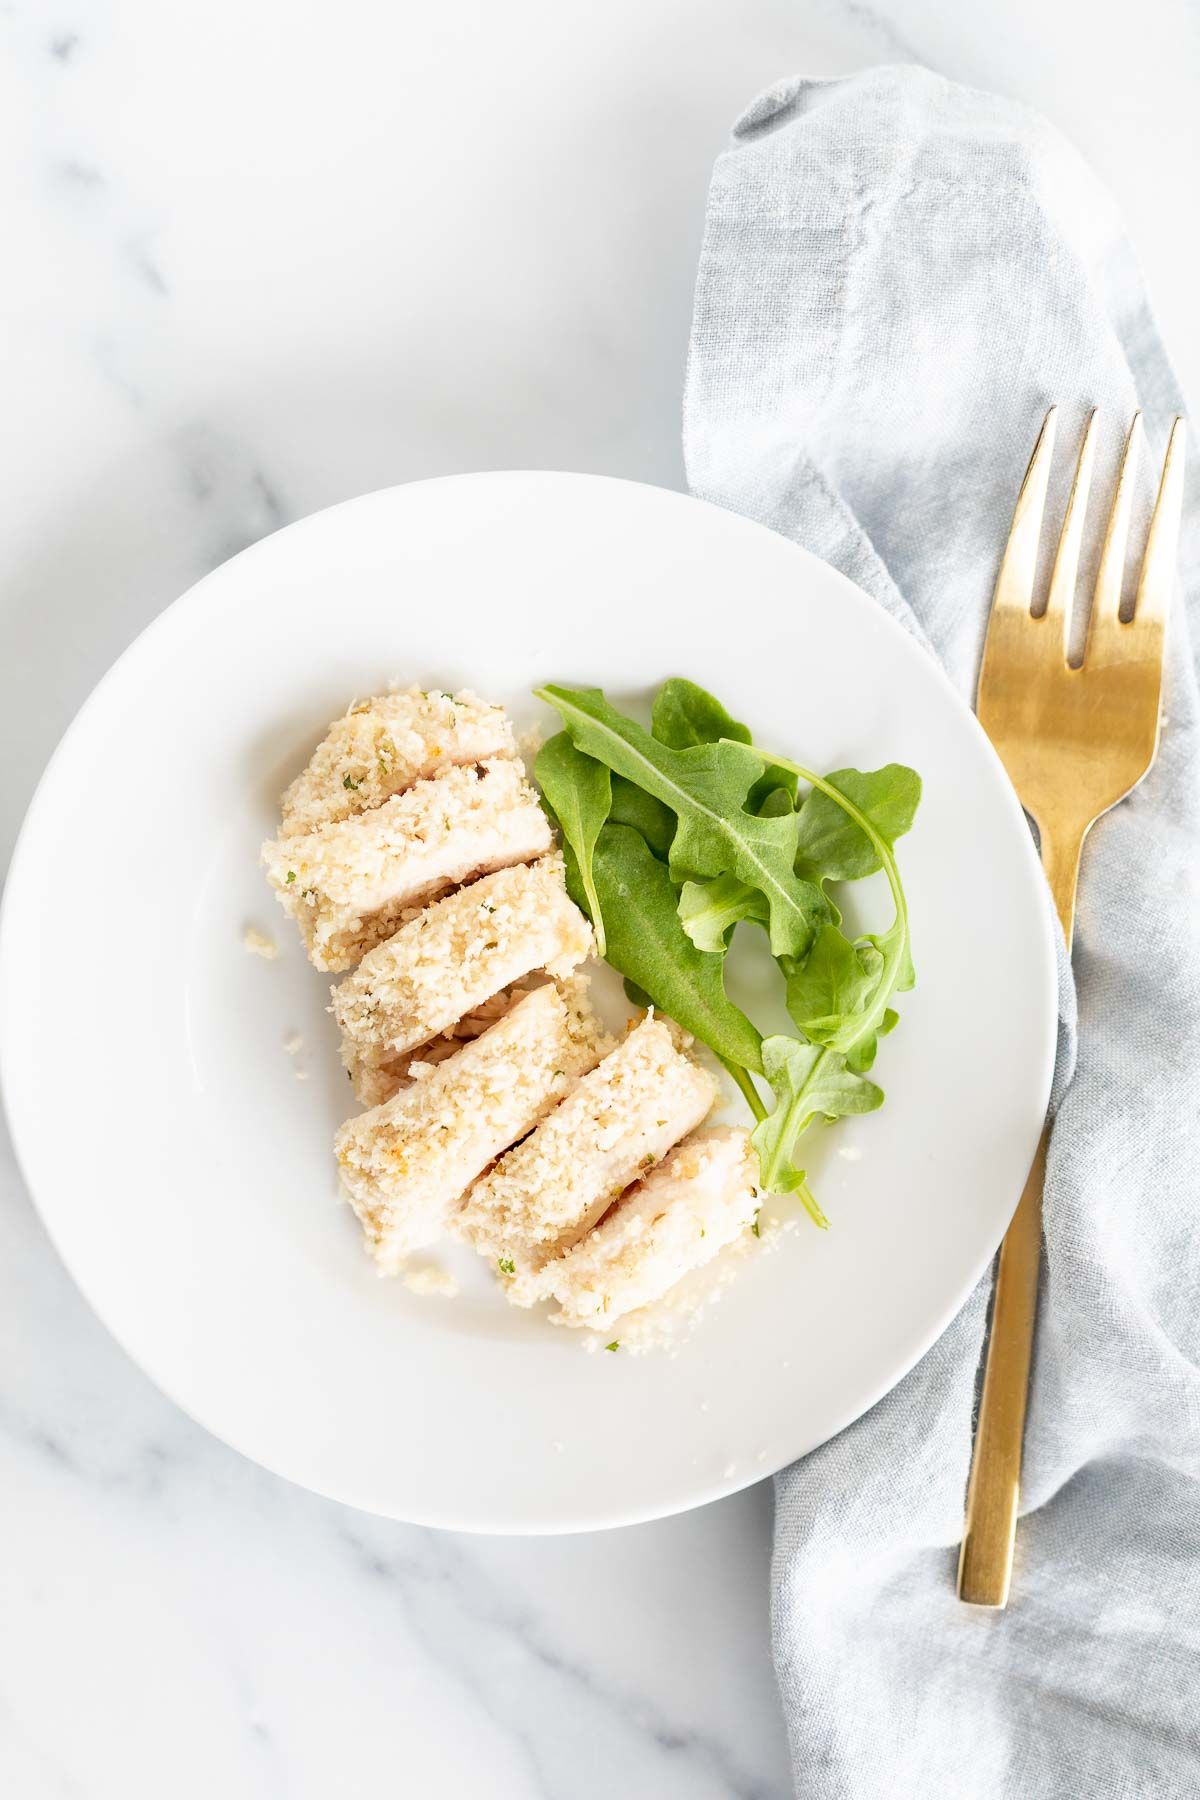
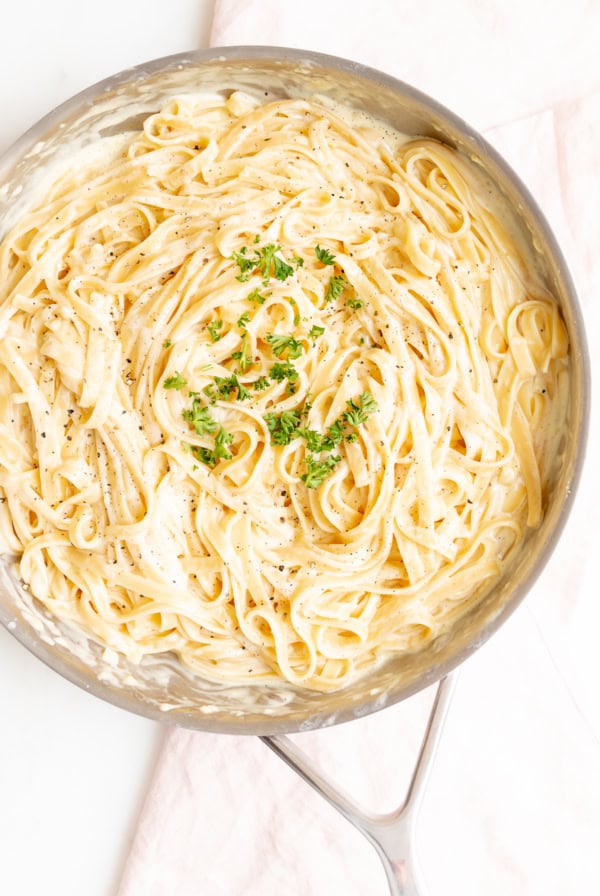
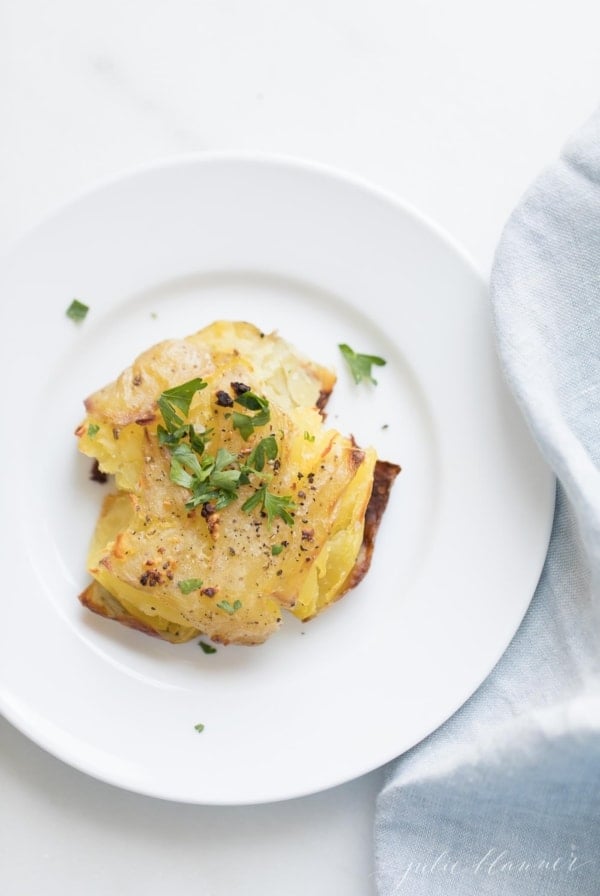
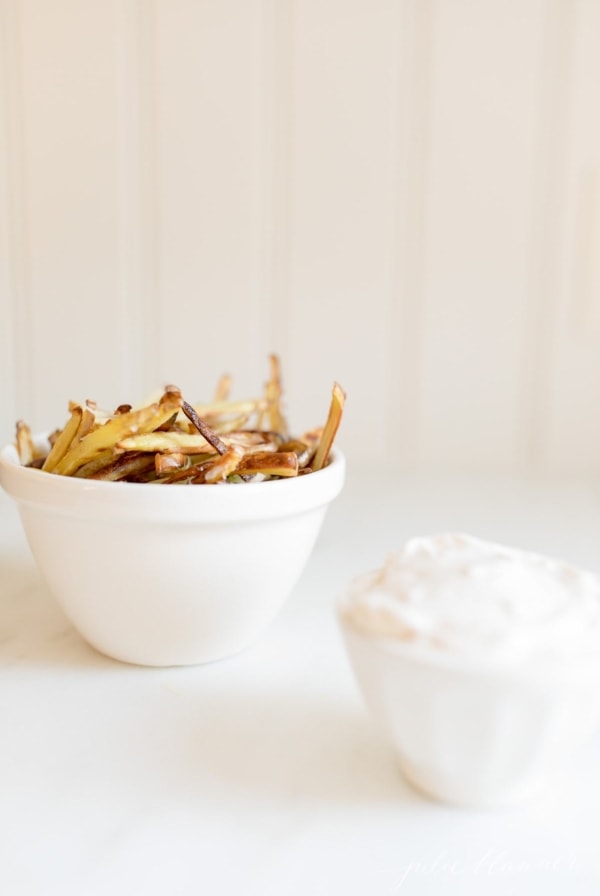
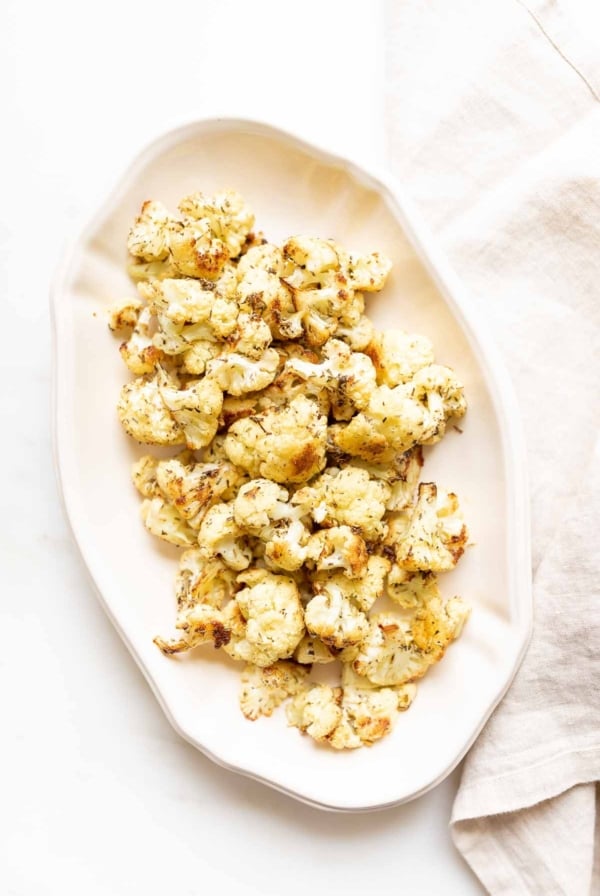
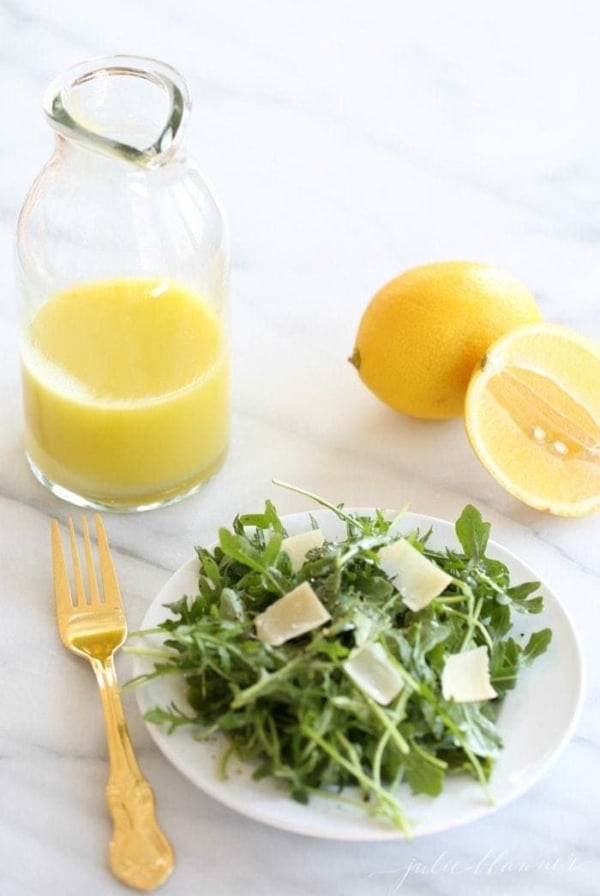
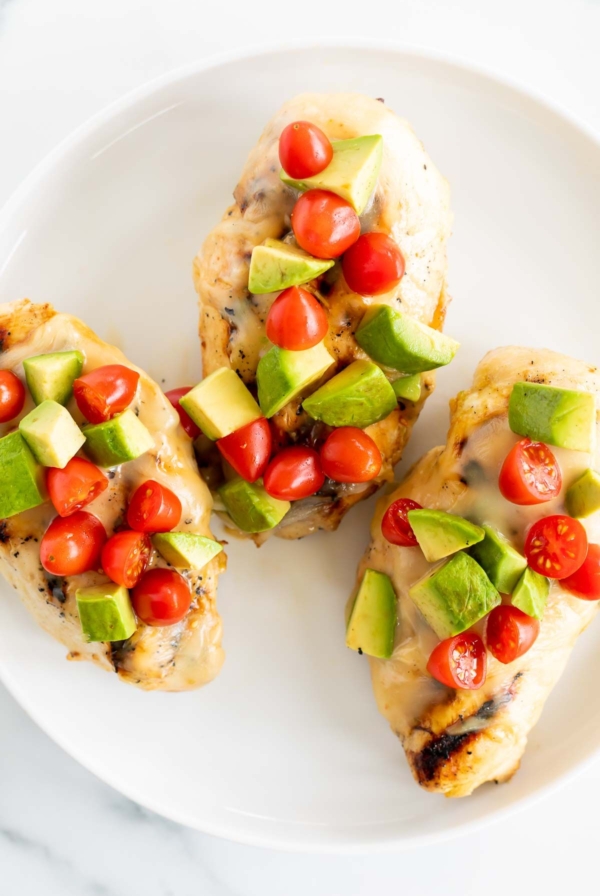
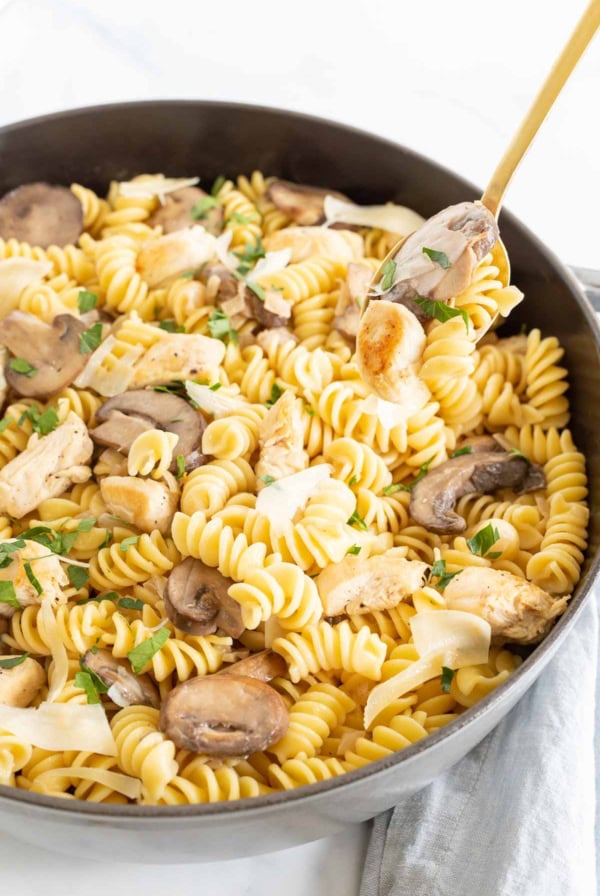
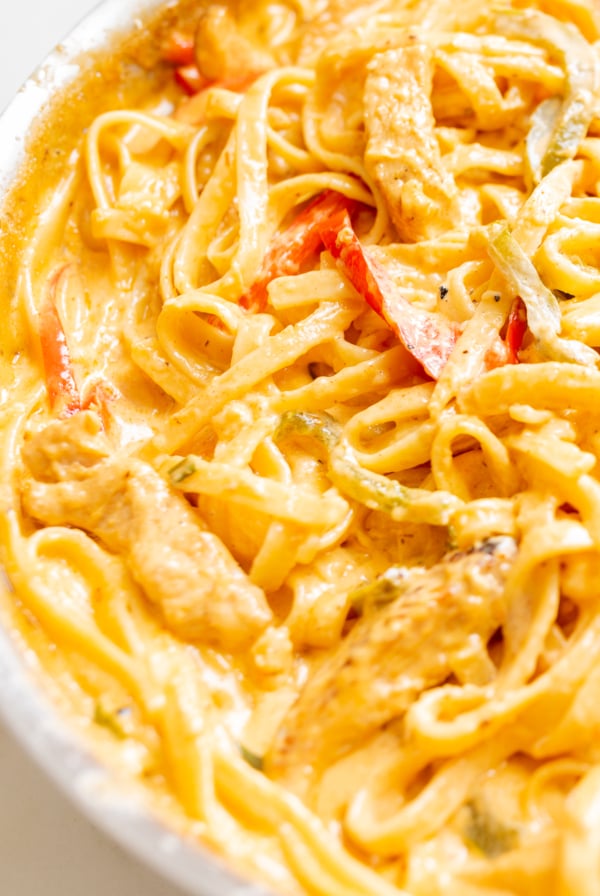
Serve with a side of roasted veggies, over fresh greens or on your favorite pasta or baked potato.
Why You’ll Love Panko Chicken
- Easy to Make
- Packed with Protein
- Bake, Make on the Stove Top or Air Fry
- Perfect Family Dinner
What is Panko?
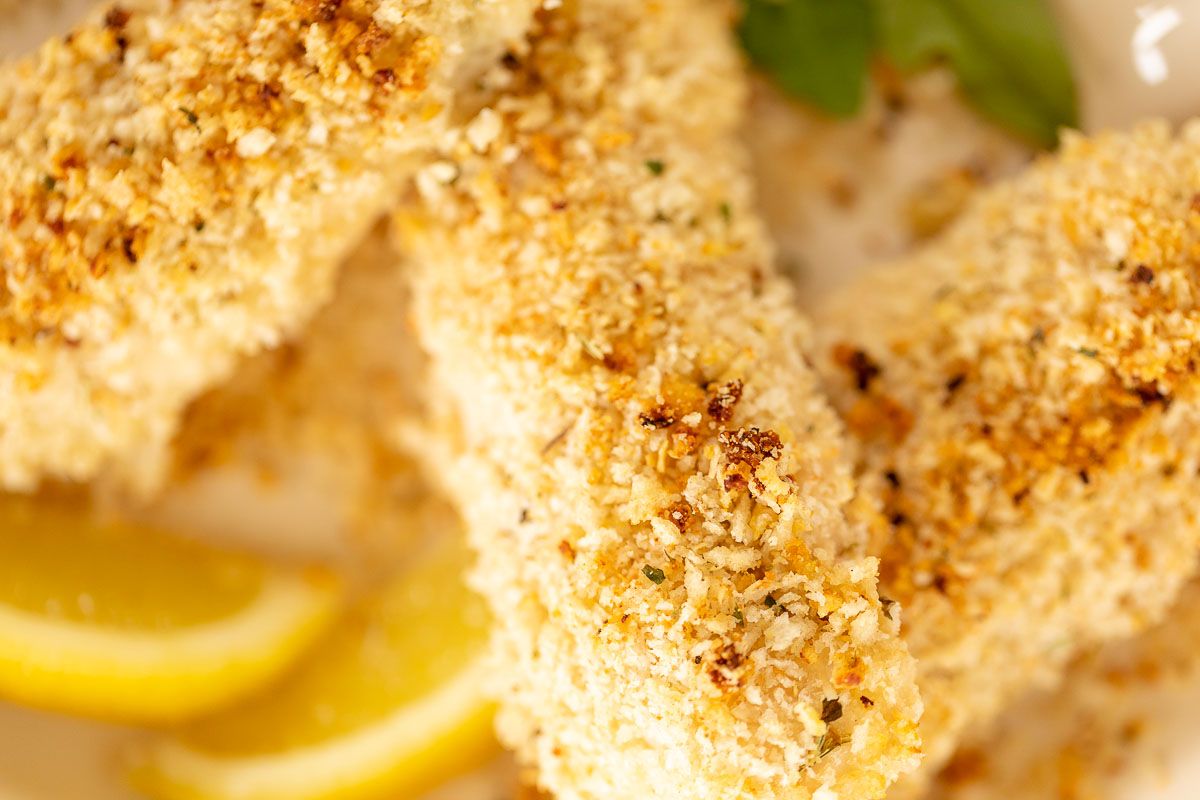
Panko are Japanese breadcrumbs. The name stems from “pan”, which means “bread” and “ko” which meaning “flour”. Crustless white bread is baked, ground into flakes that are dried and toasted. This results in a larger, crispier texture than traditional breadcrumbs, and a delightful crunch. They absorb less grease which makes them ideal to coat deep-fried foods.
In addition to making a great coating, they also make a great garnish.
Ingredients and Substitutions
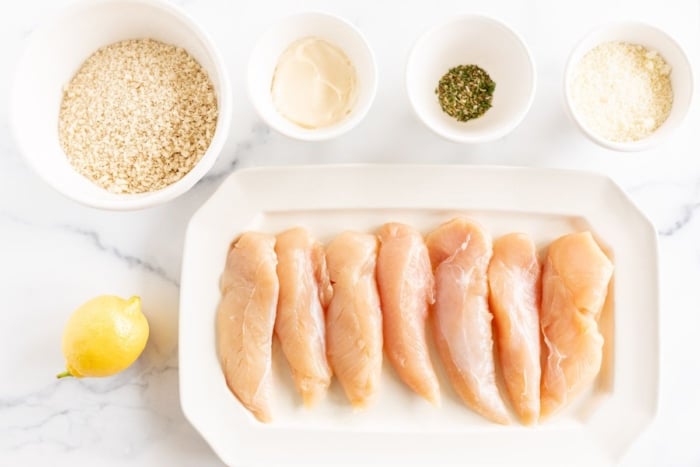
- Chicken – Boneless, skinless chicken breasts or tenders.
- Mayonnaise – Olive oil mayonnaise, classic mayonnaise or your own Homemade Mayonnaise. Substitute a whisked egg or melted butter in place of the mayonnaise in a pinch.
- Panko – Panko is the key to creating the crispy and textural crust on this chicken.
- Italian Seasoning – Store-bought or homemade Italian Seasoning Blend.
- Parmesan – Fresh grated parmesan offers the best flavor and texture. Use grated parmesan as a shortcut.
- Lemon Juice – Fresh squeezed adds bright flavor, but if you’re in a pinch on time, substitute 100% real lemon juice.
Variations
- Spice it Up – Use any homemade seasoning blend including Cajun Seasoning, Fiesta Ranch, or Blackened Seasoning.
- Add Fresh Herbs – For the pretty pop of green and vibrant Italian flavor, add fresh basil, thyme, rosemary or oregano.
How to Make Panko Breaded Chicken
An overview. See printable recipe card below for full instruction.
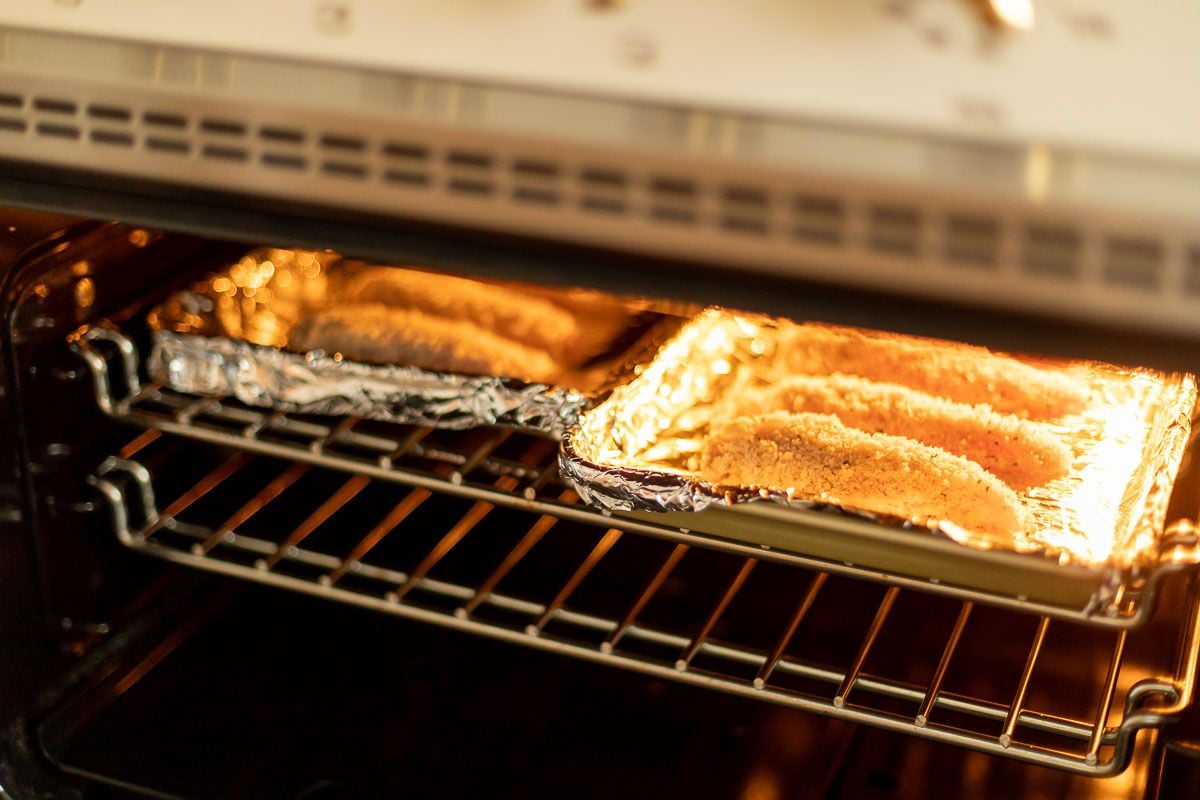
In the Oven:
- Prep – Preheat oven and prepare baking sheet.
- Pound Chicken Tenders (or chicken breasts).

- Combine Topping
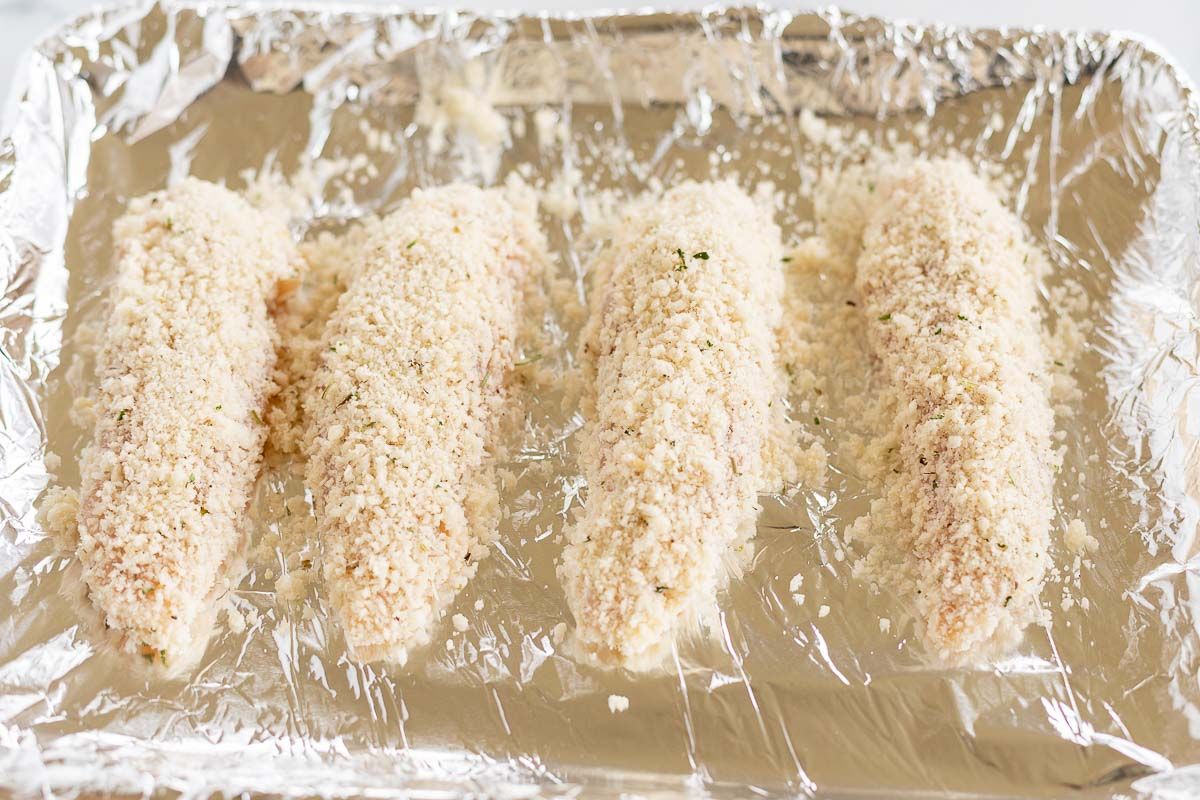
- Coat Chicken and Press in Mixture to Adhere
- Bake and Serve
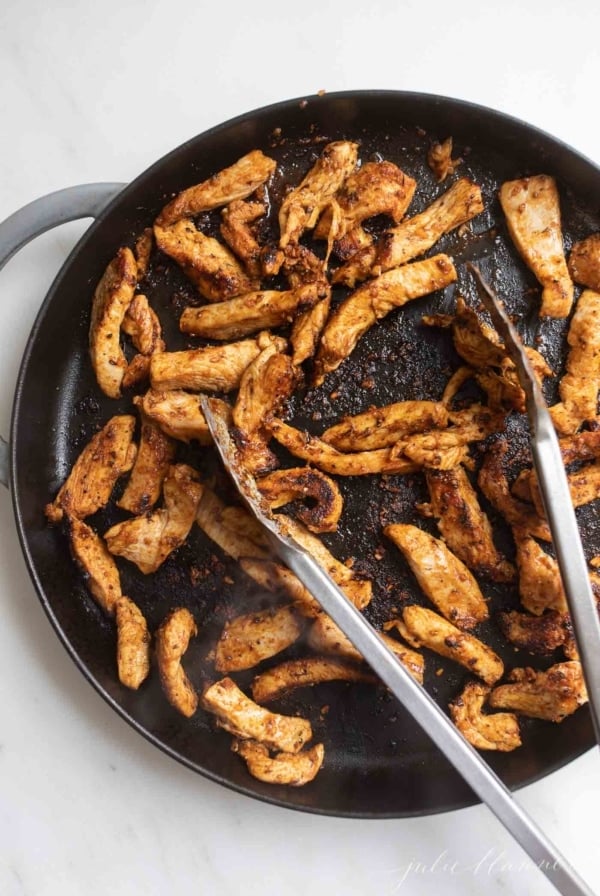
On the Stovetop:
- Warm Oil – When oil is hot (sizzling), carefully add a layer of chicken. Pan fry for approximately 3 minutes per side.
In the Air Fryer:
- Preheat
- Add Chicken in a Single Layer
Frequently Asked Questions
Breadcrumbs cover a broad spectrum, and Panko is one style of breadcrumb you can’t skip! Panko breadcrumbs are made from white bread (with no crust) that is crushed into flakes and toasted. Panko is drier and absorbs less oil, for more of a toasted texture to the final product.
When added to fried foods, they are lighter and delightfully textural. Traditional store brought breadcrumbs are more finely ground. Another difference is that while panko is generally not seasoned, traditional breadcrumbs are often found with seasonings and added flavoring – like Italian, cheese, etc.
You can use a more traditional breadcrumb, or consider digging deeper into your pantry and getting creative! Think about cracker crumbs, crushed melba toasts, crushed corn or potato chips, crushed cereal, and even crushed pretzels.
Side Dishes to Serve With
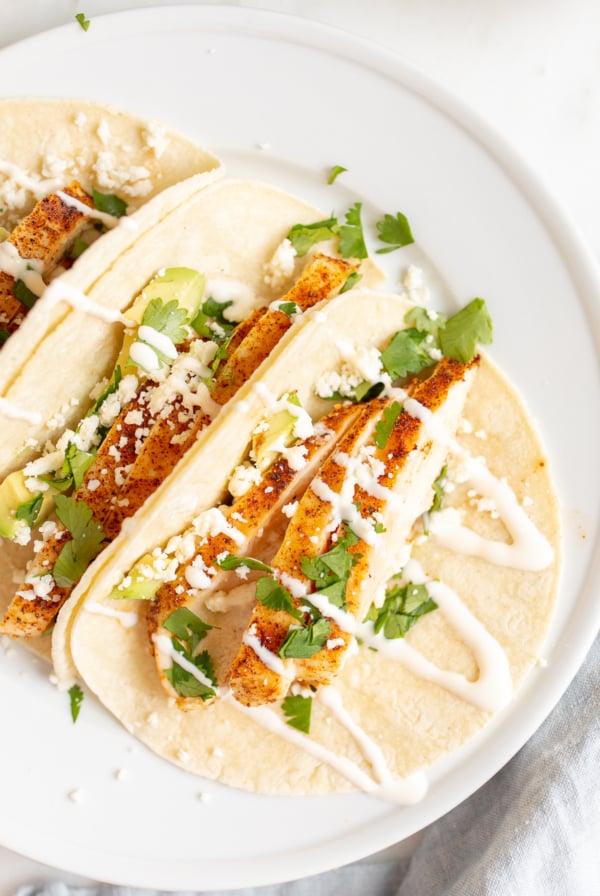
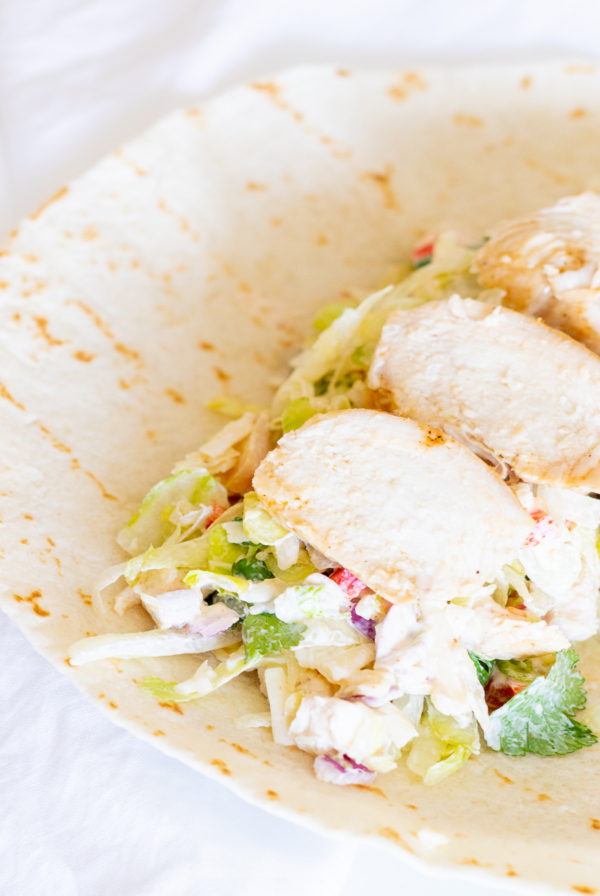
Ideas for Leftovers
Dietary Considerations
- Gluten Free – Make it gluten-free using Gluten Free Panko Crumbs (We use Kikkoman).
- Nut Free
How to Store
- At Room Temperature – This chicken can sit out for up to two hours while serving.
- Refrigerate – You can refrigerate this panko chicken for up to five days.
- Freeze – Store panko chicken in an airtight container for up to three months in the freezer.

More Chicken Recipes
Panko Chicken
Ingredients
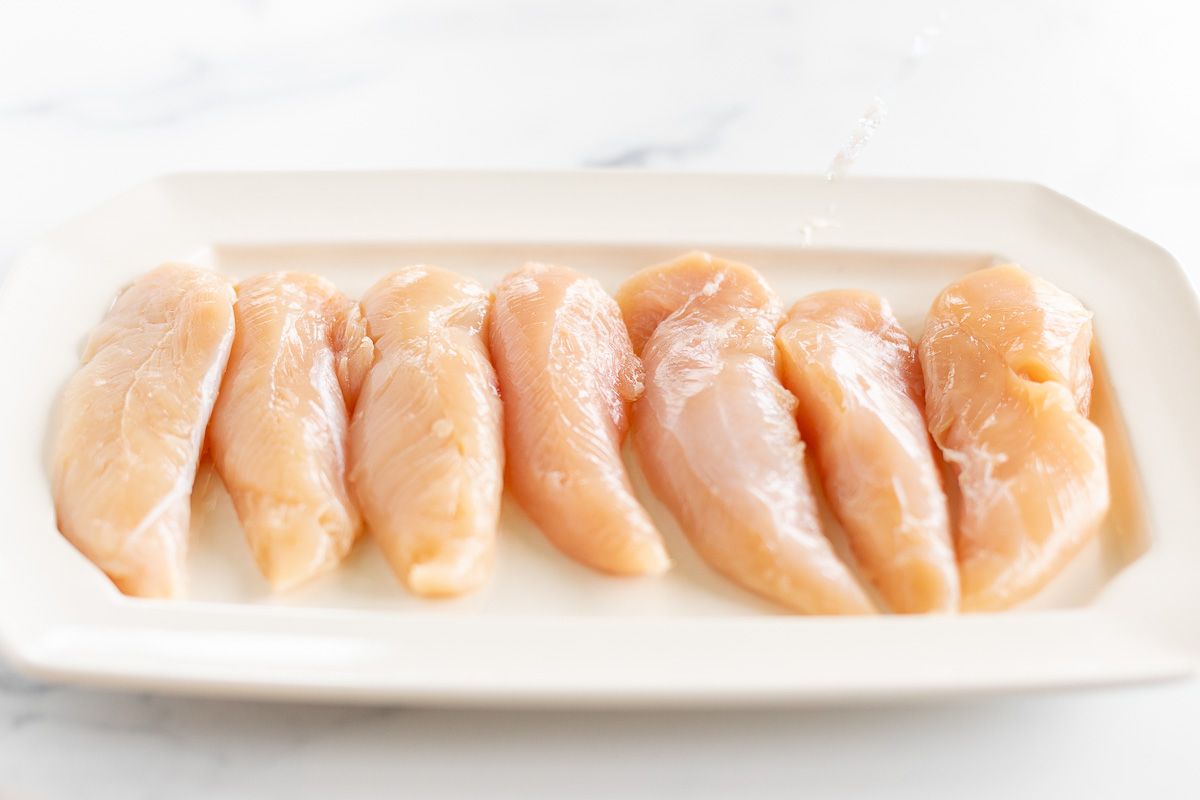
- 1 ½ pounds boneless skinless chicken breasts (Or chicken tenders, boneless and skinless)
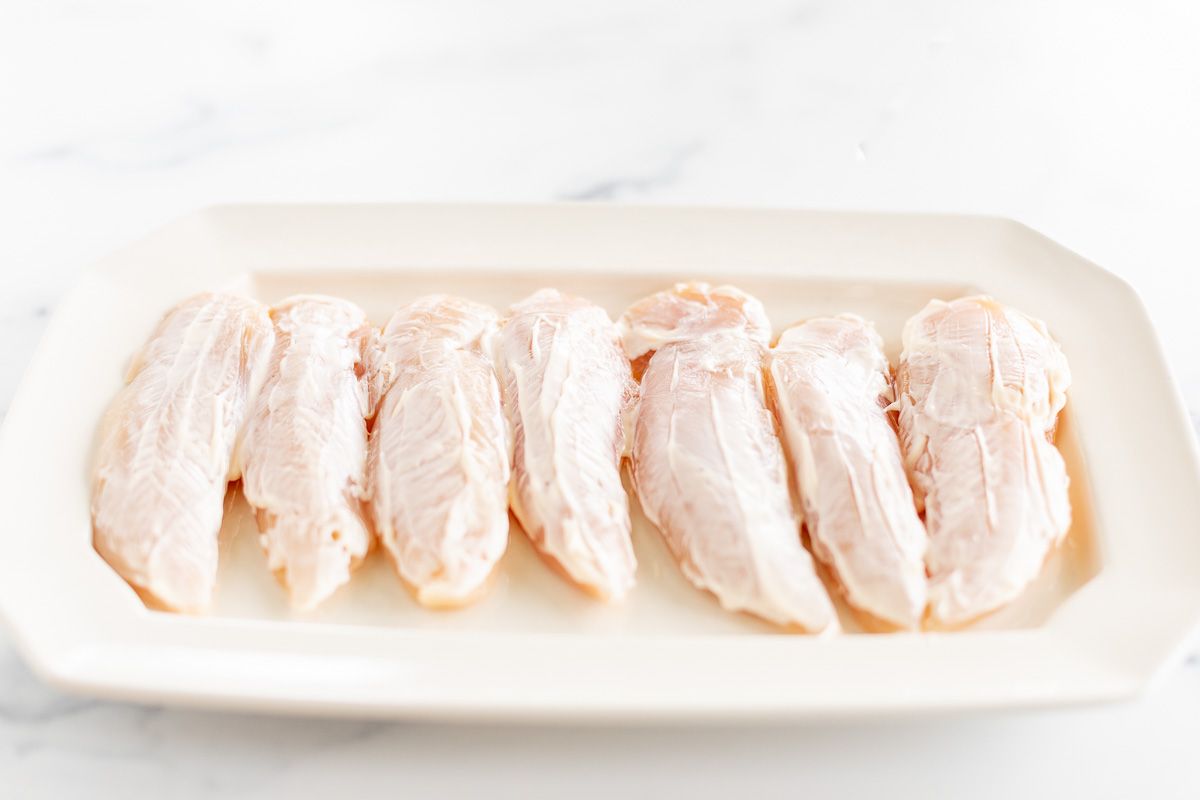
- 3 tablespoons mayonnaise
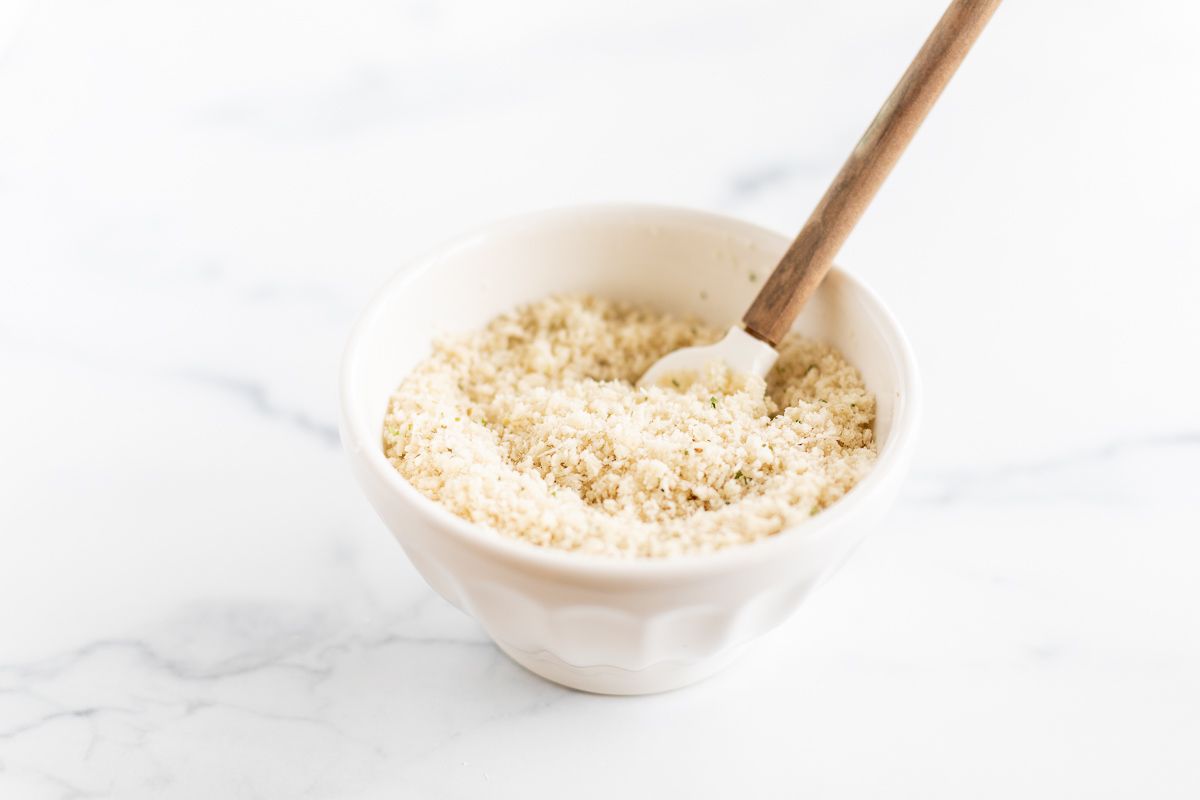
- ¼ cup Panko breadcrumbs
- 2 teaspoons Italian seasoning
- ¼ cup parmesan Fresh grated
- 2 tablespoons lemon juice
Instructions
- Pound chicken tenders (or chicken breasts) to ½″ thickness.
- In a small bowl, combine Panko crumbs, Italian seasoning, parmesan and lemon juice.
- Coat chicken with mayonnaise and dip into panko mixture, pressing until it thoroughly adheres.
In the Oven
- Preheat oven to 400℉. Line baking sheet with aluminum foil.
- Bake 8-10 minutes, or until internal temperature reaches 165℉ and juices run clear. Serve with lemon wedges.
On the Stovetop
- Heat vegetable oil in a large skillet over medium heat.
- When oil is hot (sizzling), carefully add a layer of chicken. Pan fry for approximately 3 minutes per side until internal temperature reaches 165℉.
In the Air Fryer
- Preheat air fryer to 400ºF.
- Add the chicken in a single layer – don’t overcrowd the basket basket (work in batches if necessary).
- Cook the chicken for approximately 6 minutes on each side. Turn at least once, cooking until the chicken is crispy and golden and internal temperature reaches 165℉.
Julie’s Tips
- Use a meat tenderizer to pound the chicken to help it cook more evenly.
- For the juiciest chicken, allow it to rest 5-10 minutes before slicing and serving to seal the juices in.
- Fresh grated parmesan adds the best flavor and texture.
Estimated nutrition information is provided as a courtesy and is not guaranteed.


Love your recipes and presentation, except for your recipe identification
blocks (WHITE ON GRAY) Hard to read