Learn how simple it is to make your own DIY custom copper curtain rods that will fit any space with this easy to follow tutorial.
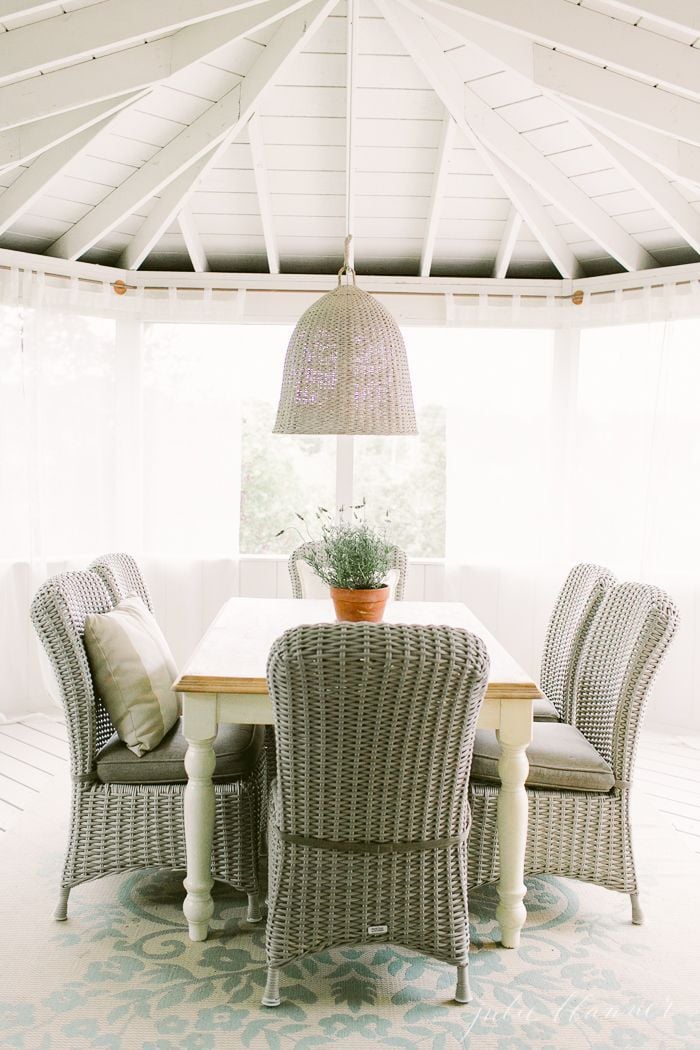
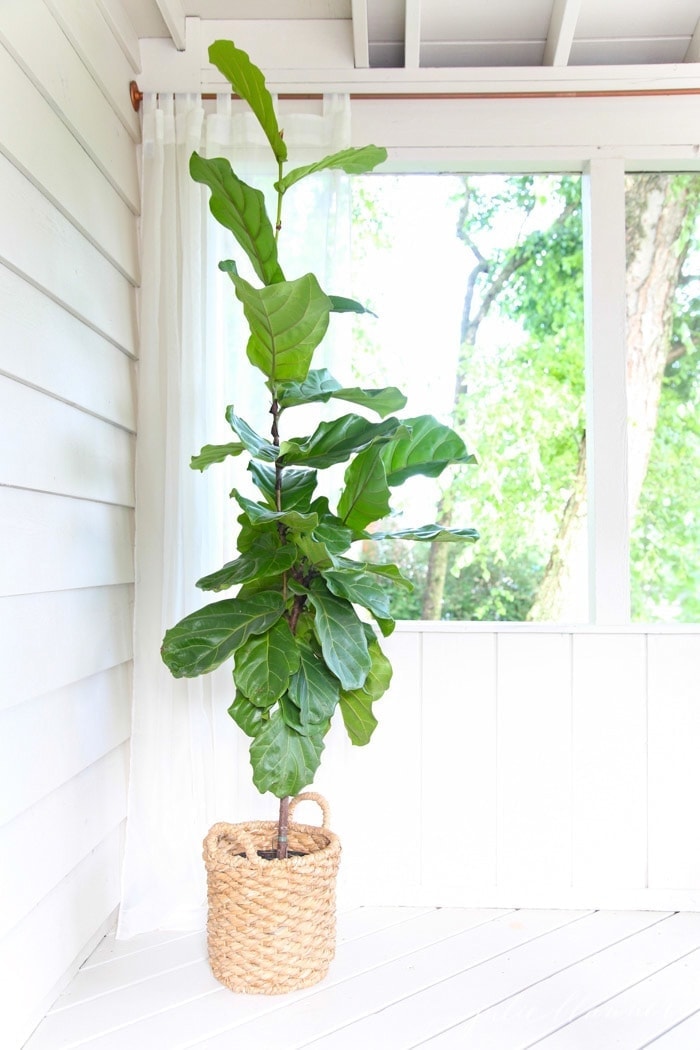
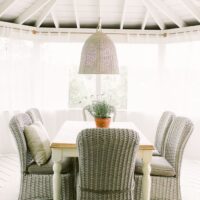
In the quest to make our screened in porch more intimate, I wanted to add drapes. Given the size and shape of the porch, my initial choice of West Elm’s Industrial Pipe Curtain Rods were out of the question due to budget constraints because of the quantity needed.
Additionally, they only adjust in length, so they would have been unable to accommodate the corners of the room.
You all know my love obsession with copper. The exterior of our house already sports copper light fixtures, copper gutters and hardware. Copper is undeniably beautiful when new, but becomes even more gorgeous when it ages and develops a patina.
If you’re interested in learning more about window treatments, don’t skip Blackout Curtains, Blackout Roller Shades, and Roman Shades.
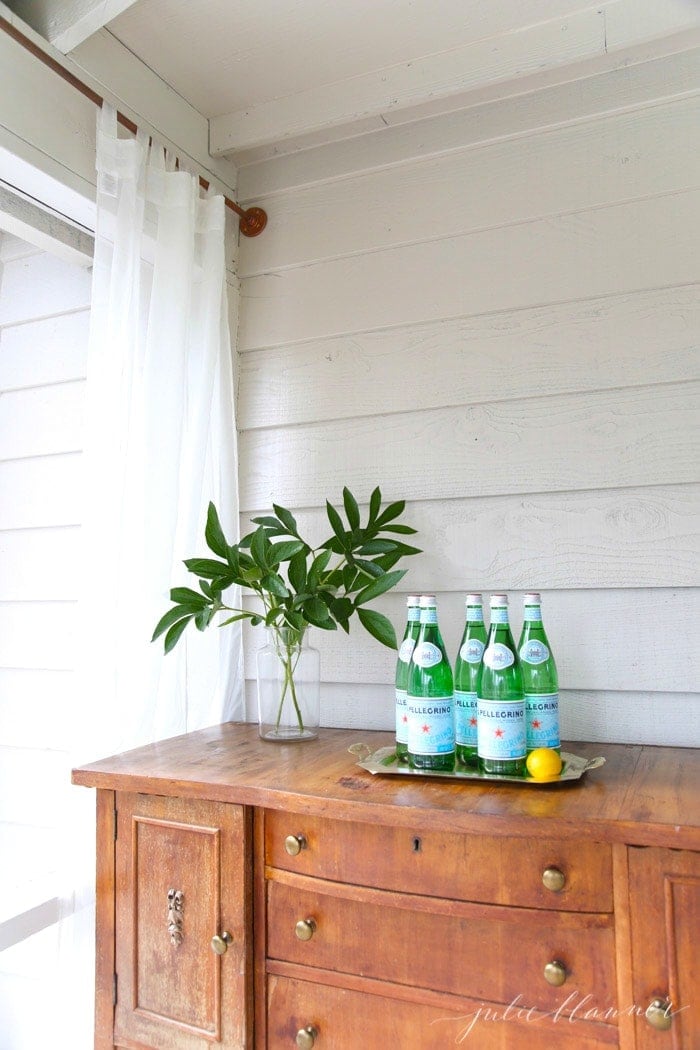
DIY Copper Curtain Rod
This project involves a little critical thinking if you’re designing around a bay window or space with angles, but nothing overwhelming. You do not need to be too exact or precise, which makes this a great beginner project.
Copper Curtain Road Materials
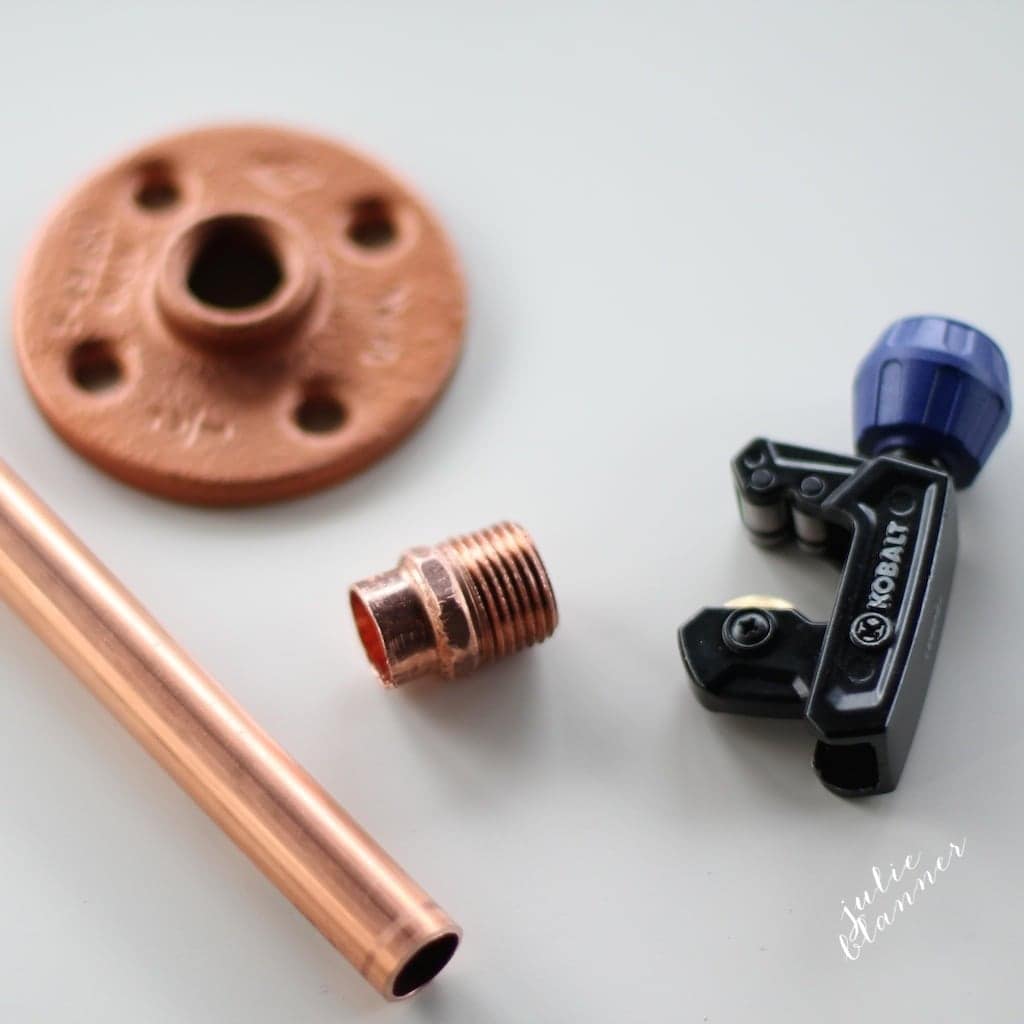
To create your own custom copper curtain rods, you’ll need:
- copper pipes (we used 3/4″)
- copper spray paint
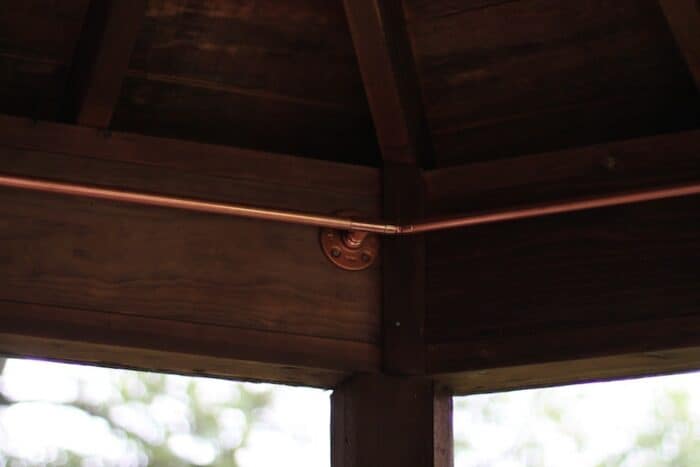
- spray-painted flanges (found in plumbing, but only come in silver)
- 3/4″ (or corresponding size) copper male adapter for each flange you need
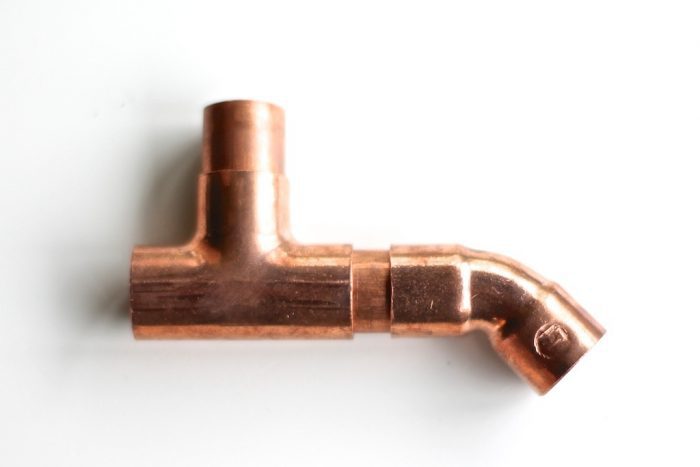
- elbows for corners – we used 45 degree copper elbows
- copper tee – one for each support you need
- standard pipe cutter
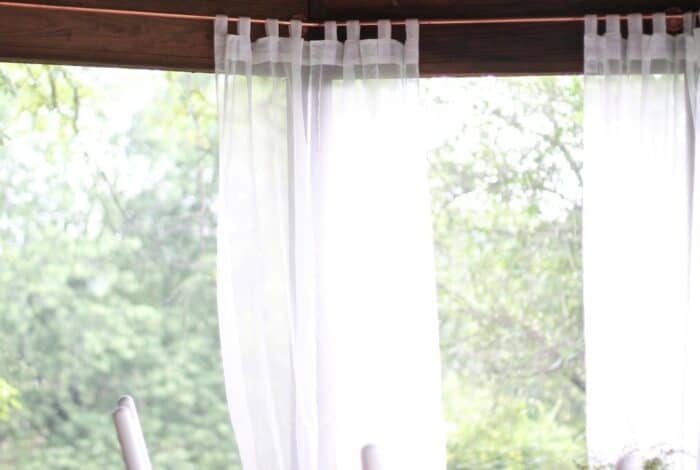
Making a Custom Curtain Rod Out of Pipe
Below you will see three sets of instructions, one for wall-to-wall installation, one for wall mounted (traditional installation) and finally a third for a bay window or other odd-shaped space.
Wall to Wall Instructions
1. Spray paint your flanges. Keep in mind that it will scratch easily, so handle them with care. Once they’re up, there’s no concern.
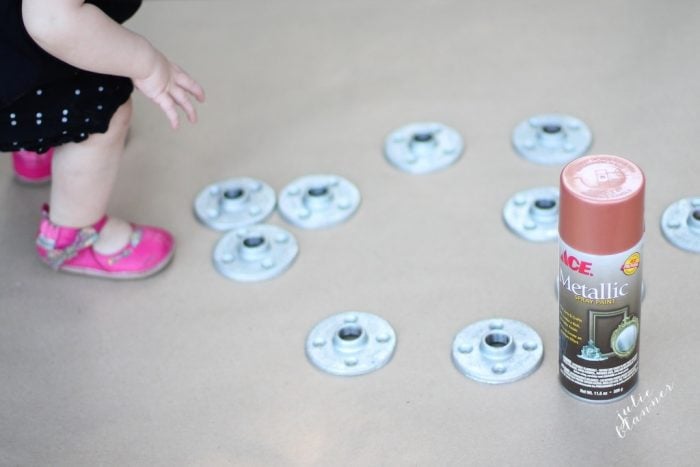
2. Screw the first flange to either the left or right wall.
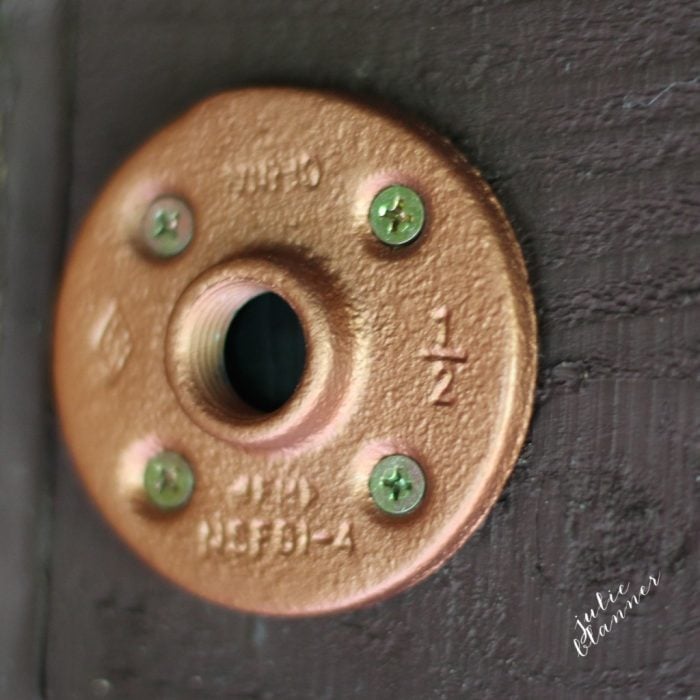
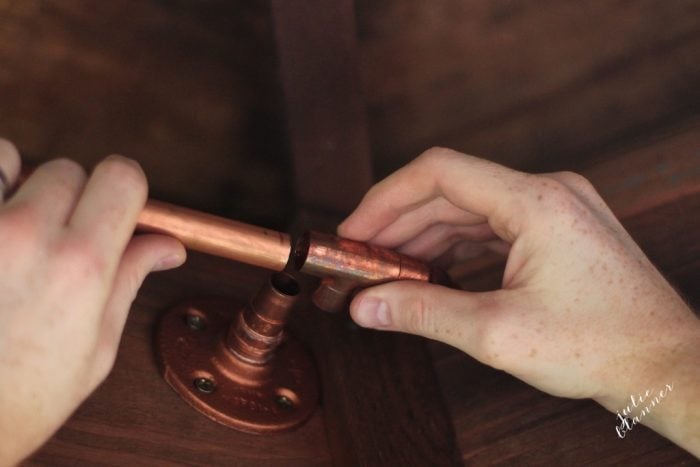
3. Loosely screw an adapter in.
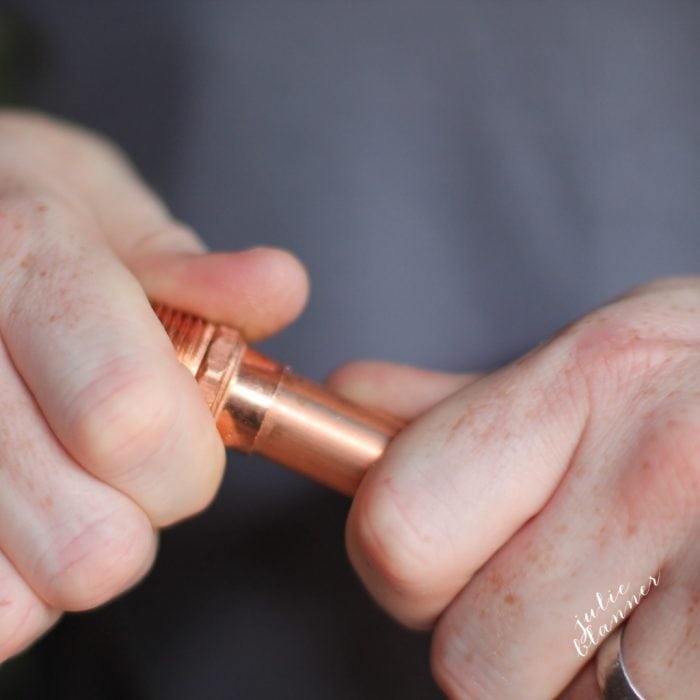
4. Insert pipe. Determine what’s level. Mark where you want the next flange (or if doing an extended like ours, the support) to be. Remove the pipe.
5.Install 2nd flange in marked spot. Loosely screw in adapter. Mark and cut pipe.
To cut the pipe, just fit the pipe cutter around the pipe and tighten it, then start twisting. Continue tightening as you go, and after a minute or so the pipe will come right apart.
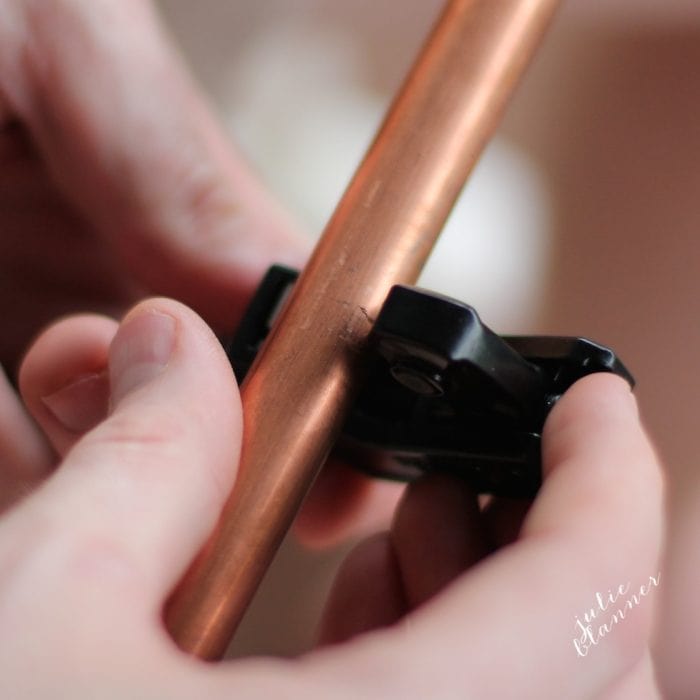
6. Insert the pipe and voila! You’re done.
Standard Industrial Curtain Rod Style
If you prefer to hang your curtains in the standard way, not wall-to-wall, then you should follow this particular set of instructions.
- Screw the flanges to the wall, ensuring they are level.
- Cut two small pieces of pipe at the desired distance from the wall. Keeping in mind, the further they come out, the less light blocking capability your curtains will have.
- Loosely screw an adapter in.
- Insert the small pipe at both ends.
- Insert the elbows at both ends.
- Measure and cut the pipe to desired length.
- Insert the pipe.
Bay Window Curtain Rod (or Any Odd Shaped Space)
To make the copper curtain rod for a bay window, or any odd shaped space, the initial instructions are the same, but the elbow pieces will be used to get around the corners.
1. Screw in the first flange to the wall.
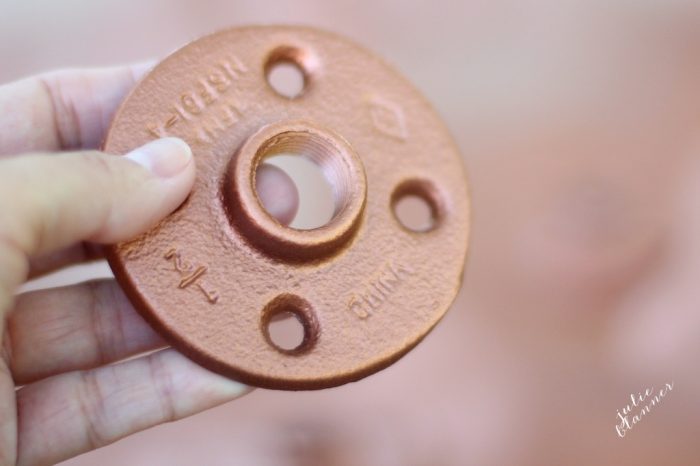
2. Loosely screw an adapter in.
3. Insert pipe. Determine what’s level. Mark where you want the next flange {or if doing an extended like ours, the support} to be. Remove the pipe.
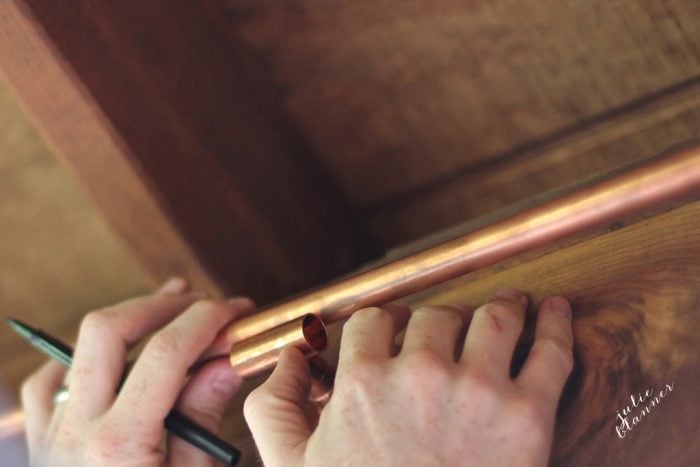
4. Install 2nd flange in marked spot. Loosely screw in adapter. Mark and cut pipe.
5. Add the tee connector.

6. Put the copper piping back in flange #1. Line and mark where you need to cut it. Remove the pipe, cut it {so easy, even I did it!} and place the pipe in the rod.
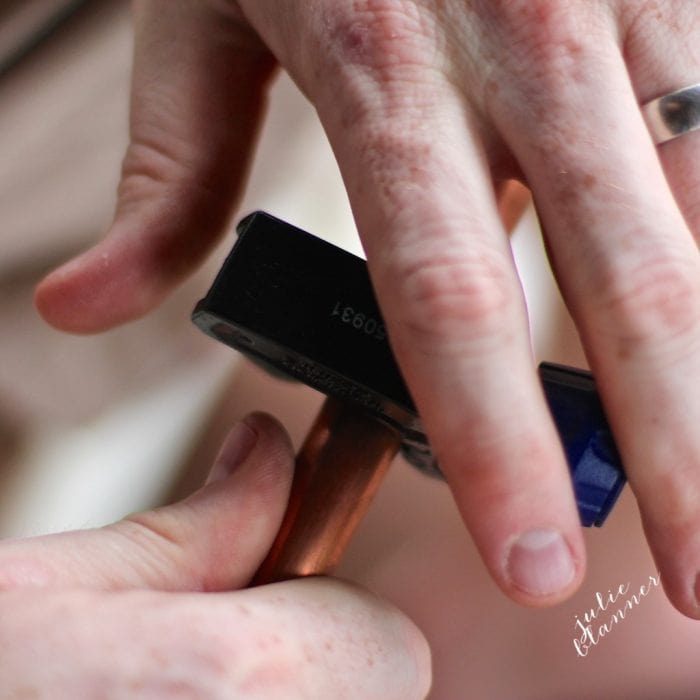
7. Working around a large/unusual space? Let’s keep going! Repeat steps 4, 5 and 6 and add your elbow for corners.
Other Details
- If you don’t have the same affection for copper that I do, you can always use PVC or galvanized pipe spray painted with Rustoleum. Black and brass are always beautiful as well.
- I have only been successful locating true copper spray paint at Ace Hardware.
- I CANNOT WAIT to do the same, adding finials for future makeovers in indoor spaces.
- These custom curtain rods took just one afternoon nap {the kids, not us}!
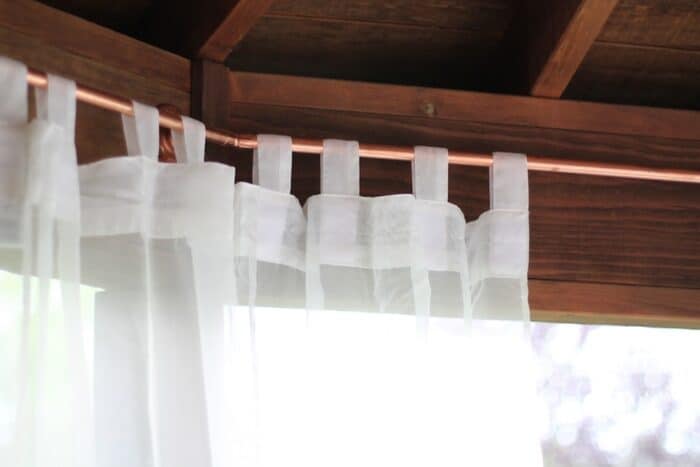
Hopefully if you’ve been dreaming of those pretty department store copper rods, this is the perfect knock-off that will accommodate your space. Plus, since it has a friendlier price tag, you can afford to buy new drapes, too!
Frequently Asked Questions
They will hold heavy drapery as long as they are properly supported. If you notice the rod bowing in the middle, you need another support.
No! The beauty of copper is that it will not rust. It will however, develop a patina over time. If you want to keep it bright and shiny, cleaning it with denatured alcohol (available at home improvement stores) will stop the aging process.
More Inspiration
DIY Bay Window Curtain Rod
Ingredients
Copper pipes {we used 3/4'}
Copper spray paint
flanges {found in plumbing, but come in silver}
3/4" {or corresponding size} copper male adapter for each flange you need
elbow for corners {we used 45 degree copper elbows}
Copper tee {one for each support you need}
Standard Pipe Cutter
Instructions
Wall to Wall
- Spray paint your flanges. Keep in mind that it will scratch easily, so handle them with care. Once they're up, there's no concern.
- Screw in your first flange to the wall.
- Loosely screw an adapter in.
- Insert pipe. Determine what's level. Mark where you want the next flange {or if doing an extended like ours, the support} to be.
- Remove the pipe.
- Install 2nd flange in marked spot.
- Loosely screw in adapter.
- Mark and cut pipe.
- Insert the pipe.
Standard Installation
- Screw the flanges to the wall, ensuring they are level.
- Cut two small pieces of pipe at the desired distance from the wall.
- Loosely screw an adapter in.
- Insert the small pipe at both ends.
- Insert the elbows at both ends.
- Measure and cut the pipe to the desired length. Insert the pipe.
Bay Window Installation
- Screw in the first flange to the wall.
- Loosely screw an adapter in.Insert pipe.
- Determine what's level.
- Mark where you want the next flange {or if doing an extended like ours, the support} to be.
- Remove the pipe.
- Install 2nd flange in marked spot.
- Loosely screw in adapter.
- Mark and cut pipe. Add the tee connector.
- Put the copper piping back in flange #1. Line and mark where you need to cut it.
- Remove the pipe, cut it and place the pipe in the rod.
- If you're working around a large space, repeat steps 4, 5 and 6 and add your elbow for corners.



Hi Julie – thanks so much for this, hoping it will save me a small fortune on bespoke for our bay windows! I have a question though – I can only seem to find connectors at 45/135 degree or 90 degree angles… Do you have any idea how i could connect two pieces of copper when the bay is at an awkward angle of 155 degrees?! Thanks in advance x
I’m sure you could! I would call a plumbing supply store. They carry more extensive supplies. Enjoy!
How do you think black flanges with copper pipe would look? Or do you prefer all copper?
I prefer all copper, but it’s up to you!
Hi! These are awesome! Do you recall how much the project cost you at the time you made them? They add so much charm and character!
I don’t, but it was significantly less than the rods I considered. Most pieces are really inexpensive, the poles cost a bit more.
Hi Julie!
We’re doing copper accents in our nursery and as the Umbra rods seem to be the only copper ones I’ve found and they’re out of stock everywhere, we’re considering making our own. We use copper to make all the centerpieces for our wedding but as we were only using them for a day we didn’t do anything to prevent tarnish. Did you treat these to keep the shine? How are they looking 2 years later? Would love to do this but just worried I won’t like the darker look that our centerpieces became over time.
Thanks!
H
Real copper will naturally tarnish over time, but I think that’s what makes it so beautiful! It will stay true to it’s original color longer indoors. You can always remove them and use Bar Keeper’s Friend to refresh them.
Hi. I really like the look and am thinking of doing the same in a Florida room. I was wondering, though, how do you take those curtains down to wash them? I was thinking you’d have to use loops with clips, but I see that you didn’t. Is there velcro on the tabs?
Yes, and it’s so quick and easy! We can actually take the rods down as well (we did to paint). Enjoy!