Copper pipe curtain rods are surprisingly easy to make! Learn how simple it is to make your own DIY custom copper curtain rods that will fit any space with this easy-to-follow tutorial.
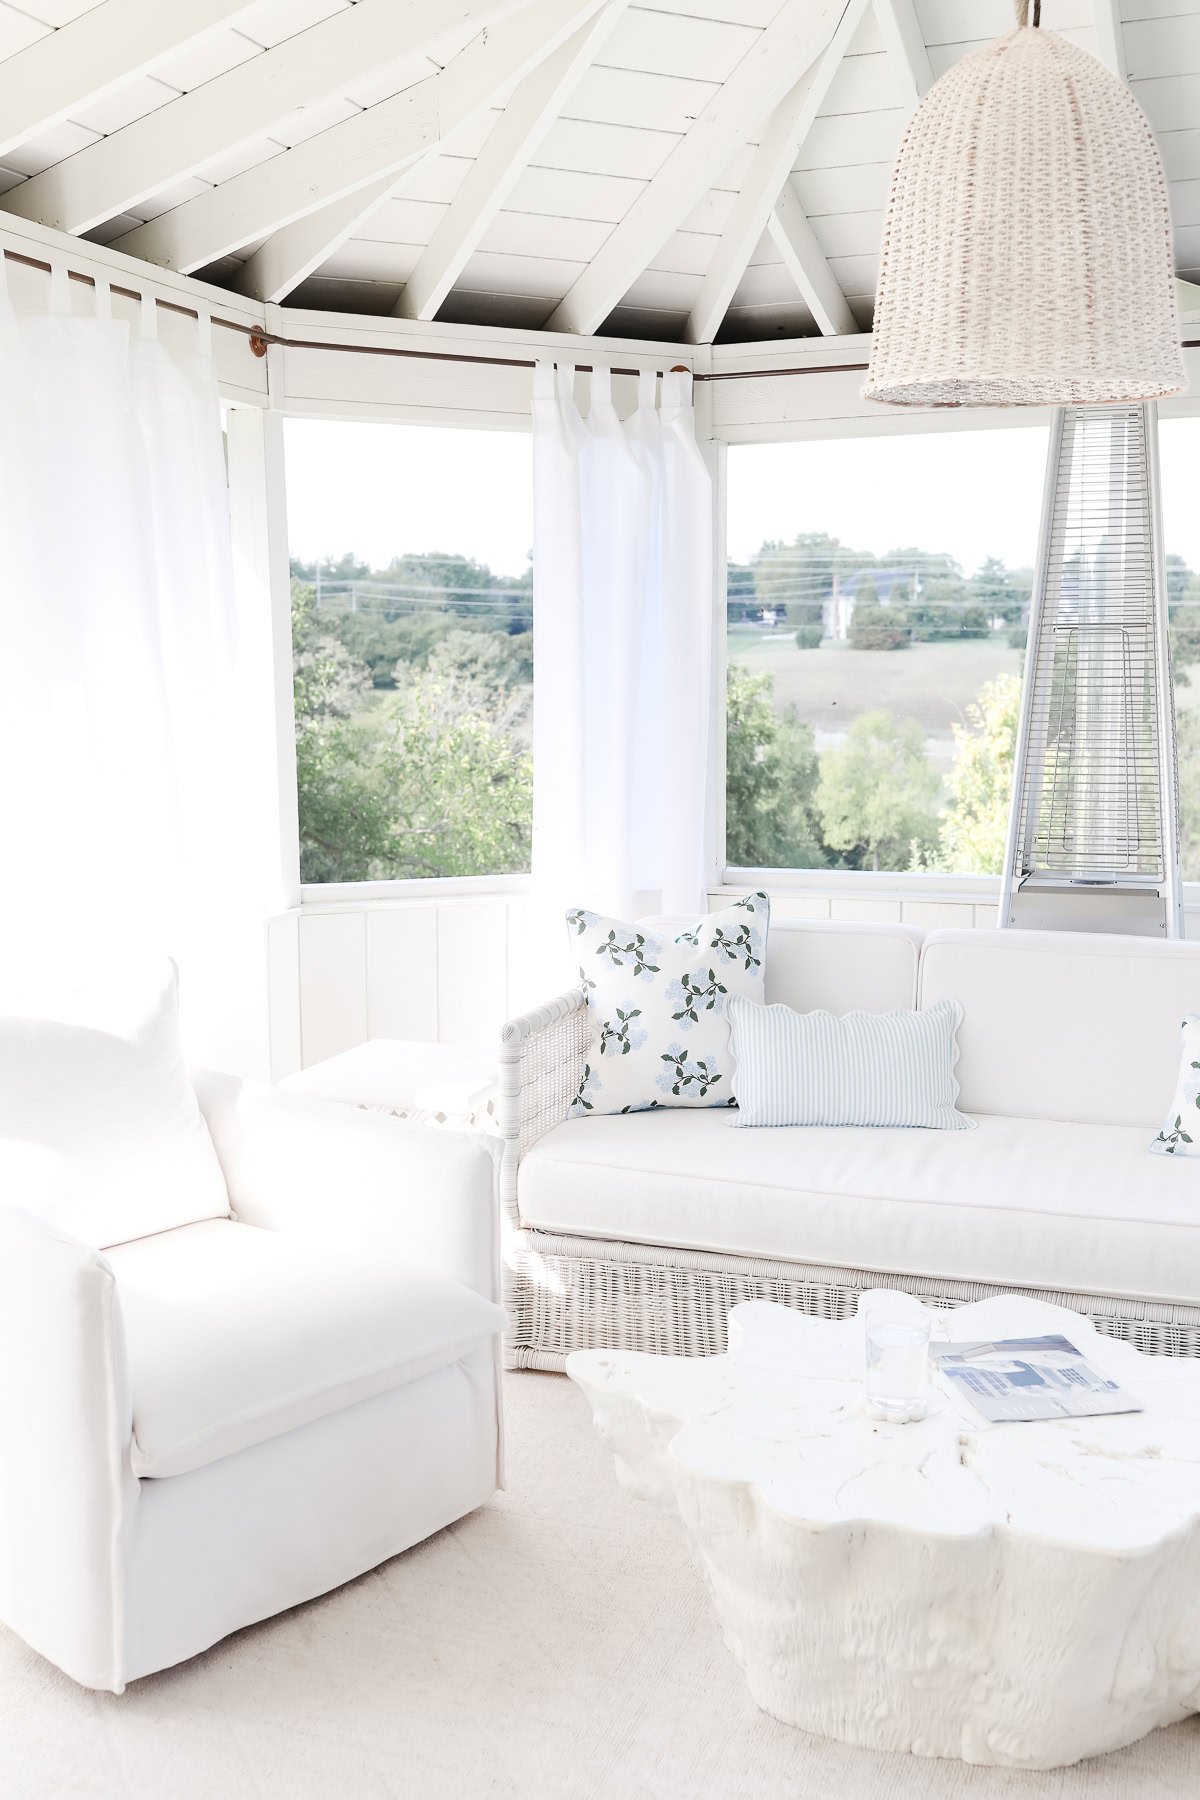
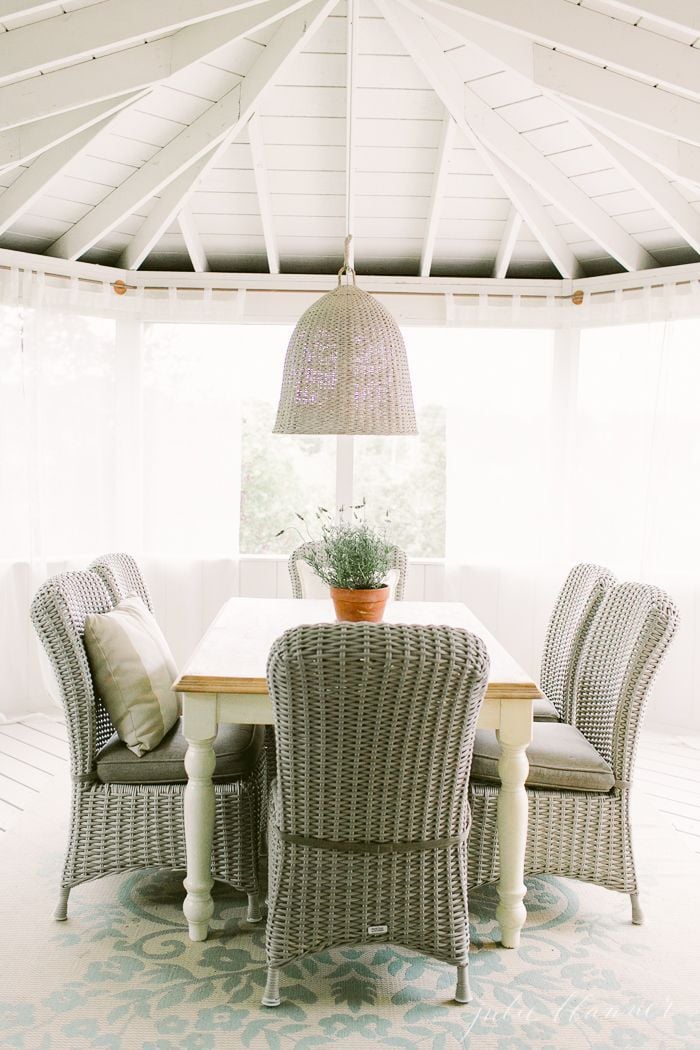
In the quest to make our screened in porch more intimate, I wanted to add drapes. Given the size and shape of the porch, my initial choice of West Elm’s Industrial Pipe Curtain Rods were out of the question due to budget constraints because of the quantity needed. Additionally, they only adjust in length, so they would have been unable to accommodate the corners of the room.
You all know my obsession with copper. The exterior of our house already sports copper light fixtures, copper gutters and hardware. Copper is undeniably beautiful when new, but becomes even more gorgeous when it ages and develops a patina.

DIY Copper Pipe Curtain Rods
This project involves a little critical thinking if you’re designing around a bay window or space with angles, but nothing overwhelming. You do not need to be too exact or precise, which makes this a great beginner project.
Supplies
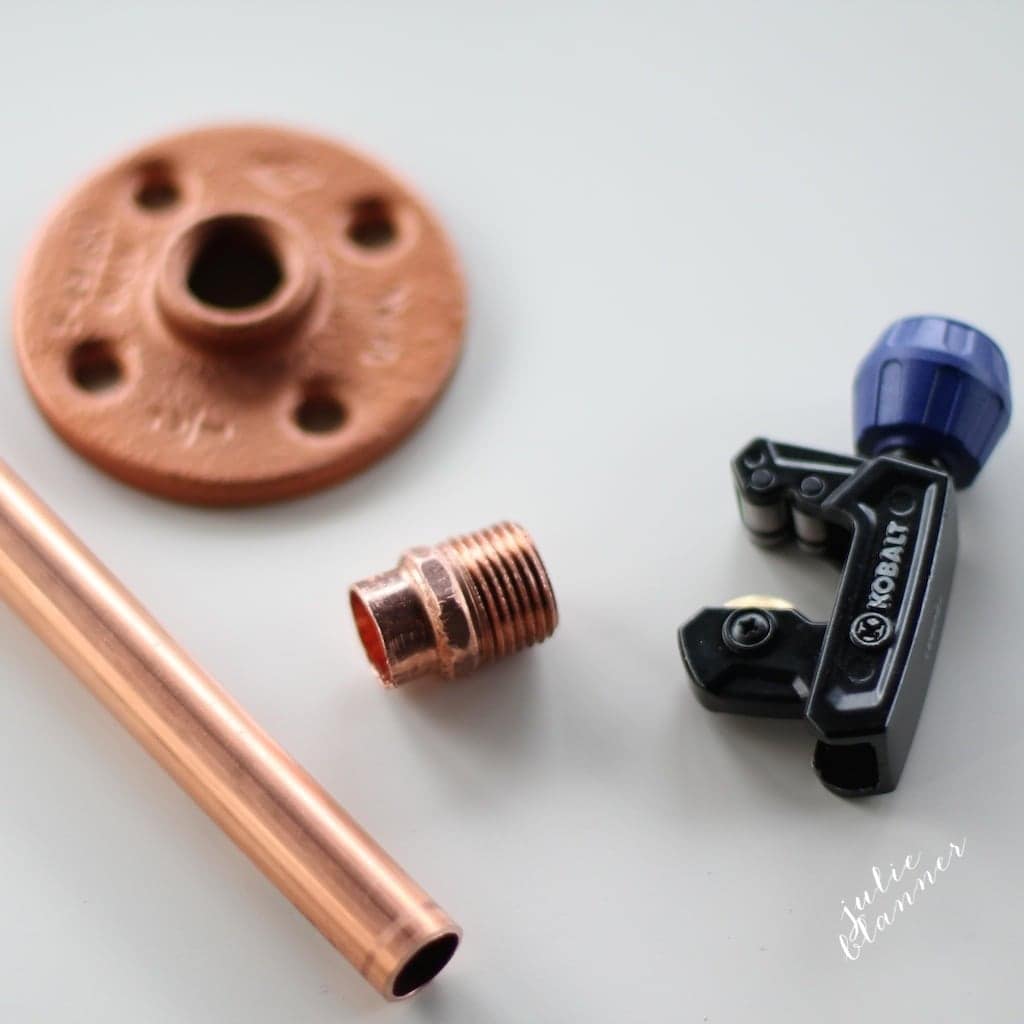
- copper pipes (we used 3/4″)
- copper spray paint
- spray-painted flanges (found in plumbing, but only come in silver)
- 3/4″ (or corresponding size) copper male adapter for each flange you need
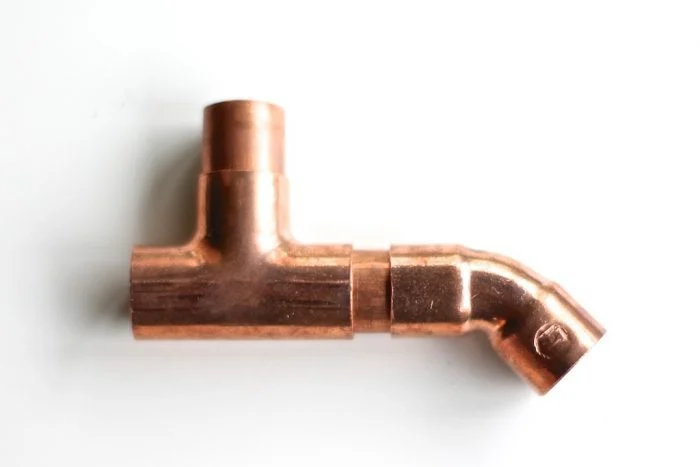
- elbows for corners – we used 45 degree copper elbows
- copper tee – one for each support you need
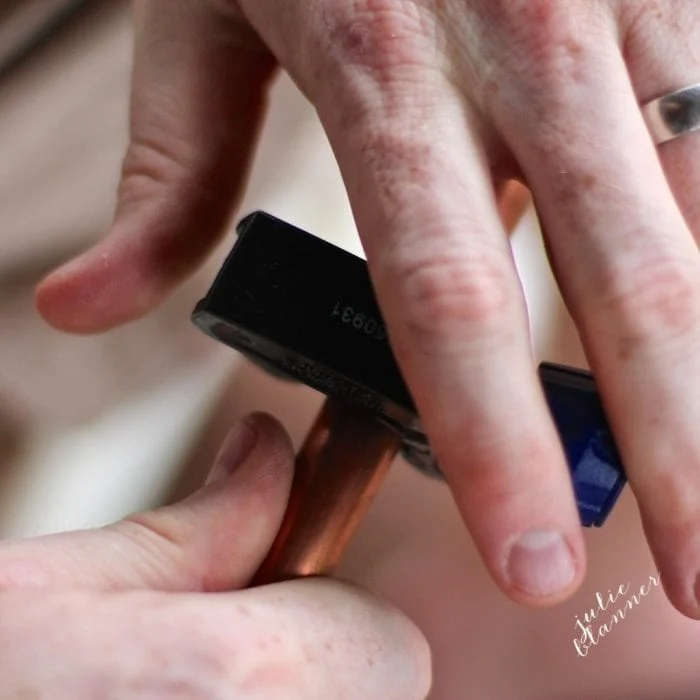
- standard pipe cutter
Tutorial
Below you will see three sets of instructions: one for wall-to-wall installation, one for wall mounted (traditional installation) and finally a third for a bay window or other odd-shaped space.
Wall to Wall
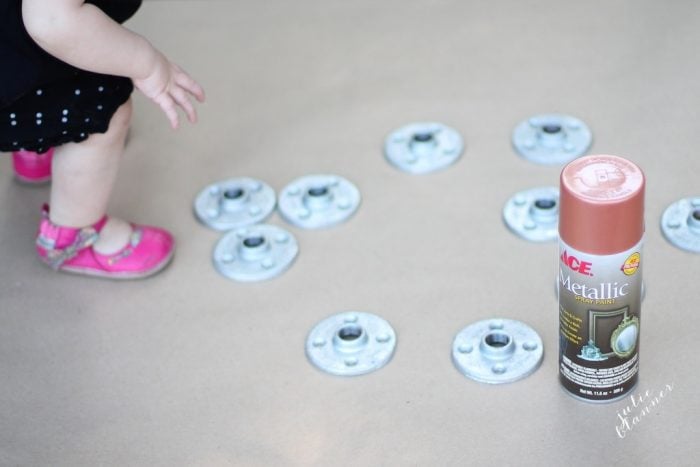
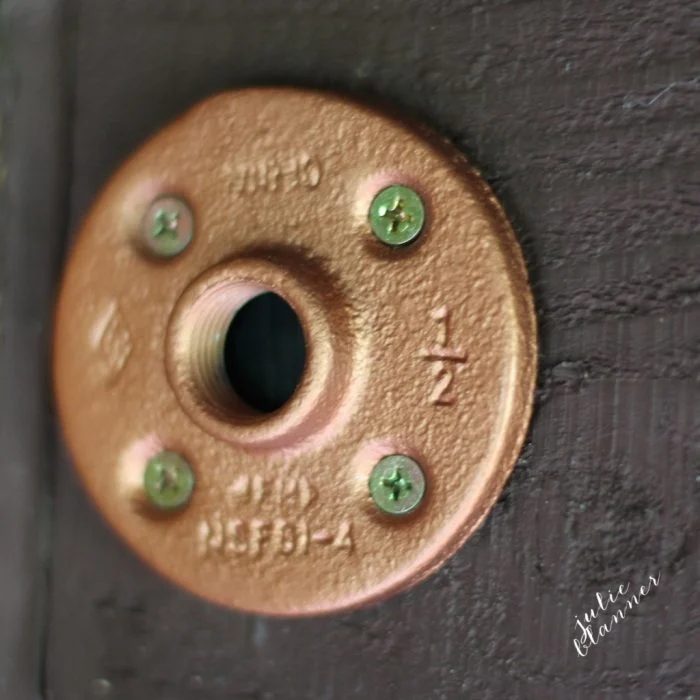
- Spray paint your flanges. Keep in mind that it will scratch easily, so handle them with care. Once they’re up, there’s no concern.

- Screw the first flange to either the left or right wall.

- Loosely screw an adapter in.
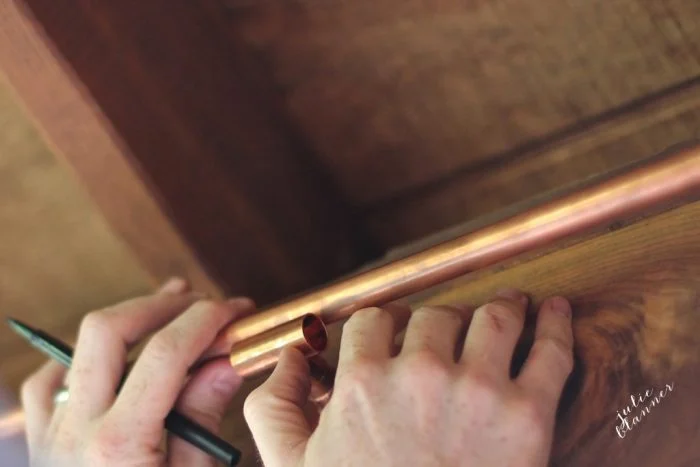
- Insert pipe. Determine what’s level. Mark where you want the next flange (or if doing an extended like ours, the support) to be. Remove the pipe.
- Install 2nd flange in marked spot. Loosely screw in adapter. Mark and cut pipe.
- Insert the pipe and voila! You’re done.

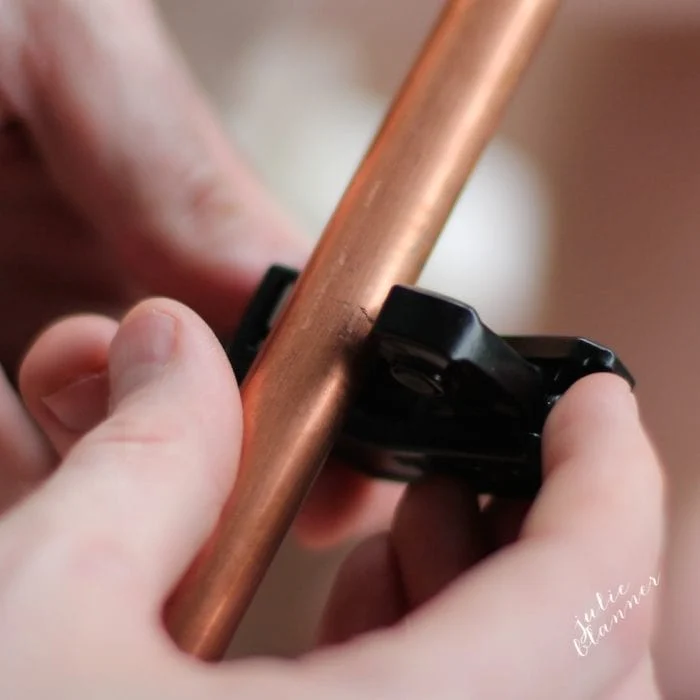


Tip
To cut the pipe, just fit the pipe cutter around the pipe and tighten it, then start twisting. Continue tightening as you go, and after a minute or so the pipe will come right apart.
Standard Curtain Rod Style
If you prefer to hang your curtains in the standard way, not wall-to-wall, then you should follow this particular set of instructions.
- Screw the flanges to the wall, ensuring they are level.
- Cut two small pieces of pipe at the desired distance from the wall. Keeping in mind, the further they come out, the less light blocking capability your curtains will have.
- Loosely screw an adapter in.
- Insert the small pipe at both ends.
- Insert the elbows at both ends.
- Measure and cut the pipe to desired length.
- Insert the pipe.
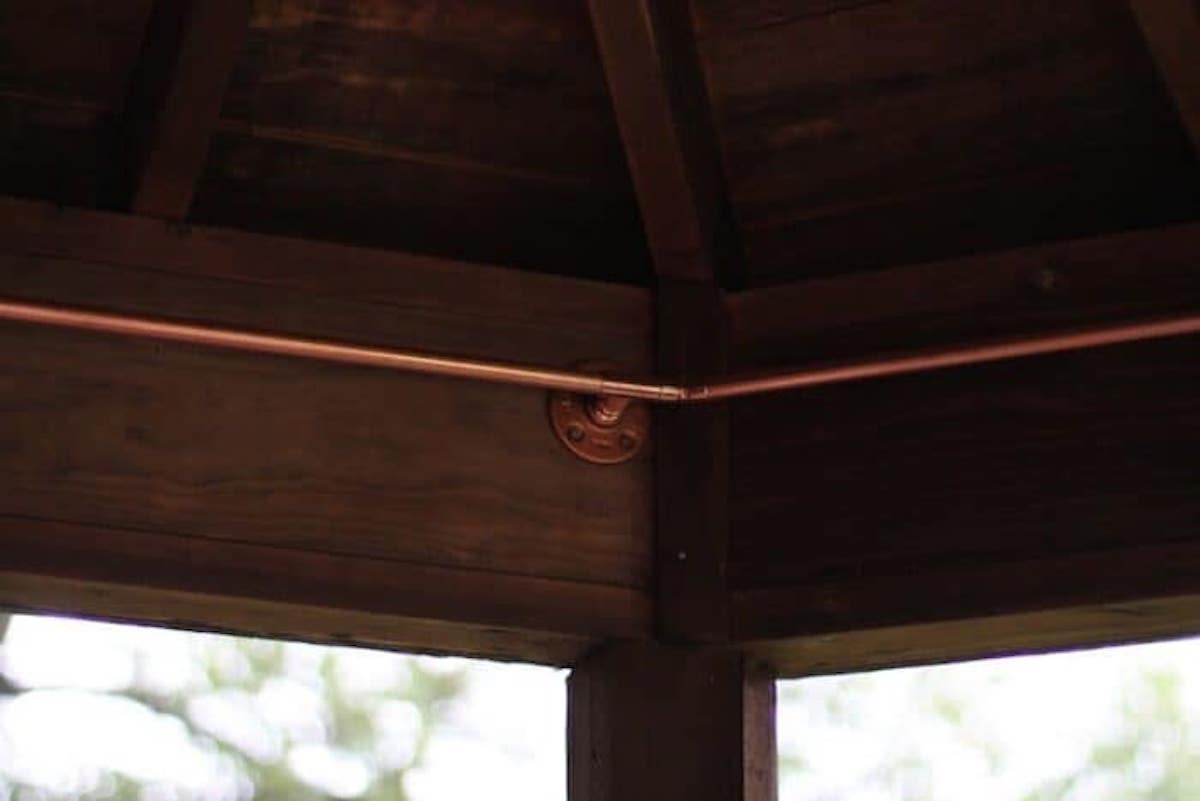
Bay Window Copper Pipe Curtain Rod (or Any Odd Shaped Space)
To make the copper curtain rod for a bay window, or any odd shaped space, the initial instructions are the same, but the elbow pieces will be used to get around the corners.
- Screw in the first flange to the wall.

- Loosely screw an adapter in.
- Insert pipe. Determine what’s level. Mark where you want the next flange (or if doing an extended like ours, the support) to be. Remove the pipe.
- Install 2nd flange in marked spot. Loosely screw in adapter. Mark and cut pipe.
- Add the tee connector.
- Put the copper piping back in flange #1. Line and mark where you need to cut it. Remove the pipe, cut it and place the pipe in the rod.
- Working around a large/unusual space? Let’s keep going! Repeat steps 4, 5 and 6 and add your elbow for corners.

Tips
- If you don’t have the same affection for copper that I do, you can always use PVC or galvanized pipe spray painted with Rustoleum. Black and brass are always beautiful as well.
- I have only been successful locating true copper spray paint at Ace Hardware.
- We used velcro tabbed outdoor curtain panels, which slip right on after you install the copper pipe curtain rods.

Hopefully if you’ve been dreaming of those pretty department store copper rods, this is the perfect knock-off that will accommodate your space.
Frequently Asked Questions
They will hold heavy drapery as long as they are properly supported. If you notice the rod bowing in the middle, you need another support.
No! The beauty of copper is that it will not rust. It will however, develop a patina over time. If you want to keep it bright and shiny, cleaning it with denatured alcohol (available at home improvement stores) will stop the aging process.

DIY Bay Window Curtain Rod
Ingredients
Copper pipes {we used 3/4'}
Copper spray paint
flanges {found in plumbing, but come in silver}
3/4" {or corresponding size} copper male adapter for each flange you need
elbow for corners {we used 45 degree copper elbows}
Copper tee {one for each support you need}
Standard Pipe Cutter
Instructions
Wall to Wall
- Spray paint your flanges. Keep in mind that it will scratch easily, so handle them with care. Once they're up, there's no concern.
- Screw in your first flange to the wall.
- Loosely screw an adapter in.
- Insert pipe. Determine what's level. Mark where you want the next flange {or if doing an extended like ours, the support} to be.
- Remove the pipe.
- Install 2nd flange in marked spot.
- Loosely screw in adapter.
- Mark and cut pipe.
- Insert the pipe.
Standard Installation
- Screw the flanges to the wall, ensuring they are level.
- Cut two small pieces of pipe at the desired distance from the wall.
- Loosely screw an adapter in.
- Insert the small pipe at both ends.
- Insert the elbows at both ends.
- Measure and cut the pipe to the desired length. Insert the pipe.
Bay Window Installation
- Screw in the first flange to the wall.
- Loosely screw an adapter in.Insert pipe.
- Determine what's level.
- Mark where you want the next flange {or if doing an extended like ours, the support} to be.
- Remove the pipe.
- Install 2nd flange in marked spot.
- Loosely screw in adapter.
- Mark and cut pipe. Add the tee connector.
- Put the copper piping back in flange #1. Line and mark where you need to cut it.
- Remove the pipe, cut it and place the pipe in the rod.
- If you're working around a large space, repeat steps 4, 5 and 6 and add your elbow for corners.


Hi, would you recommend this for black out curtains as opposed to the light drapes you used? I’m just worried about the copper bending with the weight..
The copper is actually significantly heavier than most curtain rods. As always, you may need a support in the middle, but we use those even with linen drapes. Enjoy!
Love the idea! I was looking for something like this for my bay patio door area. Question for you, how long(inches) of screws did you use to hold up the flanges? (The flanges are heavy as is and adding the weight of the rest of the rod and curtains to hold up everything.) Thanks!
Sadly I cannot remember how big the screws were, but given that we created ours outdoors in wood {vs drywall}, we did use larger screws. Enjoy!
Love what you did . We have copper accent on the drawer pulls in our kitchen . We are remodeling our kitchen . Now waiting for counter tops to arrive and get installed . I want some sort of a backsplash that is affordable as we are seniors on a limited budget . Do you have any ideas ?
Copper pulls? I’m swooning! Subway tile is just 19 cents apiece & timeless. I would love to see your finished kitchen!
I love this! So simple, pretty and very cost effective.
Thanks, Gwen!
Well aren’t those the prettiest most chic copper rods ever! Love how you turned them with corners inside the window, lovely!!!
xo
Kate
Why thanks, Kate!