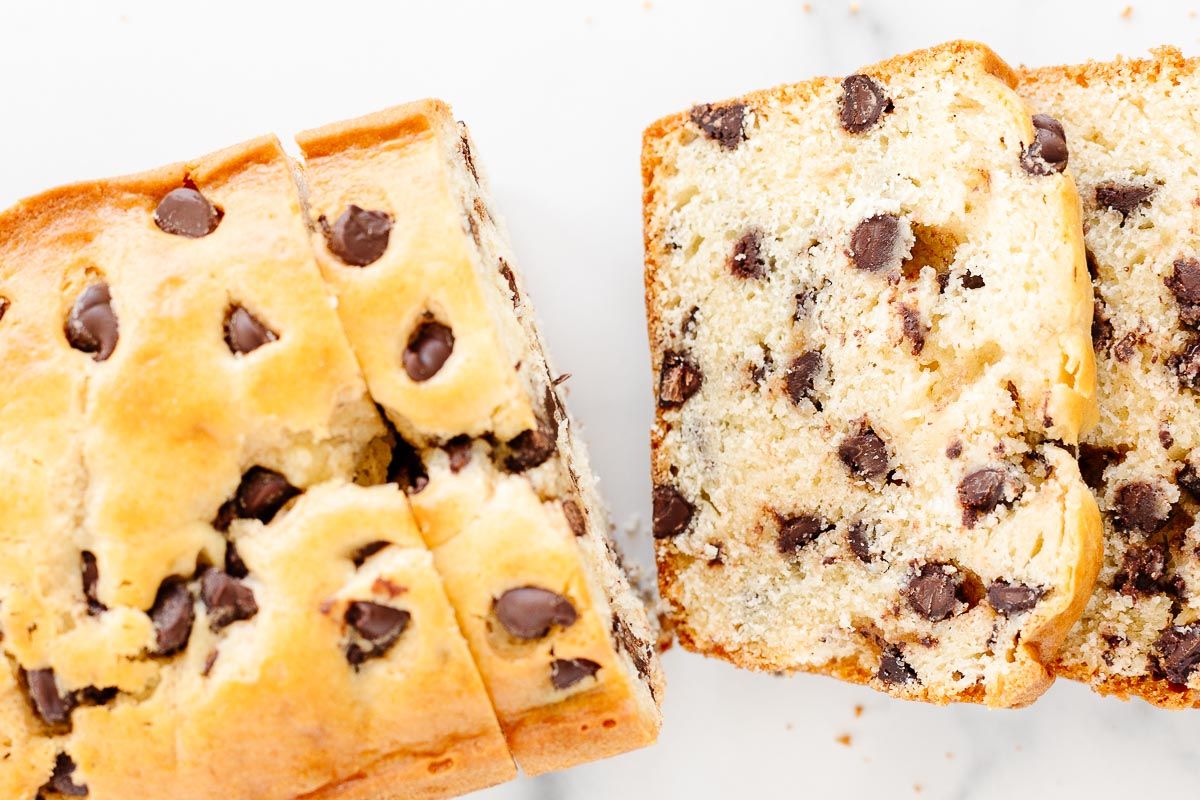
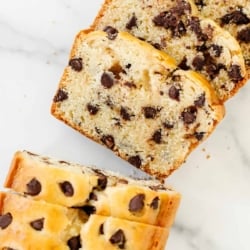
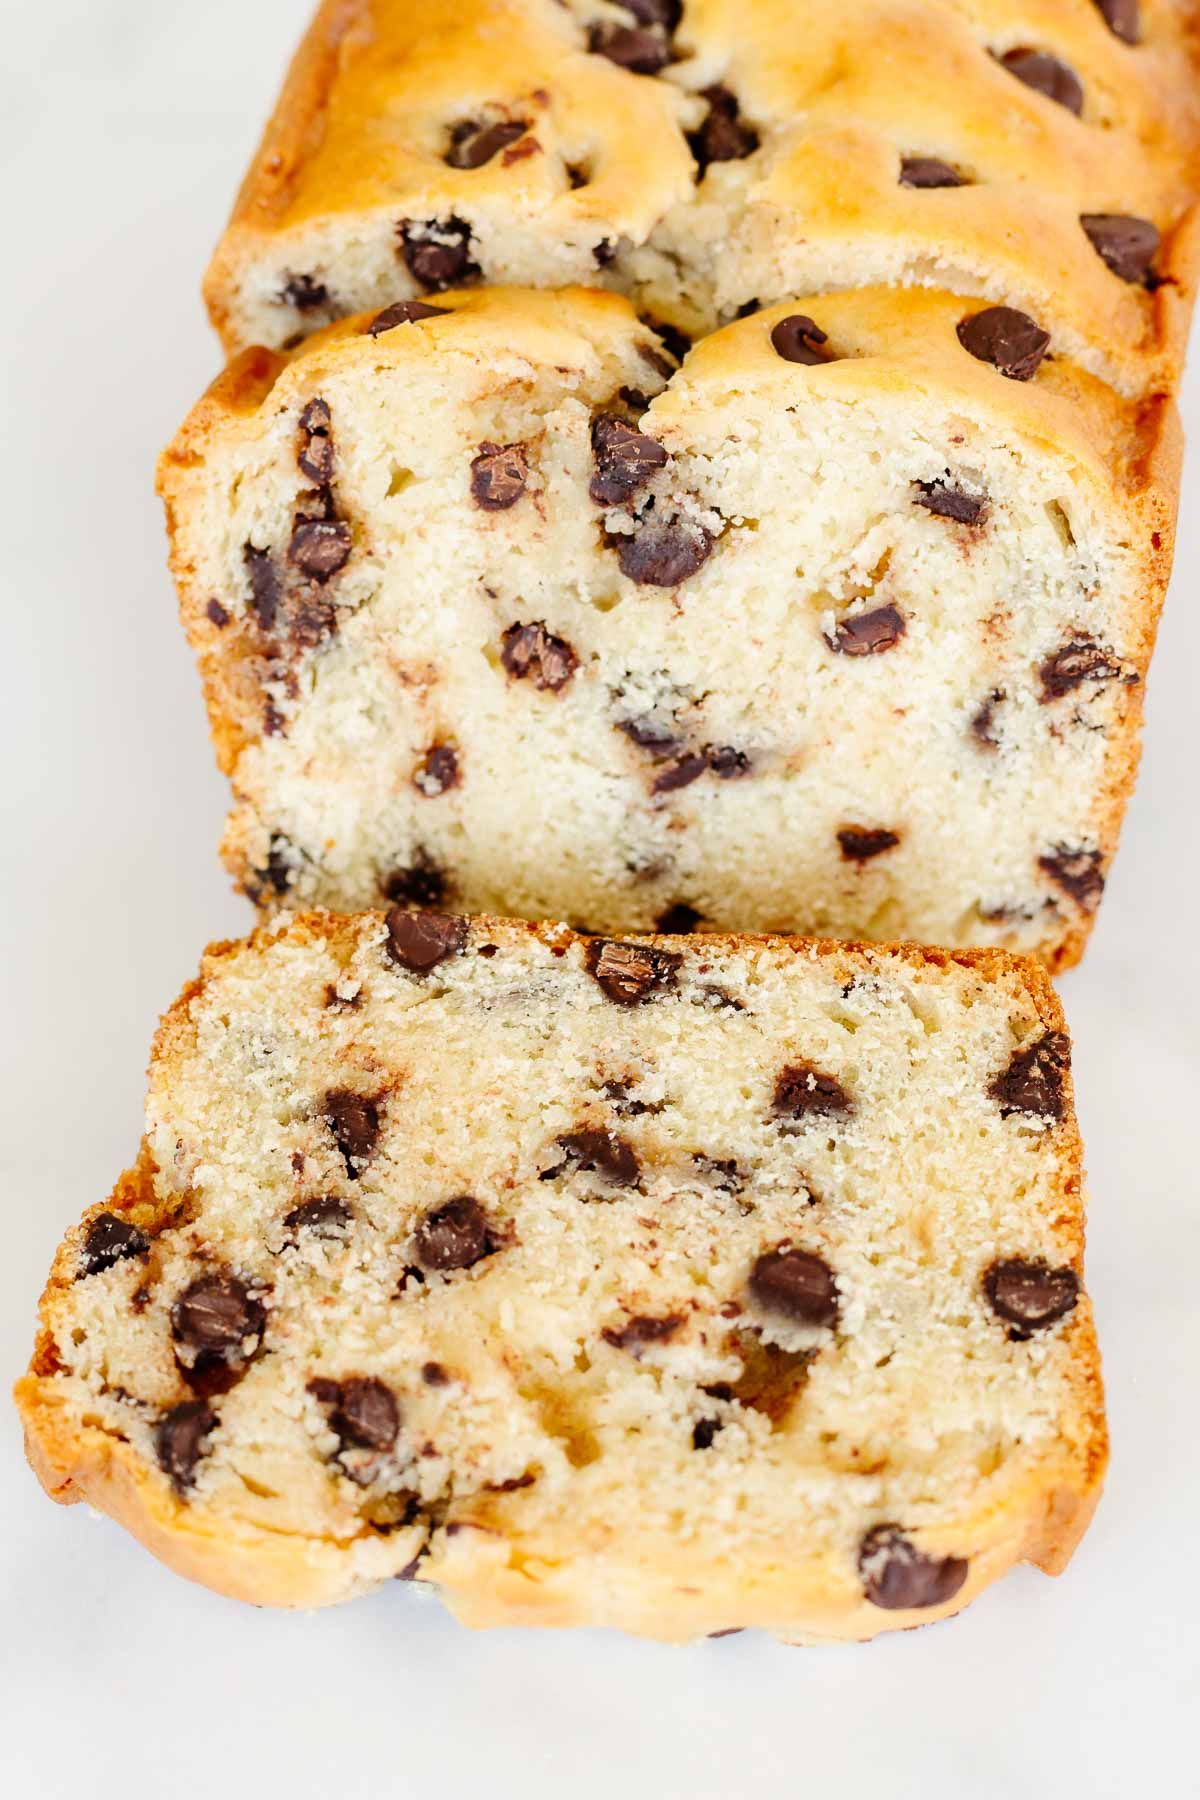
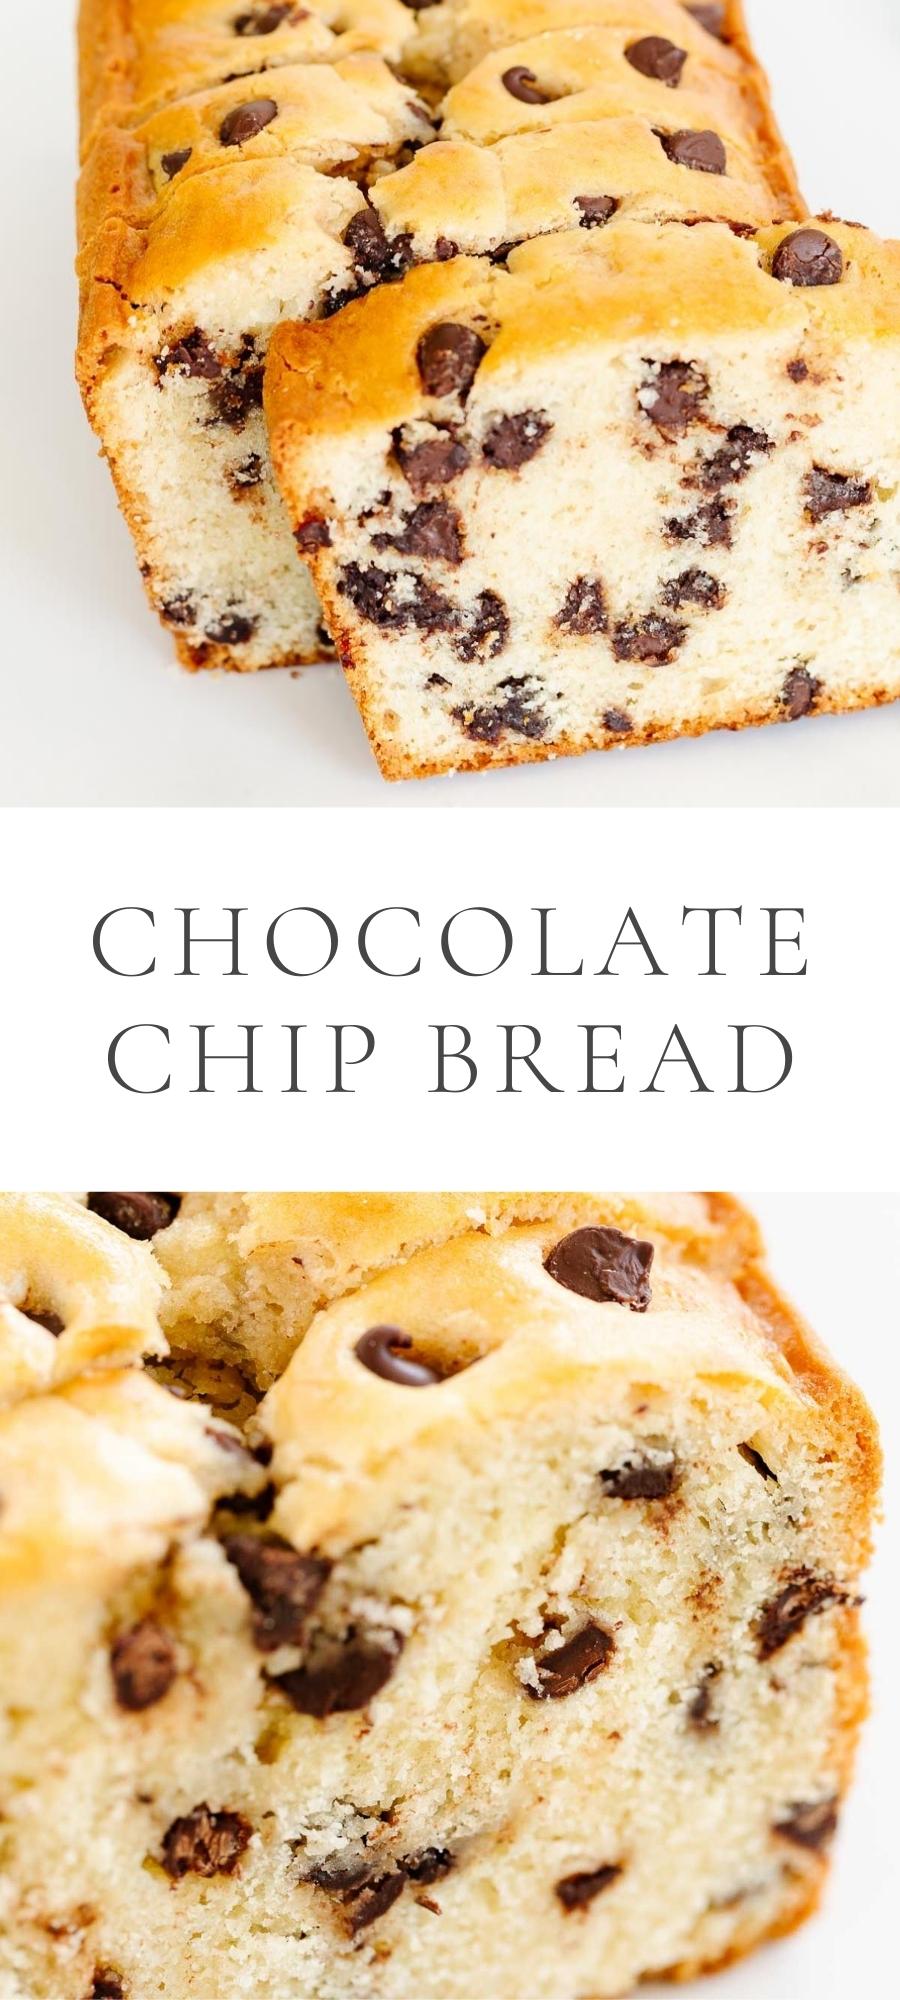
Chocolate Chip Bread is everything you love about chocolate chip muffins baked into a delicious quick bread for breakfast, snack, dessert or giftable loaf! It’s made with staple ingredients in just 5 minutes hands on time!
Chocolate Chip Bread is a delightful twist on my popular Sweet Bread recipe that has been made over a million times! It’s packed with delicious chocolate chips that add amazing flavor and texture!
It’s so easy, even kids and beginner bakers can whip up an amazing loaf! Through the years I have developed over 35 quick bread recipes filled with foolproof tips to make them picture perfect with a tender crumb.
Chocolate Chip Bread
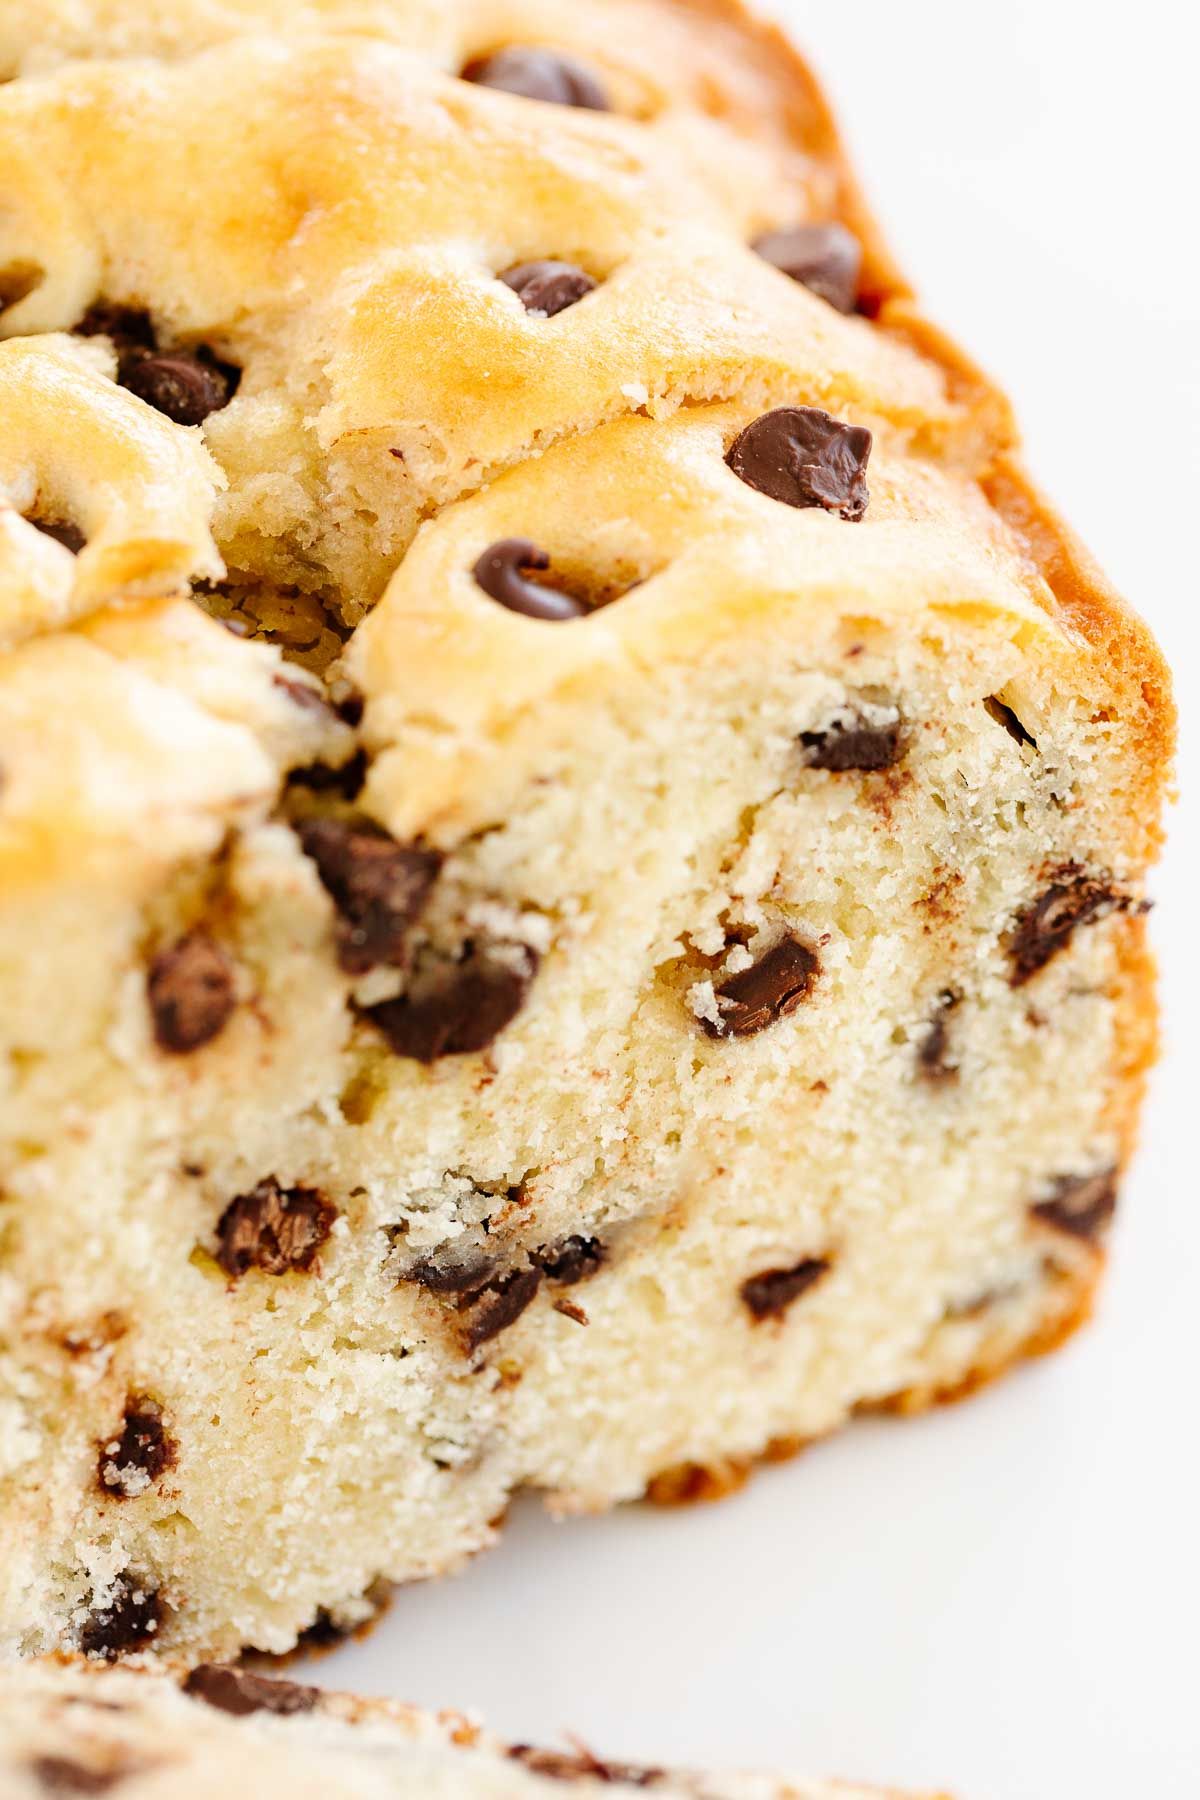
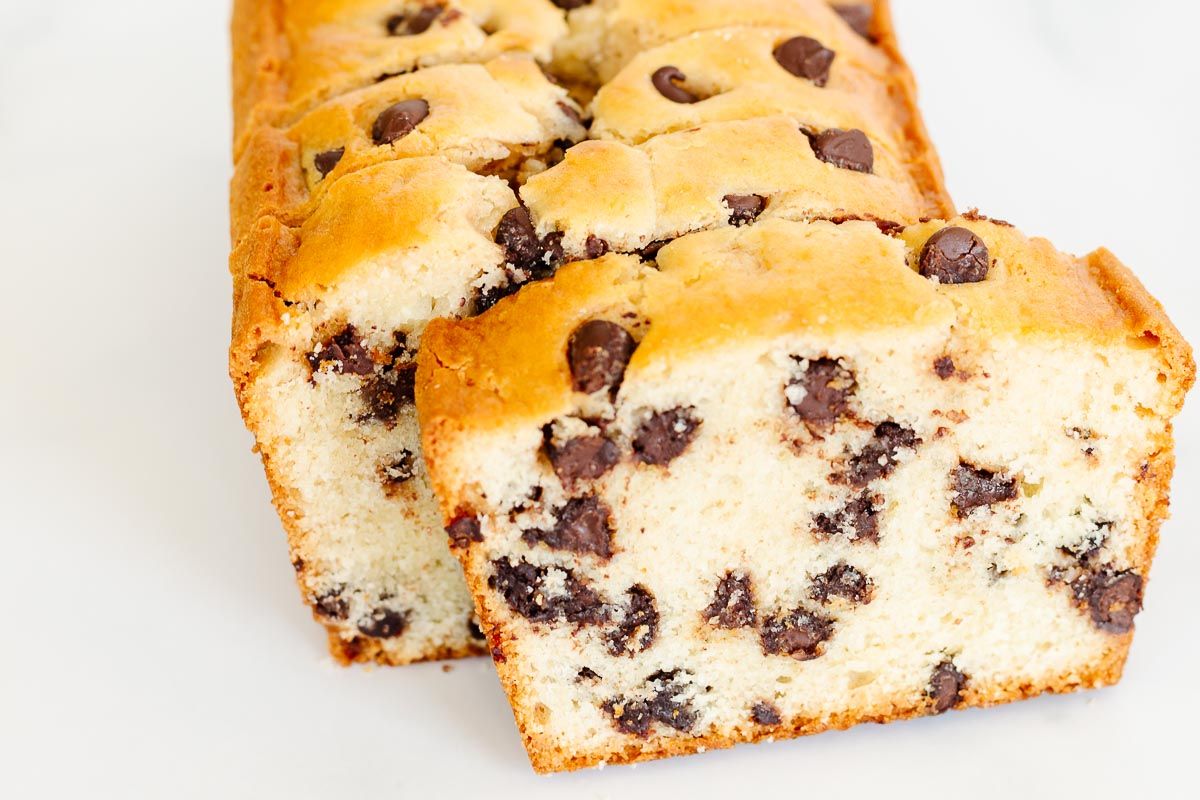
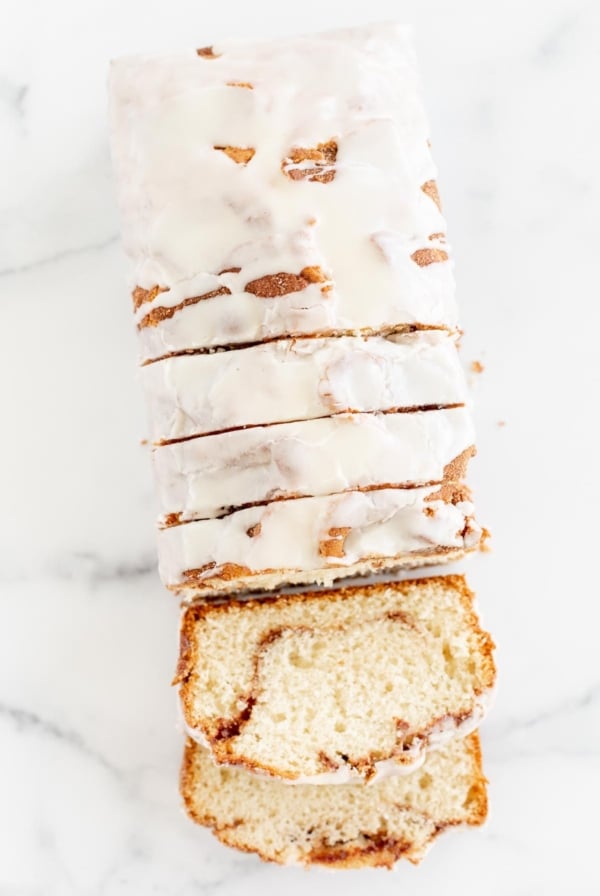
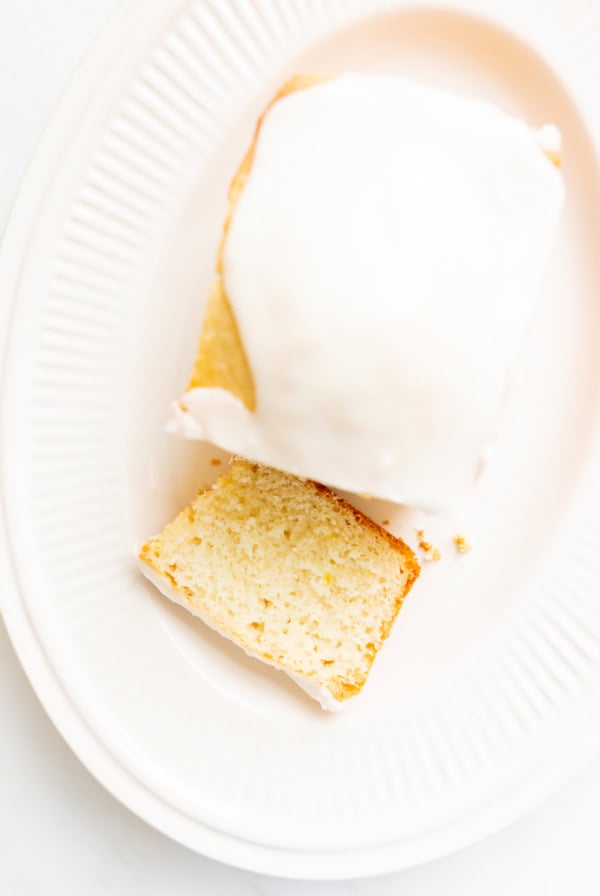
Chocolate Chip Bread is lighter and fluffier than Chocolate Chip Pound Cake. If you love the center, it’s even better than Chocolate Chip Muffins! It’s perfectly acceptable to enjoy for breakfast and freezes well, too!
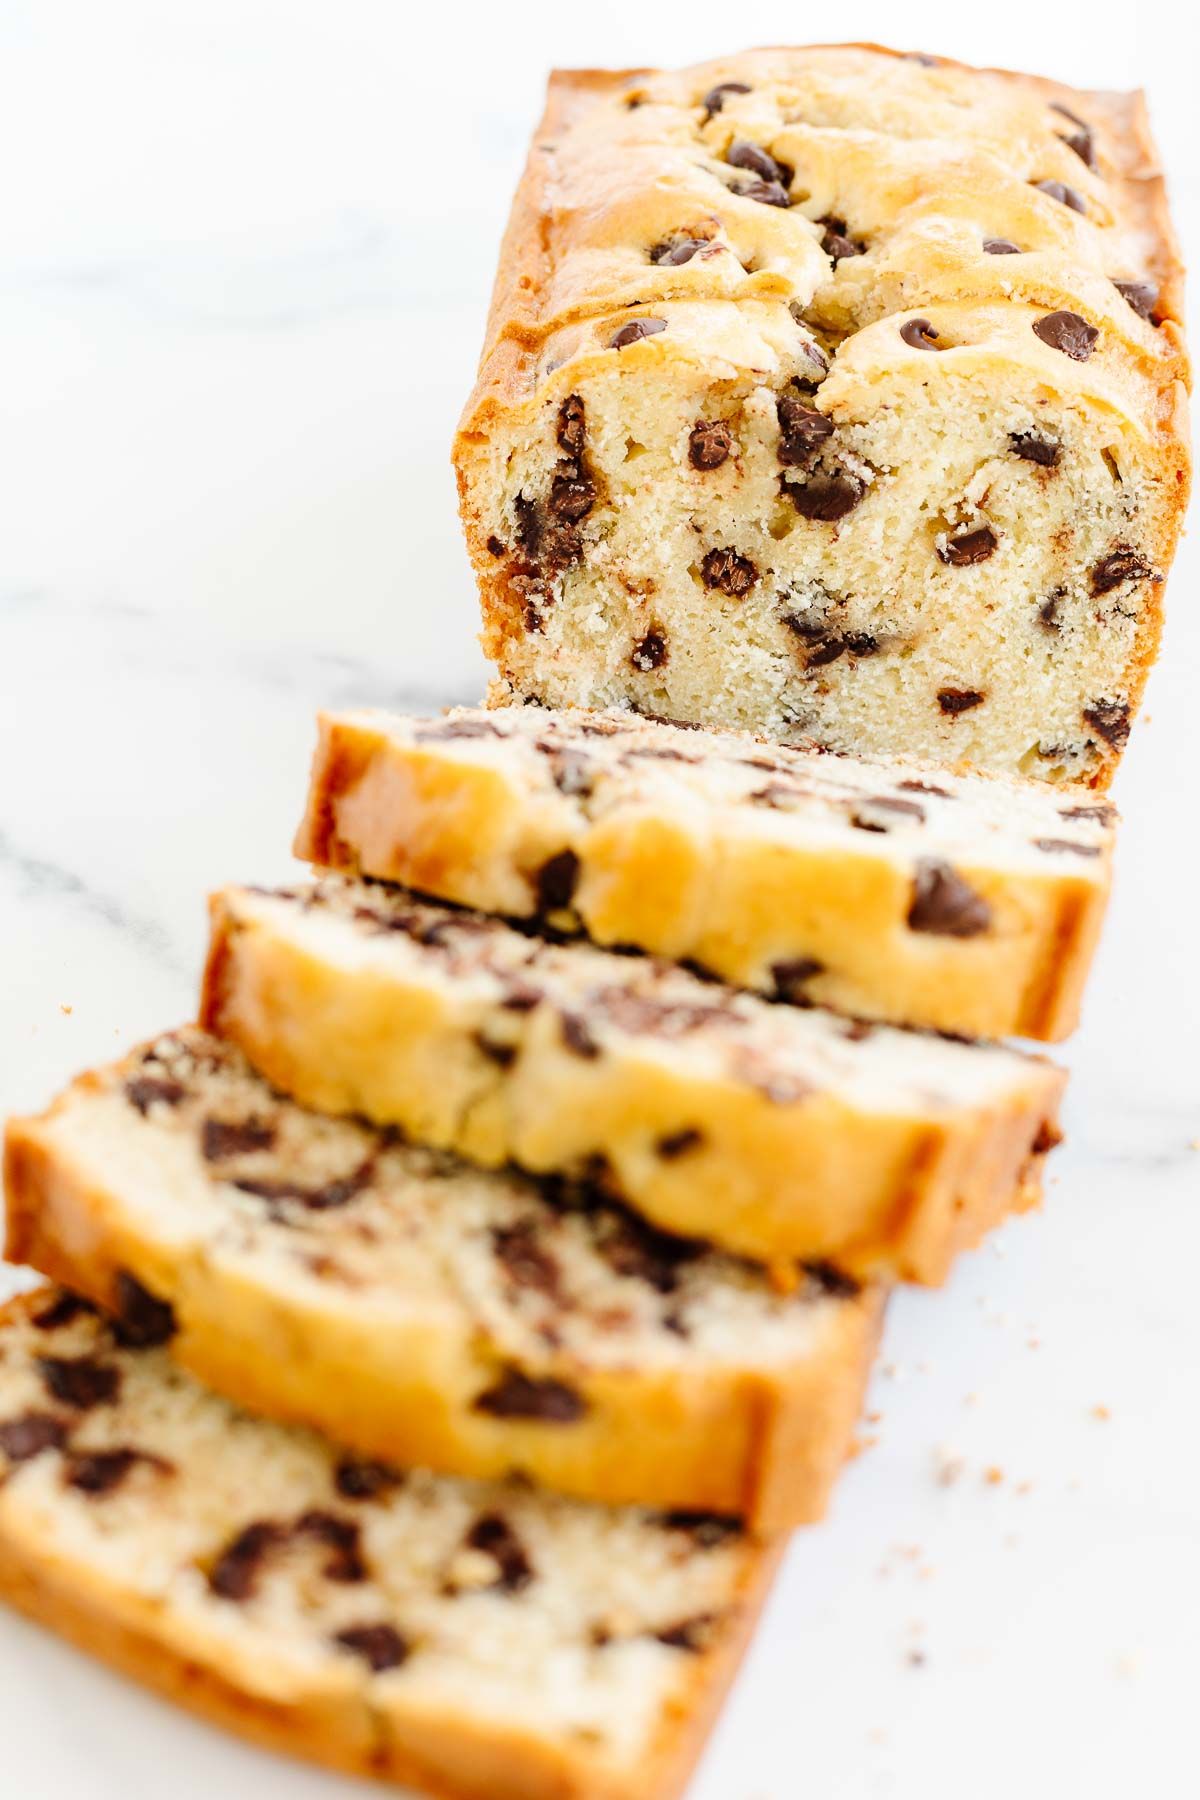
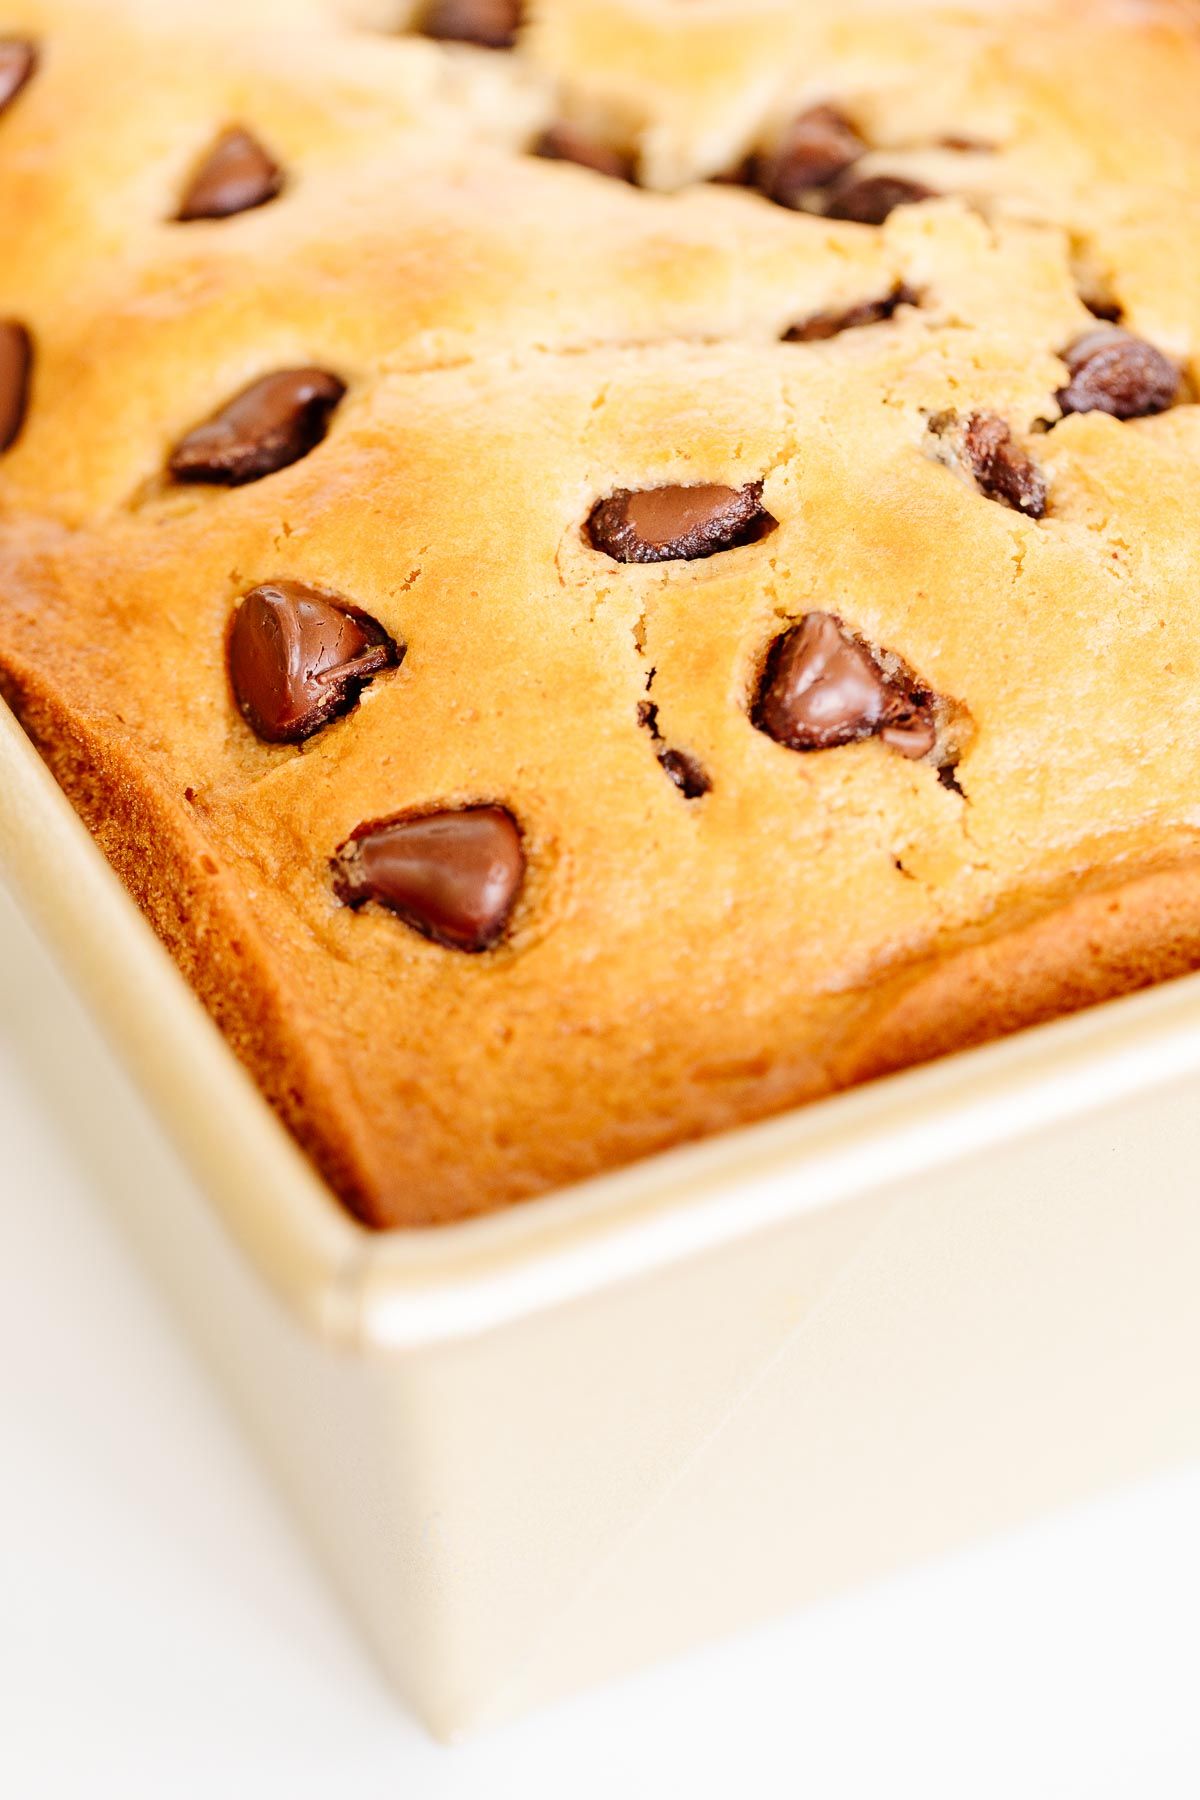
It has a beautiful slice and a tender crumb. Serve it warm for the melty goodness of a chocolate chip cookie or at room temperature. Either way, you’ll crave more!
Ingredients and Substitutions
Chances are you already have everything you need to make this delicious bread!
- White Granulated Sugar – Sugar sweetens the loaf. To mimic the taste of a chocolate chip cookie, substitute with light brown sugar (similar to my Brown Sugar Bread)
- All Purpose Flour – You can substitute 1 to 1 gluten free flour if needed (results slightly vary).
- Baking Powder – The leavening agent that makes this bread rise to perfection, without the fuss!
- Salt – A pinch of salt balances the sweetness and brings out all the other flavors.
- Egg – A large egg binds the ingredients together.
- Milk – Use the heaviest milk you have on hand, but any milk, even almond milk to make it dairy free, works well.
- Vegetable Oil – Vegetable oil makes this bread incredibly moist. Substitute canola oil or melted unsalted butter (allow to cool), if needed.
- Chocolate Chips – Use your favorite chocolate chips; dark chocolate, semi-sweet, mini or chunks.
Variations
- Add 1/2 cup chopped nuts (walnuts or pecans).
- Cover with Glaze or Cream Cheese Glaze.
Tools to Use
- Mixer or Mixing Bowl and Spatula
- Measuring Cups and Measuring Spoons
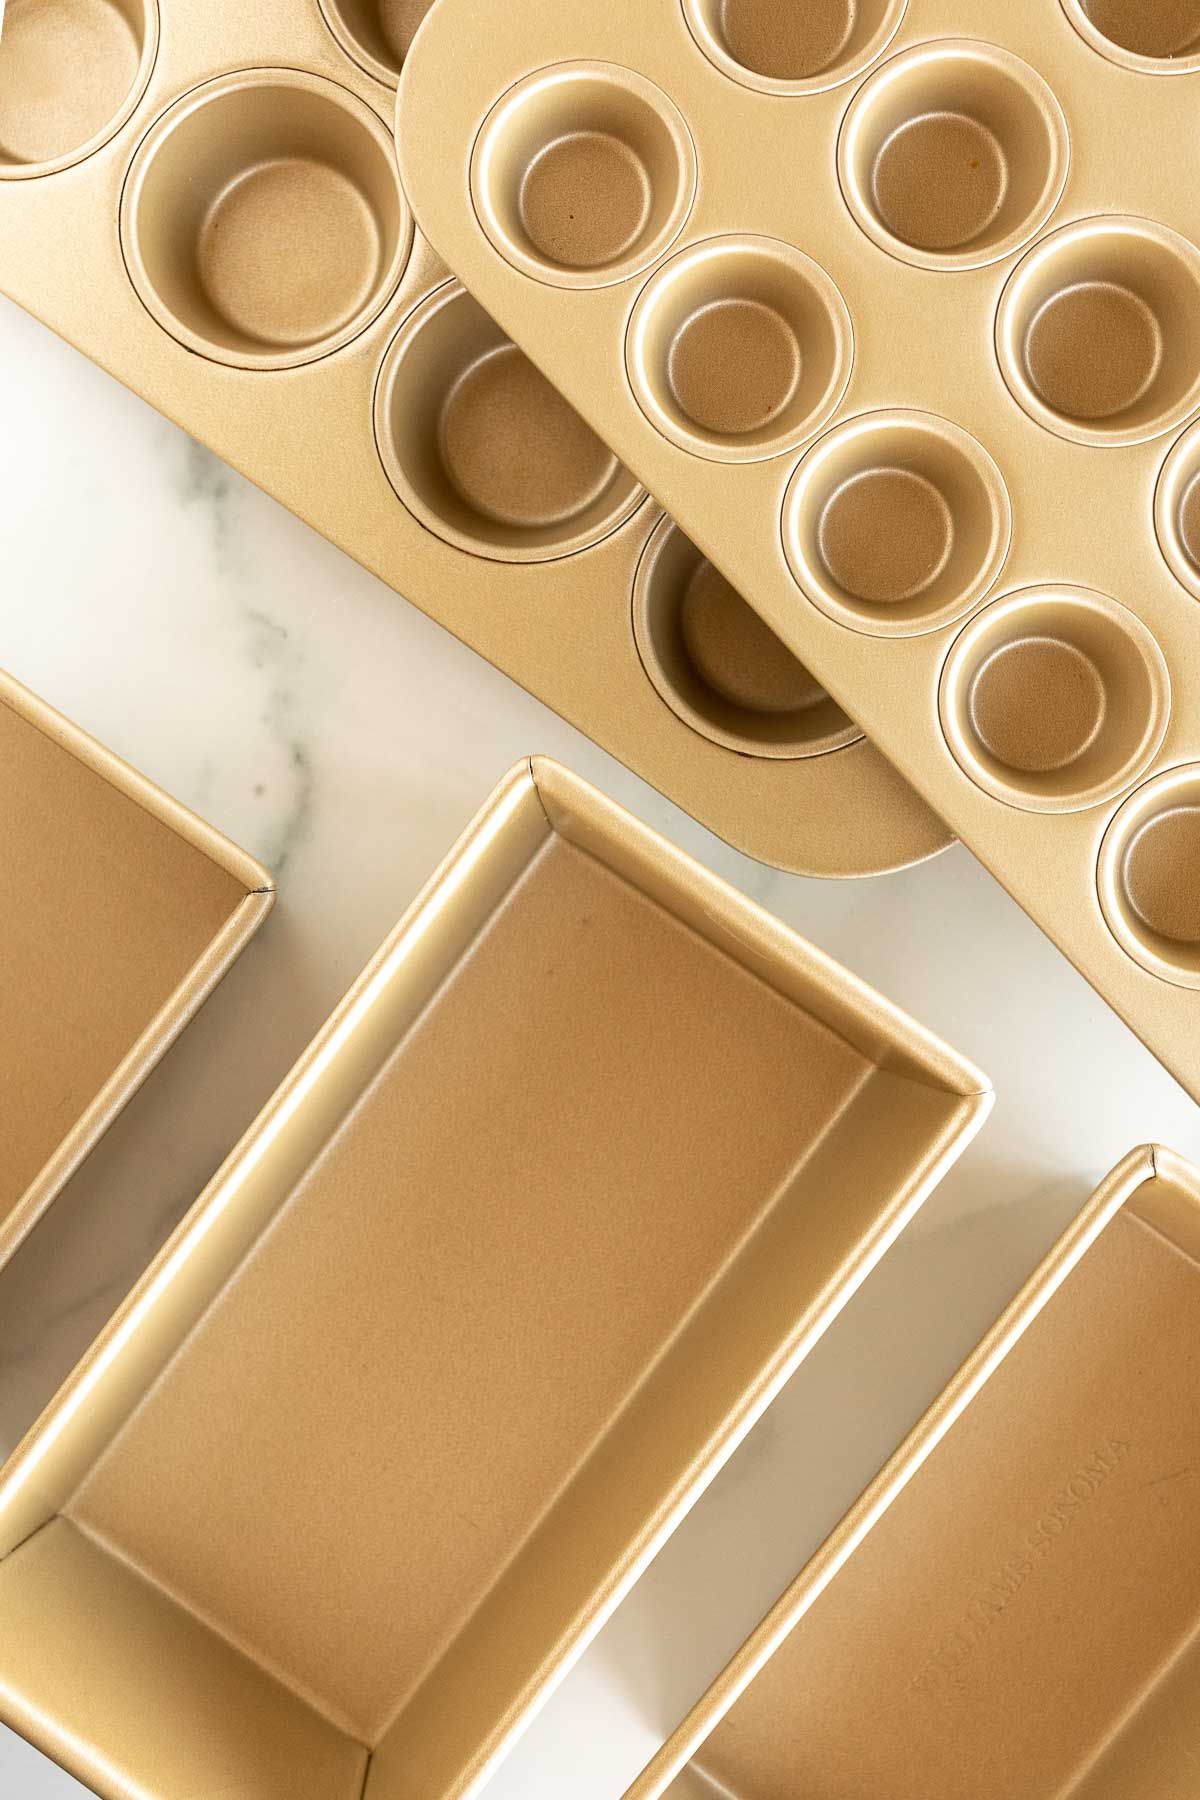
- Large Loaf Pan, Ceramic Mini Loaf Pans (5.23″ x 3.54″ x 2.16″ size), Mini Ceramic Loaf Pans or Paper Loaf Pans
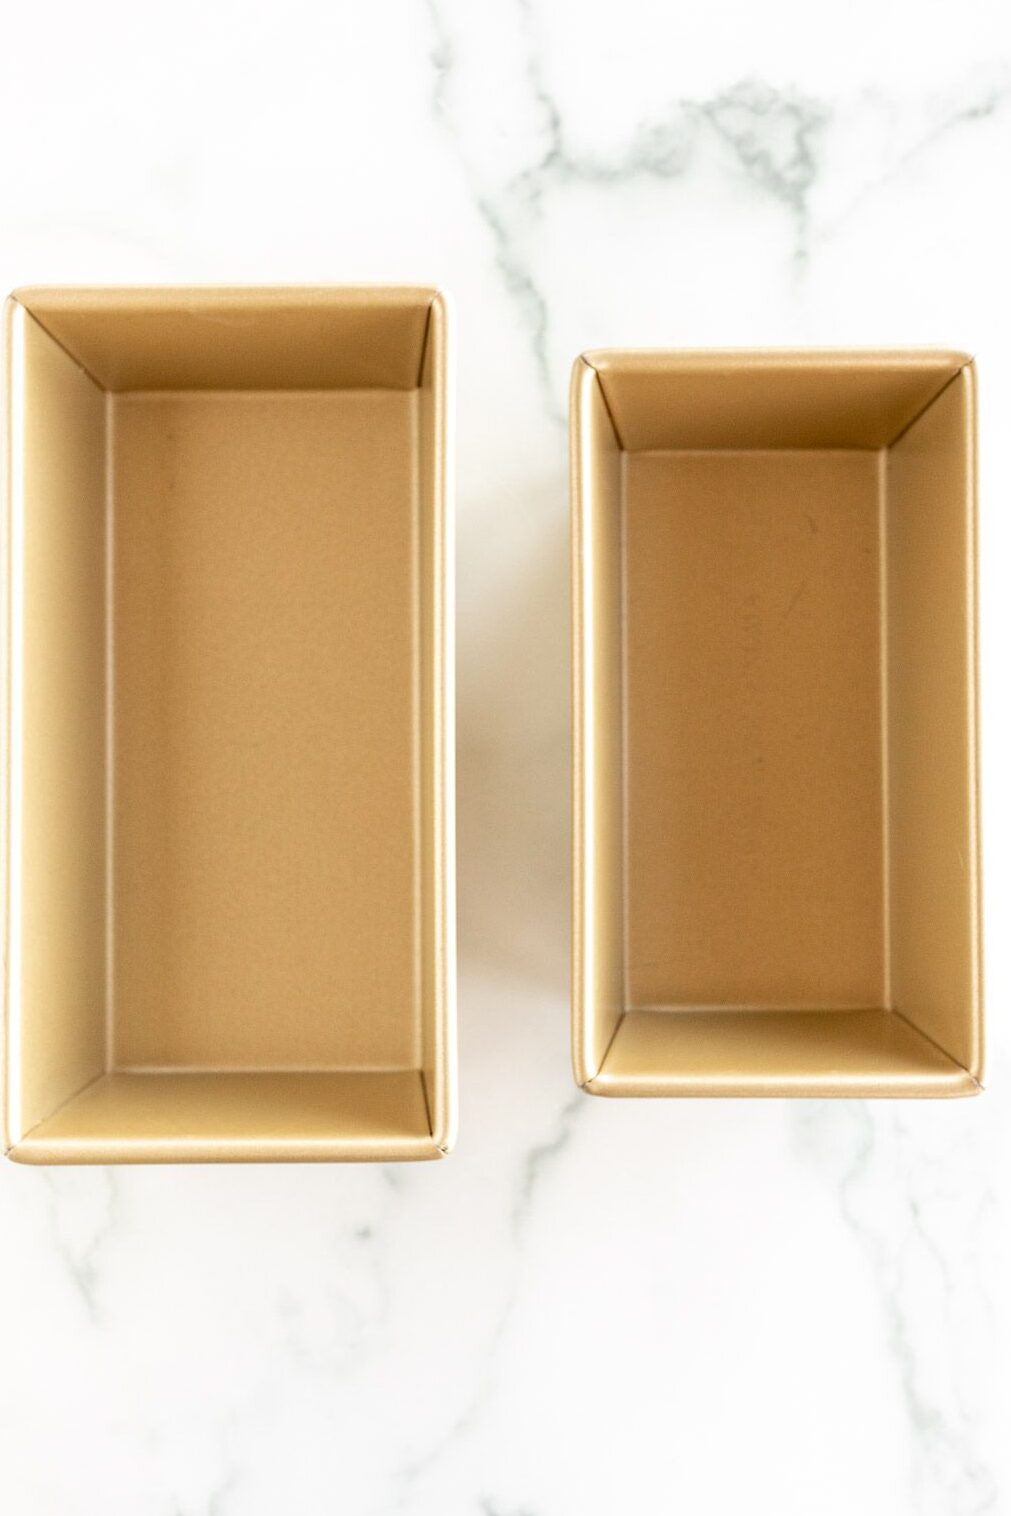
Loaf Pan Sizes
Not sure which loaf pan to use or how to adapt? Get all the details here!
Baking Alternatives
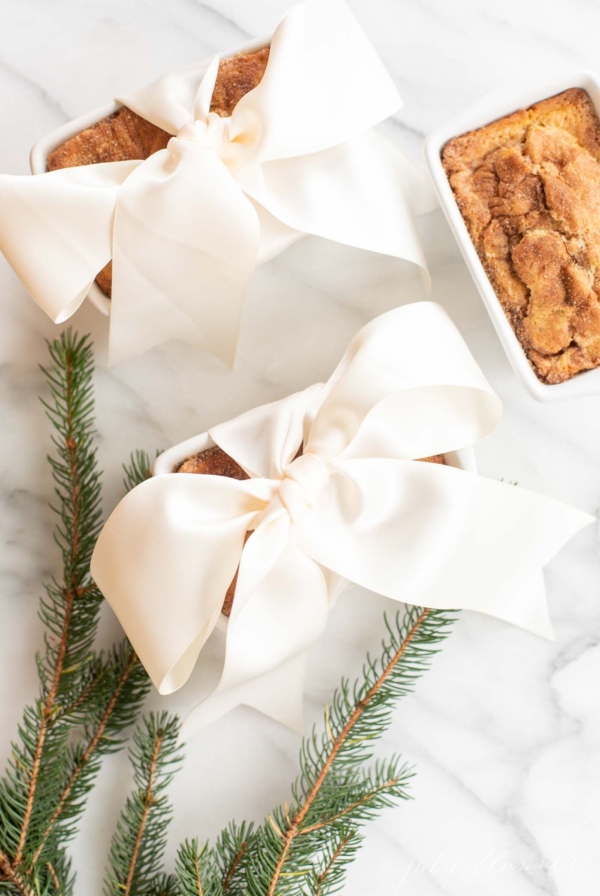
- Mini Loaves – Miniature loaves are perfect for gifting! Bake 40 minutes for 6 miniature loaf pans or until a toothpick inserted into the center of the loaf comes out clean.
- Make Muffins – If you prefer to make them into mini muffins, grease miniature muffin tins and fill each 2/3 full. Bake 12 minutes or until slightly golden on the edges and set in the center.
- Make it Ornate – Bake it in an ornate loaf pan with no added effort!

Tips
- Don’t Overfill Loaf Pan – Fill 2/3 full to compensate for rise.
- Don’t Overbake – Watch bake time carefully. Insert a toothpick in the center. When it comes out clean, it’s done.
How to Store
- Room Temperature – Cover tightly with plastic wrap and store at room temperature up to 3 days.
- Refrigerate – Cover tightly with plastic wrap and refrigerate up to 5 days for maximum freshness.
- Freeze – Wrap tightly with plastic wrap and place in an airtight freezer bag. Freeze up to 6 months.
For more tips and tricks to store quick breads and keep them as fresh as the day they were baked read more at How to Store Banana Bread.
Chocolate Chip Bread
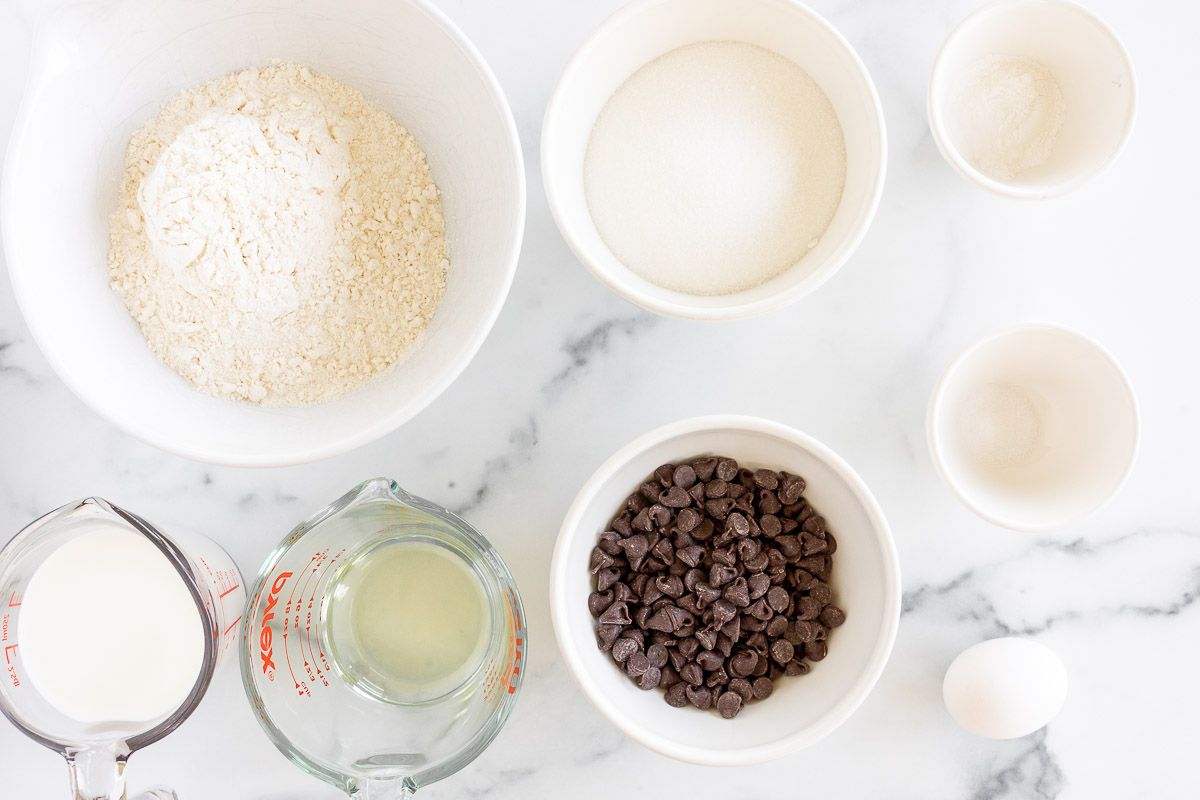
Ingredients
- 1 cup white granulated sugar or light brown sugar
- 2 cups all purpose flour
- 1 tablespoon baking powder
- ½ teaspoon salt
- 1 large egg
- 1 cup milk vitamin D, whole, 2% or almond
- ⅓ cup vegetable oil
- 1½ cups chocolate chips semi-sweet, milk chocolate or dark chocolate
Instructions
- Preheat oven to 350°F. Grease a 1 pound loaf pan (or see alternatives in notes).
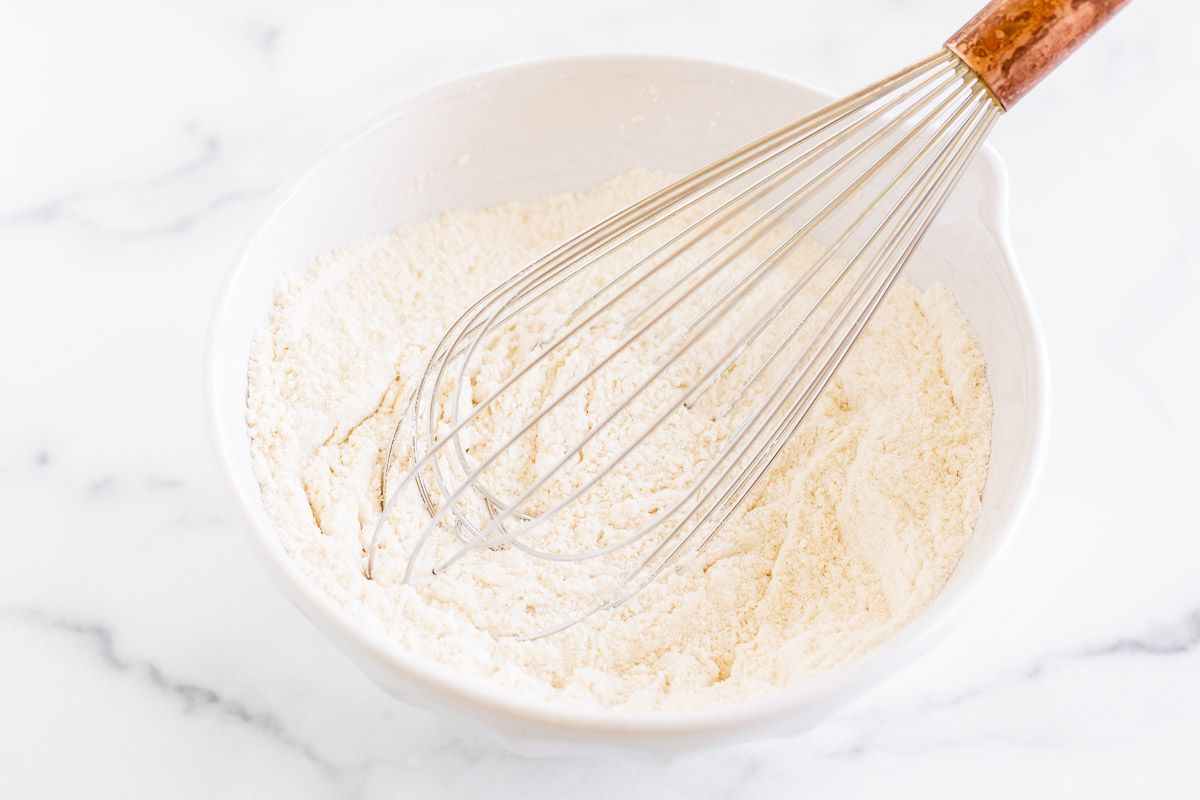
- In a medium mixing bowl, whisk to combine sugar, flour, baking powder and salt. Set aside.1 cup white granulated sugar, 2 cups all purpose flour, 1 tablespoon baking powder, ½ teaspoon salt

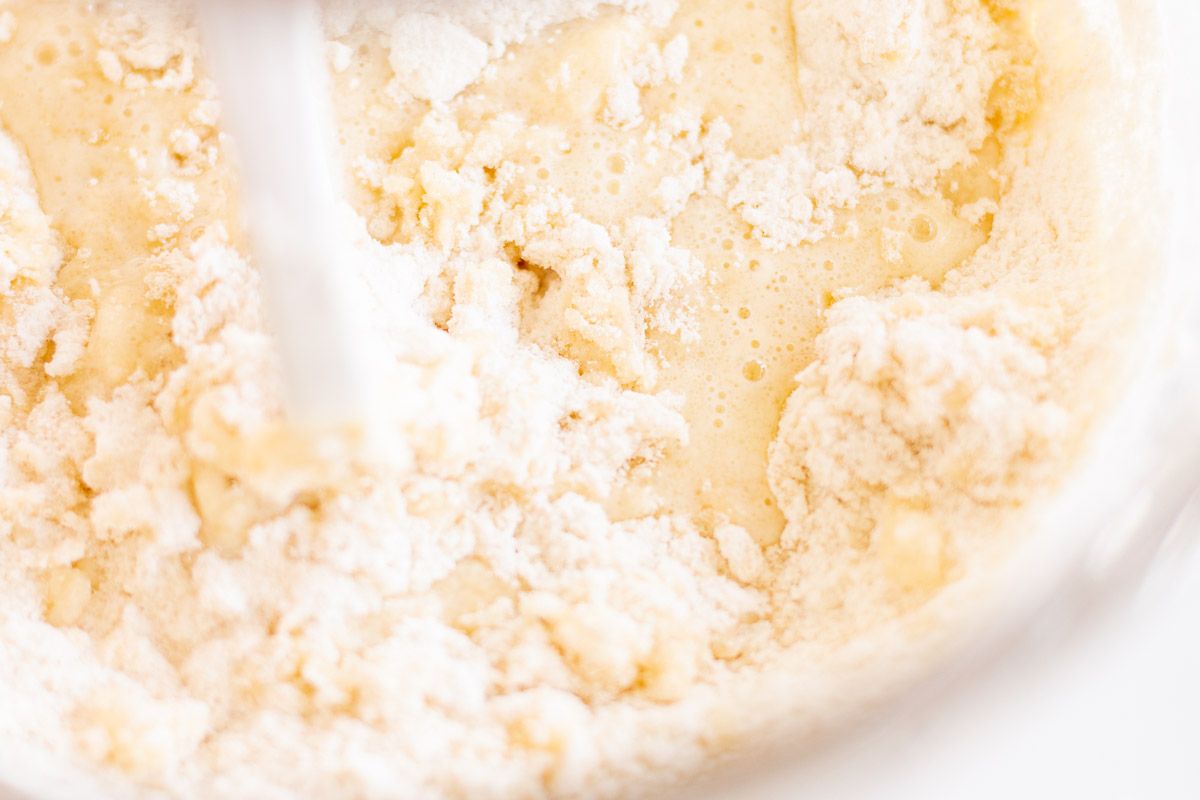
- In a large mixing bowl or stand mixer, beat egg, milk and oil until combined.1 large egg, 1 cup milk, ⅓ cup vegetable oil
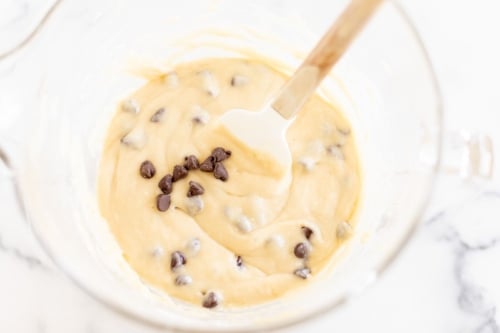
- Gradually add dry mixture to wet mixture, stirring together until just moist.
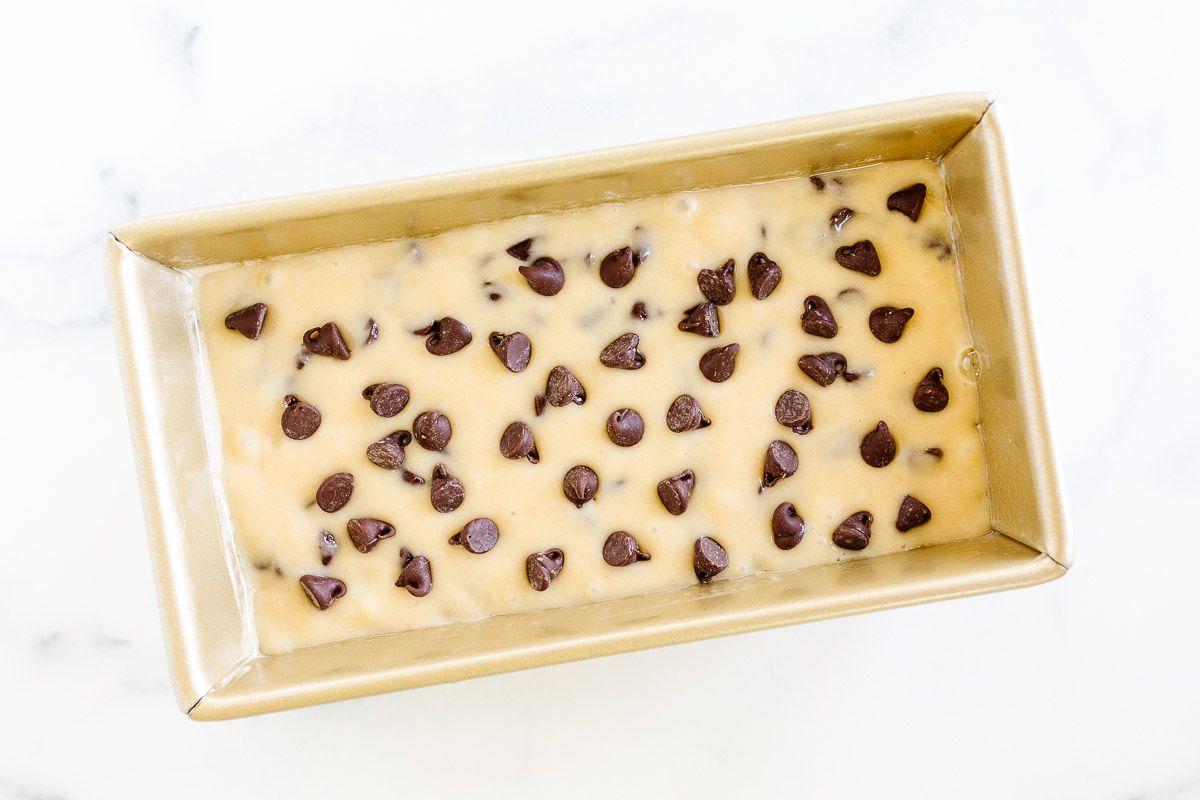
- Fold in chocolate chips, reserving ¼ cup for the top of the loaf.1½ cups chocolate chips
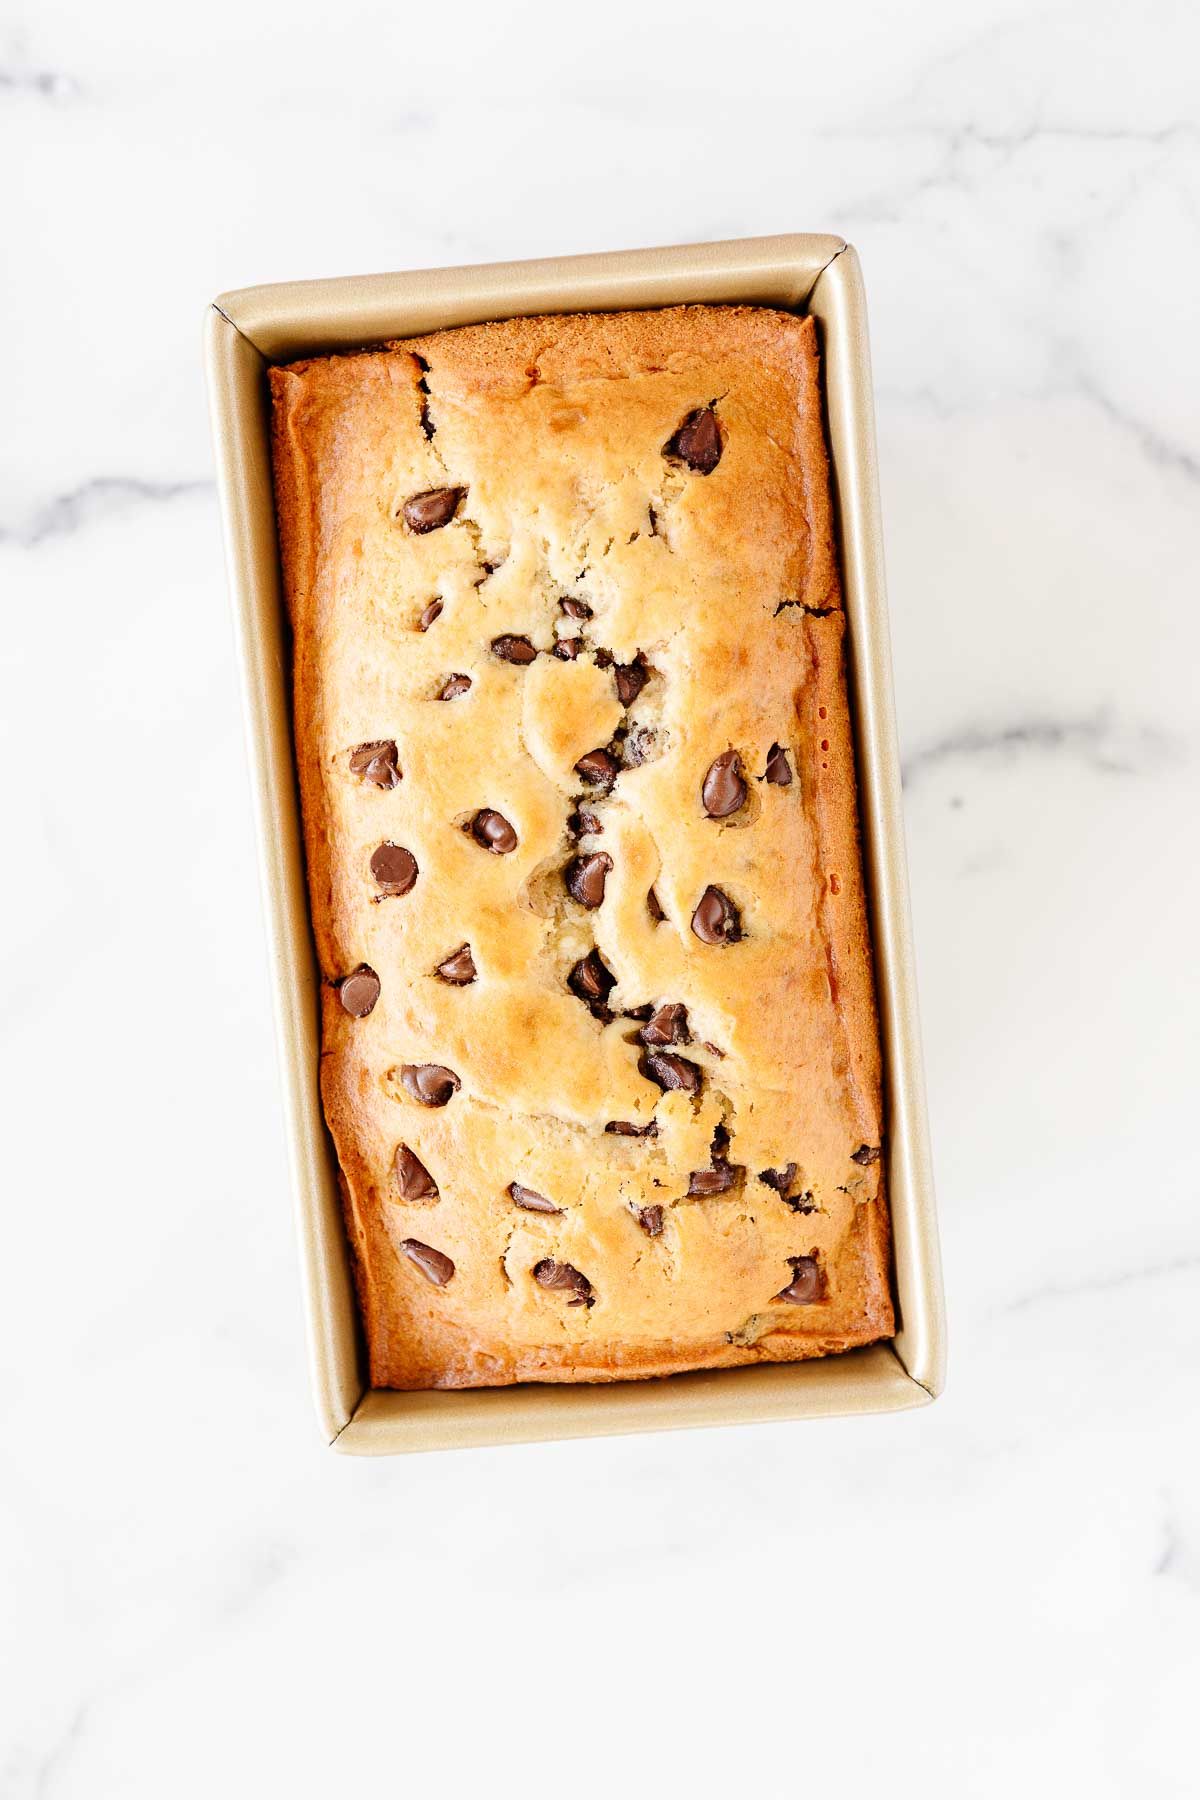
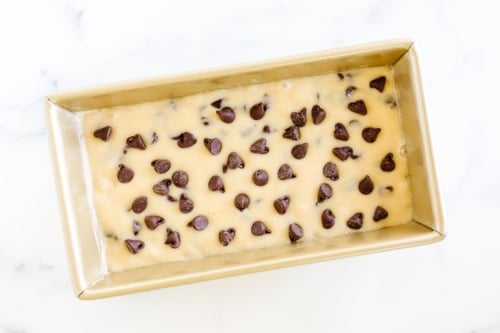
- Pour batter into loaf pan filled just ⅔ full. Top with remaining chocolate chips. Bake in the center of the oven 50-60 minutes or until a toothpick inserted into the center comes out clean. Allow to cool 10 minutes before slicing.


Julie’s Tips
Video
Estimated nutrition information is provided as a courtesy and is not guaranteed.
Explore More
More Quick Bread Recipes
How to Make Chocolate Chip Bread
- Prep – Grease loaf pan and preheat oven.
- Mix – Combine dry ingredients. Gradually add wet ingredients until moist.

- Add Chocolate Chips
- Fill and Bake


This bread is absolutely delicious and amazingly quick and easy to make. I made a big mistake, though. I was excited to try it and did not allow the bread to cool long enough before removing it from the loaf pan. It completely fell apart while I was extracting it. We are still eating it and enjoying it — out of bowls and not by the slice. 🙂 I will make this bread again and exercise greater patience next time!
this is our go to bread!ive now baked several all sooo tasty about 45 minutes does the trick thanks
Made this bread today. The recipe was quite easy and it came out pretty good.
My only complaint is the bake time. Recipe called for 50-60 minutes. I took it out after 38 minutes in my gas oven. Glad I checked, any longer and it would have burned. It was well done but edible. I gave it 4 stars because of the stated bake time.
That’s surprising – I have over 35 variations of this sweet bread recipe and if anything, readers have to add bake time. An internal oven thermometer is helpful to ensure accuracy in oven temperature.
baking powder not baking soda
This is amazing bread!! Just wanted to make sure:is it 1T baking soda or 1 tsp?
(it sunk in middle & i wanted.to find oit what i did wrong)
It still tastes so goodThanks!
Oh no! The recipe is correct as written, unfortunately it sounds like it was underbaked. Insert a toothpick into the center of the loaf. When it comes out clean, it is done. Enjoy!
I was so disappointed. I doubled the recipe and it didn’t turn out at all. The top got done the choc chips sunk to the bottom. It did have good flavor.
Hi Beth! I’m sorry to hear you are disappointed. Doubling the recipe and or altering vessel size changes bake time. Any time bread (or cake) sinks, it was not baked long enough. I recommend using the toothpick test. Once a toothpick inserted into the middle of the loaf comes out clean, it is done.
Can I make this in mini loafs. Christmas gift making time soon
Absolutely! Enjoy!