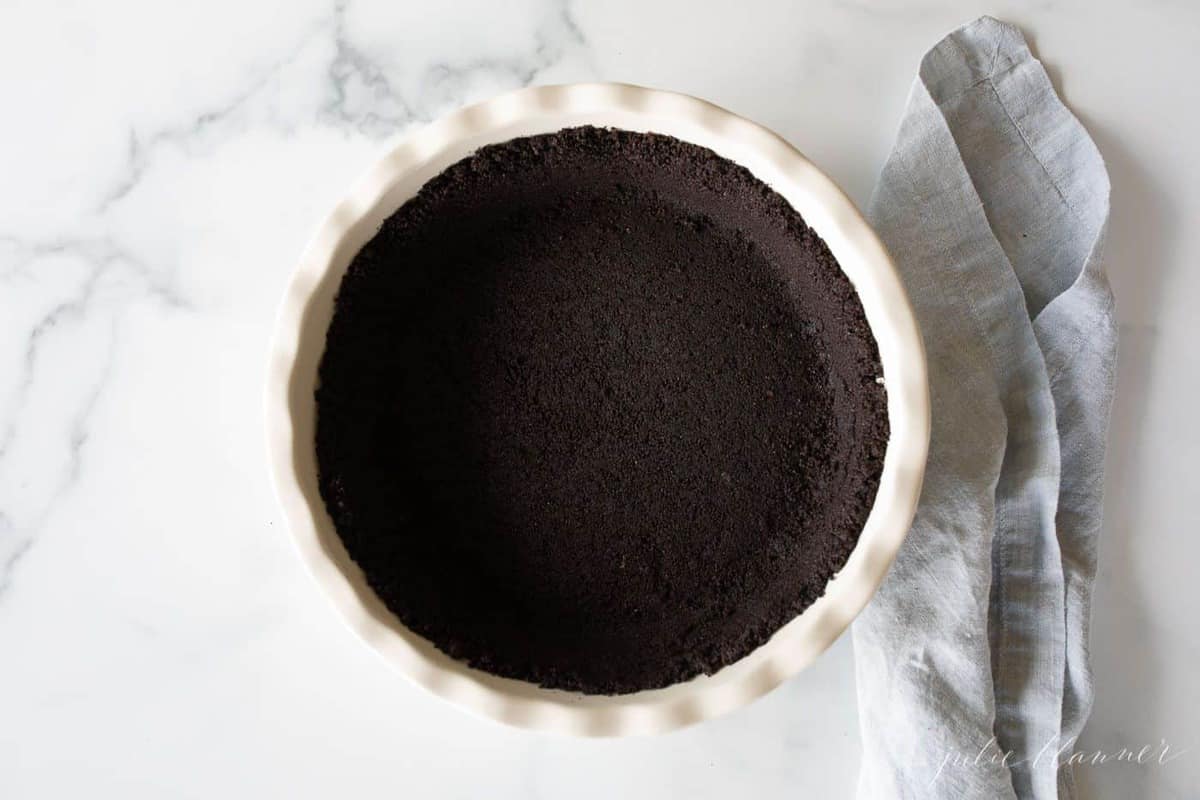
Calling all chocolate lovers! This Oreo cookie crust recipe will take all of your bake and no bake pies, bars and cheesecakes over the top!
It’s quick, easy and made with a just few ingredients.
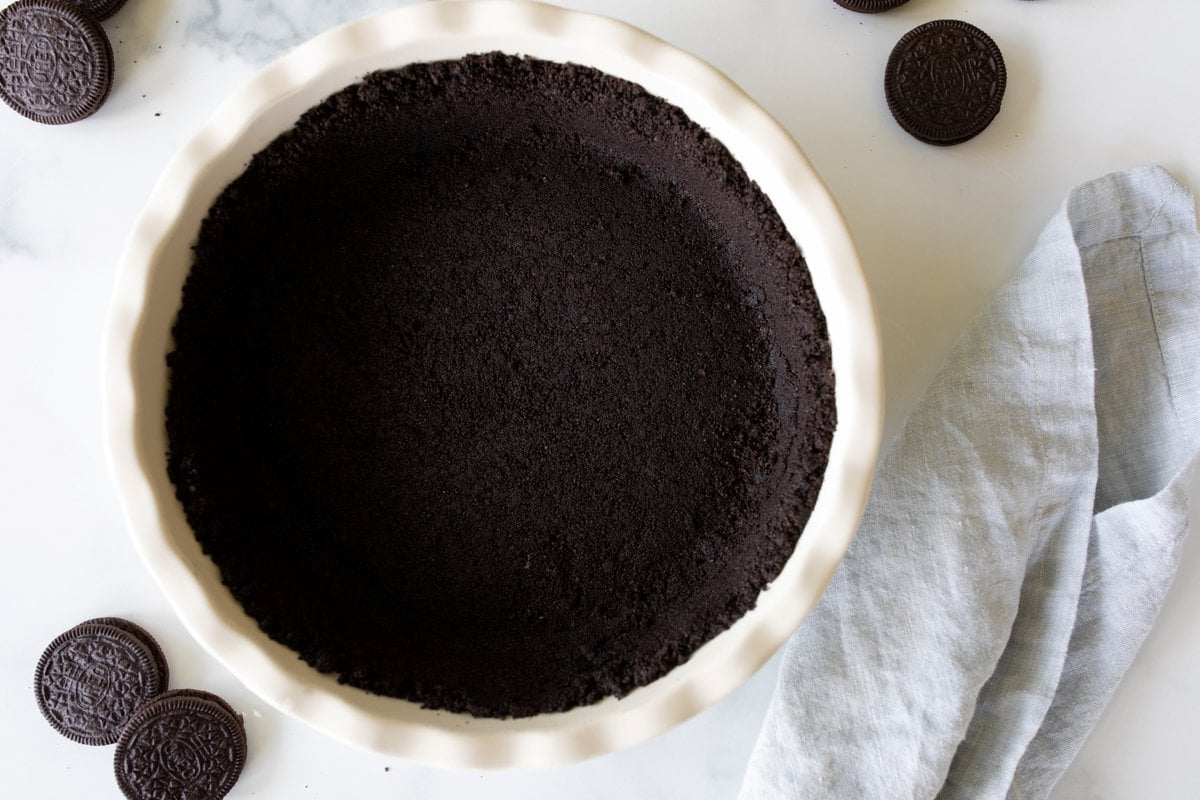
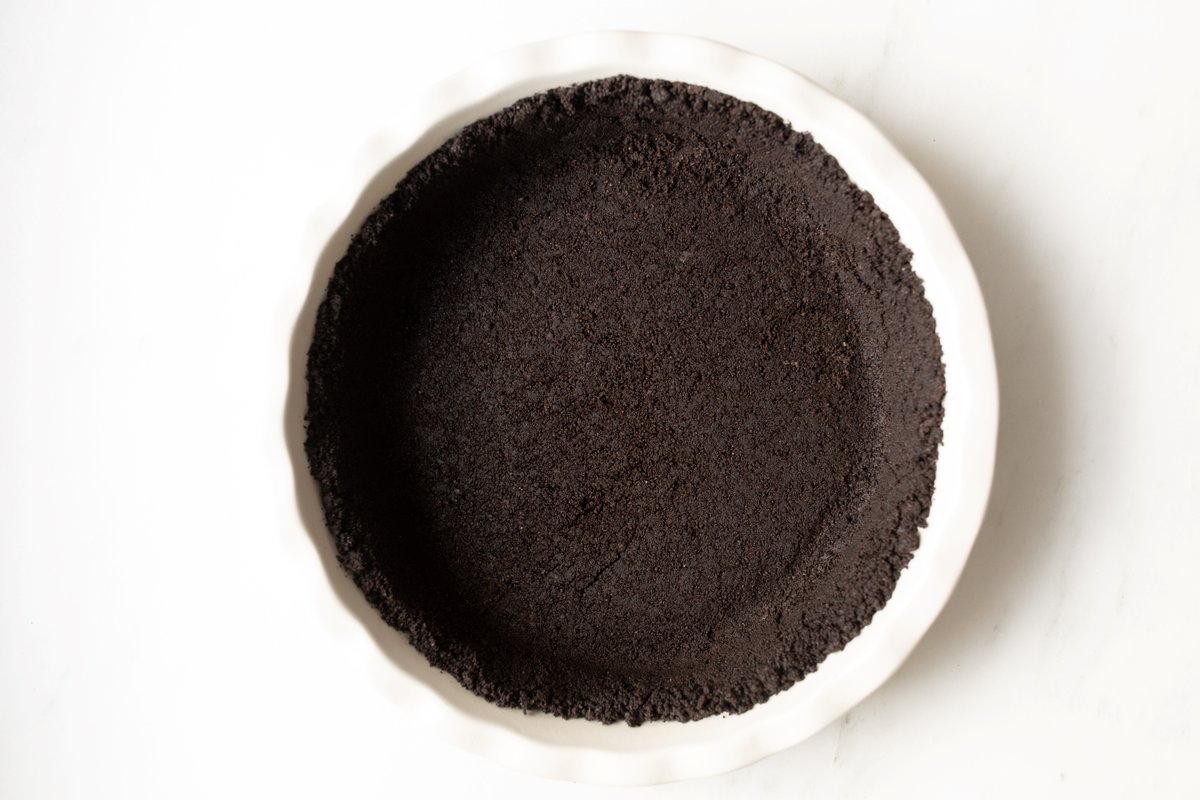
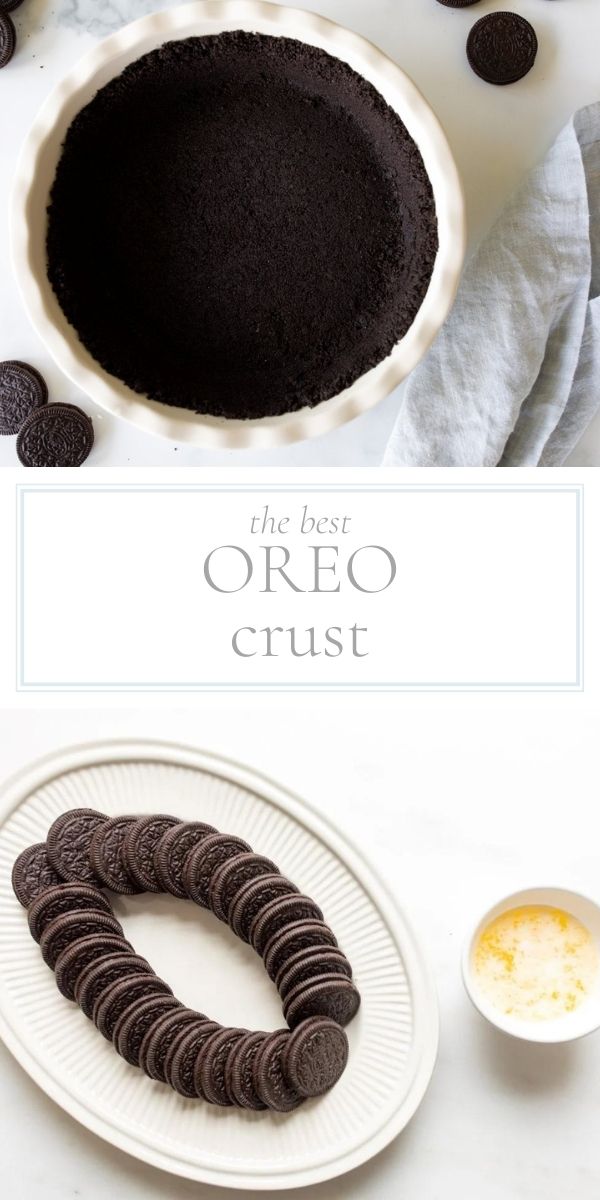
This homemade Oreo Crust is made from start to finish in less than 10 minutes. It tastes so much better than store-bought crust, gives you the perfect slice every time and doesn’t crumble.
It comes together easily with just two ingredients – cookies and butter, because butter makes everything better (and along with the cookie filling, it helps holds this crust together!)
Lucky for you, it only takes two rows of Oreos so you can snack on the rest. Though this mixture is so good it’s challenging to keep your spoon out of it before pressing it into the dish!
Love Oreos as much as we do? Don’t skip this Cookies and Cream Spread with just three ingredients!
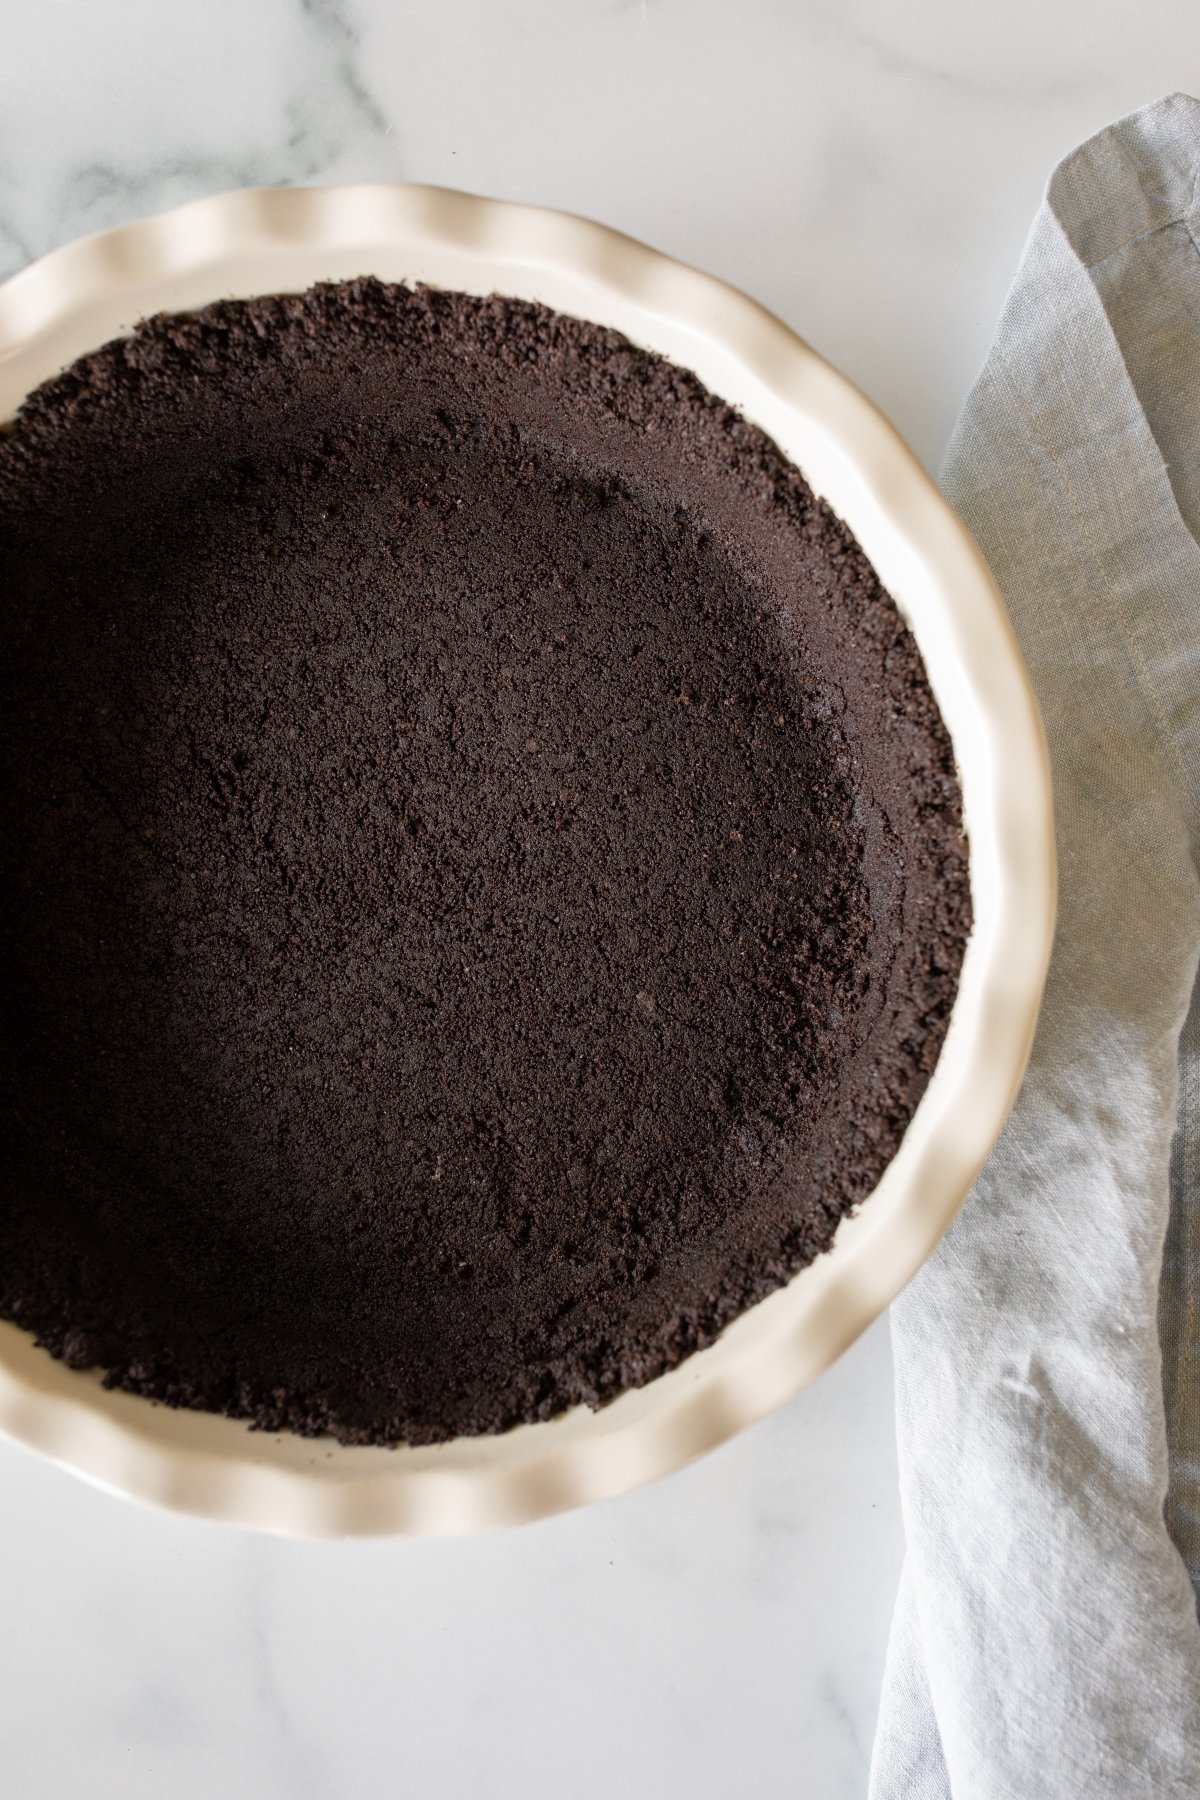
Oreo Cookie Crust
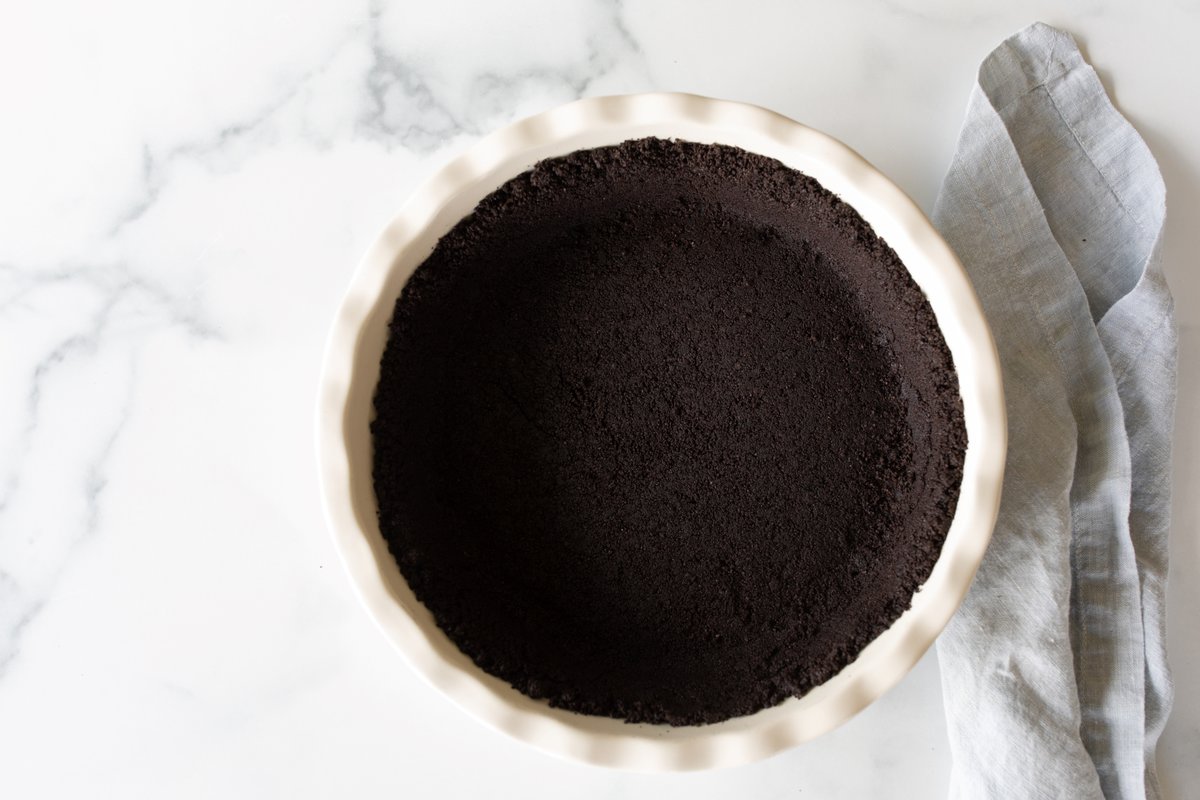
It’s the perfect foundation for your favorite baked or no bake pies, bars, ice cream cakes and cheesecakes. Try it with Lemon Pie, French Silk Pie, Cookie Dough Pie, Peanut Butter Bars or New York Cheesecake.
Why You’ll Love It
If you’re a huge fan of Oreo cookies (this homemade version is hard to beat) you’ve got to check out my collection of Oreo Desserts – there are so many ways to use this iconic cookie!
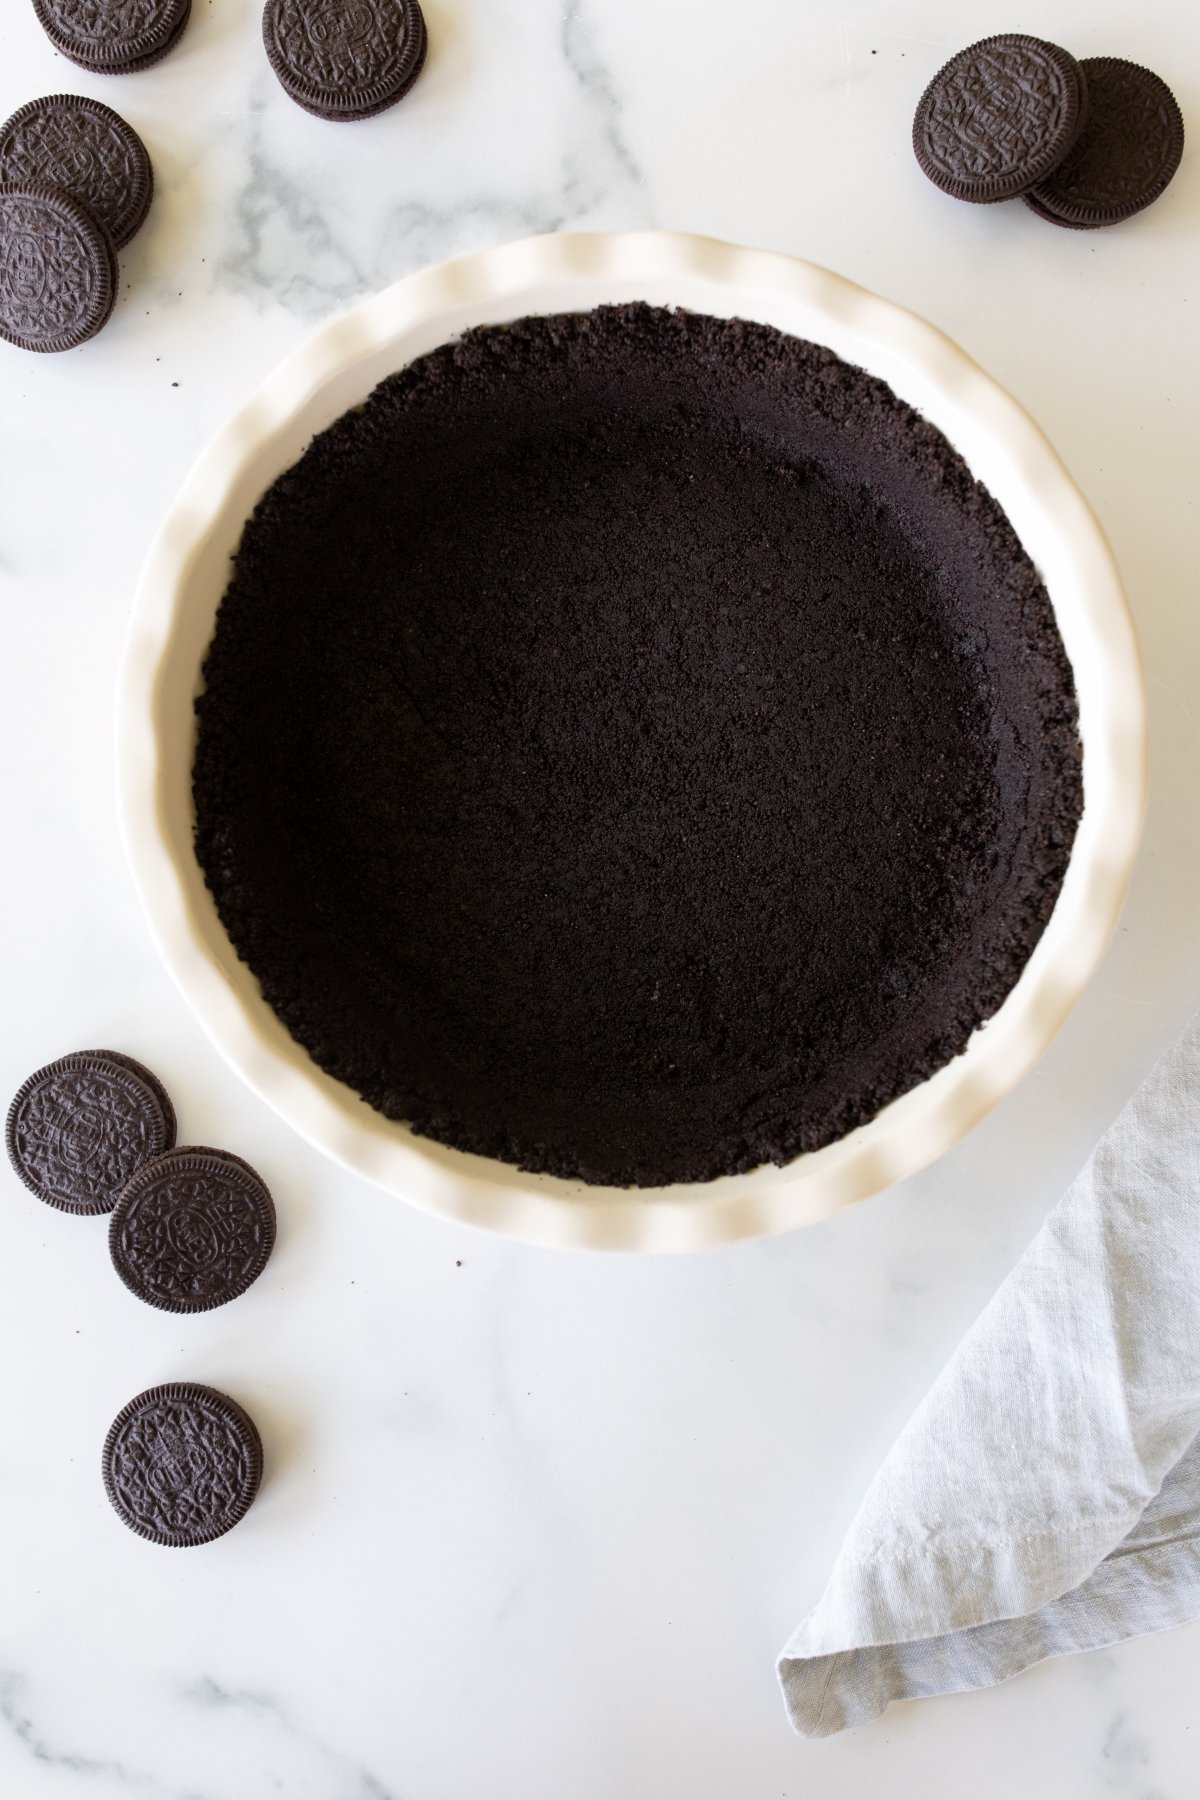
Ingredients and Substitutions
See printable recipe card for complete ingredients and instructions.
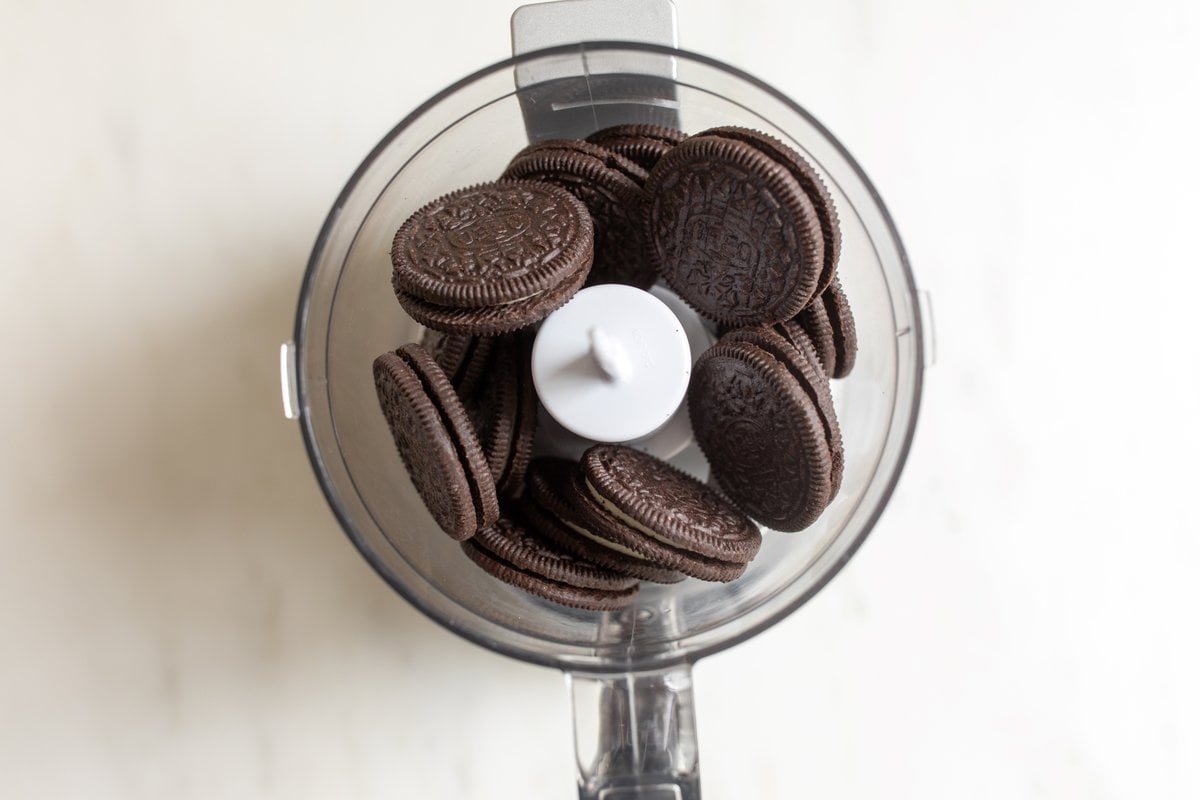
- Oreos – 2 rows of classic Oreos, stuffing and all!
- Butter – Salted butter combines the crush while balancing the sweetness. You can use unsalted butter if you prefer.
Variations
- Gluten Free – Simply substitute Oreos with gluten-free chocolate sandwich cookies.
- Dairy Free – Substitute butter with melted coconut oil.
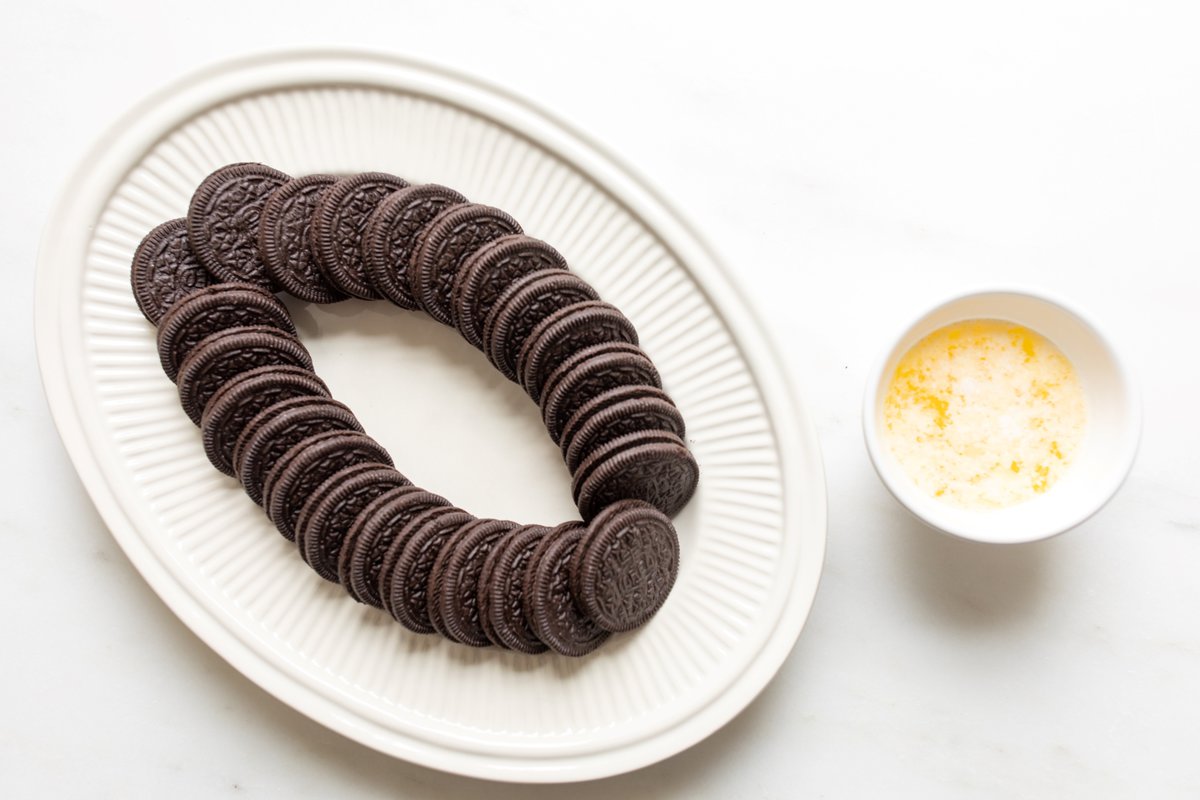
How to Crush Oreos
There are several easy methods to crush cookies. You can easily crush Oreos without a food processor. When you crush them by hand, you get a little more texture.
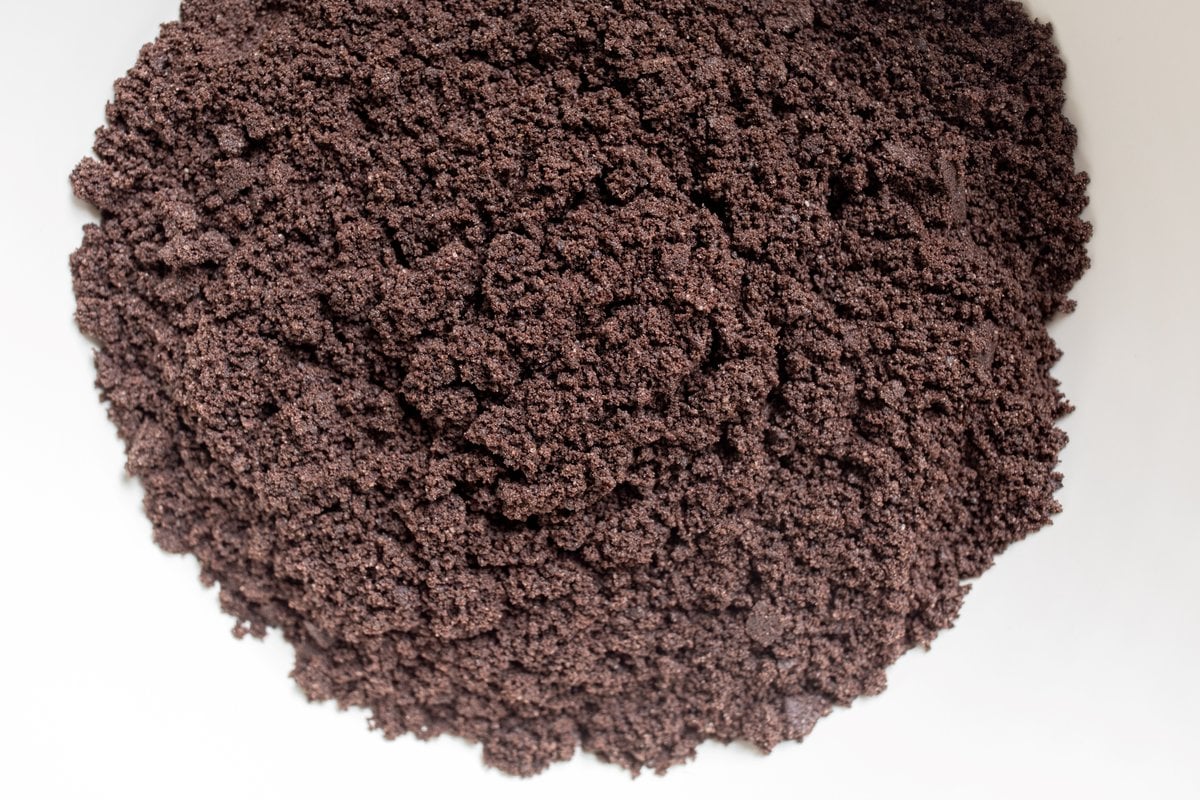
You can use a rolling pin, mallet or muddler (see below). If you want a smooth, consistent crumb, which results in a tighter crust, use a food processor or blender.
With a Rolling Pin
- Place cookies in resealable bag with excess air removed. Place a towel on top to prevent tearing holes in the bag. Gently roll over cookies until fine.
With a Mallet
- Place cookies in resealable bag with excess air removed. Place a towel on top to prevent tearing holes in the bag. Gently hammer cookies until fine. This method also works as therapy.
Muddle
- Place cookies in a bowl. Using a muddler, press down onto the cookies until fine.
In a Food Processor
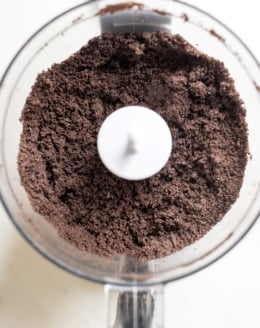
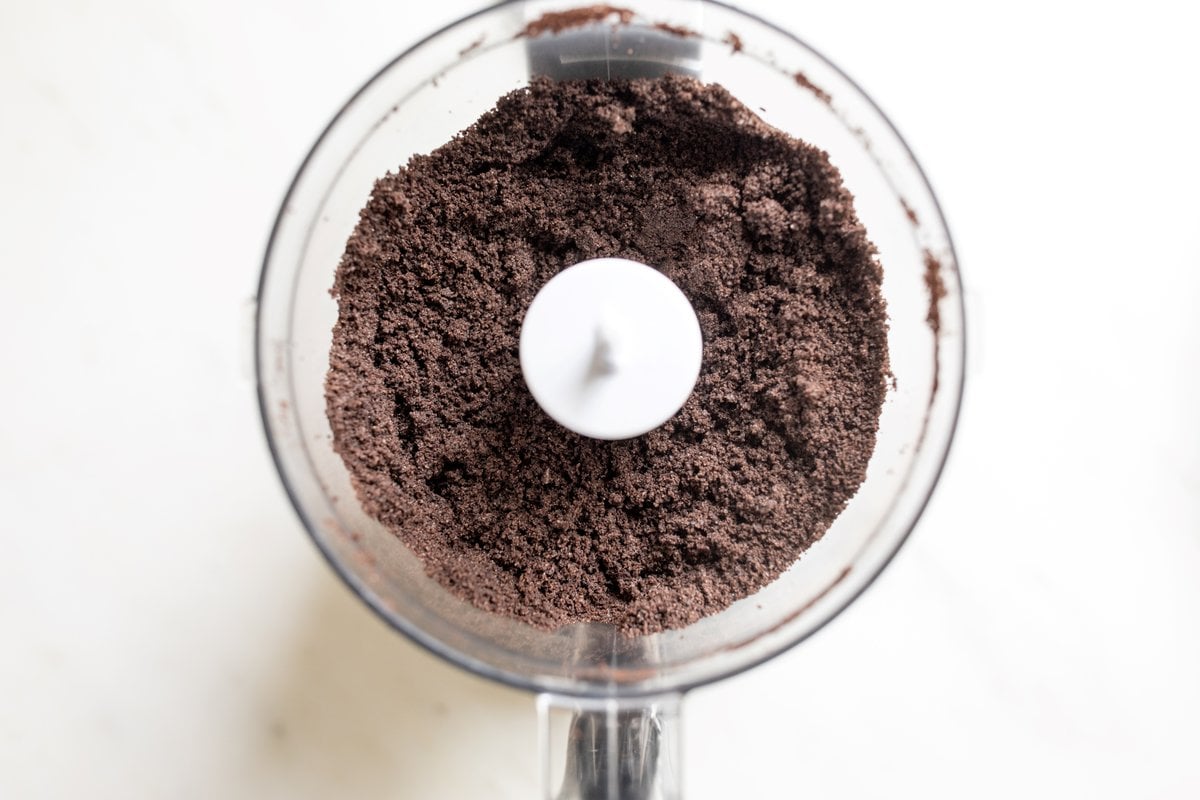
- Add to food processor. Seal with lid and pulse until crushed. With a mini food processor (like mine), do it in 2 batches.
How to Make an Oreo Crust
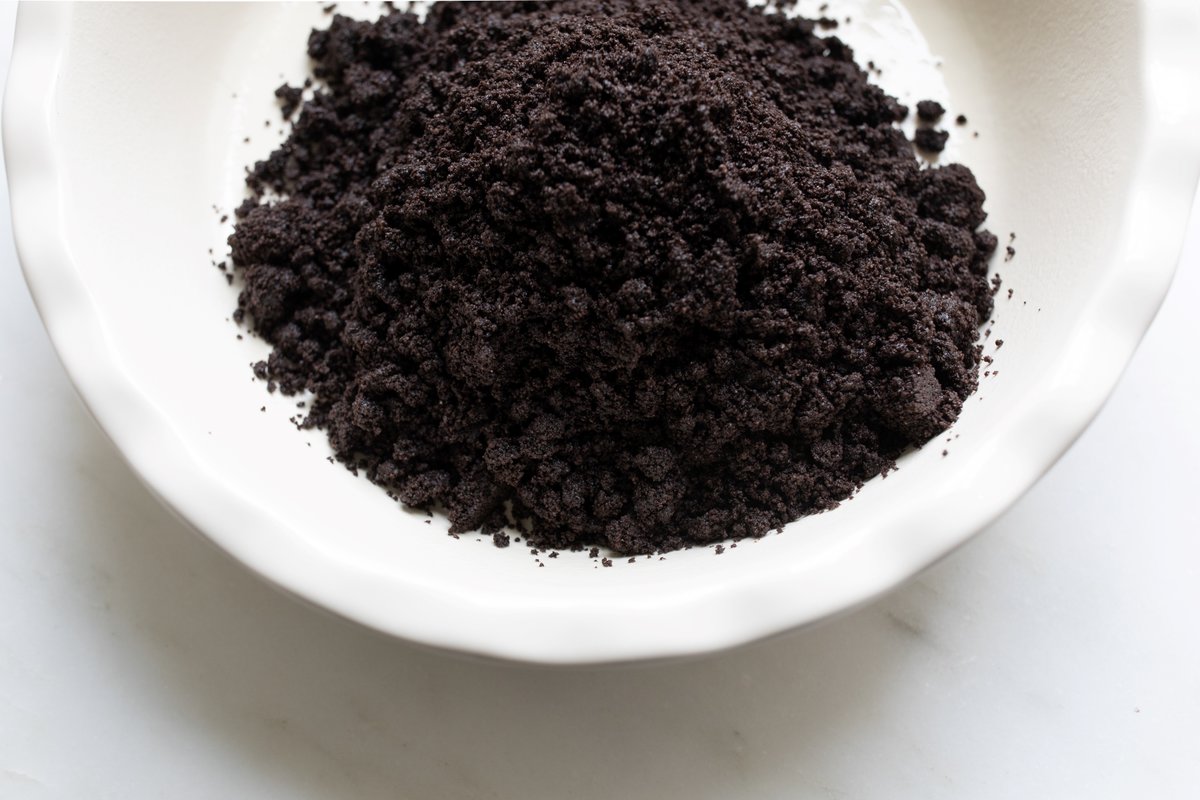
- Combine – Combine crushed cookies and butter with a spatula or fork until all of the mixture is moist.
- Scoop – Scoop mixture into a greased pie dish.
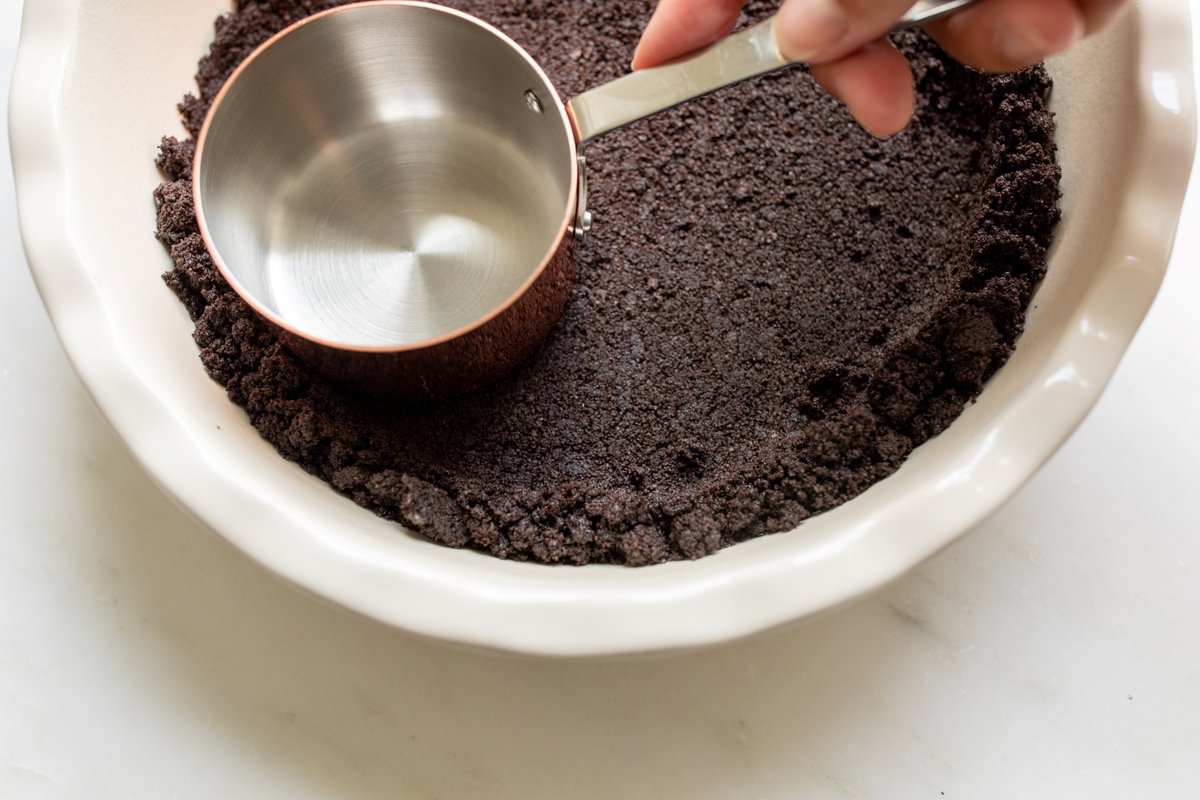
- Press – This is the key to making a solid crust. You can press with your fingers, but if you press with a measuring cup or drinking glass it’s easy and consistent, not to mention less messy. Alternatively, if you have a second pie dish of the same size you can press it on top of your crust for a smooth, even finish.
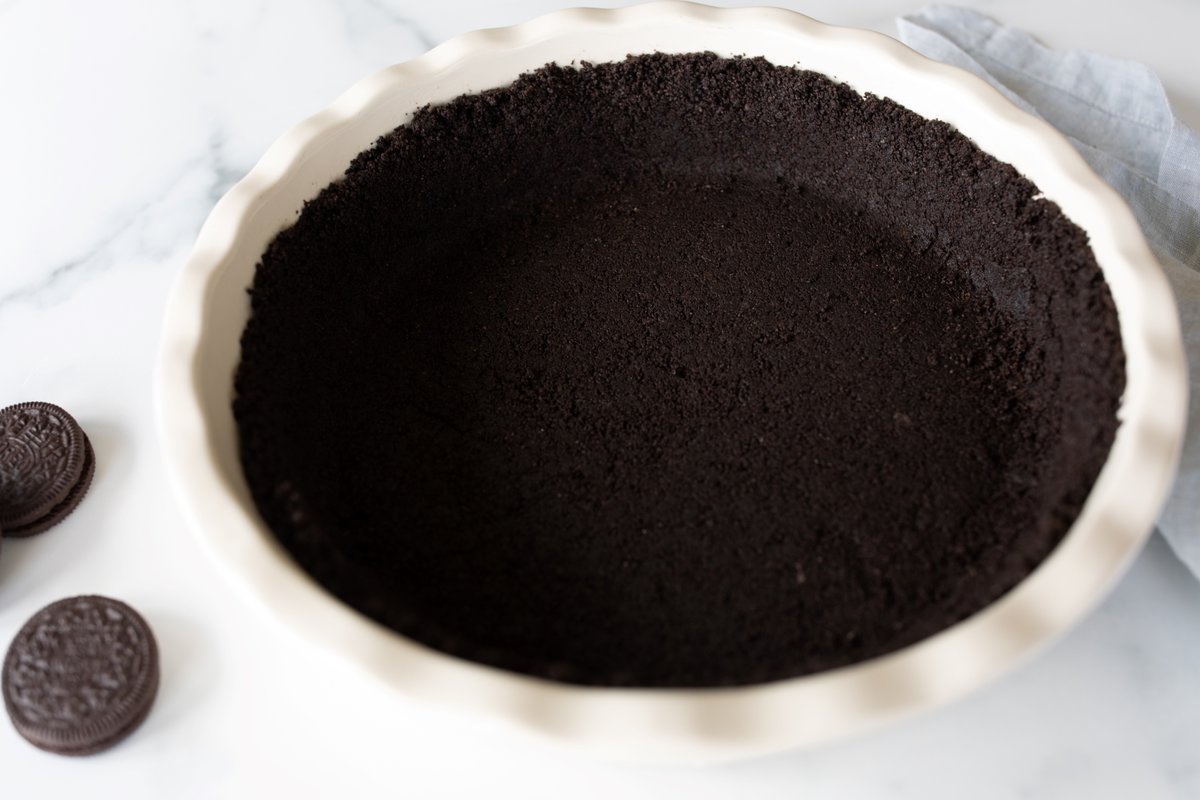
No Bake Dessert
Refrigerate the crust 30 minutes or more to set before filling with your favorite no bake filling.
Baked Dessert
You can simply bake this crust filled as directed in your recipe. If you prefer, you can pre-bake, but it is not required. Either way, it comes out great every time. To pre-bake, preheat oven to 300 degrees Fahrenheit and bake 10 minutes.

Tips
- This easy recipe fits a 9-10″ pie dish and a 10″ springform pan. You can easily scale it up using the recipe card below.
- Avoid gaps.
- If you have more than one of the same pie plate, you can gently press one on top of the other for a picture perfect compact crust without effort!
- For a quick and easy shortcut, use store-bought cookie crumbs.
- For easy release, grease pie dish. You can use any baking spray, butter or oil.
Frequently Asked Questions
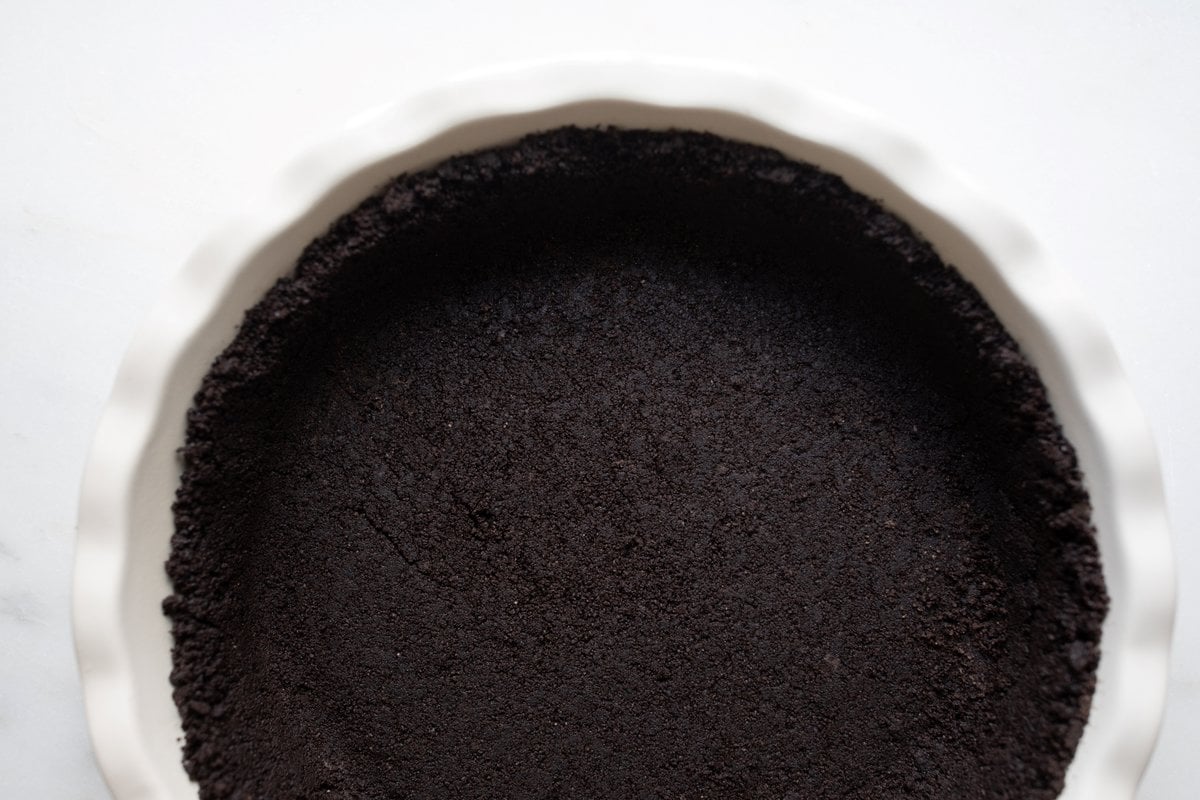
A 9-10 inch pie dish, 10 inch springform, 9×9 baking dish or tart pan. Depending on which you use your crust may be a little thicker or thinner. You can easily increase using the feature in the recipe card.
Yes – but you don’t have to. It’s completely up to you. Baked or no bake it comes out perfect every time.
How to Store
- Room Temperature – Store covered for up to 3 days at room temperature.
- Refrigerate – Refrigerate covered or in airtight container up to 1 week.
- Freeze – Store in an airtight container or freezer bag up to 3 months. Bring to room temperature, fill and enjoy!
Serving Suggestions
- Cookie Dough Pie
- French Silk Pie
- Banana Cream Pie
- Chocolate Pie
- Strawberry Pie
- Pumpkin Cheesecake
- Peanut Butter Pie
- New York Cheesecake
- Lemon Pie
- No Bake Cheesecake
- Peanut Butter Cheesecake
- Sweet Potato Pie
- Ice Cream Cake – my childhood favorite
More Crusts
Oreo Crust
Ingredients
- 24 Oreo cookies crushed (2 cups / 2 rows)
- 4 tablespoons salted butter melted
Instructions
- In a medium mixing bowl, combine crushed Oreos and melted butter with a spatula or a fork until all the crumbs are moist.
- Transfer to a greased pie dish, cake pan or springform pan.
- Press into dish or pan using a measuring cup or drinking glass to create a smooth, even crust without gaps.
- Refrigerate 30 minutes to set for no bake desserts. For baked desserts, fill and bake as instructed in your recipe.
Julie’s Tips
Substitutions
- Oreos – Mix it up using your favorite sandwich cookie. Golden, birthday cake, peanut butter, mint, the options are endless. Make it gluten free using gluten free sandwich cookies.
- Butter – You can use unsalted butter if you prefer. Make it dairy free by substituting with coconut oil.
How to Crush Oreos
Pulse in a food processor or blender, place in a zipper bag with air removed and place a towel over and use mallet or rolling pin to crush or place in a bowl and use a muddler to crush until fine.Pre-Bake
To pre-bake, preheat oven to 300 degrees Fahrenheit and bake 10 minutes.Tips
- Avoid gaps. Fill in with as needed.
- If you have more than 1 of the same pie plate, you can gently press one on top of the other for a picture perfect compact crust without effort!
- For a quick and easy shortcut, use store-bought cookie crumbs.
- For easy release, grease pie dish using spray, butter or oil.
To Store
- Room Temperature – Store covered for up to 3 days at room temperature.
- Refrigerate – Refrigerate covered or in airtight container up to 1 week.
- Freeze – Store in an airtight container or freezer bag up to 3 months. Bring to room temperature, fill and enjoy!
Video
Estimated nutrition information is provided as a courtesy and is not guaranteed.


Sounds really good…and easy! I think I remember reading in my Pie and Pastry Bible (Rose Levy Beranbaum) that chocolate crumb crusts can actually be better in texture and flavor when not baked.