Easy recipe and tips for the perfect quiche crust – it’s buttery, flaky and made with just three staple ingredients in five minutes. It’s much easier than you’d think, and more flavorful than store-bought dough!
Quiche is a classic and elegant dish that can be served at so many gatherings – Easter brunch, Mother’s Day brunch, bridal and baby showers – as well as everyday occasions like breakfast, brunch, and even dinner!
Quiches can be made with so many different combinations of ingredients, so you’ll definitely be able to please everyone, especially with classic Quiche, Spinach and Feta Quiche, Quiche Lorraine, and Cheese and Onion Quiche.
The filling is definitely the star of the show, but the crust can make or break your quiche. So don’t ruin your beautiful quiche with a soggy or flavorless crust. This quiche crust recipe is a winner that will turn out flaky and delicious every time!
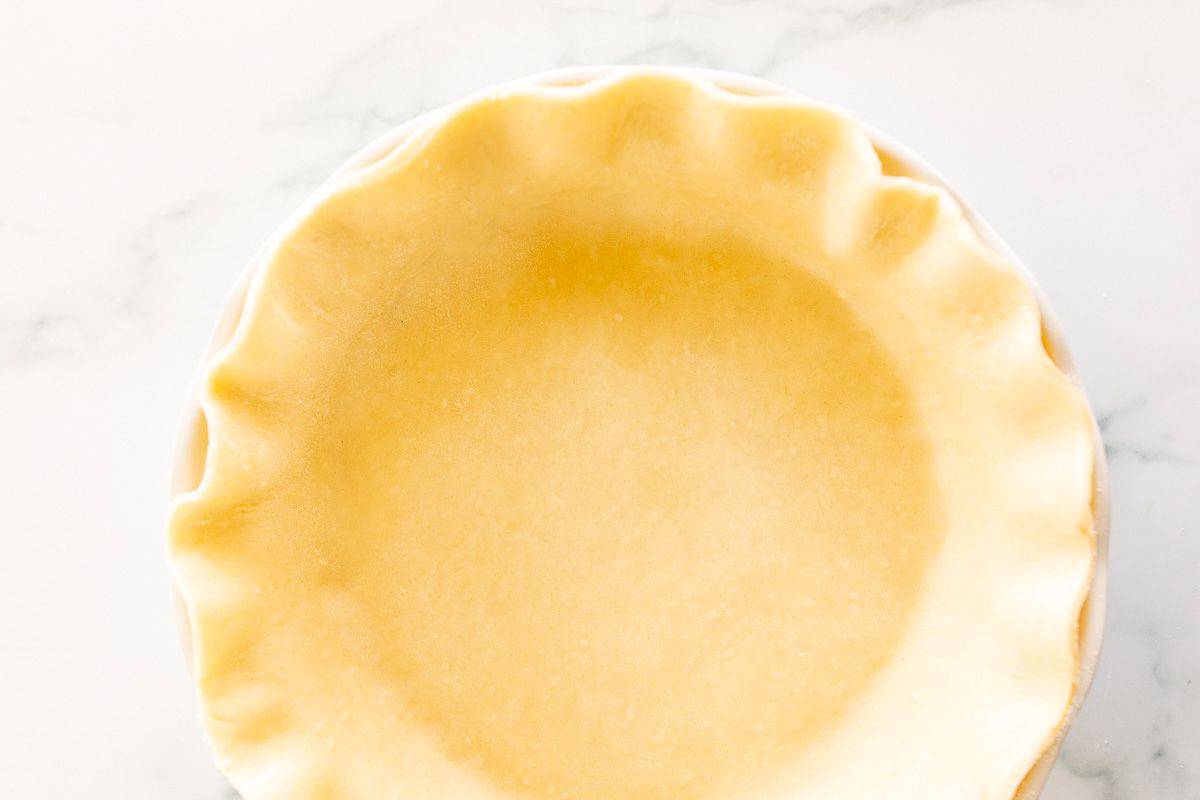
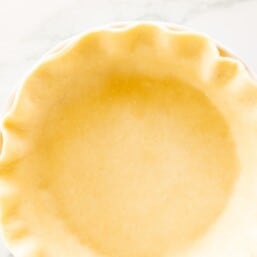
A quiche crust is a basic short-crust pastry. It comes apart in small or short pieces because it is flaky and crumbles when you cut into it. They are incredibly tender and flaky, but do not disintegrate into crumbs.
It is made with little flour and no leavening agents so that it doesn’t puff up when baking. In the US, shortcrust is typically referred to as pie dough.
A quiche crust is the vessel for your favorite toppings and custard. A quiche crust should hold together so a slice of quiche doesn’t fall to pieces when cutting and serving.
You can make it effortlessly in a food processor or blender, or you can use a pastry cutter.
You can make your quiche crust in advance (and in bulk) so that you’re always prepared to whip up an incredible quiche for a last minute breakfast, brunch, or to provide an amazing meal for a loved one.
Why You’ll Love this Quiche Crust
- Easier than Store Bought – You don’t have to wait for the less-than-flavorful crust to thaw and fall apart leaving you to put it all back together. Fresh dough is easy to work with and much more tender and flavorful. It comes together in minutes, far less time than waiting on store-bought dough.
- Fit Tart Pan – It’s the perfect fit for a 10″ tart dish for a classic quiche or a 9″ pie dish.
- Doesn’t Crack or Tear – This dough holds up beautifully. It won’t crack or tear when transferring to your dish.
- Cuts Beautifully – You can cut into this crust effortlessly for a perfect slice, every time.
Quiche Crust Ingredients and Substitutions
- All Purpose Flour – Spoon into measuring cup to ensure you don’t have too little or too much flour. Do not use self rising or bread flour. A quiche crust should not have any leavening agent to prevent rise.
- Salt – Adds a hint of flavor.
- Unsalted Butter – Cold, sliced into tablespoons. Do not substitute margarine. It is high in moisture and low in fat. You can substitute 50% shortening if you prefer.
- Ice Water – Add ice to a small bowl and cover with water. Use as little as needed, up to 5 tablespoons. Do not add ice to the dough.
How to Make a Quiche Crust
- Combine – In a food processor or blender, pulse flour and salt. Add butter until it looks crumbly like cornmeal. Add 3 tablespoons ice cold water and pulse until it becomes dough. If needed, add an additional tablespoon (or two) of ice cold water to form dough. Alternatively, you can use a fork or pastry cutter.

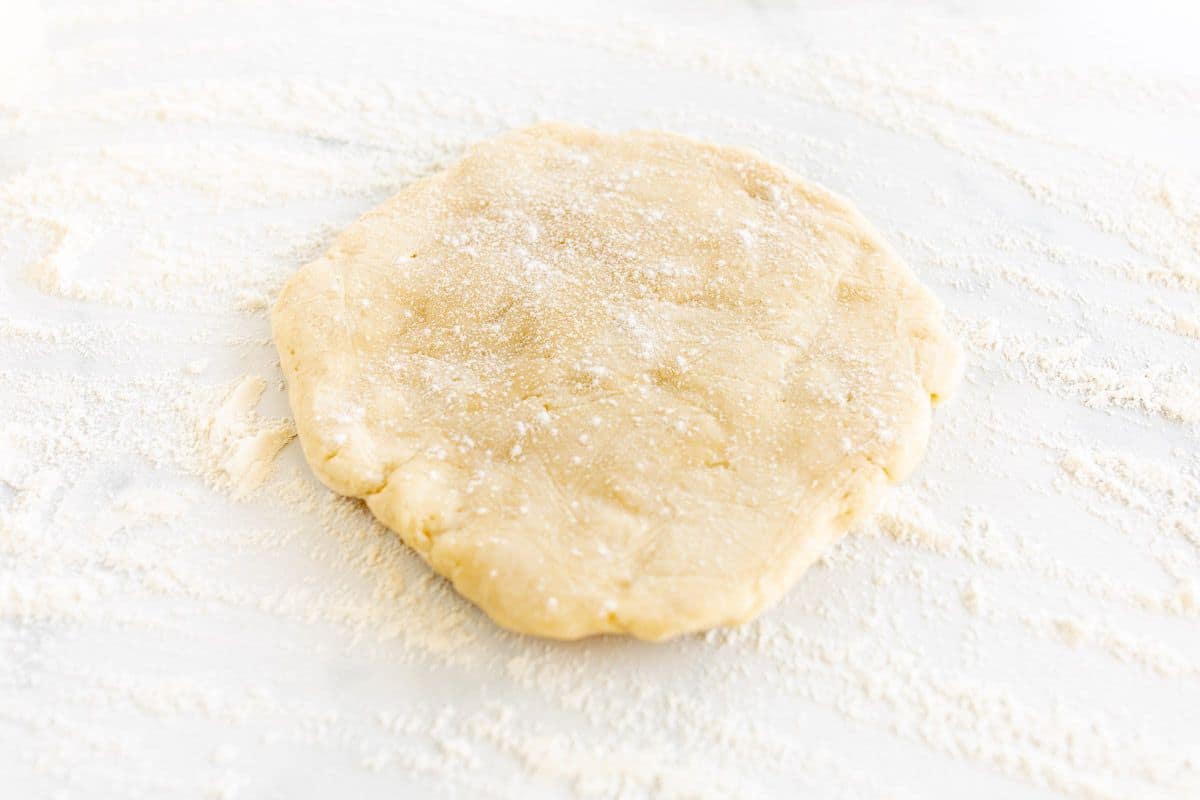
- Chill – Press into a disc and cover in plastic wrap. Refrigerate 2 hours or overnight.
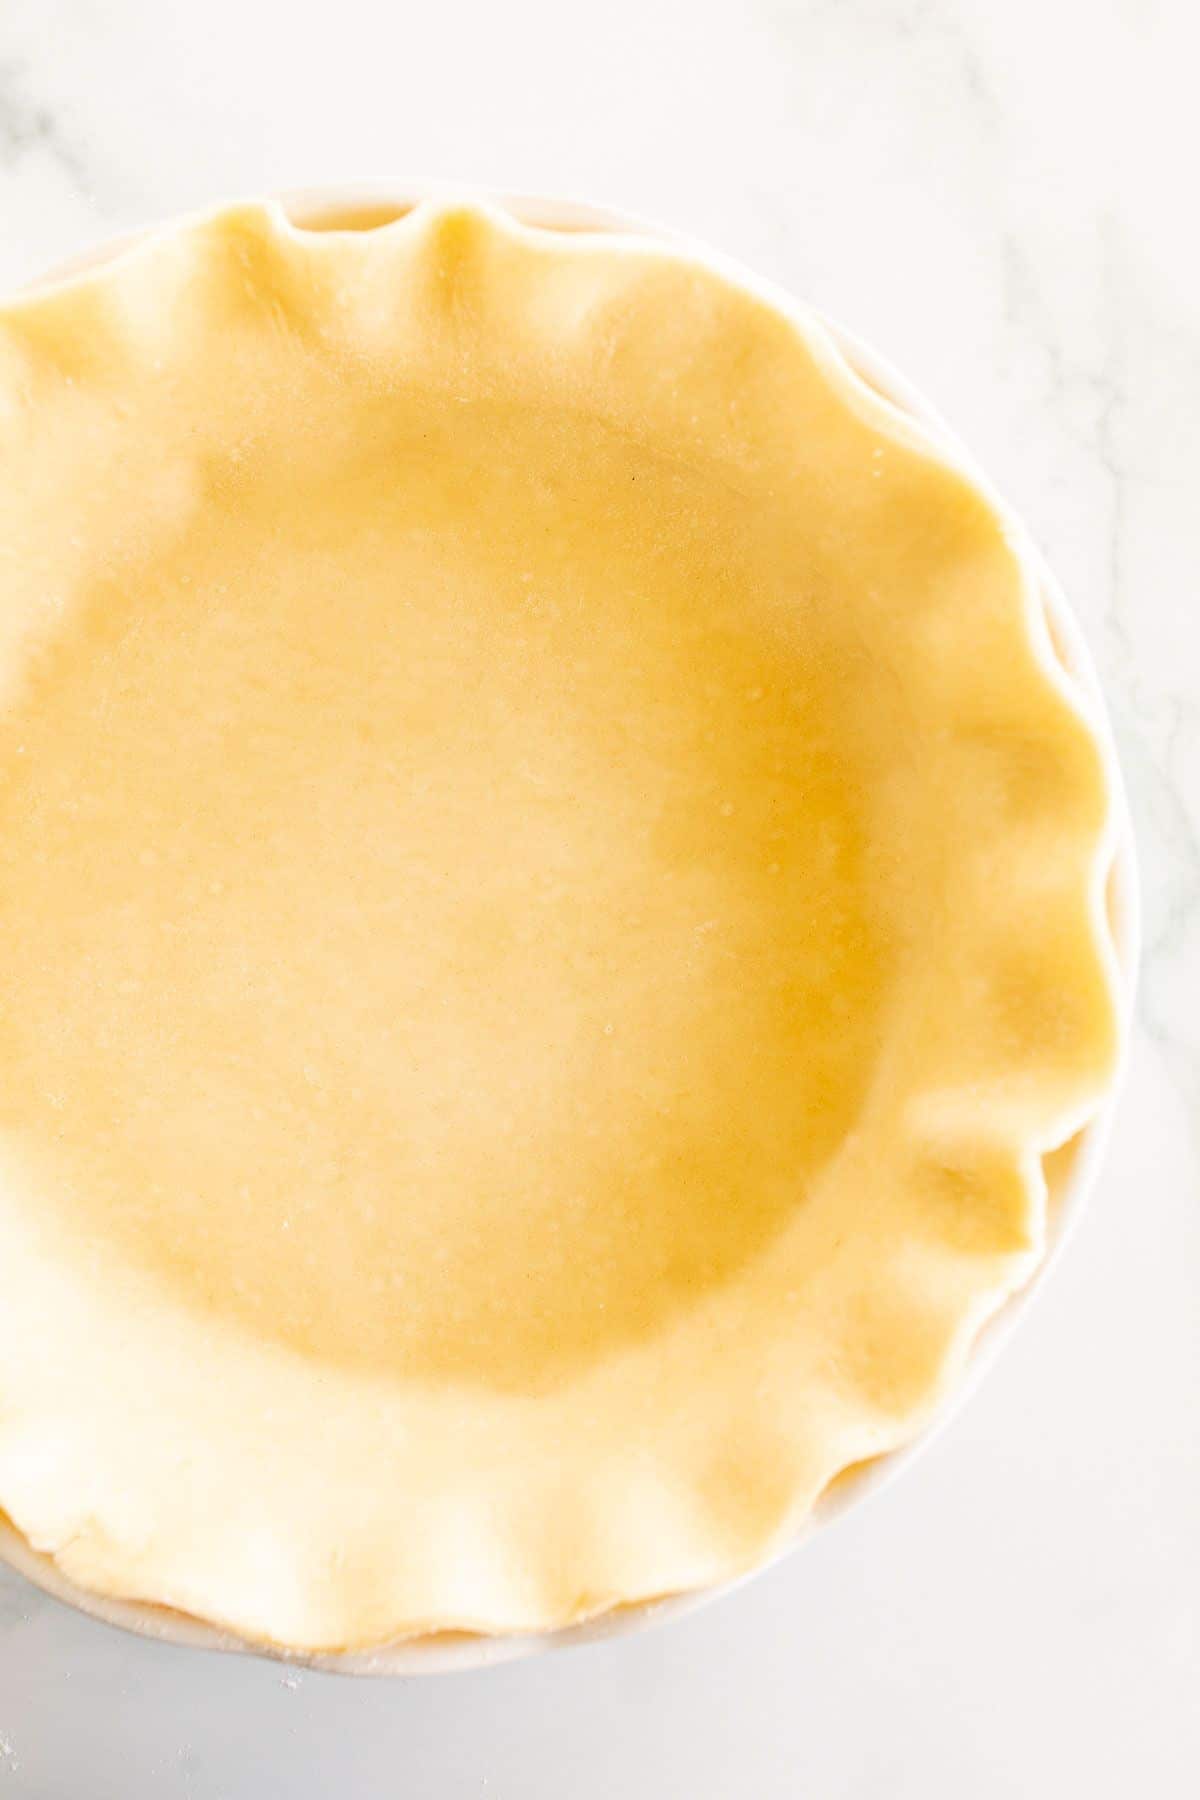
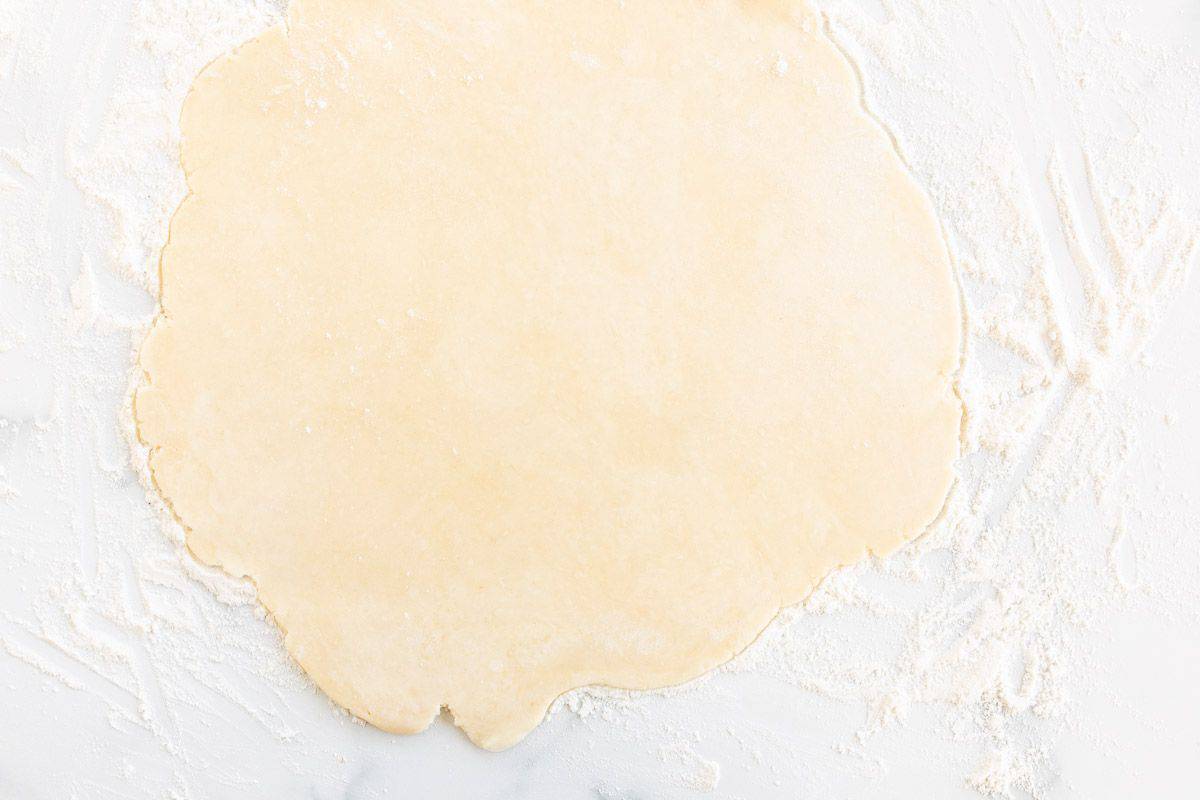
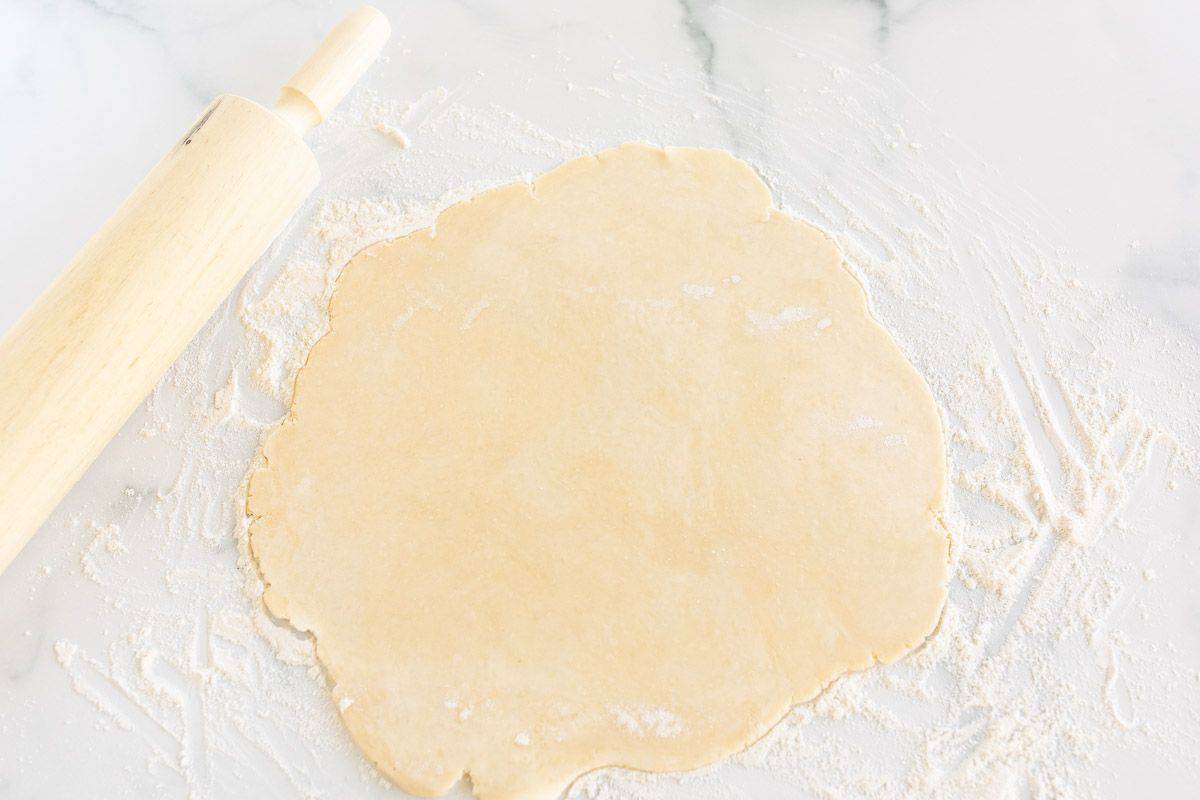
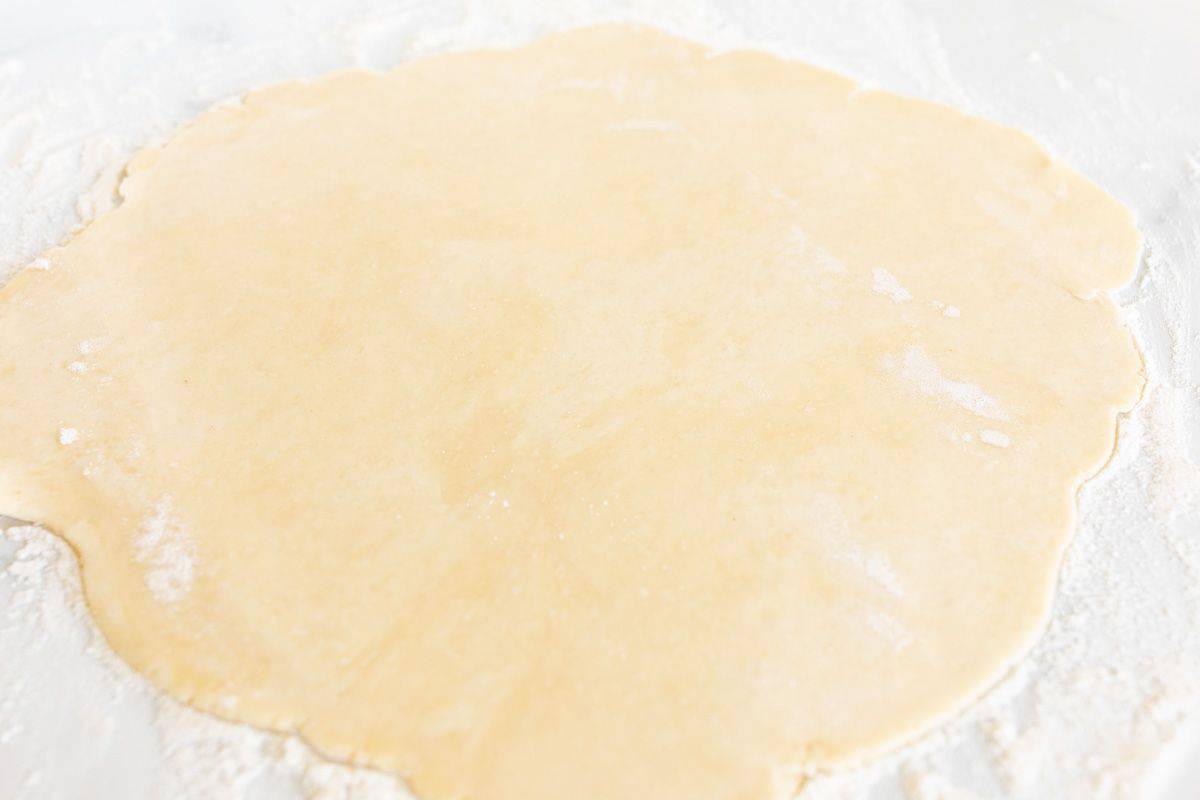
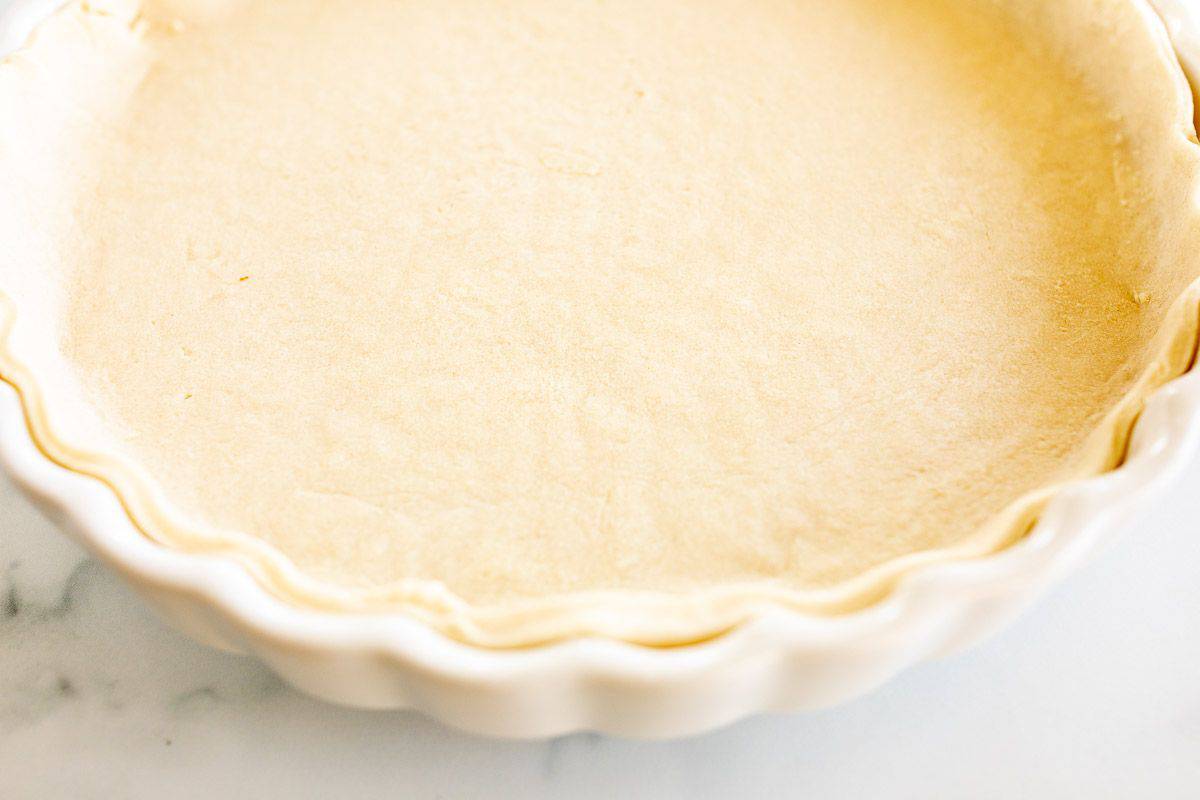
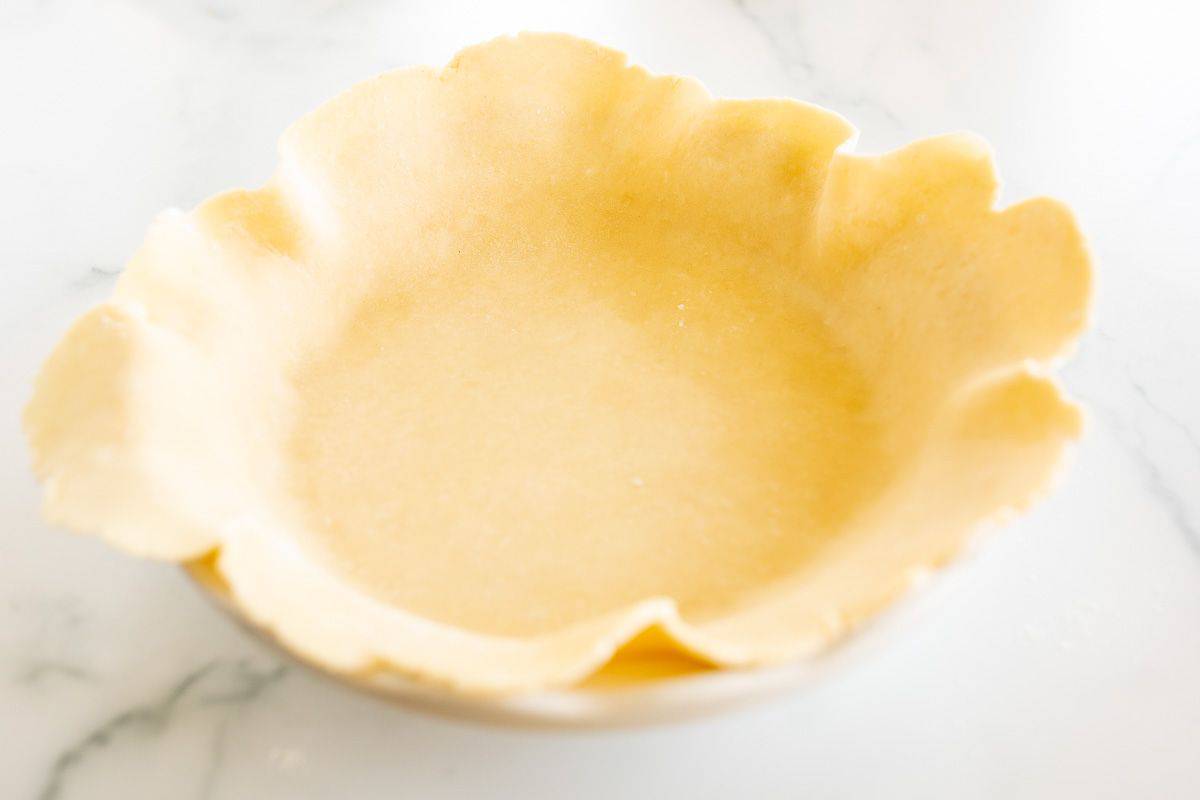
- Roll – On a floured surface, roll dough 1/8″ thick into a 11″ round circle. Center dough in ungreased quiche pan, tart pan or pie dish. Press dough into the edges. Cut our roll dough over the edge and discard extra. Chill 20 minutes.
- Blind Bake – Preheat oven. Press parchment paper over crust. Fill with pie weights or dry beans. Bake until crust is slightly golden along the edges and set. Remove parchment and weight. Bake until crust is dry.
How to Blind Bake
Blind Baking is partially baking the crust to seal the surface before filling. It prevents the crust from getting soggy while baking to ensure a crisp, flaky crust. It also helps the quiche filling and crust to bake evenly.
Weights prevent the crust from shrinking, bubbling or buckling. It also ensure that the heat evenly transfers throughout the crust.
Weights to Blind Bake
- pie weights
- dried beans
- dried lentils
- rice
- Prep – Preheat oven. Roll dough and place your crust in an ungreased quiche pan, tart pan or pie dish and overlapping the edge evenly. Trim the edges and crimp.
- Line the Crust – Gently press a sheet of parchment paper along the edges of the pie dish snug to the crust. Add pie weights to fill the entire bottom.
- Bake Until Slightly Golden – Bake until edges are slightly golden. Remove the crust from oven. Remove pie weights and parchment.
- Bake Unlined – Return crust to oven and bake until bottom appears dry and lightly golden. Remove from oven and place on a cooling rack. Allow to cool 5 minutes until ready to fill.
Tips
- Use Cold Butter – Cold butter cut into small pieces is key to achieve the best consistency.
- Use Ice Cold Water – Fill a small dish with ice and top off with water. Add a tablespoon at a time to your dough. Too much water will make your dough wet and too little will make it crumbly. Chilled water keeps the fats solid to help maintain the temperature of the pastry.
- Chill Dough – It makes it easy to roll out and prevents your fat (butter) from melting. If you live in a hot or humid climate, simply roll the dough between two sheets of parchment paper.
- Pre-Bake in Preheated Oven – This prevents dough from shrinking.
- Use a Pie Shield – When baking with your filling, tent the edges or use a pie shield to prevent the edges from over browning.
- Allow Crust to Cool – Place crust on a cooling rack for 5 minutes before filling to prevent liquid from being absorbed by the crust.
Shortcuts
- Use a food processor or blender. It makes this crust effortless.
- Roll out dough and freeze shell for 25 minutes. Use a dish that can transfer from freezer to oven without breaking.
Scaling up, down or substituting? You’ll love this printable Measurement Conversion Chart!
Frequently Asked Questions
Absolutely! Pre-baking will keep the crust from getting soggy and baking unevenly.
My favorite method is to use a food processor. This is the easiest way for me to determine when the dough is the right texture and consistency. However, you can use a stand mixer, it is just harder to determine when it is done. Just make sure to not overmix the dough because it will result in a tough crust.
They are made with the same ingredients, but are mixed slightly differently. Quiche crust is meant to be flaky, so it is not mixed as long as pie crust. Pie crust is mixed a little bit longer to break the butter into smaller pieces, creating a tender crust that works great for pie fillings.
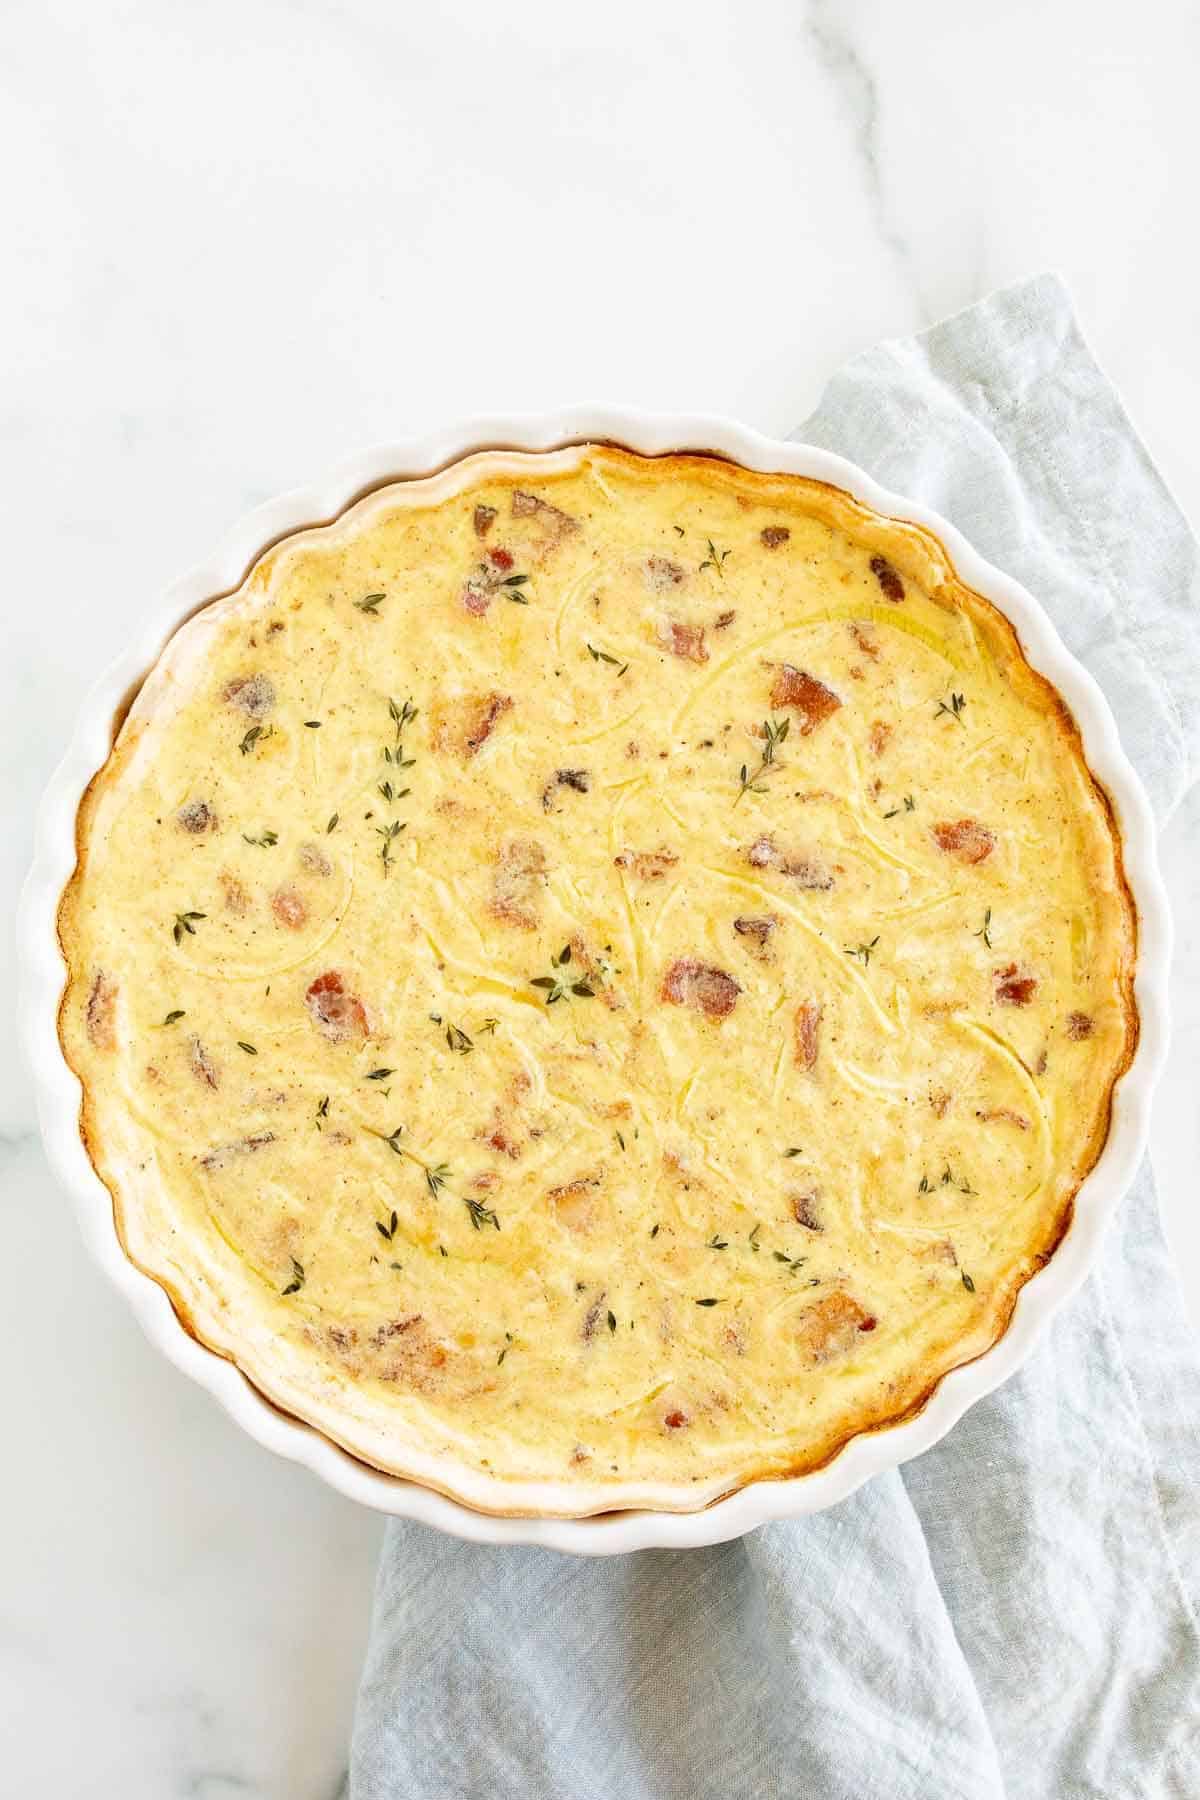
Quiche Fillings
Top your quiche crust with a custard based filling and your favorite cheeses, meats, seafood, herbs and spices. These are some of my favorite pairings.
- Spinach and Feta Quiche
- Onion Quiche
- Quiche Lorraine
How to Store Raw Dough
Once the dough is made and formed into discs, wrap it in at least two layers of plastic wrap or place in freezer bag. Or, you can roll it out and place it in freezer and oven-safe pans. Then wrap in two layers of plastic wrap or use a freezer bag. Store with one of these methods:
- At Room Temperature – This dough needs to be cold. Do not store at room temperature.
- Refrigerate – Store wrapped dough in the refrigerator for up to three days. When ready to use, continue with directions in the recipe.
- Freeze – Place in freezer for up to 3 months. When ready to use, let thaw in the refrigerator overnight and then follow directions for rolling and/or blind baking. Note – some glass pans will shatter if exposed to extreme temperature changes, so use caution if using glass.

How to Store Pre-Baked Quiche Crust
You can take your crust one step further before storing. Follow directions for quiche crust until your blind bake is done. Make sure to use a freezer and oven safe pan. Let cool and then store as follows:
- At Room Temperature – After the crust as cooled, the crust can sit at room temperature for a few hours. If storing longer than that, just use the refrigerator.
- Refrigerator – Place baked crust in an airtight container or bag. Store in the refrigerator for up to 3 days. When ready to use, set on counter for a few minutes, add ingredients, and bake.
- Freezer – Place cooled, baked crust in a freezer bag. Store in the freezer, in a safe place so the sides won’t get smashed and broken, for up to 1 month. When ready to use, let thaw in the fridge or on the counter, then fill with ingredients and bake.

More Easy Crust Recipes
- Cream Cheese Pie Crust
- Oreo Crust
- Graham Cracker Crust
- Sugar Cookie Crust
- Speculoos Cookie Crust
- Shortbread Crust
Quiche Crust
Ingredients
- 1 cup all purpose flour
- ⅛ teaspoon salt
- 8 tablespoons unsalted butter cold, cut into cubes
- 3 tablespoons water ice cold
Instructions
- In a food processor, pulse flour and salt.
- Add butter and pulse until it reaches a cornmeal consistency.
- Add ice cold water and pulse until it forms a dough. When it holds or pinches together, it is done. If needed, you can add up to 2 additional tablespoons (1 at a time) ice cold water.
- Transfer to plastic wrap and form a disc. Cover and refrigerate 1 hour or overnight.
- Dust work surface and rolling pin with flour. Roll dough into an 11" round ⅛" thick.
- Center the dough in an ungreased quiche, tart or pie dish with an even overhand. Press dough into the pan and remove excess by rolling the rolling pin over the top.
- Chill crust or blind bake.
Blind Bake
- Preheat oven to 375°F.
- Place parchment paper on the dough.
- Fill pan with weights, beans, rice, or lentils – on top of parchment paper.
- Bake for 15 minutes.
- Remove weights and parchment paper. Poke the crust with a fork a few times.
- Bake for 7 minutes more, until the crust appears set and is not wet.
Julie’s Tips
Shortcuts
- Use a food processor or blender. It makes this crust effortless.
- Roll out dough and freeze shell for 25 minutes. Use a dish that can transfer from freezer to oven without breaking.
How to Store Pre-Baked Crust
- At Room Temperature – After the crust as cooled, the crust can sit at room temperature for a few hours. If storing longer than that, just use the refrigerator.
- Refrigerator – Place baked crust in an airtight container or bag. Store in the refrigerator for up to 3 days. When ready to use, set on counter for a few minutes, add ingredients, and bake.
- Freezer – Place cooled, baked crust in a freezer bag. Store in the freezer, in a safe place so the sides won’t get smashed and broken, for up to 1 month. When ready to use, let thaw in the fridge or on the counter, then fill with ingredients and bake.
Video
Estimated nutrition information is provided as a courtesy and is not guaranteed.


Can this crust be use for a cheesecake and then freeze it?
I found this page using a WWW search engine with terms “quick quiche crust” and you were near the head of the results list, so I am sorry to report that I’ll not be coming back because in all your lovely prose (pages!) I couldn’t find a simple ingredients list with simple instructions. I’m not saying all that info isn’t here, somewhere, but I came looking for utilitarian HOWTO stuff.
I don’t write this with any ill-will, just FYI…
–M
Hi Michael!
We do try to answer common questions throughout our posts, but I’m sorry if you were struggling to find the recipe.
You can always hit the “jump to recipe” button that’s right under the title of all of our recipe posts. You’ll head straight to the free printable recipe card, with ingredients and instructions there.
Enjoy,
Julie
“Jump To Recipe’ button is at the top of the page —
plus, this is a great quiche crust,
Best crust I ever made. So flaky and dang delicious!
Very easy and delicious! Great recipe 😁
Thank you!
This crust turned out perfect! I have been trying various crust recipes and this one is it! I used Country Crock Plant Butter with Olive Oil, in case anyone else is dairy free. I refrigerated the crust overnight and did a blind bake.
Thanks for sharing! I’m glad you enjoyed it!