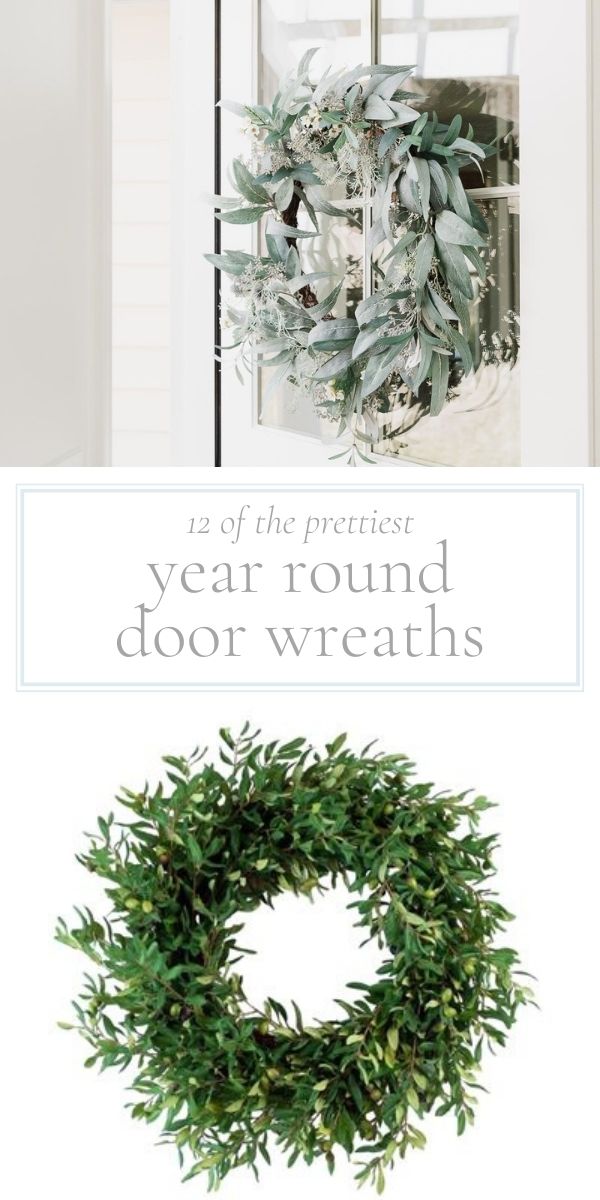
It can be difficult to find the right wreath that can welcome guests to your front door year round! This is a curated round-up of 12 of the prettiest year round front door wreaths that will make your door the star of the show.
With soft greenery and neutral, year round elements, you’re sure to find an everyday wreath you adore!

Especially after the holidays, I am always unsure about what to do with our front door!
Are you the same way? It feels too early for spring wreaths, but our fresh Christmas wreaths eventually dry out to the point of making a mess, and I find myself wondering what’s next.
That’s where these beautiful year round front door wreaths come in! They are perfect for in between seasons, or to hang all year long. Change them up seasonally with a fresh, fabulous new ribbon, or leave them simple and organic.
A green wreath is timeless, welcoming, and adds so much charm to your home, no matter what season. Curb appeal is the name of the game, and a wreath immediately says “welcome” from the street.
I’ve shared my favorite Spring Wreaths and Fall Wreaths, but I heard from readers who are always searching for great options that feel season-less. We’ve found the best year round front door wreaths and I hope you find one you love!
Use the drop down Table of Contents menu for ease of navigation throughout this post.
Front Door Wreaths for Year Round
While I’m actually a big fan of dried flowers, there comes a time when our front door wreaths are simply too dried. There’s a difference between an organic, warm look and something that simply looks dead, right?
Adding an everyday wreath made of fresh or faux foliage to your front door is the cure for what ails you! It’s so nice to create a warm welcome for neighbors, guests, family and friends.

Whether you’re receiving guests or not, adding charm to the front of your home with something as simple as a wreath can go a long way! I know it can be hard to wade through all the options out there, so that’s why I have created these curated lists of favorites for readers to enjoy.
Consider one of these pretty front door wreaths for a year round investment. Read more about our lake cottage and this cute Dutch door with Dutch Door Hardware, too! Don’t skip this guide to Exterior Door Handles too!

Tips
- If you’re choosing a fresh-to-dry wreath, ensure that it’s in a covered, well protected area for the longest life.
- Be sure to mist a fresh wreath daily so it dries in a prettier way, too!
- Always double check measurements. A 20″ wreath is a little too small for some doors, so ensure that it’s the size you need.
- 24″ is a standard wreath size, and 30″ will give you a huge wow from the street!
- To prevent a wreath hanger from swinging and scraping your door, add a bumper to the back where it rests against the wood.
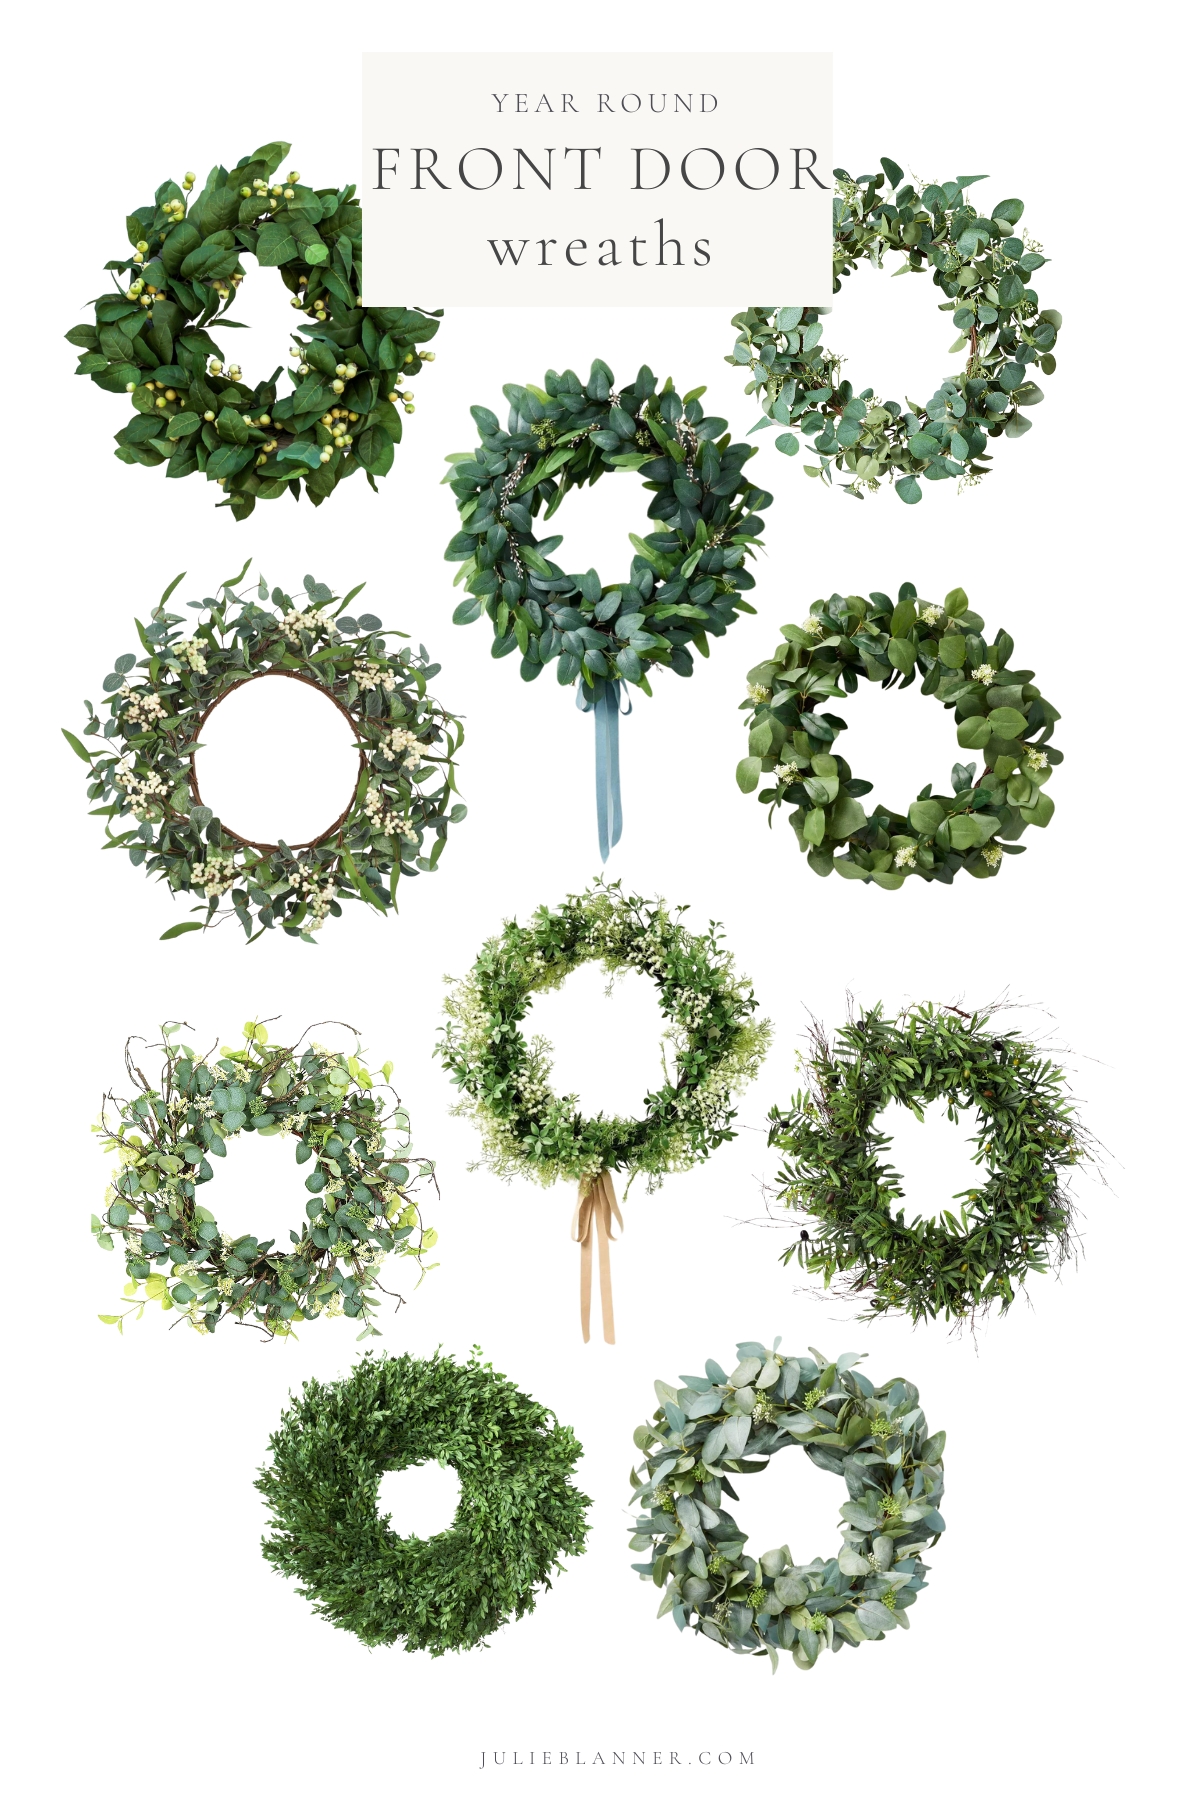
Shop Front Door Wreaths for Year Round
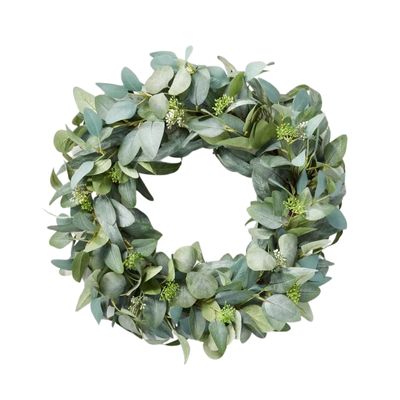
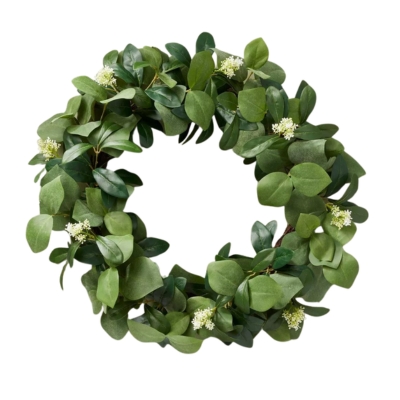
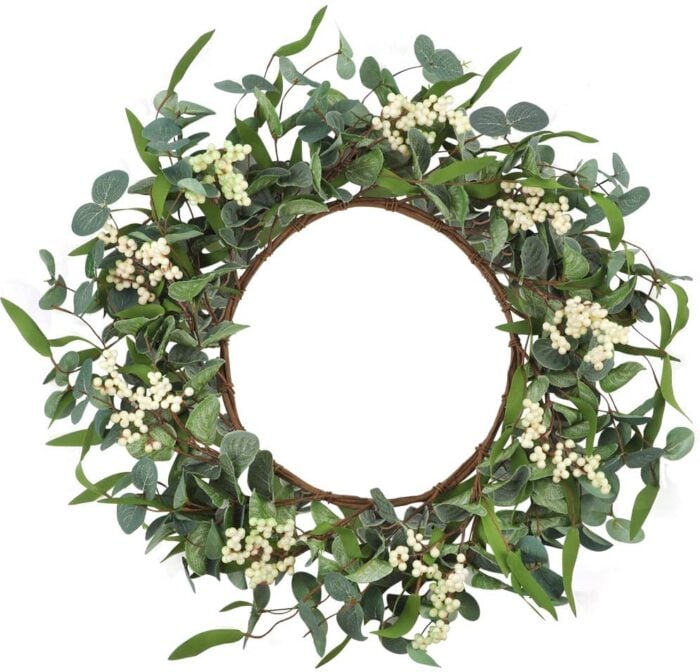
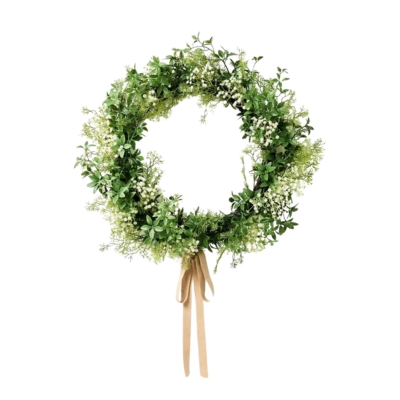
24″ Faux Seeded Eucalyptus Wreath
Eucalyptus is perfect for year round and the gray green leaves are so timeless!
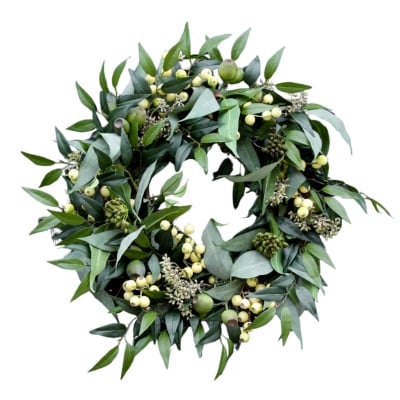
I love the combination of textures in this one!
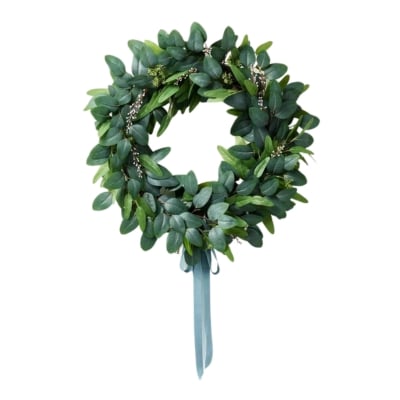

This is a sweet, smaller year round wreath that can work anywhere in your home!
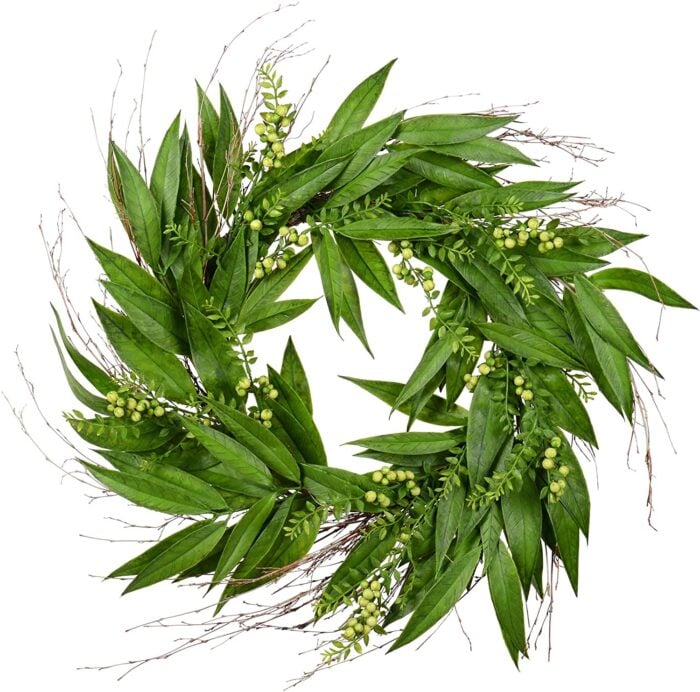
Everyday Wreath, Green Willow 24″
Wispy foliage and vibrant greens, coming in at under $40 and shipping fast!
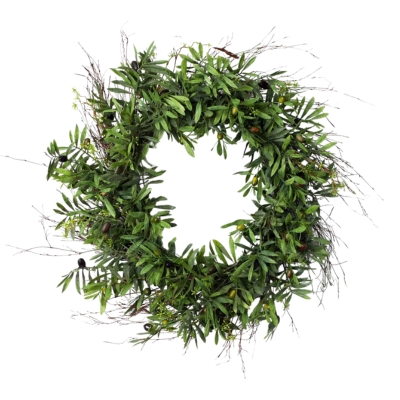
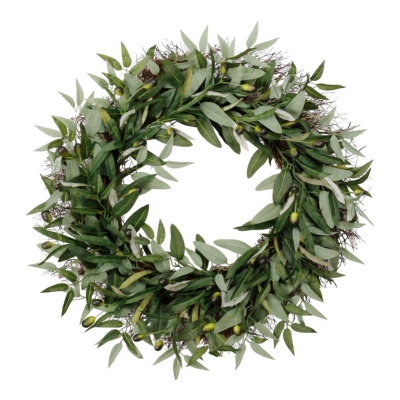
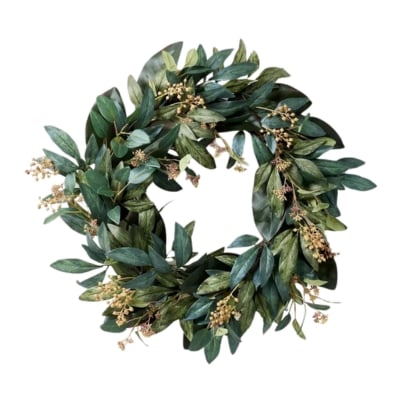
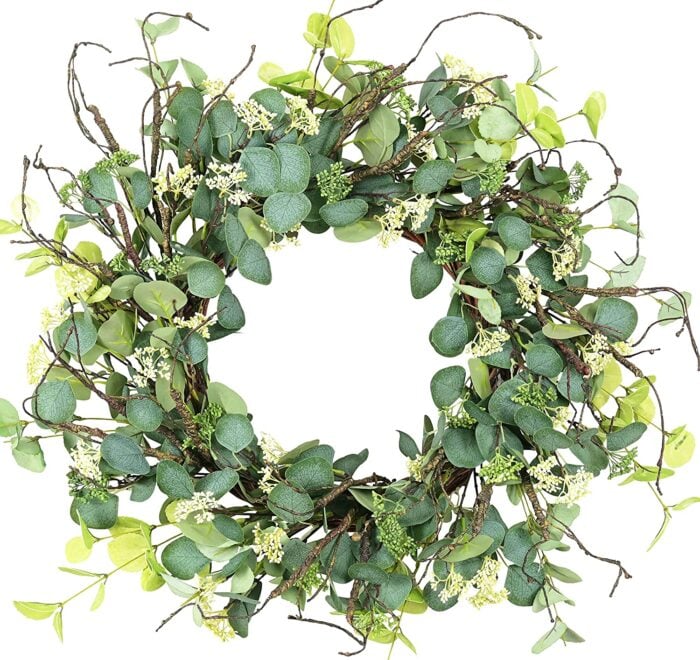
Eucalyptus Foliage Wreath with Twigs
Love the rustic, wild touch to this one. It’s a great everyday wreath and a good size, too!
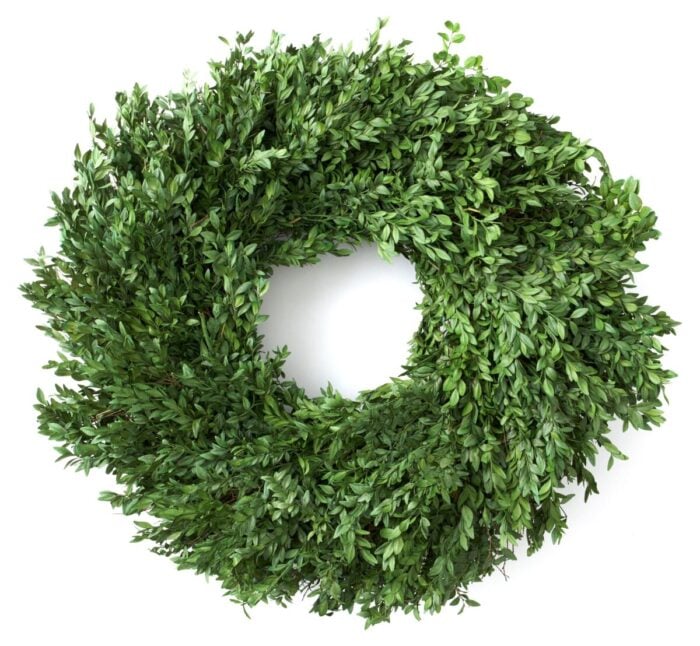
Classic Boxwood, Preserved, 22″
You can’t go wrong with a timeless boxwood wreath! Add a new ribbon for each season and enjoy the preserved element, which keeps the real boxwood leaves green all year long.
Mixed Baby’s Breath Wreath, 24″
I love the soft mixed greens and ribbon in this combo!
Amazon Storefront
Follow my Amazon Storefront to find more holiday looks for less.

Frequently Asked Questions
Wreaths can be used during any season, and tend to symbolize a warm, welcoming feeling on the front of your home. They can add charm and curb appeal, changing for the seasons or gracing your door year round.
Absolutely! Everyday wreaths can be used at any time of the year, and are so easy to take from season to season.
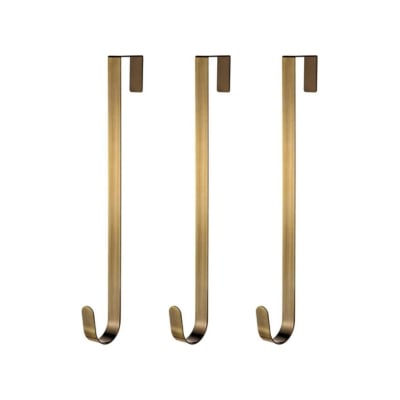
I love to use a pretty brass wreath hanger. You can also use a removable Command hook, which has a sticky back and can come off whenever you’re ready without damaging the door’s finish.
Other options are to hang with a ribbon or fishing wire, attaching over the top of the door or to your door hanger if you have one.
How to Hang Wreaths
Don’t forget a pretty wreath hanger! I also like this antique brass adjustable one.
I’d love to hear from you! Are you a fan of everyday wreaths for your front door? Or do you prefer an empty door in between seasons?