Rub and Buff can turn anything into the look of beautiful brass, gold, or other metals. Follow this simple step-by-step tutorial to use Rub ‘n Buff to give any item a metallic transformation!
Rub ‘n Buff is such an incredibly easy way to add a little luster to anything in your home. Learn how to use this inexpensive product and give your accessories the look of antiqued brass!
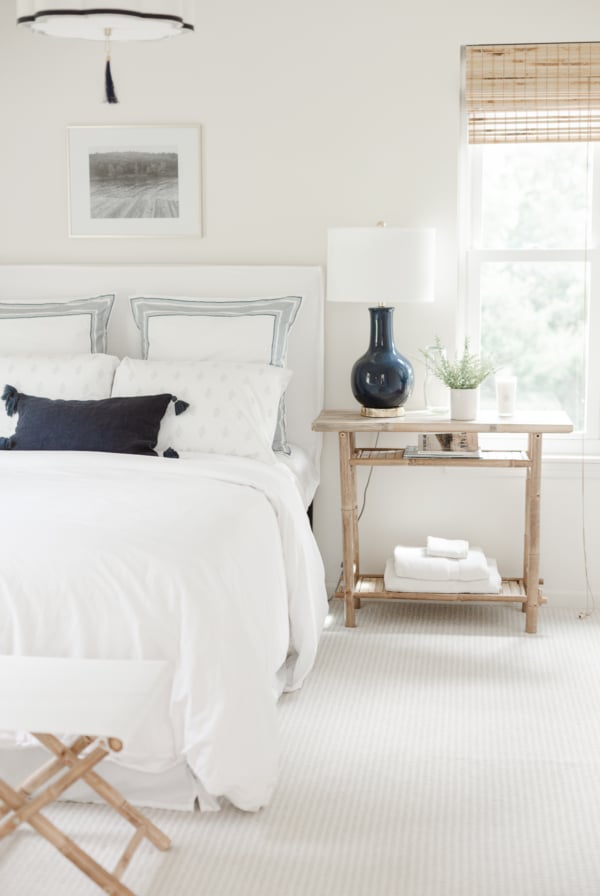
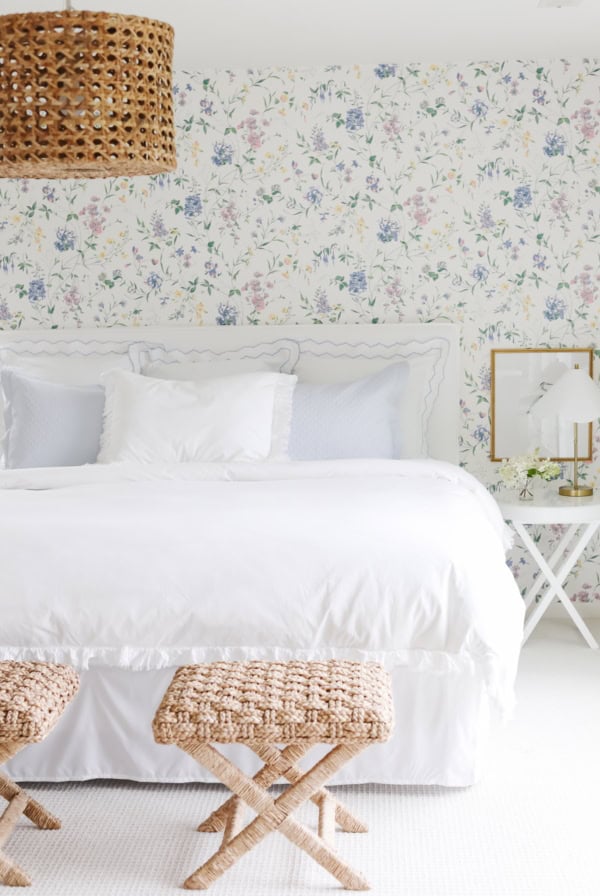
I love mixing textures and finishes in my home – layering these elements creates warmth and depth. Metallic items add dimension and are considered a shiny neutral. Brass has always been one of my favorites because of its level of shine and warm luster and vintage burnish.
My first choice is always to purchase true brass, like my brass kitchen lantern lights. However, sometimes it isn’t available. For example, it may not be affordable at certain times or the item I want isn’t sold in that finish.
It is those times that I use Rub and Buff! It is the next best option to real brass. I have given a lot of items a brass makeover easily, quickly, and inexpensively. You can turn practically anything into beautiful brass!
I have no fear of spray paint, but it’s not always feasible. For example, some objects like curtain rods and picture frames with permanent glass cannot easily be sprayed. And I like a more realistic metallic finish that spray paint can’t always replicate.
Buffing to a beautiful brass – or any other metallic finish you want – is simple with my easy tutorial.
What is Rub ‘n Buff?
Where to Use Rub n Buff
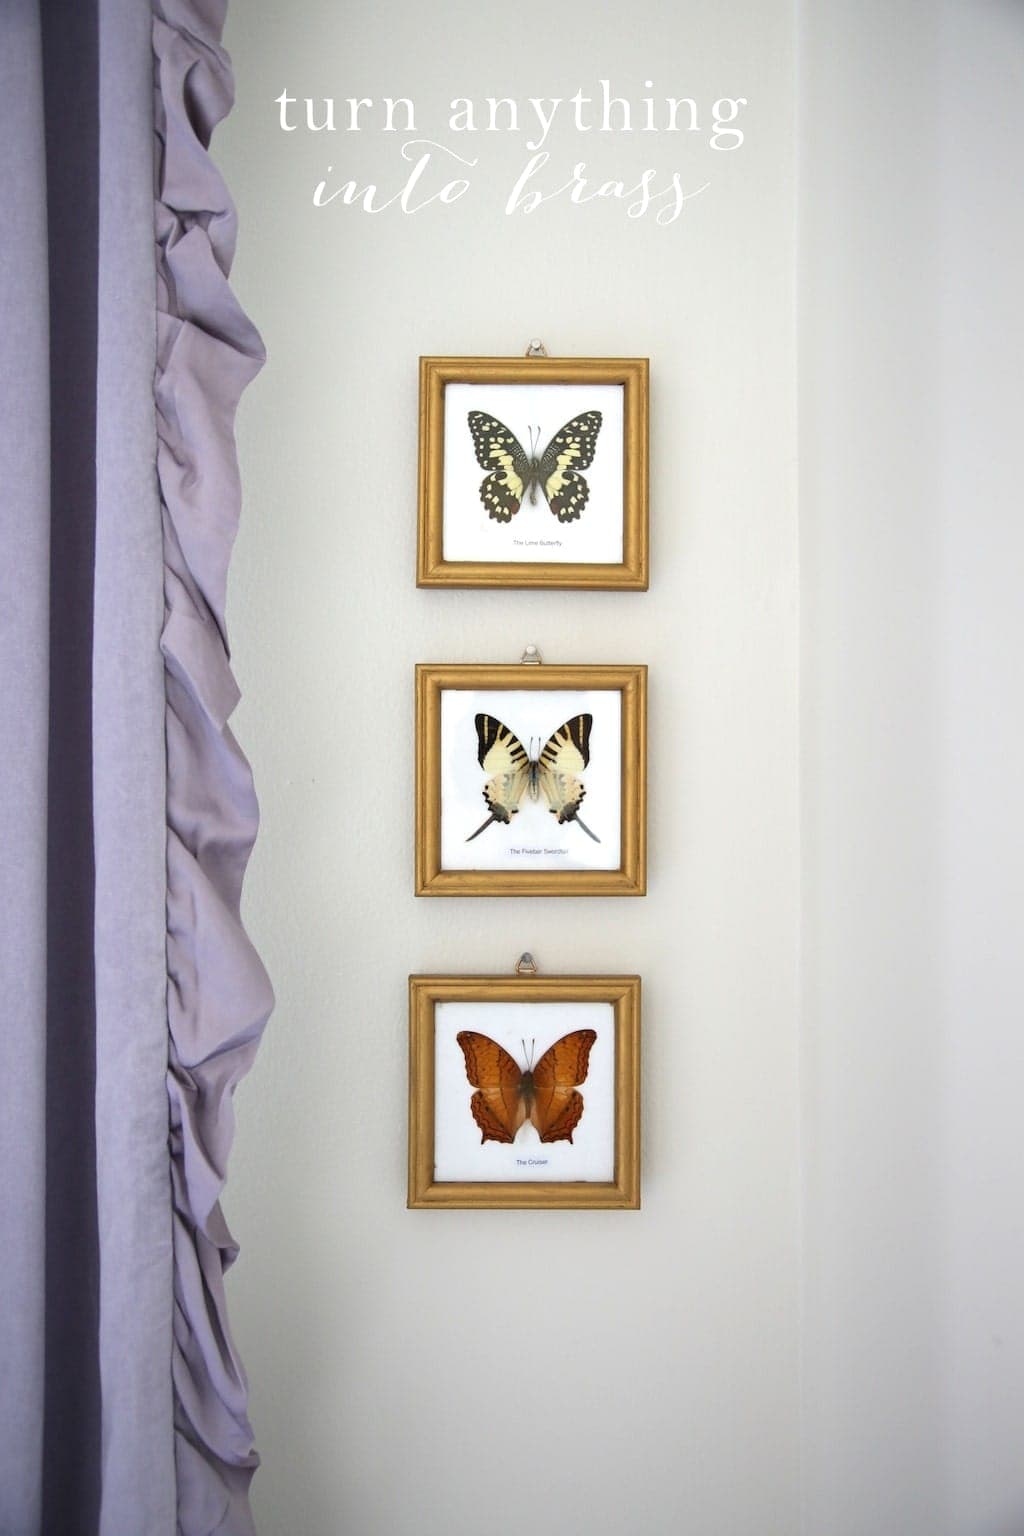
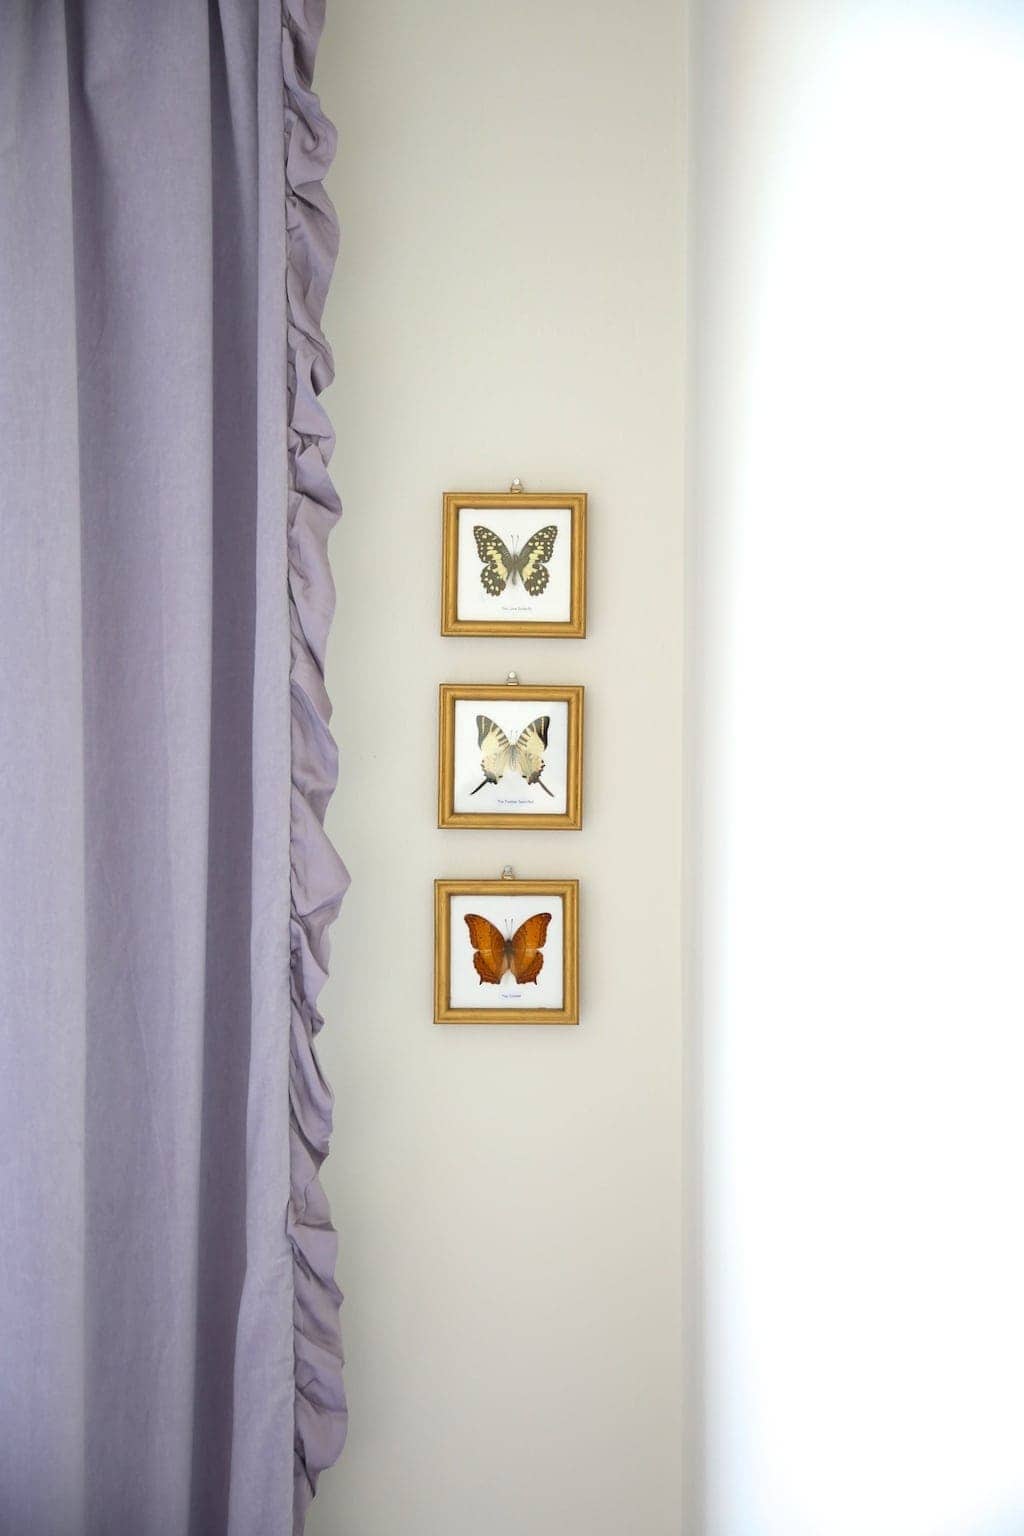
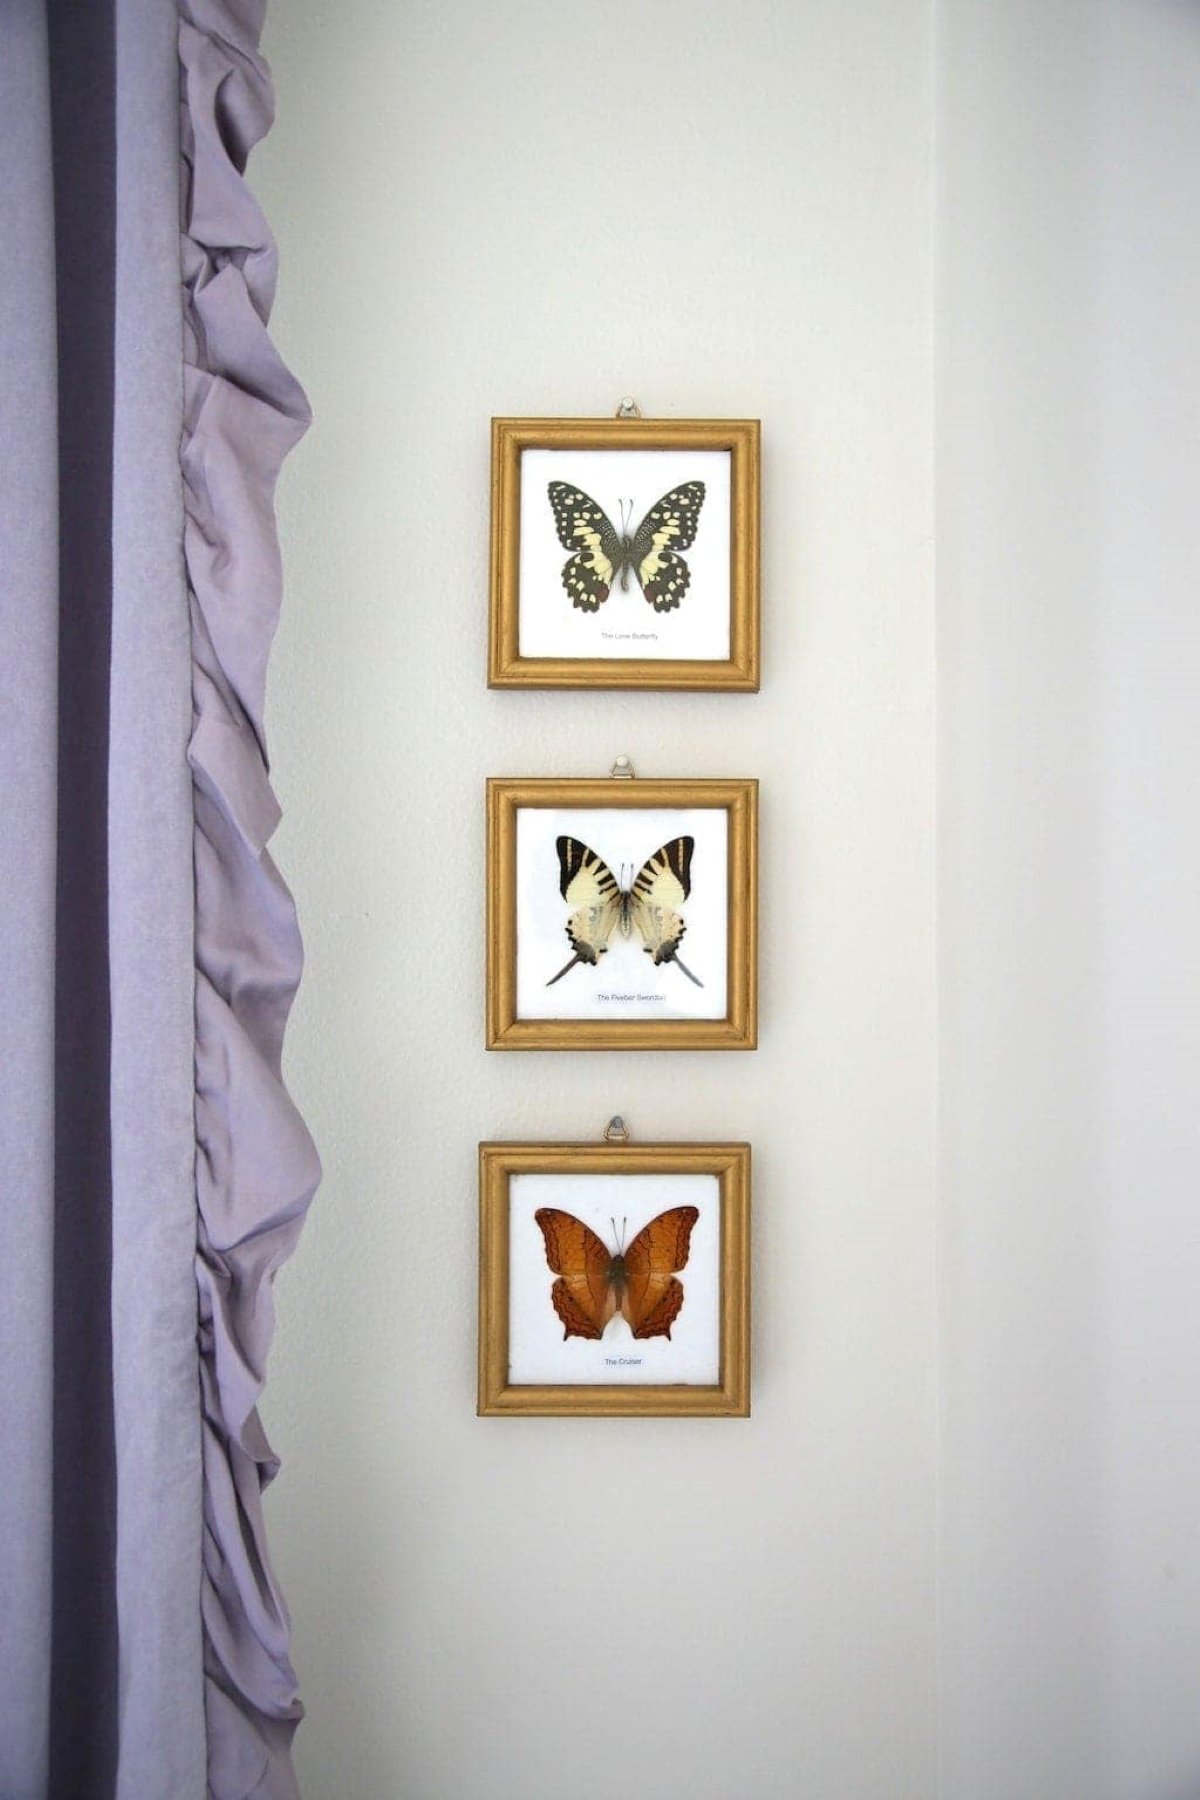
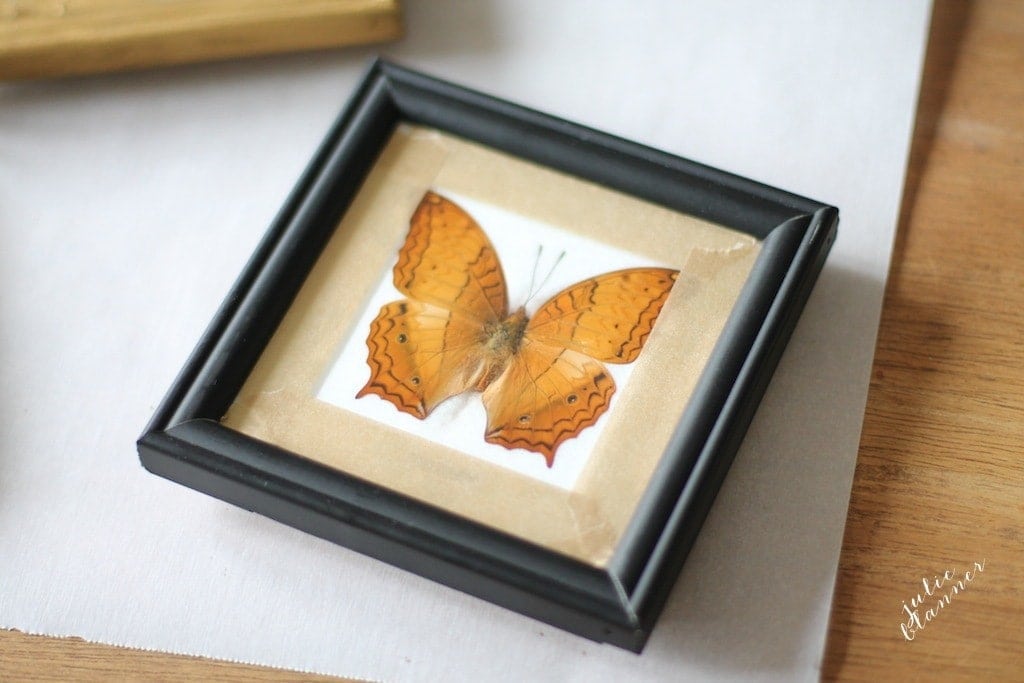
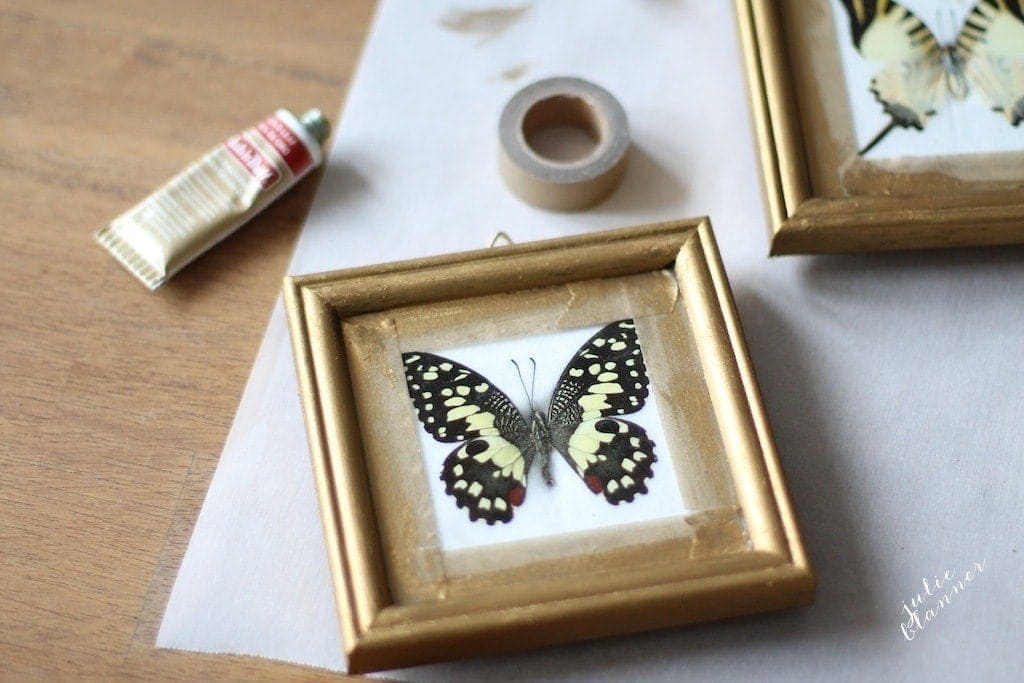
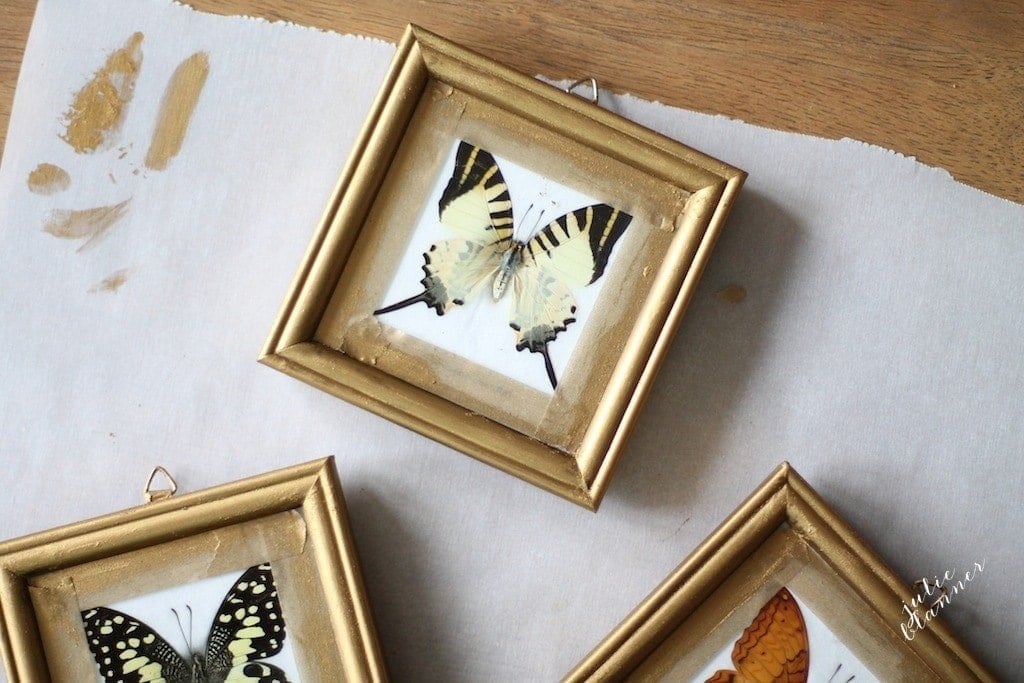
I found these gorgeous butterflies for just $9 each at a shop many years ago! It seemed so inexpensive for such one of a kind art. They came in little black frames, which are the opposite of my color palette.
I didn’t hesitate to buy them, though, because I knew that I could make the frames look like brass in a matter of minutes. I shared an image on Instagram and couldn’t believe the response.
These picture frames turned out beautifully, but frames aren’t the only use for Rub and Buff. With its ability to adhere to almost any surface, you have a house full of items that you could use Rub and Buff on.
It opens up a whole new world for thrift store finds that you love but are the wrong finish – all you have to do is rub and buff them. It’s also so easy to update outdated items in your home and give them new life.
Here are some other ways to use Rub and Buff, although it definitely isn’t a comprehensive list. I’d love to hear about your project. Share in the comments how you have used Rub and Buff!
- Curtain Rods
- Hardware
- Any metal that needs a little TLC
- Mirror Frames
- Lamps
- Vases
- Flower Pots
Types of Rub and Buff
If brass isn’t on your color palette, Rub and Buff has several other finish options to choose from. They all go on the same way – by rubbing and buffing – but some of them, like silver, have a slightly different spreading consistency.
- Gold – five different finishes are available. For the frames pictured here, I used Antique Gold.
- Ebony
- Pewter
- Silver
- Copper
- Ruby
- Antique White
- Patina
I love sharing ideas for improving your home!
We’ve renovated many homes during the last 20 years, and I am always thrilled to pass along the knowledge we’ve gained along the way. See the complete Before and After tour of our St. Louis home here, and our modern Table Rock Lake Cottage as well.
Supplies
- Washi or painters tape
- Latex gloves (to keep your hands clean)
- Rub ‘n Buff
- White cloth or Viva paper towels (because they are soft, thick & don’t tend to lose their fibers)
- Picture Frames
How to Use Rub and Buff
- Make sure your project surface is clean and dry.

- Tape your glass, if necessary.
- Put on gloves to protect your hands.
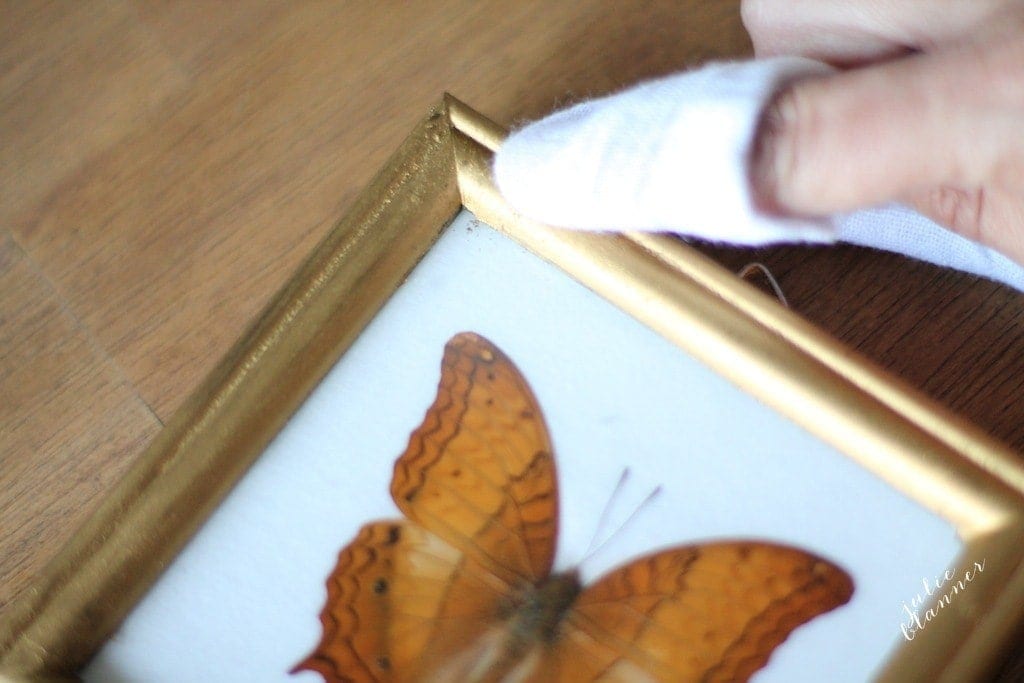
- Using a finger or soft cloth, gently dot Rub and Buff (a small dot goes a long way) onto frame. Spread around to cover surface.
- Immediately buff it off in rough areas with a soft cloth. See photo below for an example before buffing.
- Allow to dry and remove your tape.
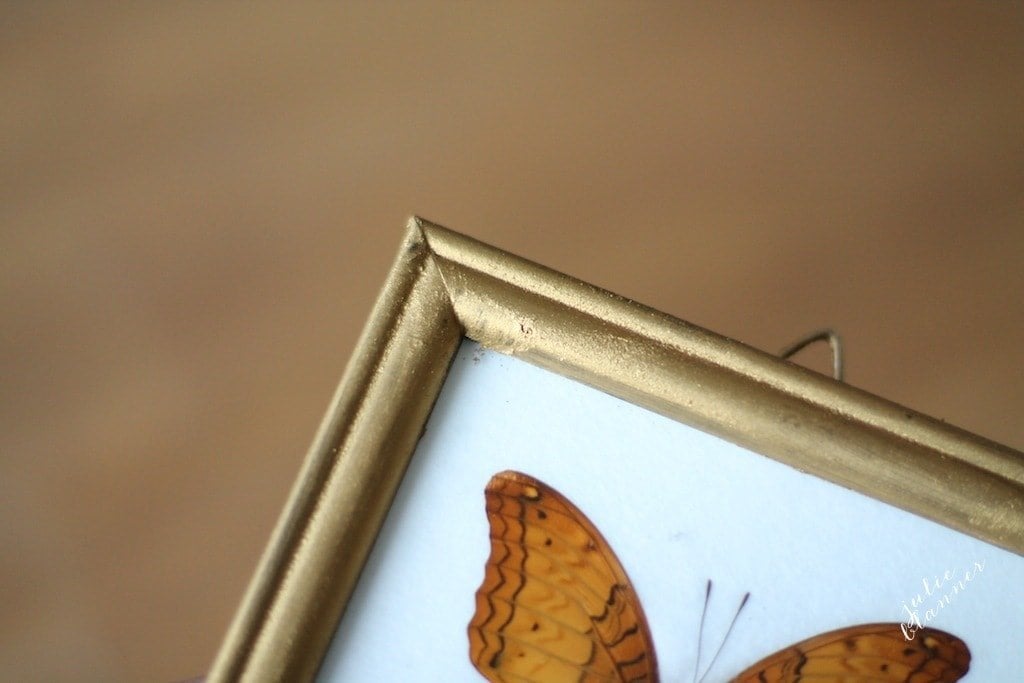
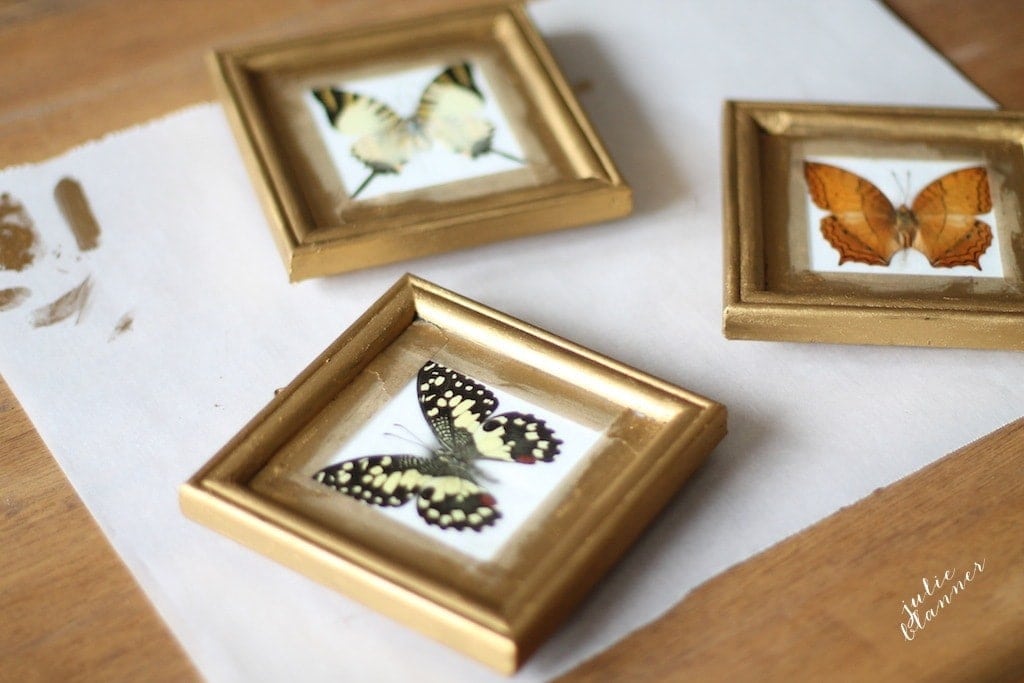
My new brass-looking frames are the perfect border these butterflies and matched my home decor perfectly.
Frequently Asked Questions
Using a soft cloth, buff until you think the shine is how you want it. The more you buff, the more it shines. It shouldn’t take more than a few minutes to finish a small project. Sometimes you may even like the look of your project without buffing.
Rub n Buff does not need to be sealed. The waxes in the product serve that purpose.
If you’re doing a large surface, it might be helpful to use a liquid deglosser or paint thinner with the Rub n Buff. Spray some on the surface of your project and then start spreading the Rub and Buff. This will extend the dry time of the finish, to allow you to evenly coat the whole project before it dries.
Use this rub n buff tutorial to turn anything into the perfect antiqued brass shade, like these Gilded Frames! You can also learn all about my favorite Brass Polish, too.
Shop This Post
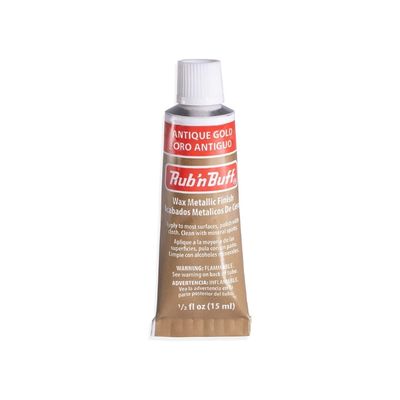
Rub n Buff Antique Gold
Antique gold is what’s used in this post, and my favorite match for a slightly aged brass finish.
If you’re not an Amazon shopper, you can also find it at Walmart.
Join Our Community
Let’s keep in touch! Receive exclusive content, including never-seen-before photos, our favorite home decor DIYs and more!


Julie, I have these beautiful entry way lights that I purchased that are black and sadly more of a bronze look to them vs the aged brass. Most of my home is the aged brass with black. Do you think I can use the Rub and Buff in the Antique Gold over the bronze and achieve the look I am going for?
Absolutely!
Julie,
Can you tell me what color of rub and buff you used? Our paint store has multiple shades to pick from and I am never quite sure what gold and brass shade is best. Thanks!
Of course! I usually use antique gold to get a brass appearance & gold leaf or grecian gold for more of a golden tone.
I discovered Rub N Buff a few years ago and ran around my house gilding everything. I love this product! Seeing this makes me want to grab my tube again to see if there is something else I can renew!
I’m always looking for something to gild! Watch out! We may need play dates, too!
Hi Julie, I’ve been a Rub ‘n Buff fan for many years. I just use my bare finger to apply it. When I just want to “color” the high spots of an object, this gives me more control. (I recently renewed the knobs on my dresser – they were “carved” and I wanted the look of antique silver, so just hitting the high spots of the knobs gave me just the look I wanted.) I’ve also used painters tape about 1/4 inch apart and R n B’d the space in between for a nice straight line of “color”. Did you know it comes in many colors? My favorite is Copper, but Silver, Red, Copper patina are some of the other colors available. I found this out by doing a search on eBay! I’m a big online shopper, so that’s why I was looking on eBay.
I wish I could send you a picture of my knobs.
Yes! I love it in copper as well. I use latex gloves to keep my hands clean, but don’t feel like the hinder the process. You can always email me or tag your photo on Instagram! Thanks for sharing!
I have to know…what’s your favorite shade of rub n’ buff. I have some, but trying to decide between antique, etc. at the store was torture!
I tend to gravitate to Gold Leaf & Grecian Gold. You?