An easy tutorial to learn how to arrange roses and eucalyptus into a beautiful centerpiece through the help of step by step instructions and a video tutorial.
There’s nothing more romantic than dinner for two, at home, is there?
I really enjoy cooking with Chris when we have the opportunity. It’s not only nice to have an extra set of hands in the kitchen, but a time when we can connect and work together.
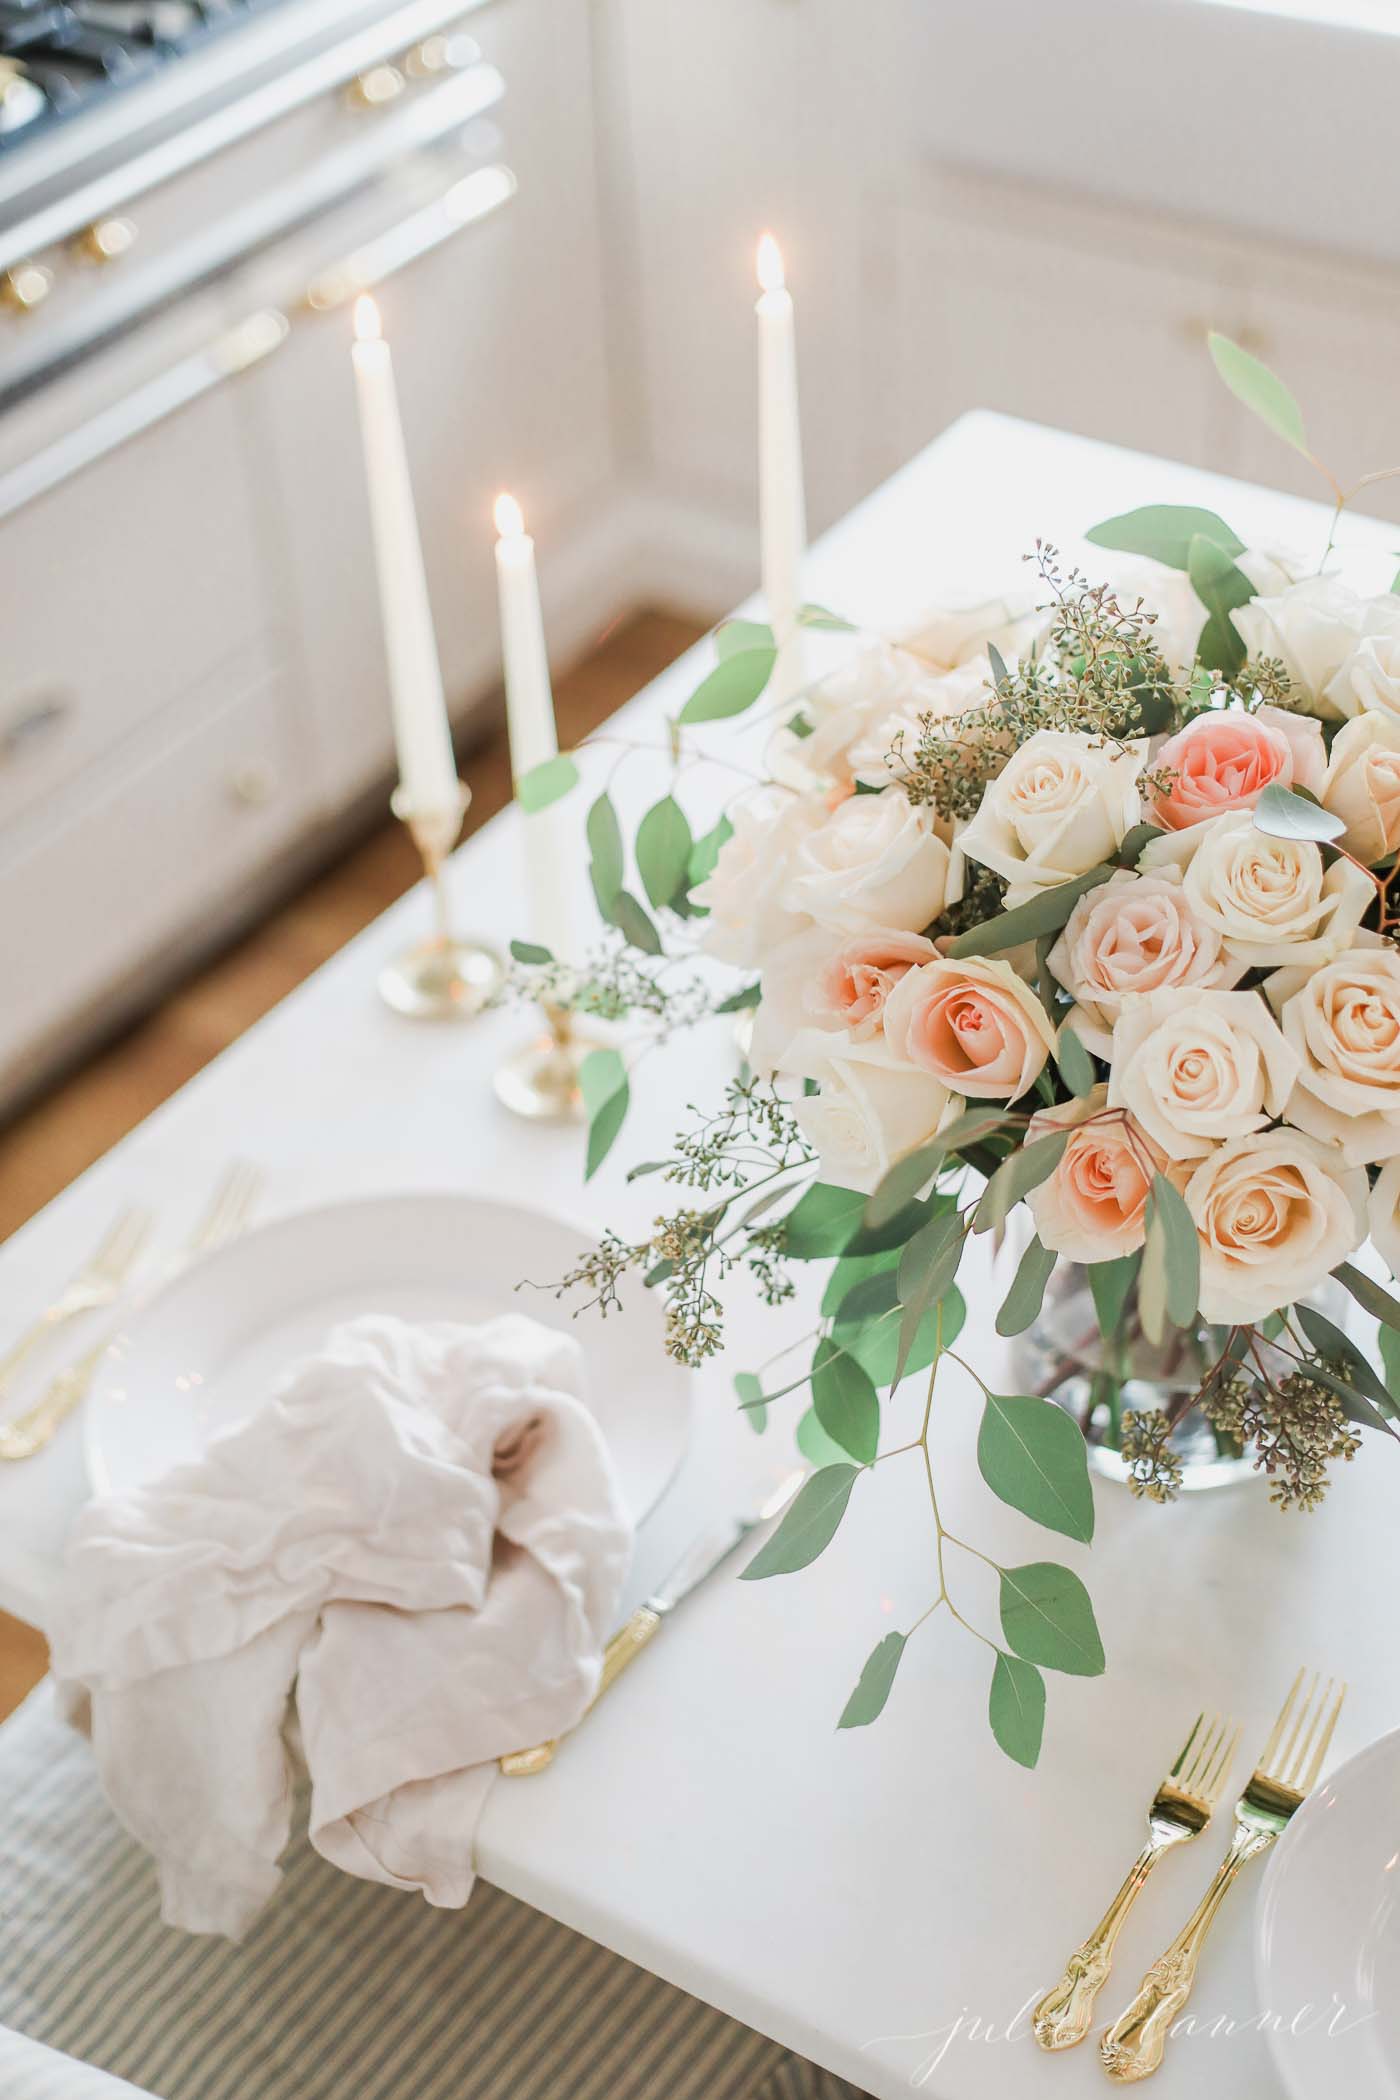
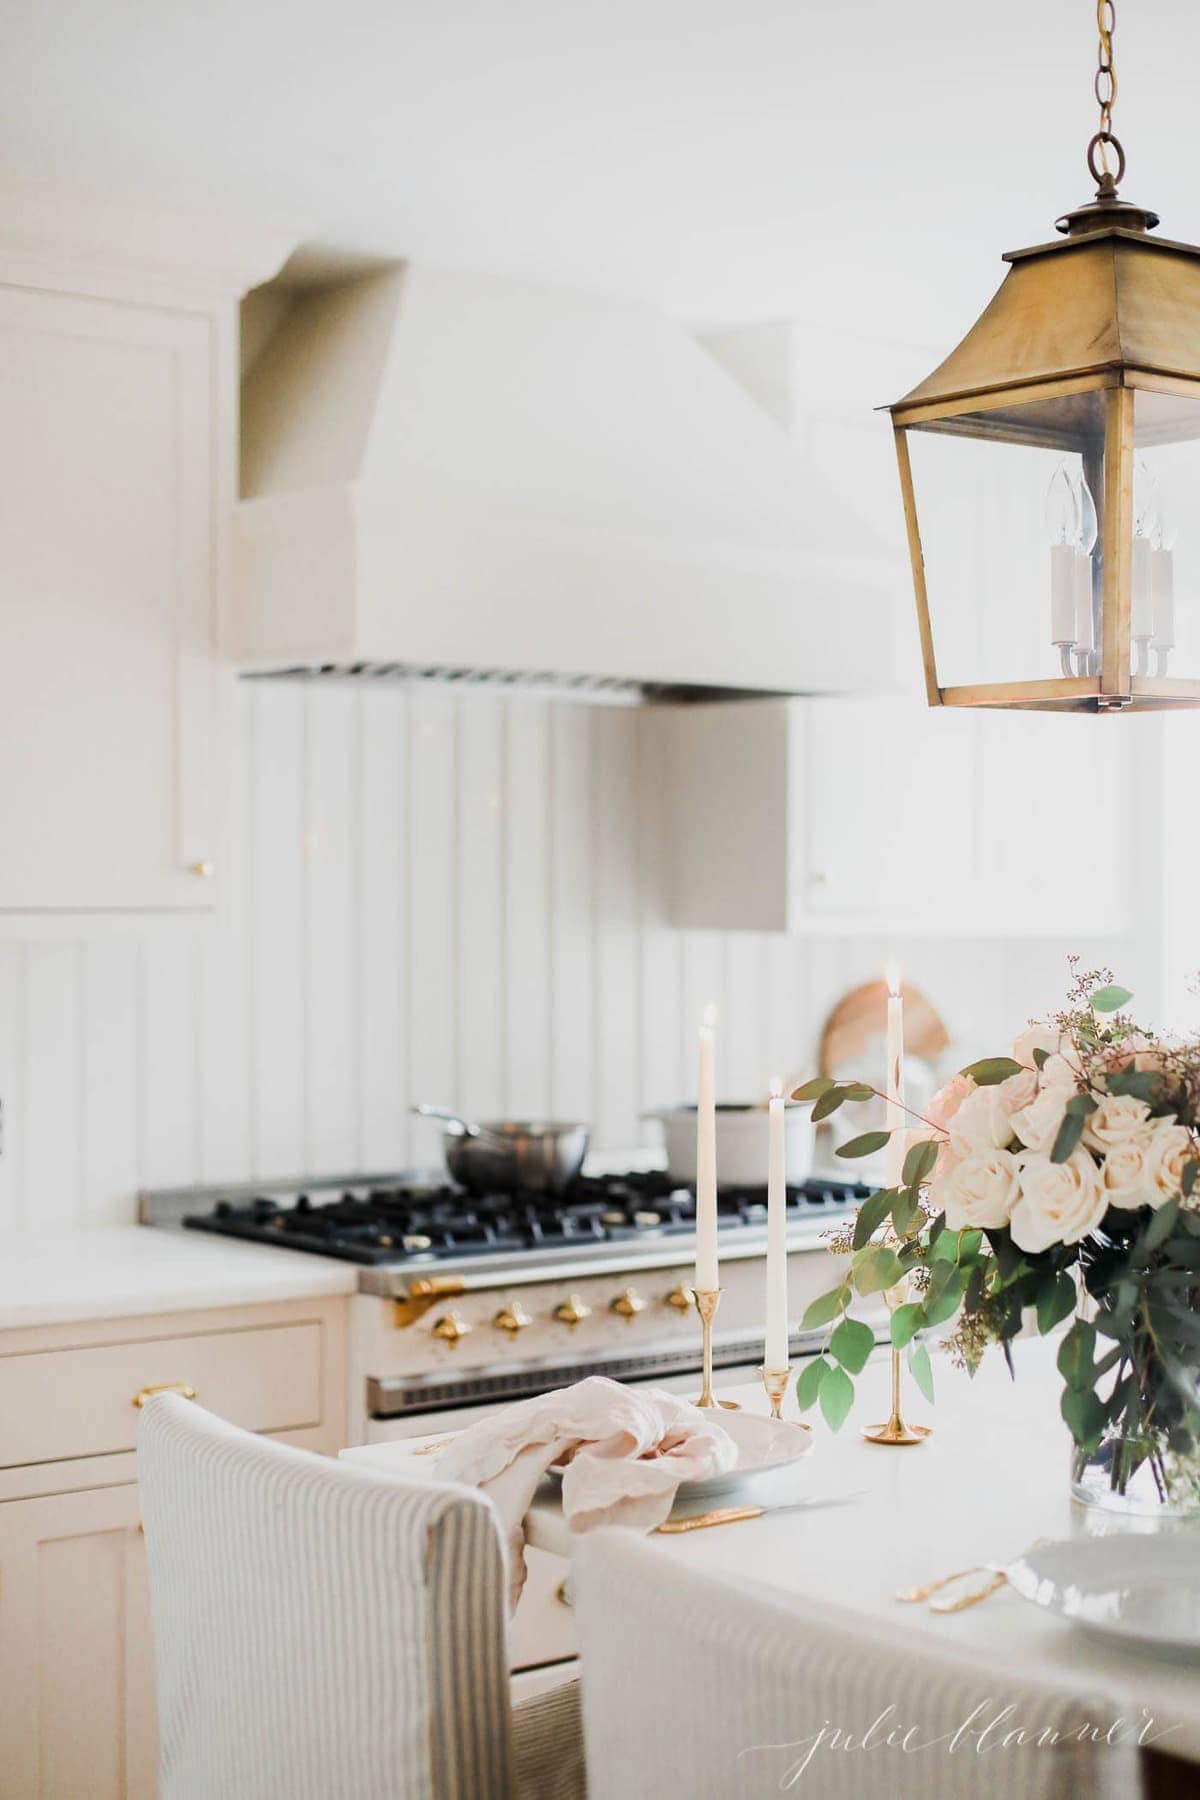
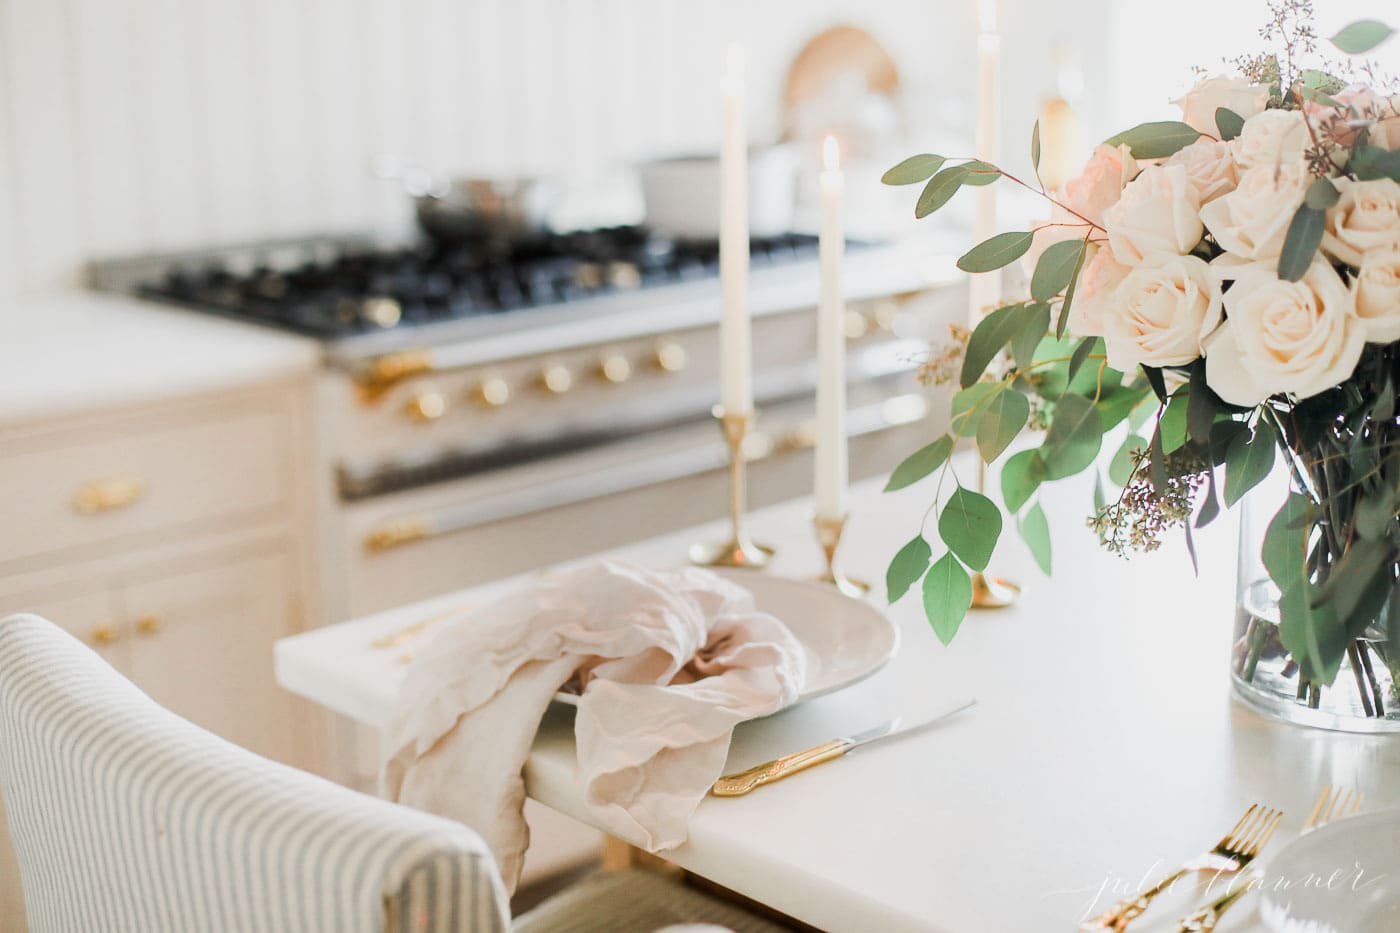
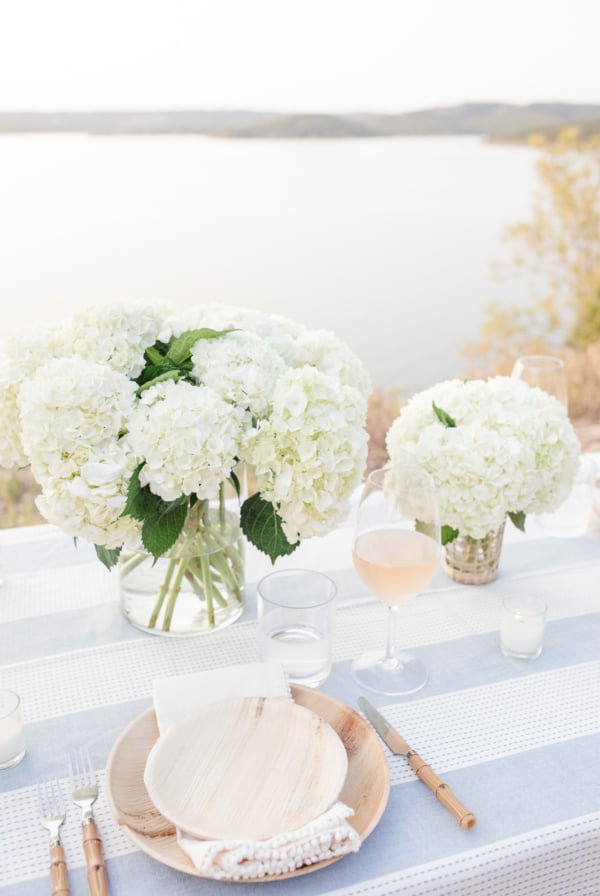
There’s no need to set the table in the breakfast room when it’s just the two of us, so I set the island when we have the opportunity to enjoy a dinner for two.
Classic Roses
Roses are the quintessential Valentine’s Day flowers, but aren’t always considered a favorite. It’s understandable! They aren’t always appealing because of the stiff baby’s breath filled arrangements you’ve come to expect from grocery stores.
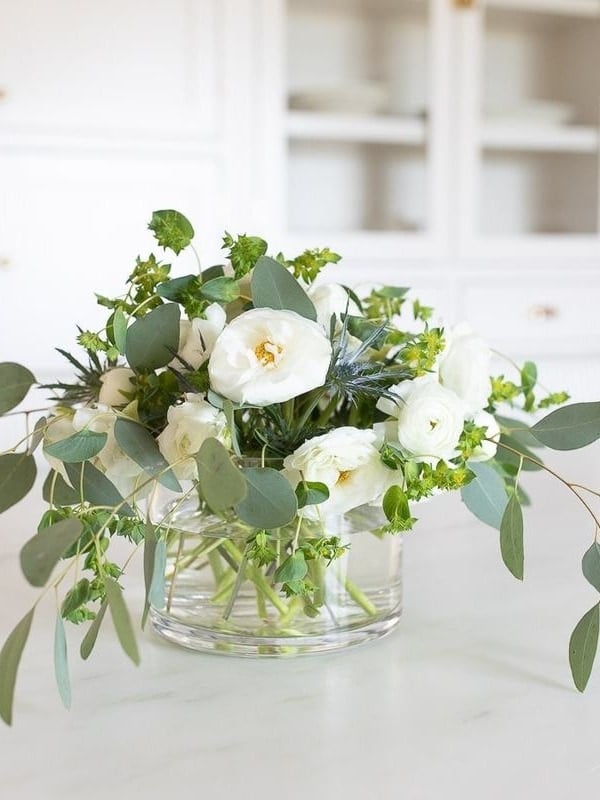
I love sharing my favorite floral tips with you! I’ve shown you how to be your own florist, how to revive wilted hydrangea, and even how to create a centerpiece of hydrangea or ranunculus.
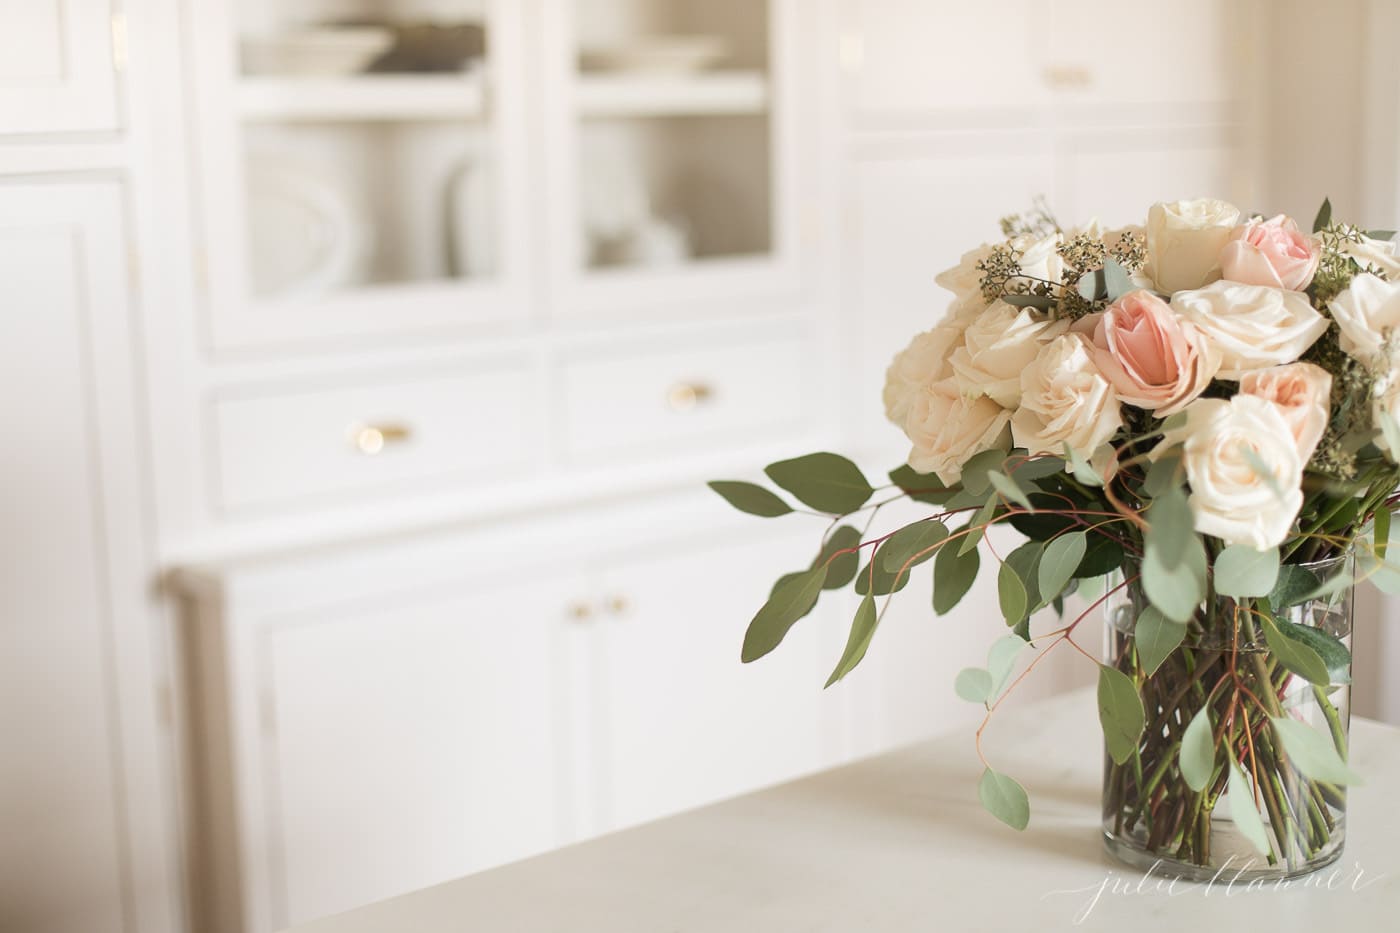
How to Arrange Roses
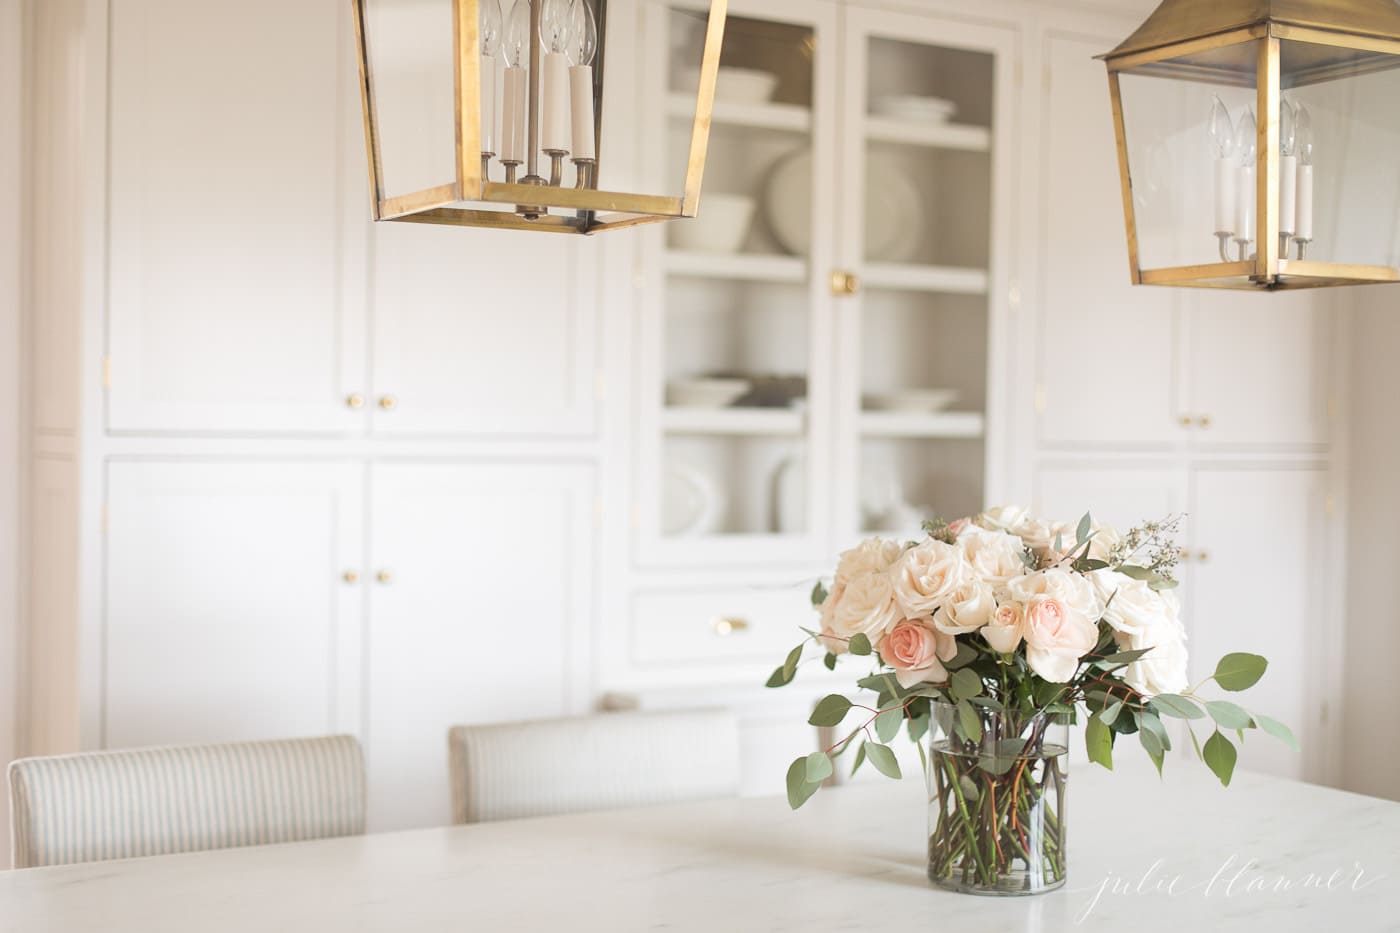
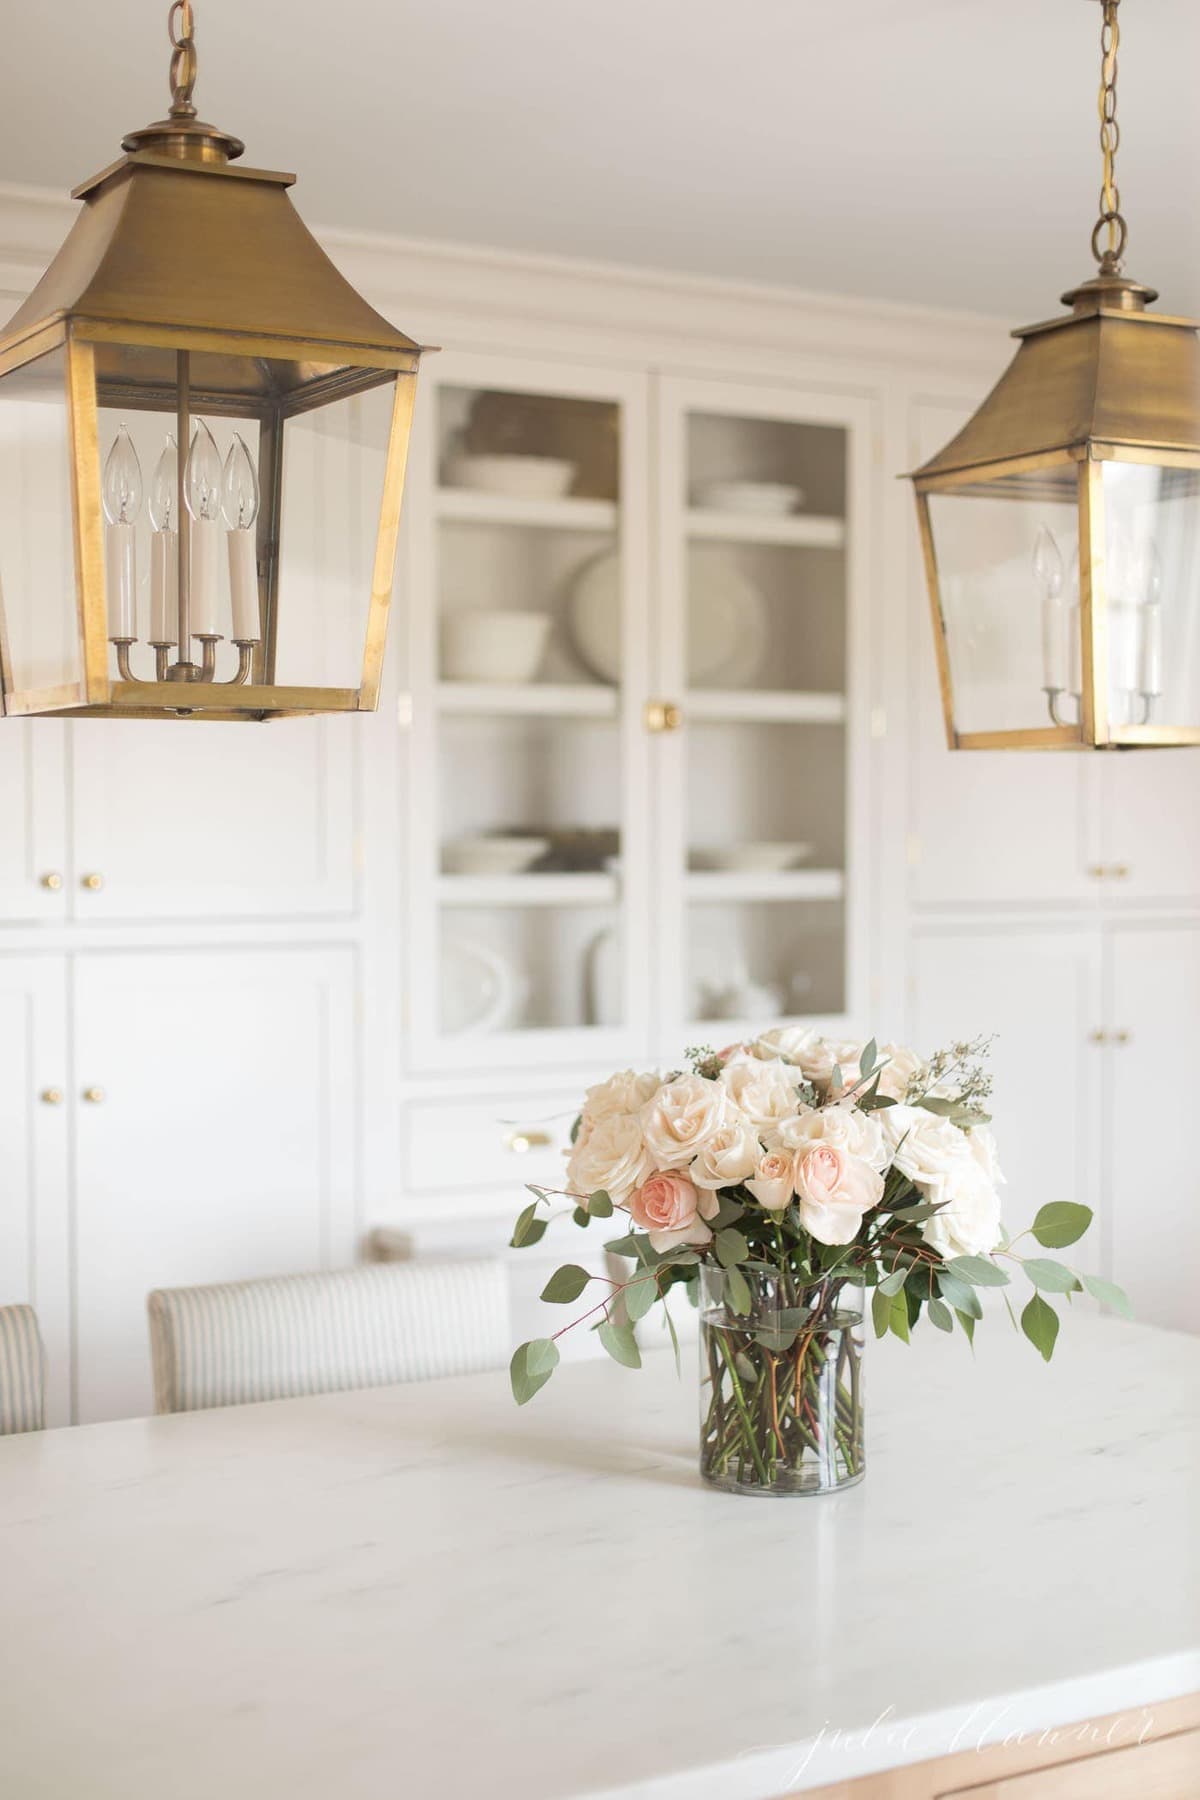
We longed for an oversized island that we could sit {and sip} at for years and it’s finally come to fruition with our kitchen renovation.
It’s the perfect place to prepare dinner and cozy up for a romantic evening in.
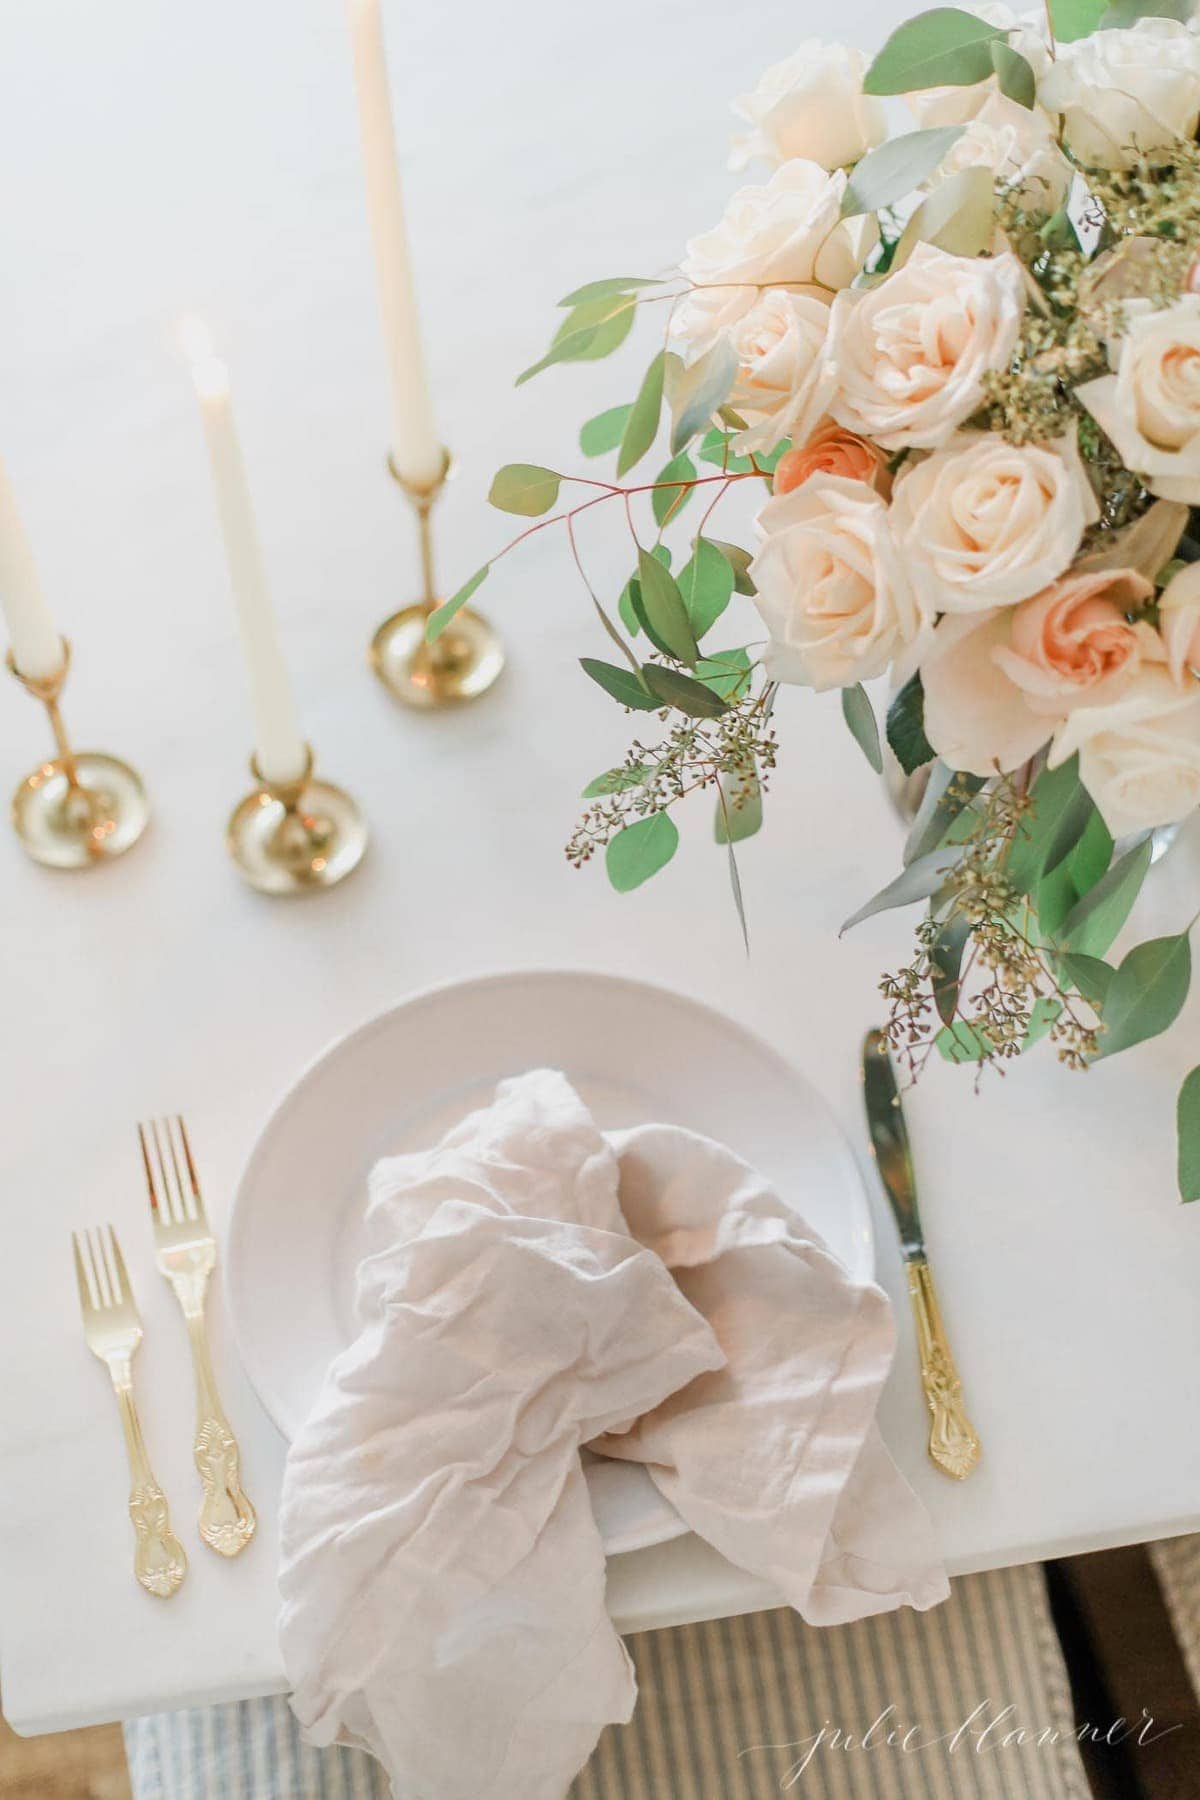
I wanted to share a fresh take on how I arrange roses with eucalyptus – step by step to set the table for your own romantic evening at home.
Shopping List
- 3 dozen roses
- 2 bunches of eucalyptus
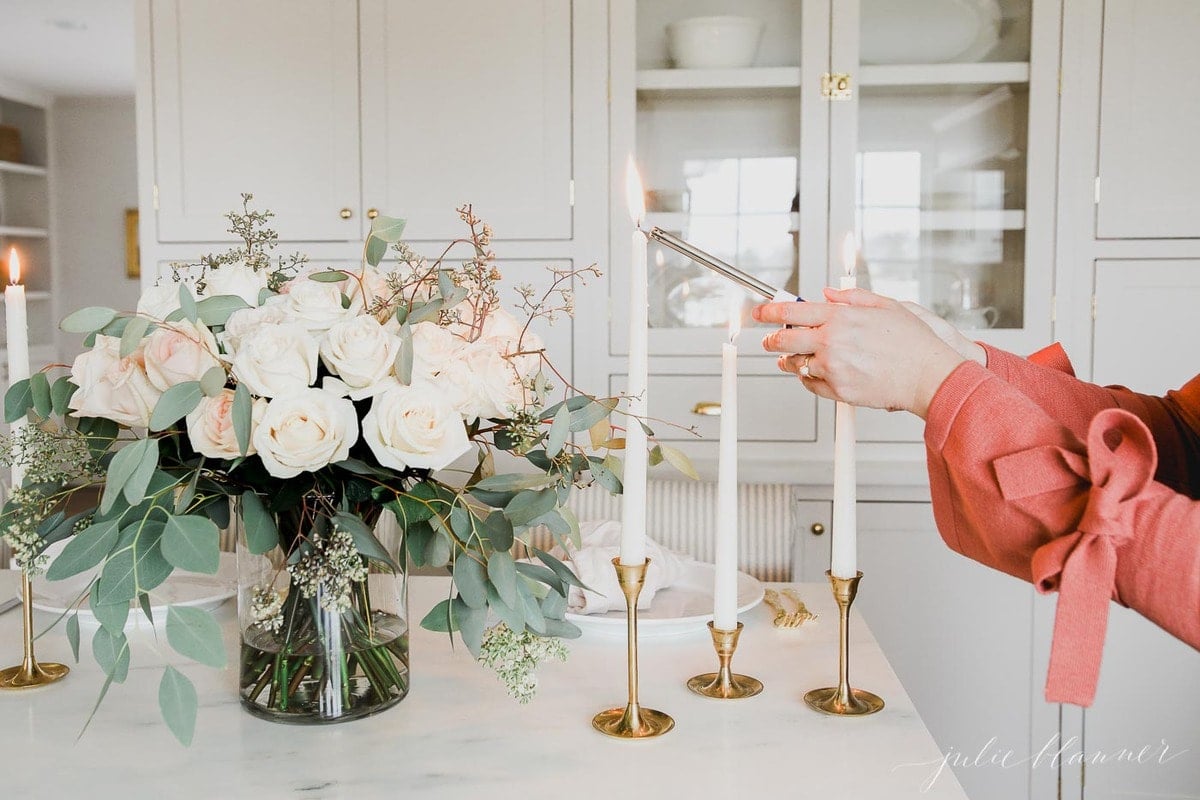
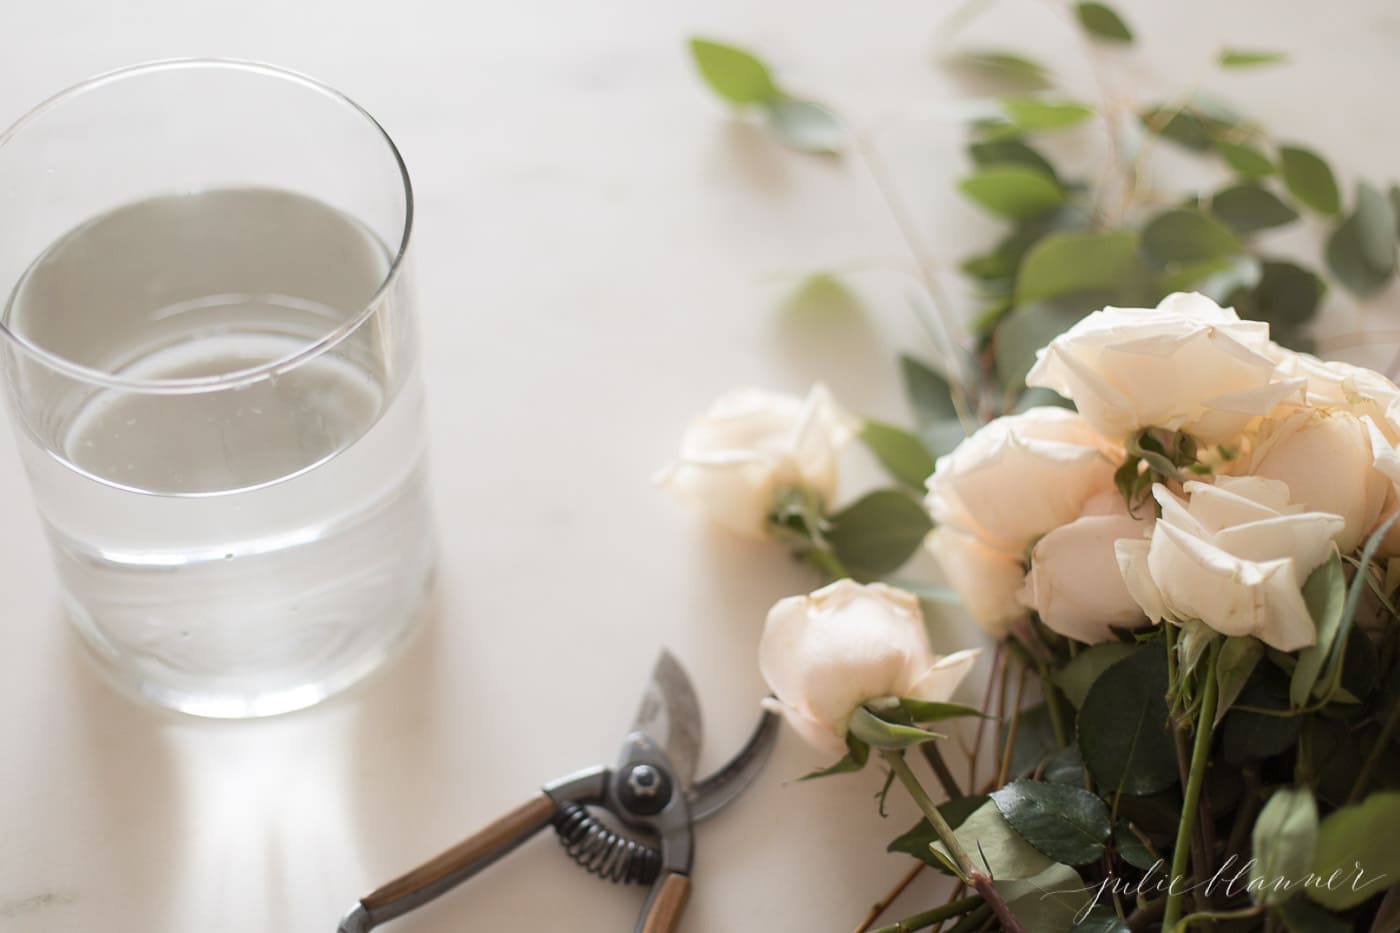
Step by Step
- Prep your roses by measuring how long you want them to be and trimming them all about equally. You want them about 4-5″ longer than the vase when positioned diagonally. Remove any leaves that will fall below the base of the vase.
- Fill your vase with water. Add roses to the vase allowing them to fall to each side of the vase {see video}.
- Start filling in {alternating a few of another color if you choose} using the existing stems to help you position new roses making some vertical.
- Trim eucalyptus to be an additional 6+” longer than the roses and again remove any leaves that would fall below the base of the vase.
- Insert eucalyptus around the edge of the vase all the way around or at 3 opposite points.
- Add small stems of eucalyptus {3} nestled in between roses at opposite points in the flower arrangement and adjust roses as needed to appear full.

Tips
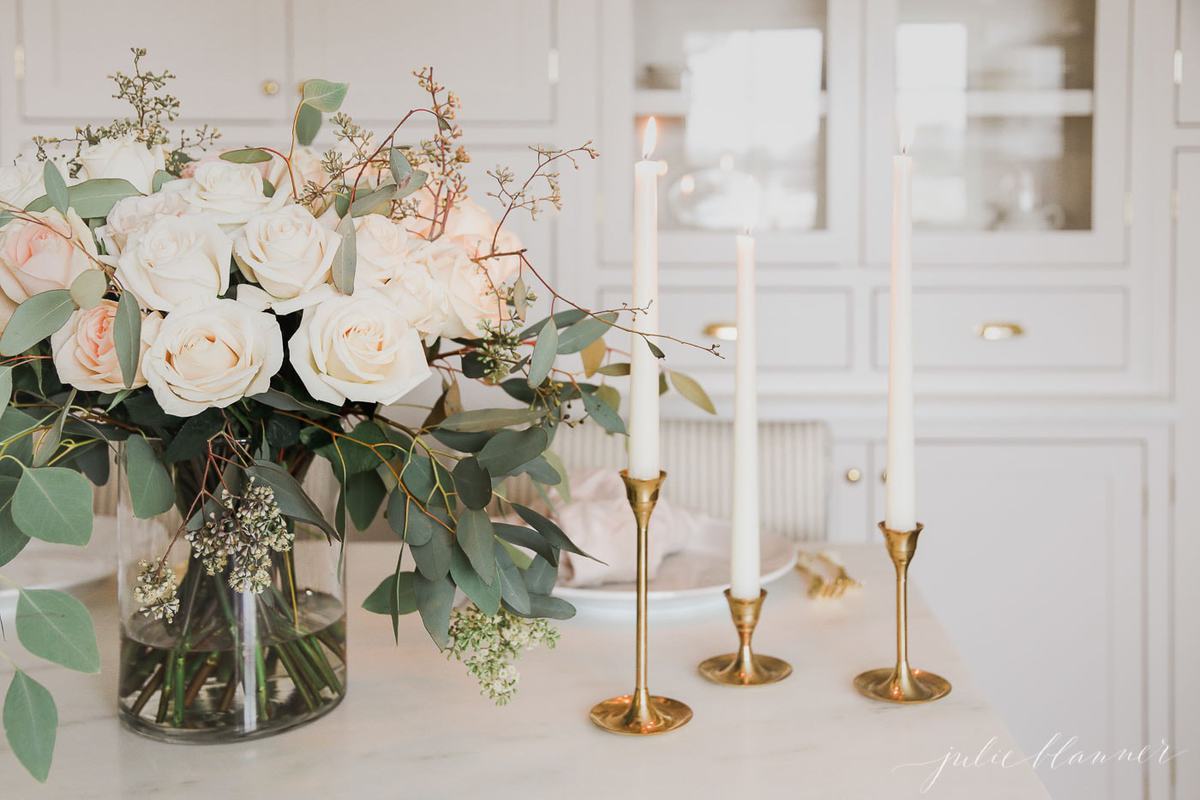
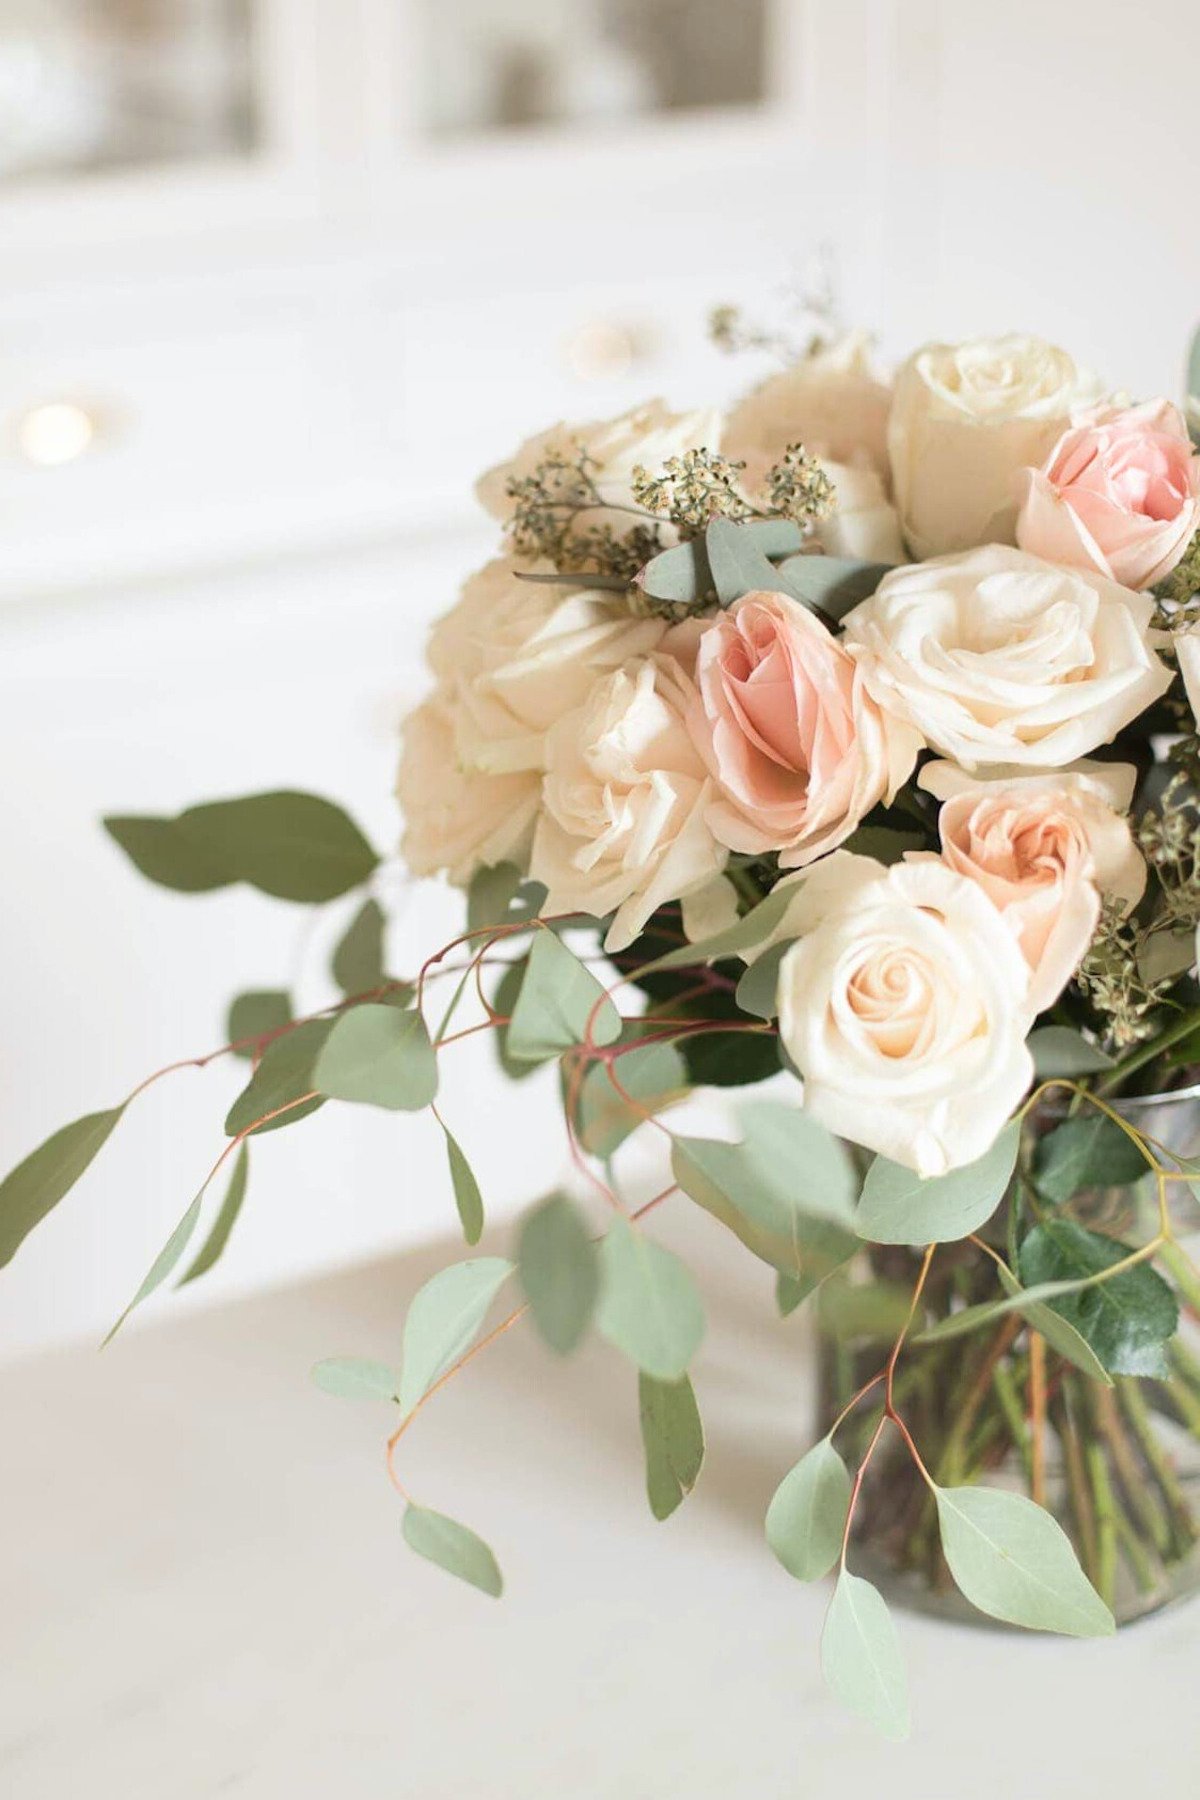
- Roses open with time – this centerpiece because more beautiful as the days pass, just refresh the water.
- If you don’t like how it looks, adjust. Small tweaks can make a big difference.
- Where to Buy Flowers
- Where to Buy Flower Vases
- Find everything you need to know about shopping for Trader Joe’s Flowers here.
Can you believe these are nearly a week old? As roses open, they only become more beautiful. Just keep the water fresh.


I just Love everything you share with us! Thank you beyond words for sharing your unique gifts of elegance in words, decor, food, and just living a lovely life filled with beauty for great choices to share with those we love.
Thank you for your kindness!
Gorgeous arrangement!
I am looking for similar colored roses for my wedding flowers. What types of roses did you use?
Wow!!! Beautiful and elegant … thank you for the recipe of how to ROSES and EUCALYPTUS
Julie I am in awe of your floral arranging ability! Frankly mine pales in comparison so I’m definitely taking notes from your video! And I love the color choice of your roses. They are so unusual and just stunning with the brass in your pretty white kitchen.
Wishing you a wonderful Valentine’s Day!
Sheila
xo
Thank you, but I beg to differ, Sheila! Your work is always breathtaking!
Julie, your arrangement is so lovely and works beautifully in your pretty kitchen! Just the right note of gentle warmth!
Thank you, Lory!