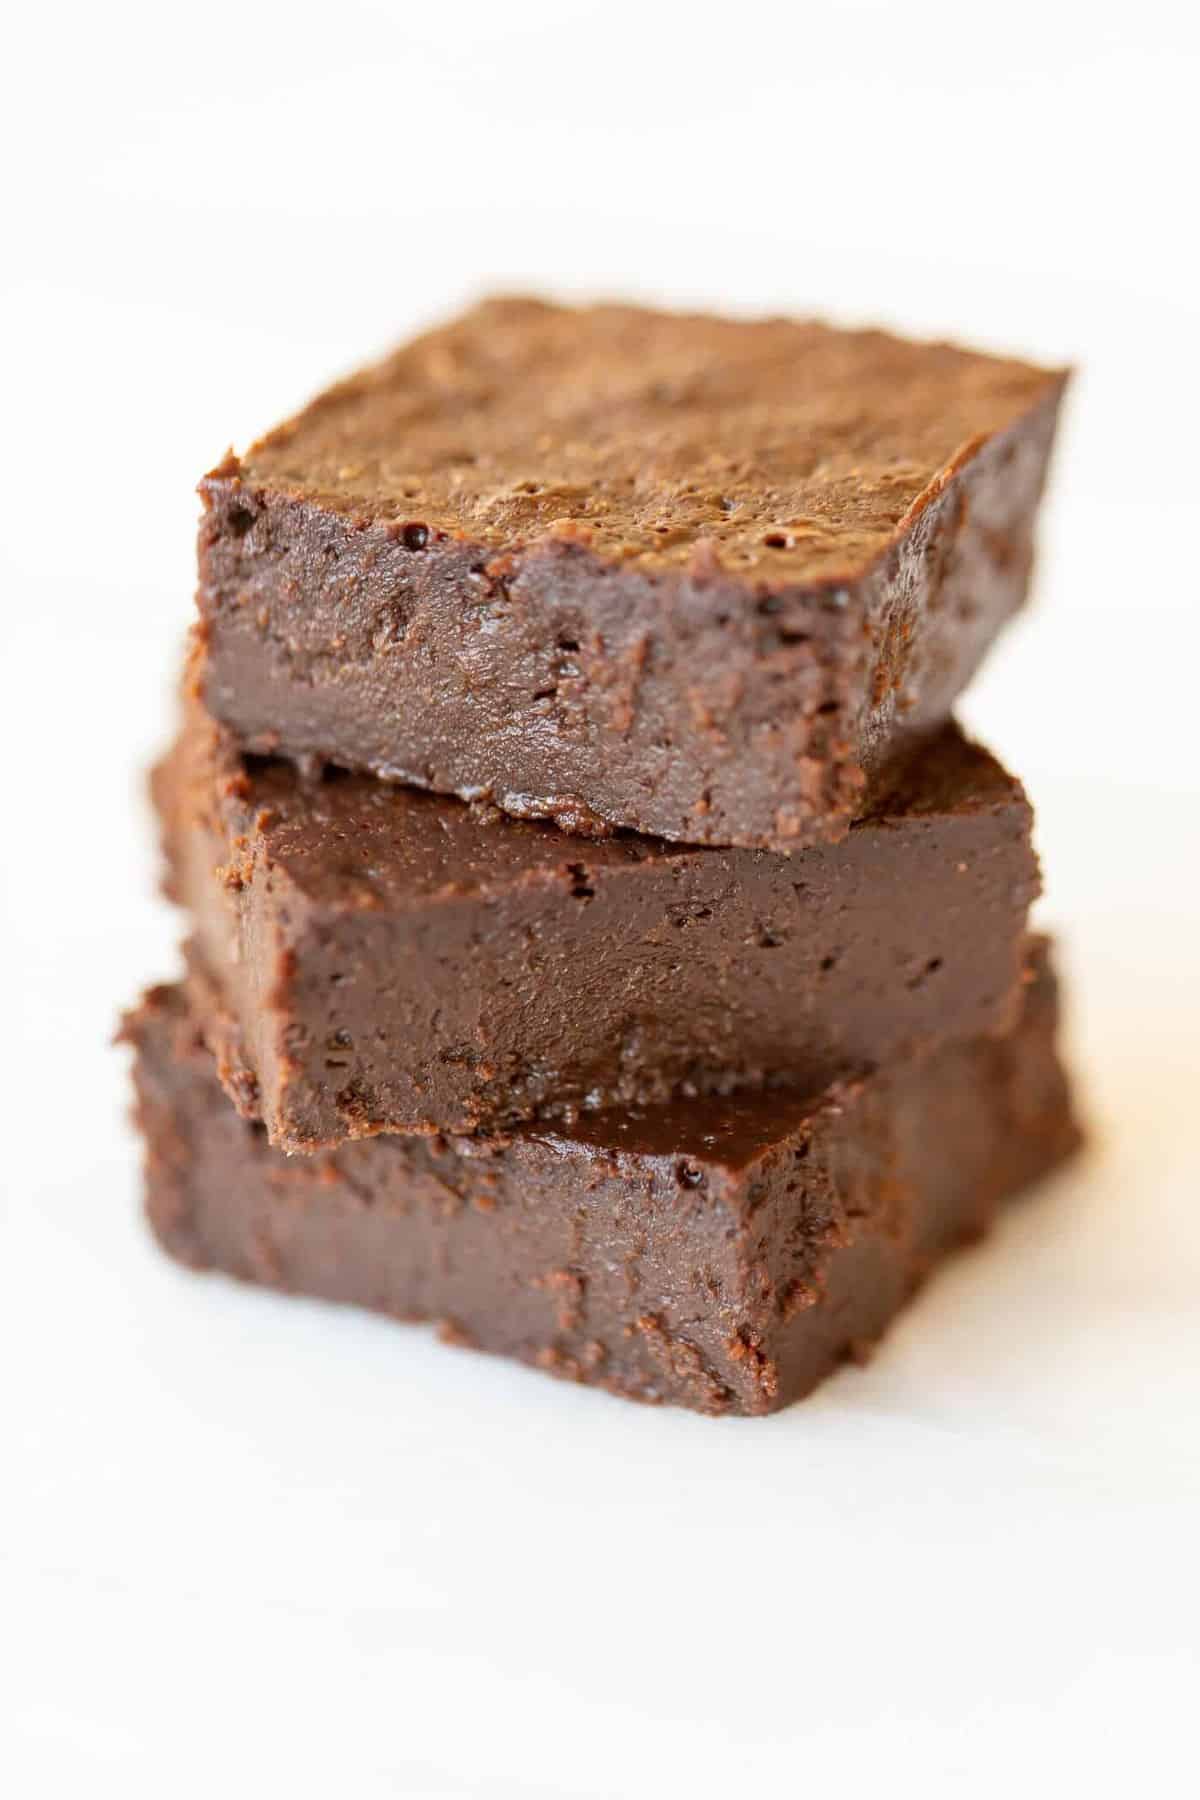
These decadent flourless brownies are made with dark chocolate, which creates the most incredible gluten free brownies you’ve ever had! They are easy to make with just a handful of ingredients and are so rich and flavorful.
These will become your go-to recipe for no flour brownies!
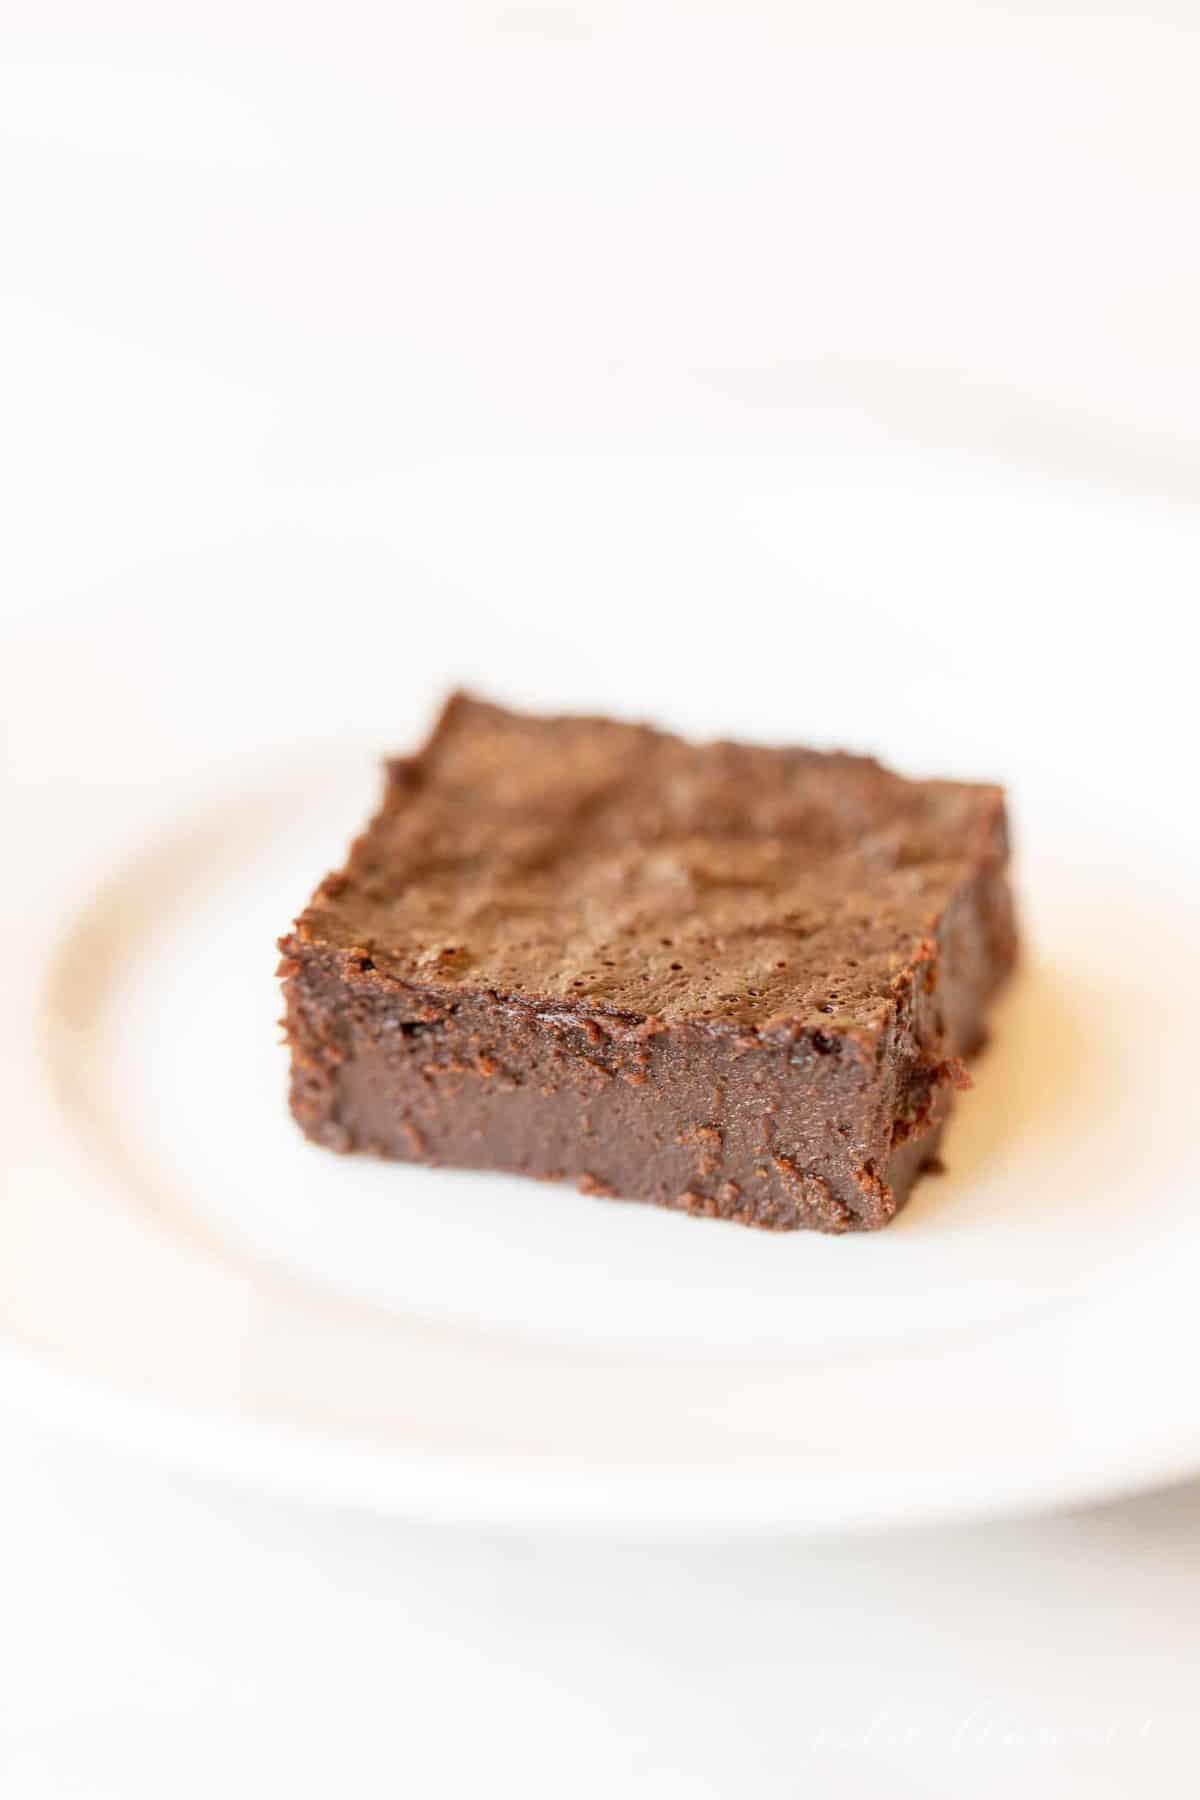
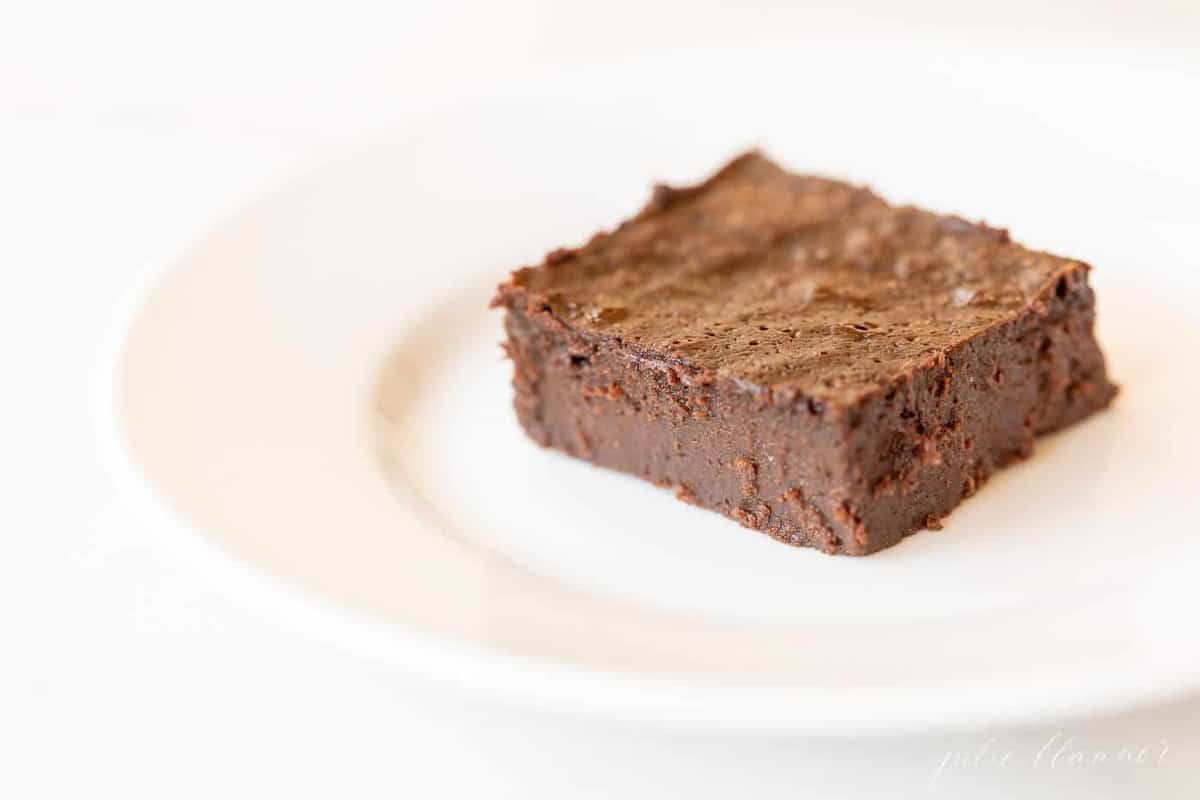
These are no ordinary brownies. Think of them as a thinner chocolate torte… creamy, rich and decadent. When we were at our favorite breakfast spot on Sunday, they were sampling their new brownies.
I immediately knew something was missing, and I loved every taste of it! So the quest began and these moist, melt in your mouth brownies were concocted.
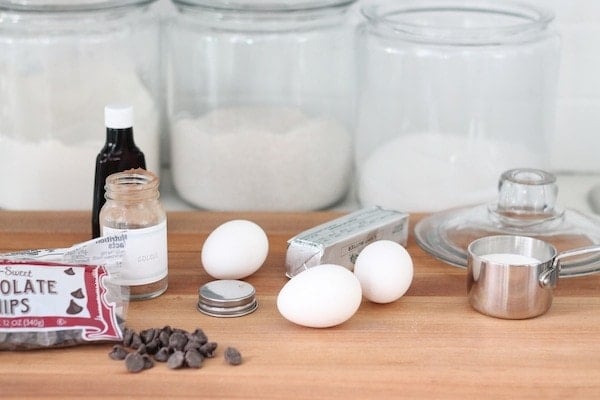
To Make This Flourless Brownie Recipe, You Will Need:
You just need some simple pantry staples to make these delicious brownies.
- Semi Sweet Chocolate Chips
- Butter and Water
- Cocoa Powder -Natural and unsweetened is preferred
- Eggs – Fresh, free run / organic if possible
- Sugar – Traditional granulated white sugar is used here.
- Vanilla Extract – Pure is preferable over imitation. Try my homemade vanilla extract!
How to Make Gluten Free Flourless Brownies
It’s so quick and easy to make these delicious brownies!
- Preheat oven to 300 degrees. Grease 8×8 baking dish.
- In a saucepan over low heat add chocolate chips, butter, water. Stir until smooth.
- Add cocoa and remove from heat.
- Meanwhile, a mixing bowl, beat eggs 4 minutes. Add sugar and vanilla. Beat until smooth.
- Slowly mix in chocolate mixture.
- Pour into a pan and bake 40 – 45 minutes, until it bounces back to the touch.
- Allow to set before slicing.
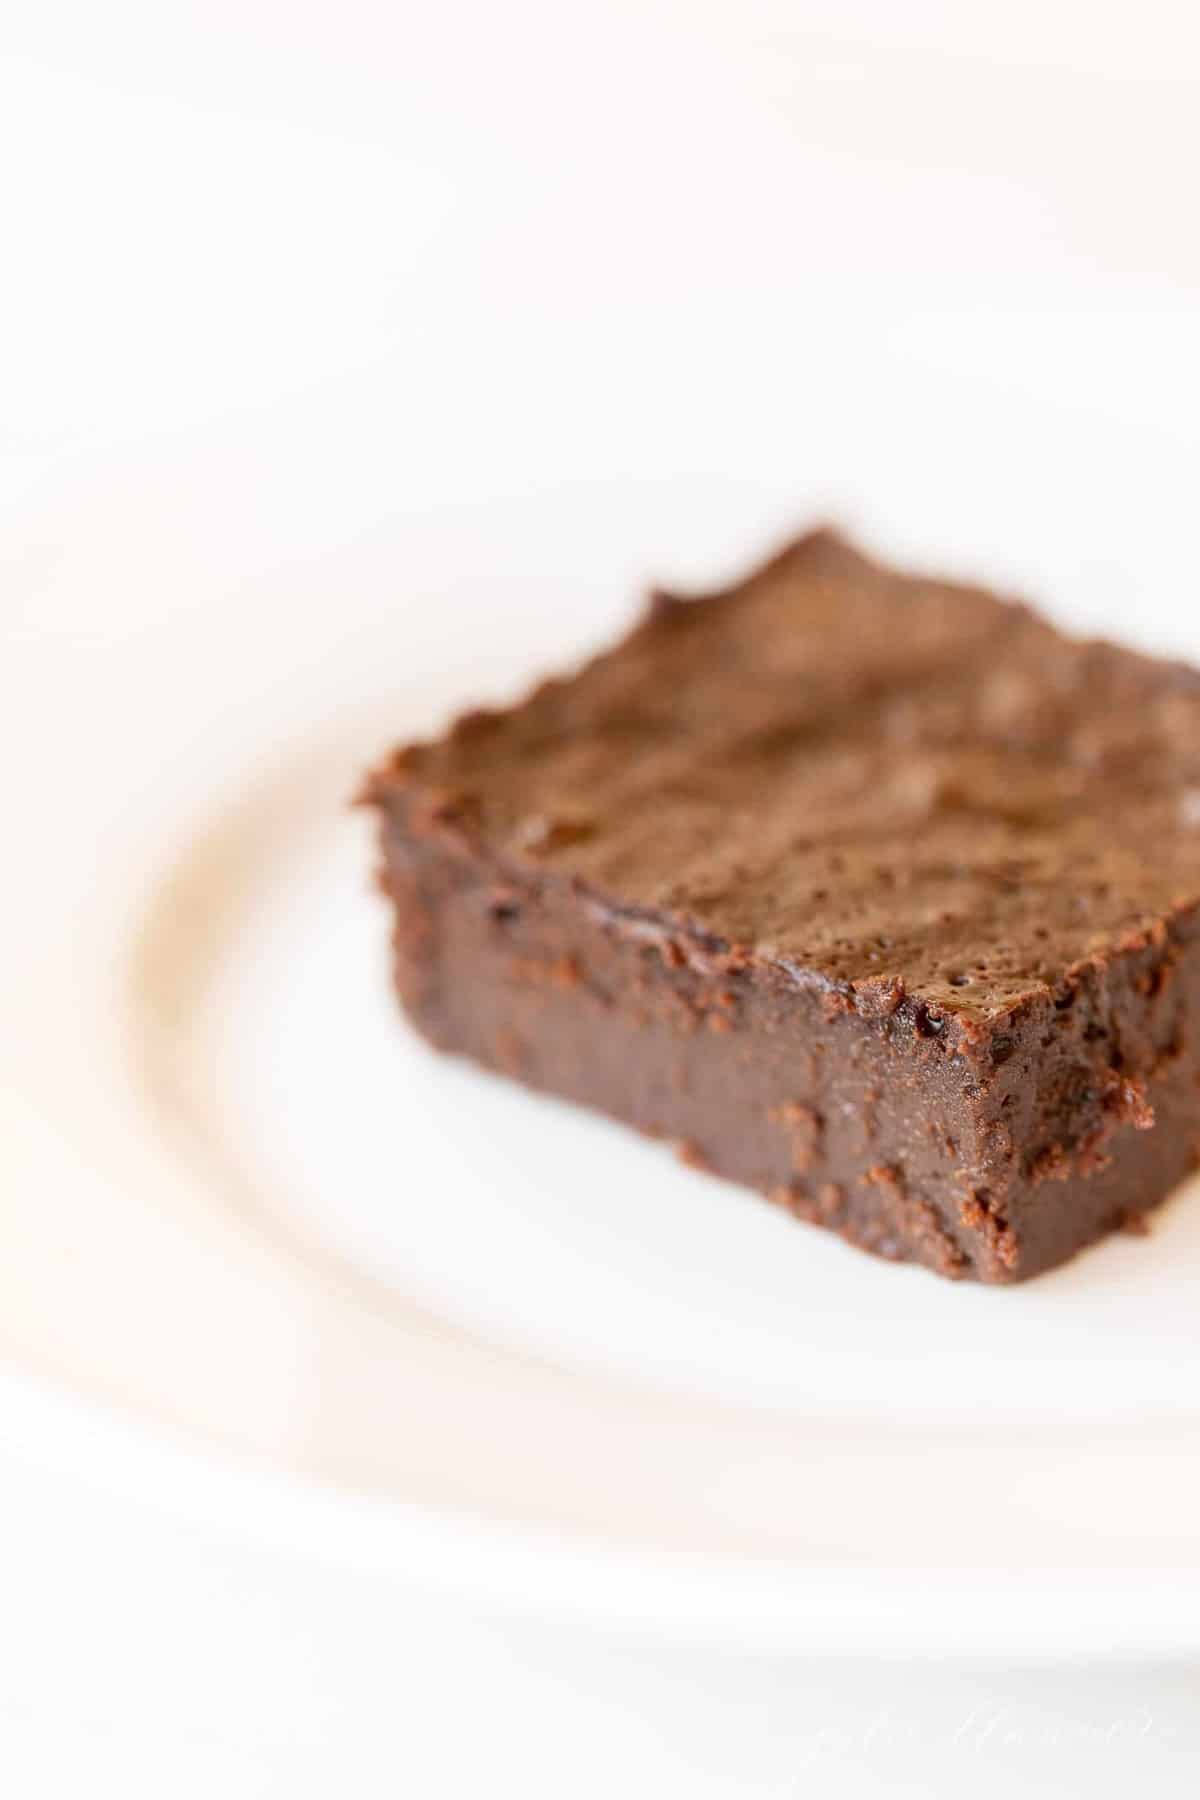
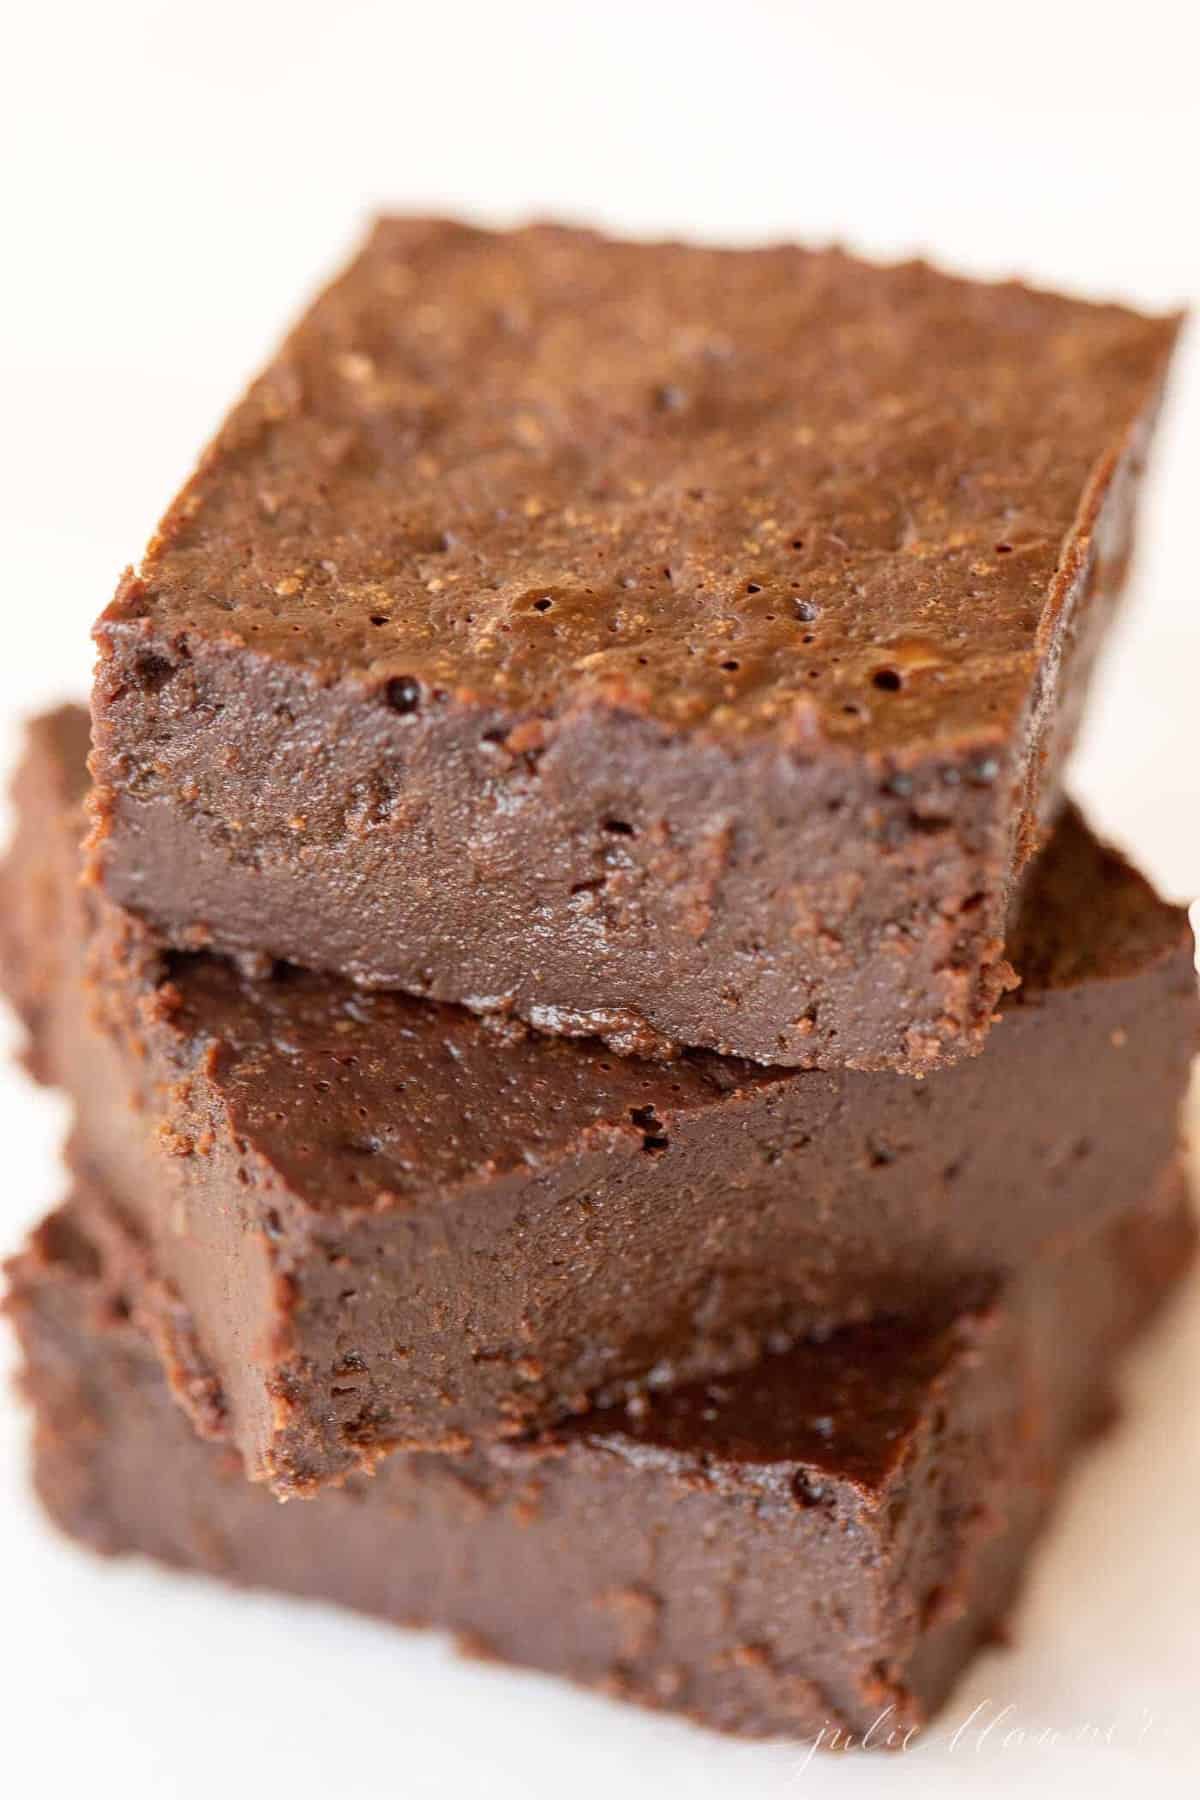
Dark Chocolate No Flour Brownies
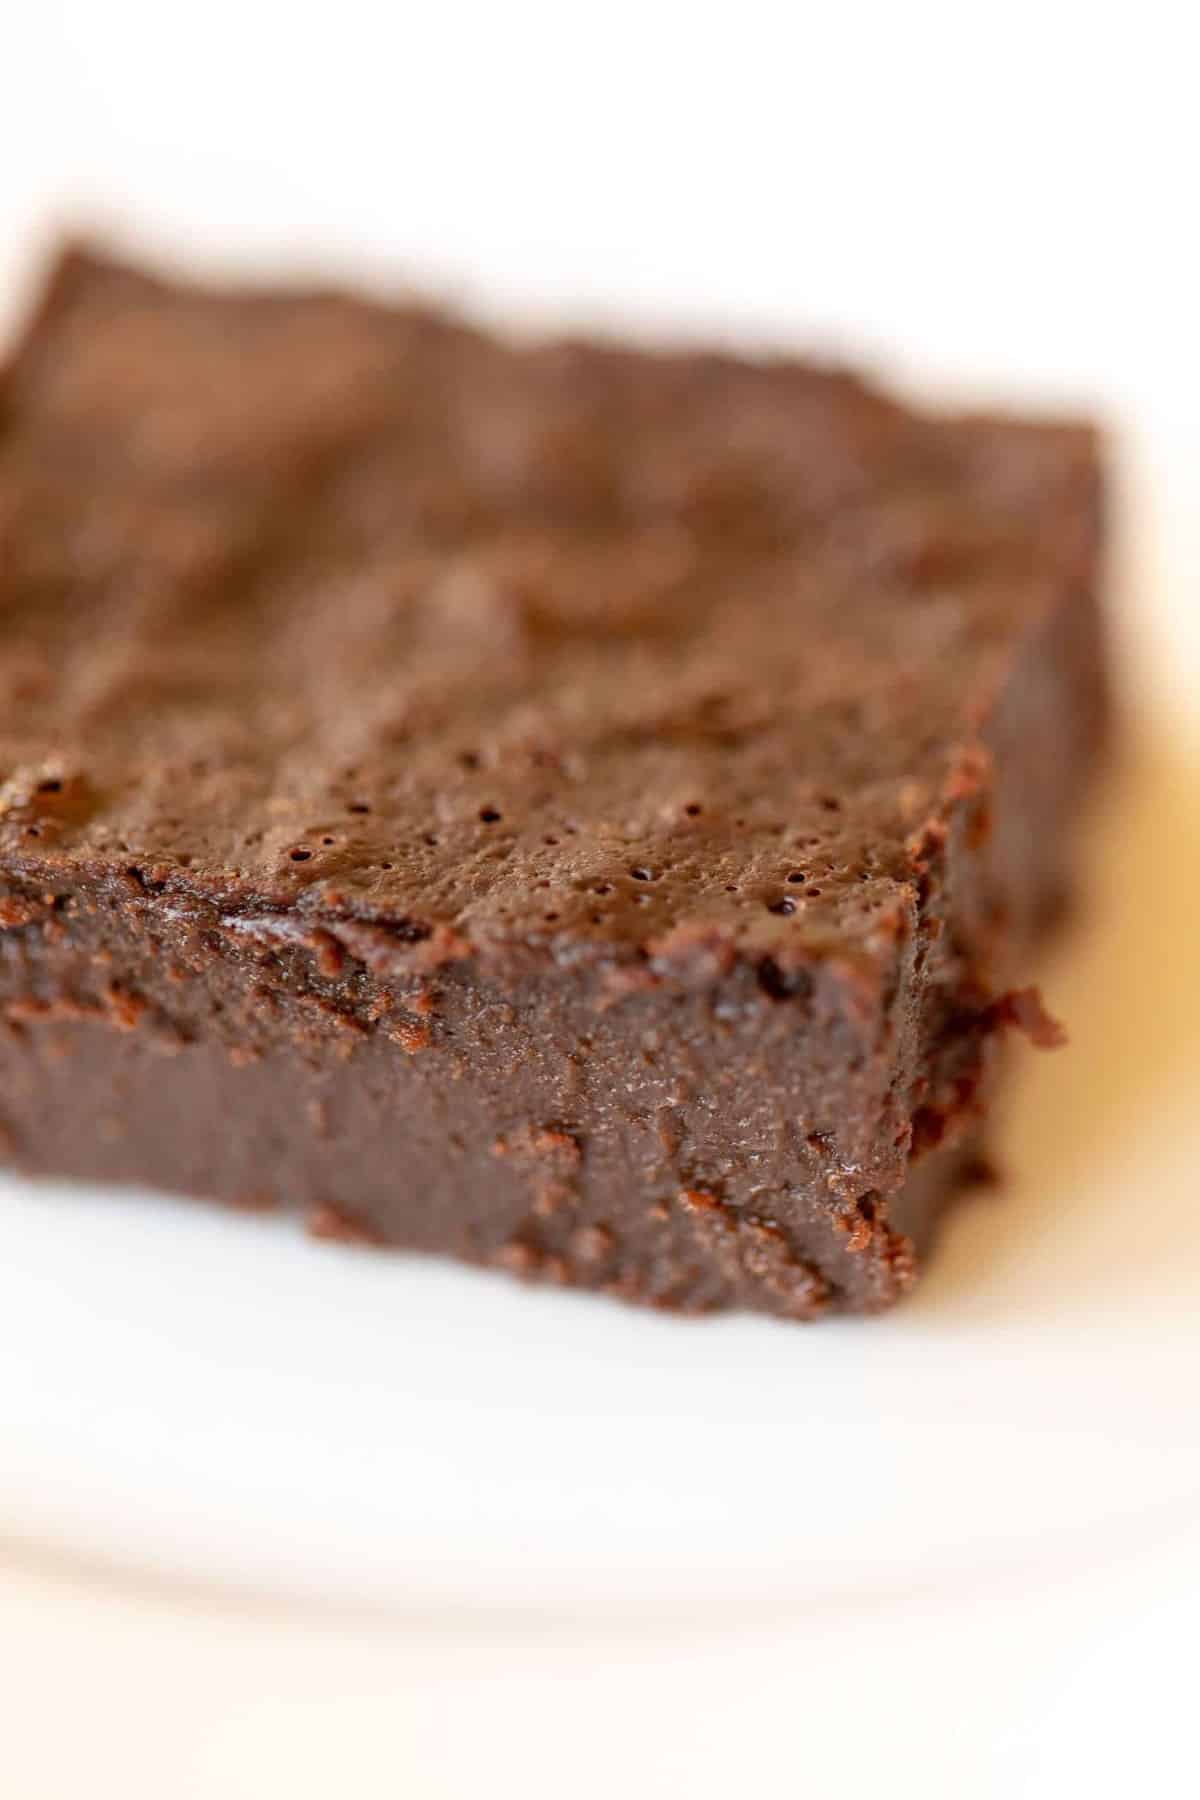
I can’t even begin to tell you how fudgy and delicious these no flour brownies are. They are called decadent for a reason! Made with dark chocolate, these are a grown up treat for sure.
They are perfect on their own with a cup of coffee, or enjoy them with a scoop of ice cream like Cookie Butter or No Churn Chocolate Chip.
Gluten Free Brownie Recipe
Because these brownies have no flour in them, they are grain free and gluten free. They are perfect to make if you or anyone in your family have intolerances, or if you are entertaining someone who does.
These brownies are a real crowd pleaser and are perfectly at home when served as a dessert for a dinner party.
How Long Do Flourless Brownies Keep?
- Room Temperature – At room temperature, they will keep for around 4 days and up to a week in the fridge.
- Refrigerator – Once the brownies are cooled and cut, place them in an airtight container with layers separated by parchment.
- Freezer – You can also freeze brownies, wrap the slices individually in plastic wrap and foil and stack in an airtight container. They will be good for up to a month.
Tips for Making Flourless Brownies
- The toothpick test doesn’t work on flourless desserts. Instead, to ensure it’s thoroughly baked, do the touch test. If it bounces back to the touch, it’s ready! If it looks like jello in the center, add a little more time.
- Thoroughly grease baking dish before pouring mixture in. This is my go to baking spray.
- Store covered at room temperature or up to a week refrigerated.
You’ll also love these thick and chewy Peanut Butter Brownies!
More Chocolate Desserts You’ll Love
- Easy Chocolate Mousse Recipe
- Buckeye Recipe
- Chewy Chocolate Mint Cookies with Andes Candy
- Chocolate Sugar Cookies with Creamy Buttercream Icing
- Chocolate Pie Recipe
- Hot Chocolate Cake Recipe (starts with a brownie mix!)
- Phyllo Brownie Recipe
- Traditional Chocolate Fudge Recipe
Flourless Brownies
Ingredients
- 1½ cups semi sweet chocolate chips
- ¾ cup unsalted butter cut into tablespoons
- 2 tablespoons water
- ¼ cup unsweetened cocoa powder
- 4 large eggs
- ⅓ cup white granulated sugar
- 2 teaspoons vanilla extract
Instructions
- Preheat oven to 300℉. Grease 8×8 baking dish.
- In a saucepan over low heat add chocolate chips, butter, water stirring with a whisk until smooth.Whisk in cocoa and remove from heat.1½ cups semi sweet chocolate chips, ¾ cup unsalted butter, 2 tablespoons water, ¼ cup unsweetened cocoa powder
- In a large mixing bowl, beat eggs on medium speed for 4 minutes. Add sugar and vanilla and beat until smooth.4 large eggs, ⅓ cup white granulated sugar, 2 teaspoons vanilla extract
- On low speed, slowly stream chocolate mixture into egg mixture until just combined.
- Pour into a pan and bake 40 – 45 minutes in the center of pre-heated oven, until it bounces back to the touch. Remove from oven and place on a wire cooling rack until completely cool and set before slicing.
Julie’s Tips
- The toothpick test doesn’t work on flourless desserts. Instead, to ensure it’s thoroughly baked, do the touch test. If it bounces back to the touch, it’s ready! If it looks like jello in the center, add a little more time.
- Thoroughly grease baking dish before pouring mixture in. This is my go to baking spray.
- Store covered at room temperature or up to a week refrigerated.
Estimated nutrition information is provided as a courtesy and is not guaranteed.
Explore More
Originally published October 2013, updated October 2019.


So these aren’t fudgy????
I’d like to try these, but I thought that water would make the chocolate seize-up — could you please clarify?
Liz, the recipe is correct and it’s amazing! I promise, you won’t be disappointed. Enjoy!
Liz, it is fine because the water is added before the chocolate chips are melted. If the water was added after, it would then seize up.