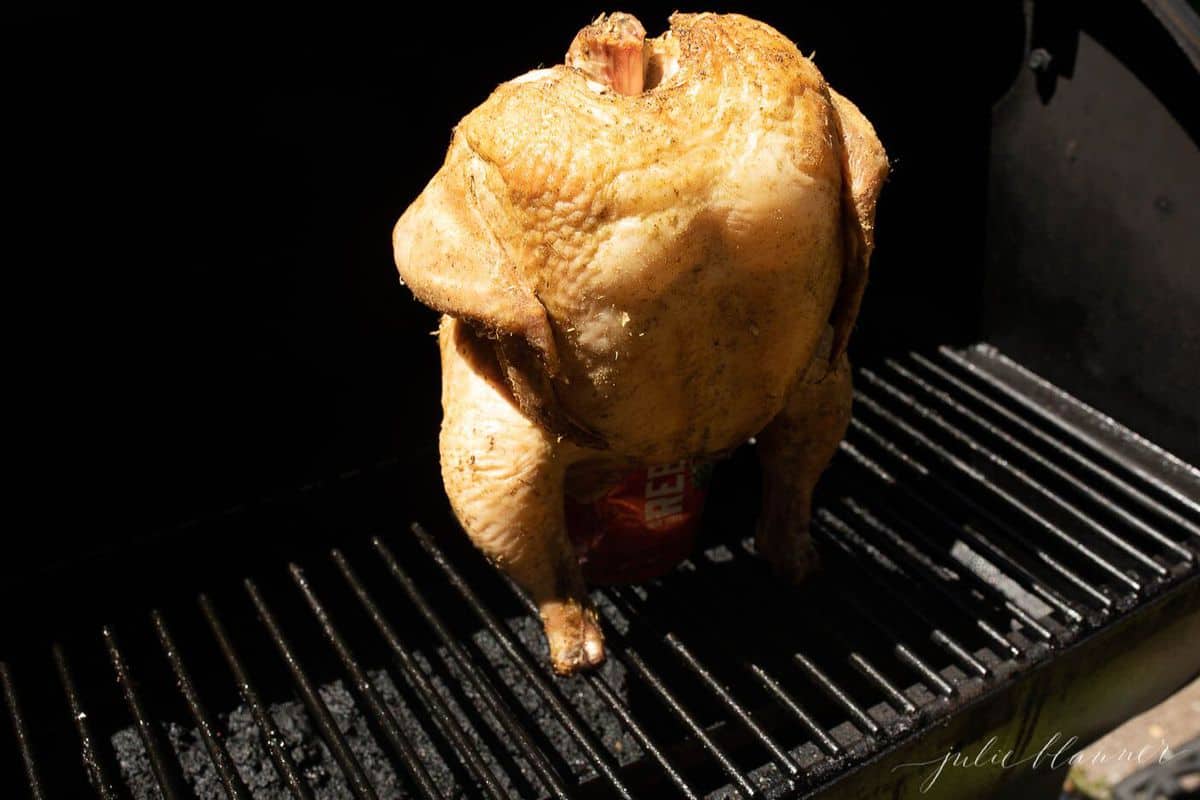
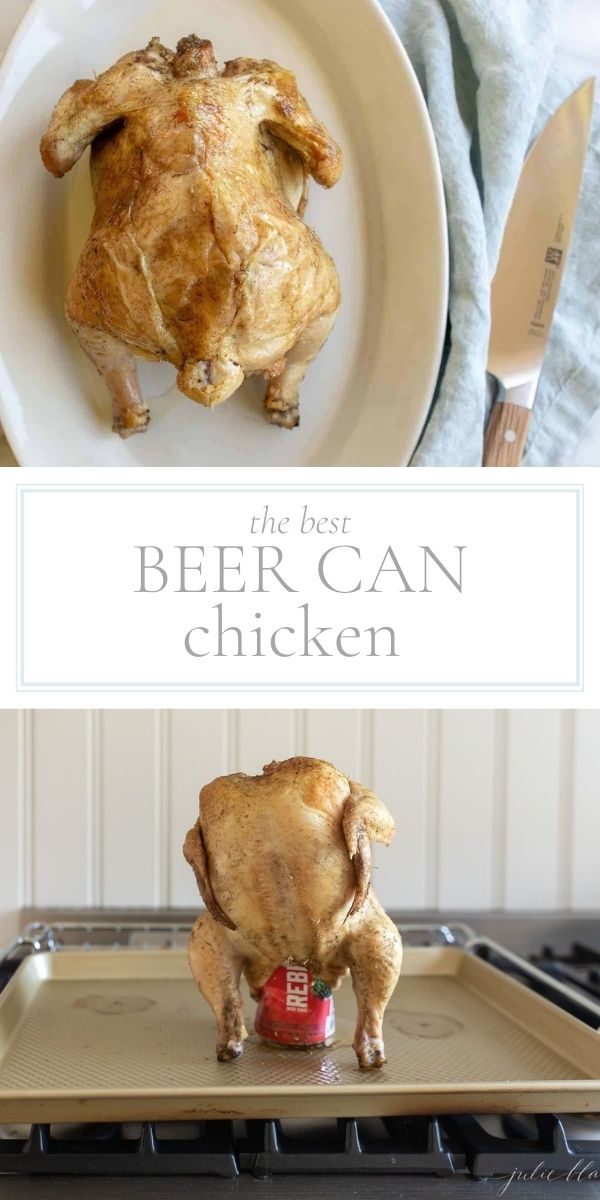
The juiciest Beer Can Chicken in the Oven or on the grill is made with a seasoned rub that creates a crispy caramelized exterior that can’t be beat.
The steam from your favorite beer or ginger ale seals in the moisture to make it one of the best chicken dishes you’ve ever tasted!
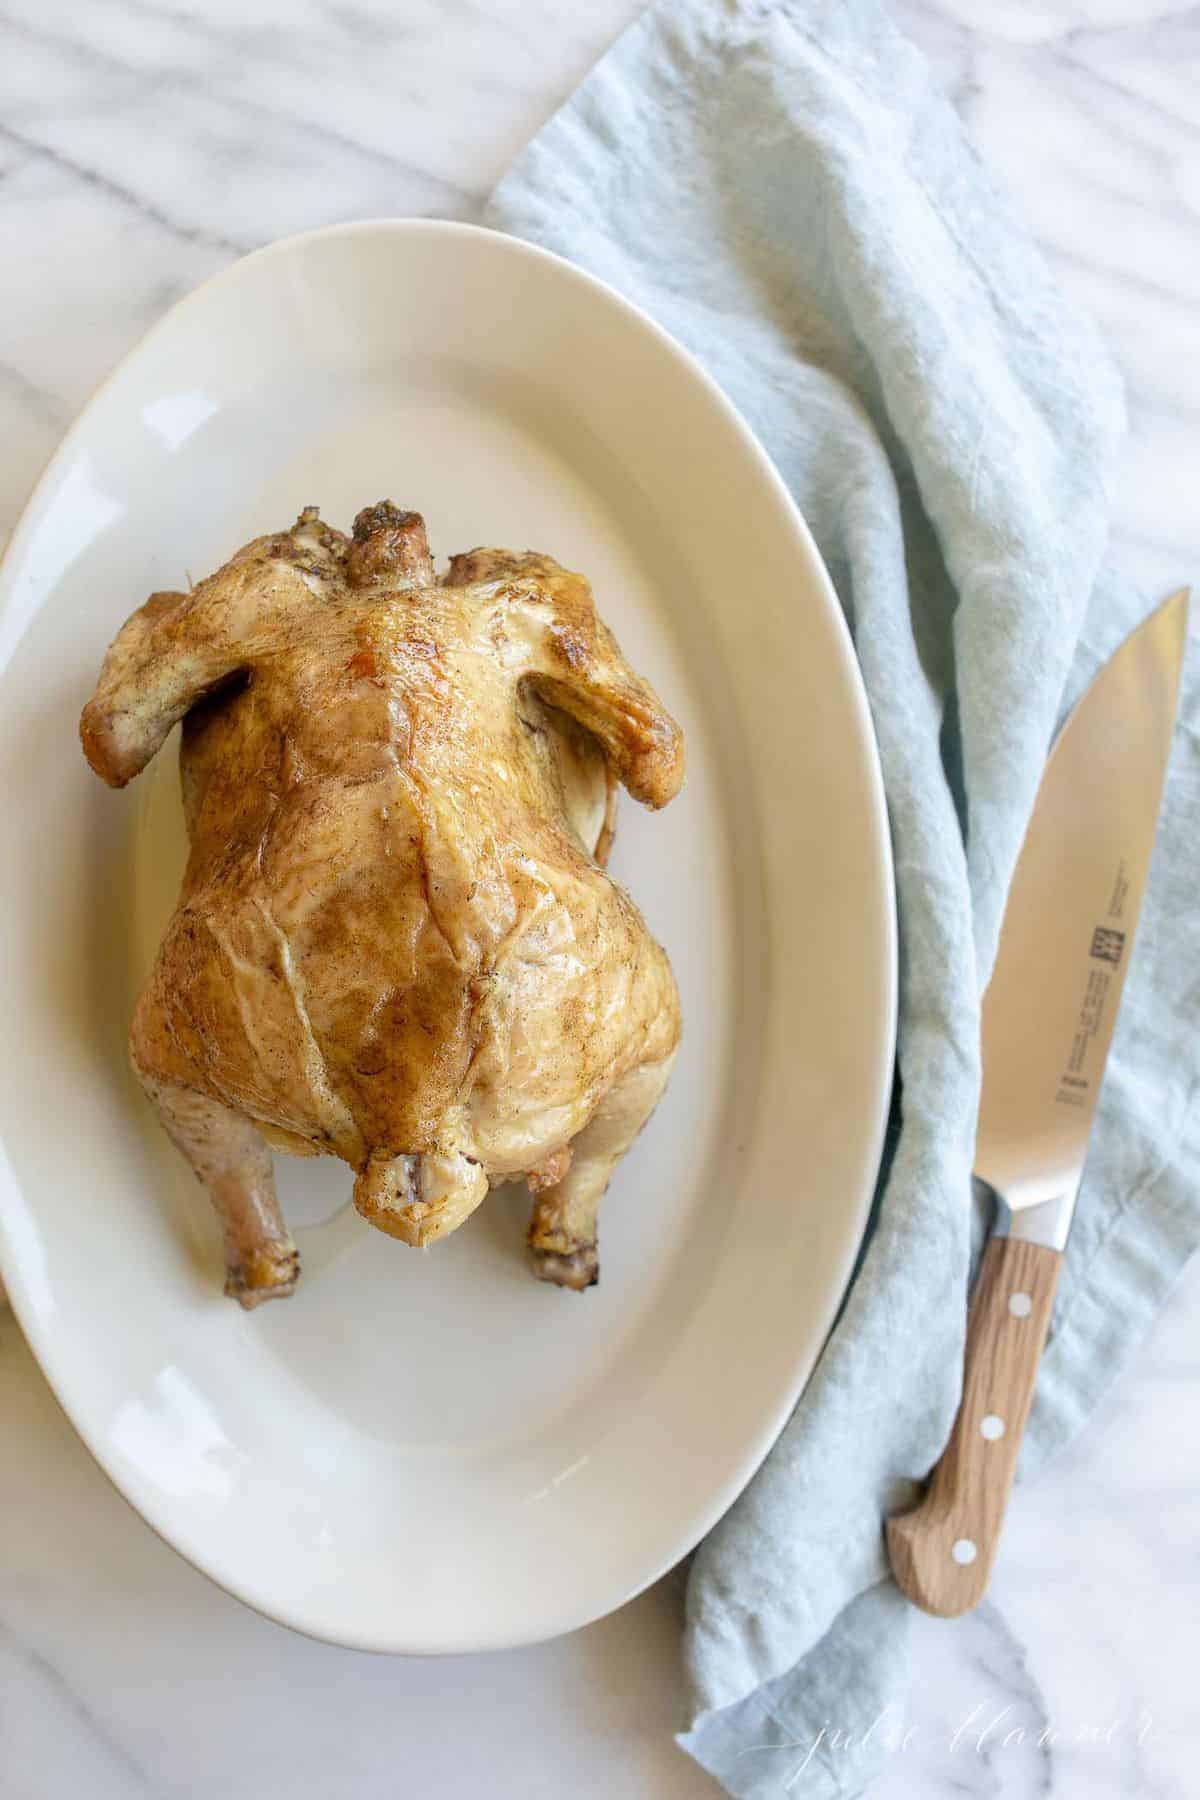
Beer Can Chicken In The Oven
Here’s something you might not know about me. While I am not a huge sports fan, I really love the experiences and celebrations of game day. Chris and the girls love going to local games of all kinds, and game day traditions are a big part of our lives.
Much more than the games themselves, I love the game day food. Who can blame me? Don’t miss my family favorite free printable Super Bowl Bingo cards, too, if you’re prepping for the big game.
We don’t grill as often as we’d like, but when we do, I always wish we could do it more often! Try these chicken kabobs, bratwurst, and tequila lime shrimp skewers if you’re looking for more grilling ideas.
That’s where this Beer Can Chicken Recipe comes in. I love creating a game day experience at home, and for those lazy fall weekends where we’re at home watching games or entertaining friends, this beer chicken is the ultimate easy dinner in the oven or on the grill!
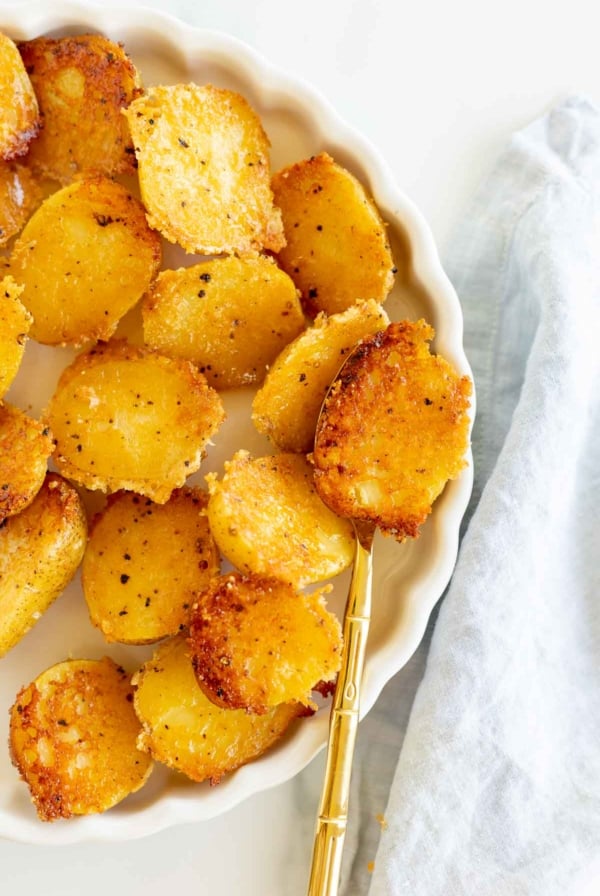
Serve this simple, juicy chicken with one of my easy side dishes like roasted baby carrots, garlicky roasted mushrooms, or my sweet and salty roasted sweet potatoes.
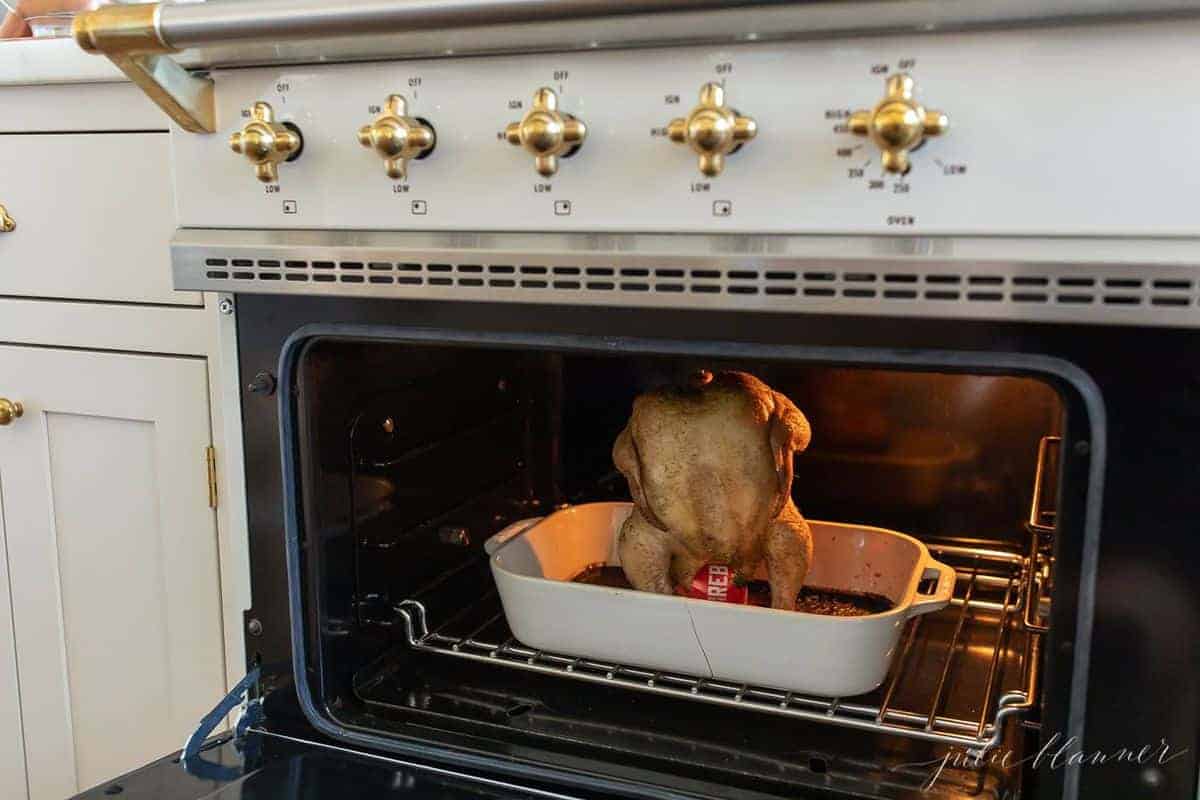
The Best Beer Can Chicken Recipe
Beer Can Chicken is one of my favorite dishes because the beer steams the chicken making it so juicy and succulent. It’s an old school recipe that creates a delicious dinner without a lot of effort.-
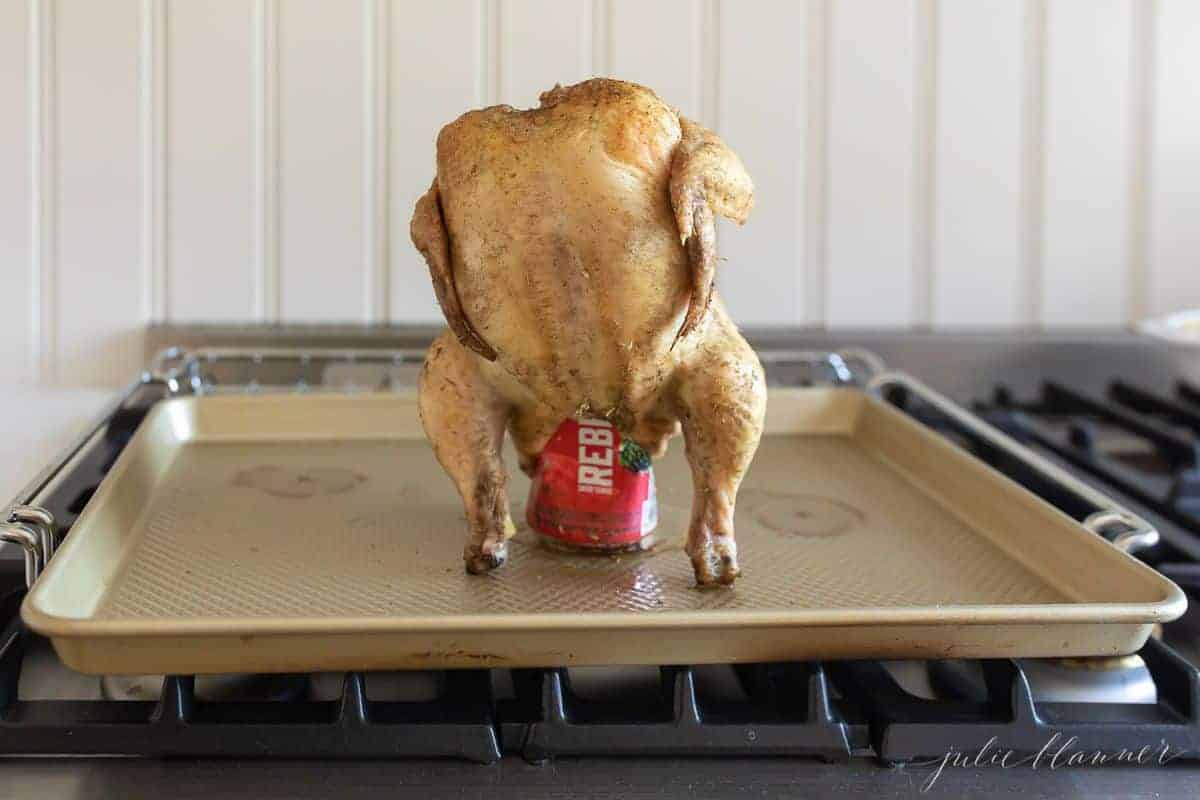
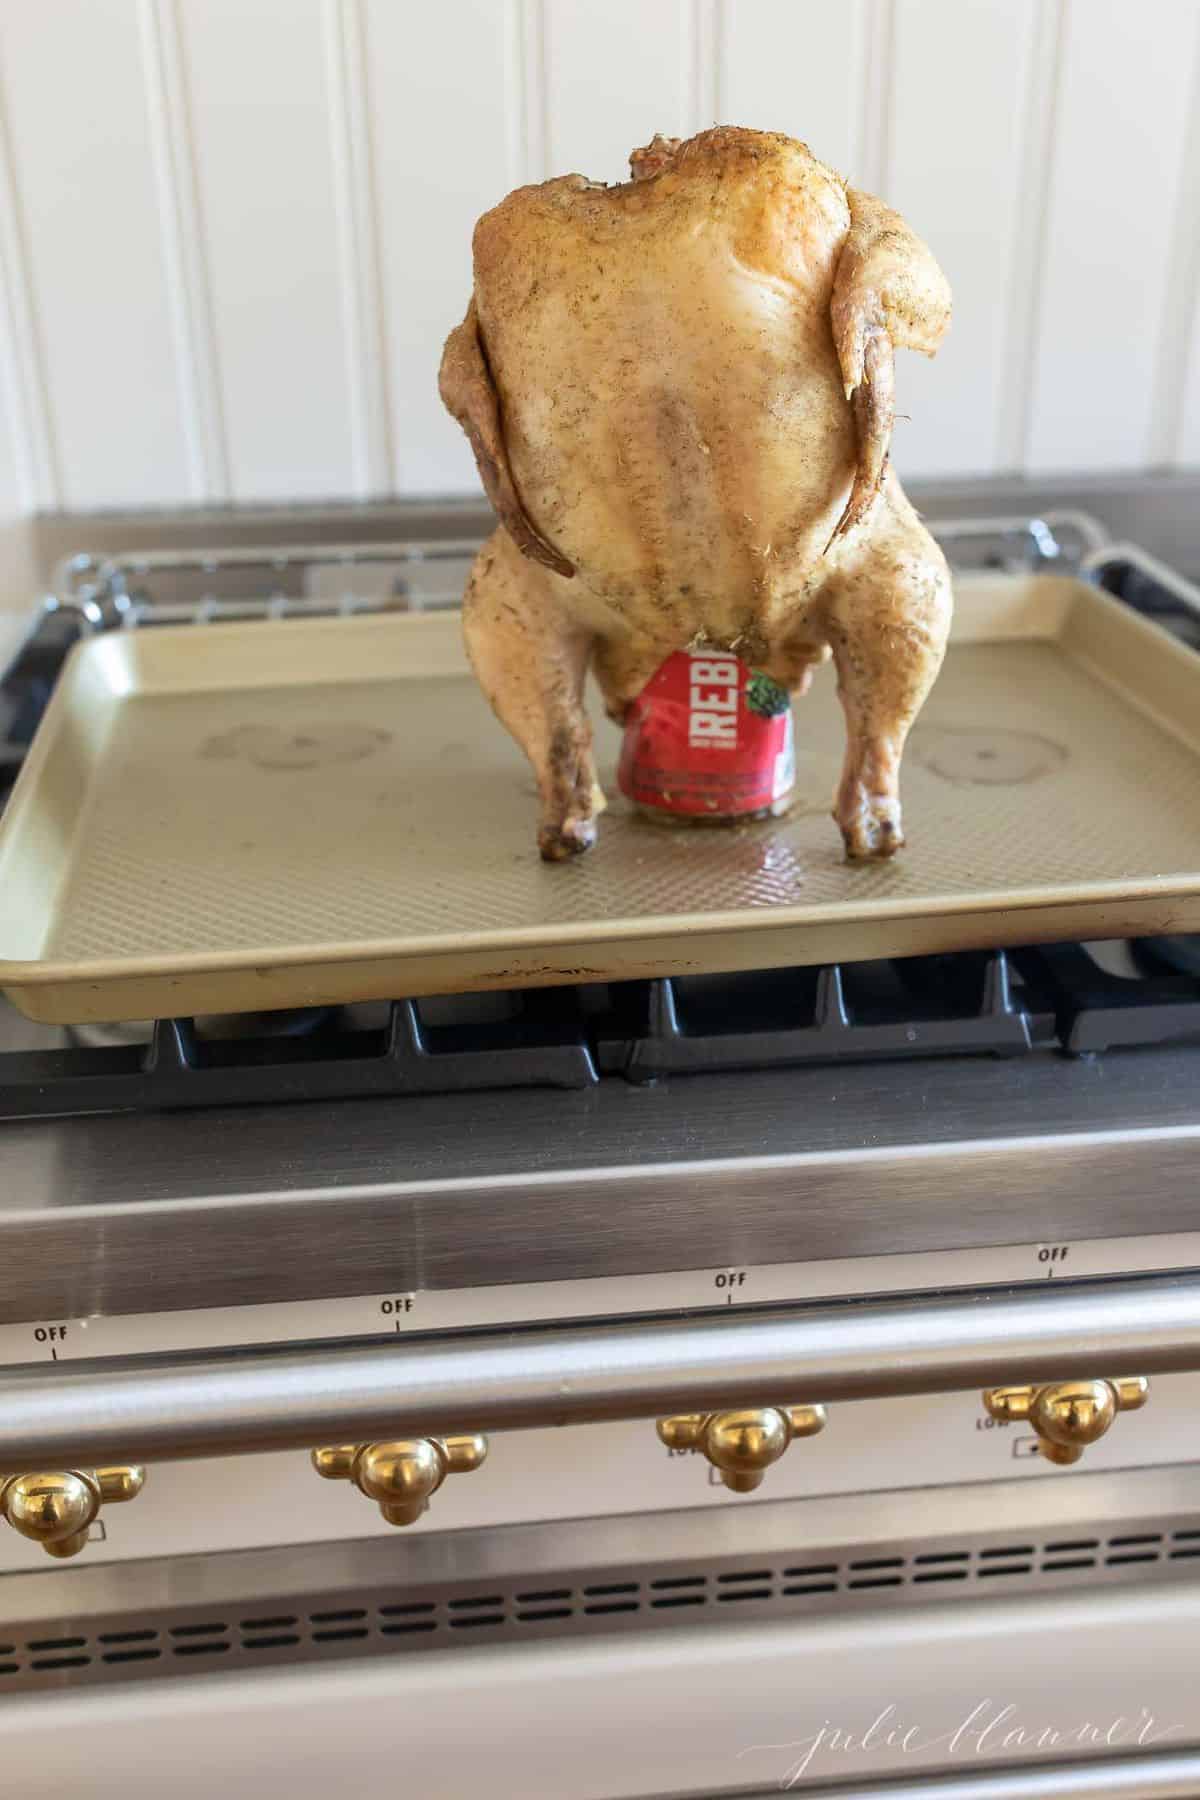
While it is possible to simply rest your beer chicken right onto the can of beer, you can also buy a beer can chicken rack specifically for this purpose. It’s something to consider if you think you’ll be making this chicken often- it does stabilize the chicken and you don’t have to worry about spills.
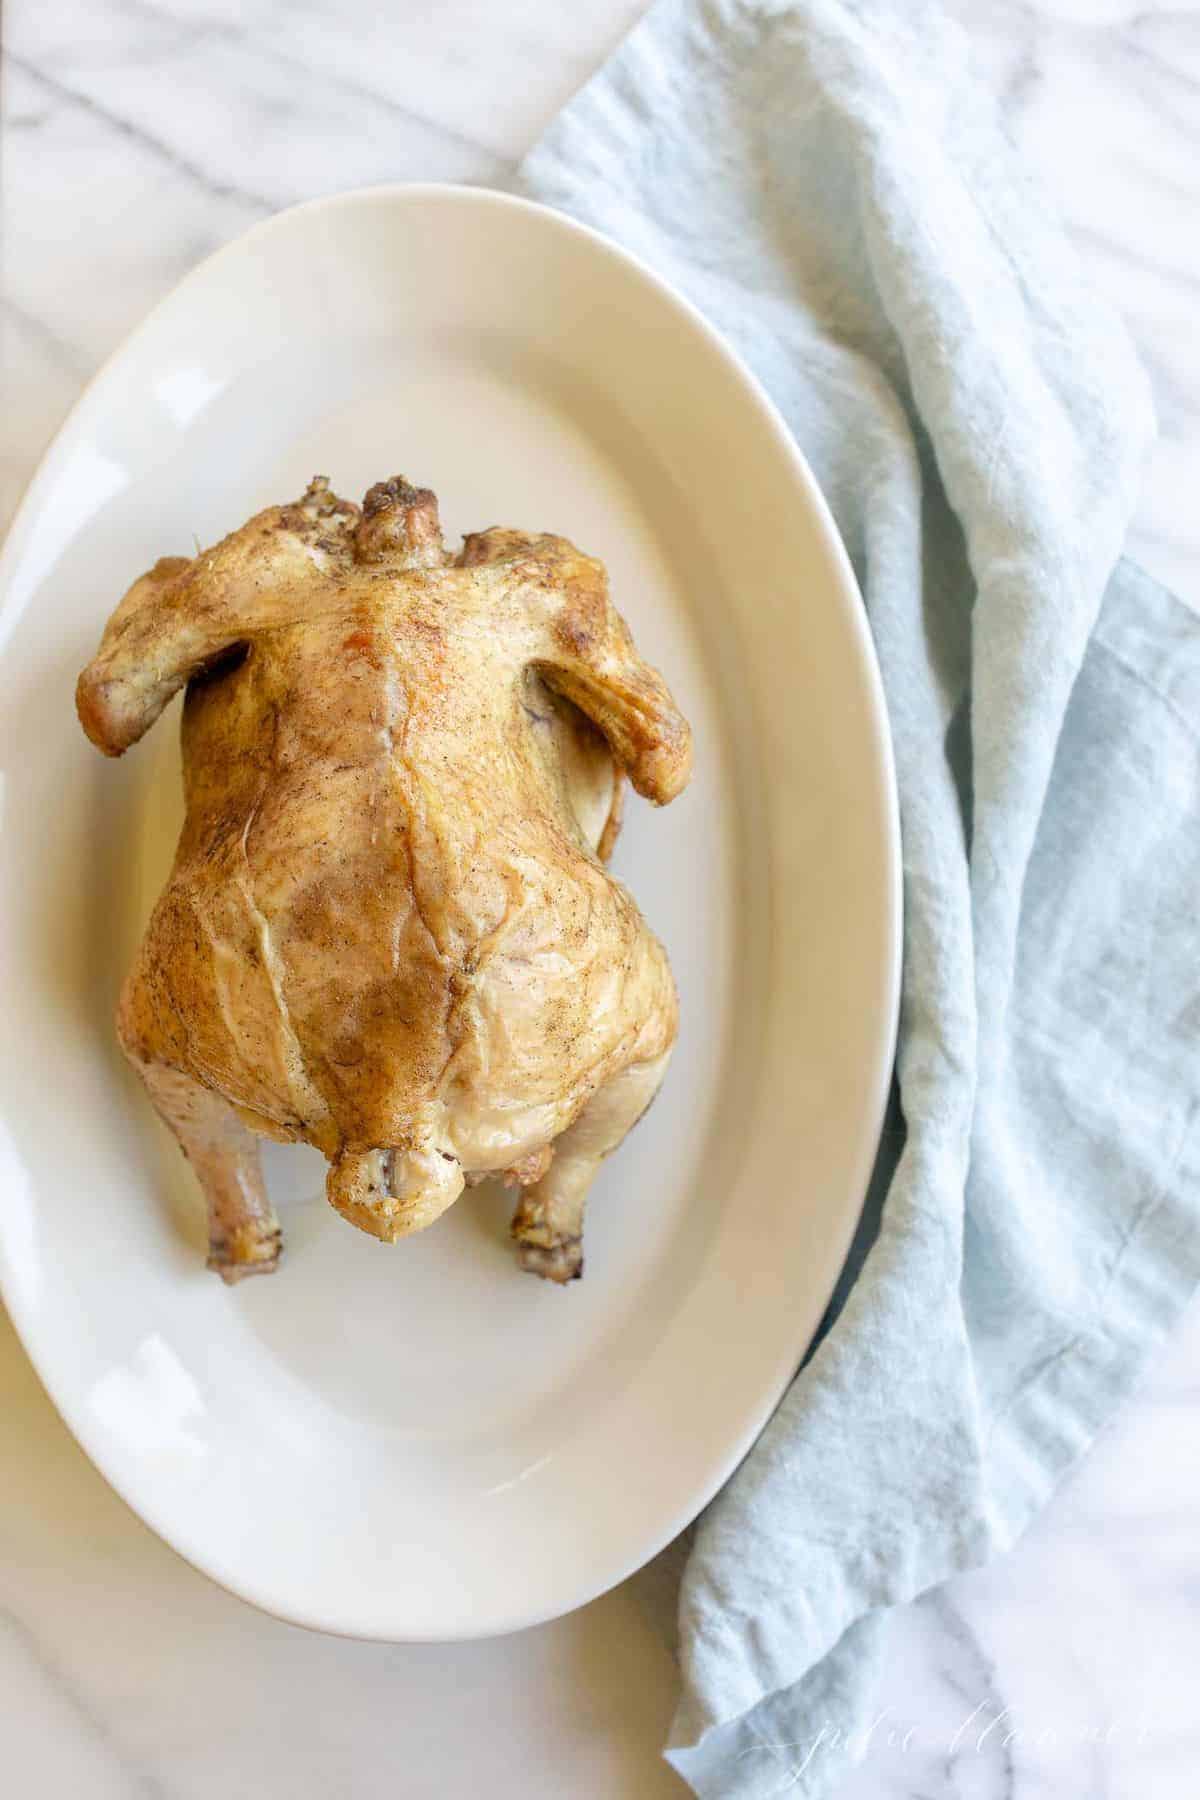
The simpler, the better! And if you want, you get to drink a little beer as you’re preparing your beer can chicken. How can you go wrong?
The simpler, the better! And if you want, you get to drink a little beer as you’re preparing your beer can chicken. How can you go wrong?
Beer Chicken Ingredients
- One Whole Chicken – About 4 pounds – make sure that you get enough for leftovers. Pulled chicken leftovers are great for so many next-day recipes like Chicken Tacos, Chicken Nachos, Salad and more!
- Vegetable Oil – Any type of oil will do. Olive oil and canola oil, even melted butter, make great substitutes.
- Salt – Don’t be afraid of the salt in this recipe! Use a touch more than you normally might, because that crispy salted skin doesn’t happen on its own.
- Pepper – Thick flakes of black pepper create robust flavor and texture. Don’t be afraid to use a slightly heavier hand here.
- Poultry Seasoning – I love the flexibility of using your own poultry rub. You can use any combination of spices that suit you, but I have suggestions below to make your own beer can chicken rub.
- One Can of Beer – A big can is best. It gives your chicken more stability. I like to use whatever I have on hand – it doesn’t change the flavor. The beer simply steams the chicken making it incredibly juicy. What you’re looking for here is the moisture content, not necessarily complexity with added flavors.
Alternatives to Beer
There are lots of options! Just to clarify, this chicken isn’t filled with the taste of beer – the beer itself creates moisture in the cavity of the chicken. Any liquid works well. A few alternatives to try it with:
- Chicken Broth
- Vegetable Broth
- Lemon Lime Soda
- Ginger Ale
Beer Can Chicken Rub
This dry rub recipe is so simple and can be completely customized to your tastes. These are the seasonings that I combined to create a crave-worthy beer chicken rub. The specific amounts of this poultry rub deserves its own post- coming very soon!
- dried sage
- dried thyme
- dried marjoram
- dried rosemary
- ground nutmeg
- finely ground black pepper
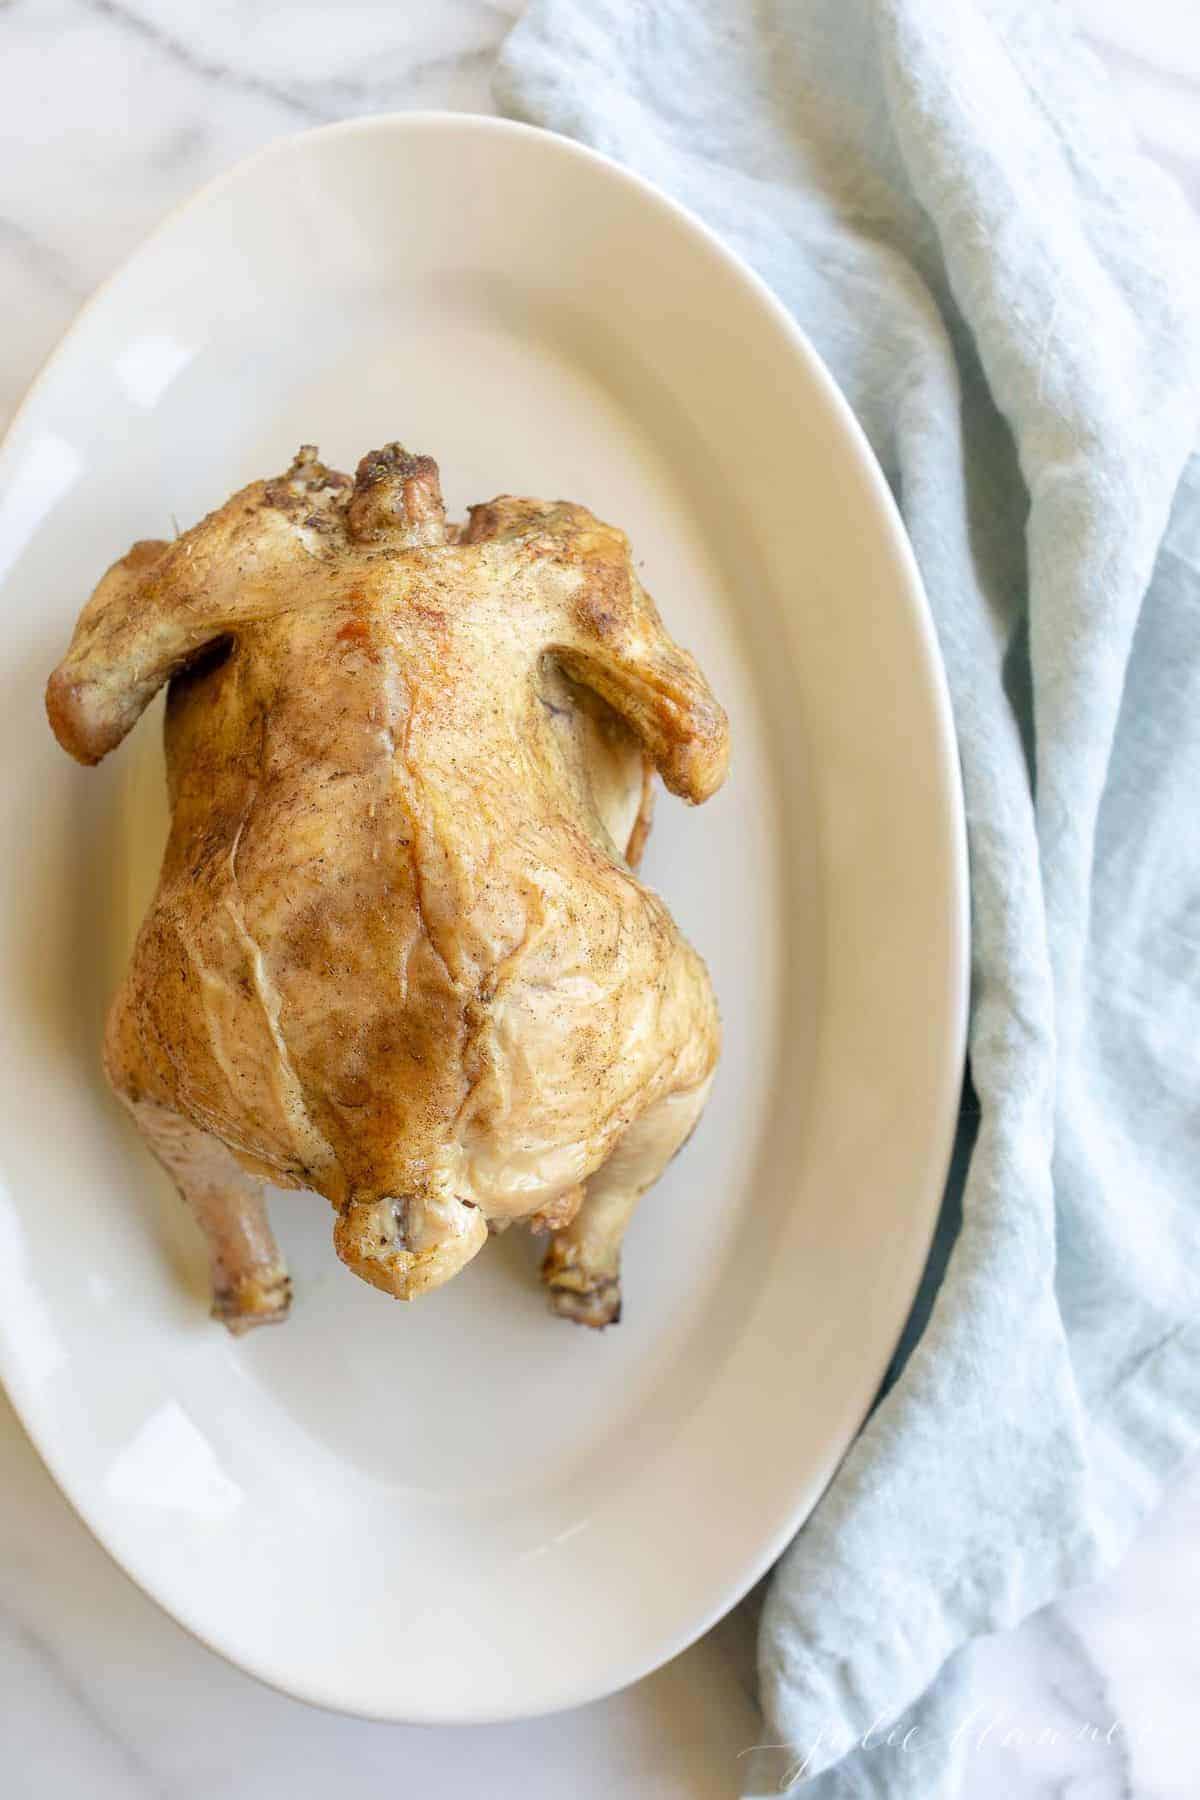
How to Make Beer Can Chicken in Oven
It’s so easy make this beer can chicken right in your oven! It’s going to create a juicy, succulent bird whether you’re cooking outside or in.
- Open your beer and feel free to drink a little!
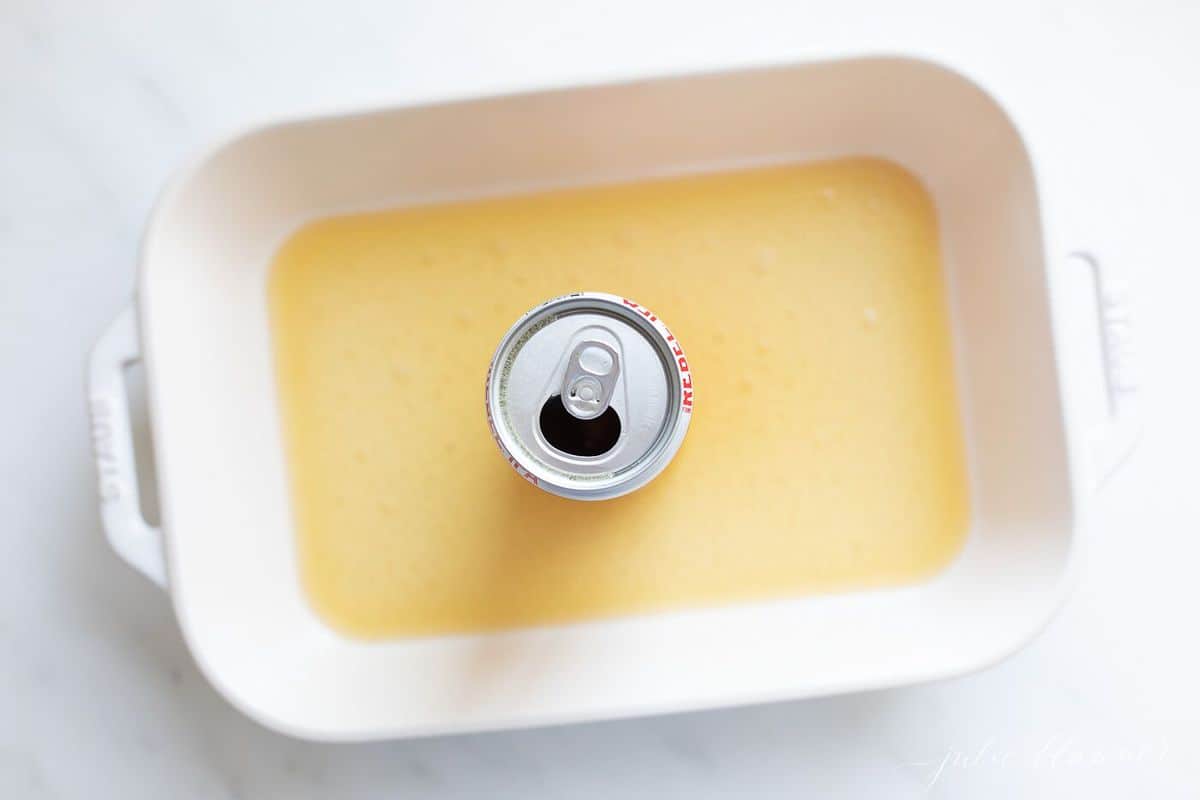
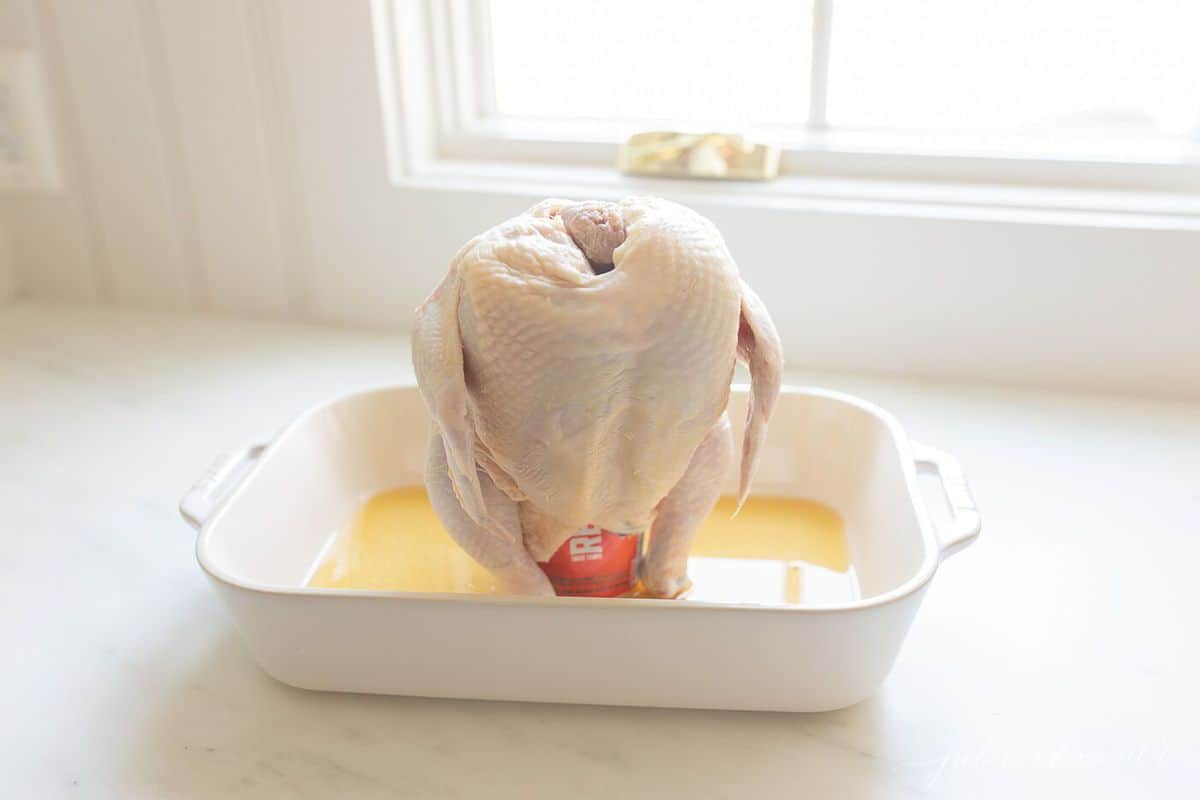
- Prepare chicken by removing any giblets, etc, and discard. Rinse the chicken and pat dry- be thorough here! Keeping the exterior dry as you prep is important. Next, place the beer can chicken directly into a roasting pan. In fact, you can pour 1/3 of your can of beer into the base of the roasting pan. Why not add that extra moisture?
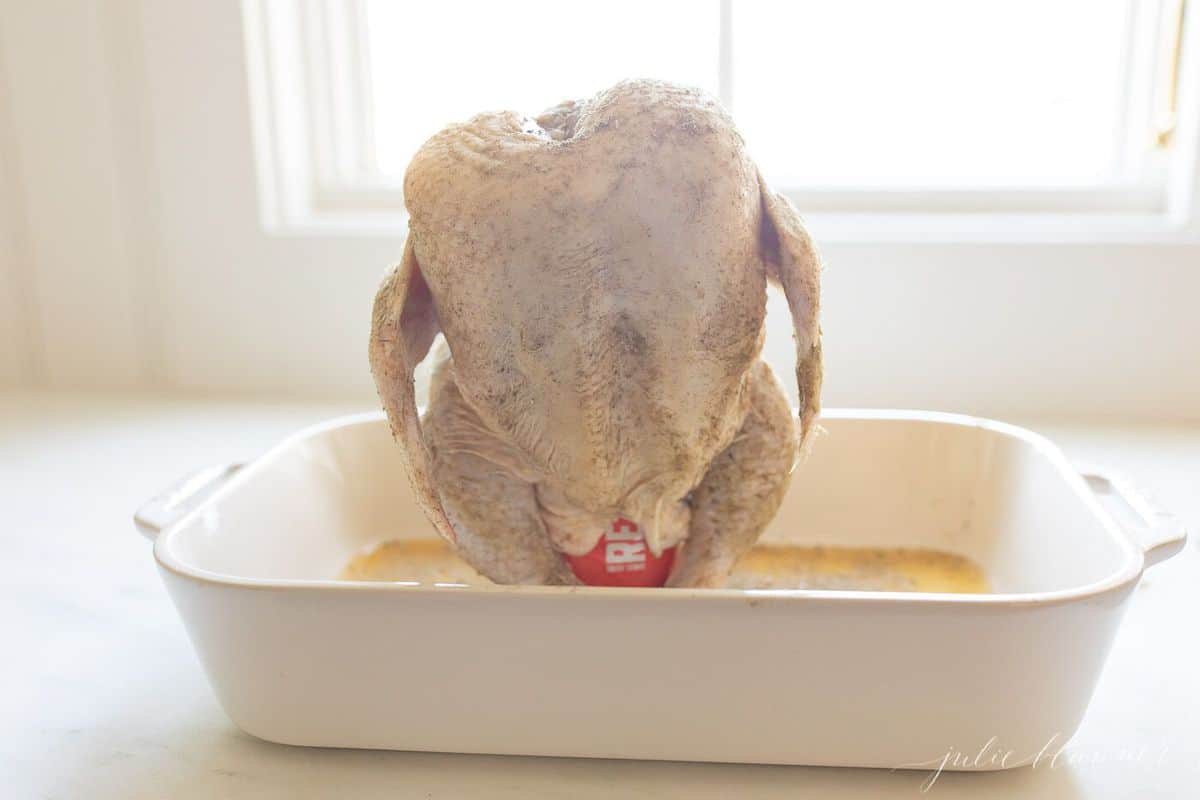
- Rub the chicken with your vegetable oil. Use your salt, pepper and dry rub all over the inside and outside of the bird. Set aside.
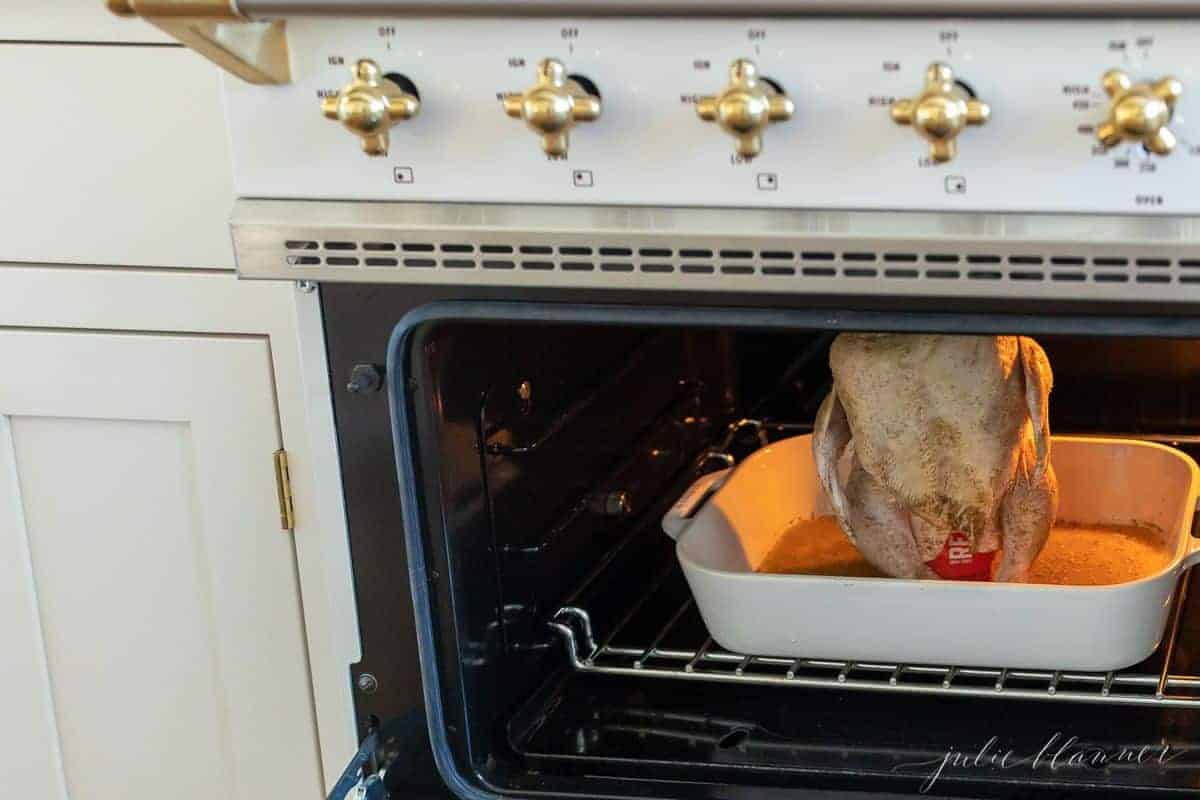
- Preheat your oven to 350 degrees. Place your chicken into the oven and roast for one hour and fifteen minutes. Check your temp with a meat thermometer- you’ll want to see 180 degrees in the thickest part of the thigh, 165 in the breast.
- Let rest for 10 minutes or so before you carve and serve. You can even make a loose tent over the chicken to create a moisture trap.
How to Make Beer Chicken On The Grill
- Prepare chicken by removing any giblets, etc, and discard. Rinse the chicken and pat dry- be thorough here! Keeping the exterior dry as you prep is important. Next, place the beer can chicken directly into a roasting pan. In fact, you can pour 1/3 of your can of beer into the base of the roasting pan. Why not add that extra moisture? Open your beer and drink a little – you don’t want it to be too full.
- Rub the chicken with your vegetable oil. Use your salt, pepper and dry rub all over the inside and outside of the bird. Set aside.
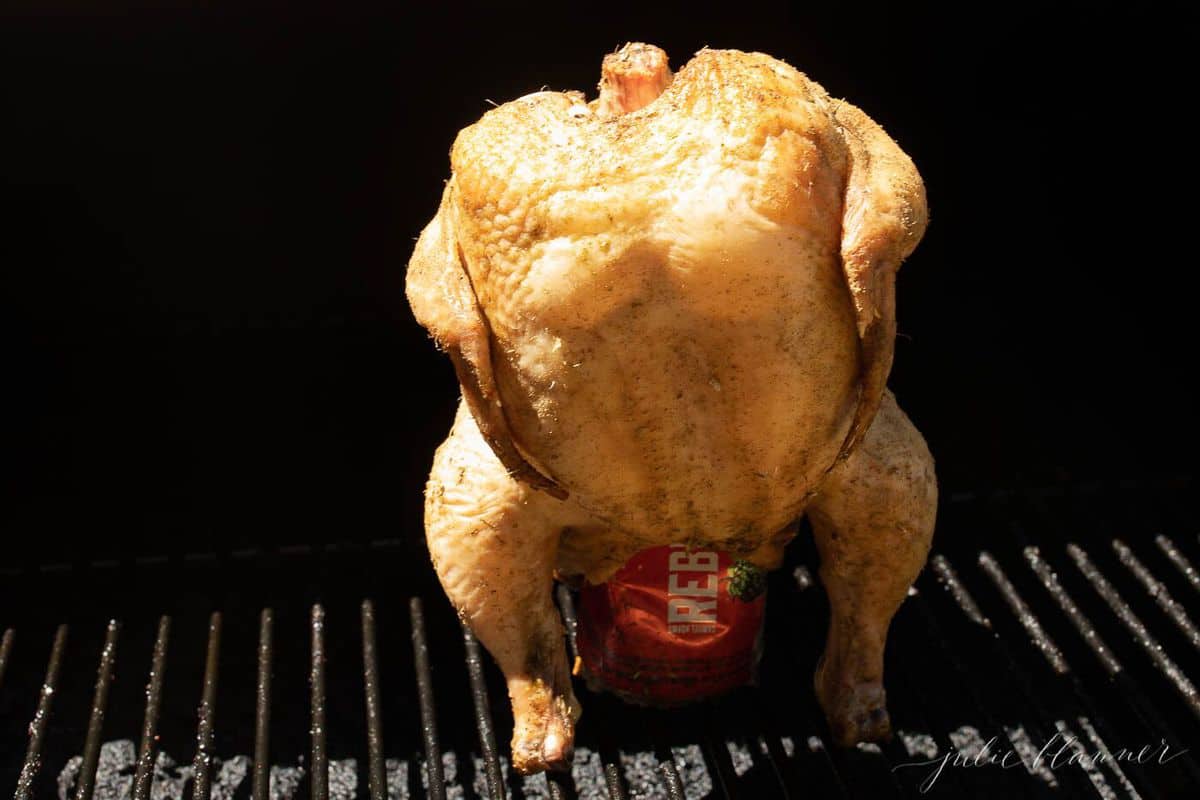
- Fit your chicken over the beer can (which should be about half full at this point) and place the can onto the center of your grill grate. Use indirect heat for about 75 minutes, with the grill at medium-high heat. This temperature and placement works perfectly for me each time- you’ll want to check that the internal temp is 165 degrees in the breast.
- Let rest for 10 minutes before carving and serving- you can remove the beer can once you take it off the grill.
Using a Smoker
Smoking chicken is very simple! Simply follow the oven directions above – if you have an electric smoker, set the temp for 350 degrees and cook until the meat thermometer shows the appropriate temperature, approximately 75 minutes.
Tips
- Dry the Chicken – Pat the chicken dry before adding oil and seasoning for a beautiful brown, crispy skin.
- Spice Chicken Generously – Use your hands to cover the chicken in spices. The more, the merrier!
- Use a Meat Thermometer – Internal temperature should reach 165 degrees Fahrenheit or 75 degrees Celsius.
- Wait to Carve – After the chicken is done, allow it to rest before slicing. It seals in the moisture ensuring the juiciest chicken.
How to Support the Chicken
- Use a Large Beer Can – This helps keep the chicken stable.
- Wire Rack – No special tools necessary here, but you can purchase a wire rack that holds the chicken upright with the beer in the cavity.
To Store
This chicken makes the best leftovers! Use it in salads, tacos, wraps and more!
- Refrigerate – Store in an airtight container up to 5 days.
- Freeze – Store in an airtight container or freezer bag up to 3 months.
BBQ Sides
This beer chicken works beautifully with all types of side salads and oven-friendly side dishes. Here’s just a few ideas you’ll enjoy!

What are your favorite game day foods? Do you love entertaining friends and family to watch games at home?
If you create this beer can chicken in the oven, I’d love to hear from you! Please come back and leave a review and rate the recipe.
More Chicken
Beer Can Chicken in the Oven
Ingredients
- 1 chicken whole
- 2 tablespoons vegetable oil
- 2 tablespoon salt
- 1 teaspoon black pepper
- 3 tablespoons poultry seasoning
- 1 can beer half full
Instructions
- Preheat your oven to 350 degrees.
- Prepare chicken by removing any giblets, etc, and discard. Rinse the chicken and pat dry.
- Rub the chicken with your oil. Use salt, pepper and dry rub all over the inside and outside of the bird. Set aside.
- Pour 1/3 to 1/2 of your can of beer into the base of the roasting pan.
- Place the beer can directly inside the cavity of the chicken.
- Place your chicken into the oven and roast for one hour and fifteen minutes. Check your temp with a meat thermometer – you'll want to see 180 degrees fahrenheit in the thickest part of the thigh, 165 in the breast (internal).
- Let chicken rest for 10 minutes. You can even make a loose tent over the chicken to create a moisture trap. Carve and serve.
Julie’s Tips
Substitutions and Variations
- Vegetable Oil – Any type of oil will do. Olive oil and canola oil, even melted butter, make great substitutes.
- Poultry Seasoning – Have fun with it! Use your favorite seasoning blend.
- Beer – Whatever you have on hand, or substitute with Chicken Broth, Vegetable Broth, Lemon Lime Soda or Ginger Ale
Tips
- Dry the Chicken – Pat the chicken dry before adding oil and seasoning for a beautiful brown, crispy skin.
- Spice Chicken Generously – Use your hands to cover the chicken in spices. The more, the merrier!
- Use a Meat Thermometer – Internal temperature should reach 165 degrees Fahrenheit or 75 degrees Celsius.
- Wait to Carve – After the chicken is done, allow it to rest before slicing. It seals in the moisture ensuring the juiciest chicken.
How to Support the Chicken
- Use a Large Beer Can – This helps keep the chicken stable.
- Wire Rack – No special tools necessary here, but you can purchase a wire rack that holds the chicken upright with the beer in the cavity.
To Store
This chicken makes the best leftovers! Use it in salads, tacos, wraps and more!- Refrigerate – Store in an airtight container up to 5 days.
- Freeze – Store in an airtight container or freezer bag up to 3 months.
Video
Estimated nutrition information is provided as a courtesy and is not guaranteed.



This is a family favorite! The meat always turned out so tender and juicy. I love your rub!
This recipe was really simple to make. The flavor was perfect!
I’m with you on not caring about game day but loving the food and drinks! This recipe has the chicken turning out really juicy. So amazing what beer can do to poultry!
Such a great, classic recipe! Thanks for sharing!