These little Mac and Cheese Cups are the perfect bite-sized hors d’oeuvre the whole family will love! They’re beyond easy to make, using a mini muffin pan.
It’s everyone’s favorite comfort food in the perfect bite-sized portion! Easy to make and even easier to eat, I dare you to try and stop at just one mac and cheese cup!
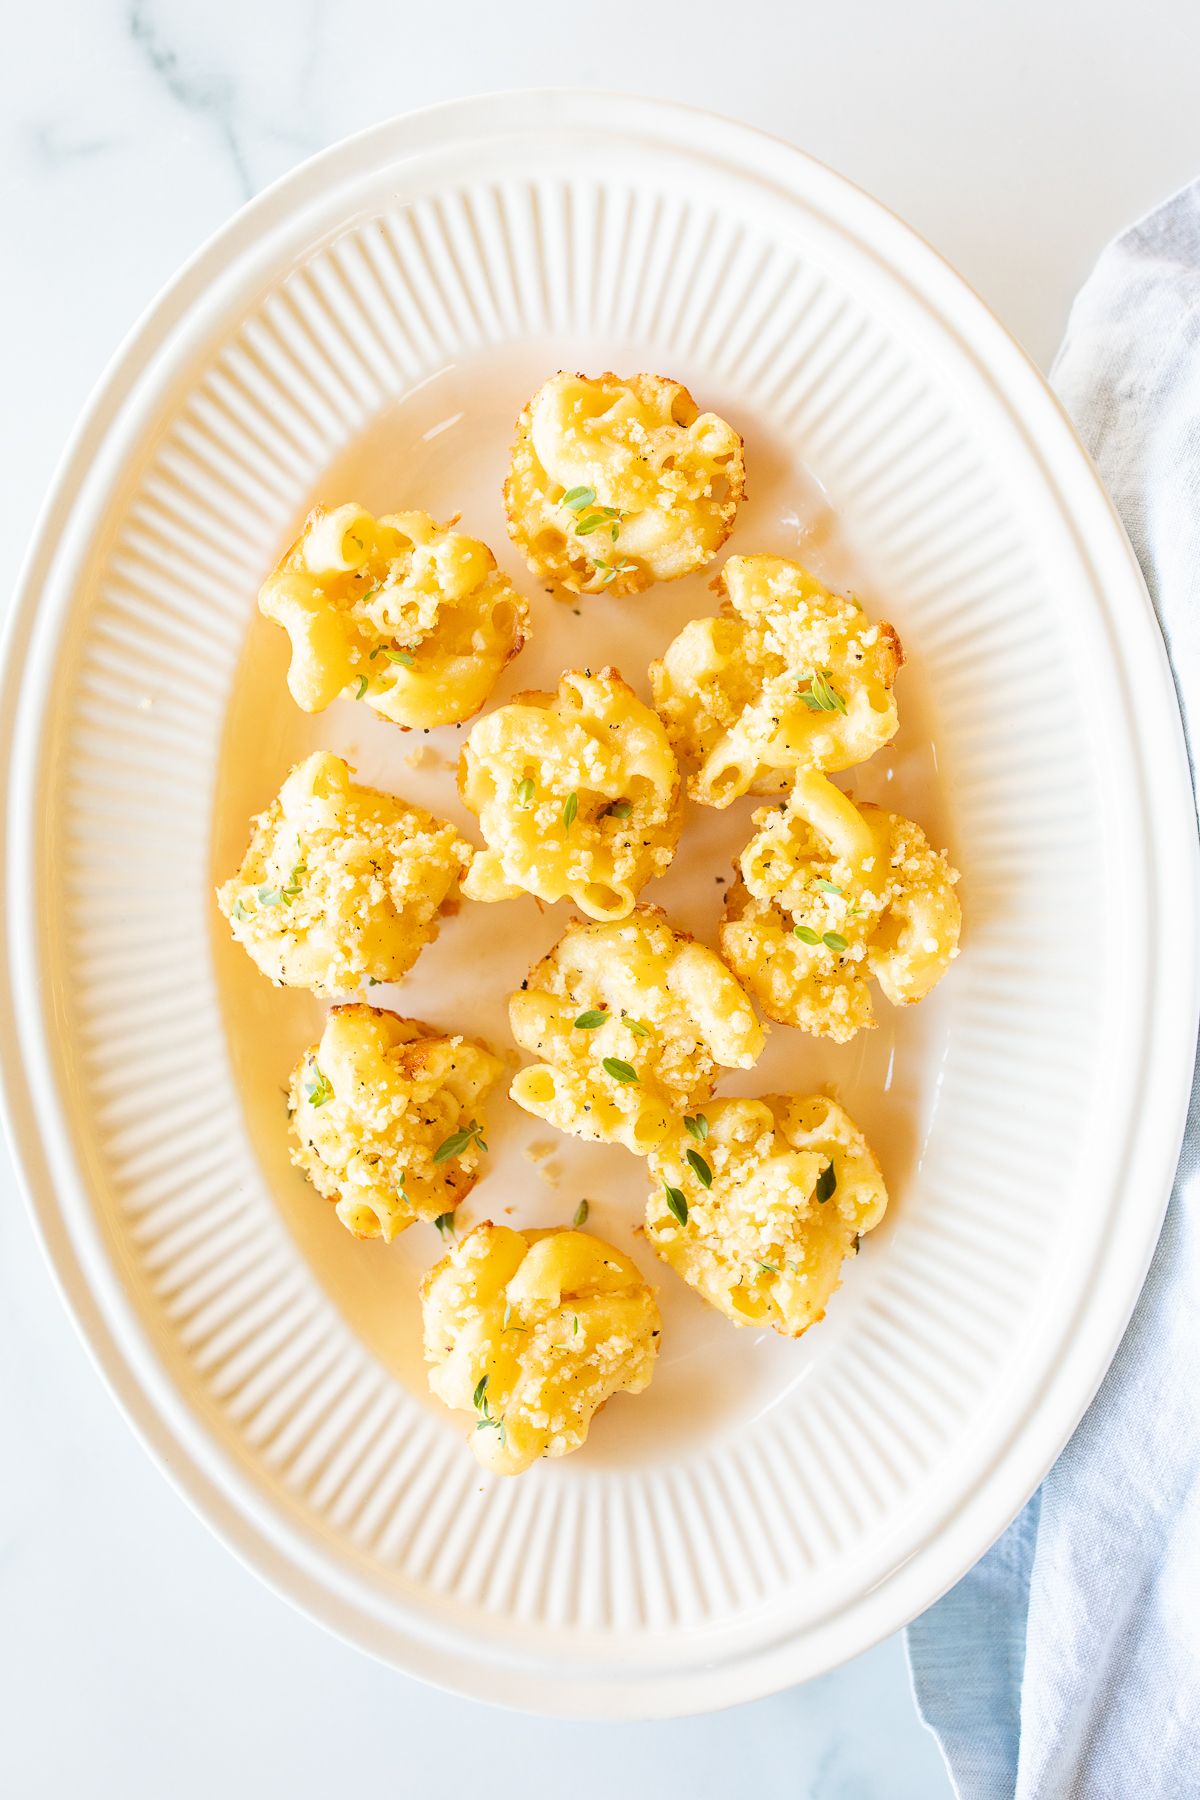
As you know, I am something of a pasta aficionado. Pasta is one of my favorite food groups, and turning it into an incredible handheld Thanksgiving appetizer or side dish makes it even more fun!
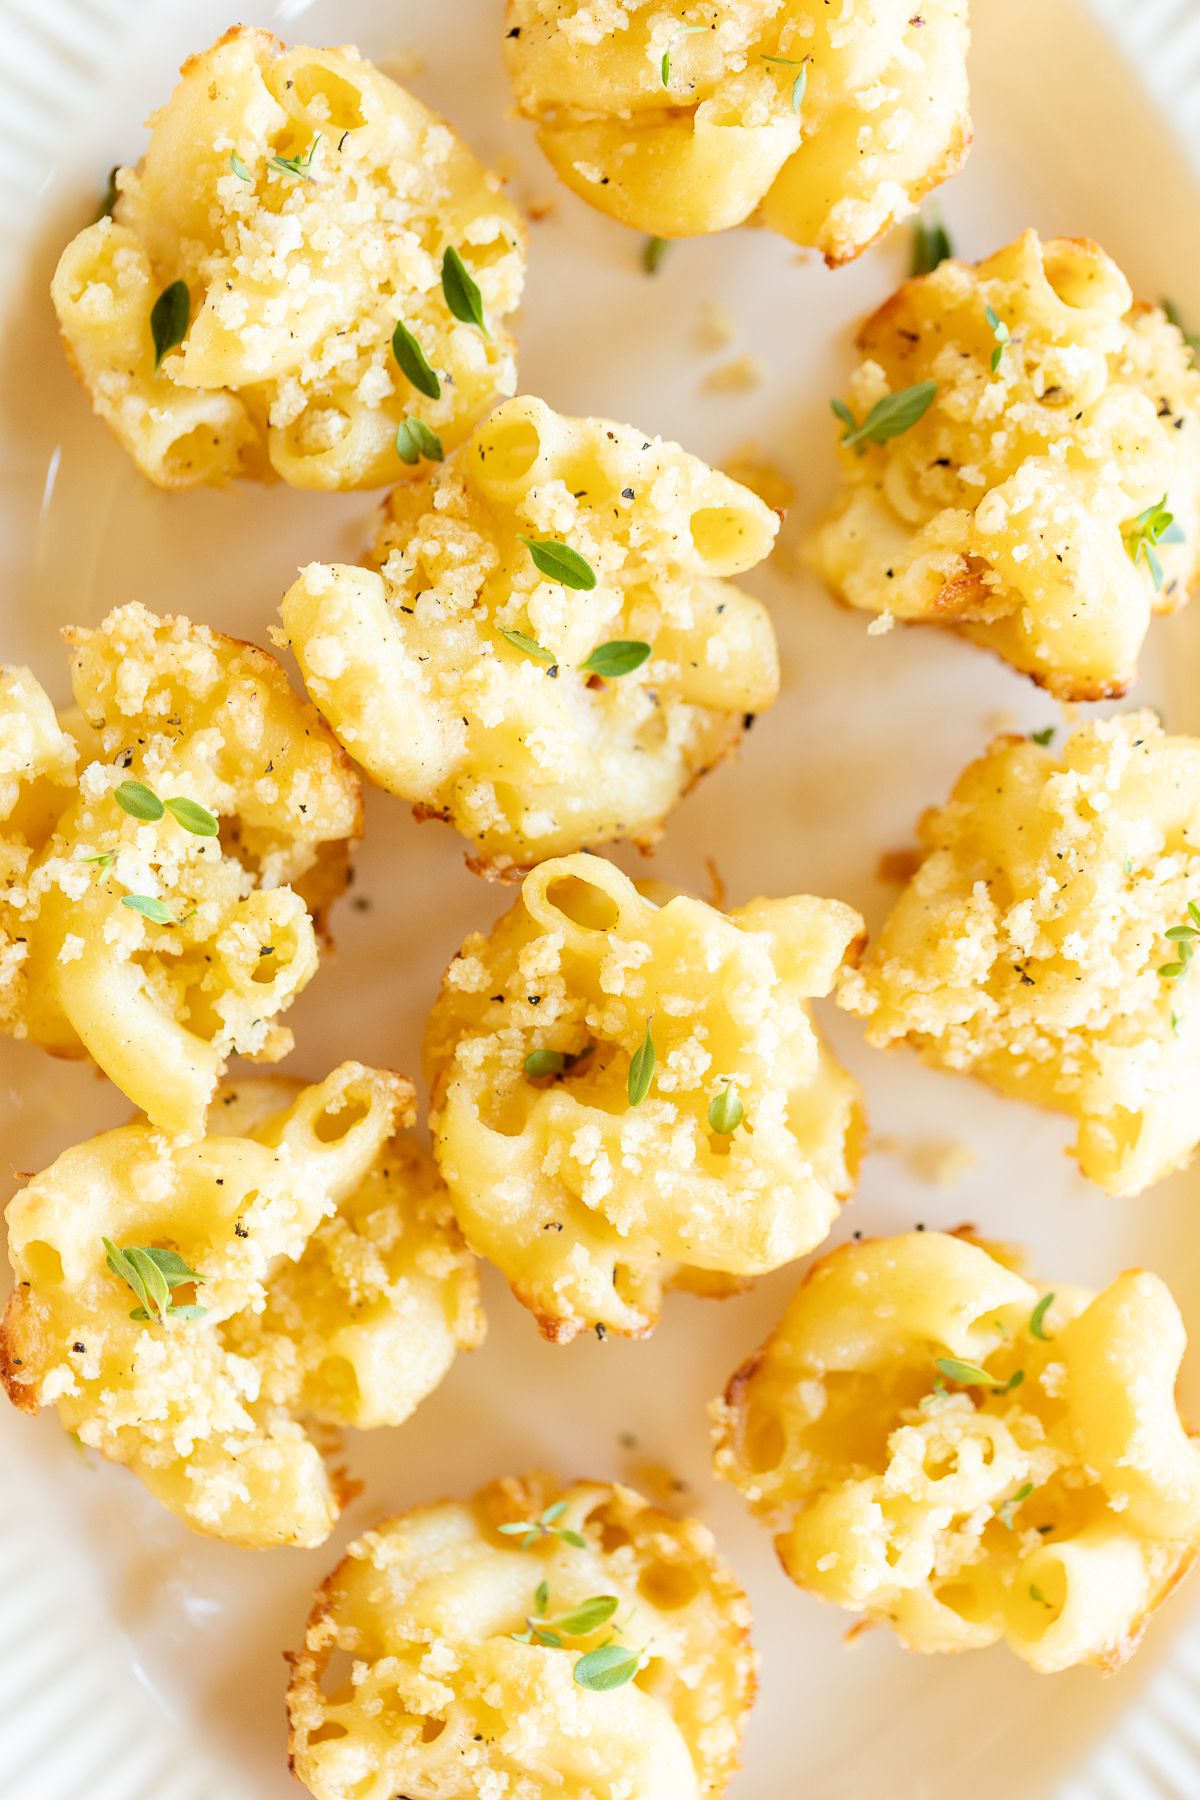
There’s just something about the creamy, dreamy richness of homemade mac and cheese! Combine it with crispy baked edges and an incredible panko topping for a little crunch and you have an hors d’oeuvre everyone will devour.
This childhood favorite is perfect for parties! It’s an elevated way to serve the traditional side dish of mac and cheese.
And psst… if you love mac and cheese, don’t miss my Baked Macaroni and Cheese, truffle mac and cheese and bacon mac and cheese!
Why You’ll Love these Mac and Cheese Cups
- So easy to make
- Perfect handheld hors d’oeuvre
- Great for parties
- Excellent Thanksgiving or Christmas appetizer or side dish

Mac and Cheese Cup Ingredients
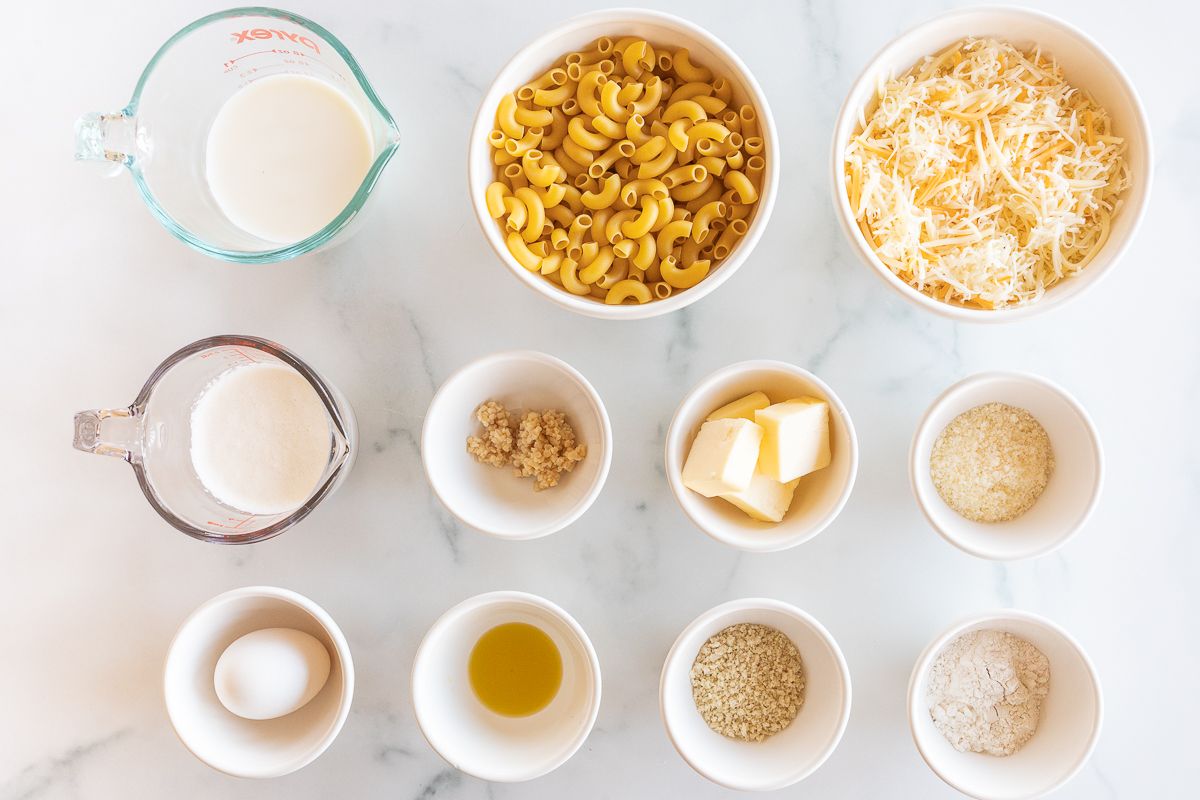
- Pasta – I used a traditional elbow style pasta for a true mac and cheese style, but any small pasta shape will work.
- Panko – Panko bread crumbs are fine and toast beautifully.
- Parmesan – Fresh grated Parmesan adds a little flavor to the crunchy topping.
- Oil – Anything you have on hand will work, I tend to use olive oil for anything pasta related, but you can substitute canola oil, vegetable oil or melted butter!
- Butter – I almost always use salted butter, but you can use either. Simply adjust salt to taste!
- Garlic – Fresh minced garlic is wonderful, but you can also use the pre-minced garlic from the produce section for an easy shortcut.
- Flour – All purpose flour to make the roux.
- Heavy Cream – Heavy whipping cream is important for creating the rich, thick, creamy flavor of this recipe.
- Milk – Any kind of milk will work to thin the sauce, use whatever you have on hand.
- Cheddar – Fresh grated cheese is key! Use any kind of cheddar you’d like – white, mild, sharp, etc.
- Gruyere – This Swiss cheese melts creamy and amazing!
- Egg – Help bind mac and cheese so they stay together.
- Salt and Pepper – Fresh cracked salt and pepper to taste
- Herbs – Thyme, chives, rosemary or anything you have on hand for a touch of fragrance, flavor and color!
Variations
- Substitute the cheeses with anything you’d like! Try Muenster, fontina, Gouda, Havarti and Monterey Jack. You can substitute parmesan with Mizithra.
- Try a fun pasta shape! It doesn’t have to be elbow pasta, go with anything small in shape. Cavatappi, even Bucatini Pasta cut shorter also works great.
How to Make Mac and Cheese Cups
- Prep – Preheat oven, line or grease muffin tin.
- Prepare Pasta – Cook according to package directions for al dente (a touch undercooked).
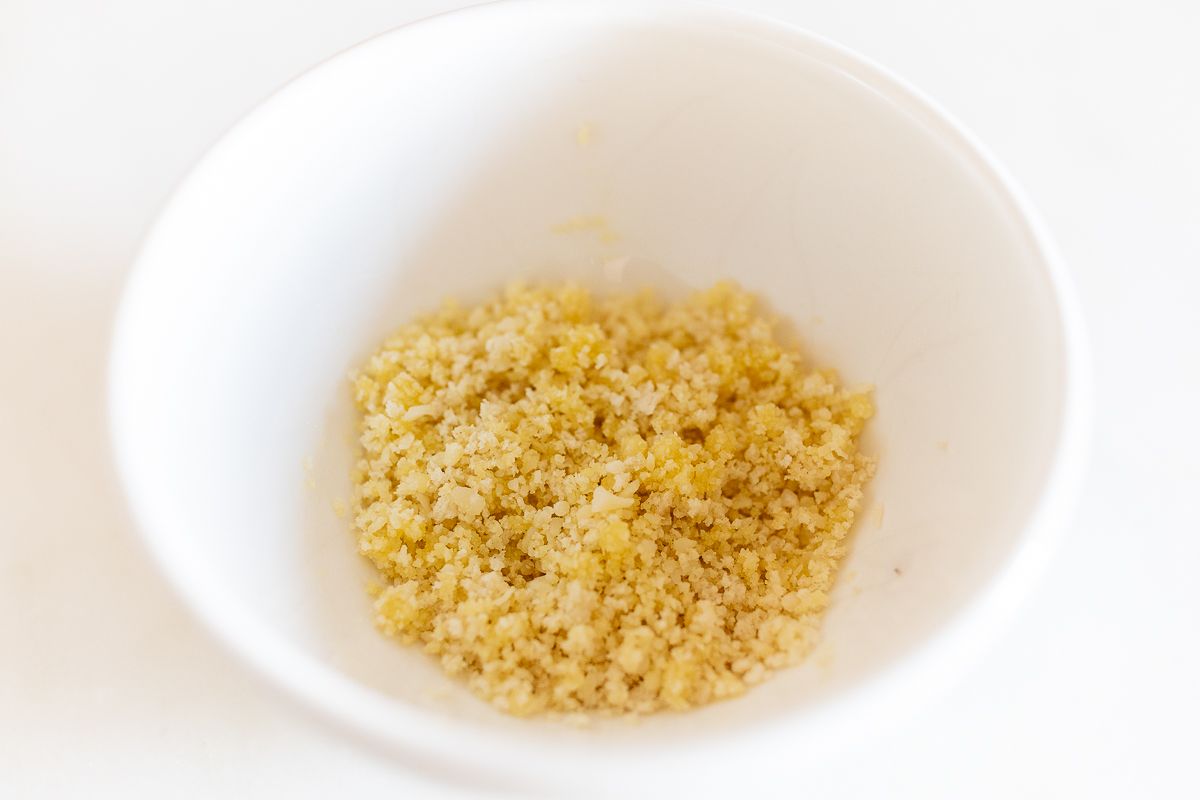
- Make Topping – Combine panko crumbs, parmesan and oil. Set aside.
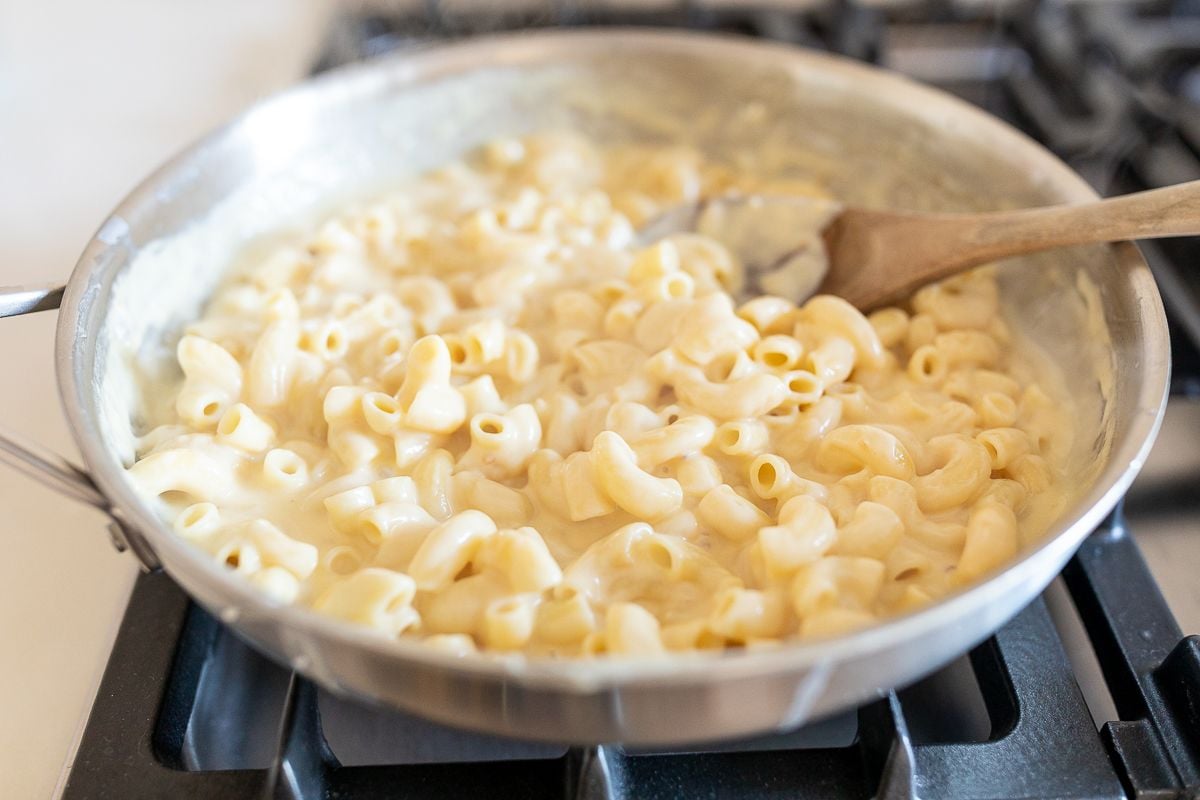
- Make Sauce – In a large saucepan over medium heat, melt butter, sauté garlic and make roux with flour. (Get full details in printable recipe card). Reduce heat and simmer, whisking continuously until thickened. Remove from heat and add cheese and egg, mixing in the pasta to combine.
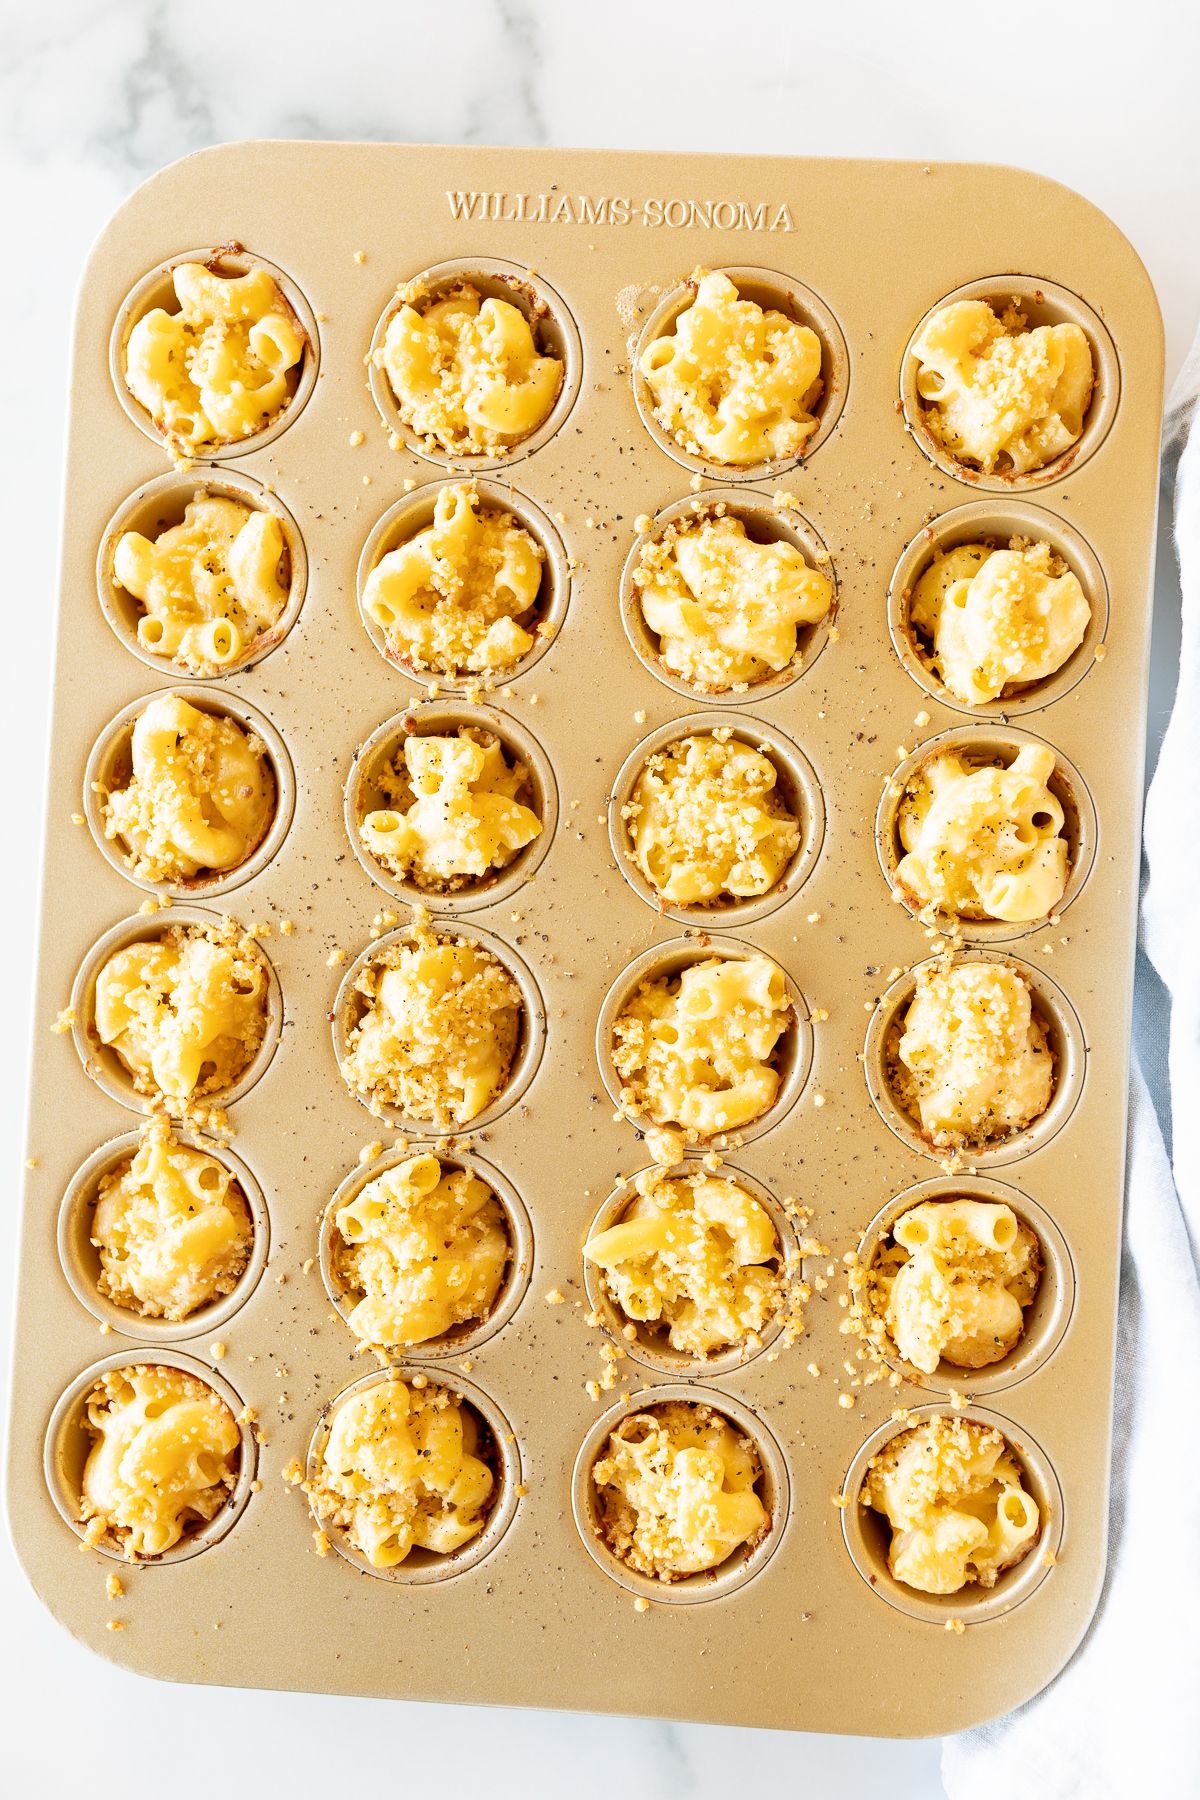
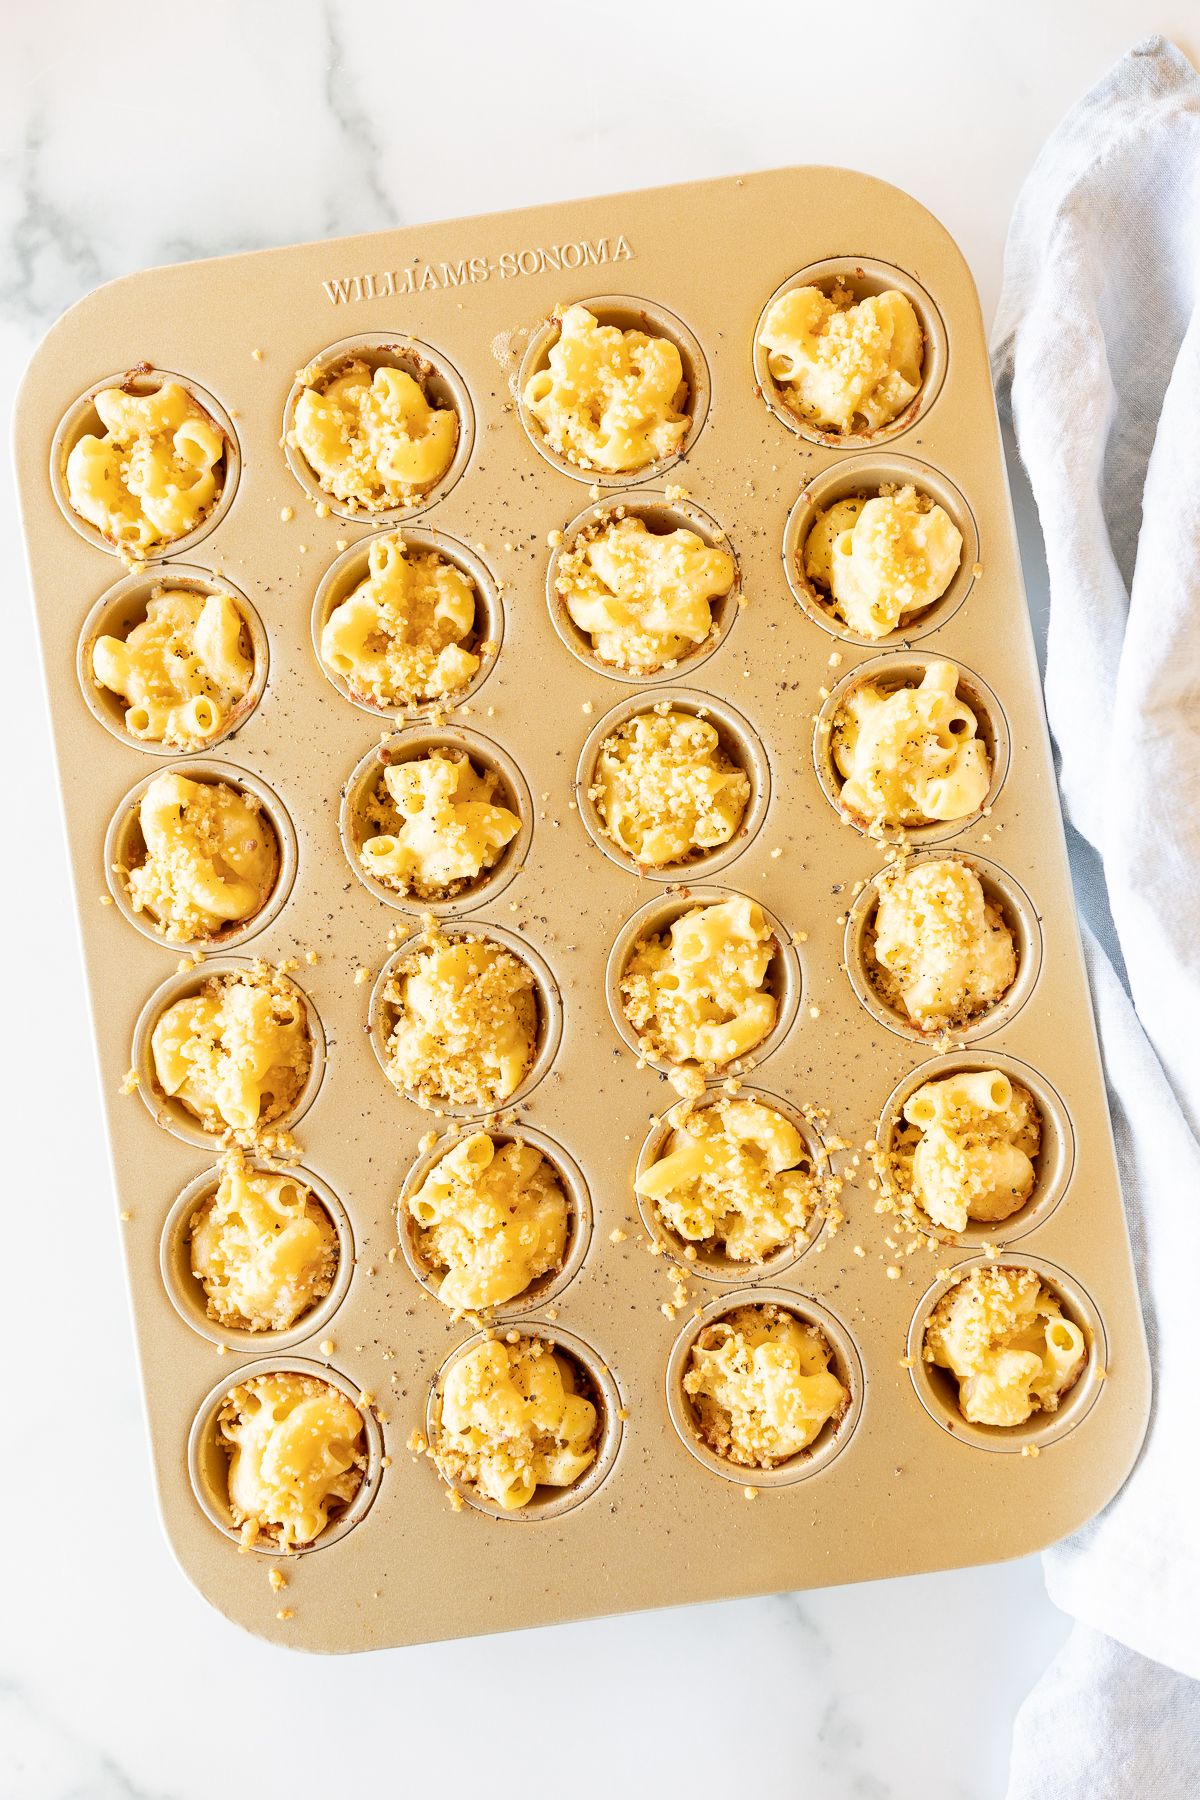
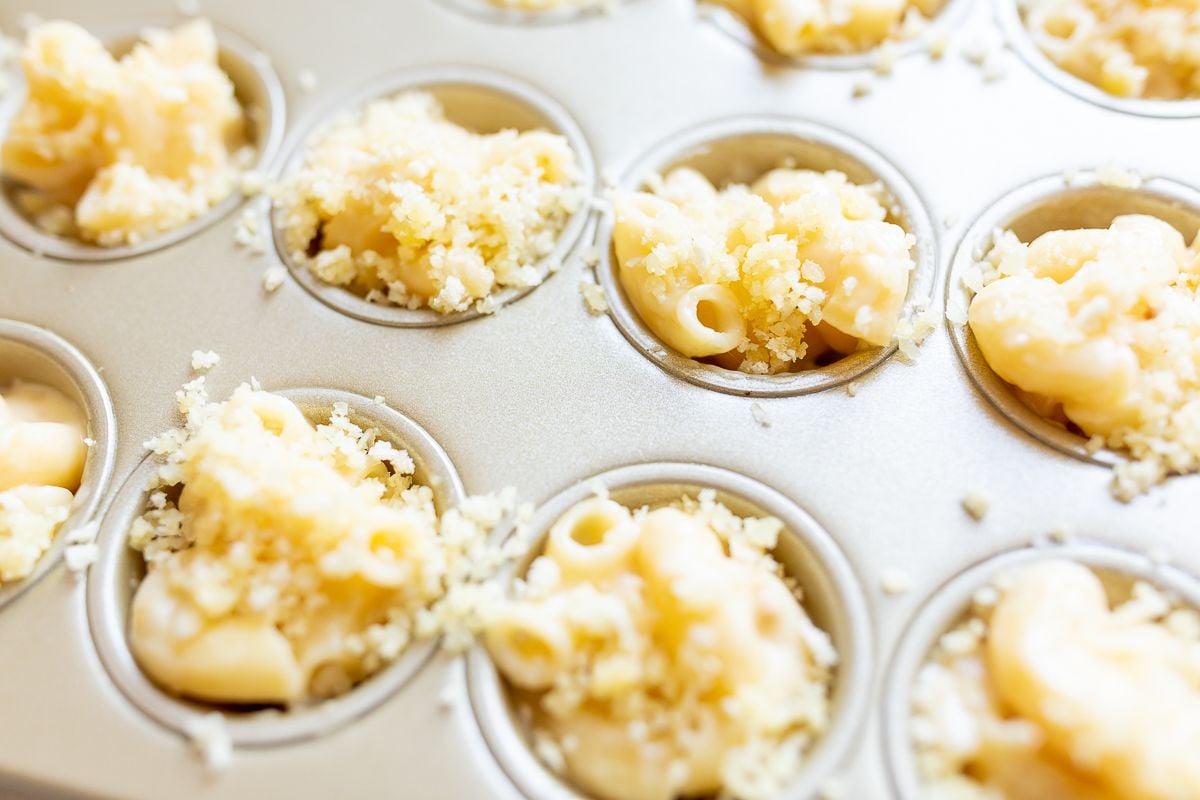
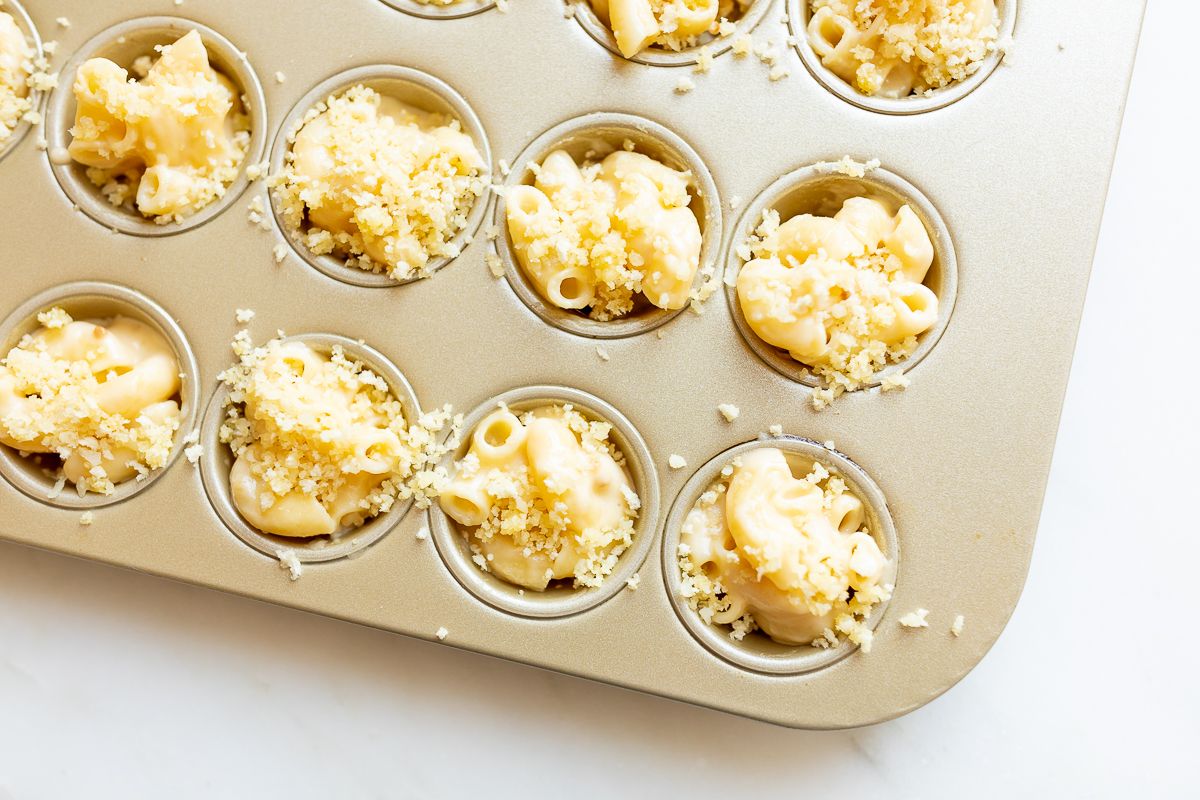
- Fill Cups – Scoop mac and cheese into muffin tins. Tip: use a cookie scoop to make cups consistent in size. Sprinkle with panko topping.
- Bake – Salt and pepper to taste and garnish with herbs to serve.

Tips
- Need help with baking conversions? Check out my Essential Measurement Conversion Chart or use the slider in the recipe card.
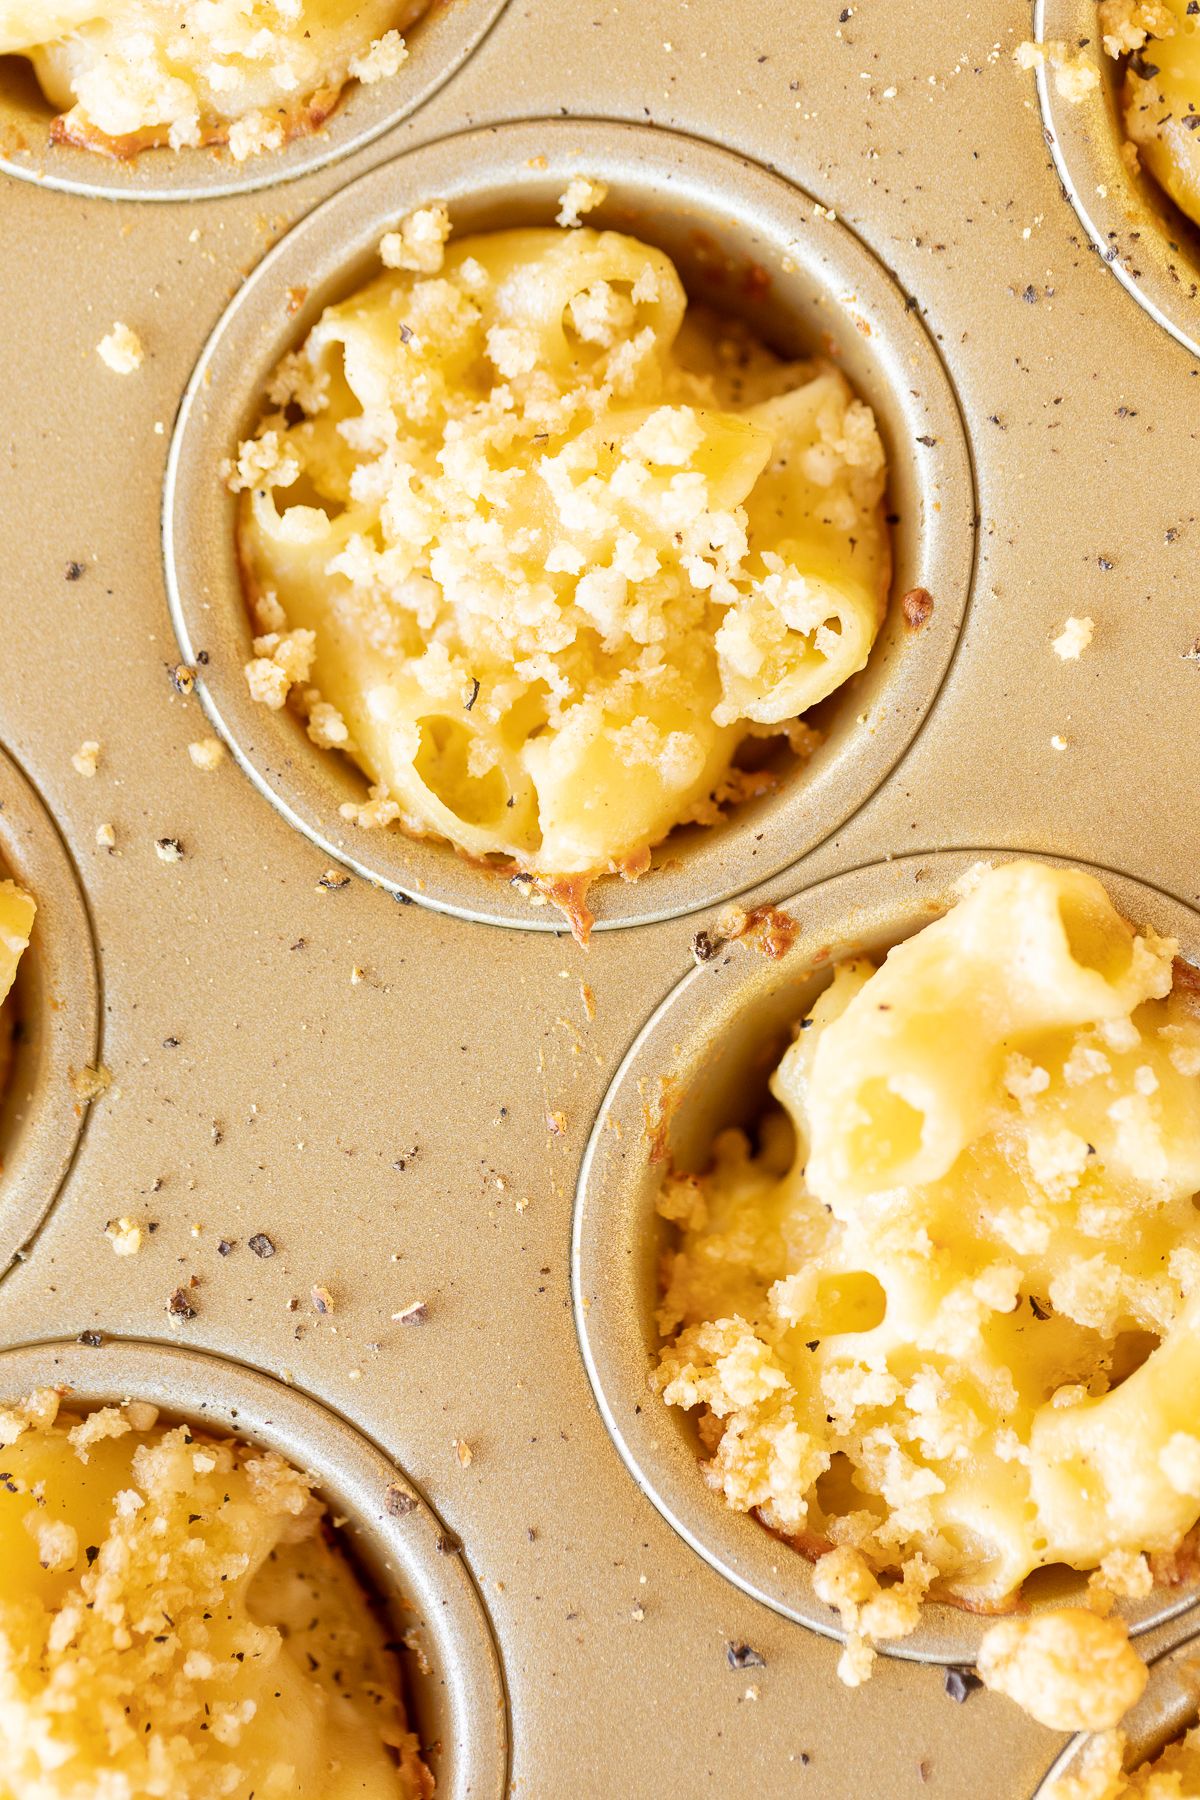
- Be sure to cook your pasta to a true al dente. That’s because these mac and cheese cups cook for longer in the oven, no need to cook the pasta fully! This will keep your noodles intact rather than break apart.
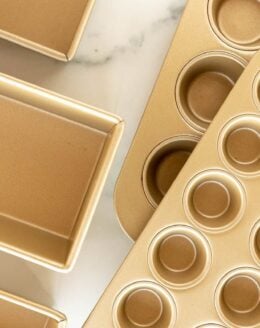
- Use a mini muffin pan. That will ensure that these stay together and are the perfect handheld bite!
- Use my favorite baking spray for a perfect release every time!
- Use a cookie scoop to make cups consistent in size.
Serving Suggestions
- These serve beautifully on a crowded Thanksgiving dinner plate!
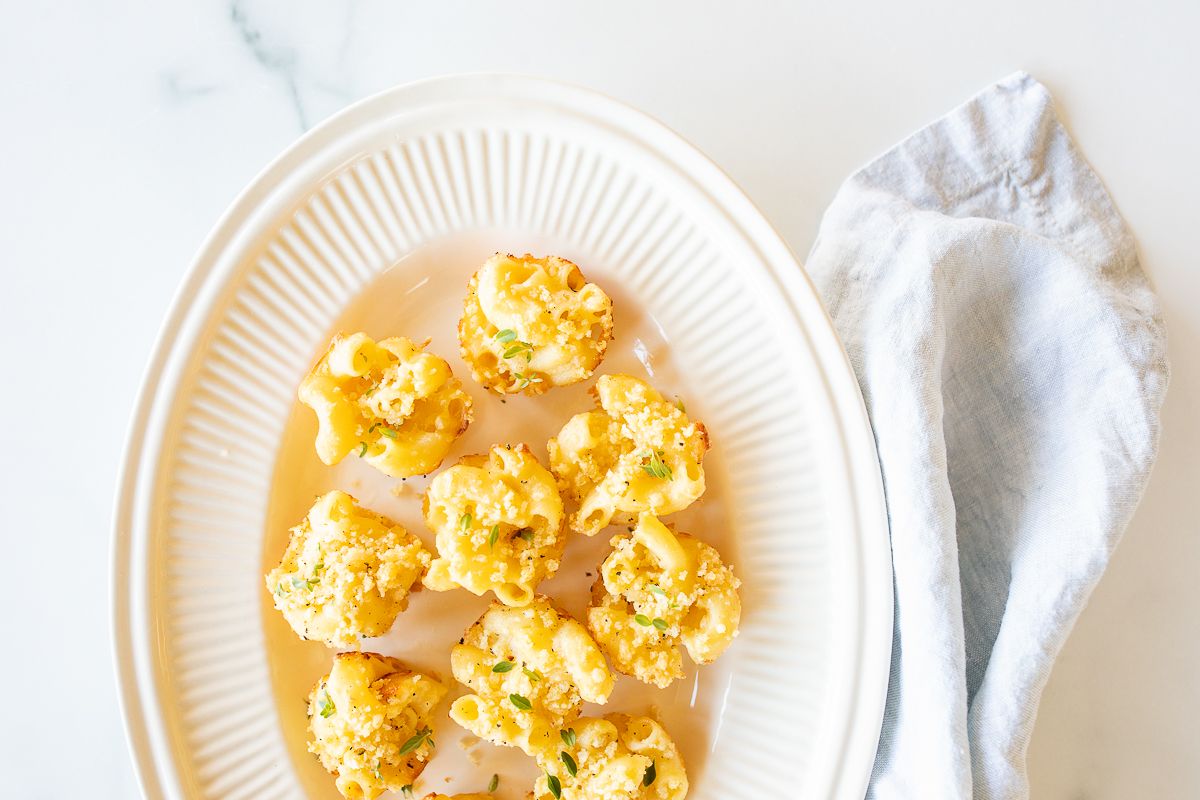
- Add to a platter for an easy individual hors d’oeuvre.
- Feeding a crowd? Easily double or triple this recipe with the yield tab right in the printable recipe card!
Shortcuts
- Cook your pasta to al dente ahead of time and store in the fridge until you’re ready.
- Shred your cheese ahead of time, too! Simply shred and store in an airtight container in the fridge up to 24 hours in advance.
Frequently Asked Questions
For dinner, serve with a salad or roasted veggies. An easy main dish like baked chicken, burgers or steak serve perfectly with baked mac and cheese too!
It absolutely can, especially when it’s served in these bite sized little cups! Your guests will adore the presentation and incredible flavor.
What to Do with Leftovers
- Enjoy for lunch!
- Serve for an excellent lunch the following day with a simple, classic Italian salad!
- Serve with a side of roasted veggies and baked chicken to turn your leftover mac and cheese cups into a delicious and wholesome dinner.
How to Store
- At Room Temperature – These can be left out for up to two hours room temperature while serving.
- Refrigerate – These mac and cheese cups can be refrigerated in an airtight container for up to three days, and reheated in the microwave as needed.
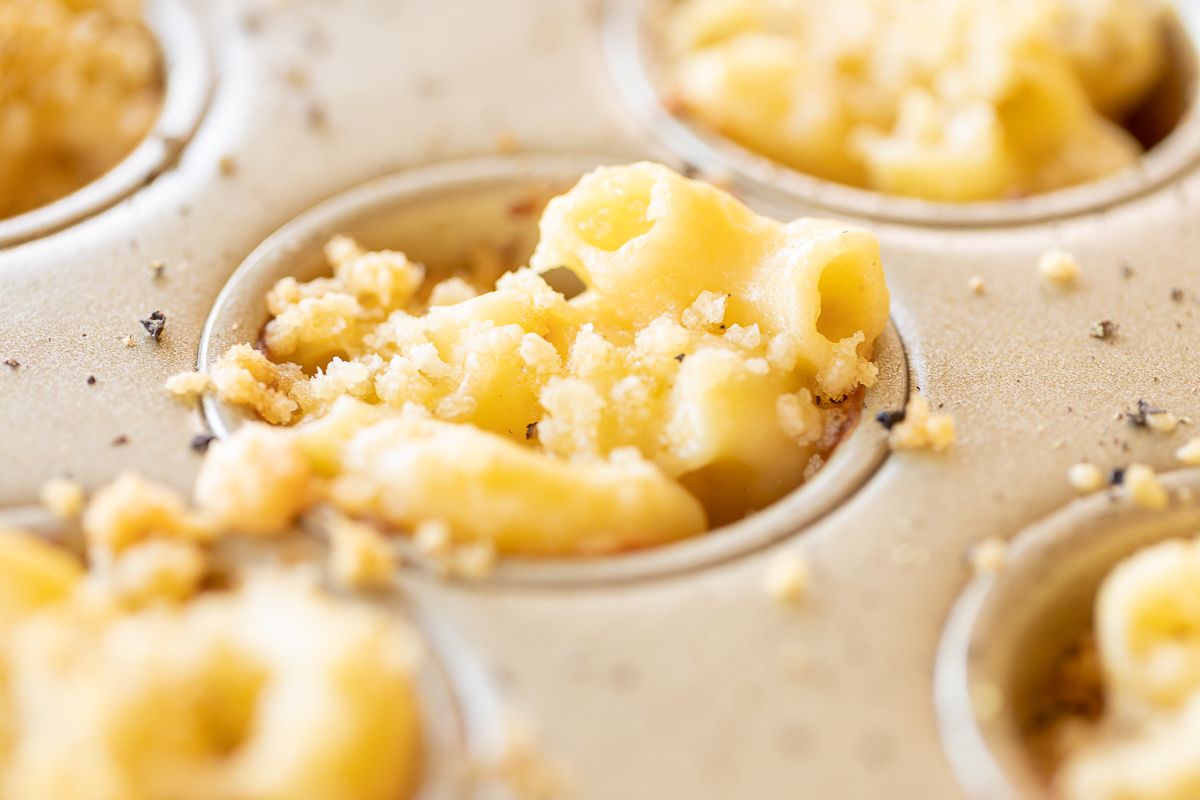
- Freeze – Mac and cheese cups freeze beautifully! Simply flash freeze in the muffin tin, prior to baking. When they are solidly frozen, place in an airtight container and store for future use.
Dietary Considerations
- Vegetarian
- Nut Free
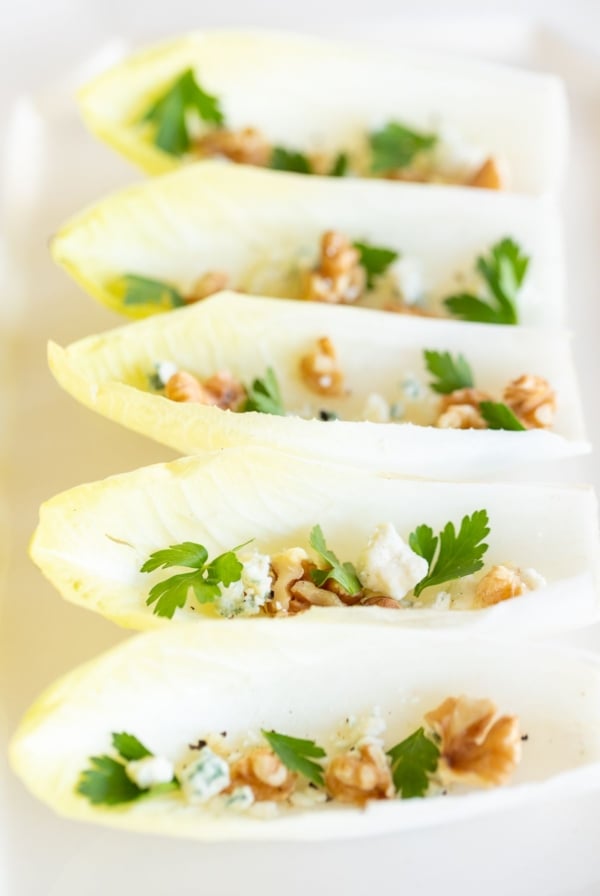
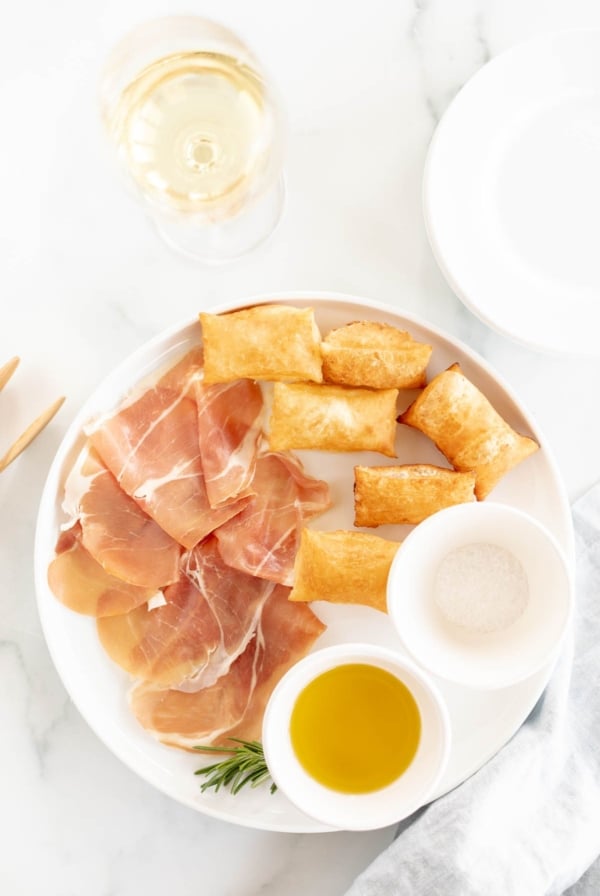
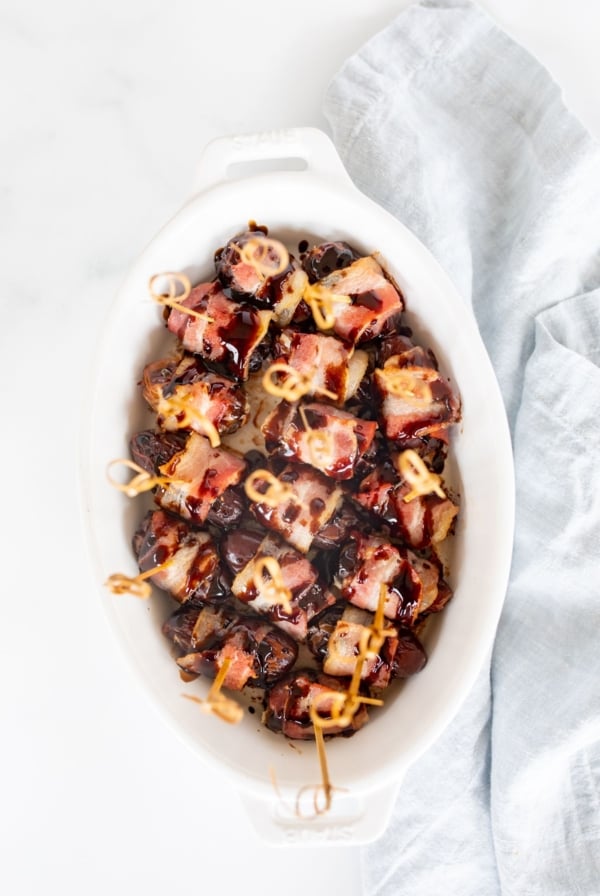
More Hors D'oeuvres

Mac and Cheese Cups
Ingredients
Pasta
- 2 cups elbow pasta
Topping
- 2 tablespoons panko crumbs
- 2 tablespoons fresh grated parmesan
- 1½ teaspoons extra virgin olive oil canola oil or vegetable oil
Sauce
- 4 tablespoons butter melted
- 1 tablespoon minced garlic or 3 cloves, minced
- 2 tablespoons all purpose flour
- ½ cup heavy cream
- ½ cup milk
- 1 cup cheddar shredded
- 1 cup gruyere shredded
- 1 large egg
Garnish
- salt and pepper to preference
- herbs to garnish
Instructions
- Preheat oven to 425° F. Line or grease muffin tin or mini muffin tin.
- Bring a large pot of water to a boil. Add pasta and cook until al dente (slightly undercooked). Drain.
- In a small bowl, combine panko crumbs, parmesan and oil. Set aside.
- In a large saucepan over medium heat, melt butter. Add garlic and sauté until fragrant, about 1 minute.
- Whisk in flour and stir about 1 minute. Add heavy cream and milk. Bring to a boil. Reduce heat and simmer, whisking continuously until thickened (approximately 3-5 minutes). Remove from heat.
- Stir in cheese until melted. Stir in egg.
- Add drained pasta and toss to combine.
- Scoop mac and cheese into muffin tins. Sprinkle with panko topping.
- Bake 18-20 minutes. Salt and pepper to taste and garnish with herbs to serve.
Julie’s Tips
Tips and Variations
- Substitute all of the milk or heavy cream for the other.
- Substitute the cheeses with anything you’d like! Try Muenster, fontina, Gouda, Havarti and Monterey Jack.
- Try a fun pasta shape! It doesn’t have to be elbow pasta, go with anything small in shape.
- Be sure to cook your pasta to a true al dente. That’s because these mac and cheese cups cook for longer in the oven, no need to cook the pasta fully before that step!
How to Store
- At Room Temperature – these can be left out for up to two hours room temperature while serving.
- Refrigerate – These mac and cheese cups can be refrigerated in an airtight container for up to three days, and reheated in the microwave as needed.
- Freeze – mac and cheese cups freeze beautifully! Simply flash freeze in the muffin tin, prior to baking. When they are solidly frozen, place in an airtight container and store for future use.
Video
Estimated nutrition information is provided as a courtesy and is not guaranteed.




I teach middle school family and consumer science. Our class periods are so short that I don’t think they could complete this is one day. How do you think it would work to make the mac and cheese cups(but wait about the panko topping until the next day), wrap the pan tighty and refrigerate, then top and bake the second day? Thanks for all of your great ideas!
Hi, Lisa! We haven’t tried that, but I don’t see why it wouldn’t work. If you are reheating them in the oven after baking them, I would reheat them as minimally as possible to avoid them drying out! Try just 5 minutes in a 350 degree oven
How would you suggest heating these up for an event if I chose to freeze them ahead of time. Thank you!
Hi Andrea,
I would reheat them in the oven, as minimally as possible, to avoid them drying out! Try just 5 minutes in a 350 degree oven. You can place them back in the muffin tin you baked them in, or just place on a baking sheet to re-heat.
I hope that helps,
Julie
The 2 cups of pasta on the ingredients list….is that 2 cups DRY pasta or COOKED pasta?
Hi Paula,
That’s dry pasta! You’ll see the instructions for cooking it in the step by step printable recipe card.
I hope you enjoy,
Julie
Made these but changed out the gruyere for Gouda due to the cost. They came out delicious!
I’m looking to freeze these prior to a small party, and just reheat the day of. Would you recommend adjusting the baking time to allow for them to thaw?