Learn how to make peanut butter at home! It’s so easy to create homemade peanut butter, with an incredibly creamy (or crunchy) taste that is simply irresistible.
All you’ll need is your favorite roasted peanuts, a food processor, and 3-5 minutes, depending on your crunchy vs creamy preferences.
I dare you to stop at just one spoonful! If you’re anything like me, that little jar will be hard to resist. Good luck saving it for all your favorite peanut butter recipes!
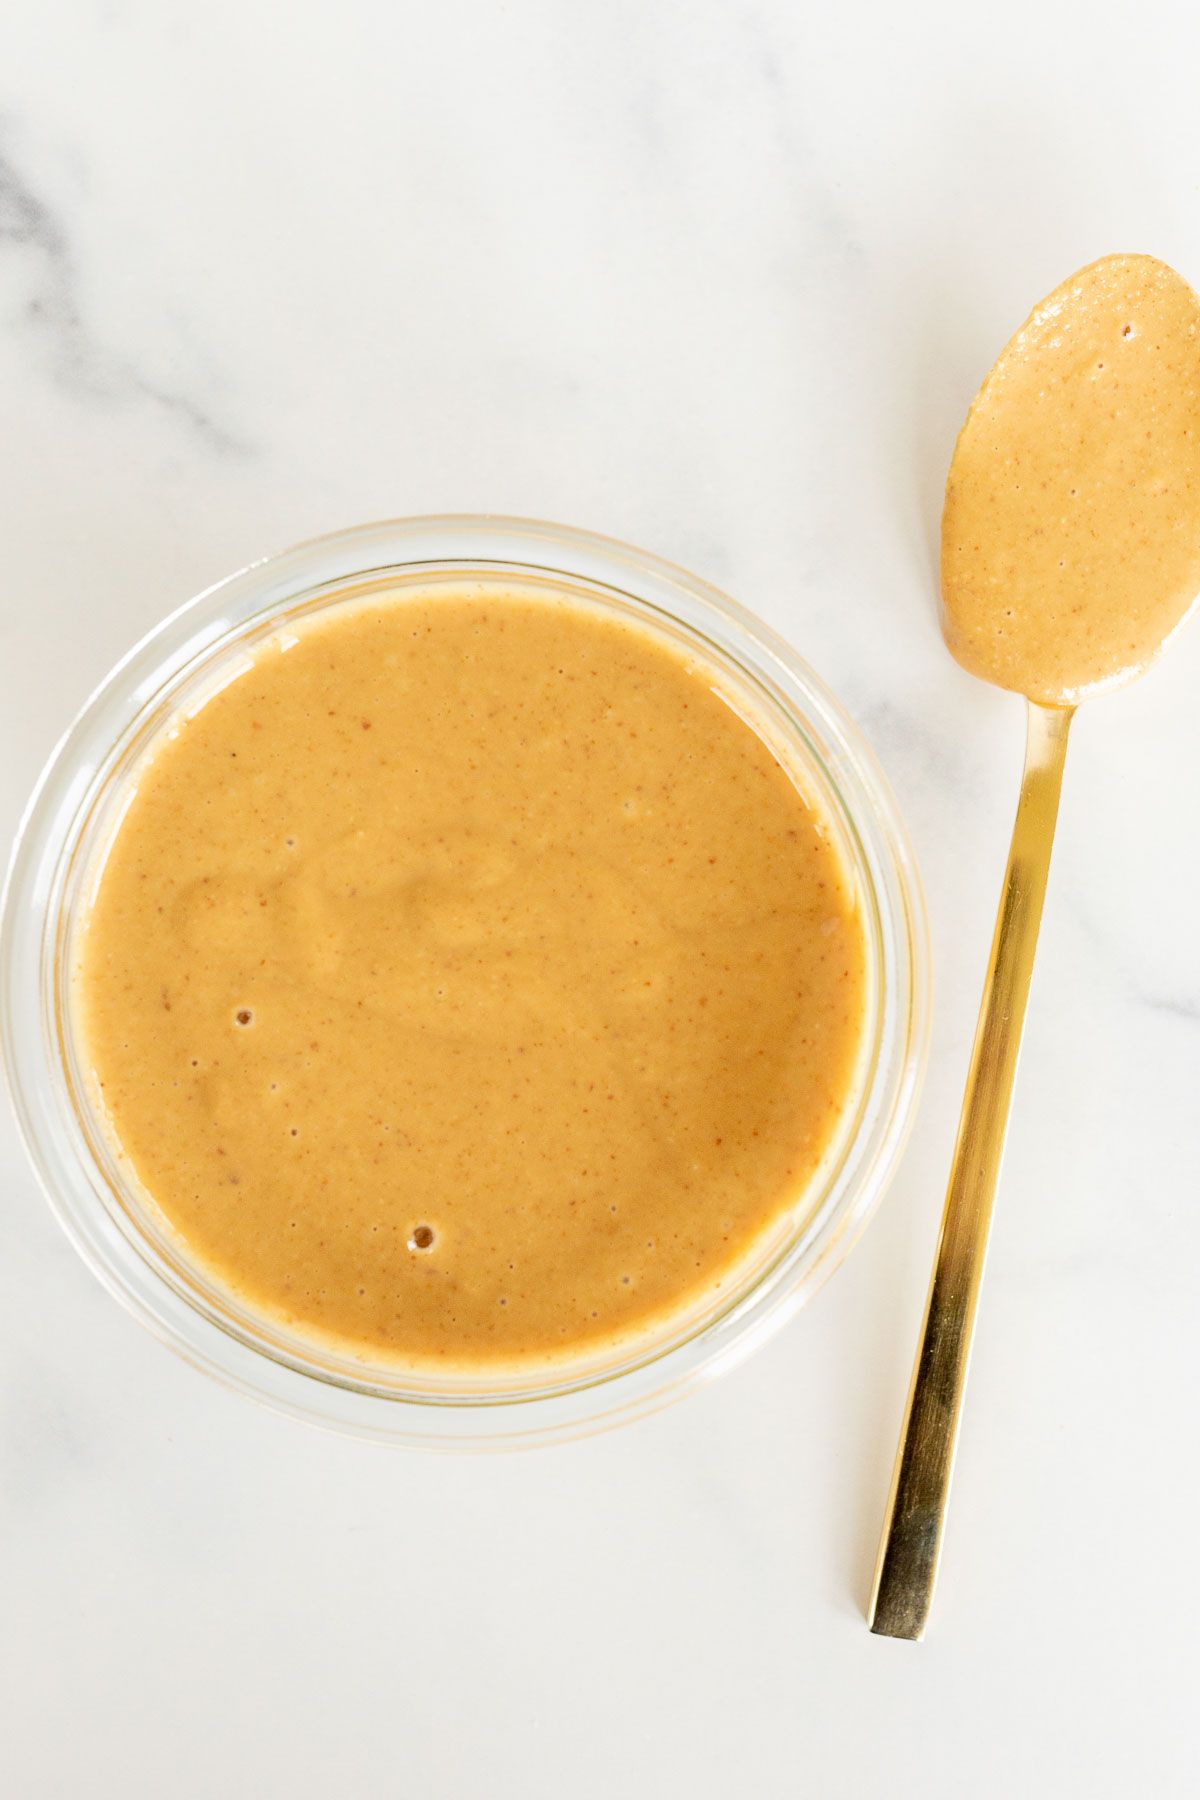
Can you believe it? In all my years of loving this fabulous treat, I have never shared a recipe for how to make peanut butter at home.
Honestly, that’s because it’s almost too easy. It doesn’t feel like much of a recipe, or much effort at all. But in the spirit of sharing this fabulous homemade deliciousness with the world, that’s what we’re going to learn today: just how easy it is to make your own!
I’m so excited to share this delicious homemade peanut butter with you, and walk you through the simple steps. You’ll be creating an array of delicious peanut butter recipes just so you can use it every week, I promise!
However, you won’t need a recipe at all. If you’re like me, you’ll have a hard time not eating that entire jar in one sitting, my friends! No judgement here.
Use the drop down Table of Contents menu to easily navigate this post. Let’s make this indulgent recipe together!
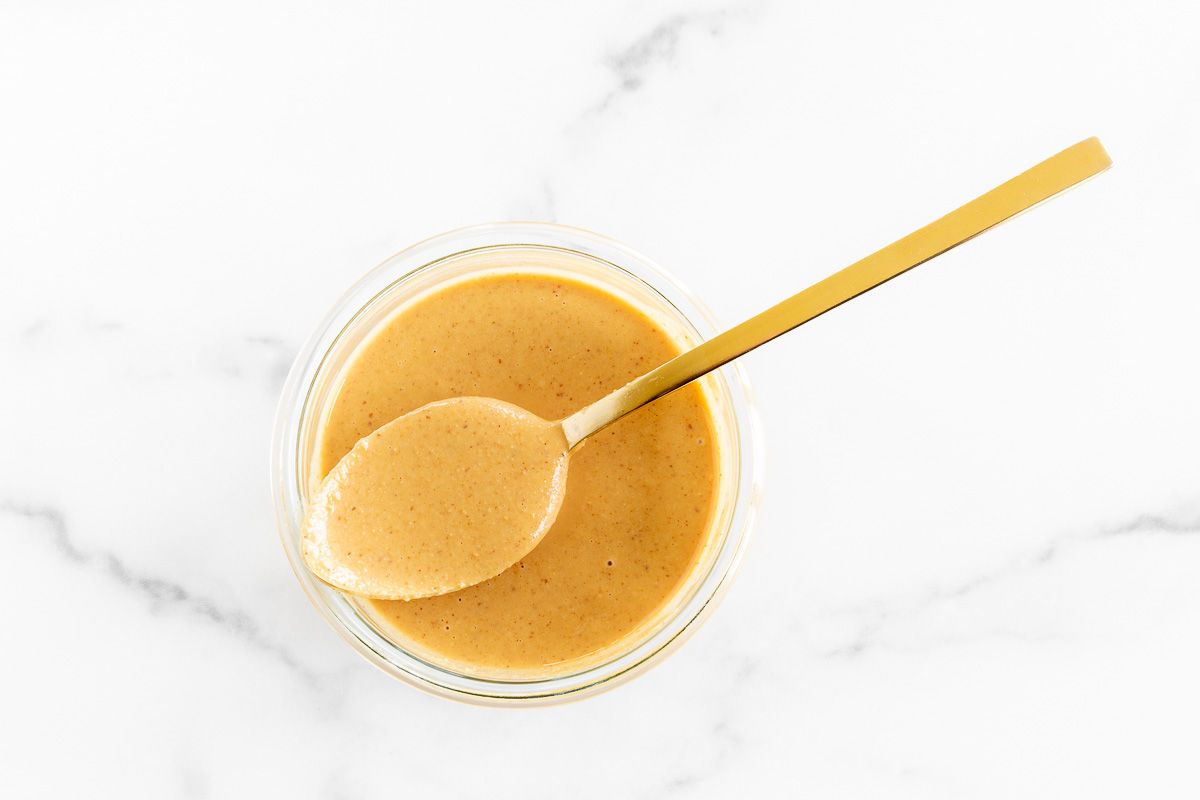
Why You’ll Love Homemade Peanut Butter
It takes a little patience, but not much else!
- So Easy
- Just One Ingredient – Two if you’d like.
- 3-5 Minutes
- Healthier than Store Bought
Peanut butter is full of protein, fiber and fats. That means it can help stabilize insulin levels, providing long term energy for your day. Peanut butter is an excellent addition to your breakfast for that reason!
Peanut Butter: Ingredients and Substitutions
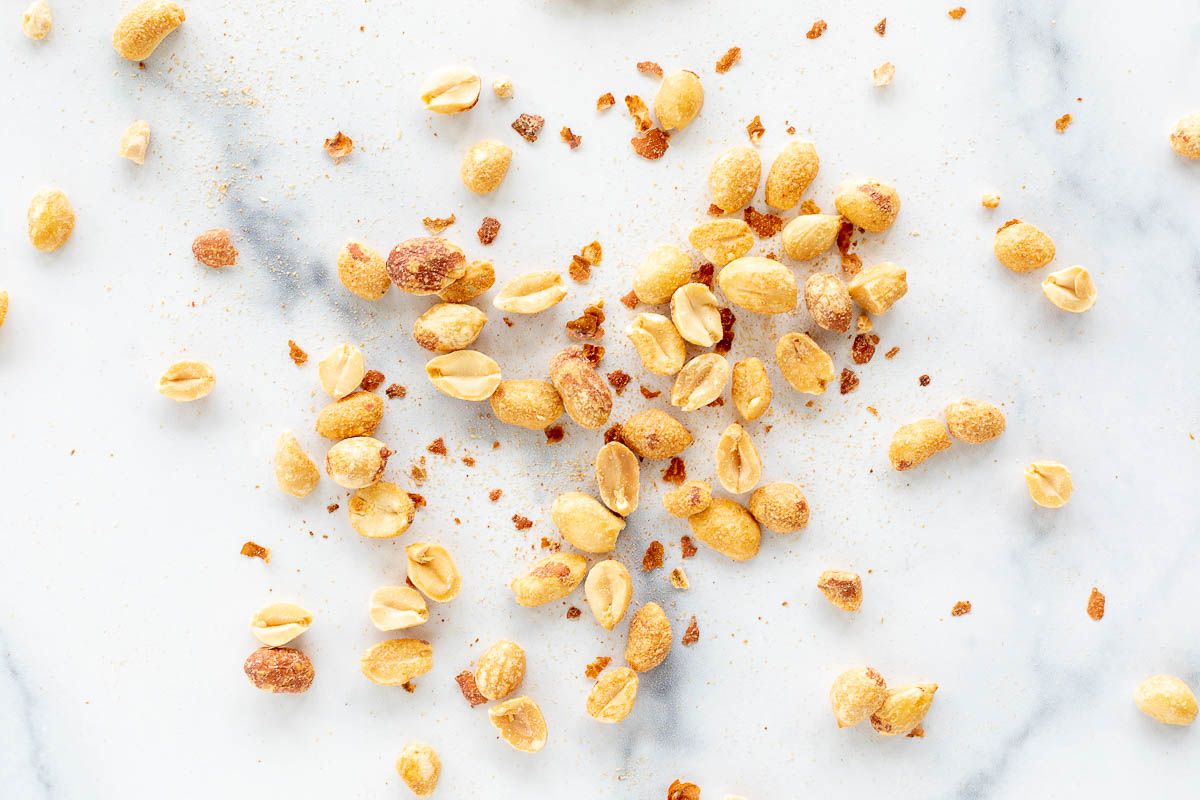
- Roasted, Salted Peanuts – Choose your favorite brand or variety!
Variations
- Add a little honey to sweeten.
- Add extra salt after taste testing.
- Chocolate Peanut Butter: add 1-2 cups of chocolate chips (semi-sweet, dark or milk chocolate) to create the chocolate peanut butter spread of your dreams!
- Another way to make chocolate peanut butter: after processing your peanuts into butter, add 1/2 cup of cocoa powder and 1 cup of powdered sugar. So good!
- Roast for longer. Add another layer of roasted flavor to your peanuts by spreading them on a baking sheet and toasting for 8-10 minutes (turning halfway) in a 350 degree oven.
- Add a tablespoon of vegetable oil if you’d like, but it’s not necessary.
Equipment
You’ll need a quality food processor to make your own nut butters at home. Ensure that it’s the right size, too!
I actually only have a 3 cup mini food processor at the moment, so I borrowed my sister’s larger, more powerful 8 cup unit to make the full recipe (instead of halving it like we often do).
How to Make Peanut Butter
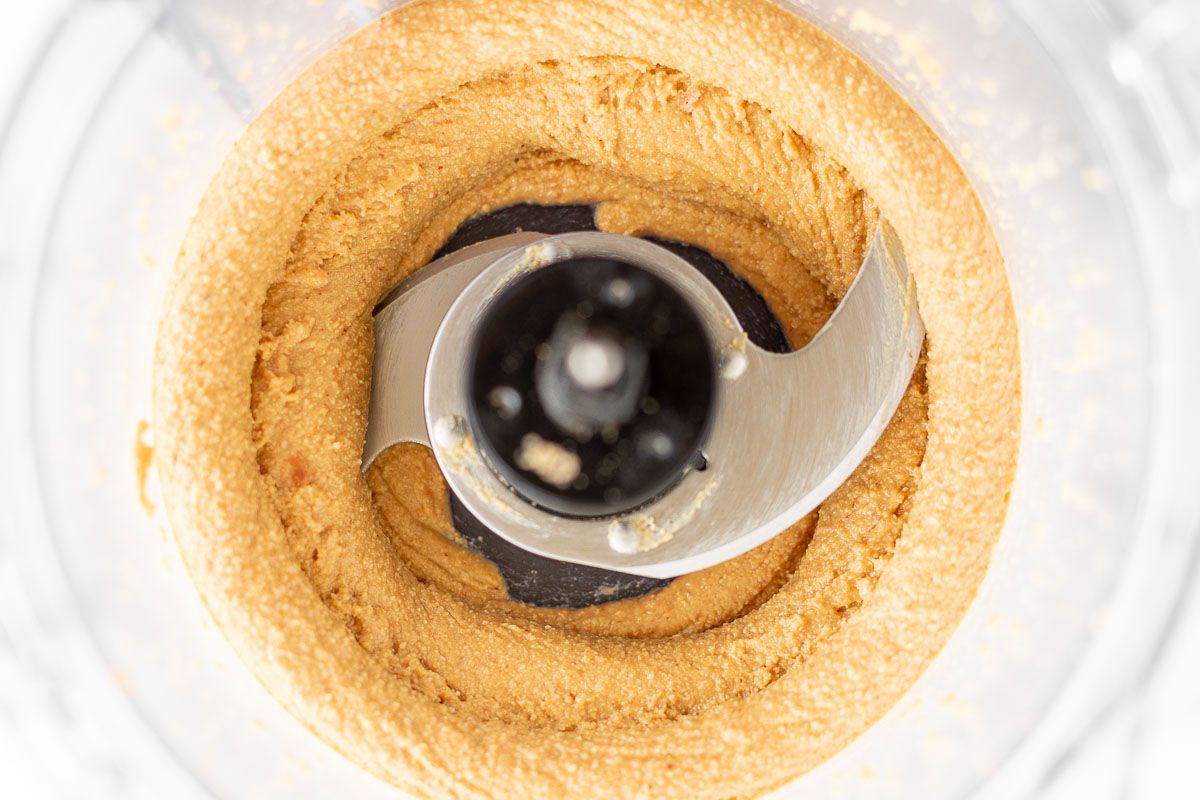
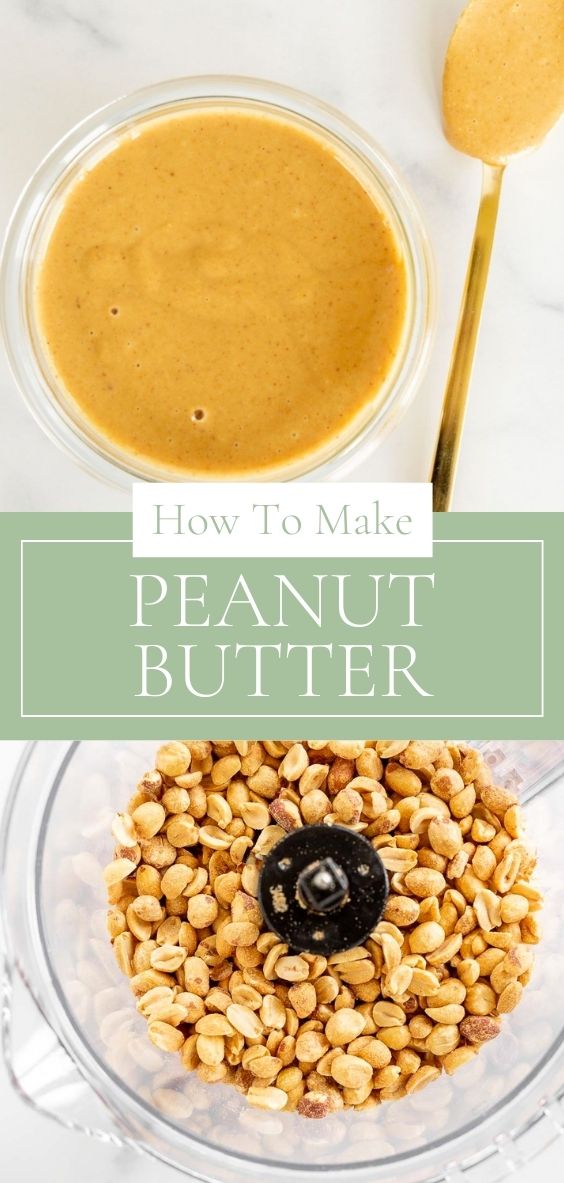
- Add peanuts to food processor and process for three minutes. You’ll notice that in the begin, they look like dry, crumbled bits and pieces of peanuts.
Eventually, the peanuts form into a bit of a ball that might stick to one side of your processor. Finally, it becomes more like a paste. Don’t give up – keep going until it’s the smooth, silky texture you’re dreaming about!
- Taste test. Add additional salt and/or honey if desired.
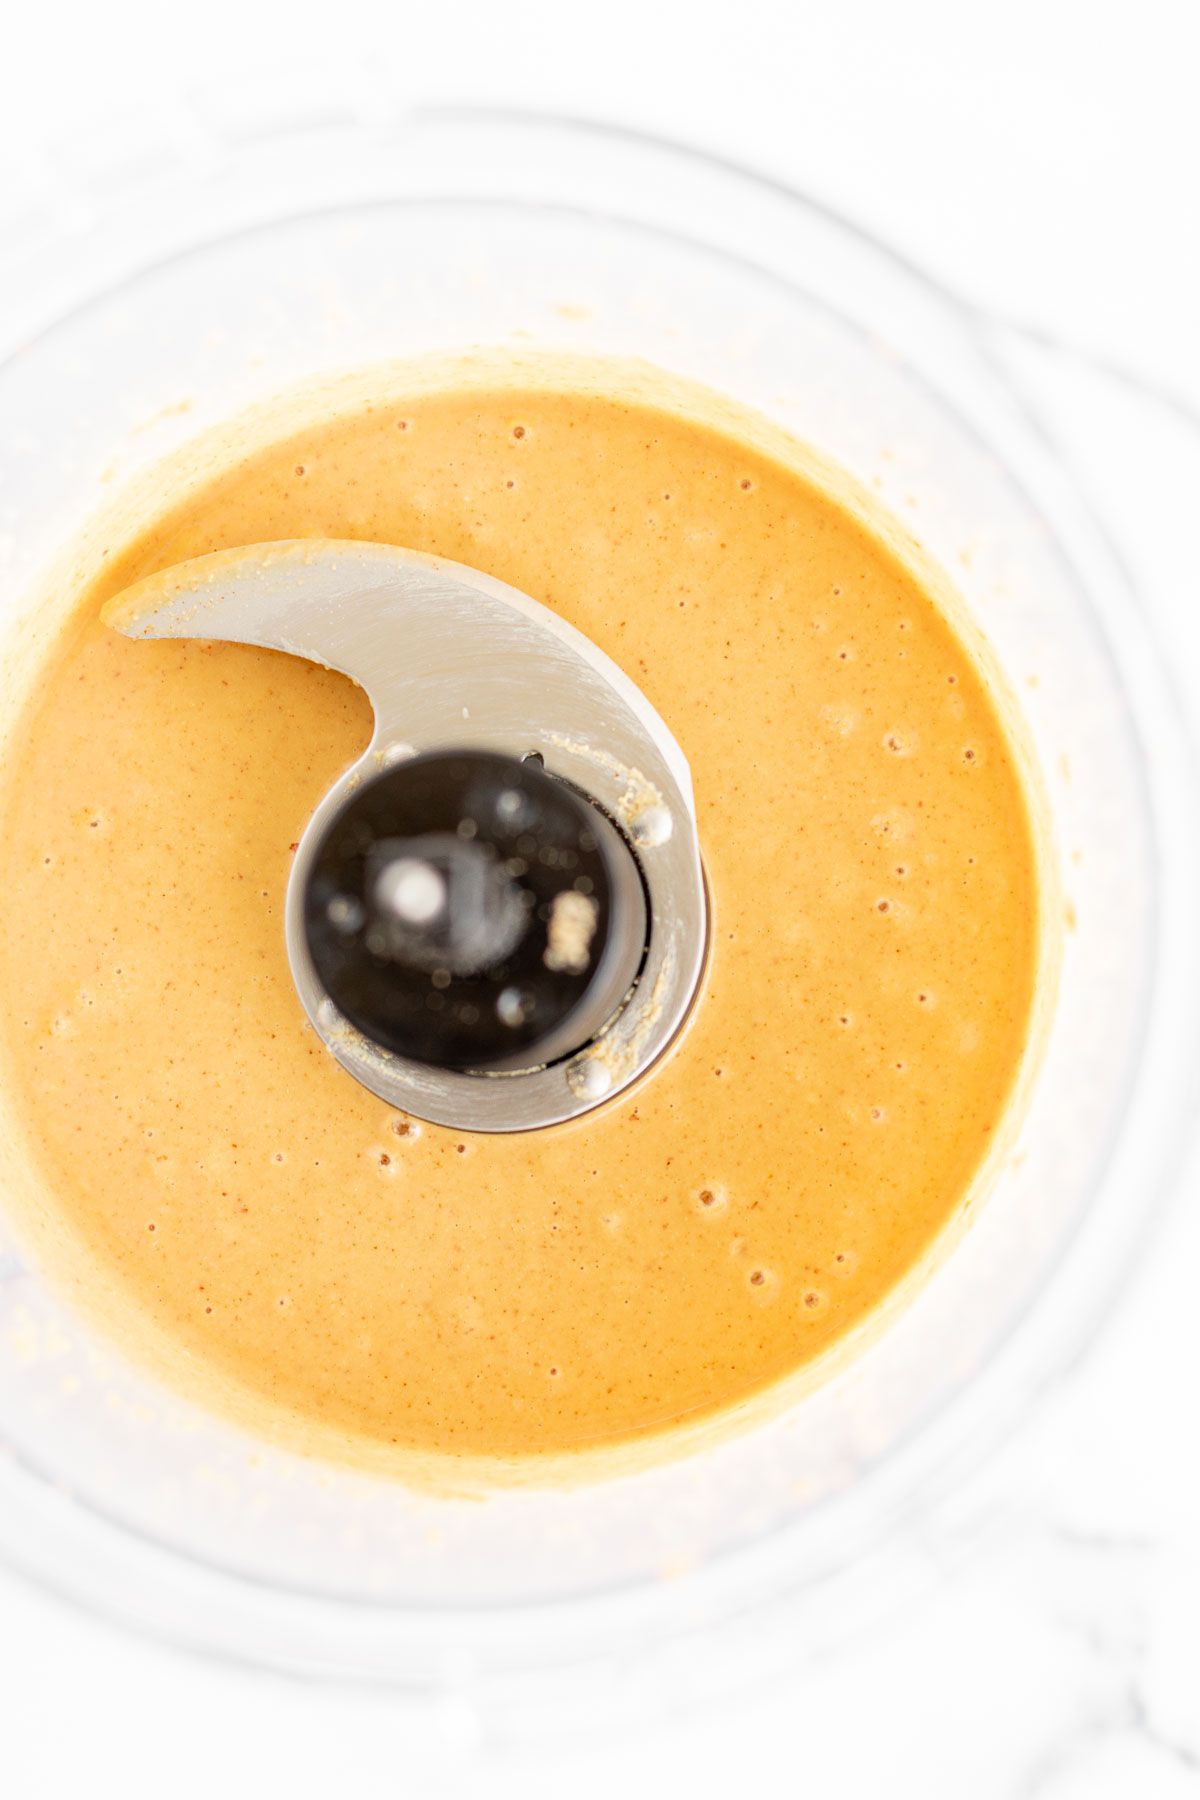
- For crunchy, stop here. For creamy, process for an additional two minutes (or longer, depending on the strength of your food processor blades).
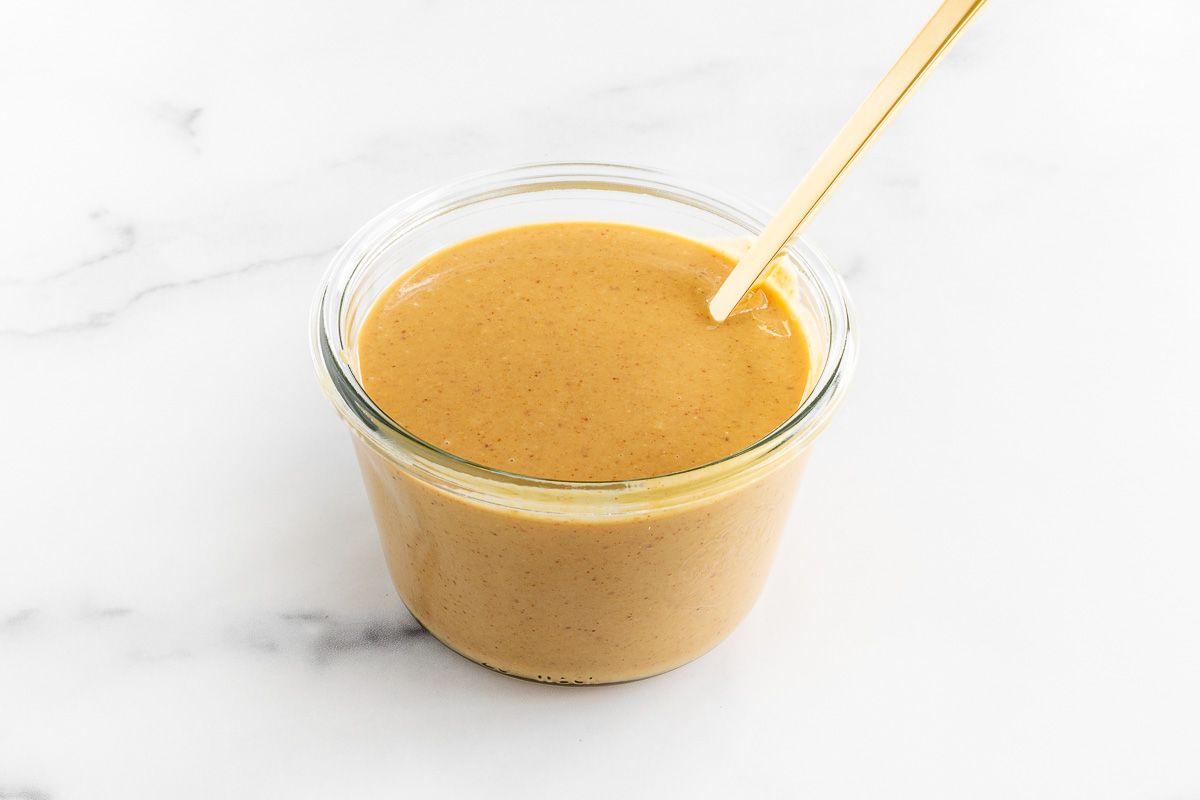
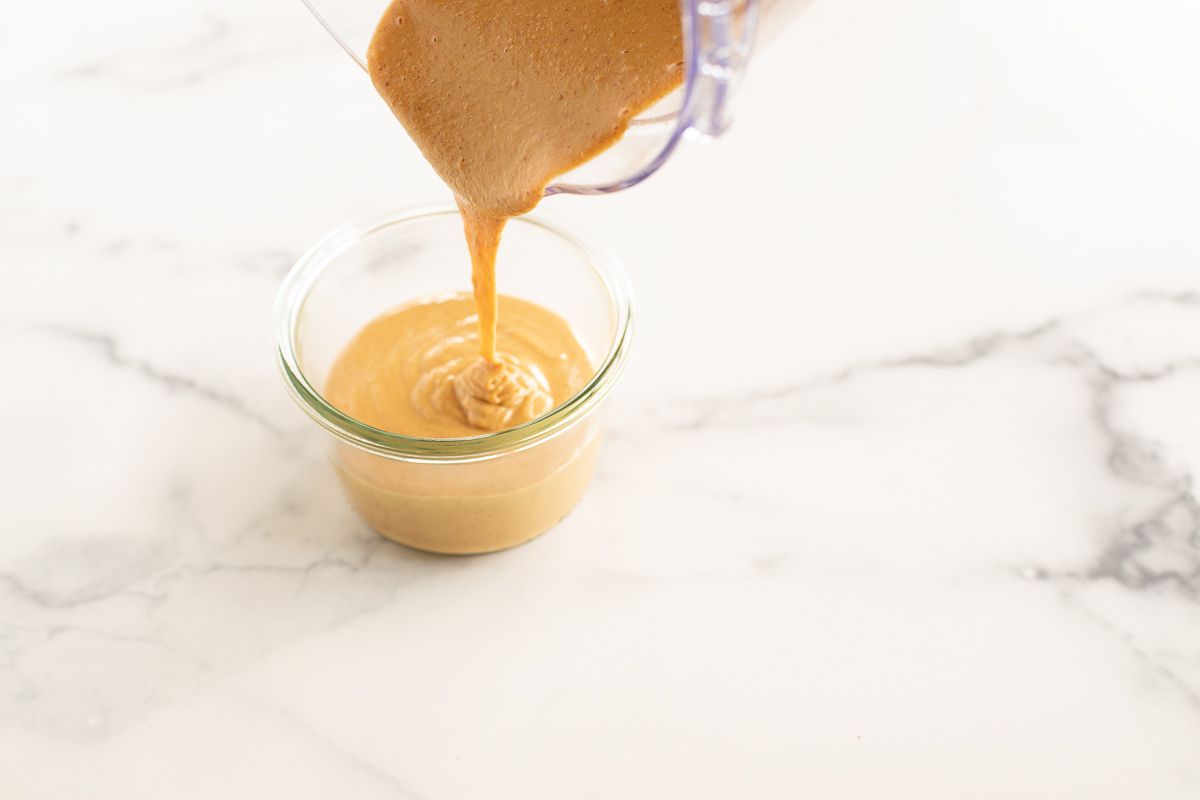
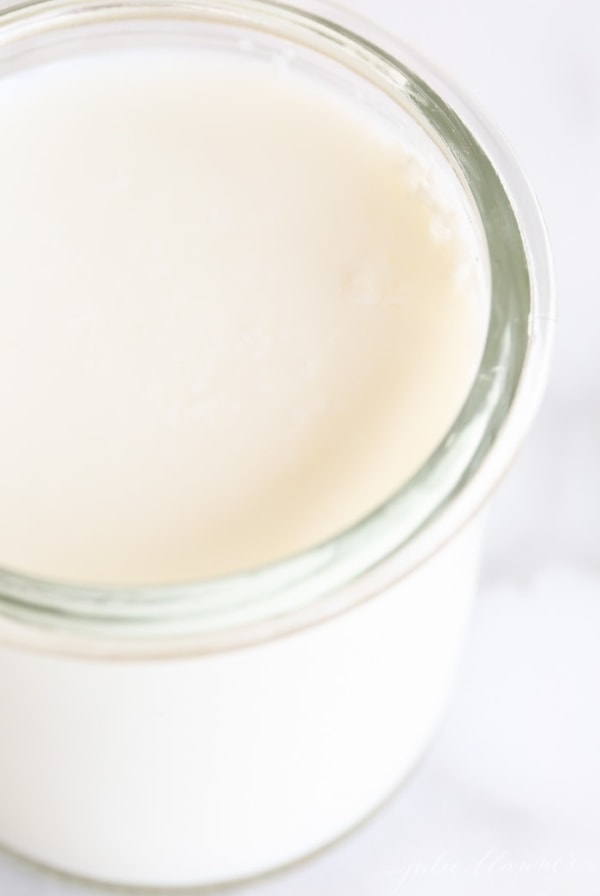
- Move this creamy golden perfection into your favorite jar or container.

Tips
- Not creamy enough? Keep running your food processor – aim for 30 second increments so you can scrape down the sides frequently.
- During processing, you’ll notice stages. The peanuts will go from mere crumbs, to a bit of a lump, and then finally smooth and creamy.
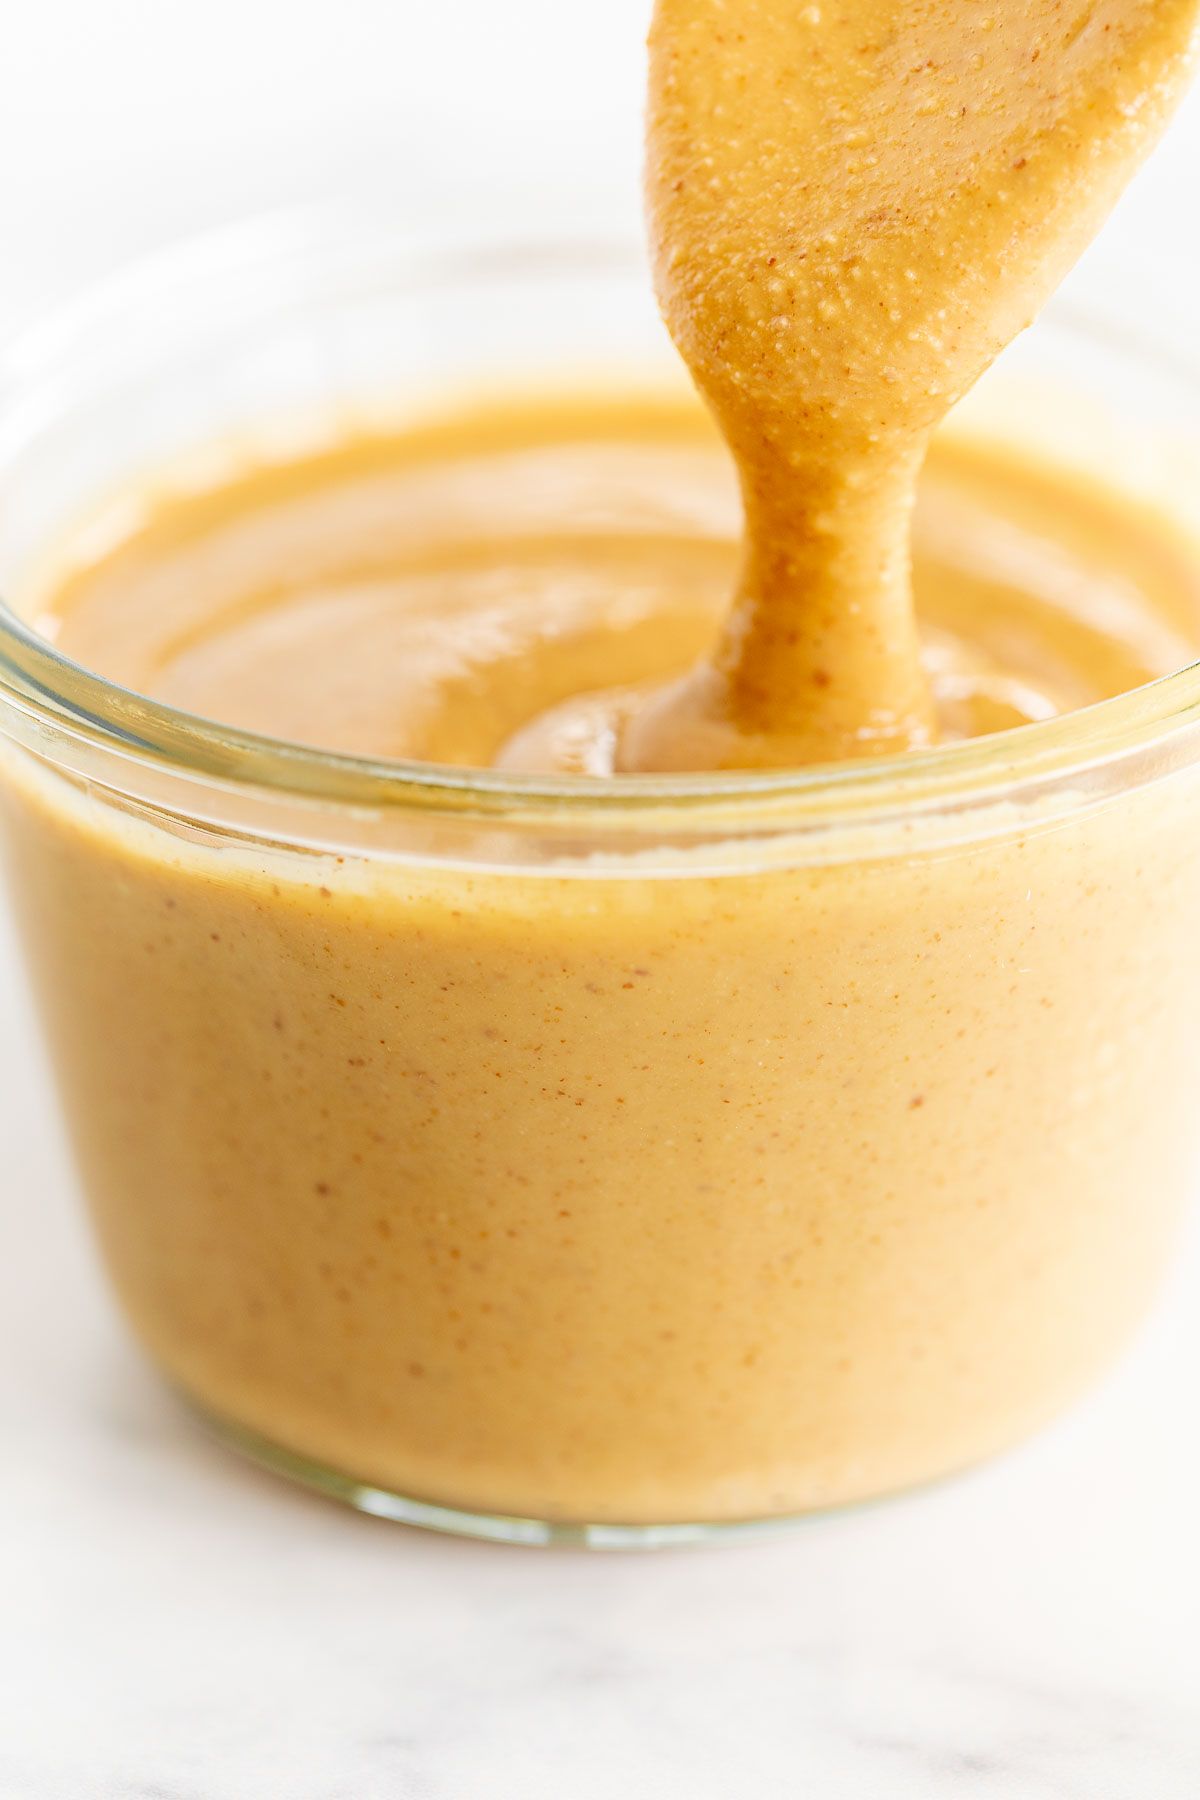
- It’s much runnier and more liquid than store bought, so be prepared!
- Don’t add additional salt until taste testing. If you’re using roasted, salted peanuts, you might not need any additional salt at all!
- Honey isn’t necessary either, but it adds a delicious sweetness that balances the salty nut butter perfectly.
Scaling up, down or substituting? You’ll love this printable Measurement Conversion Chart!
Frequently Asked Questions
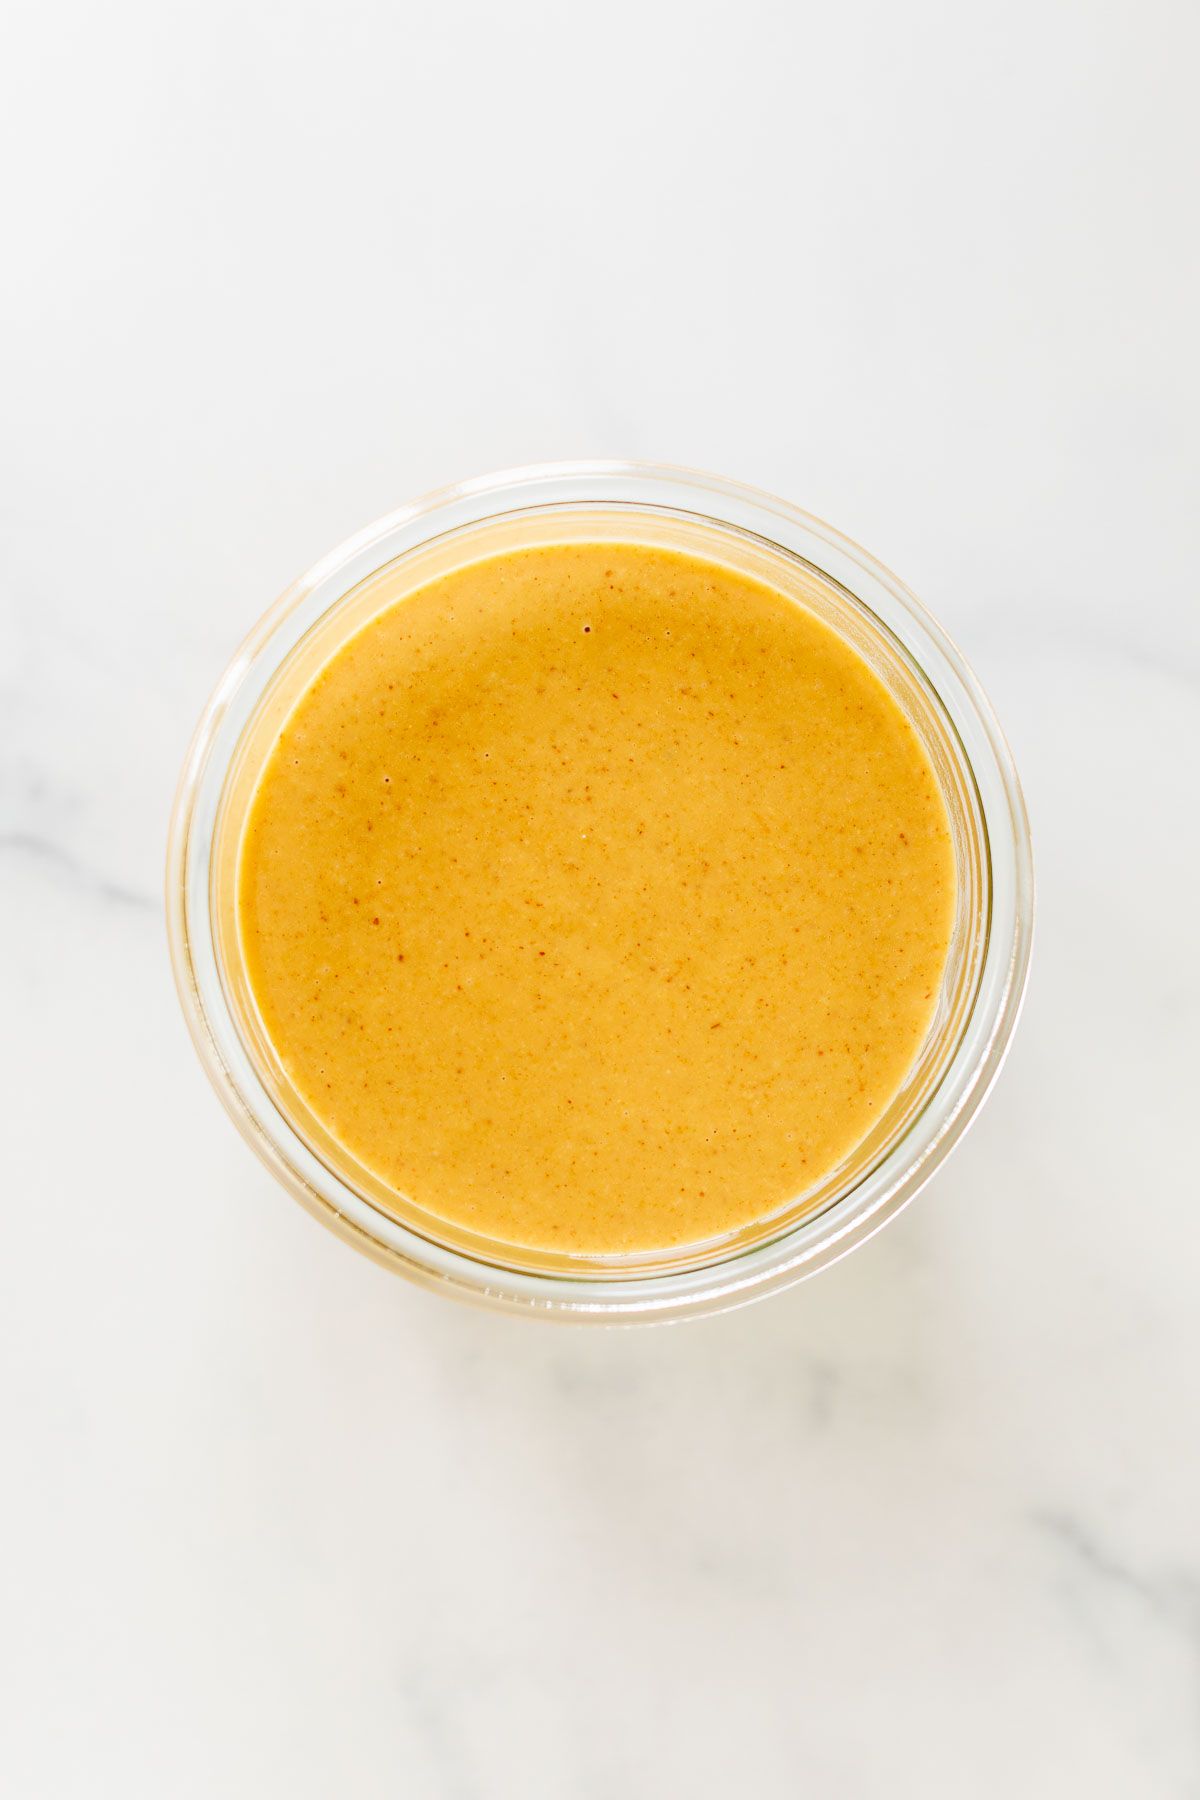
It’s not only cheaper because you’re making it yourself, it’s more healthy, too! Because you don’t need additional sugars, salt or oil in this recipe, it’s much cleaner and has less carbohydrates, fat and calories.
Don’t add liquids to your homemade nut butters. Peanuts are naturally full of oils, so the additional water or liquid can cause clusters of oils and inconsistent texture.
Serving Suggestions
Peanut butter is incredibly versatile as an additive to many of your favorite treats, snacks and even drinks!
Consider adding a spoonful of this protein packed natural peanut butter to your smoothies or even your morning coffee! It makes an excellent peanut sauce for Asian inspired noodles, and it’s delicious when added to your favorite baked (or no-bake) goodies.
See my favorite Peanut Butter Recipes for a round-up that showcases all the best recipes! Here’s a few favorites to get you started:
- No Bake Peanut Butter Bars
- Serve with Sliced Apples
- Make Peanut Butter Fruit Dip
- Buckeyes
- Peanut Butter Syrup
Dietary Considerations
- Gluten Free
- Vegetarian
How to Store
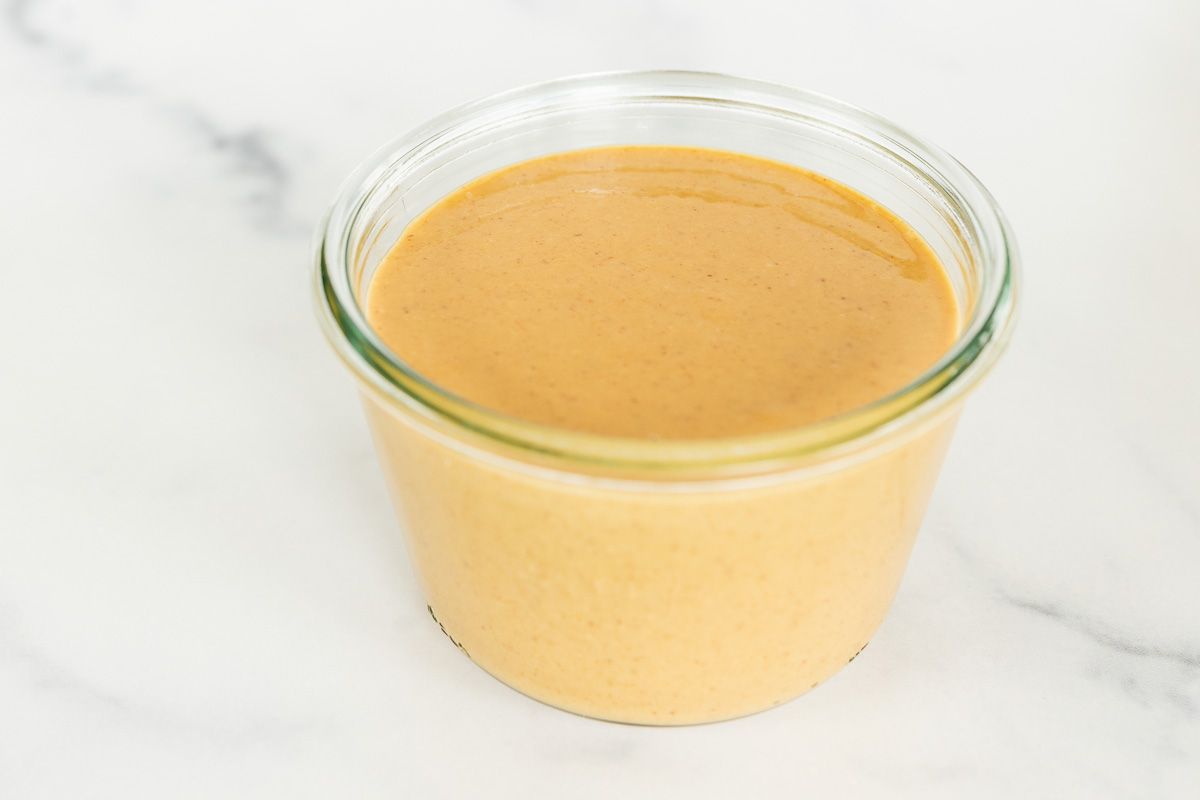
- Room Temperature – Store it in a cool dark place (like your pantry) for up to a month.
- Refrigerator – It can also be safely refrigerated for up to three months.
- Freezer – Yes, you can store peanut butter in the freezer! It will keep safely in an airtight container for up to six months.
What’s your favorite way to eat peanut butter? I’d love to hear from you!
More Desserts
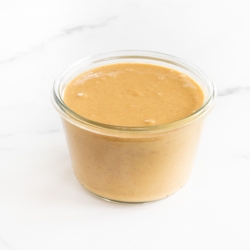
How to Make Peanut Butter
Instructions
- Add peanuts to food processor and process for three minutes.
- Taste test. Add additional salt and/or honey if desired.
- For crunchy peanut butter, stop here. For creamy, process for an additional two minutes.
- Move peanut butter into your favorite jar or container.
Julie’s Tips
- Run your food processor longer if it’s not quite creamy enough at the five minute mark. You can aim for 30 second increments to scrape down the sides frequently.
- During processing, you’ll notice stages. The peanuts will go from mere crumbs, to a bit of a lumpy ball, and then finally smooth and creamy.
- Don’t add additional salt and honey until taste testing – you might not need it.
- Store homemade peanut butter in a cool dark place (like your pantry) for up to a month.
- Homemade peanut butter can also be safely refrigerated for up to three months.
Video
Estimated nutrition information is provided as a courtesy and is not guaranteed.
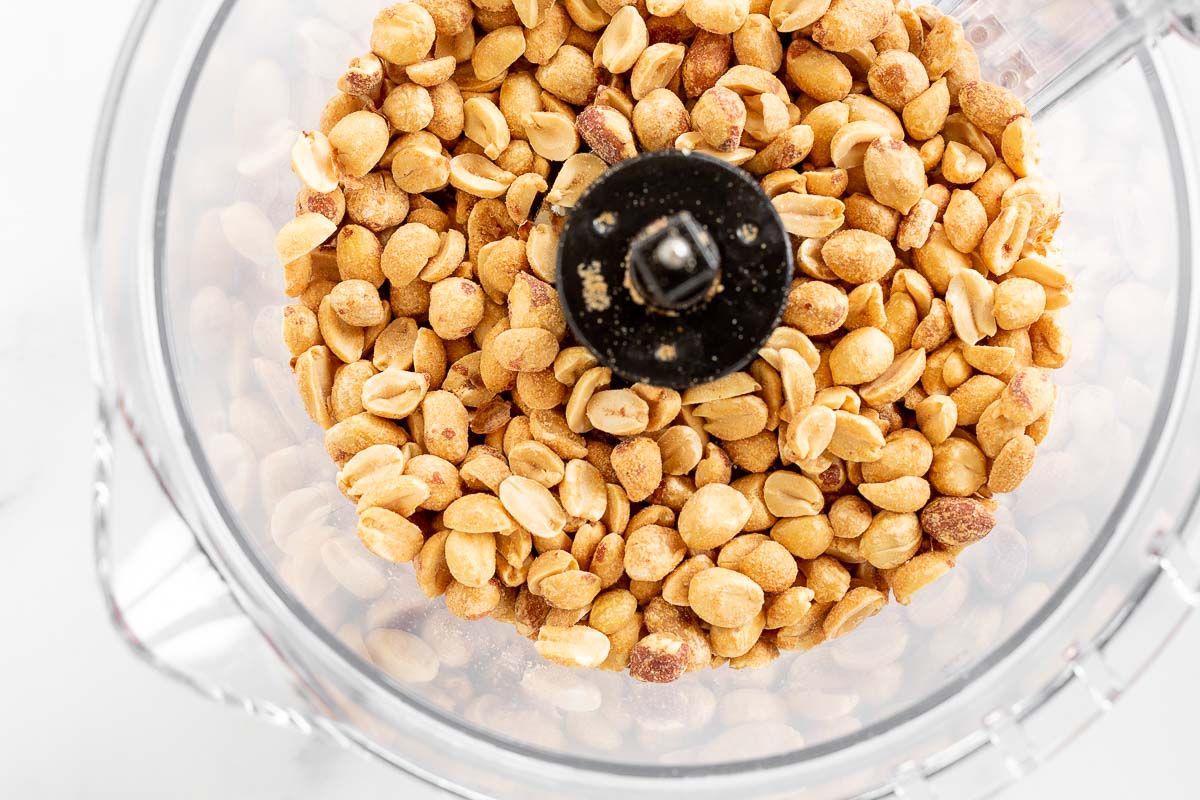
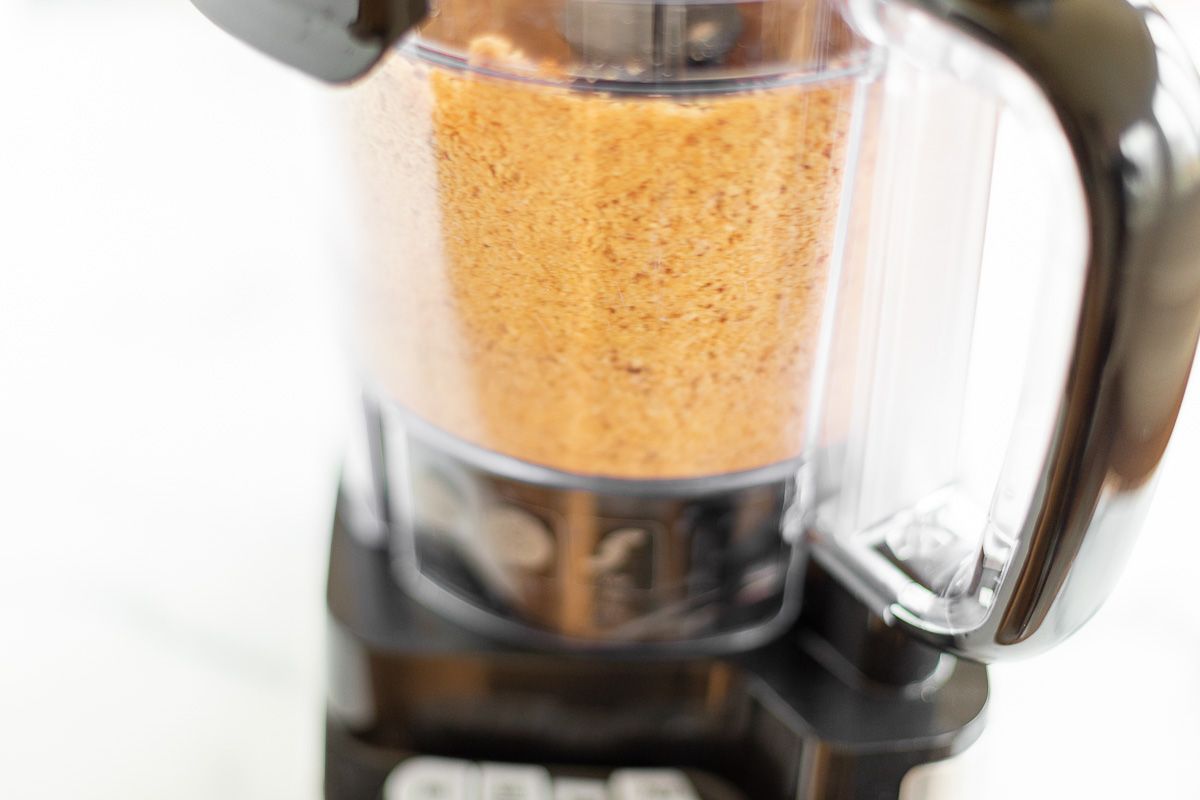
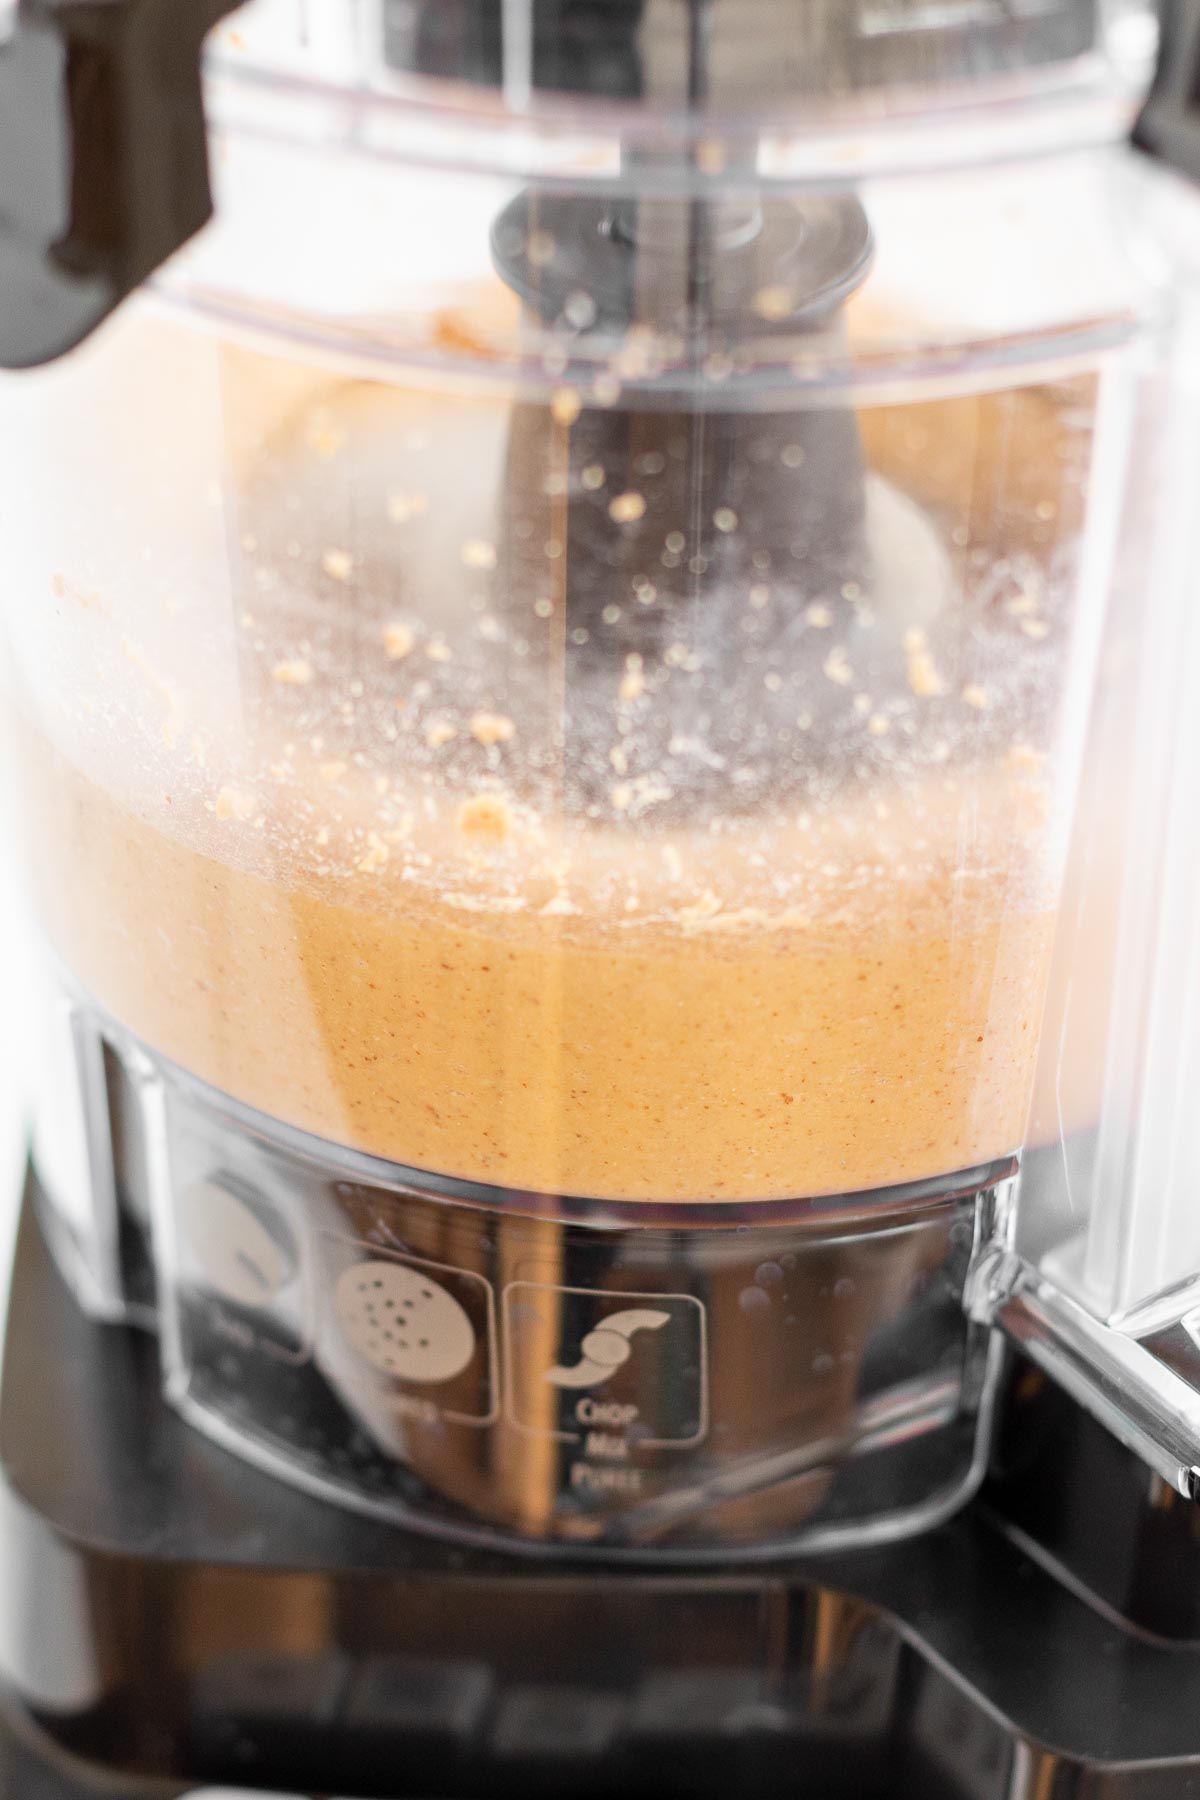 Eventually, the peanuts form into a bit of a ball that might stick to one side of your processor. Finally, it becomes more like a paste. Don’t give up – keep going until it’s the smooth, silky texture you’re dreaming about!


We are huge peanut butter fans Julie and I never thought of making it! My kids and I are both going to enjoy this, thank you!
It’s so simple! Enjoy!