Get tips and tricks for how to hang curtains to make them look like custom drapes without the expense. Learn about curtains vs drapes, how high to hang curtains, tips about curtain lengths, and so much more!
This is a complete guide to hanging curtains like a professional, so you can maximize the cozy warmth, style, color and texture of curtains in any room of your home.
If money wasn’t a factor, I would have custom drapes made for every room of our home. I love the tailored, traditional look. When done right, they look so rich and effortless.
Unfortunately, custom drapes can be so expensive! Today I’m sharing tips on hanging curtains to get the look for less.
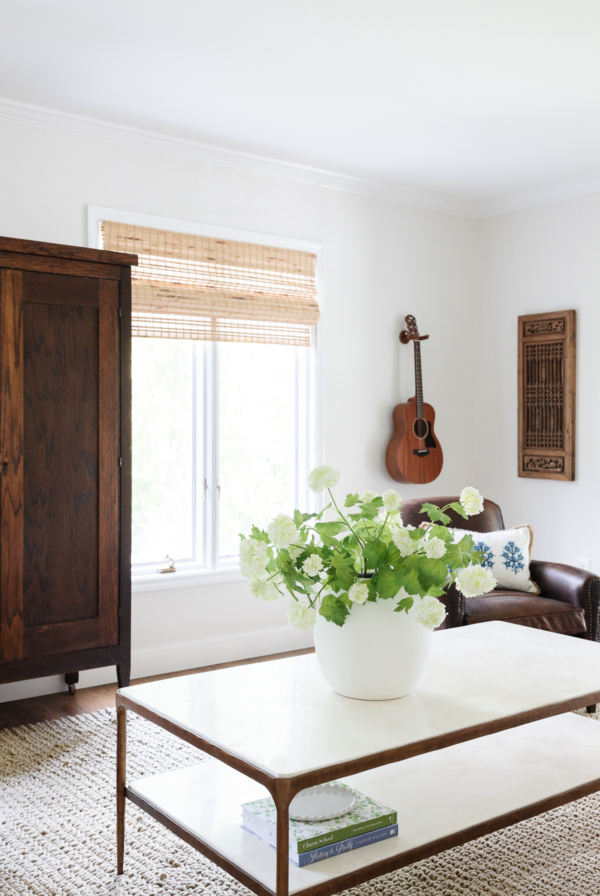
Curtains can help a room feel truly finished. And they are practical too… they can control light in a room, add a layer of warmth, and more.
Learn the keys to getting a polished look in this post! You can use the drop down Table of Contents menu to navigate, and don’t forget to pin and save for later.
A few months ago I was so frustrated with our curtains that I enlisted help. I had spent a small fortune on ready made curtains for the girls’ rooms and they just looked blah.
A friend of mine put me in touch with a professional who came over and showed me what I was doing wrong. The idea was there, but my execution fell short. We had used drapery hooks and clips, but to my surprise, a few too many.
I learned a lot of tips and tricks to hang curtains – like a professional. These are the simplest tweaks that make all the difference… making these ready made curtains look more like custom drapes. I’m so excited to share them with you!
Keep reading to learn how to hang curtains, tips about curtain lengths and how high and wide to go.
The Benefits of Hanging Curtains
Like many of my favorite Designer Secrets, hanging curtains correctly can completely change any space in your home!
- Give you the appearance of higher ceilings
- Elongate your windows
- Bring in more light
- Help a room look finished
- Create privacy
- Add warmth
Curtains vs Drapes: What’s the Difference?
It can be confusing, right? If you’re wondering about the differences in a battle of curtains vs drapes, here’s some basic background.
Curtains are the less expensive option for your windows. They are fabric panels that are generally sold in pairs. They hang from a rod, and tend to filter light instead of blocking it out entirely, and are often installed over blinds or shades.
Drapes are generally a heavier fabric and they are lined. This makes them better at blocking light and drafts… but they are also more expensive and more formal than lightweight curtain panels. They are often custom made and have a more high end feel.
Whereas curtain panels can range in any length from a cafe style (covering just half of a window) to full length, draperies are always full length, touching or puddling on the floor.
More Window Treatment Ideas
How to Hang Curtains
Your first step? Measure one, two, three times. You’ll measure so many times, you’ll be confident when ordering and shopping!
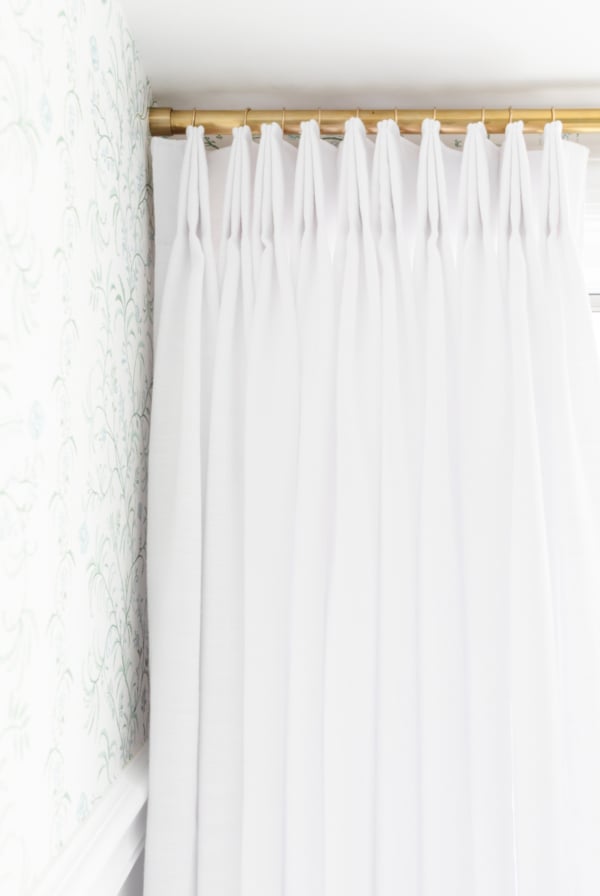
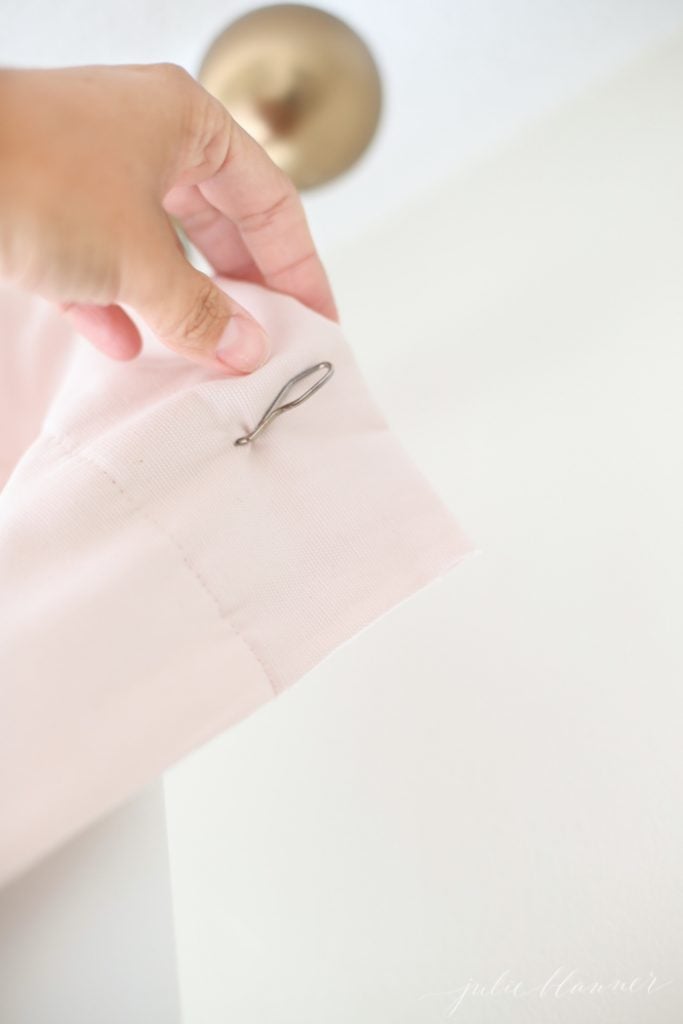
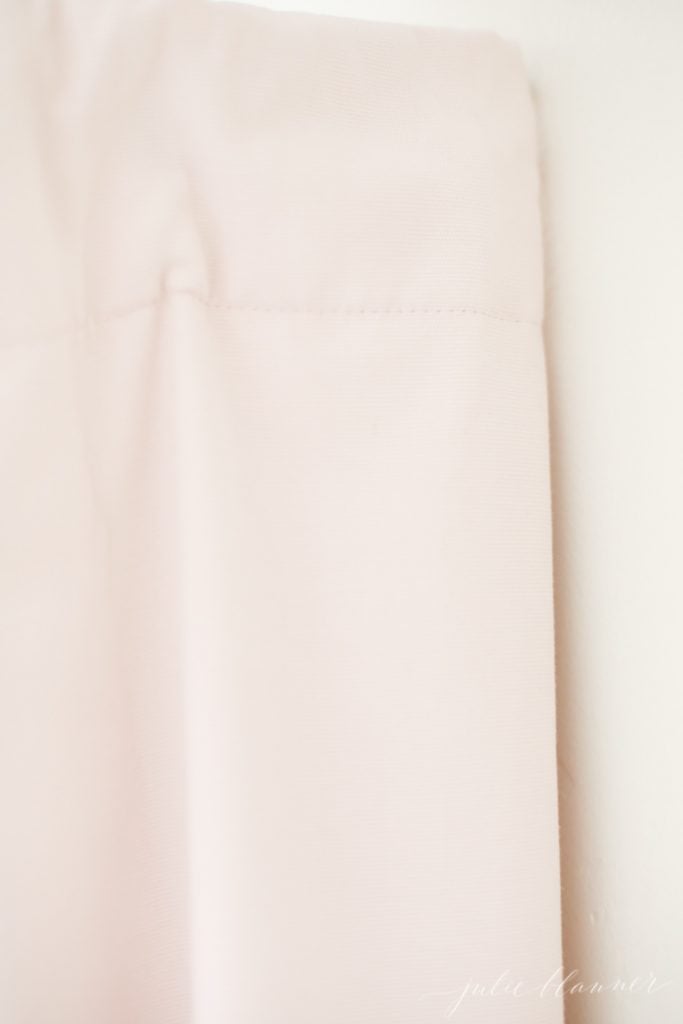
- Clips / pins should be hung on your curtain panels approximately 4″ apart to offer a beautiful fold. The first pin on each side doesn’t hang on the rod though…

- It hangs on the wall! There’s no better way to get a custom feel than to wrap the ready made curtains – around the window! Just add a screw to the wall and attach a drapery pin to the curtain and to the wall for a polished look. See how with step by step photos below.

- Once you have placed all of your pins and clips 4″ apart, and secured the ends to the screw as shown above, thread them on the rod.
- Insert your fingers into the fold as you would gloves, and pull away from the wall for a pretty fold.

These tips made all the difference in the world.

Tips
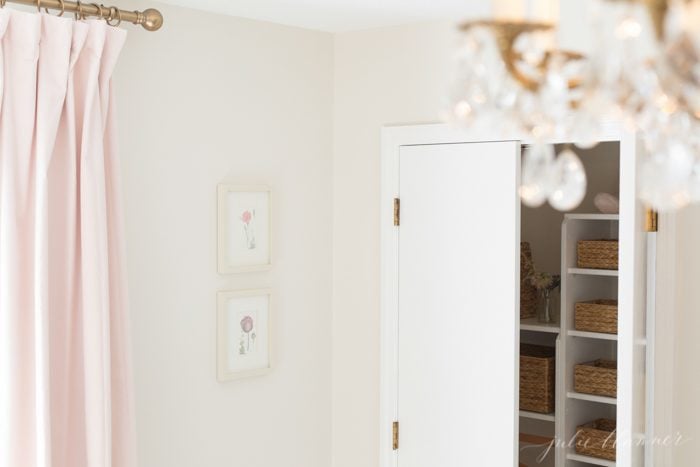
- When in doubt, go high. I like to hang my rod six inches above the window. Use a stud finder and wall anchors to ensure your curtain brackets are secure and won’t tilt. In fact, many designers will suggest going all the way up to the ceiling. This lengthens the look of your windows visually!
- Have the rod extend beyond the bracket. I tend to do 2-3″, not including the finial.
- Add at least 10″ to each side of the window. It will make your window appear larger.
- Use wide panels. A good rule of thumb is at least 50″, but for large windows I like to use 100″ wide panels. This will make them feel full. A common rule for curtains is that their finished width should be at least 2 times the width of your window for heavier fabrics such as velvet, and 2 times for sheer fabric… though this often applies to formal spaces.
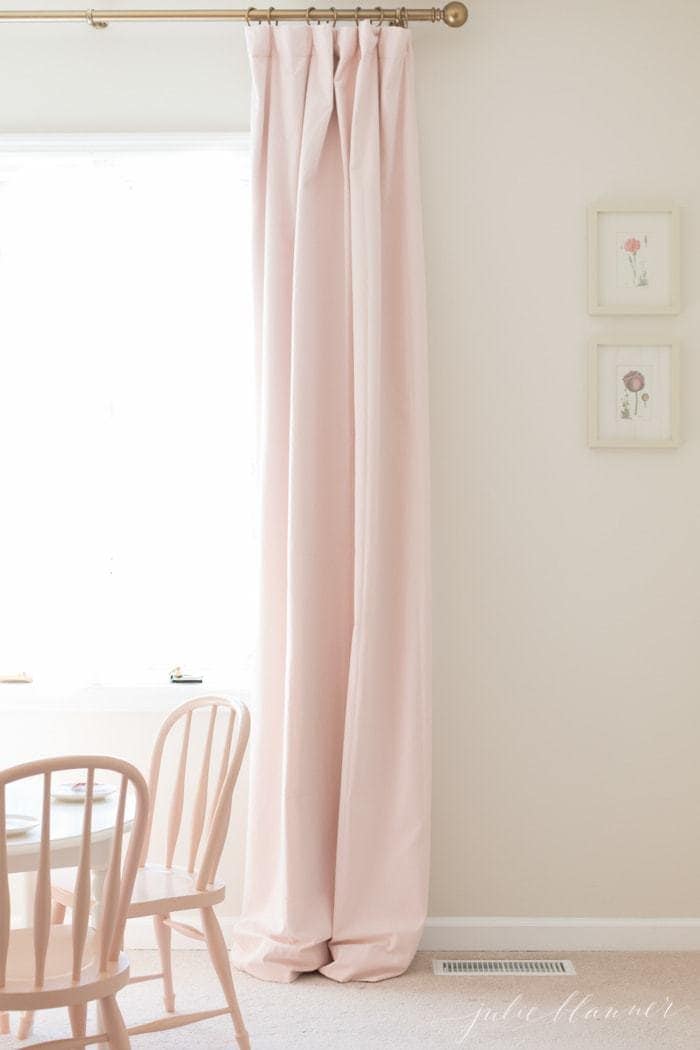
- Skim, kiss or puddle. Be diligent about your curtain lengths according to your window height. Hang curtains to skim 1/2″ above the floor for a casual look, 1″ longer than the floor for a kiss or 8+” longer for a puddle {I tend to puddle mine}.
- Steam. This is my least favorite rule, but it makes a world of difference in how curtains lay and can offer a more custom appearance.
Frequently Asked Questions
Yes you certainly can, and should! This is actually one of the oldest designer tricks in the book, to make ceilings look higher and help a room feel more expansive.
Curtains are often a couple shades lighter or darker than the wall color for added contrast. In fact, they can be any color or pattern you’d like, and you can go as dark as you’d like, or even a bright white with any wall color!
Yes, generally speaking they should touch the floor. Skim, kiss, or puddle… any which way you want to approach it, they should touch the floor!
Curtain Length Tips
Curtain lengths are certainly a point of contention in the world of decorating. Hanging curtains can be stressful and you want to get it right the first time!
Everyone has different needs for both practicality and aesthetics, but in my opinion, it’s important that your curtains reach the floor. Otherwise, you’re shortening the visual length of your walls. This forces the eye to believe that your ceilings are shorter and your windows are smaller- two things we’d like to avoid!
With that said, if you have radiators or something that impedes your panels from touching the floor, by all means do what you need to do! Curtain lengths vary greatly for a reason. Find the right length that works for your home, and if necessary consider taking them in for alterations- a little hem change can go a long way!
Standard Curtain Lengths
- 63 inches
- 84 inches
- 94 inches
- 108 inches
- 120 inches

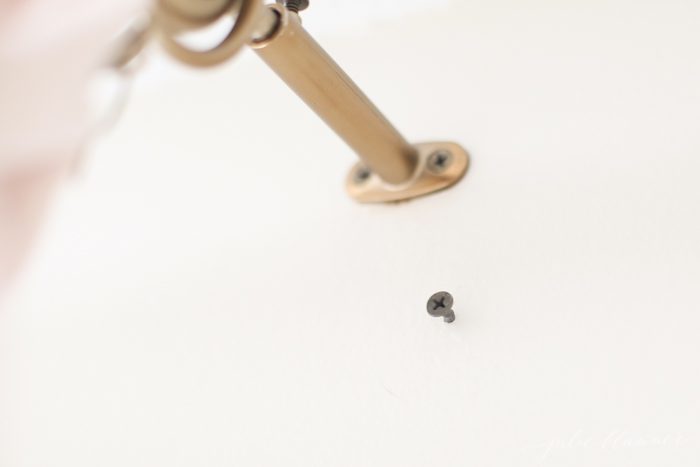
Stop Curtain Rod Shift
Do you ever get frustrated with your curtain rod shifting? If you have working curtains (meaning that you open and close them), you have probably experienced this. Most curtain rods use a screw to merely brush up against the rod to secure it in place.
Drill a hole into the rod and rather than tightening the screw to meet the rod, tighten the screw into the rod. It’s a game changer when it comes to hanging curtains!
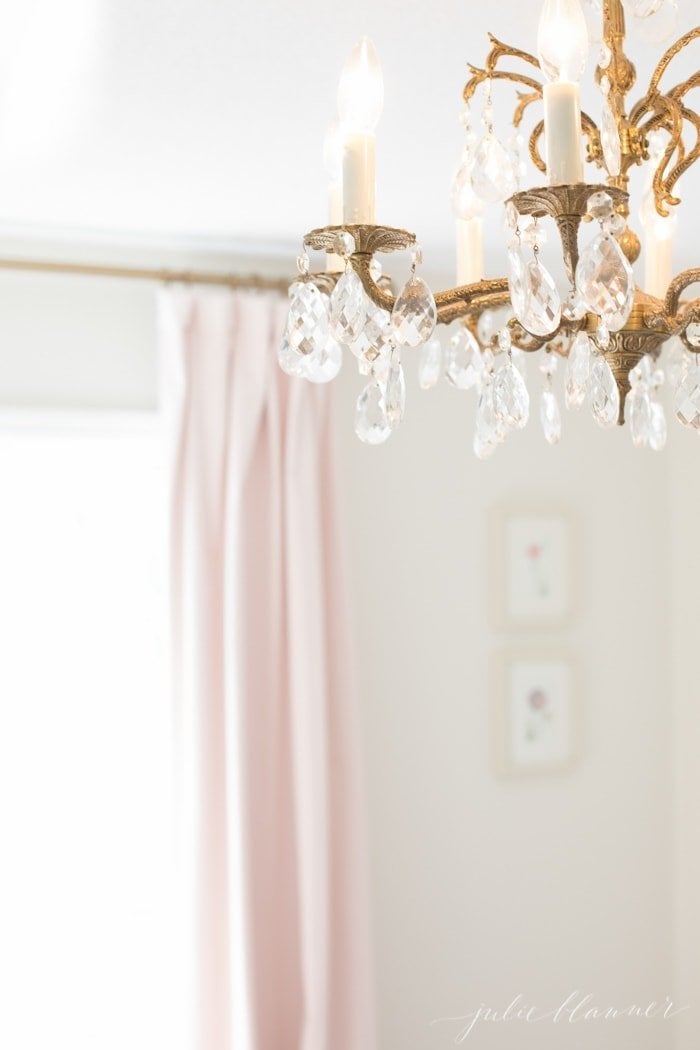
If you look at the curtain rod above it had shifted several inches. Now they’re securely in place with just 2″ on each side.


Wow genius! And loving the blush colored curtains with the brass rod! Gorgeous friend!
Thanks, Deb!
So pretty! Great tip on hanging it to the wall first! Curious, where you found the curtains and clips?
Thanks! Curtains are RH Baby and Child and clips are in my shop, but available at Bed Bath and Beyond. Enjoy, friend!
Great tips Julie!
Always a pleasure having you share at AMAZE ME MONDAY…thank you!
Blessings,
Cindy
These look great! Where are those curtains and rods from?!
You can shop them {and our home} here. Enjoy!
Unlucky for me I had no idea about the high and wide rule so when I first installed my curtain rods the who thing looked wrong. Next time I will definitely do it this way. But for now I am stuck because those curtain rod screws do not want to come out. Thanks for all the great tips.
Sorry Mary! Glad you enjoyed them! Curtain rods do leave big holes, don’t they!