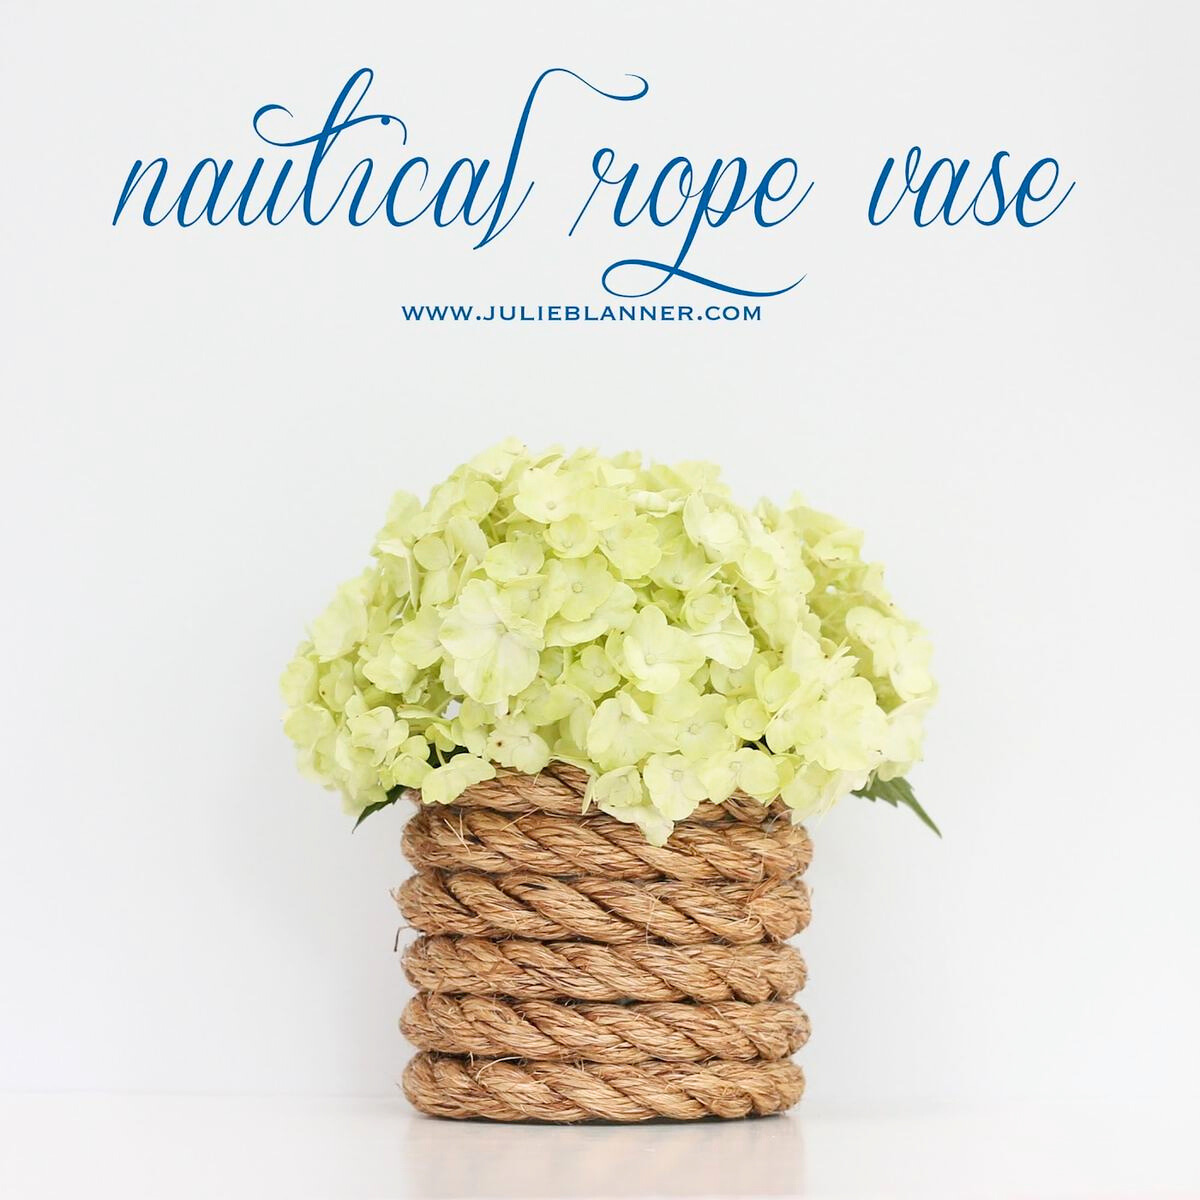
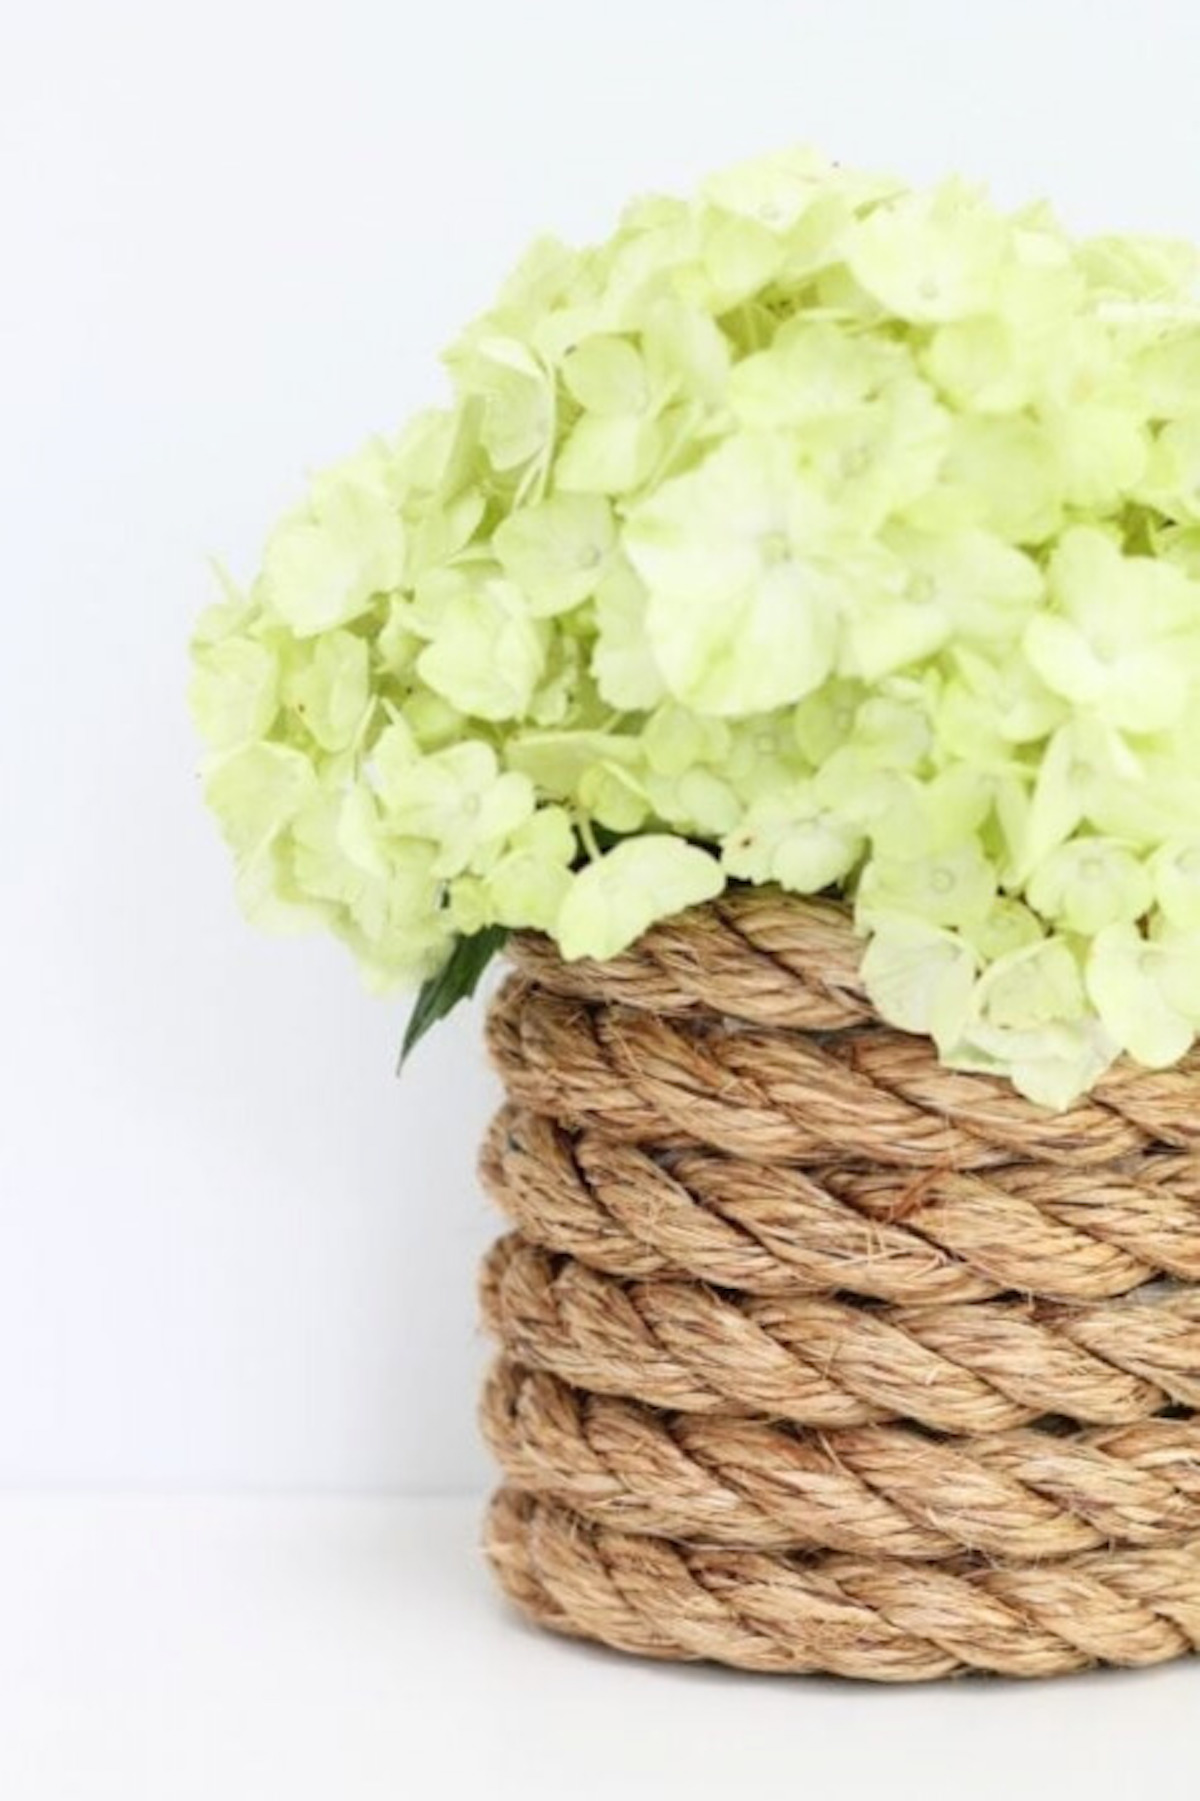
A nautical rope vase is a charming addition for home, wedding, bridal shower, baby shower, and makes a beautiful gift. It’s easy, inexpensive and comes together in less than five minutes!
I love home decor that makes a space feel clean and fresh and warm and inviting all at the same time. Sometimes “clean and fresh” can end up feeling cold and sparse. (Check out how I create a warm and cozy minimal aesthetic here. It’s doable!)
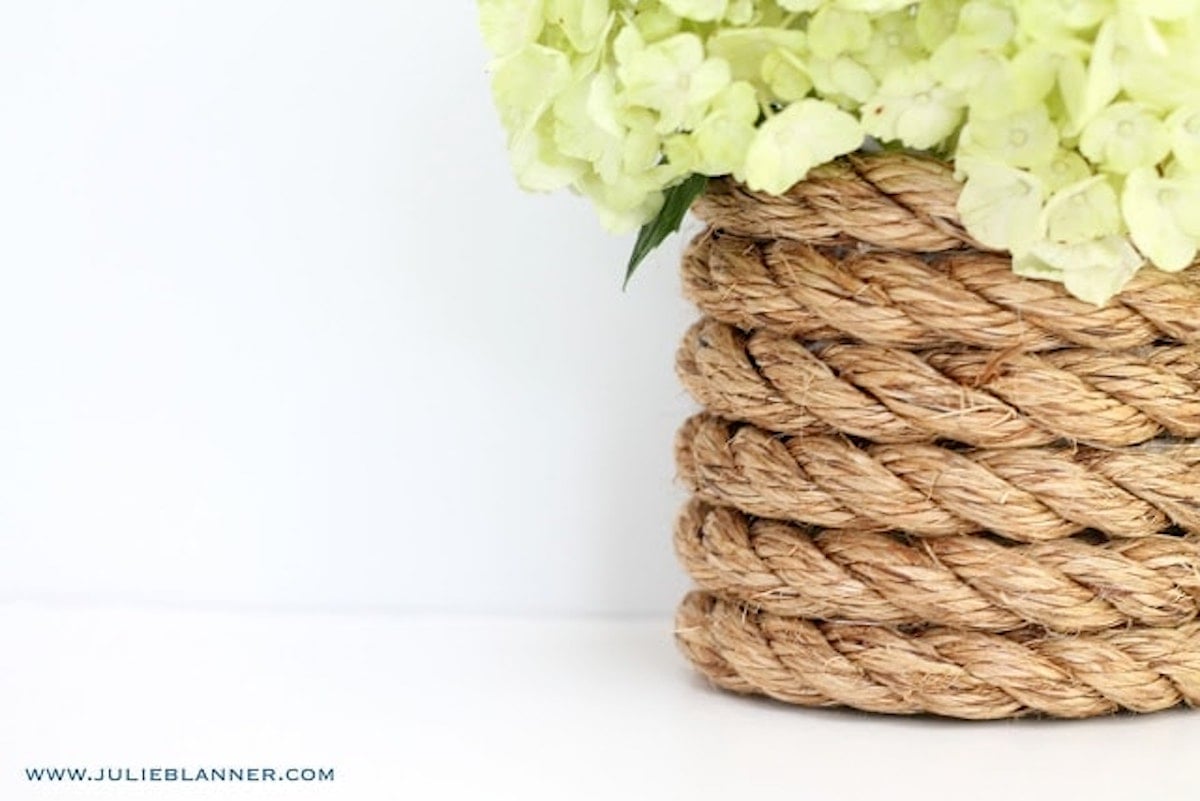
This rope vase adds texture, color, and depth that is just so good. The addition of fresh flowers (or faux – I won’t tell!) breathe life into a space, too!
When I was working on our guest room, I needed a few more finishing touches for it to be done. I had decided to embrace the room’s navy blue carpet, so I had chosen a subtle nautical theme to brighten up the space.
Naturally, thick rope fit well with the theme, and more importantly, it was easy on the budget. I had rope leftover from another project, but even with purchasing, the entire project costs less than $4!
You can use the vase of your choice. Big box stores, craft, thrift and dollar stores are great resources for inexpensive vases or you can upcycle cans, jars and bottles.
As featured in Woman’s Day Magazine, Country Living and MSN!
For more nautical-themed decor, see my nautical bathroom makeover, this sweet DIY nautical garland, and a blue and white nautical summer party.
Where to Use a Nautical Rope Vase
This DIY vase is perfectly sized to tuck into any small space for a sweet home decor accent. While mine primarily resides in the guest bedroom, it often makes appearances as a centerpiece indoors and out. You can see how I created a nautical table setting with it here.
Here are some ideas on where to style your own small rope vase:
- Window Sill
- Kitchen Countertop
- Table Centerpiece
- Powder Room Vanity
- Nightstand
- Dresser Top
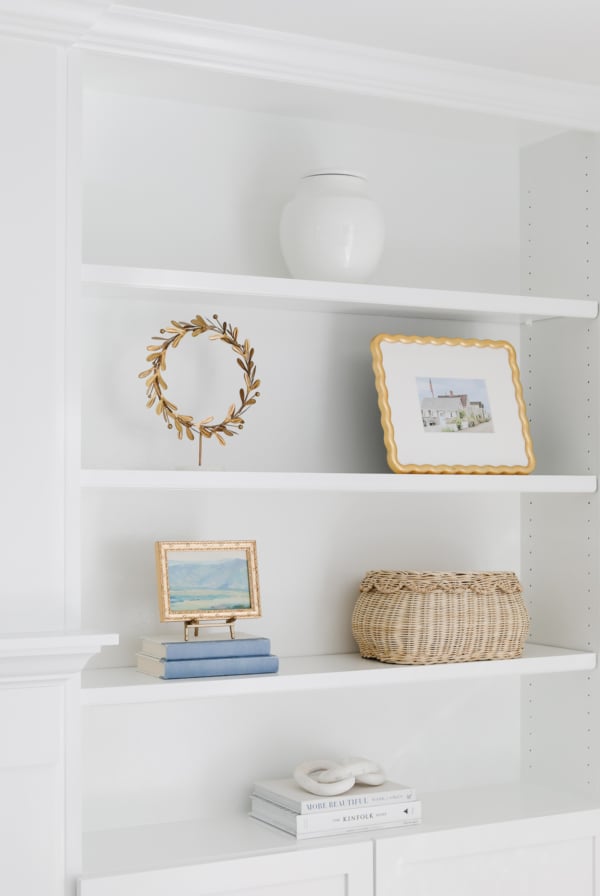
- Open Shelving
- Mantle
- Entryway Table
- Coffee Table
This nautical vase is perfect for any surface where you’d like to add a little color and style! It is a simple way to create a beautiful, curated feeling in your home.
It’s also perfect for:
- Wedding Showers
- Baby Showers
- Weddings
They’re really versatile, too! You can make a large or small vase taking the rope all the way to the top or halfway! It’s the perfect update for hurricane vases, bottles, pitchers and more.
Supplies
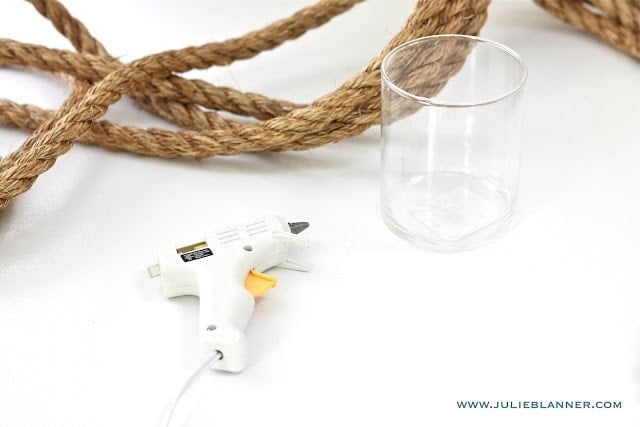
- Rope – Rope I just $.50 a foot at a hardware store and available in larger quantities at craft stores. Use the thickness of your choice.
- Vase – You can use any vase, new or recycled. Empty cans work well, too.
- Glue Gun
- Glue Sticks
- Heavy Clip
- Scissors
How to Make a Nautical Rope Vase
For the full tutorial, see the how-to card below!
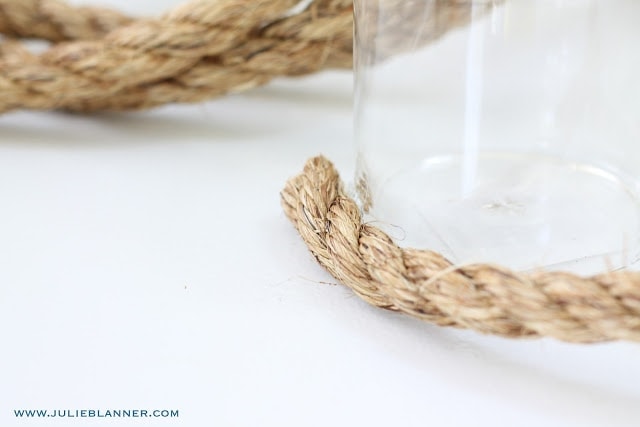
- Beginning at the base of the vase, add hot glue to the inside of the rope and press against vase. Add extra glue to end of rope to ensure it stays down.
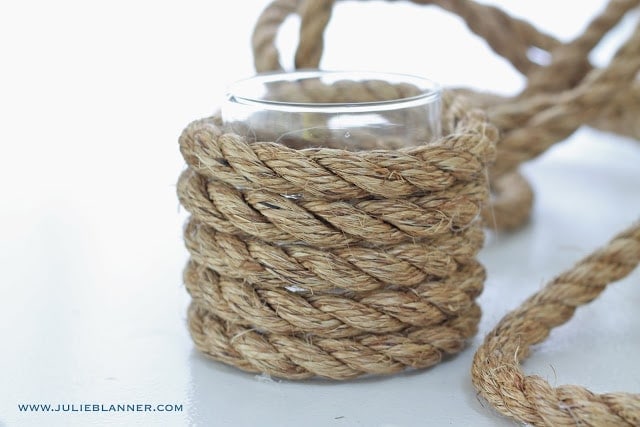
- Pull rope tightly as you work your way around vase. Glue inside of rope and press against vase. Every now and then, add an extra dab of glue to top edge of rope and press the next row of rope into it.
- Try to keep glue on the back side of rope or in between rows where it won’t be seen. If you do get glue on front of rope, let dry then use tweezers to pick it off.
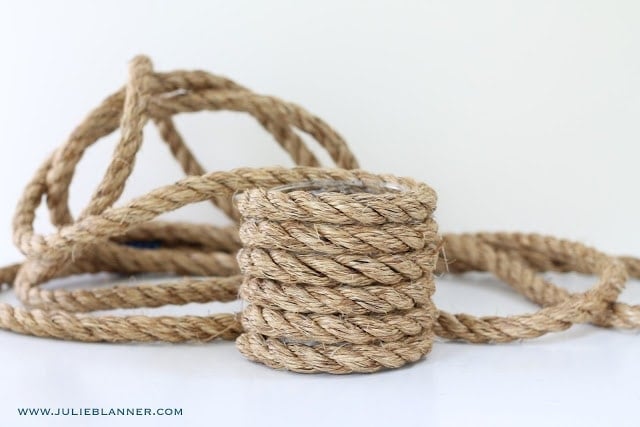
- Stop gluing rope just before you reach the end of the vase.
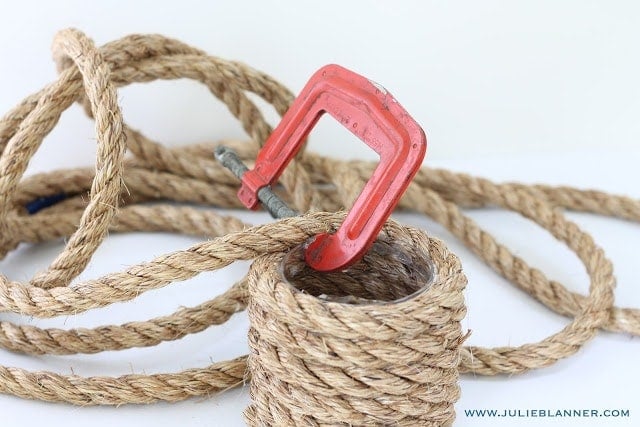
- Once you reach the top of the vase, add an extra dab of glue. Using a heavy clip, clamp the rope so that it is well secured. Let the rope sit for a few minutes until the glue is completely set.
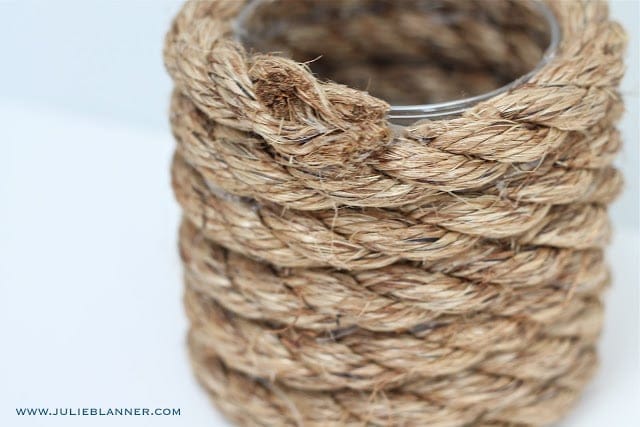
- Cut your rope using sharp scissors. I cut each strand individually so that it lays flatter from the top. Add extra glue to secure strands if needed. You can see here that is not perfect, but from the front and top of the vase, no one can tell!
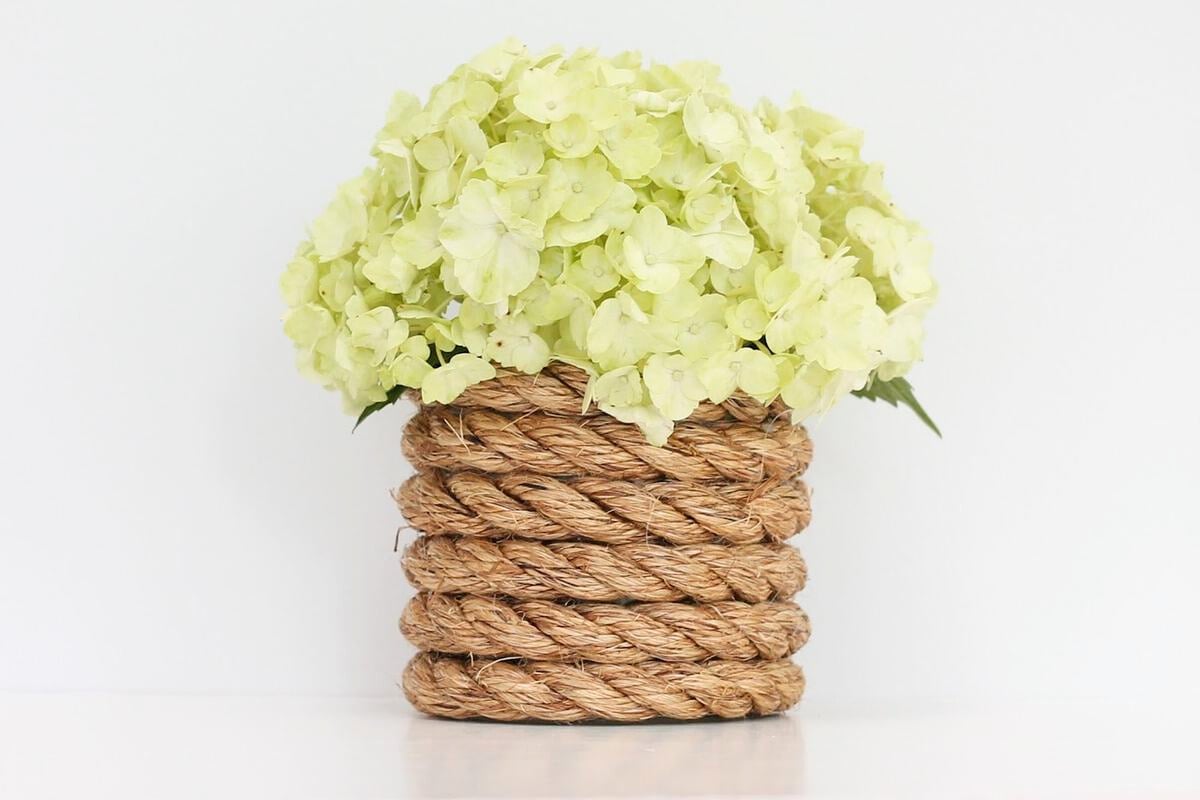
This rope vase filled with hydrangeas makes an effortless arrangement. Their round shape is just so perfect with this chunky round vase. Not to mention, their subtle fragrance makes my home smell so good!
Hydrangea are the easiest to work with, but you can use roses, tulips, an array from your garden, and more!

Amazon Storefront
Follow my Amazon Storefront to find more holiday looks for less.


Thanks Cocoalores! I generally keep flowers for just a week or so and just rinse and wipe with a paper towel/vinegar. Because of the rope, water stains won’t show, making it my favorite kind of vase!
Just saw your vase on “Inspire me Heather” and thought I’d give it a closer look! It’s gorgeous – and pretty easy, too. I was just wondering how you can wash the vase – any experience so far?
-Anja @ cocalores.blogspot.com
Your vase is so pretty, thanks for the tutorial and your photographs here are lovely – such a beautiful blog! I have this linked to my nautical post too today, for inspiration!
This is amazing! Thanks for the tutorial. <3
i love it, i have been wanting to try this for a while but i havent found any rope yet thanks for sharing xxxx