Content may contain affiliate links. When you shop the links, we receive a small commission at no cost to you. Thanks for supporting my small business.
Elevate your outdoor living space with a pea gravel patio you’ll enjoy for years to come! The natural material blends into landscaping, is affordable, easy to install and maintain.
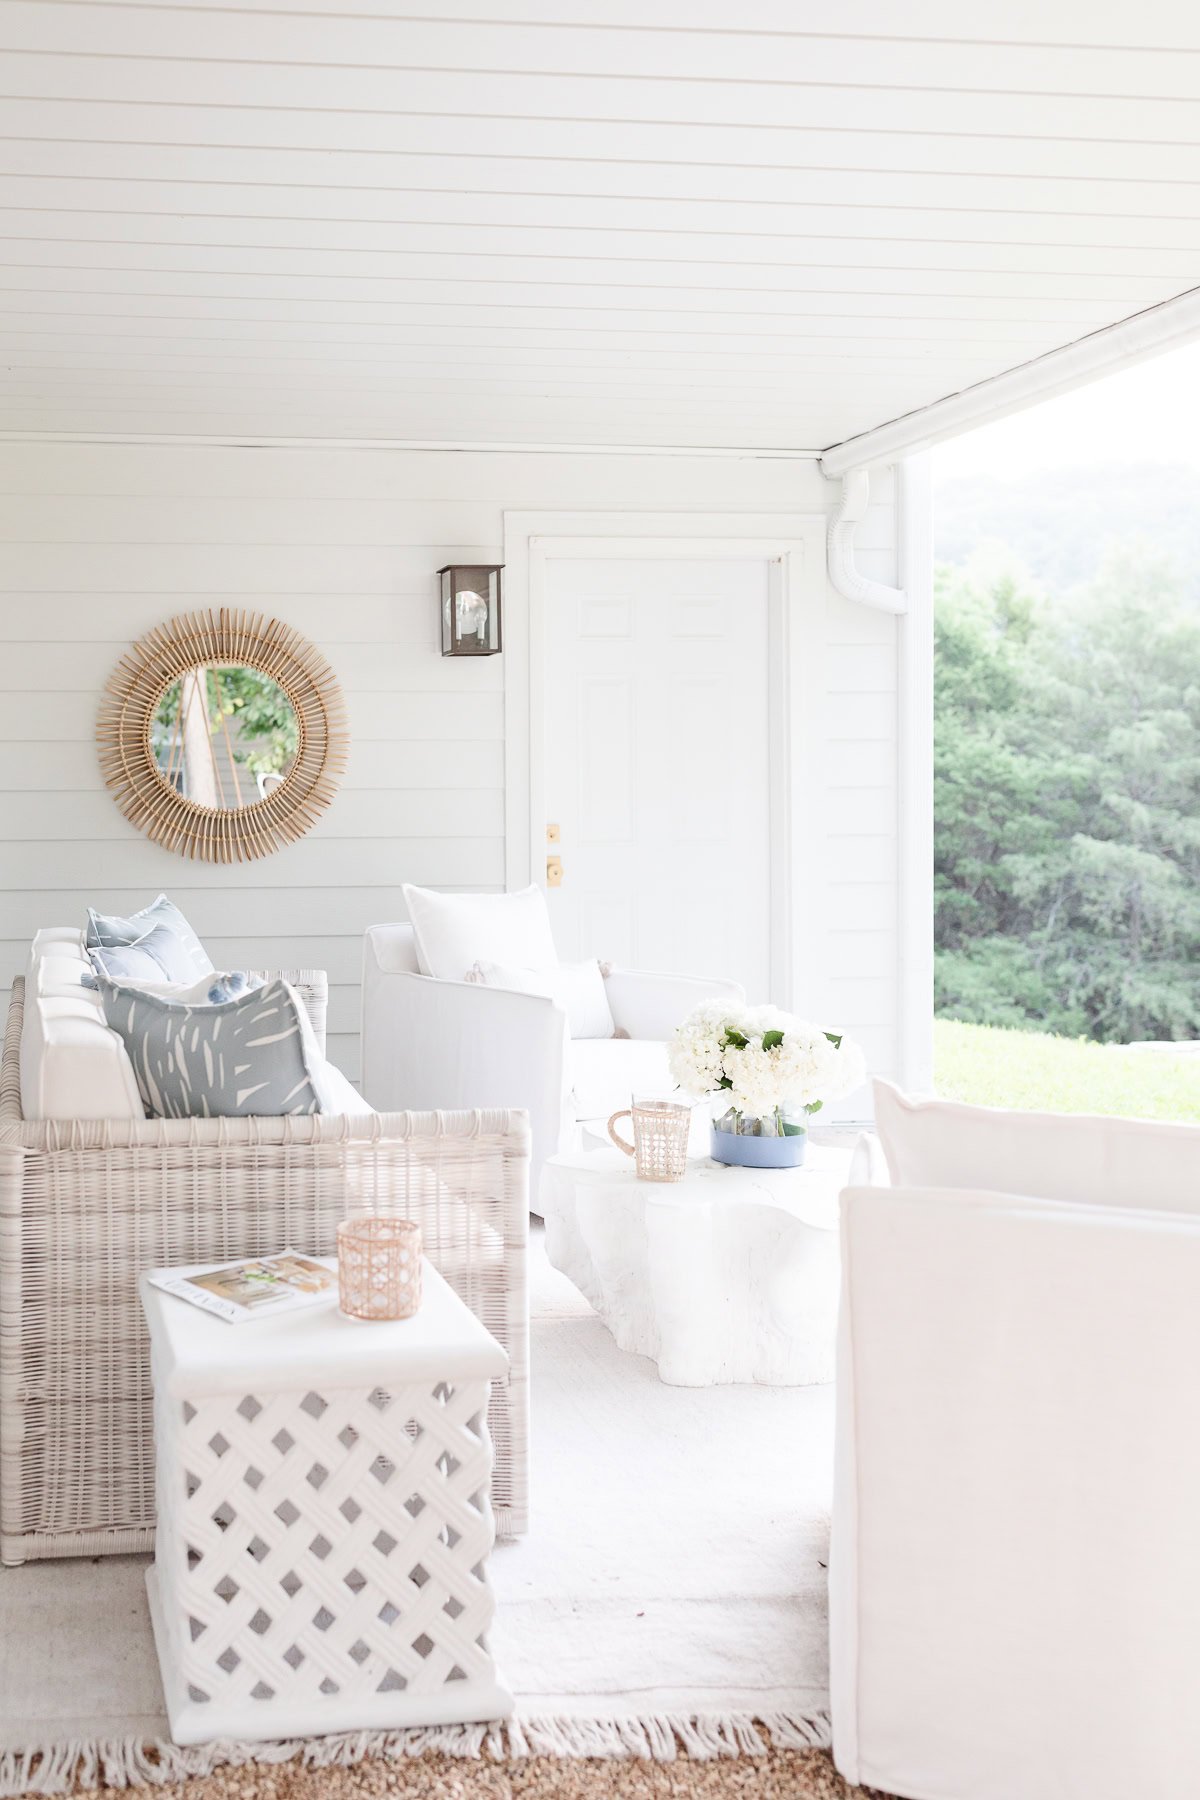
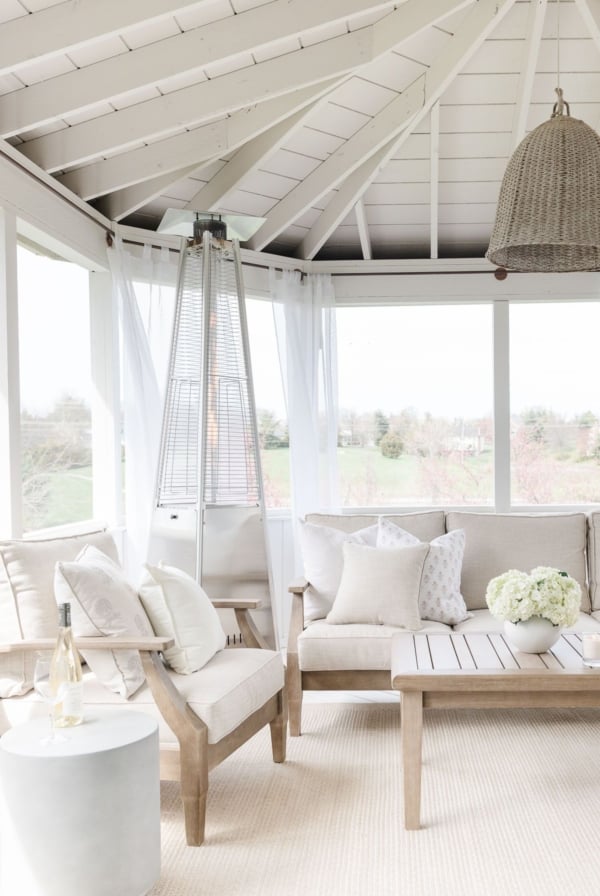
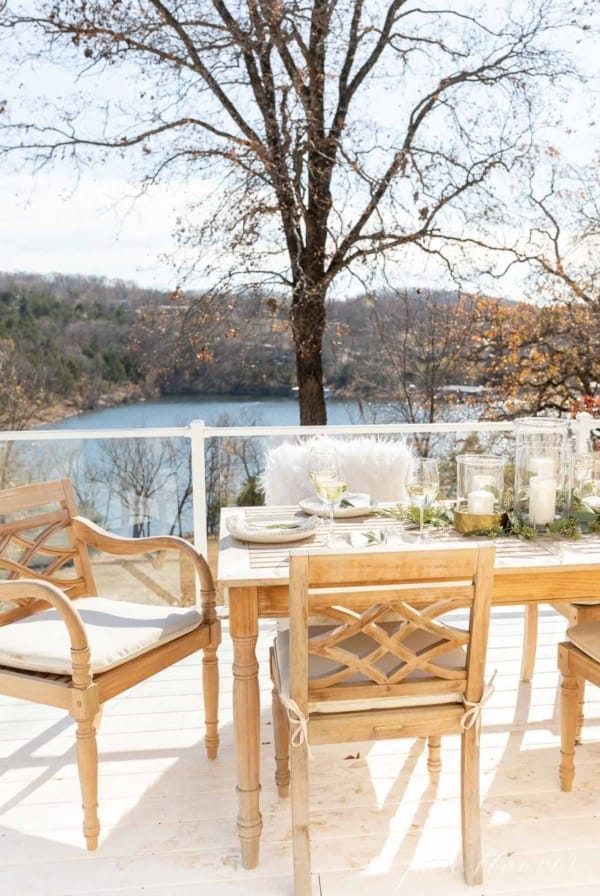
We spend a lot of time on our gravel patio at the lake house and decided it was the ideal solution for a fire pit area at our home in St. Louis. It has become one of our favorite spaces to watch the sunset and entertain!
A modern pea gravel patio is an affordable alternative to concrete, brick, stone and paver patios. Small, rounded stones give it a soft, natural appearance that seamlessly blends into landscaping. Pea gravel (also known as pea stone) packs in for minimal movement and like hard surfaces, it is easy to maintain using a blower on the lowest setting. It is an excellent option in regions with 4 seasons, offering excellent drainage and eliminating risk of cracks.
Pea Gravel Patio Cost
$1,000 for a 16′ Patio
$426 75 0.5 cubic feet bags of Sand Pebbles Pea Gravel
$500 edging, grass killer, landscaping fabric and stakes
Material: 75 0.5 cubic feet bags of Sand Pebbles Pea Gravel and landscaping fabric and Edge Right landscape edging.
White Pea Gravel
White and light colored pea gravel are easier to find than they were when we completed this project 4 years ago. These are my favorites:
We used Sand Pebbles which is no longer available. When installing pea gravel below our deck, we found Kolor Scape Yellow Pebbles is a perfect match. When dry, it looks lighter in person and paired well with our stone.
Where to Purchase Pea Gravel
Local landscaping suppliers carry a limited array of pea gravel in bulk. I prefer a light color pea gravel which we were not able to find in bulk in our area. With added delivery cost to bulk pea gravel, purchasing pea gravel in bags at a local hardware store is ideal for smaller patios.
Lowe’s, Ace Hardware and Home Depot regularly stock pea stone and may have a truck to rent by the hour to transport, if needed.
Tips for Choosing Pea Gravel
Compare the color both wet and dry. Gravel is darker and takes on more tone when wet.
Purchase a small amount to visualize in the area you want to install a patio in. Please it next to your home, existing stone, and concrete to ensure an overall cohesive aesthetic.
Supplies to Make a Gravel Patio
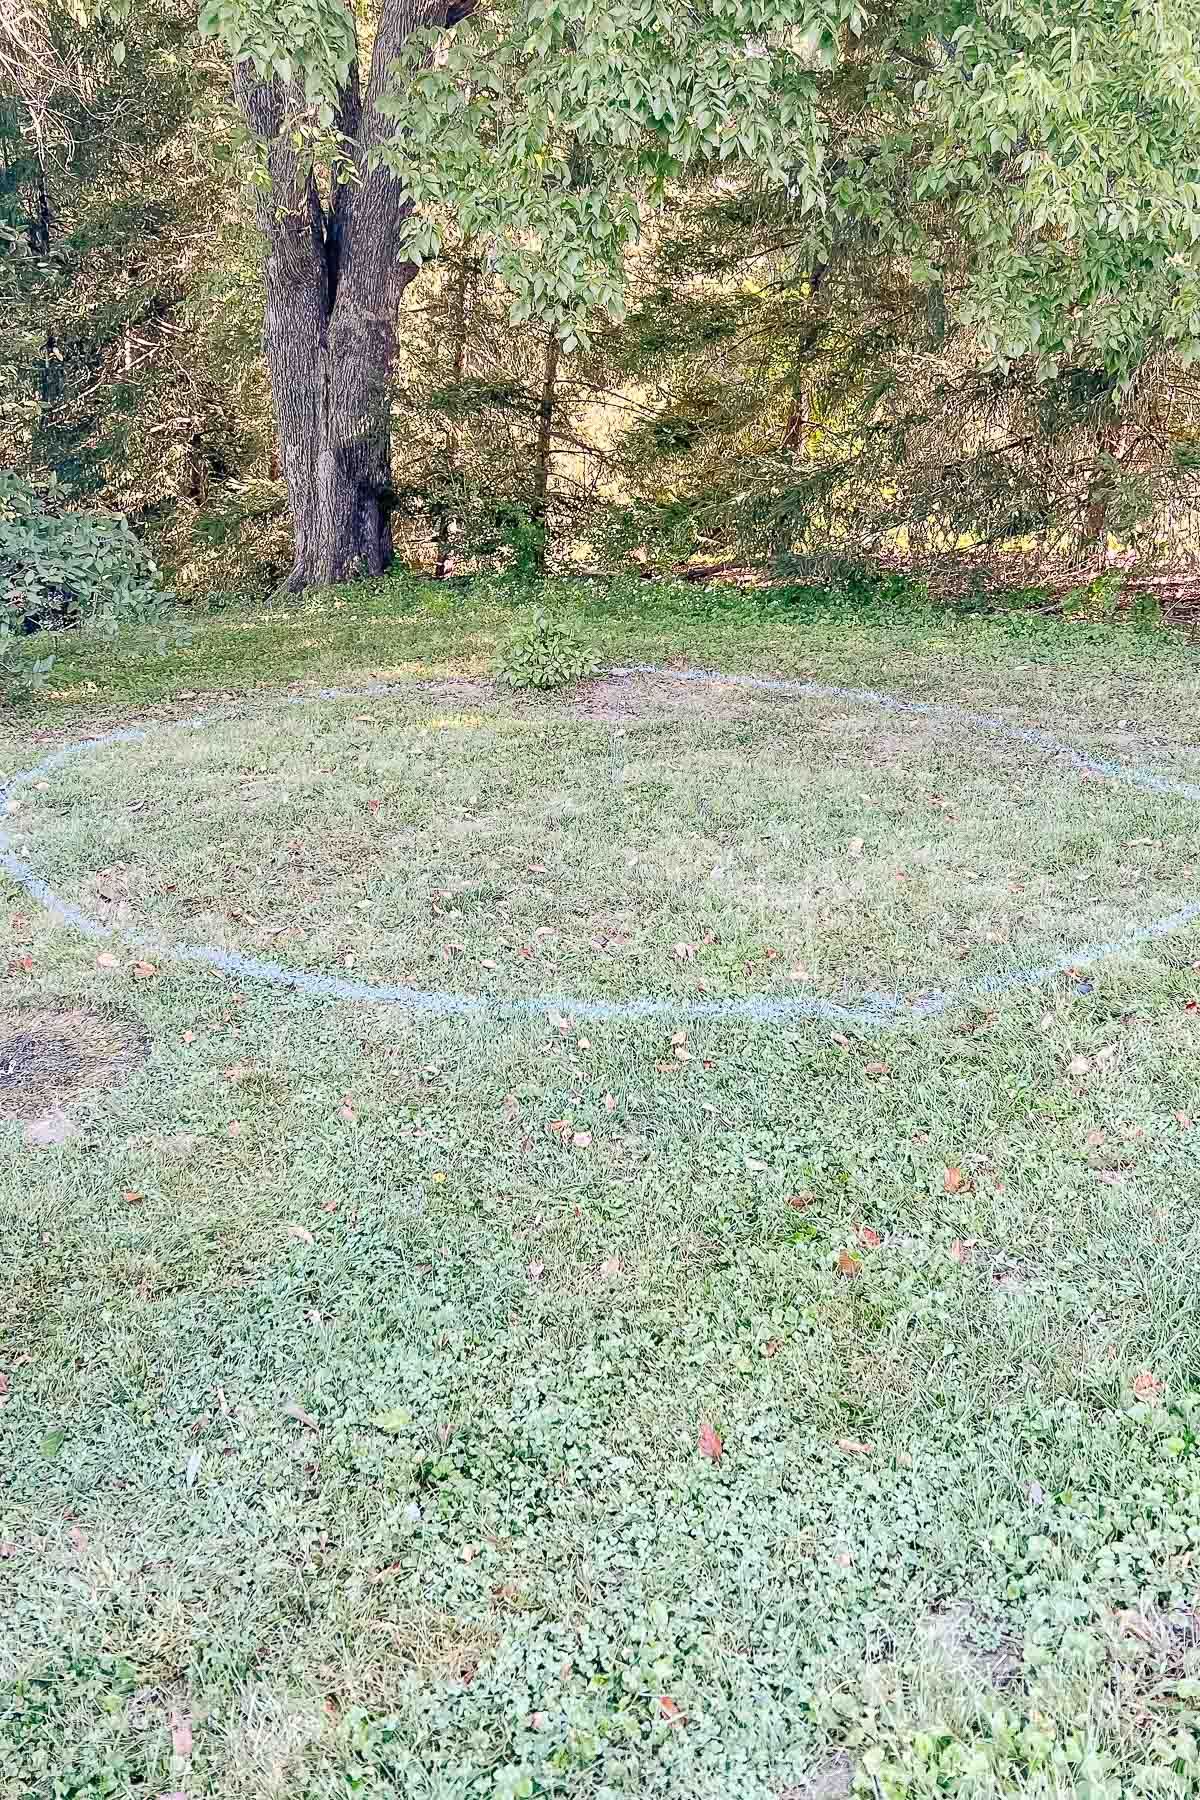
Stake (we used one of our fabric stakes) and String to create a circle perimeter
Location – Select an ideal location at least 10′ away from your home, ideally as far as 25′ away per insurance recommendations that is easily accessible from home. Consider proximity of trees and low branches for safety and debris to keep maintenance to a minimum.
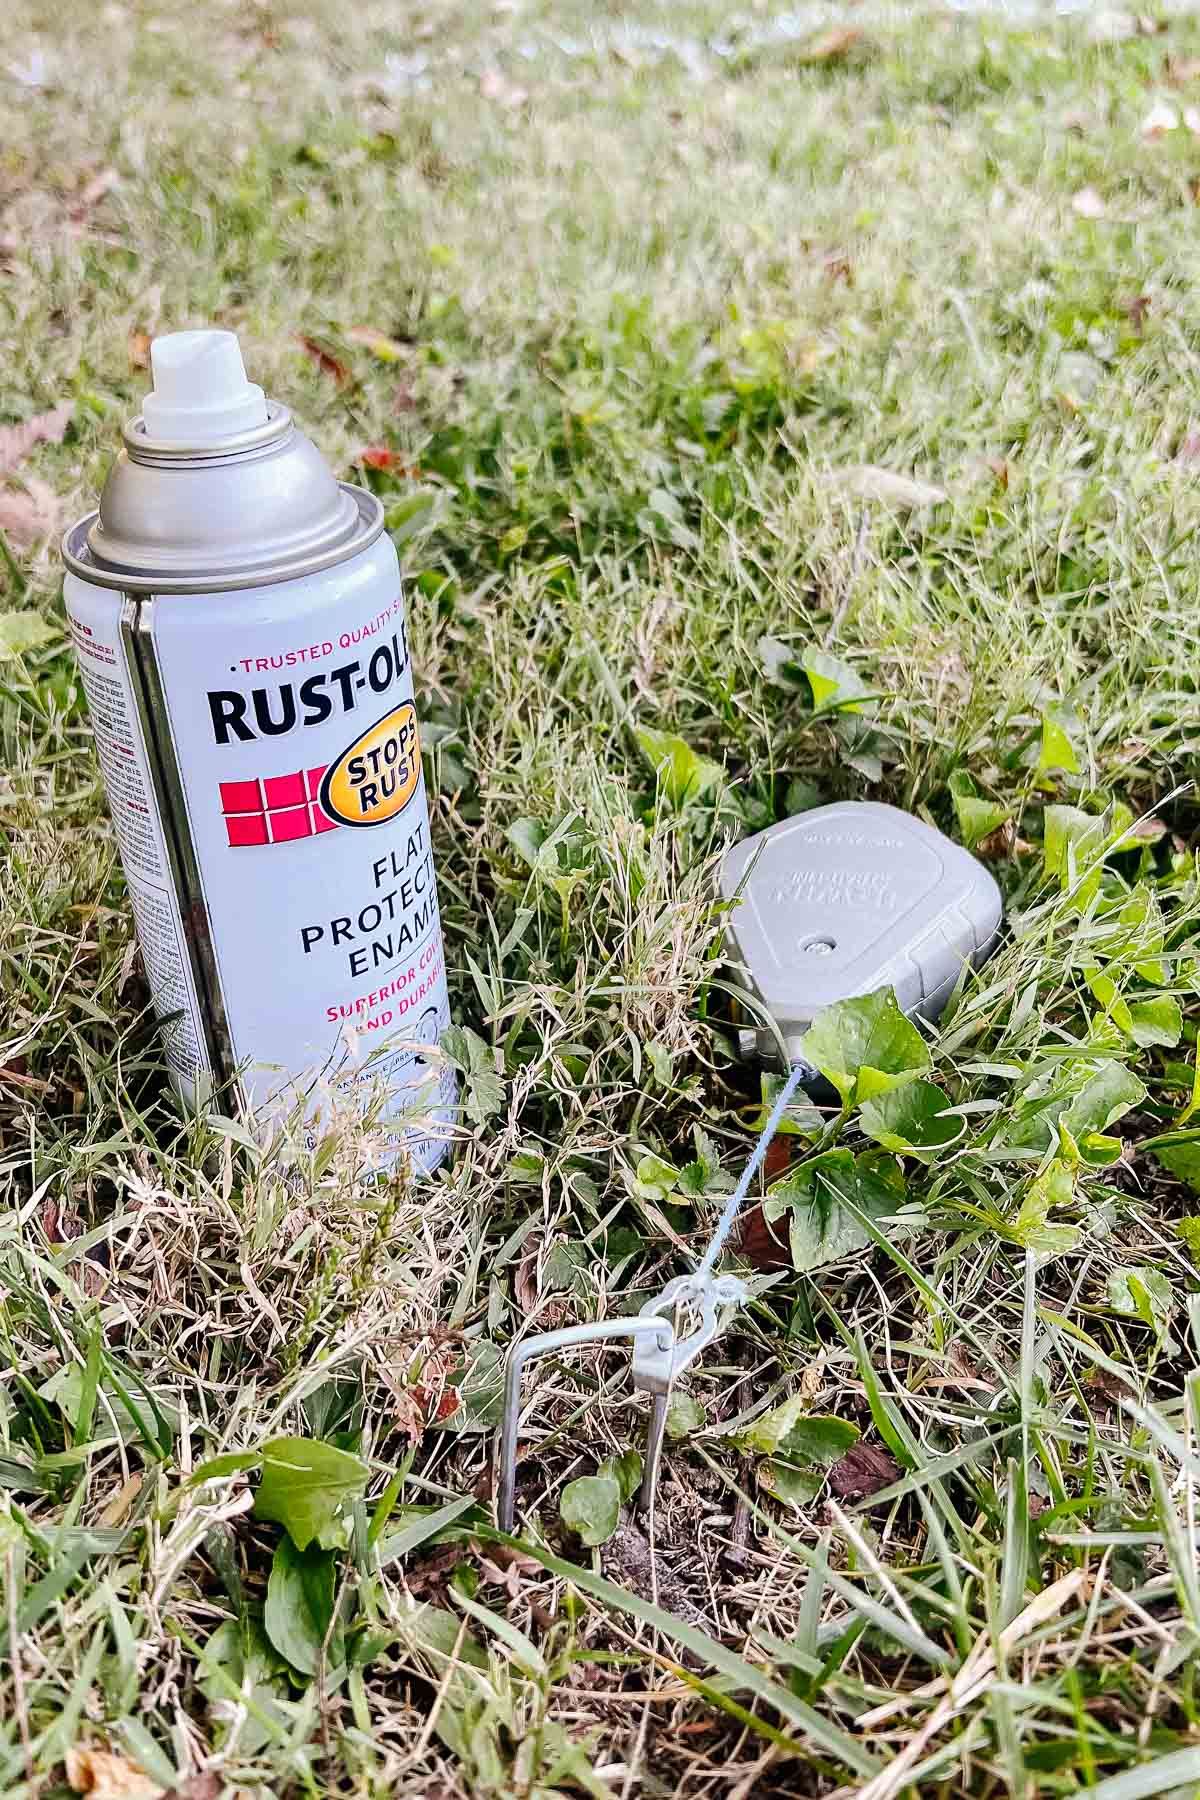
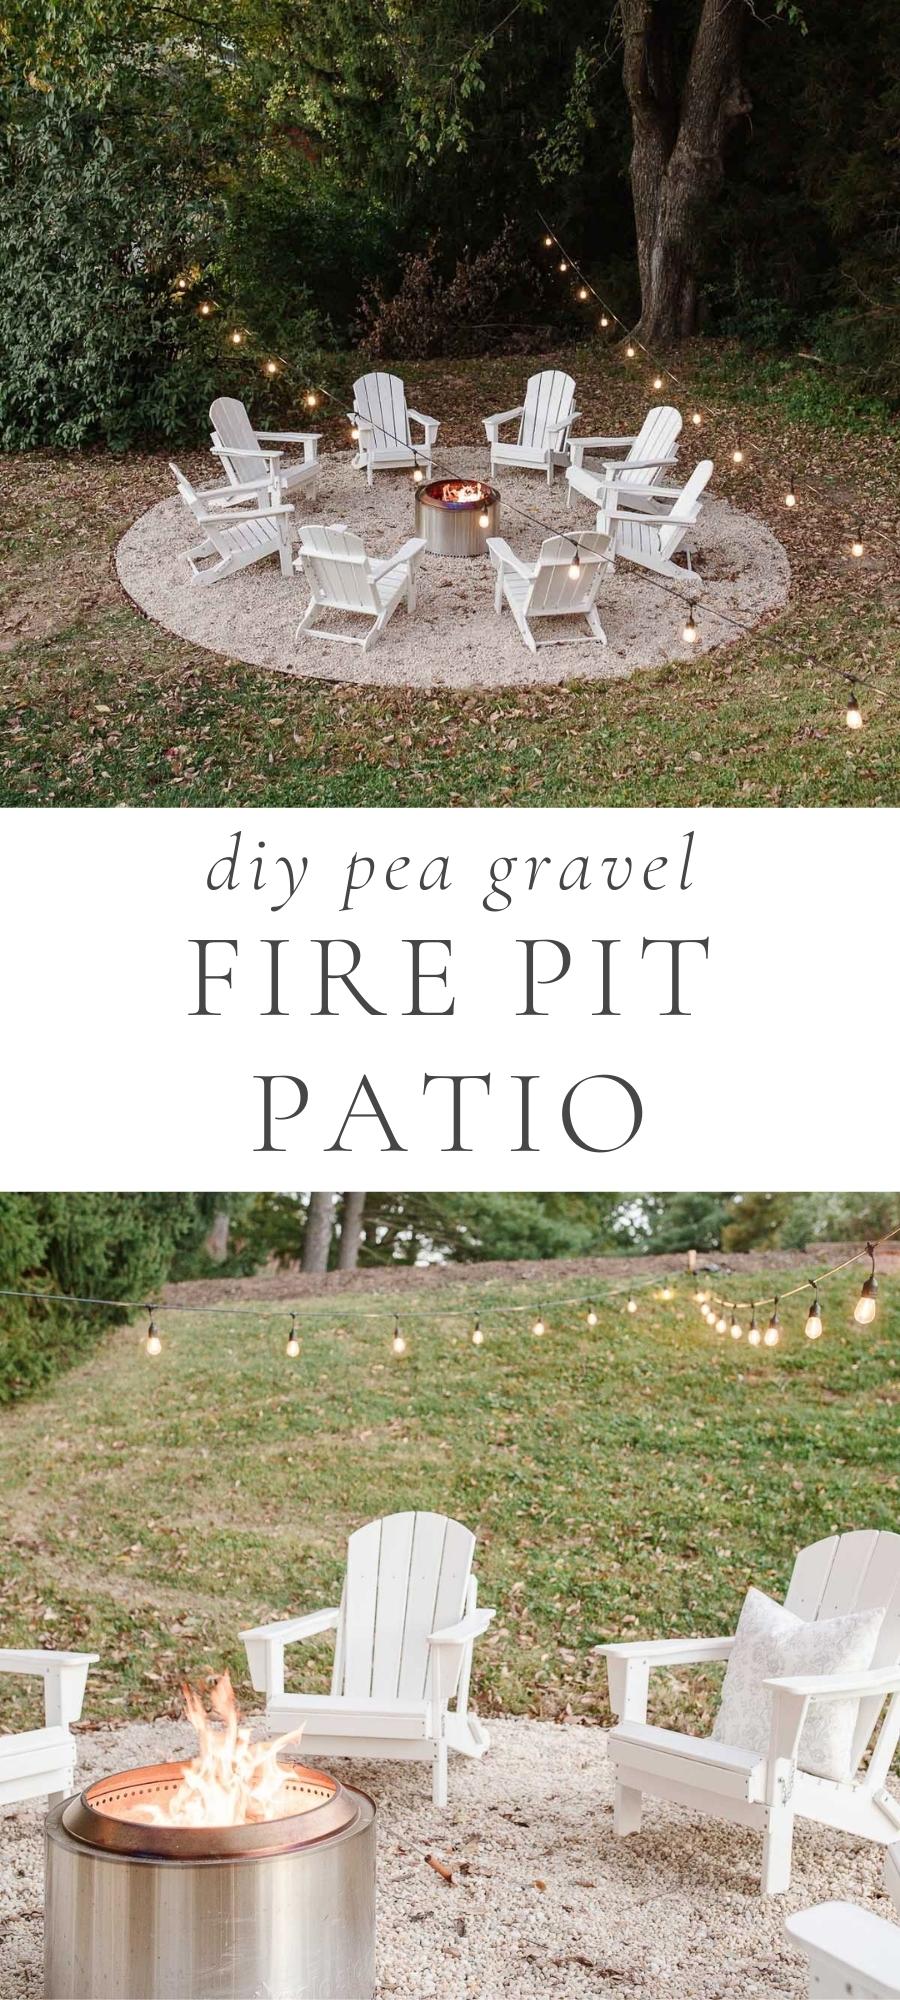
Mark – Cut a string the half the length of the diameter you want your pea gravel patio to be. Attach to a stake and insert in center of the space. Use string to measure and mark a circle with spray paint. A 16′ diameter is the perfect patio size for 8 Adirondack chairs.
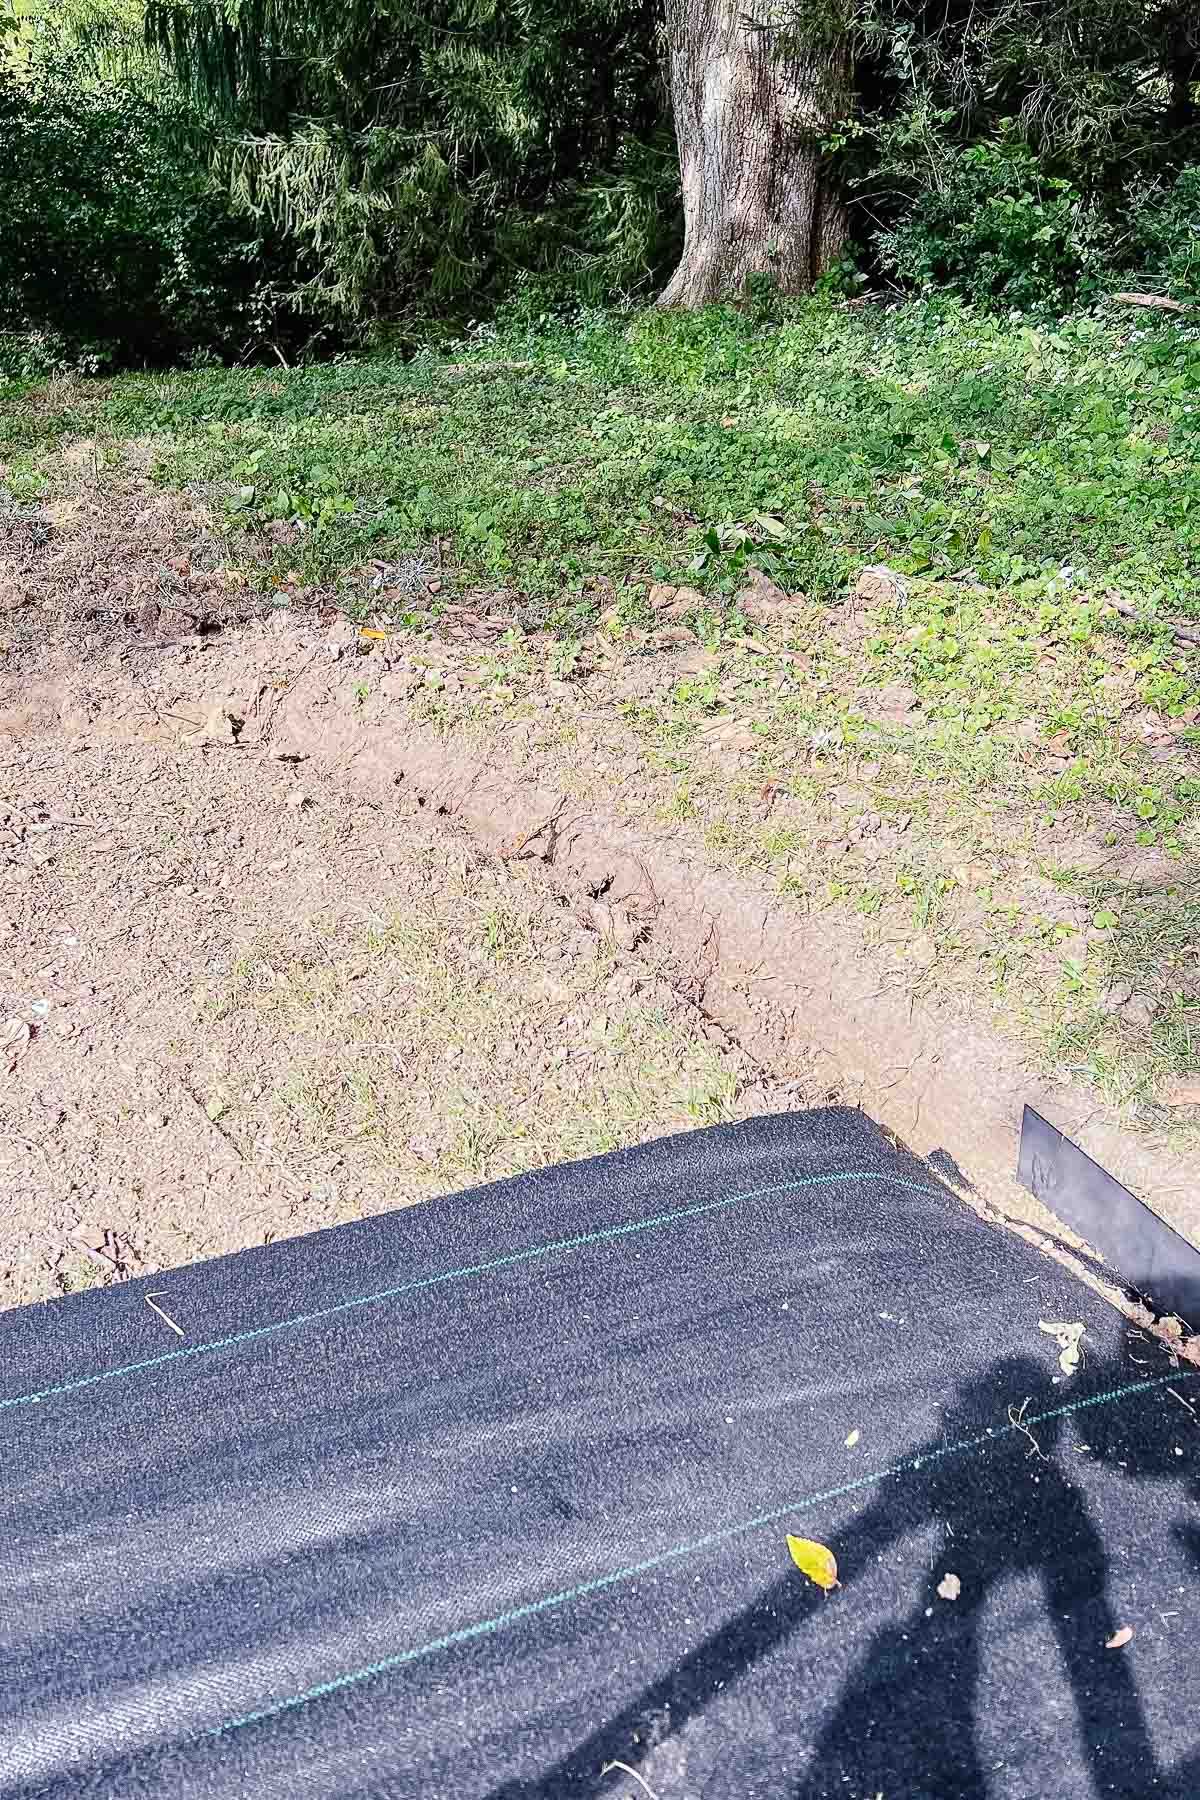
Create the Perimeter – Dig a trench 2″ deep by 5″ wide along the edge of the circle.
Remove Grass – Spray grass inside the circle with grass killer. After 1-2 days when it is noticeably dead, weed eat to cut to ground (dirt) level.
Install Edging – To create a circle, gently bend before installing. Hammer in using a wood block between the hammer and metal to avoid gouging metal. Edging reducing grass and weeds from growing in your fire pit area. This is an excellent edging tutorial to reference, if needed.
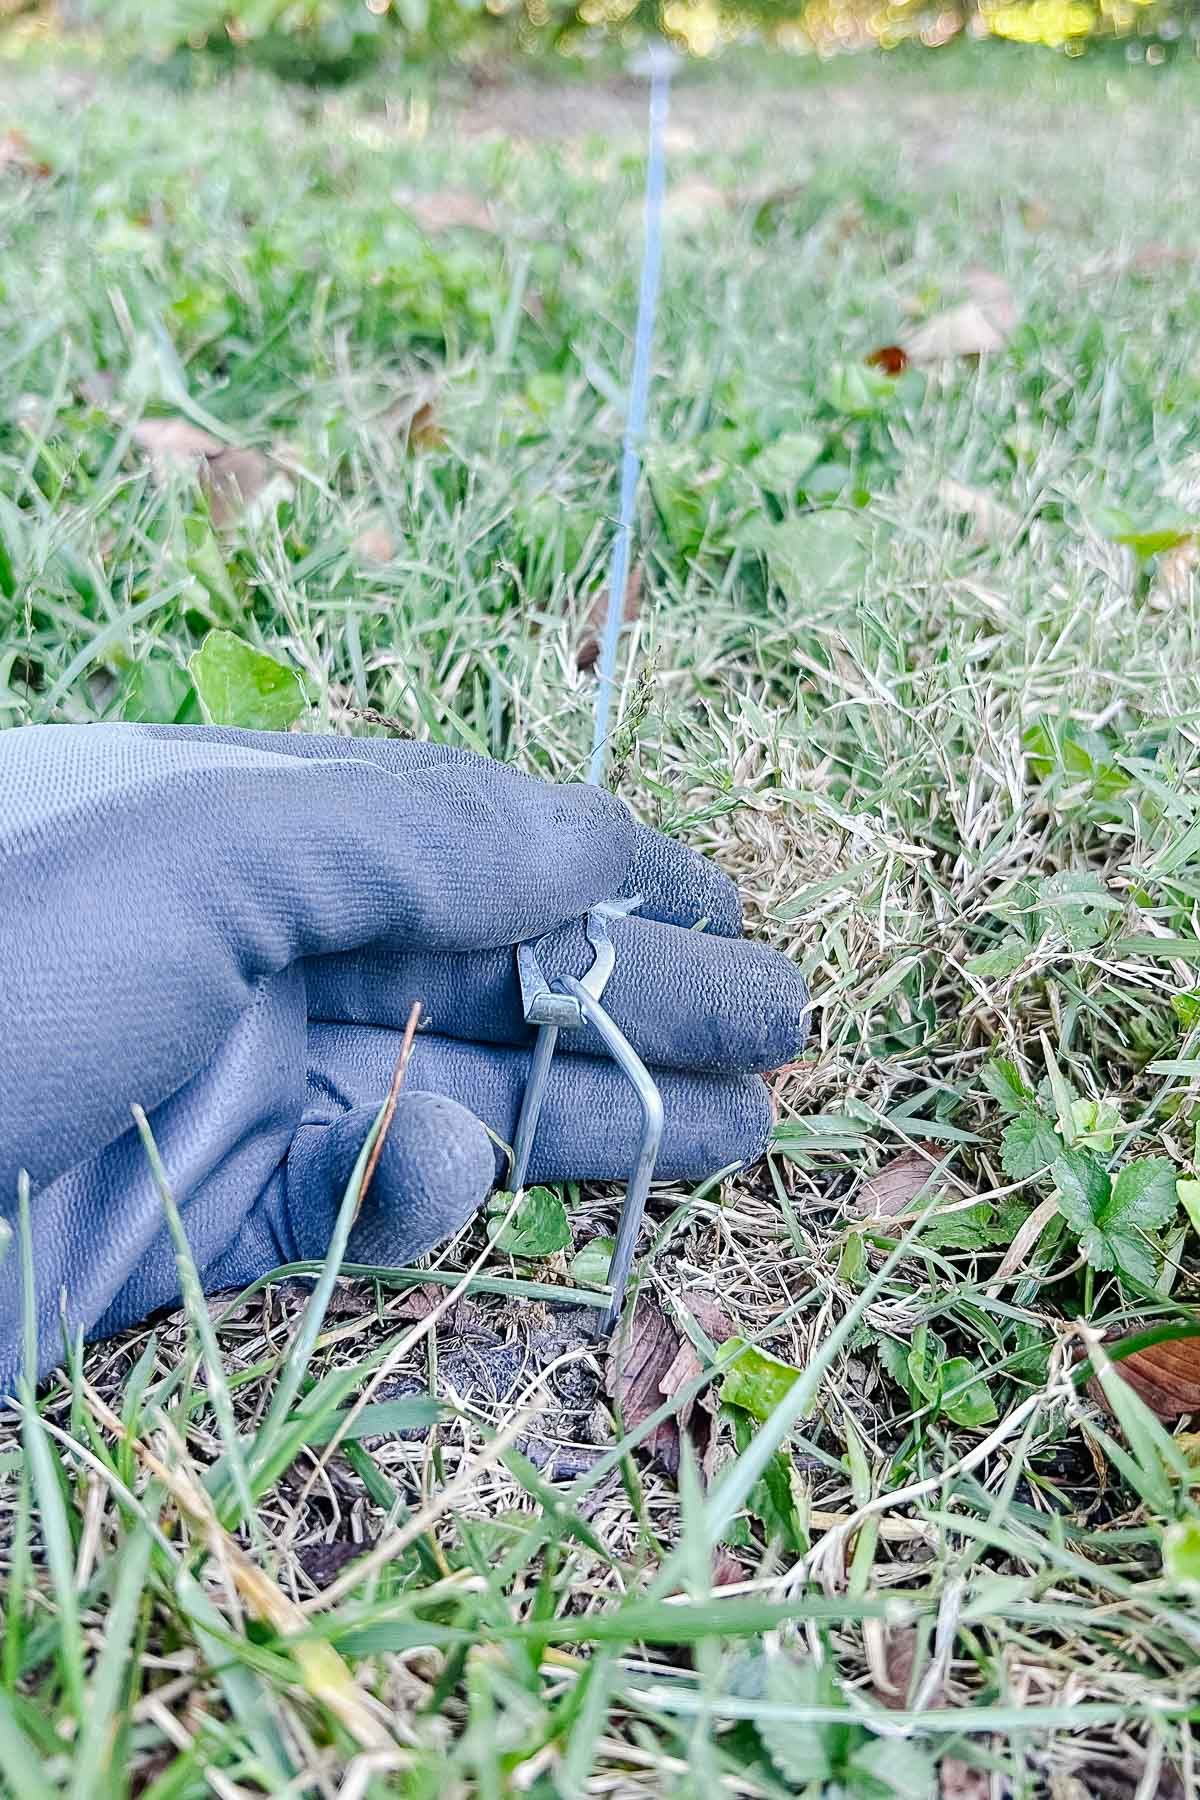
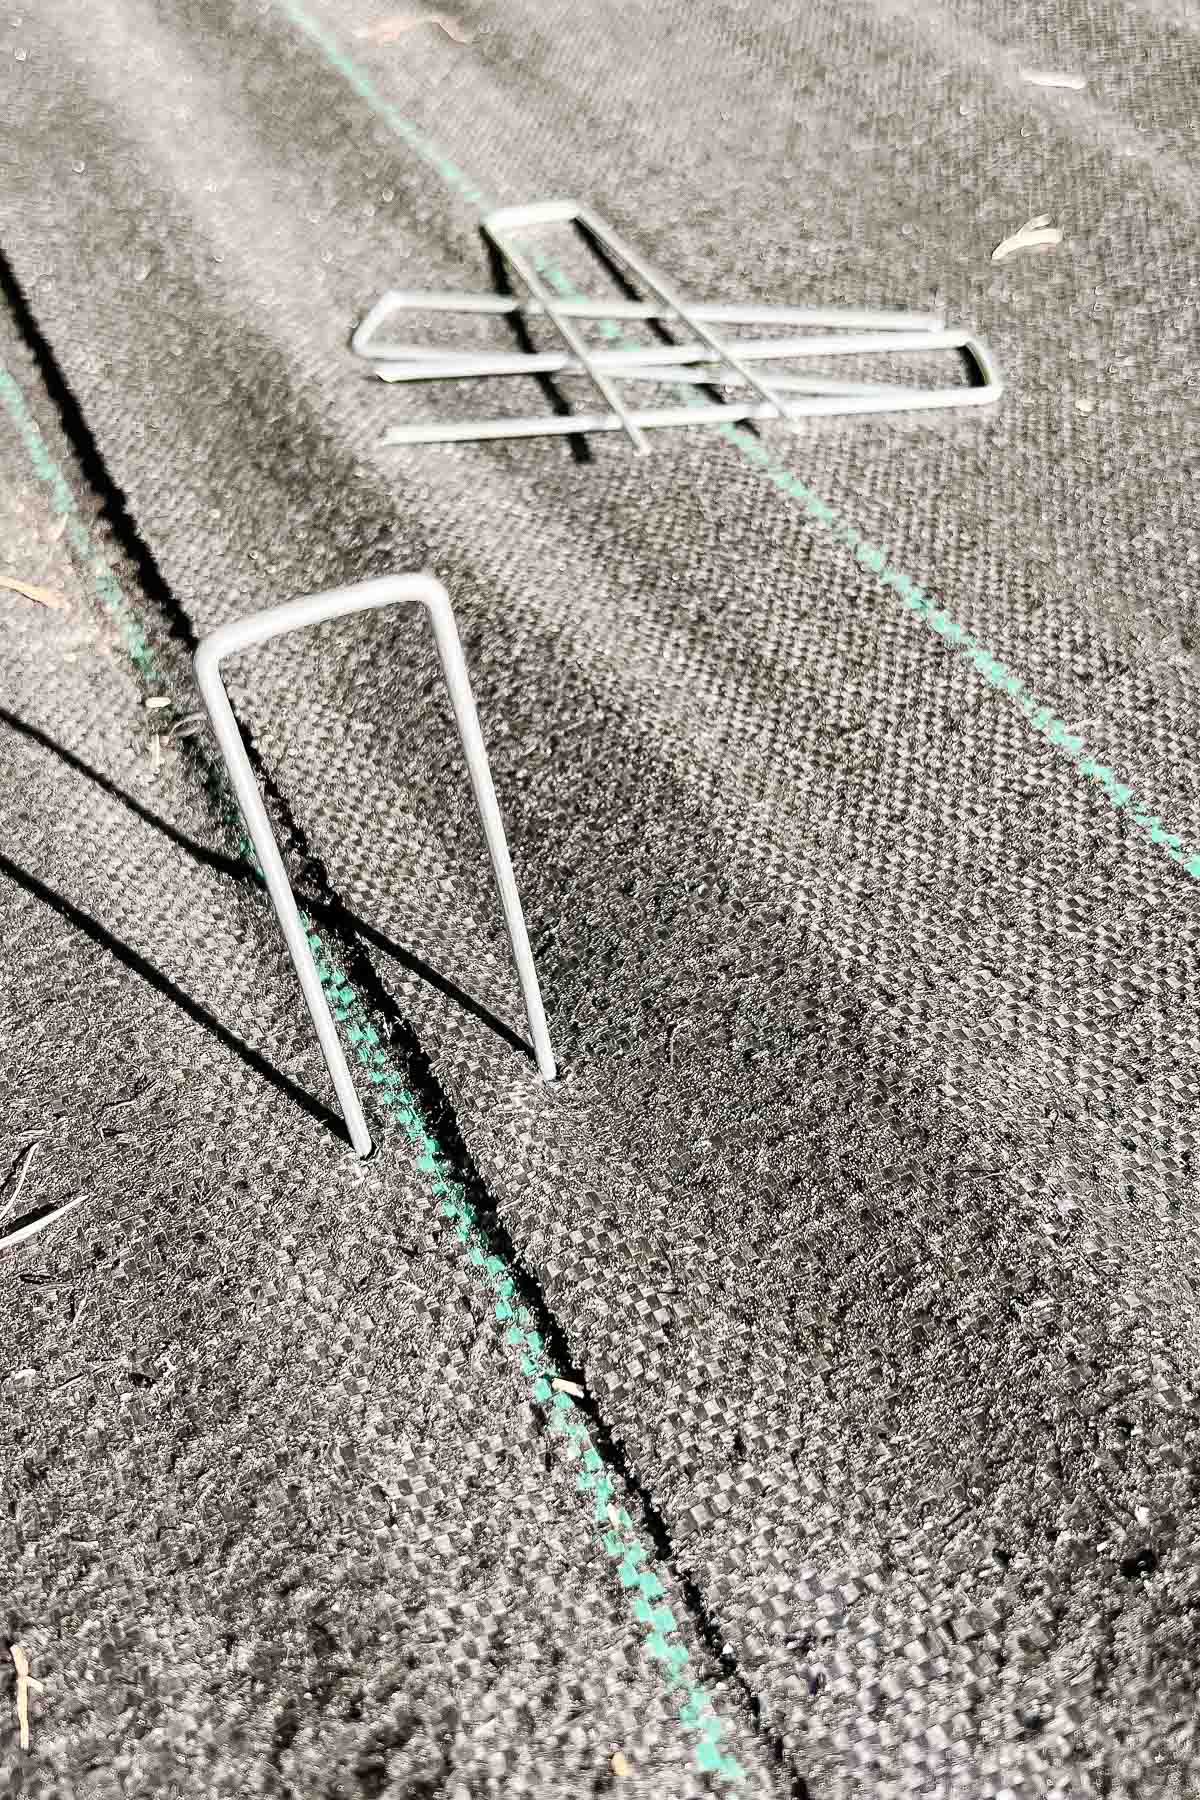
Add Landscaping Fabric – To prevent weeds from emerging, apply landscaping fabric or a tarp, tight to the ground and secure with metal landscaping stakes every 1-2′ feet’. This keeps tiny pea sized gravel from going underneath. Note: Chris installed this by himself, but it is helpful to have a second person to keep the fabric tight while the other stakes it.
Spread Pea Gravel – Place bags evenly throughout the patio, cut open and use a steel bow rake to spread until even.
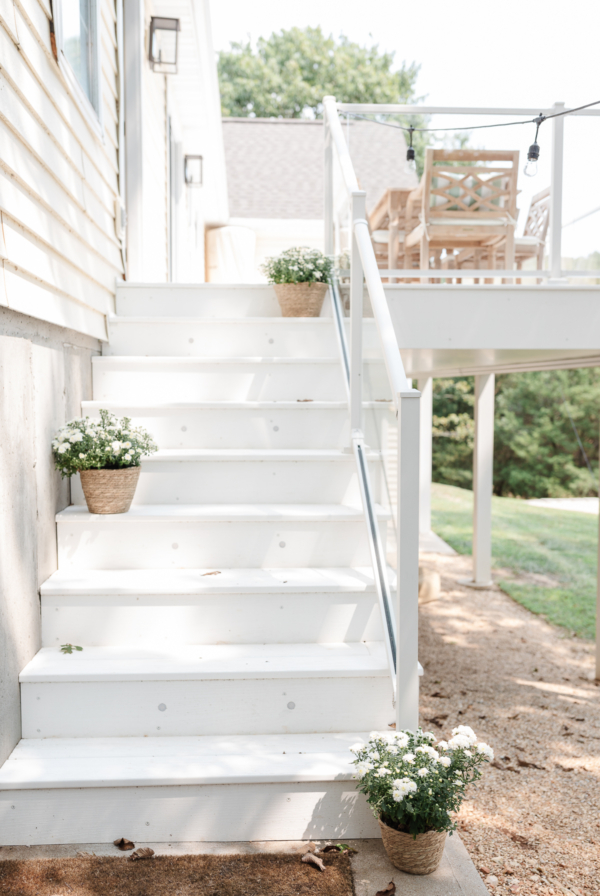
Keep it Dry
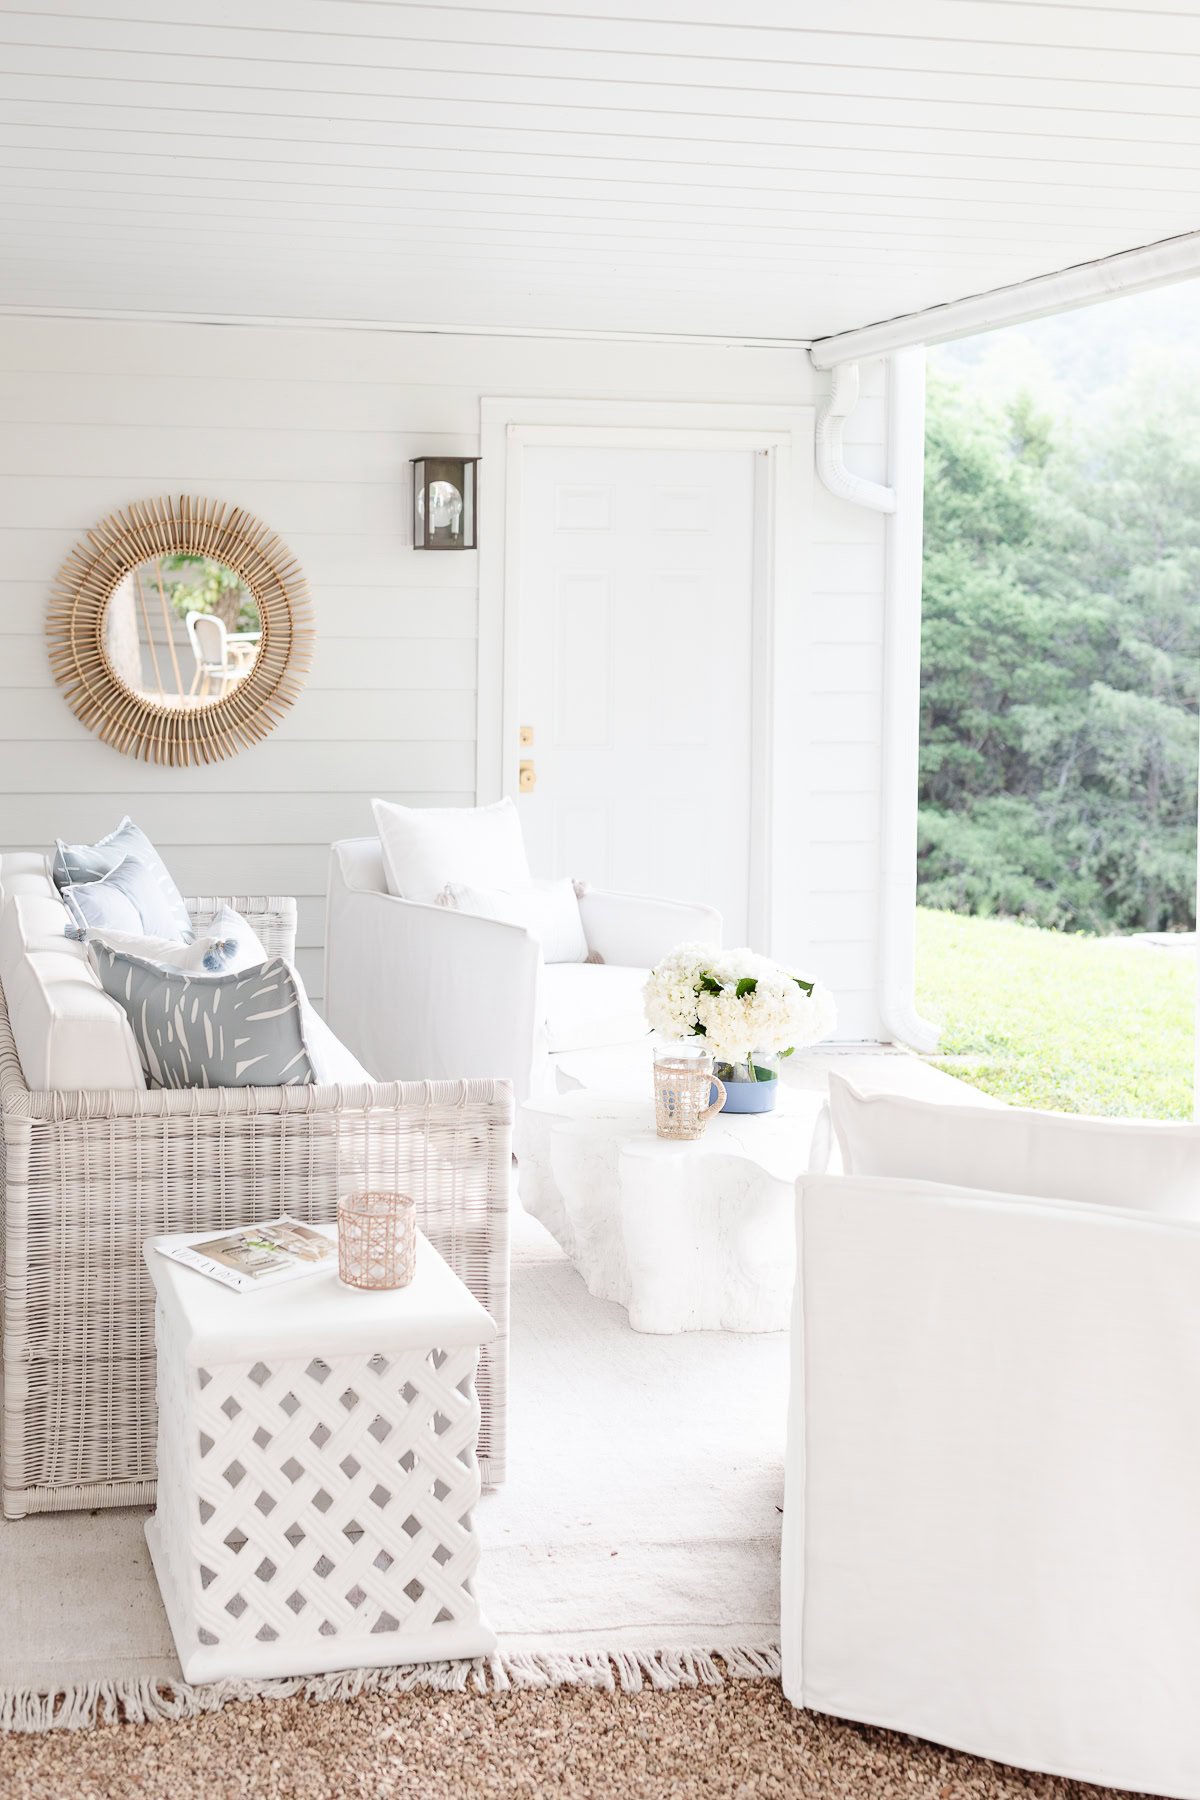
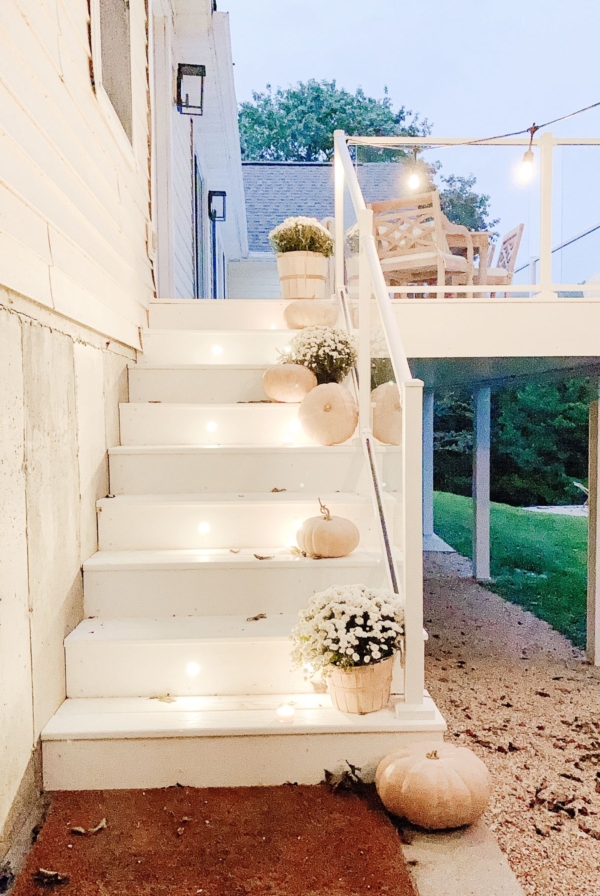
To keep a patio under the deck dry, use under decking! It’s an easy, reasonable solution to extend patio use in inclement weather and protect patio furniture.
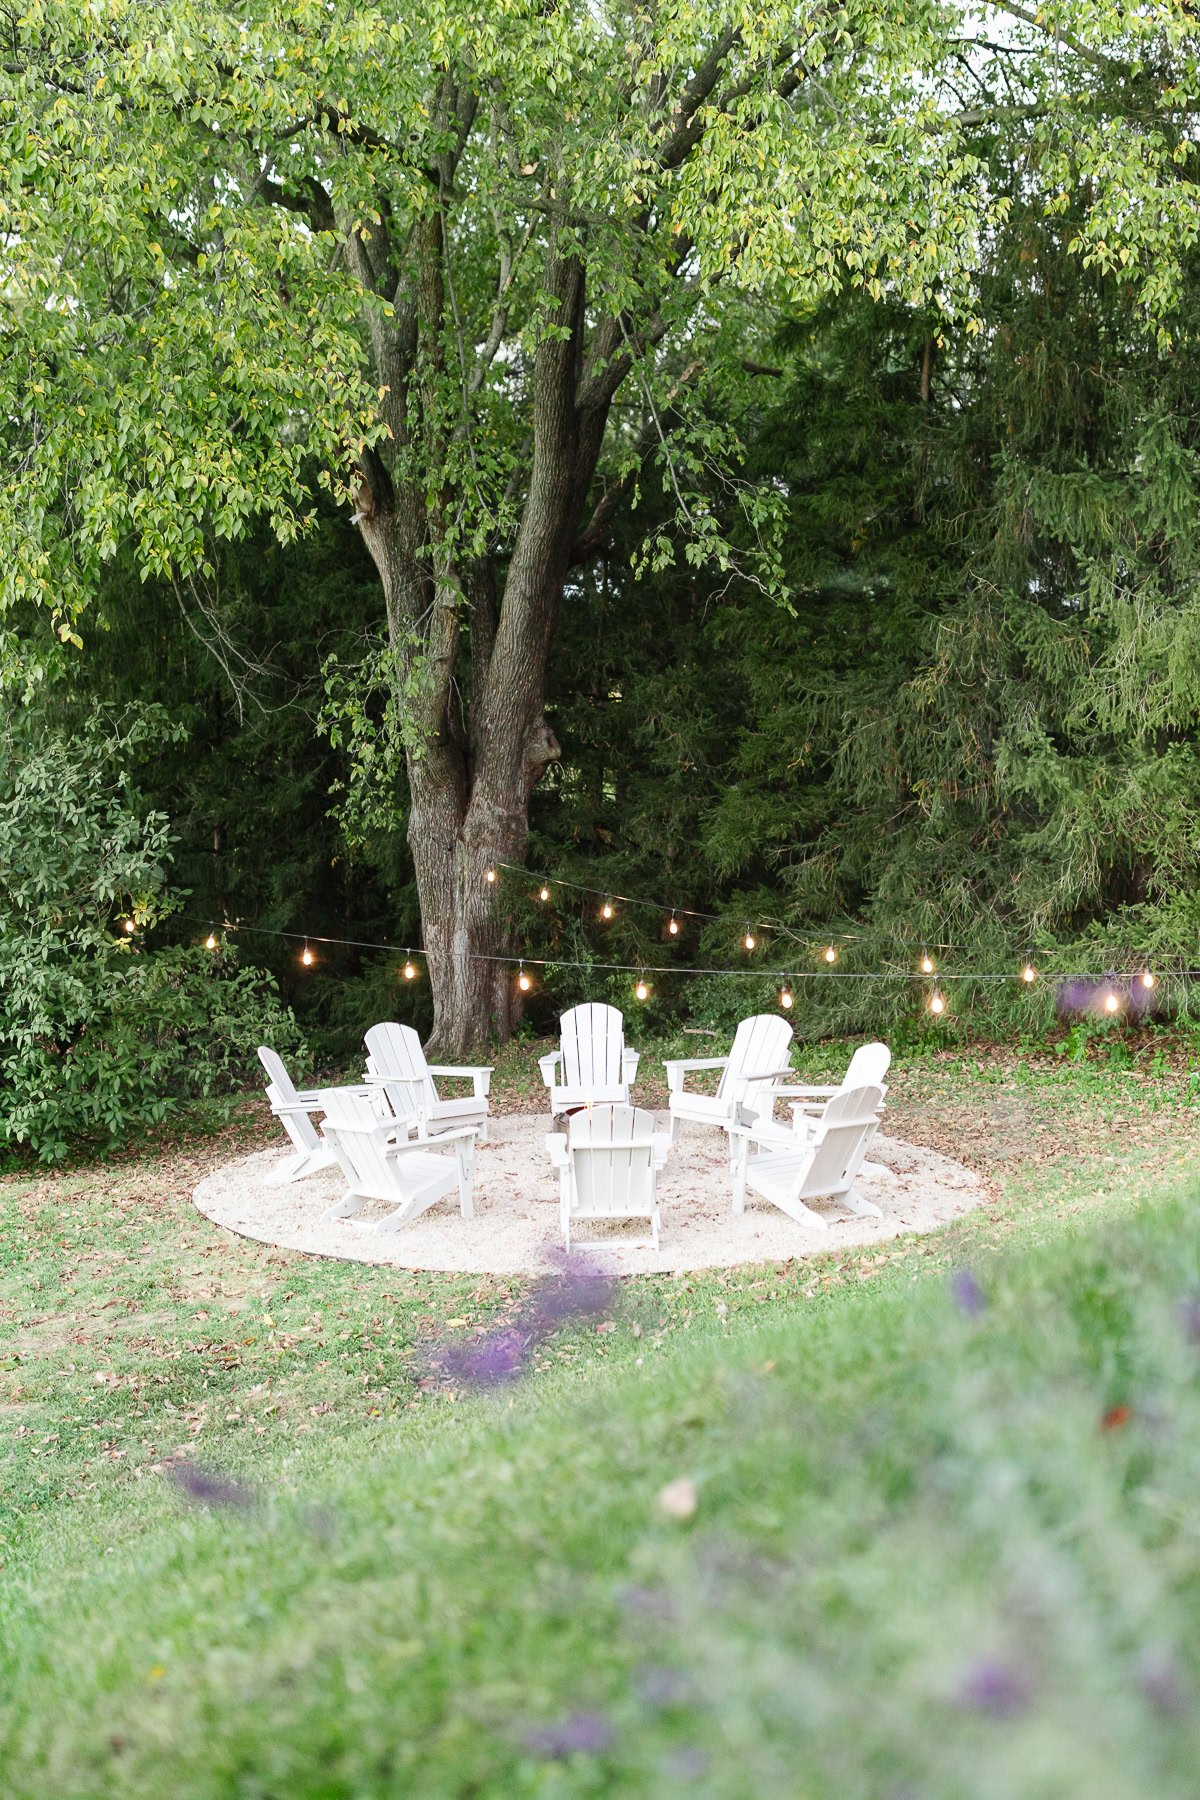
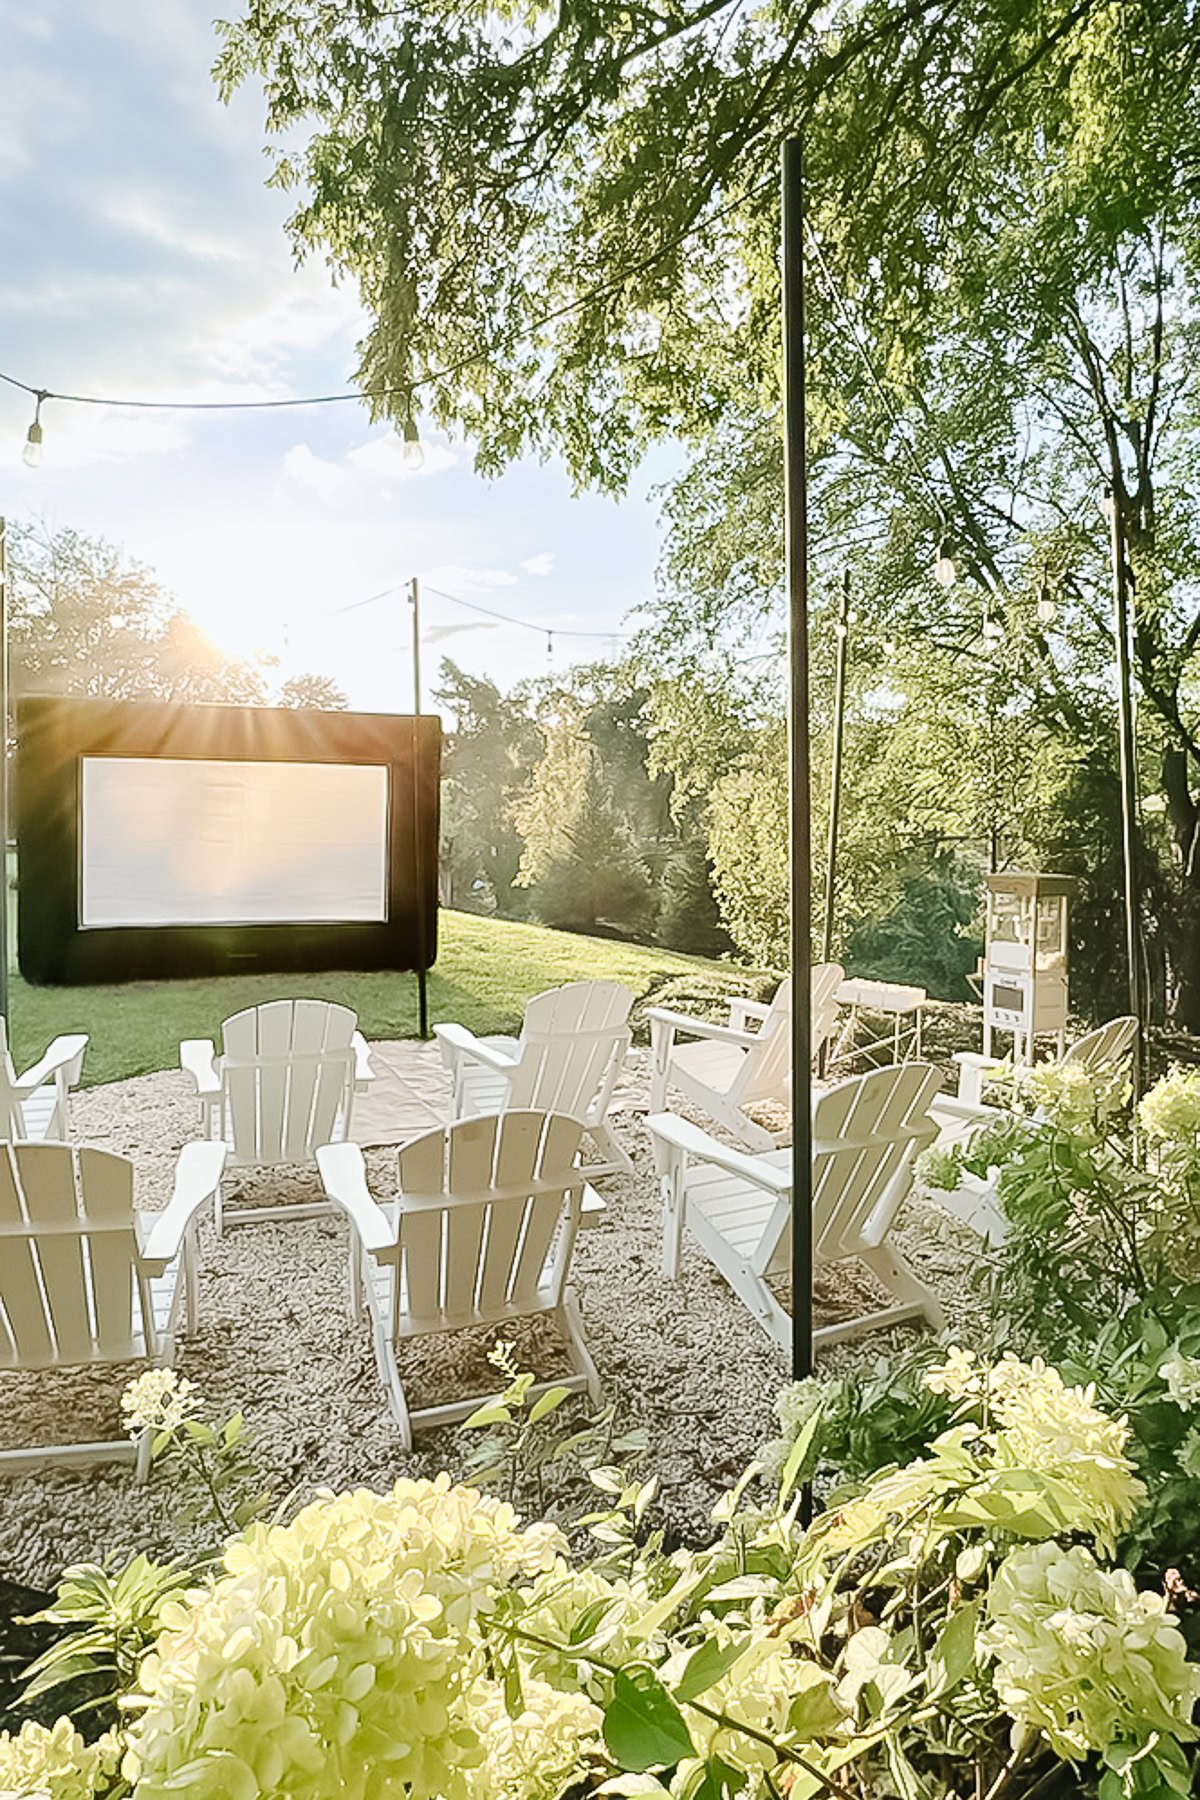
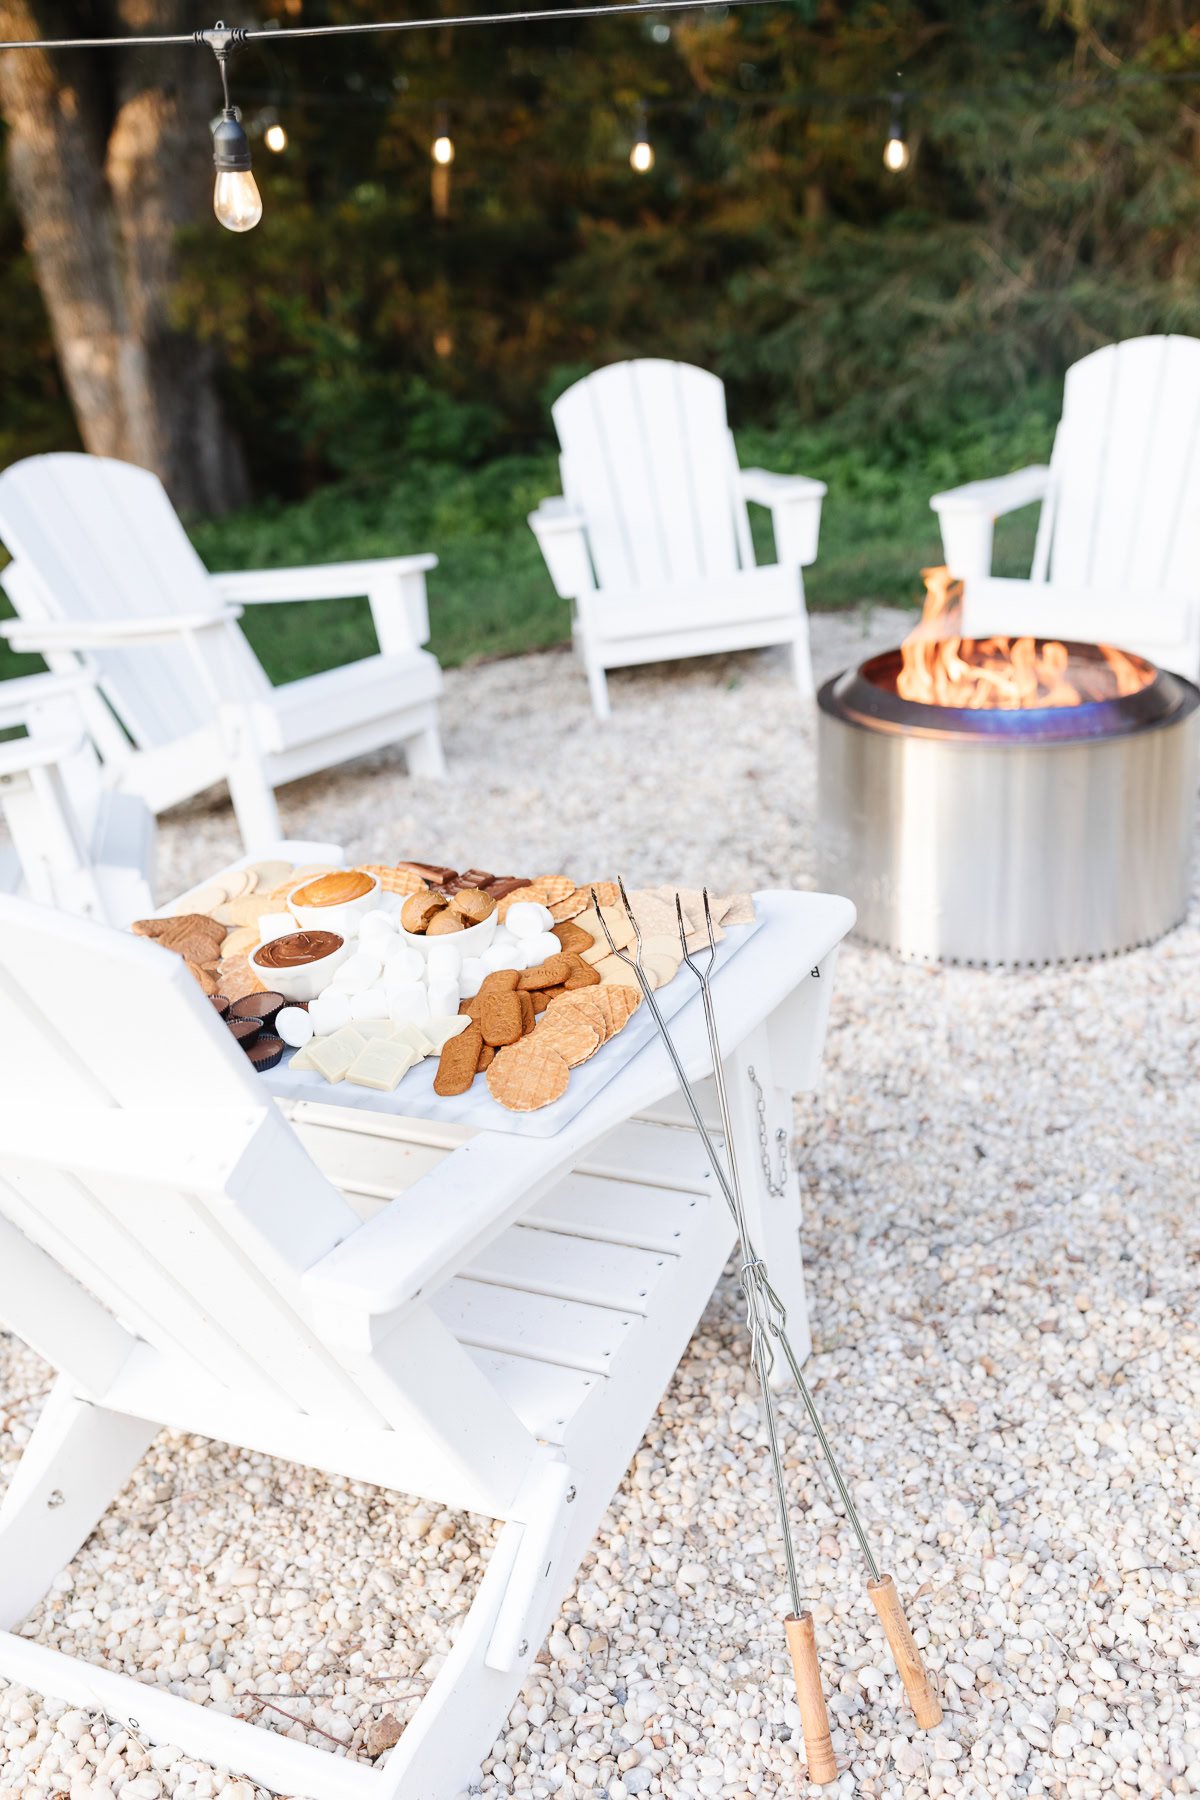
One of the many things we love about our pea gravel patios is how versatile they are. We most often use this space to spend time together around a fire. Pea gravel is an excellent barrier for a fire pit. It is a natural fireproof material and provides an even surface for seating.
Choose or build a fire pit, place in the center, add string lights, chairs and enjoy! We love our Solo Stoves. They are smoke-free, spark free and easy to move, adding even more versatility to our gravel patio.
Love this firepit and the way it turned out! Ordering our supplies and starting ours in a couple of weeks. Did you use the 6 inch or 8 inch edging for this project? Hard to tell from pictures. It seems like the 8 inch version is linked but wanted to check with you to be sure! Thanks!
Hi Jeannie,
I can understand your feelings and I’m sure this type of gravel isn’t for everyone. Luckily, our family is really enjoying it so far!
I hope you have a wonderful week!
Julie


Love this firepit and the way it turned out! Ordering our supplies and starting ours in a couple of weeks. Did you use the 6 inch or 8 inch edging for this project? Hard to tell from pictures. It seems like the 8 inch version is linked but wanted to check with you to be sure! Thanks!
Hi! Yes. It is the 8 inch. Let me know how it turns out!
what size did you end up doing for the diameter?
Hi Cara!
Our DIY pea gravel fire pit patio is 16 feet in diameter.
I hope that helps!
Enjoy,
Julie
Love it! I would definitely try this on my patio. 🙂
I’m sorry but I “dislike” my pea gravel. I slip and slide all over it. I am wobbly any way, weak ankles etc. Thinking of pouring glue on it.
Hi Jeannie,
I can understand your feelings and I’m sure this type of gravel isn’t for everyone. Luckily, our family is really enjoying it so far!
I hope you have a wonderful week!
Julie
Absolutely gorgeous. You and your husband did a fabulous job. I love everything about this project. Thanks for sharing
Hi Ivory!
Thanks so much for your kind words, I’m so glad you enjoyed this post!
Have a beautiful week,
Julie