This Buckeye Recipe is the most delicious combination of a creamy peanut butter center and chocolate exterior. Get the steps to make this classic no-bake dessert!
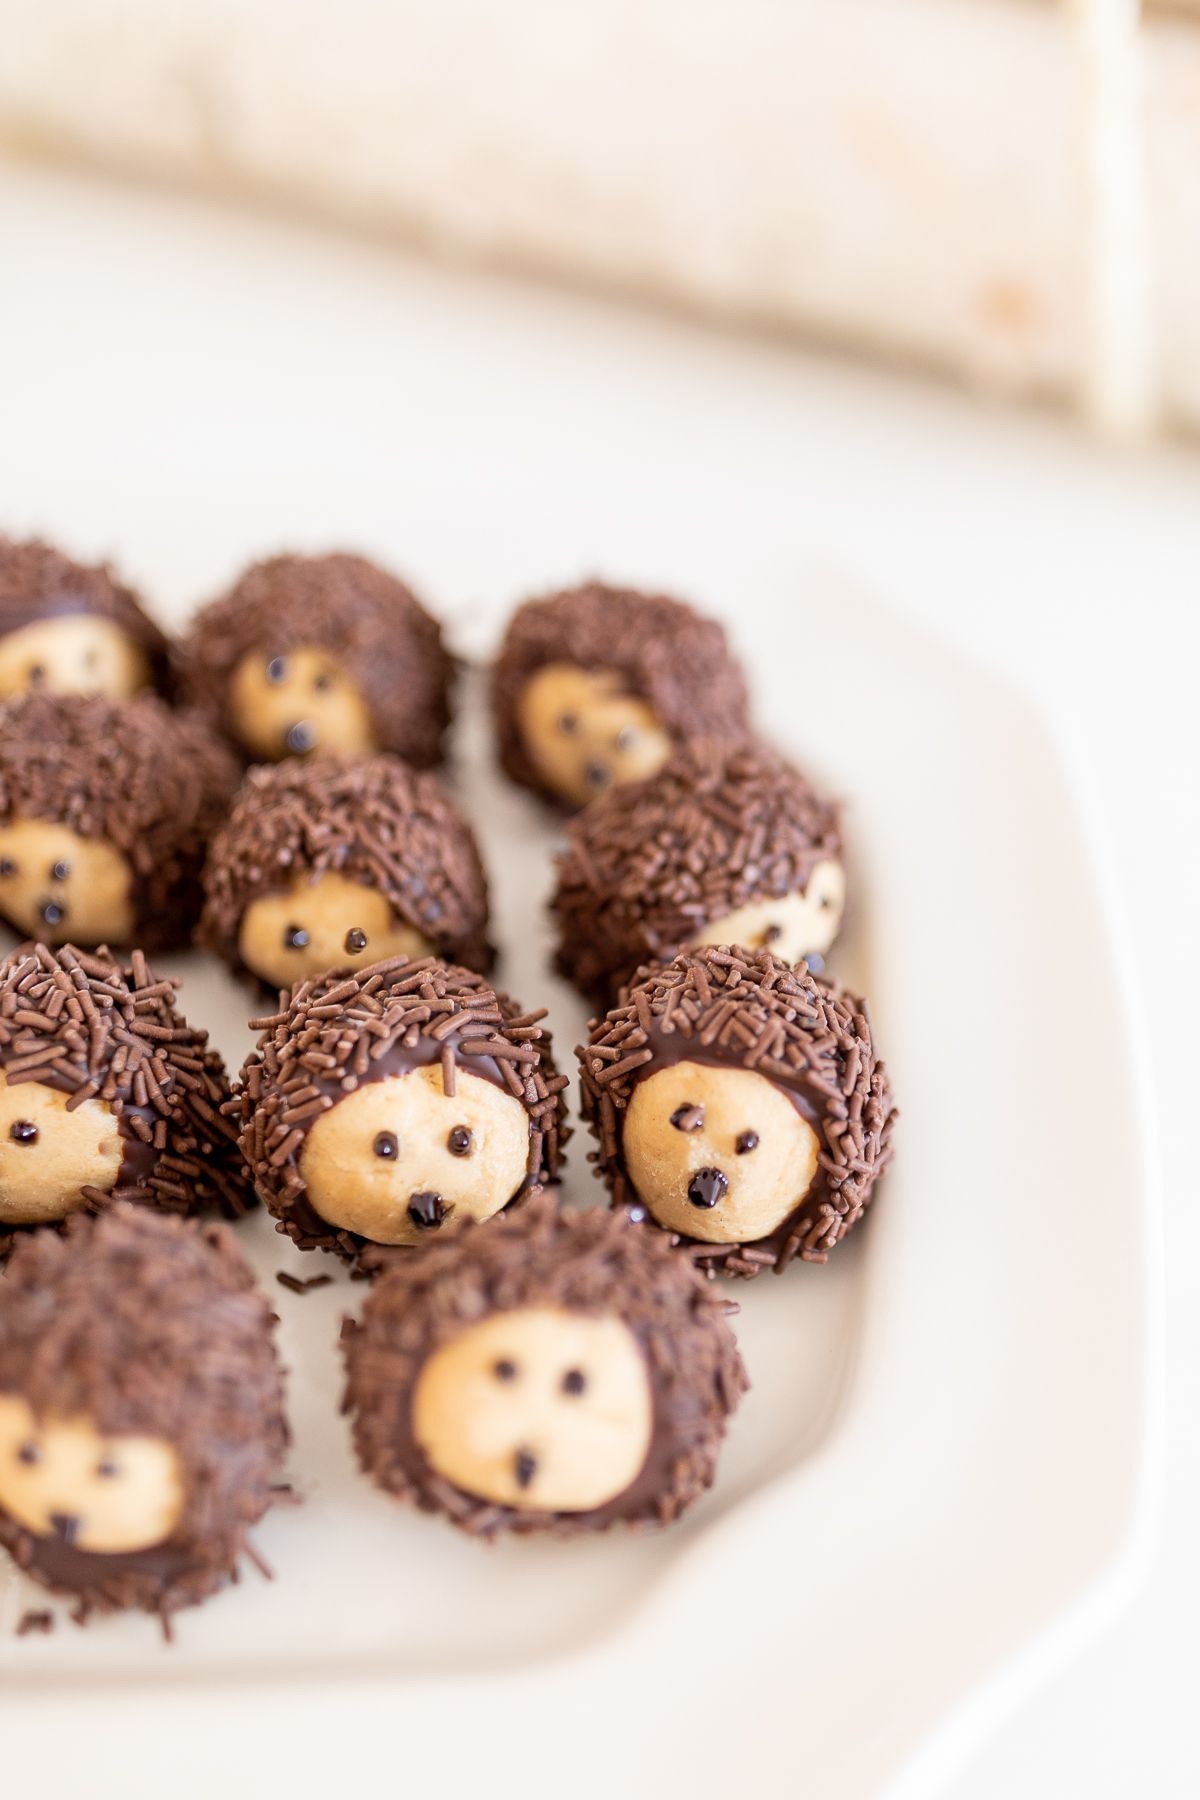
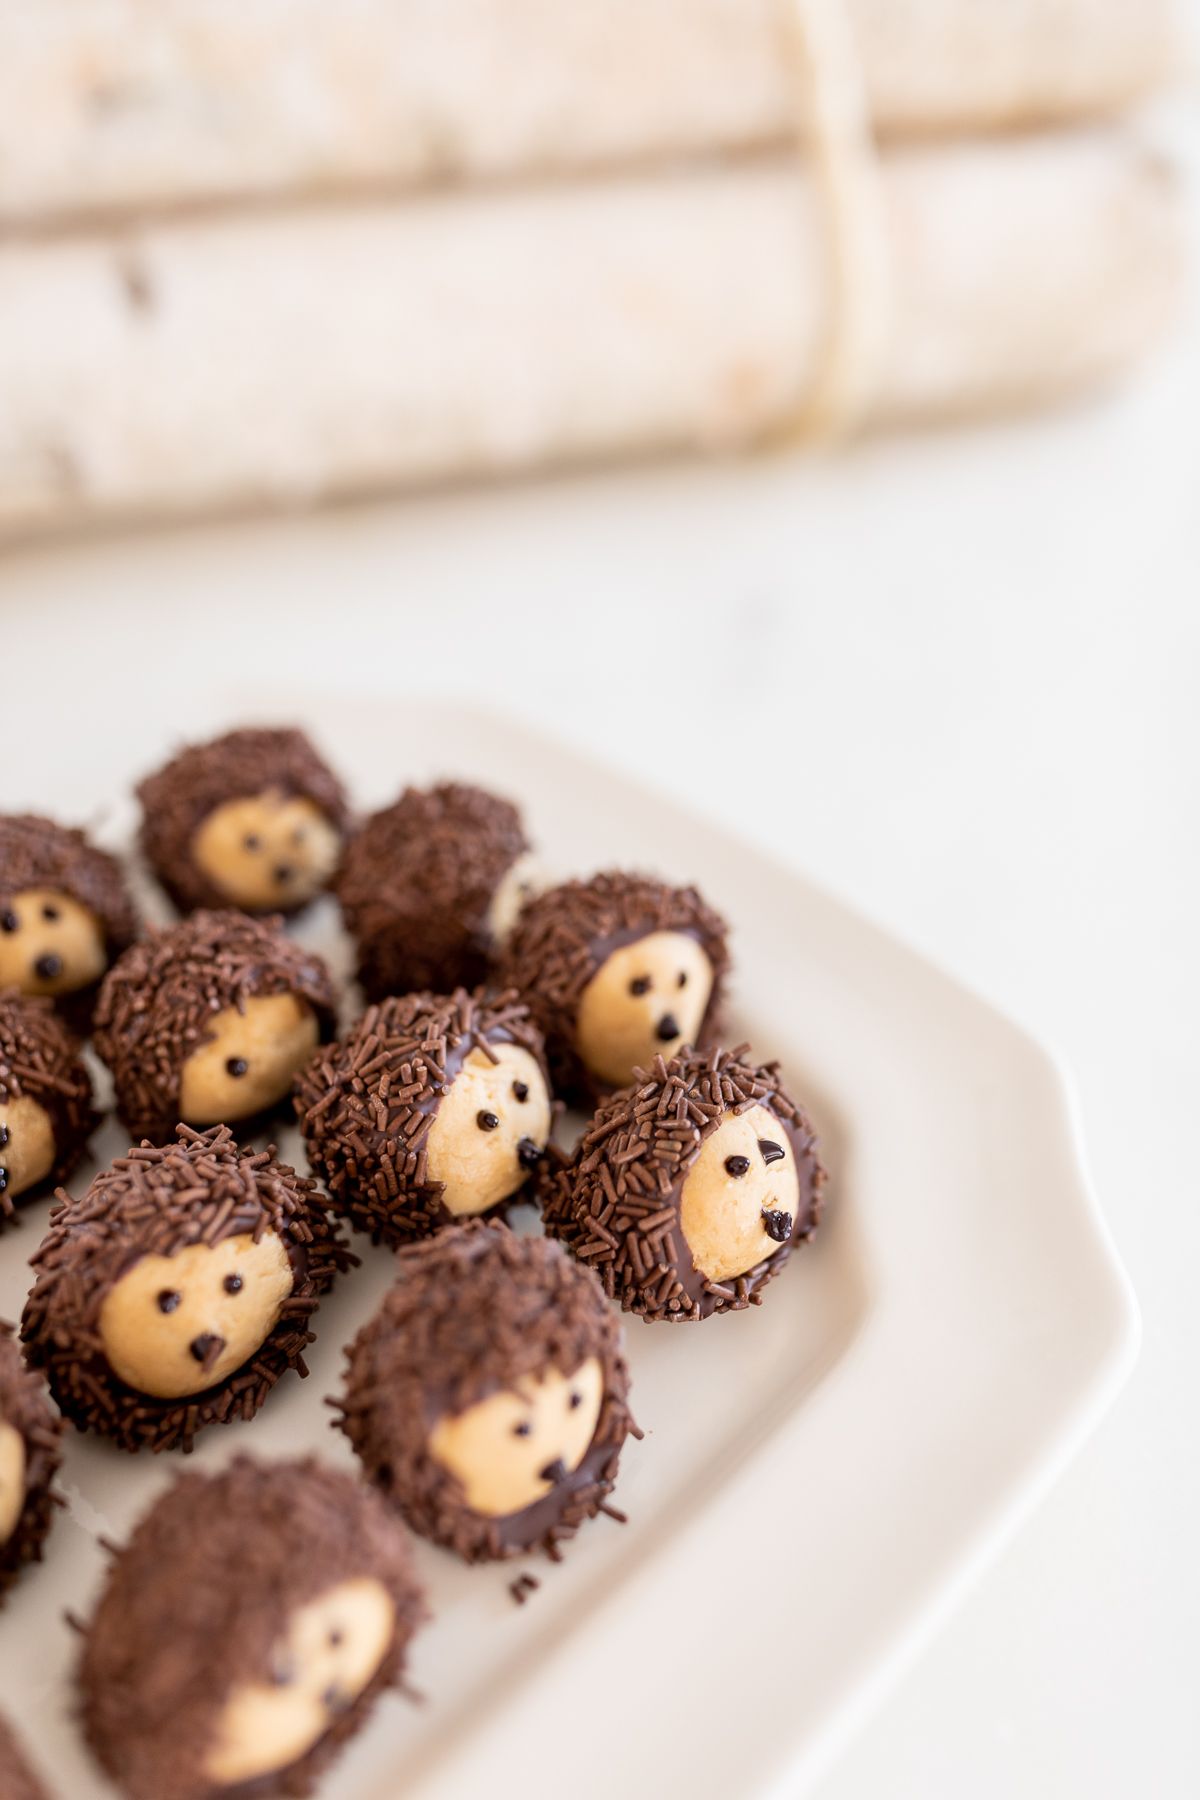
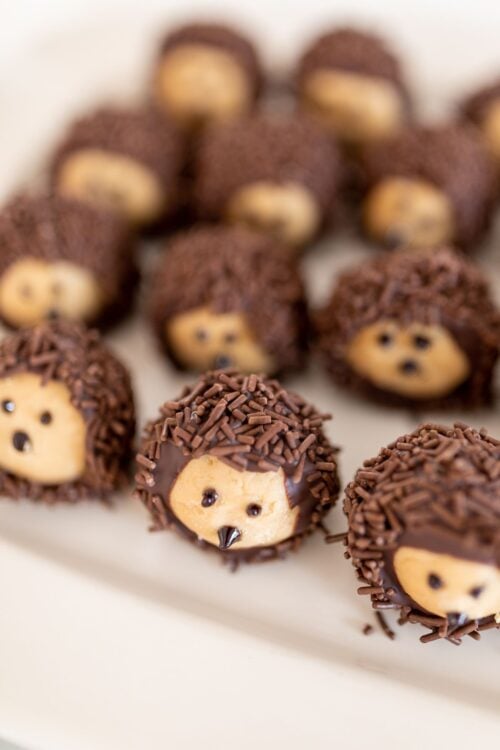
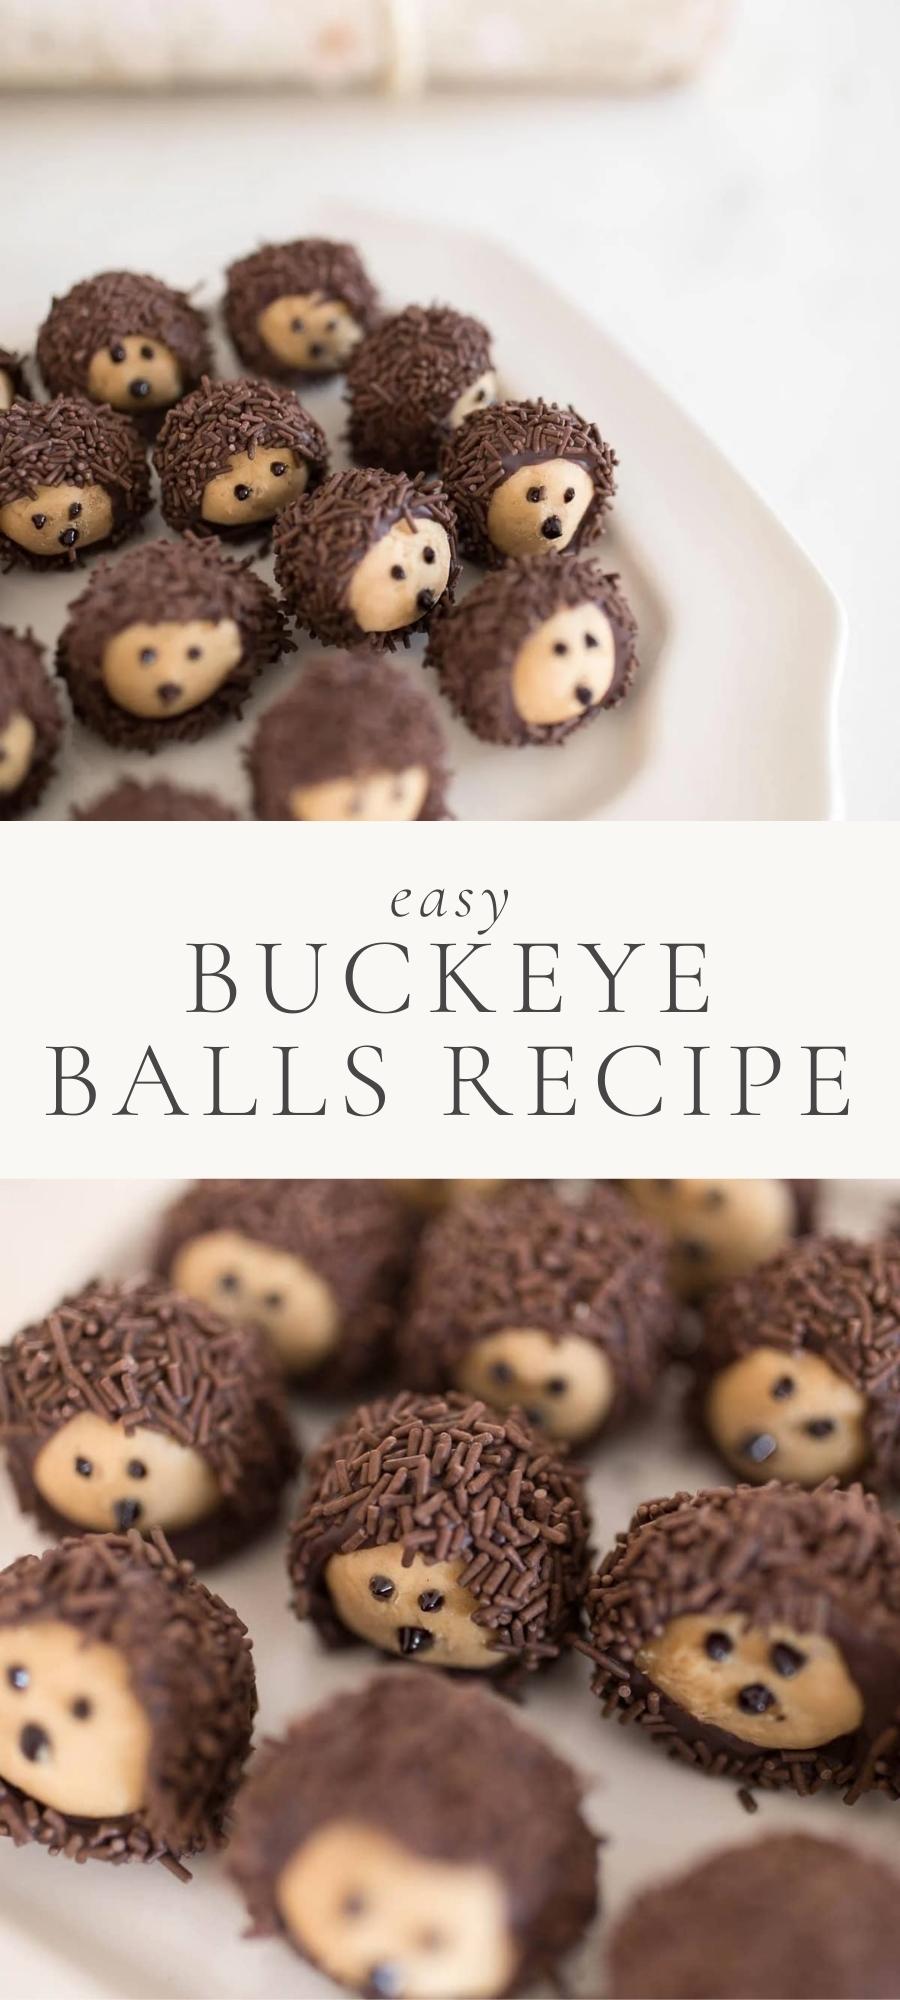
Not only are they incredibly easy to make, they are fun too! We turned our simple buckeye recipe into the cutest little hedgehogs for parties.
Who can resist the combination of peanut butter and chocolate? There’s nothing better!
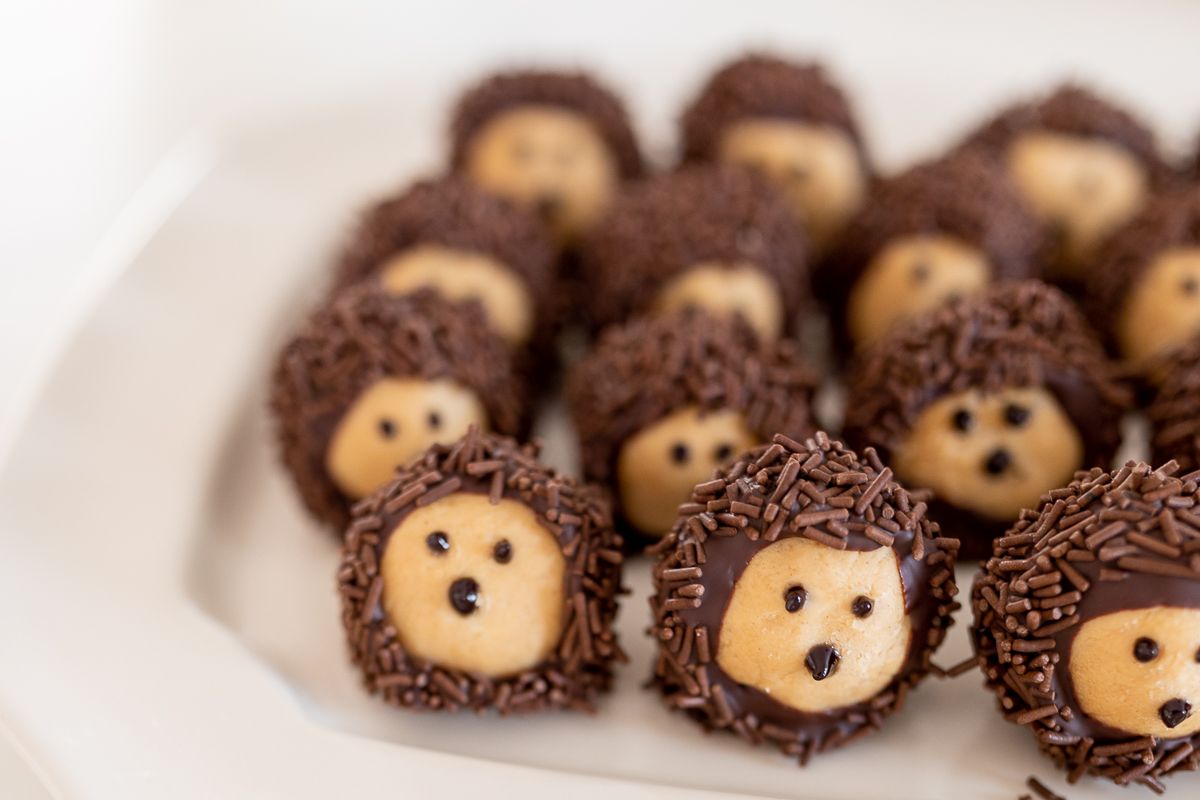
Is there anything better than the combination of creamy peanut butter and sweet chocolate? In my opinion, there’s very little that can top this classic combo.
These chocolate peanut butter balls are creamy and a little salty… dipped in sweet chocolate that is melted to perfection. (Yes, they are very similar to a peanut butter cup!) I’d say without a doubt, these are a peanut butter and chocolate lover’s dream come true!
While so many of the recipes that feature these flavors involve baking, this sweet little buckeye recipe does not! That’s what I love about making these sweet treats – they are no bake perfection.
Recently, I hosted a baby shower for my niece, where I turned my love of chocolate peanut butter into an adorable feature. Read on for all the details!
Love a decadent chocolate treat once in a while? Don’t skip my Hot Chocolate Bombs, and the spicier Mexican Hot Chocolate Bombs, too!
Why You’ll Love this Buckeye Recipe
- Easy to make
- No bake
- Perfect for gifting
- Prep them ahead of time
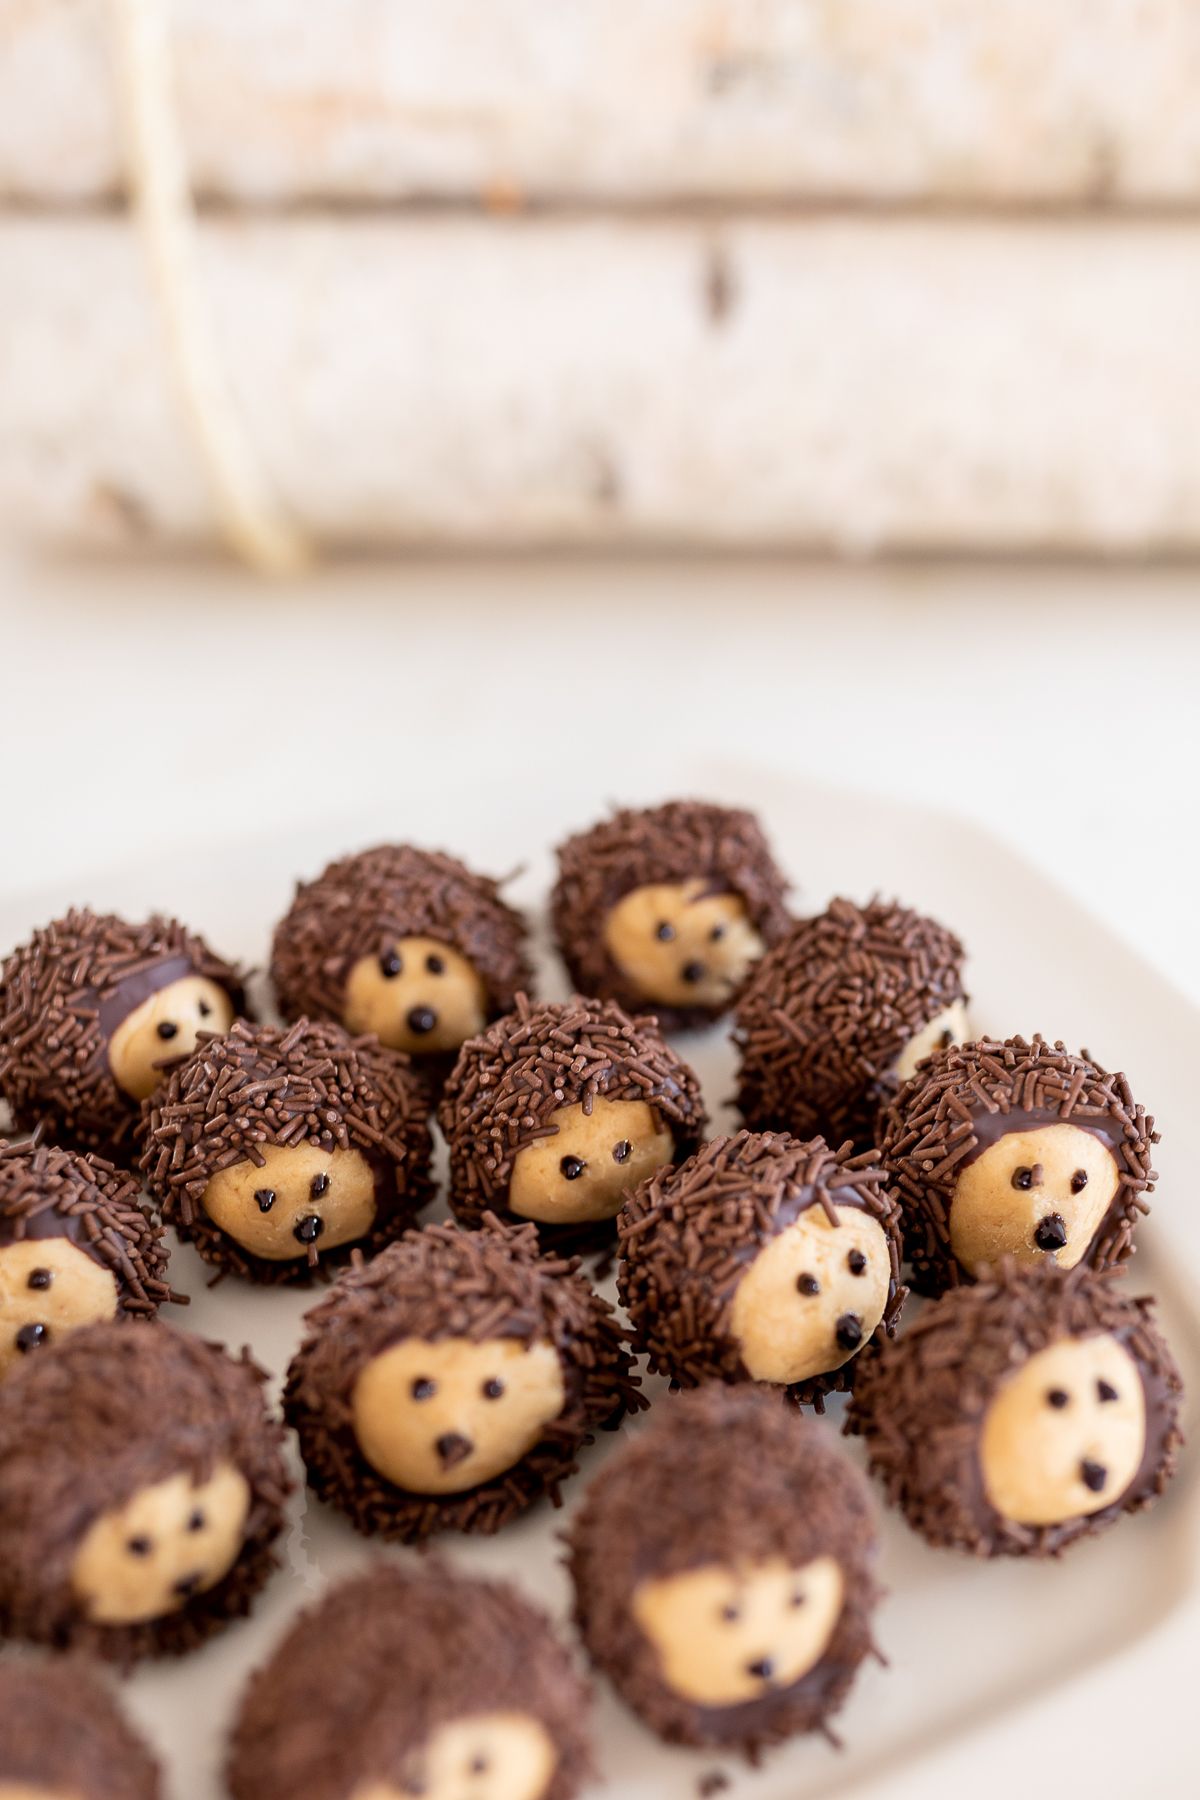
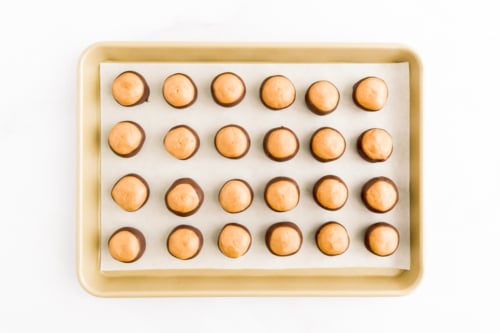
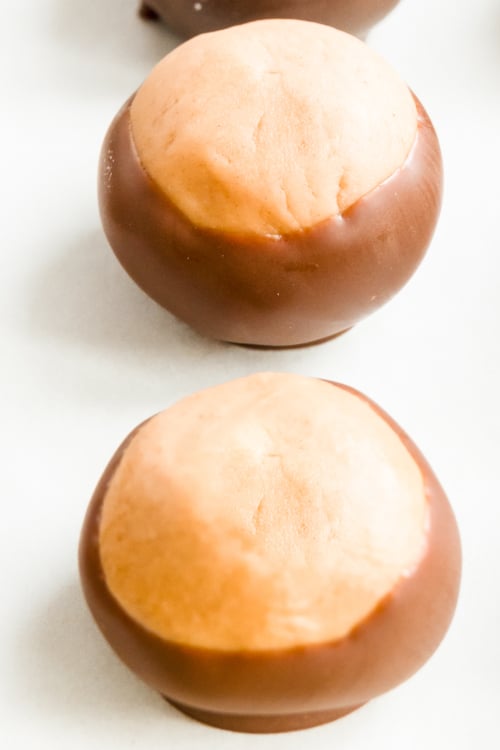
The difference between chocolate peanut butter balls and buckeyes are that chocolate peanut butter balls coated entirely in chocolate, while buckeyes leave the a little peanut butter showing at the top.
They resemble nuts from a buckeye tree!
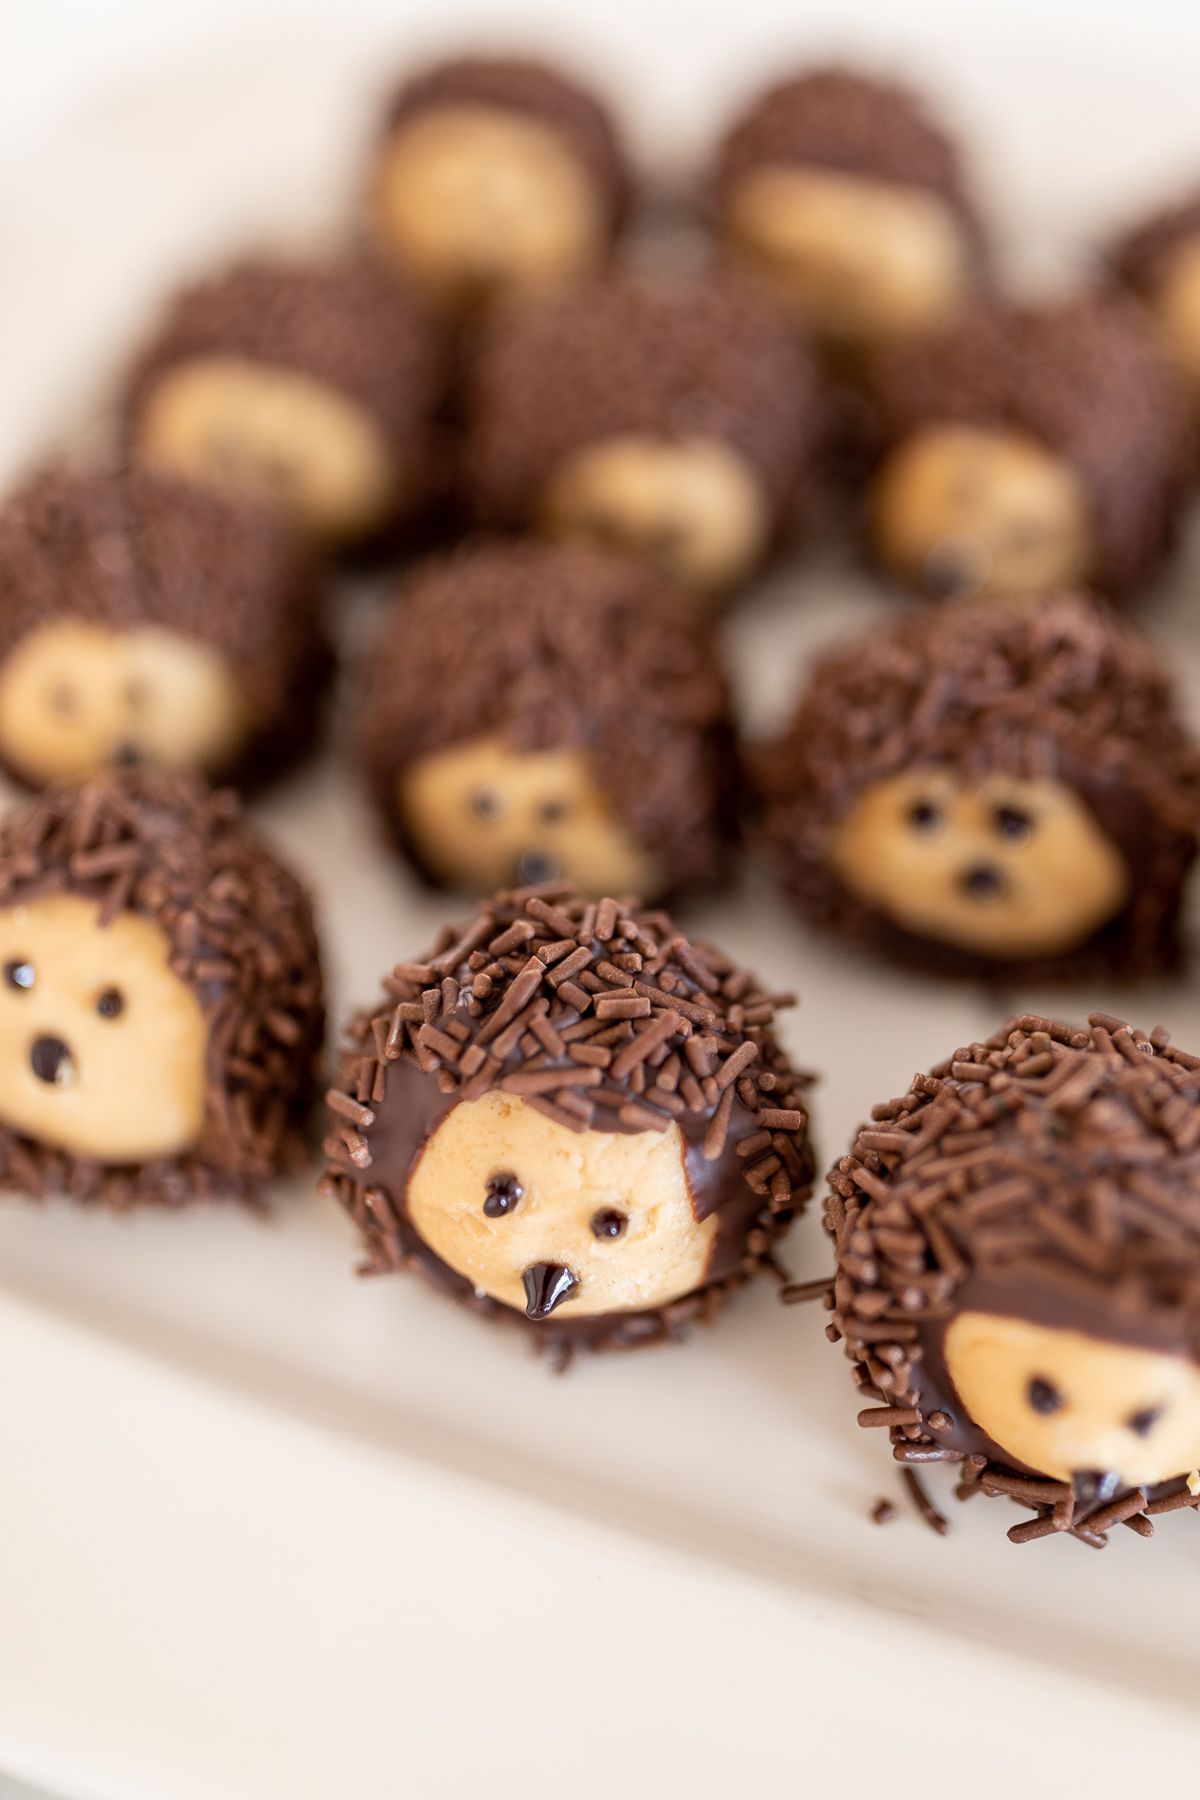
We turned buckeyes into the sweetest little hedgehogs, because the peanut butter top is easy to turn into an adorable face and the sprinkles add an amazing crunch!
They are so easy to make, you’re going to find every excuse to eat them! As always, it’s best for me when I have a “share plan” before I make this buckeye recipe, so that I don’t eat every last one. Chocolate peanut butter treats are probably one of my favorite guilty pleasures of all time!
A Buckeye Recipe Without Shortening Or Paraffin Wax
One of the things that separates this buckeye recipe from others is that I don’t use shortening or paraffin. A hint of vegetable oil blended with melted chocolate gives it a luxurious consistency.
Ingredients and Substitutions
This Buckeye recipe uses common ingredients that you have in your refridgerator and pantry.
- Confectioners Sugar – Also known as powdered sugar. Sifted is ideal, but not required.
- Creamy Peanut Butter – Do NOT use all-natural, the consistency doesn’t work well. Substitute crunchy peanut butter if you prefer.
- Butter – Melted butter creates an amazing consistency.
- Vanilla – A hint of vanilla adds a lot of flavor to chocolate peanut butter balls. Learn how to make your own vanilla extract – it’s so easy!
- Chocolate – Semi-sweet chocolate chips or wafers (melted) work really well.
- Vegetable Oil – Gives chocolate a luxuriously smooth texture.
Variations
- Try a crunchy peanut butter instead of creamy
- Try dark chocolate instead of semi-sweet
How To Make Buckeyes
See the printable recipe card for more details.
- Make Filling – Beat filling ingredients until combined. Scoop or roll mixture into balls and place on lined baking sheet. Freeze.
- Make Coating – Warm chocolate and vegetable oil in increments, stirring until smooth.
- Dip and Decorate – Dip peanut butter balls into chocolate. Optional: dip in sprinkles and place on the cookie sheet.
- Set – Refrigerate until solid and serve at room temperature.

Tips
- Don’t use natural peanut butter, as the consistency is just not the same.
- Melting wafers tend to work best here, although chocolate chips and bars will work too.
- Line your baking sheet with parchment paper to prevent sticking and allow for easy clean up.
- If dough is a bit too sticky to roll, try adding an extra tablespoon of powdered sugar.
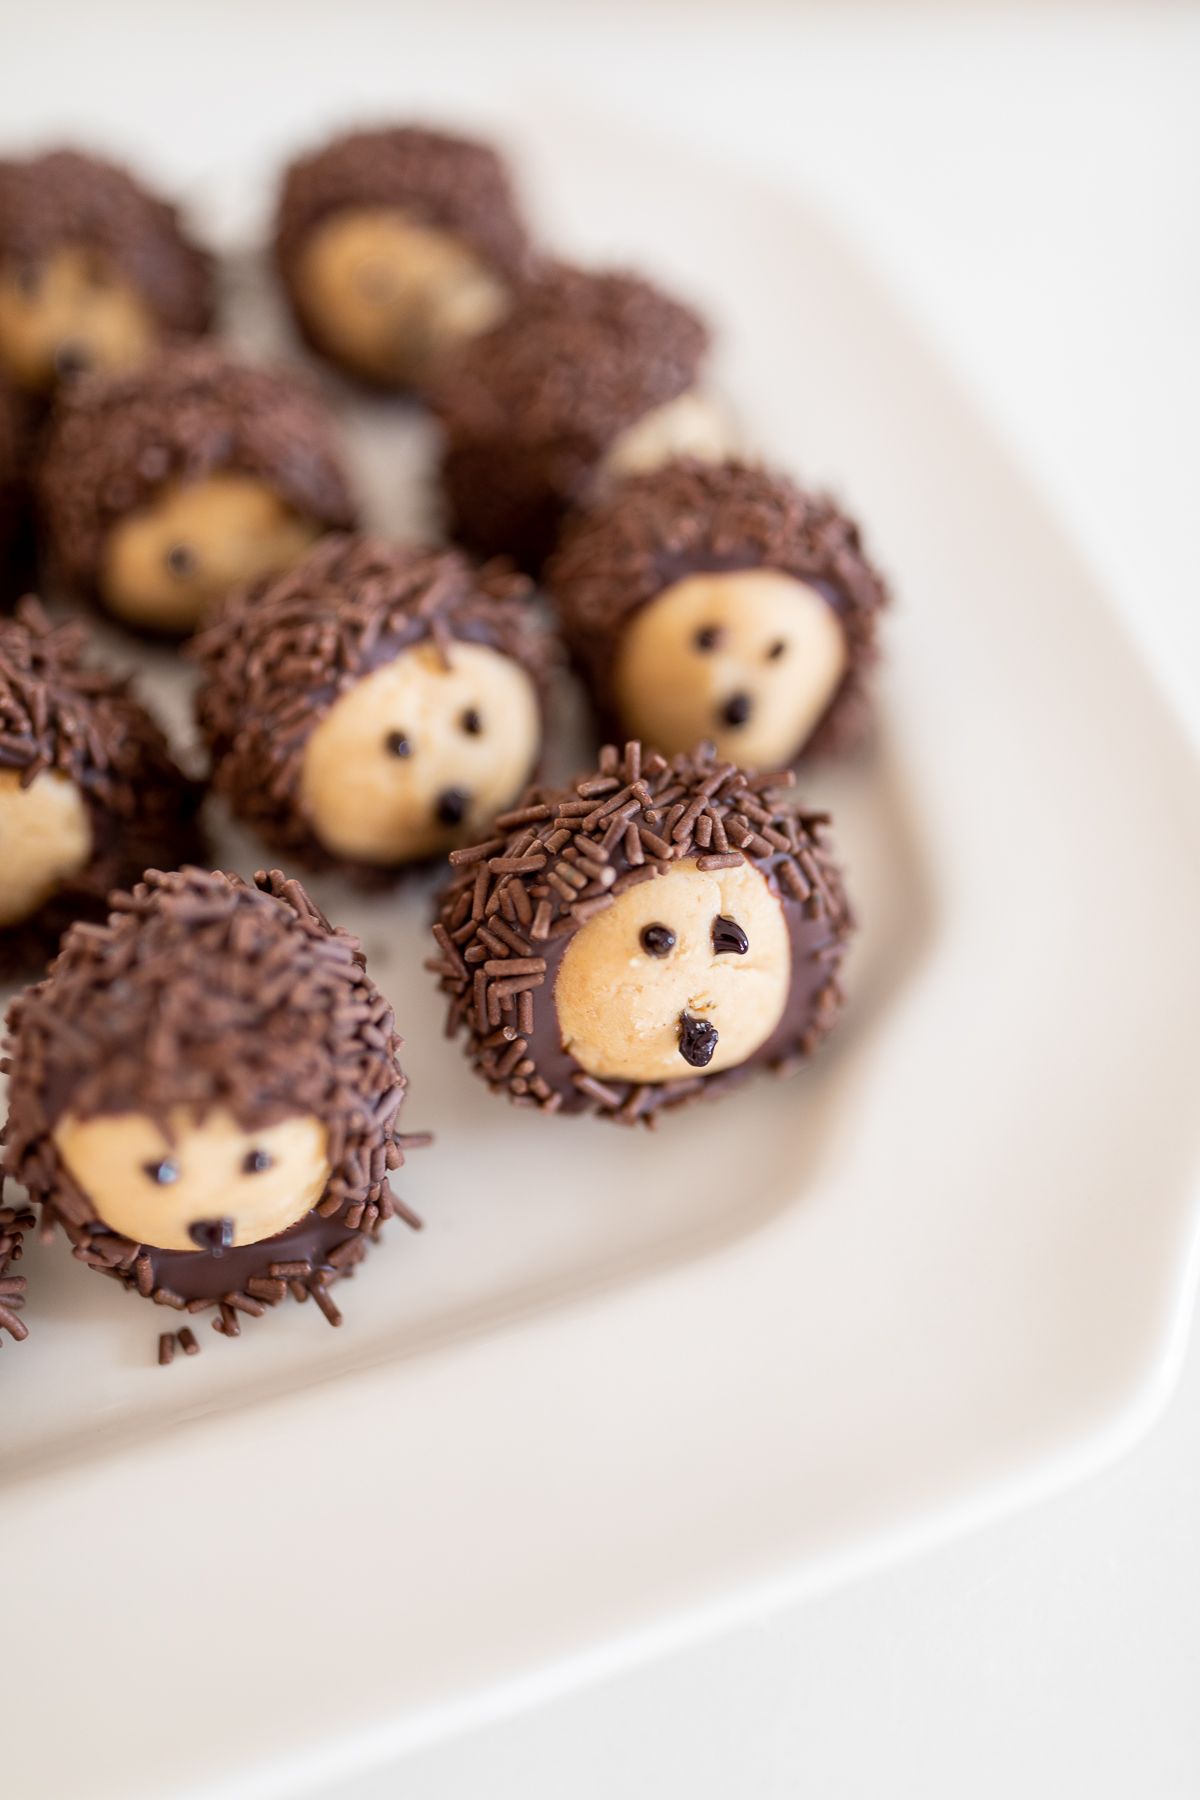
- You can use the gel writing icing to add the face either before or after refrigeration, but I did after just in case there was any bleeding!
- Want to double or triple the recipe for serving or gifting? Use the yield tab in the printable recipe card for calculating more or less servings!
Scaling up, down or substituting? You’ll love this printable Measurement Conversion Chart!
Buckeye Serving Suggestions
These are so much fun to make, but they are just as much fun to serve! You can work them into the theme of your event, or just serve them in their charming simplest format for a treat your family and guests will love.
- Rolling them in sprinkles can add a little color or charm based on the season or event. I love the idea of red and green sprinkles for Christmas or pastel nonpareils for Easter.
- Perfect on your holiday cookie platters to serve for gatherings.
- Great for gifting. Wrap in cellophane bags or package inside cute boxes.
Frequently Asked Questions
Buckeyes are a little different from traditional chocolate and peanut butter balls, which are completely covered in chocolate. They resemble the nut of the Ohio buckeye tree, which the state tree of Ohio, hence the name.
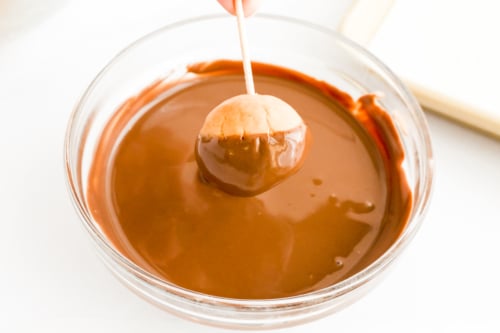
Use a toothpick to dip them into the chocolate while holding that, works like a charm!
Dietary Considerations
- Gluten Free
- Vegetarian
How to Store Chocolate Peanut Butter Balls
- Room Temperature – Buckeyes will last up to two days stored on your kitchen counter in an airtight container.
- Refrigerator – Store up to two weeks in the fridge. (However, don’t blame me if they don’t make it through the day! Fair warning!)
- Freezer – You can also freeze this Buckeye Recipe for a couple months in the freezer and pull them out when your family wants a sweet treat. Store in an airtight container for best results.
More Peanut Butter Inspiration
Buckeye Recipe
Ingredients
- 2½ cups powdered sugar (280 grams)
- 1 cup creamy peanut butter (250 grams)
- 6 tablespoons salted butter melted (85 grams)
- 1 teaspoon vanilla extract (4.2 grams)
Chocolate topping
- 8 ounces semi-sweet chocolate chips or wafers (226.8 grams)
- 1 teaspoon vegetable oil (4 grams)
For Decorating as Hedgehogs (optional)
- chocolate sprinkles
- Black writing gel icing
Instructions
- In a large mixing bowl, beat peanut butter, butter and vanilla until well combined.1 cup creamy peanut butter, 6 tablespoons salted butter, 1 teaspoon vanilla extract
- Gradually add powdered sugar, ½ cup at a time until combined.2½ cups powdered sugar
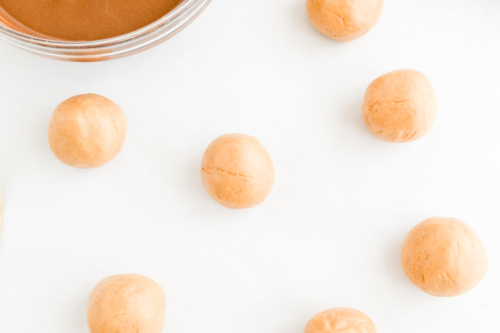
- Scoop and roll into round balls and place onto a parchment lined cookie sheet.
- Freeze 30 minutes.
- While the peanut butter balls are in the refrigerator, microwave chocolate and vegetable oil in a small bowl in the microwave. Use 30 second increments and stir until smooth.8 ounces semi-sweet chocolate, 1 teaspoon vegetable oil
- Take the sheet pan of peanut butter balls from the freezer. Holding a toothpick, spear the ball of peanut butter and gently dip each one into bowl of melted chocolate. Return to sheet pan to dry.
- Optional: dip in sprinkles and place on the cookie sheet.chocolate sprinkles
- Refrigerate 30 minutes or until chocolate has hardened for serving. Serve at room temperature.
To Turn into Hedgehogs
- Optional: dip in chocolate sprinkles before chocolate fully sets, and place on the cookie sheet.
- Use chocolate writing gel icing to add eyes and a nose to each buckeye.Black writing gel icing
Julie’s Tips
-
- Line your baking sheet with parchment paper to prevent sticking and allow for easy clean up.
- If dough is a bit too sticky to roll, try adding an extra tablespoon of powdered sugar.
- Rolling them in sprinkles can add a seasonal touch, or help them coordinate with an event (like our hedgehogs). Try red and green sprinkles for Christmas, or pastel nonpareils for Easter.
- Hedgehogs – You can use the gel writing icing to add the faces before or after refrigeration. We added them after refrigeration to prevent any bleeding color.
Substitutions and Variations
- Peanut Butter – Do not use natural or homemade peanut butter for this recipe, as the consistency just won’t be the same. Try a crunchy peanut butter instead of creamy if you want a little more texture.
- Vanilla – Sub with almond extract if you prefer.
- Powdered Sugar – Learn how to make powdered sugar here.
- Chocolate Chips – Semi-sweet, dark, milk chocolate or any kind will work! After experimenting we found that Ghirardelli melting wafers work even better than chocolate chips, as they melt perfectly and can be reheated as necessary.
How to Store
- Room Temperature – Buckeyes will last up to two days at room temperature, stored in an airtight container.
- Refrigerator – Store up to two weeks in the fridge.
- Freezer – Freeze for 2-3 months. Store in an airtight container for best results.
Estimated nutrition information is provided as a courtesy and is not guaranteed.


Please, please give us the chance to jump to the recipe. Between the ads and superfluous comments it takes longer to find the recipe than to make it.
You have it – right at the top. Took longer to type this comment than it did to click on it.
Can you use almond butter or any other nut butter, for people who have peanut allergies???
I haven’t tested, but nutella is sometimes an option (depending on their nut allergy) or you could test sun butter.
I looked through the comments and found the answer to my prior question about how you made the little face😃😃
These are sooo cute! What did you use to make the little face? Just a touch of chocolate icing?
There’s a big add covering most of the ingredient list on the recipe
Oh my gosh! Thank you for reporting! I will have my ad management fix asap!