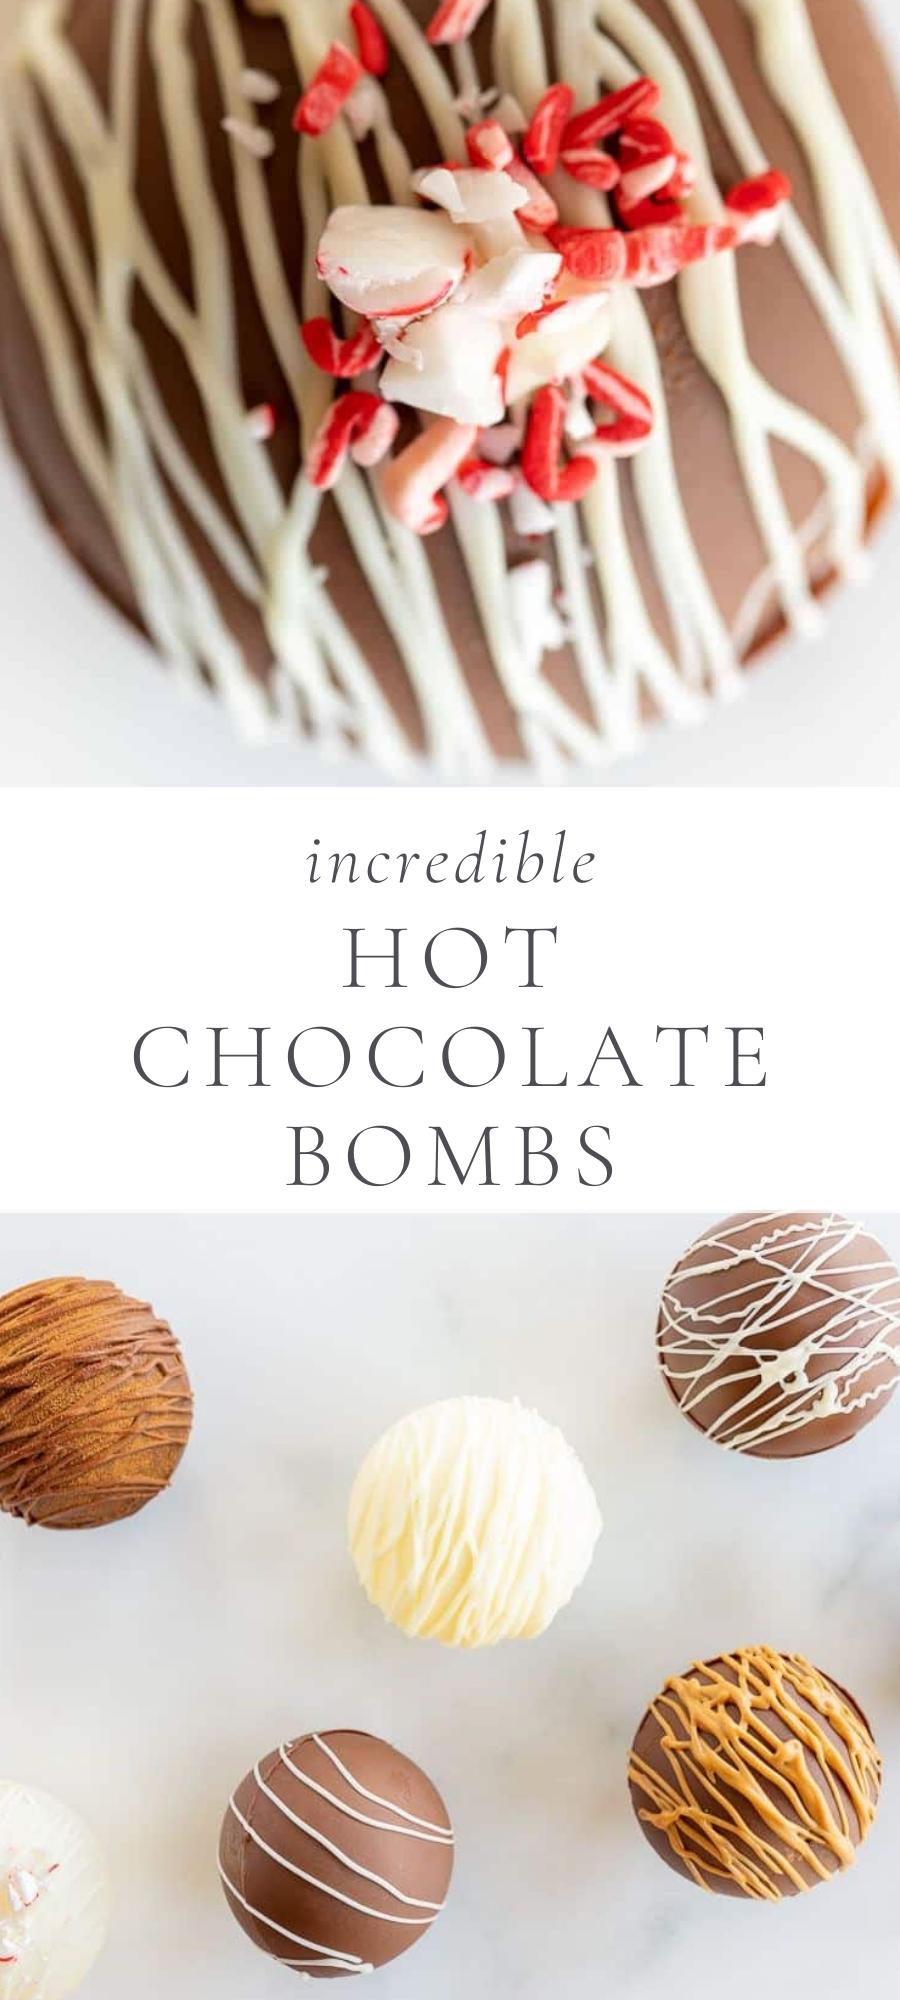
Get all the best recipes and decorating tips for a variety of hot chocolate bombs for gifting this holiday season.
We’re sharing our complete printable recipe collection with eight incredible options, as well as step-by-step photos, a video tutorial, tips and tricks.
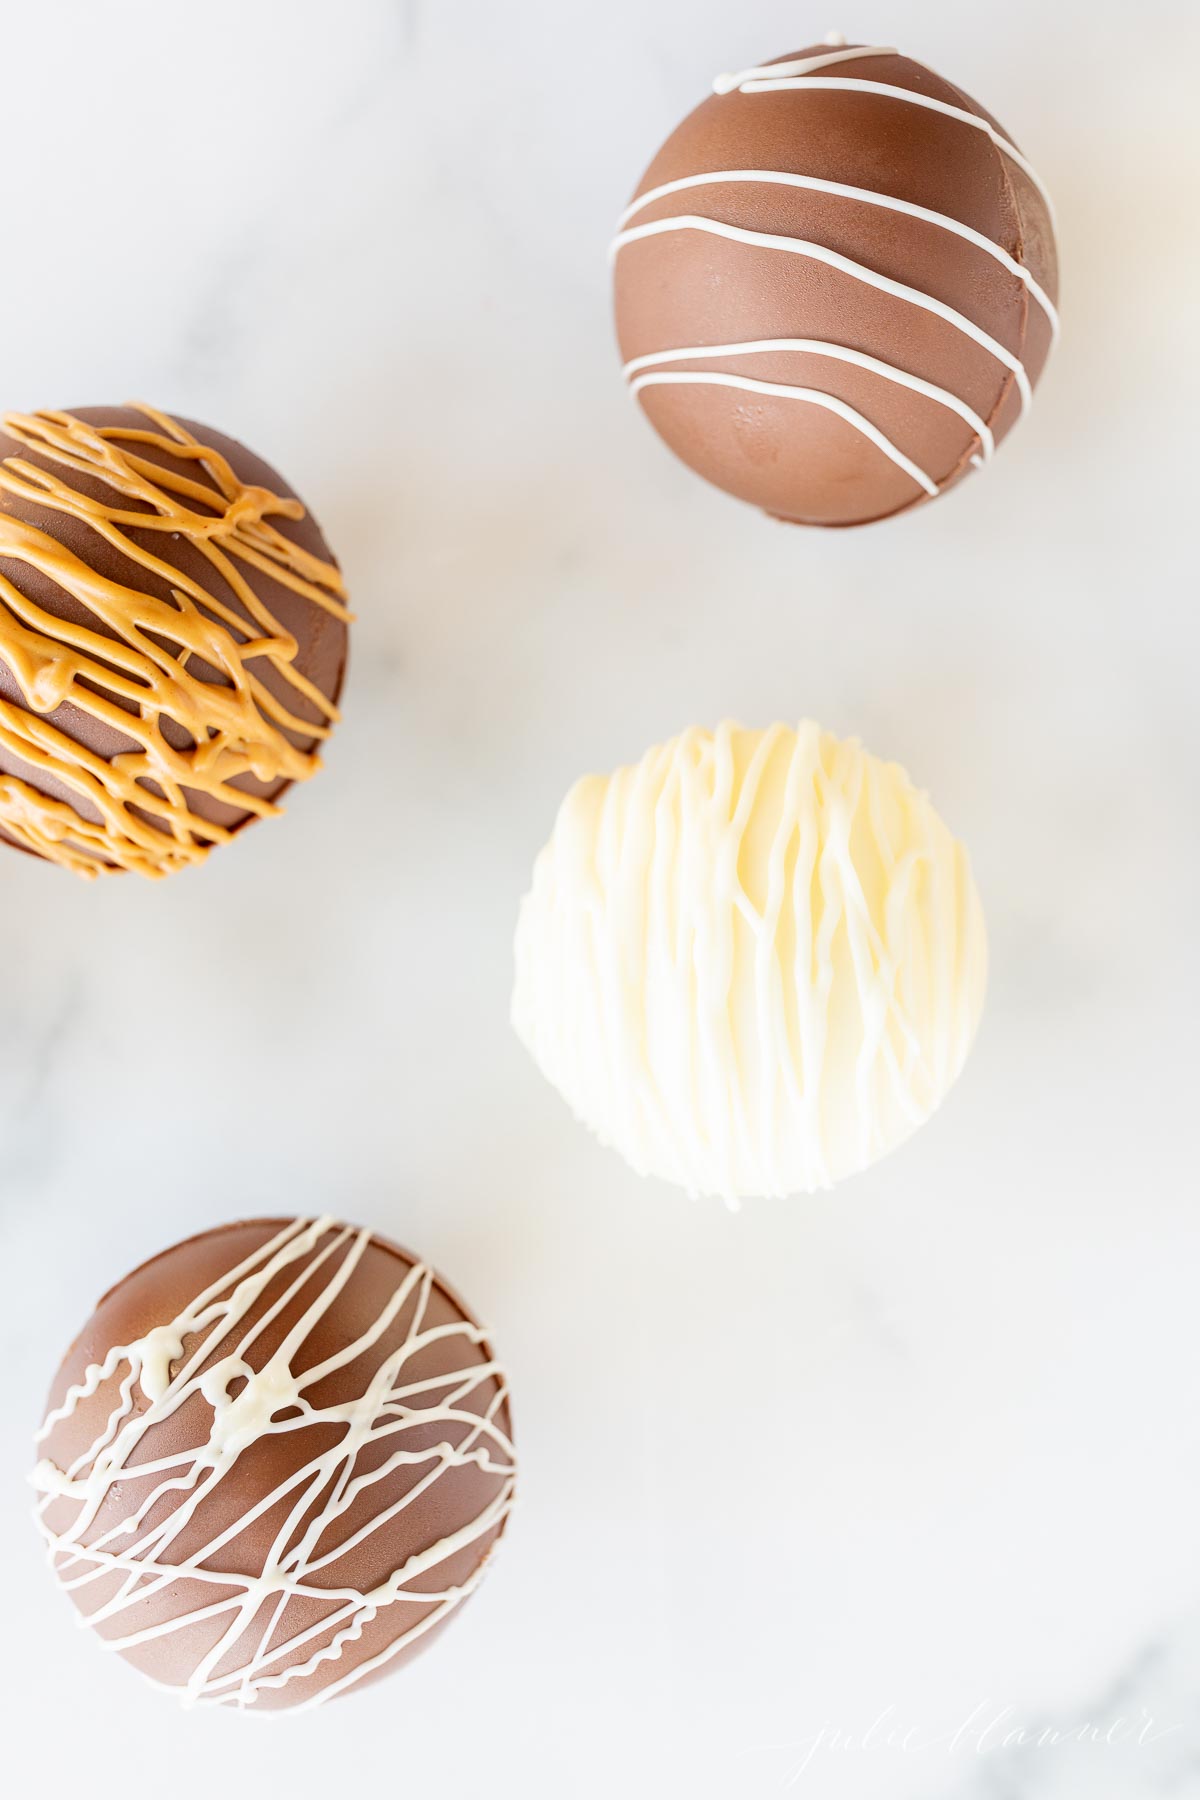
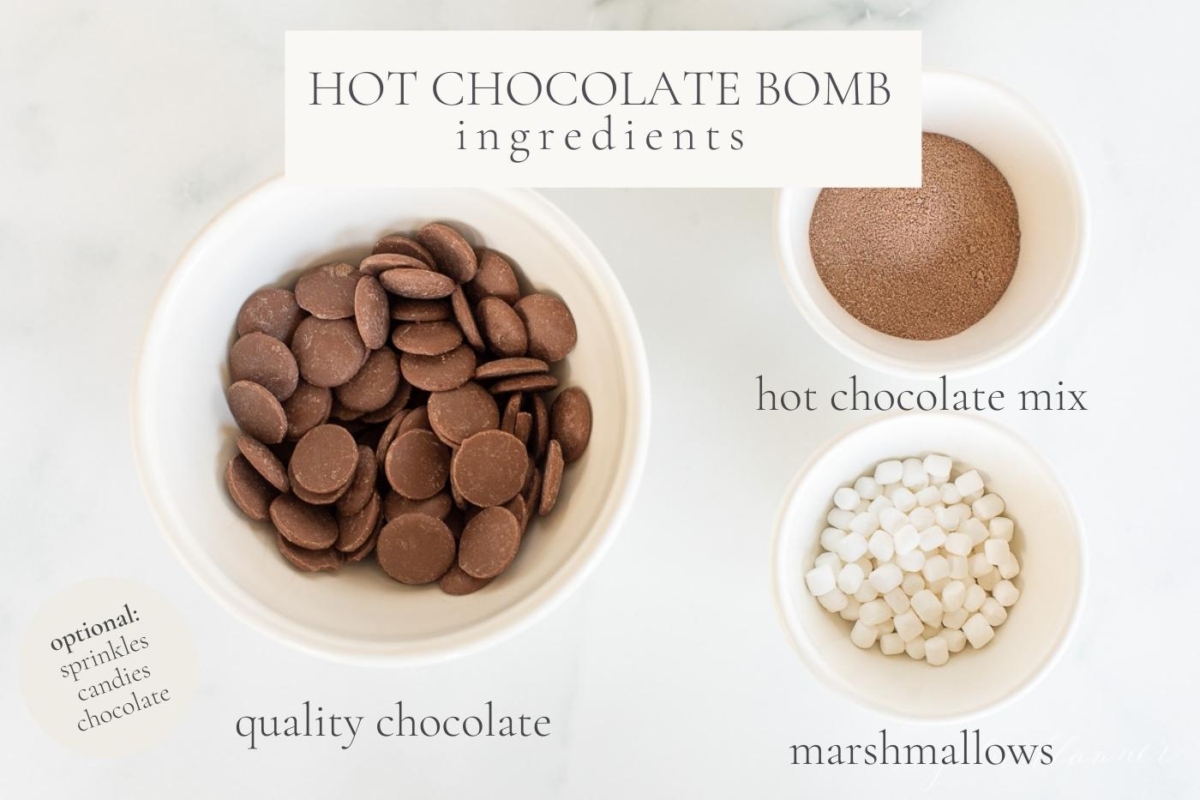
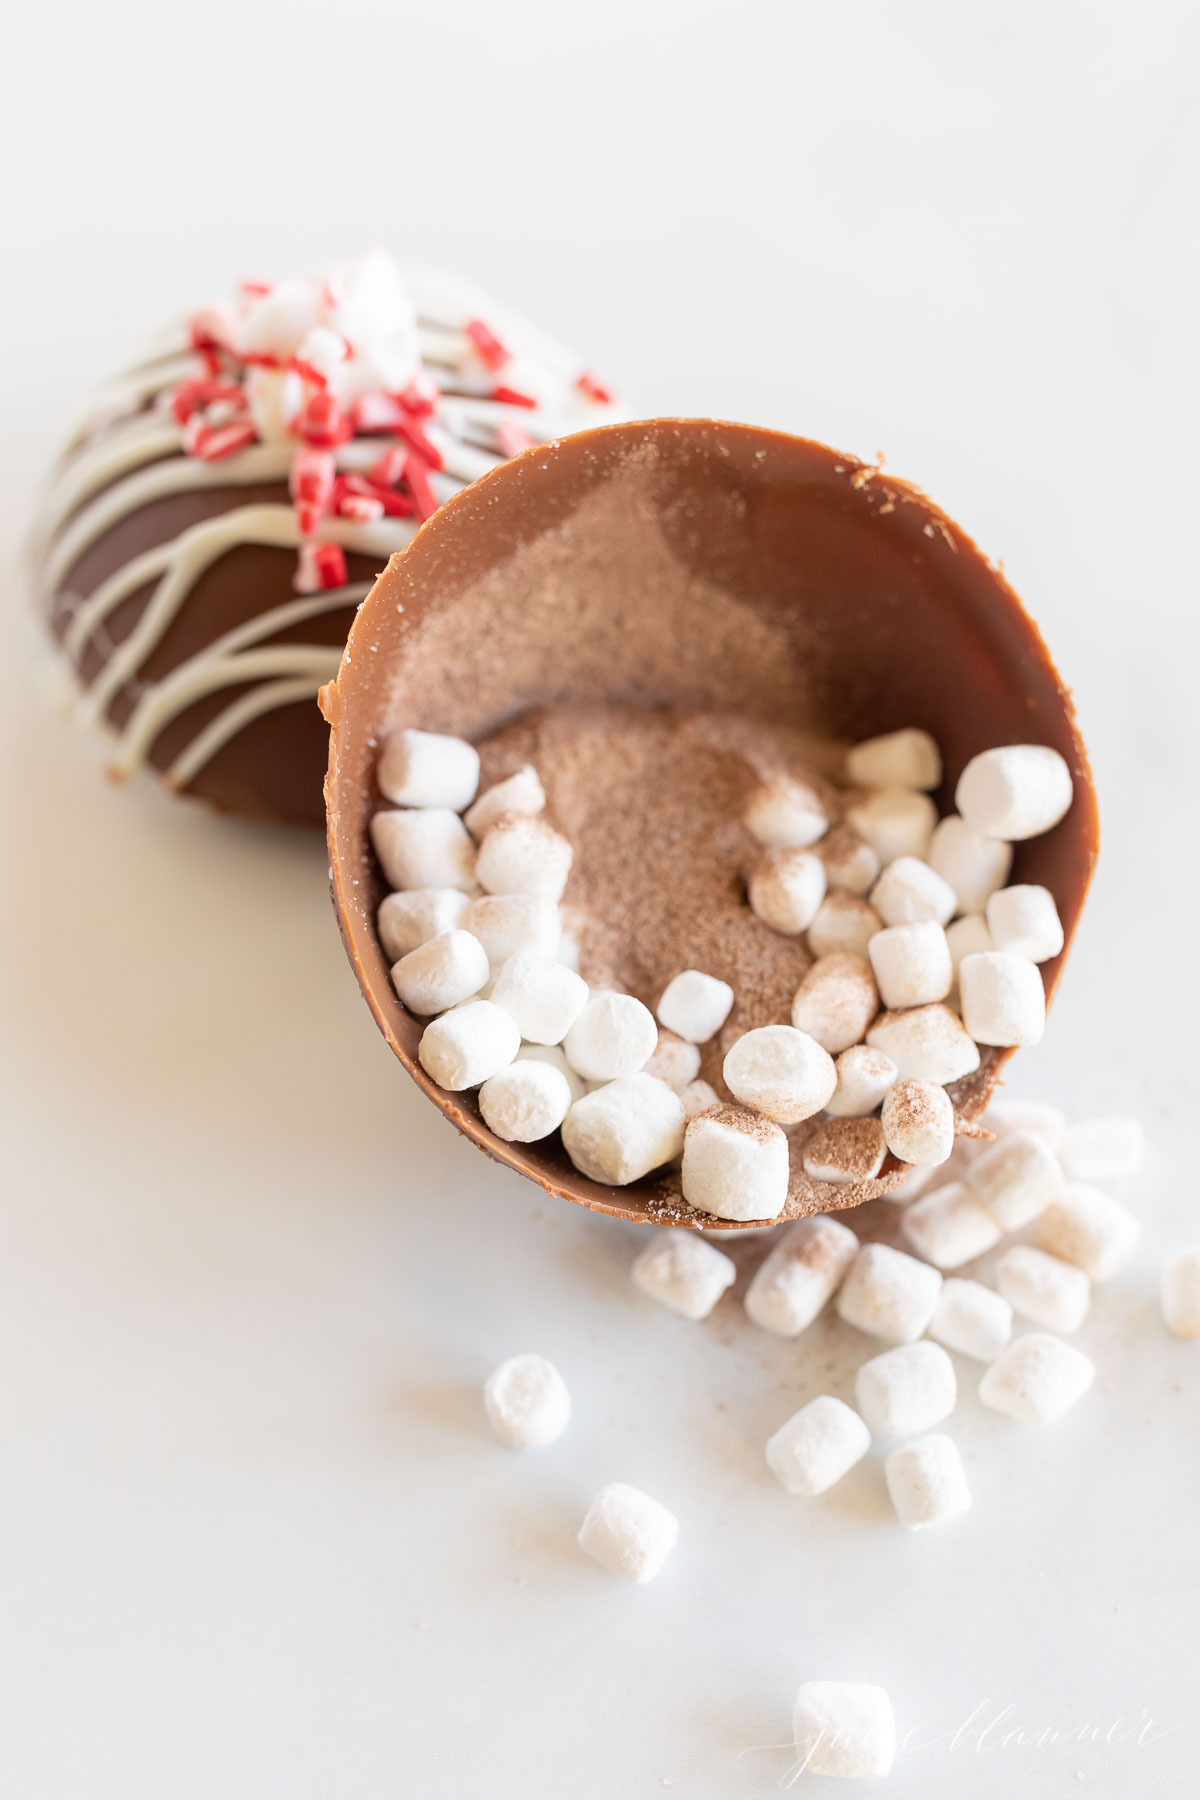
Each hot chocolate bomb recipe is created with spheres of chocolate filled with hot cocoa powder and miniature marshmallows. They melt into an incredibly decadent mug of hot cocoa with a pour of warm milk.
They are fun to make and even more fun to watch as they explode into a warm and cozy mug of chocolate indulgence! Watch the magic happen right before your eyes as marshmallows appear and it turns into the best cup of hot chocolate. Learn just how easy it is to create these little treats yourself.
I’ve long loved a cozy mug of something warm and oh-so-cozy in the fall and winter. There’s just something about twinkling lights, cozy fires and the fragrance of something delicious in a warm mug.
This indulgent hot chocolate bomb recipe is going to be the HIT of your holiday season! Simple to make with just a few ingredients and a couple little tricks, these chocolate bombs are sure to impress.
Hot Chocolate Bombs
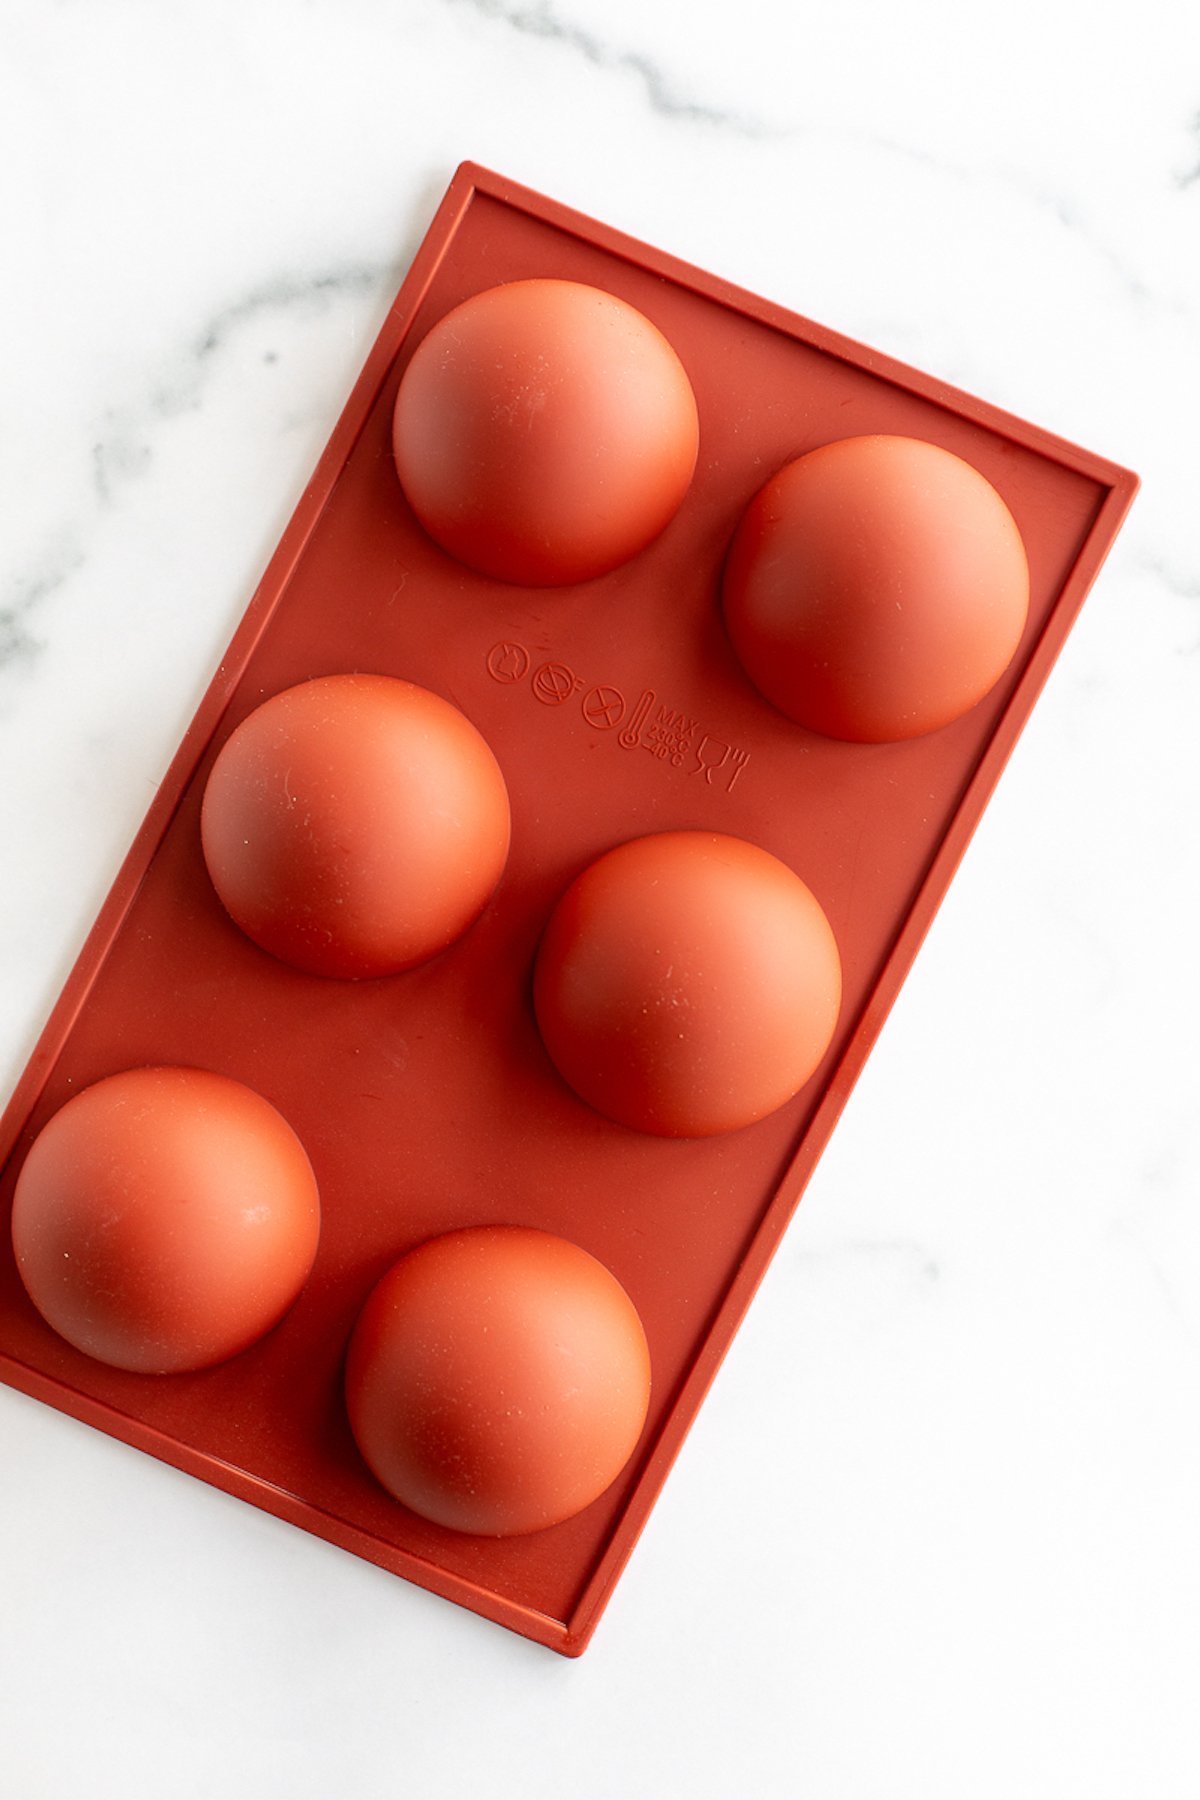
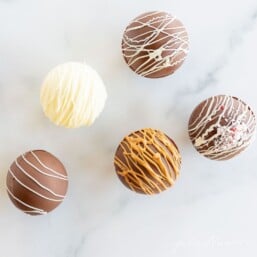
Hot chocolate bombs are spheres of chocolate that you create in a silicone mold with melted chocolate chips, wafers or bark.
Before sealing to create the full sphere, they are filled with miniature marshmallows and hot cocoa mix. The “bomb” is then placed in a mug, with heated milk poured over the top.
The end result is an incredibly fun experience…there’s just something about watching that chocolate melt into a thick creamy mug of hot chocolate that is so wonderful, and a rich cup of creamy hot chocolate as they explode with marshmallows!
Coming soon to a kitchen near you, I think you’re going to love them… making them, decorating them, gifting them, and enjoying them yourself, too!
Why You’ll Love These
- So Cute – Easy to make, delicious and decadent, too.
- Perfect for Gifts – Fun to decorate with so many incredible variations!
- No Bake – No oven required for this special homemade holiday treat.
Fun Fact: Many of our local bakeries sell these little beauties for anywhere from $4-$8 each!
Tools to Use
- Chocolate Sphere Mold – A 2.5 inch mold makes the perfect amount of chocolate for 1 cup of hot milk. 2 inches or larger is easier to fill with hot cocoa mix and marshmallows, too. You can use a truffle size in a pinch.
- Clear Glass Mugs – Clear glass mugs make it easy to watch the bomb melt before your eyes! These are the perfect diameter for a hot chocolate bomb. You can even wrap a bomb in a mug with cellophane for a charming handmade gift!
- Baking Sheet – It makes transferring them to and from the refrigerator or freezer easy, and makes a great surface to drip out the excess chocolate.

Tips
- Read Instructions Thoroughly Before Starting – This recipe moves so quickly that it’s best to read the recipe first and have all the supplies nearby.
- Don’t Overheat Chocolate – Chocolate burns easily, make sure you keep a close eye on it and stir every 15 seconds.
- Touch Minimally – Your fingers can warm the chocolate and leave prints. Touch chocolate as minimally as possible for best results. You can also chill your hands over a bowl of ice or in the freezer (remain dry) or run them under cold water and dry before working with them.
- Adjust Serving Size – Want to double or triple this recipe? Use the 1x2x3x yield tab in the printable recipe to change the calculations for you!
Frequently Asked Questions
There are so many cute ways to present these for gifting to friends, neighbors and family!
*Wrap in small cello bags and tie with a ribbon
*Wrap in brightly colored foil
*Use food safe waxed tissue paper to wrap
*Place in small individual take-out boxes
*Purchase a cute mug and place the chocolate bomb inside, then wrap with cellophane and a ribbon.
Add a chocolate bomb to a mug and pour warm milk over to melt and release the marshmallows and cocoa mix. Stir until creamy and enjoy!
Yes! Just like you can use hot water for any other cocoa mix, you can use it here. It won’t be quite as rich and creamy as milk, but it will still be delicious!
YES! If you use a 2.5″ mold, no hot cocoa mix is required. They are rich and flavorful without any additions.
If you don’t have a mold, don’t fret! There are alternatives! Use a mini cupcake tin or wrap eggs in plastic wrap. Dip into melted chocolate and allow to set.
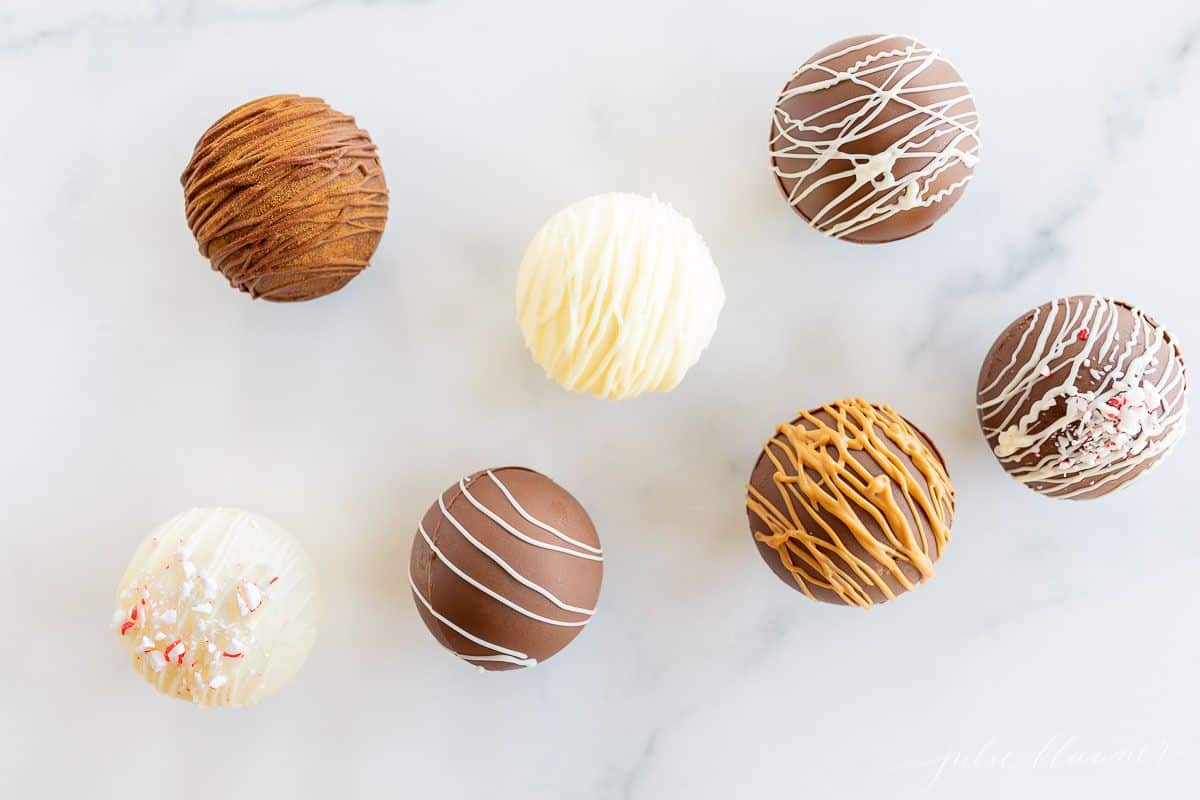
Eight Hot Chocolate Bomb Recipes
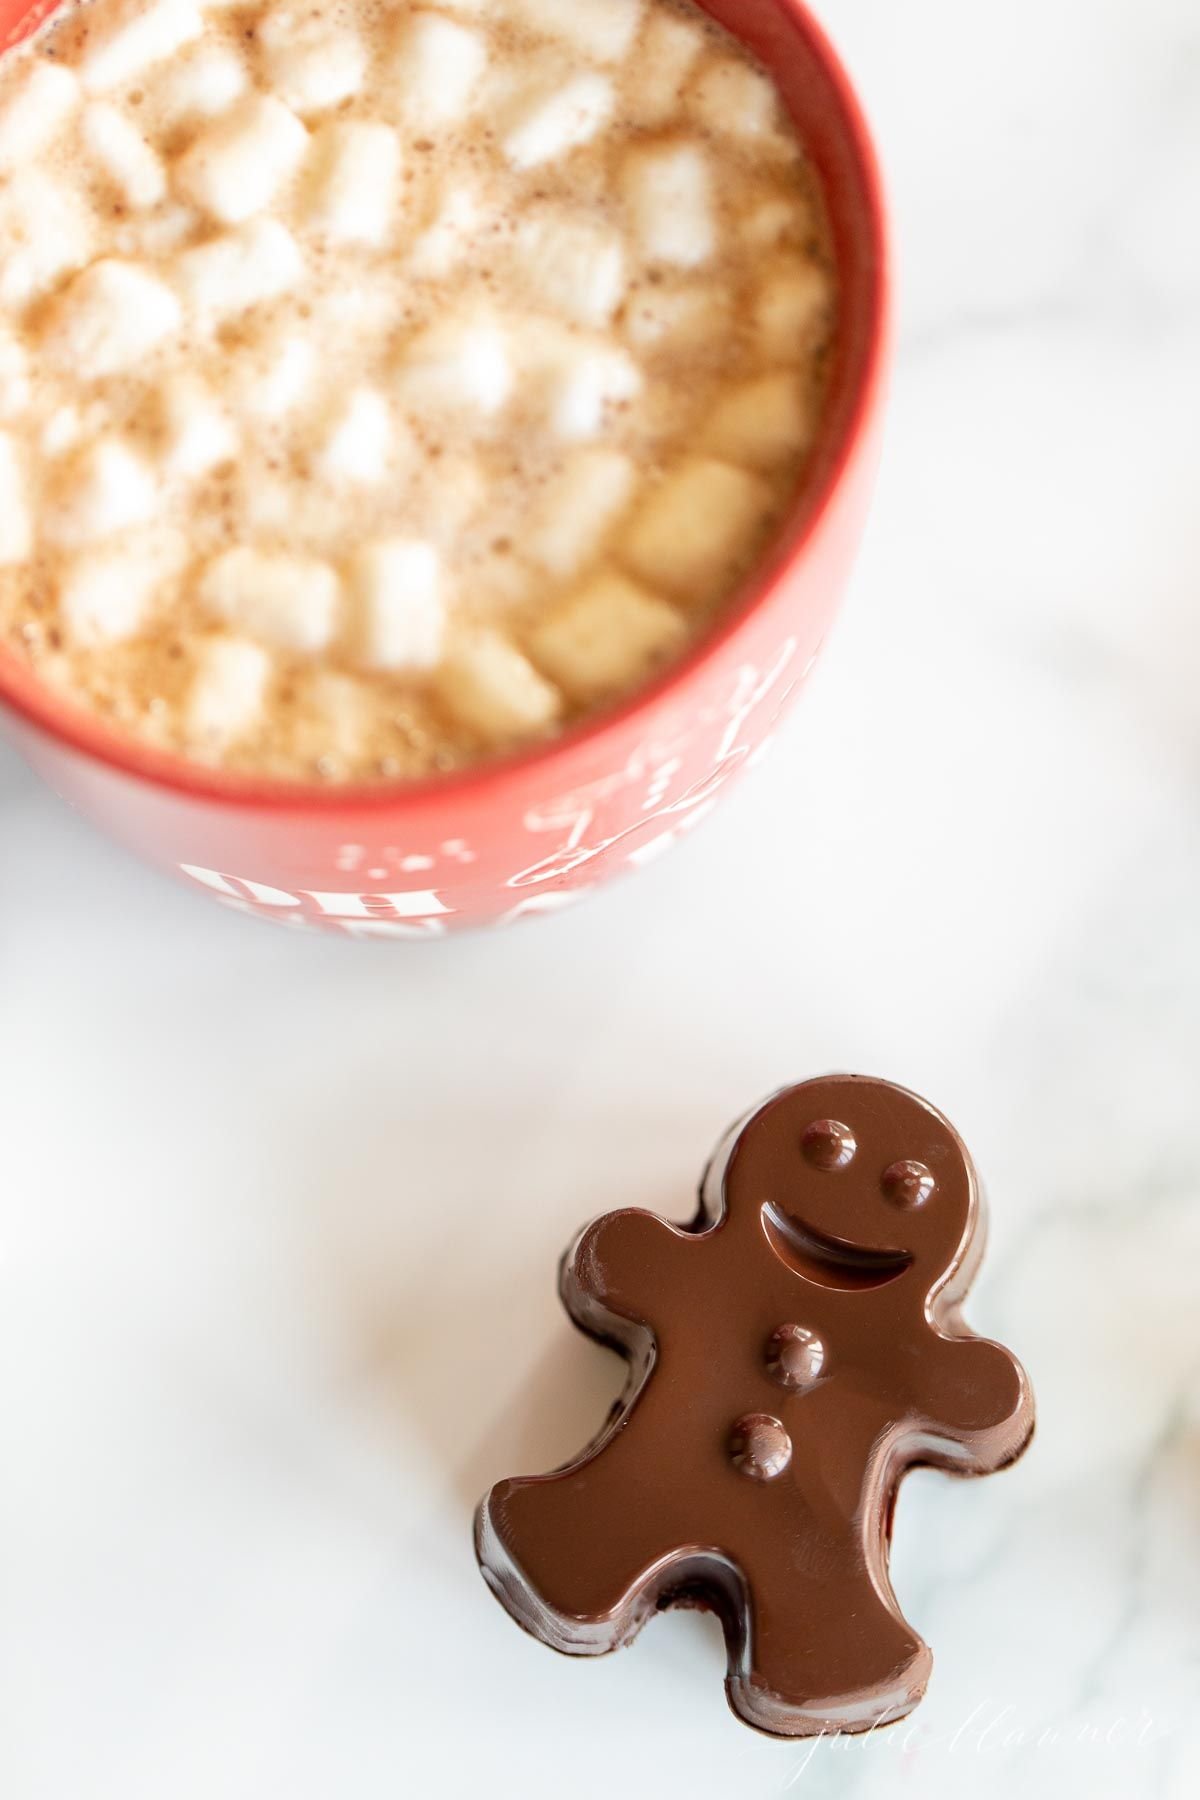
Dark Chocolate Hot Chocolate Bombs
A rich and luxurious cup of dark hot chocolate in adorable gingerbread men form!
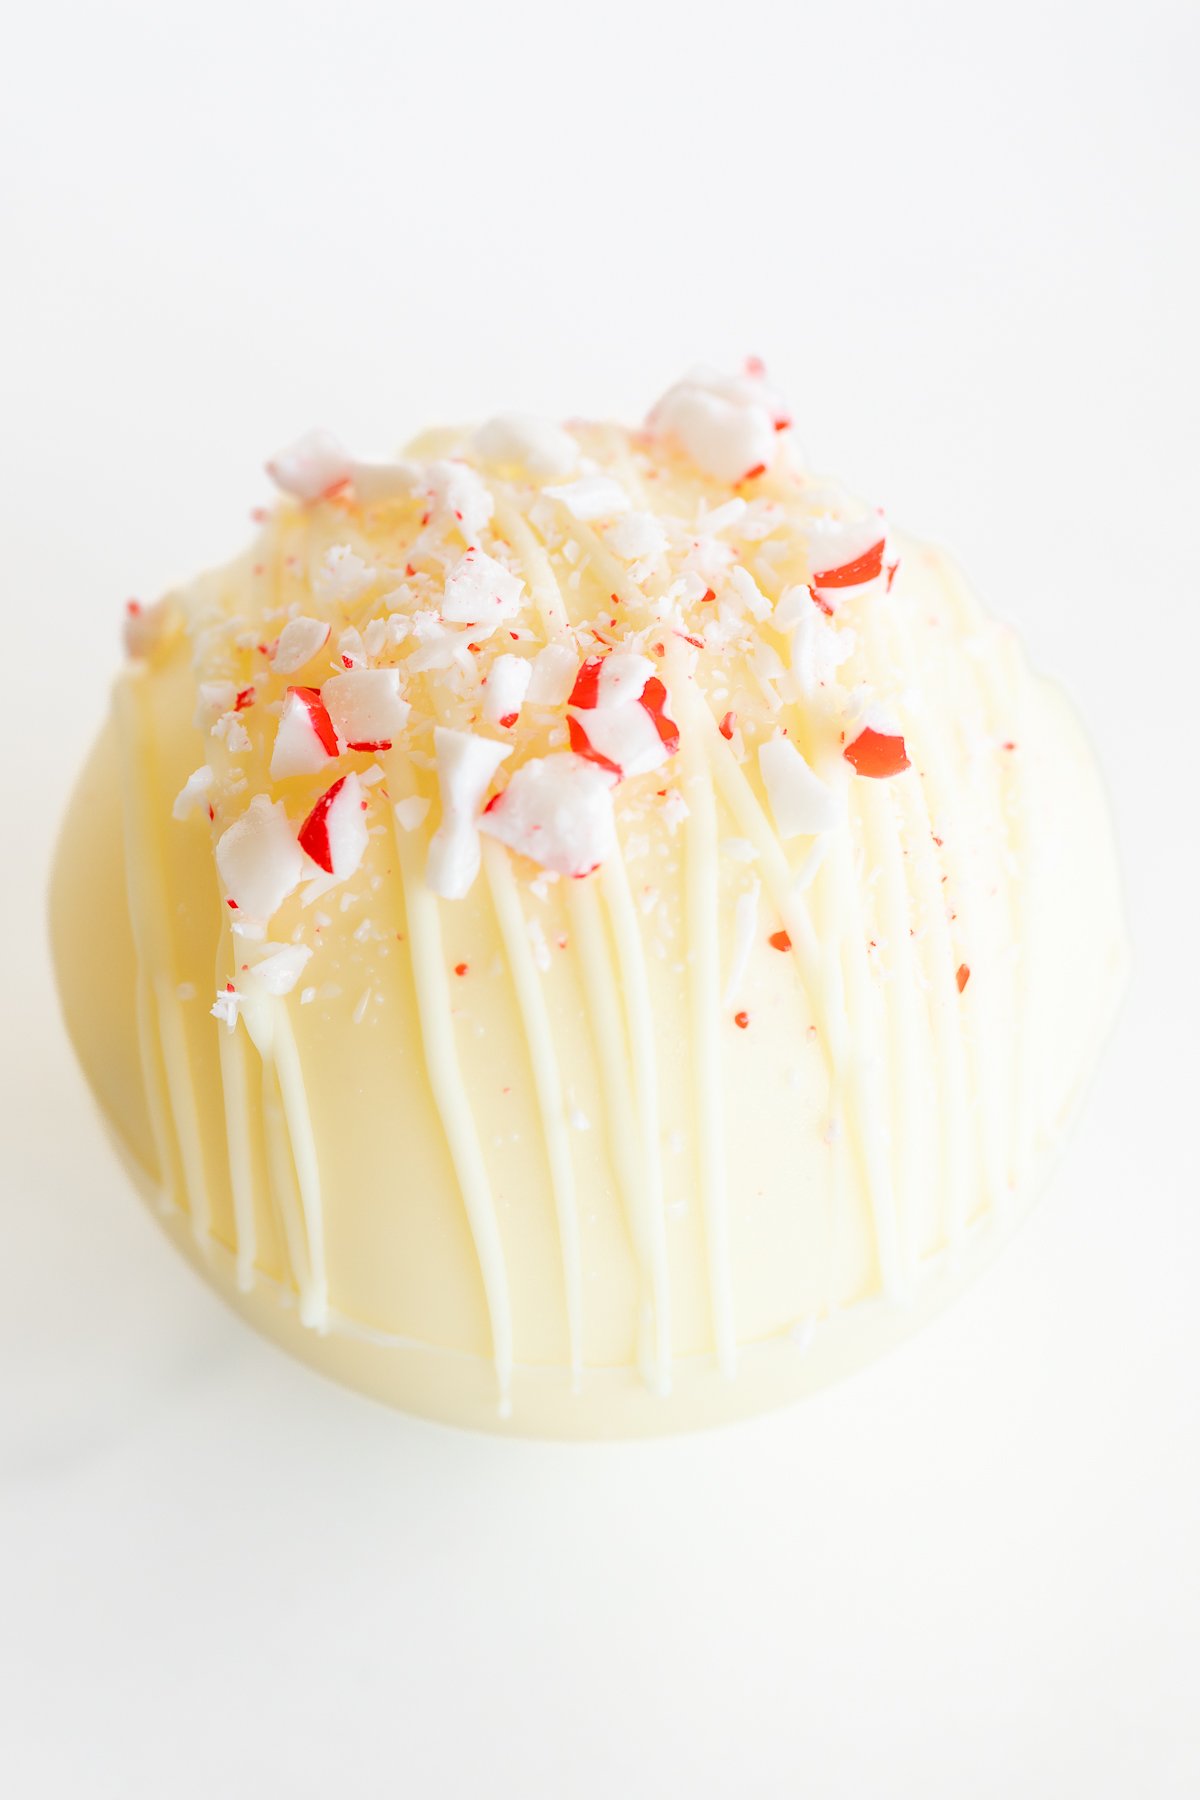
White Hot Chocolate Bombs
These white chocolate hot chocolate bombs are the cutest way to make a sweet, creamy and steamy mug of white hot chocolate! These white hot chocolate bombs are perfect for holiday gifts, too.
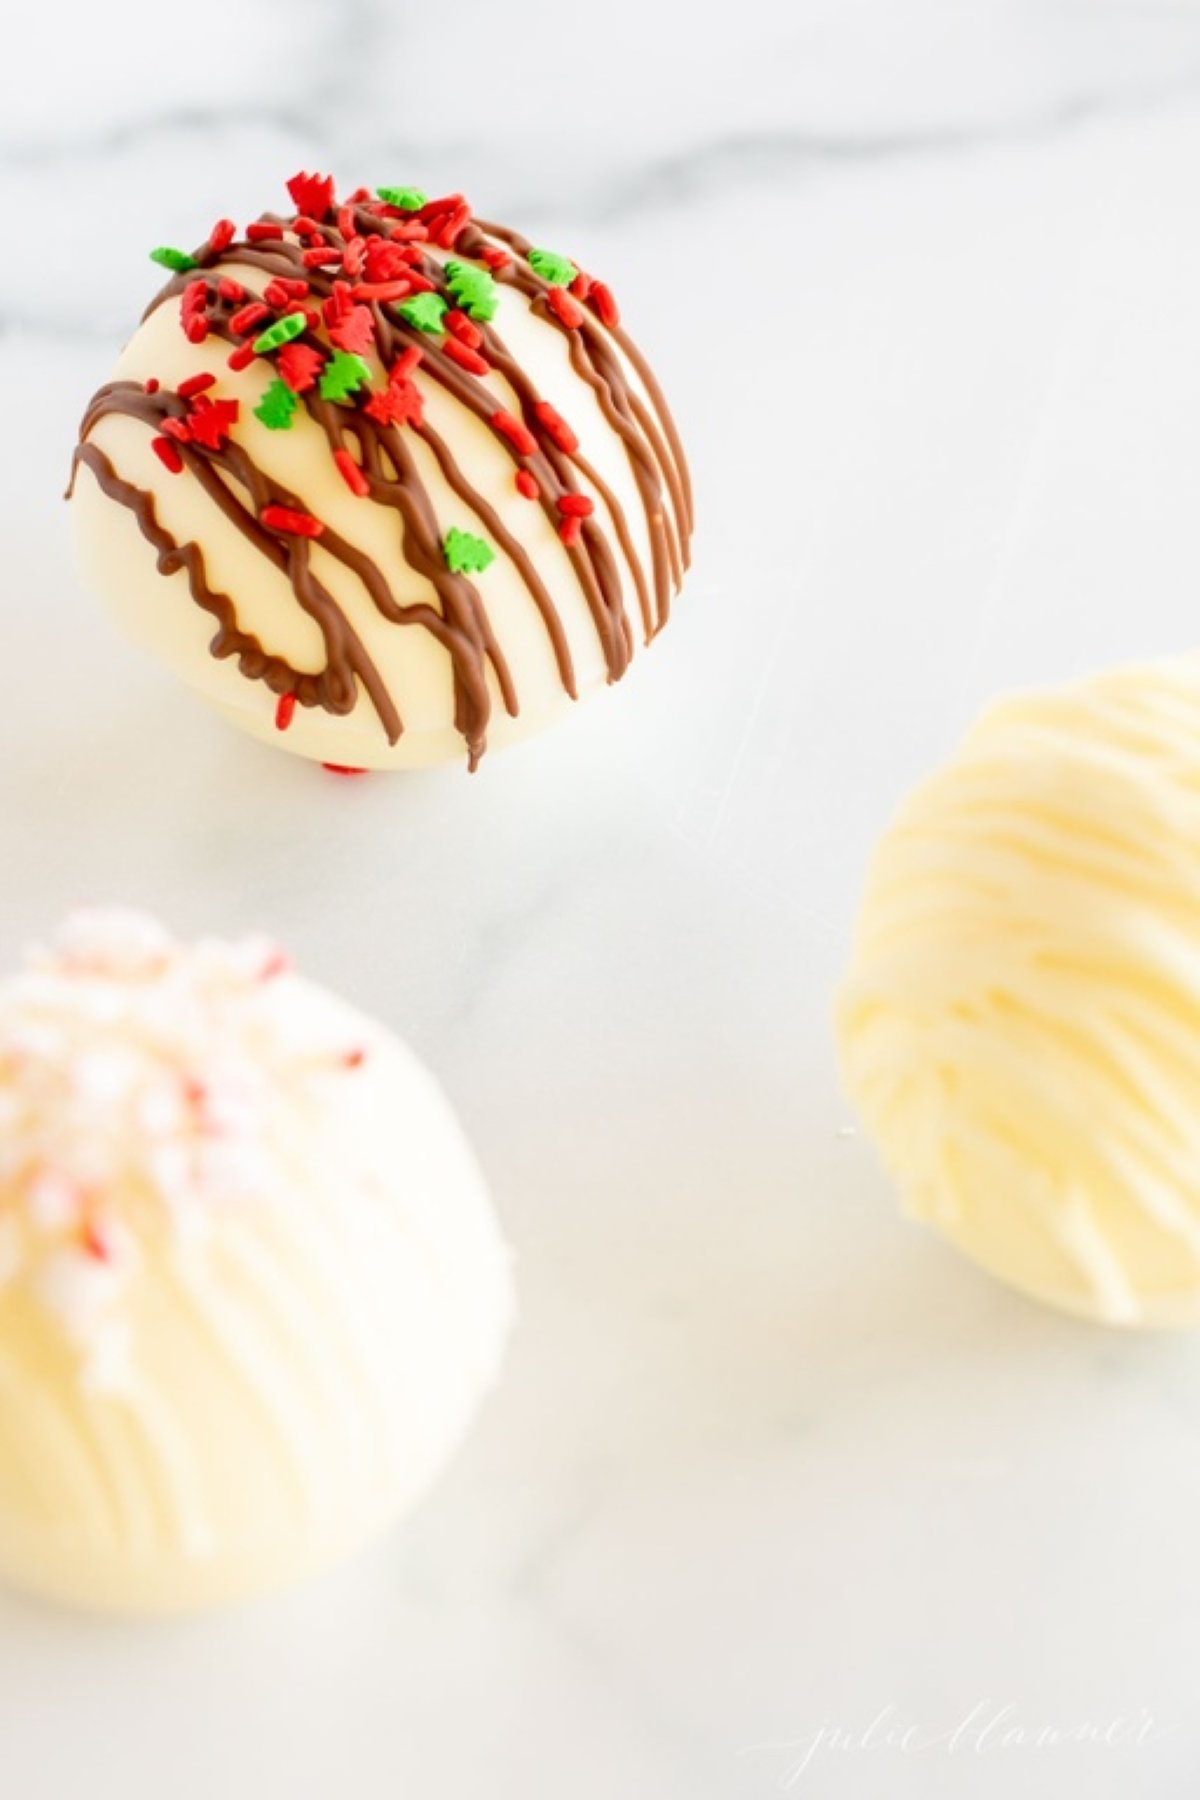
Peppermint Hot Chocolate Bombs
If you’ve never had a peppermint hot chocolate bomb, now is the time! These cute spheres of creamy chocolate are filled with hot cocoa mix, marshmallows and crushed peppermint for an extra dose of wintery joy!
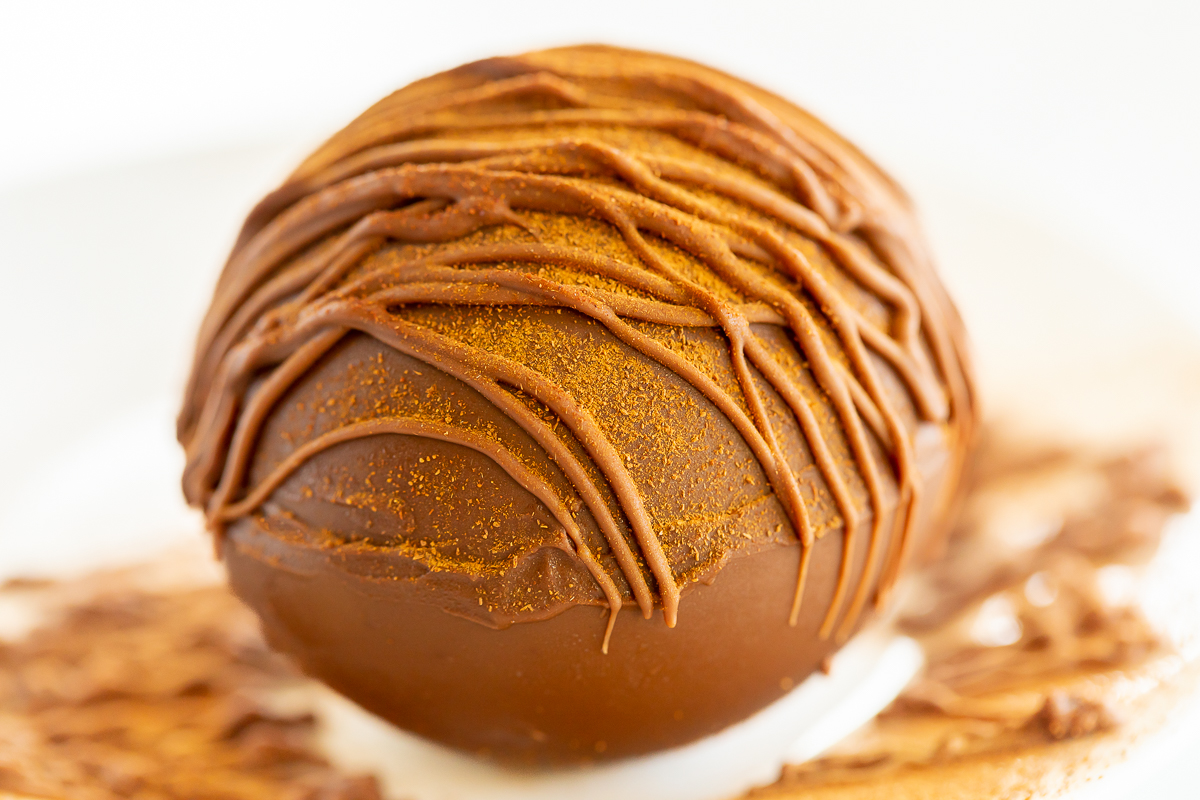
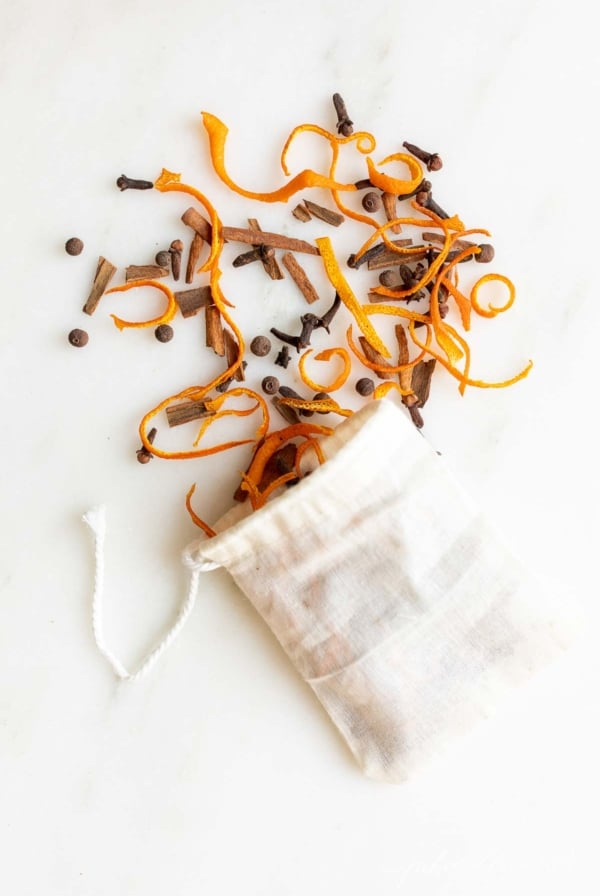
Mexican Hot Chocolate Bombs
These Mexican hot chocolate bombs are the ultimate blend of creamy hot cocoa and fragrant, warm spices. A mug full of this delightfully spicy hot chocolate is sure to warm your heart this winter!
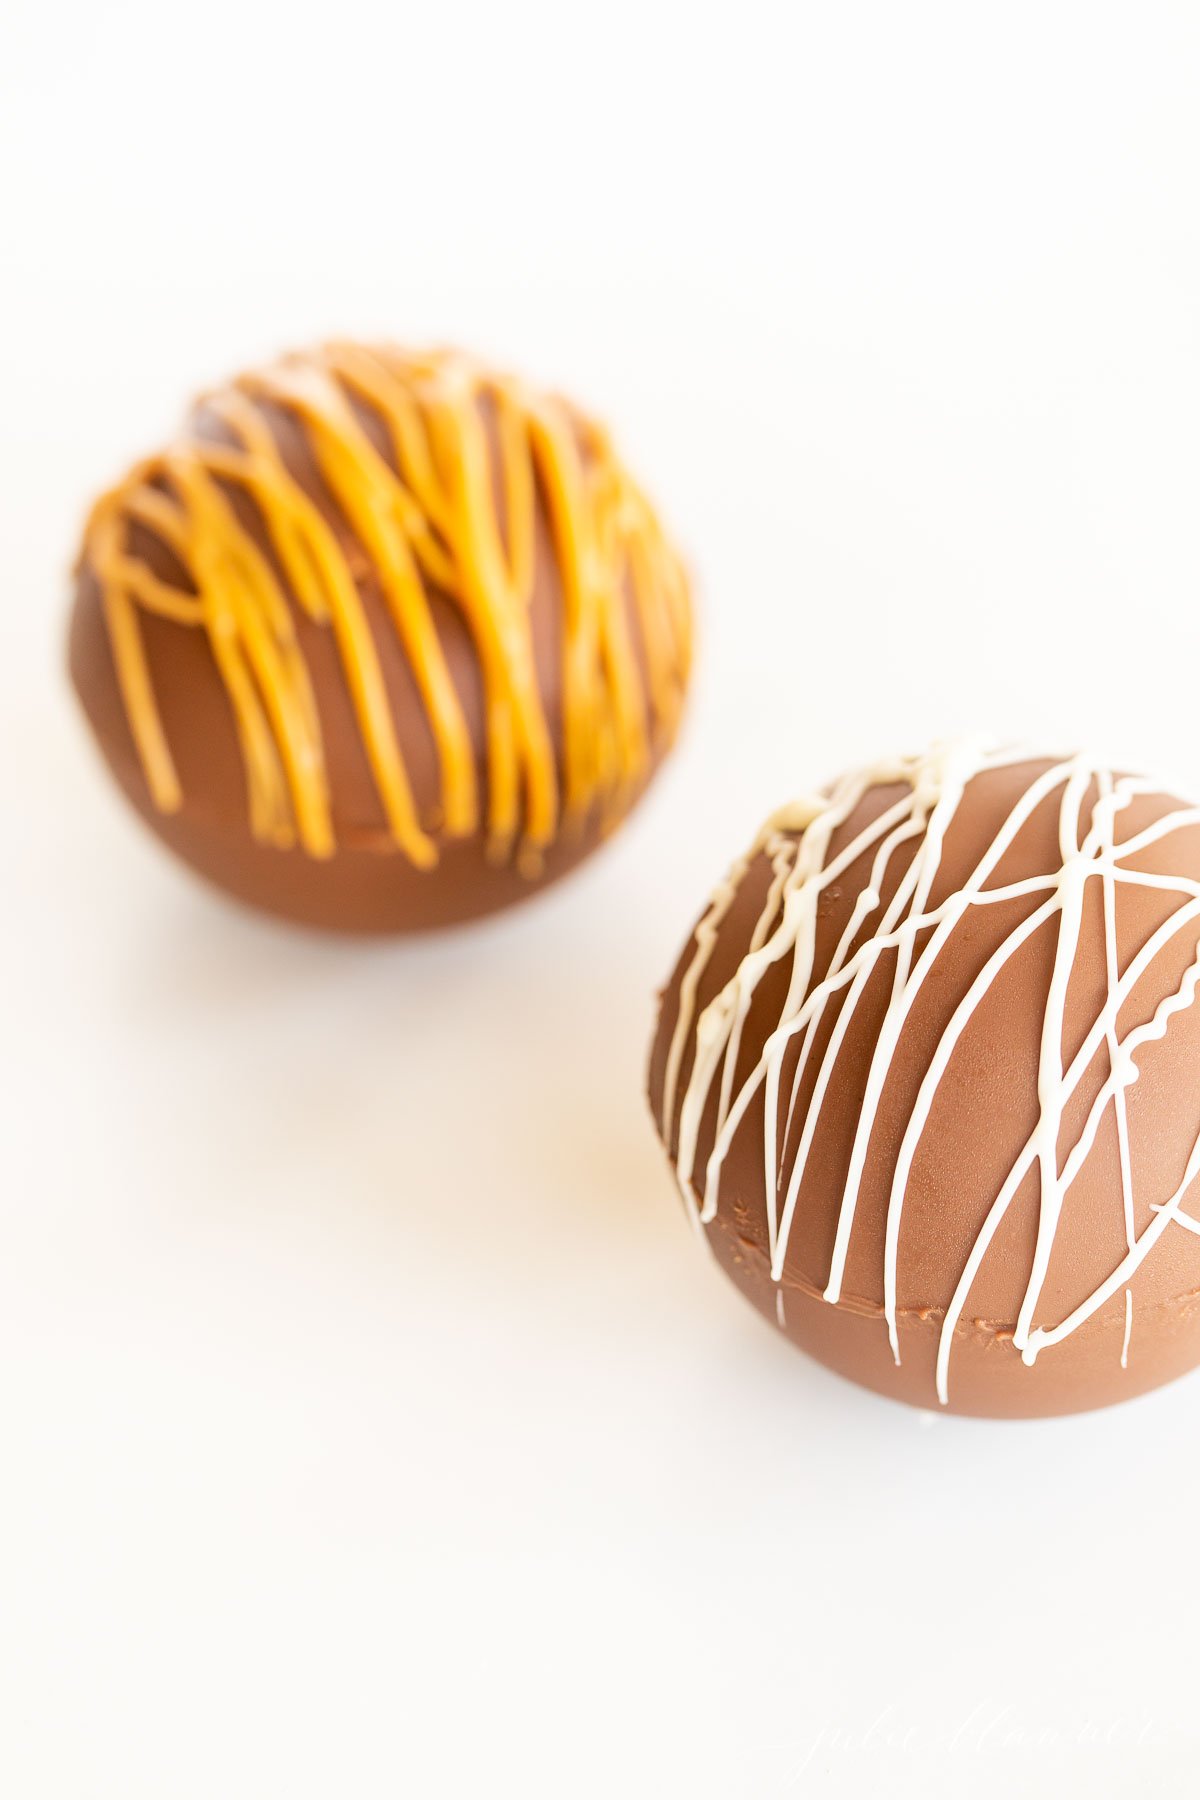
Peanut Butter Hot Chocolate Bombs
If you love a cozy, creamy mug of steaming hot chocolate, you’re going to love these peanut butter hot chocolate bombs. Enjoy the eternally delicious combination of creamy peanut butter and chocolate as the bomb melts in your mug!
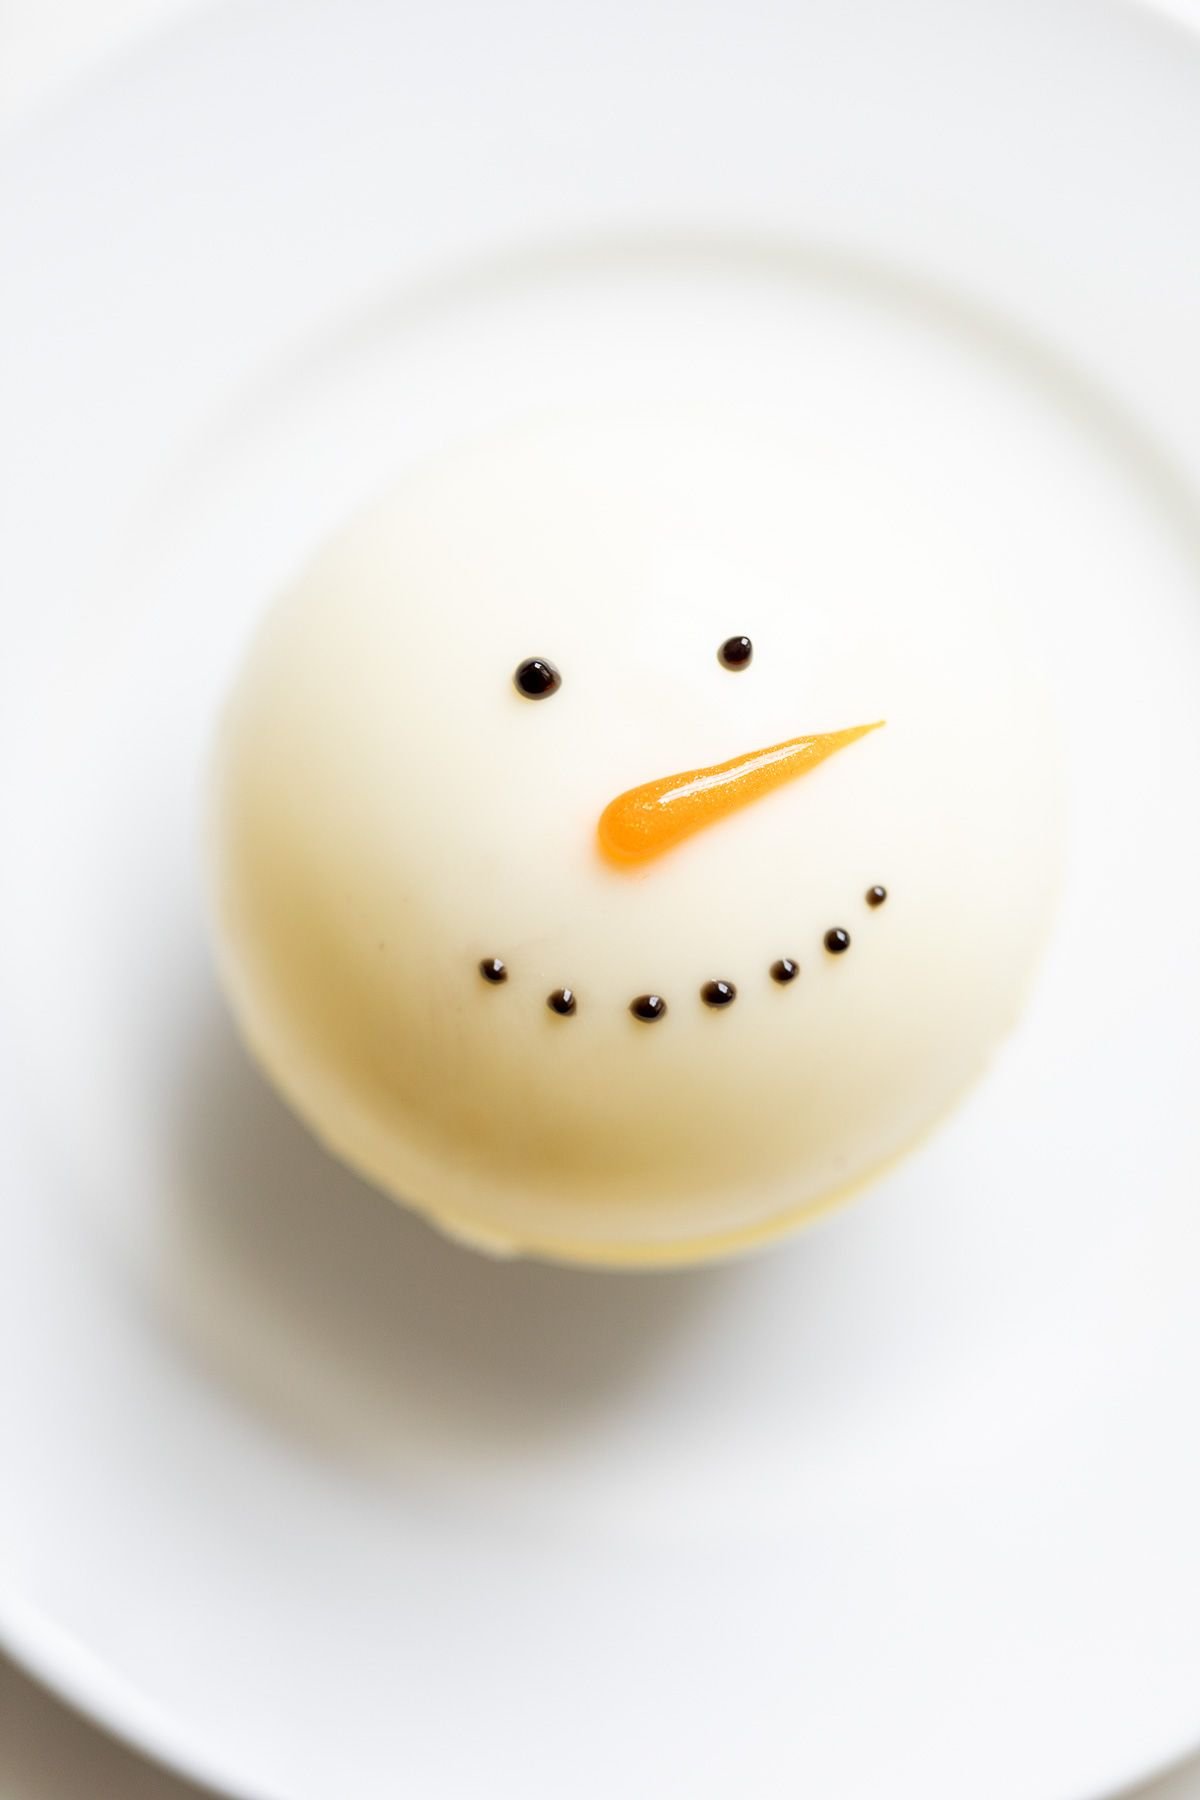
Melting Snowman
Melting snowman hot chocolate bombs are deceivingly easy to make and incredibly delicious, too. They’re the ultimate holiday gift and fun to watch as they melt into a creamy cup of hot chocolate!
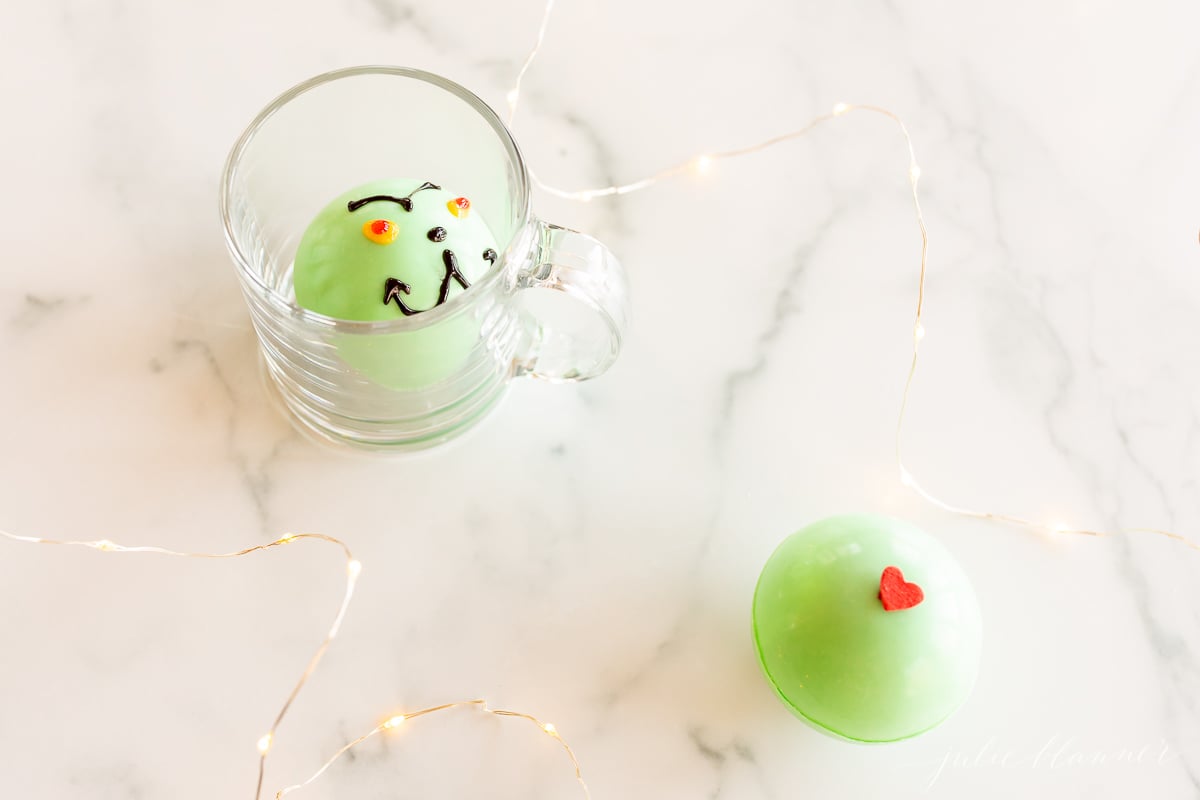
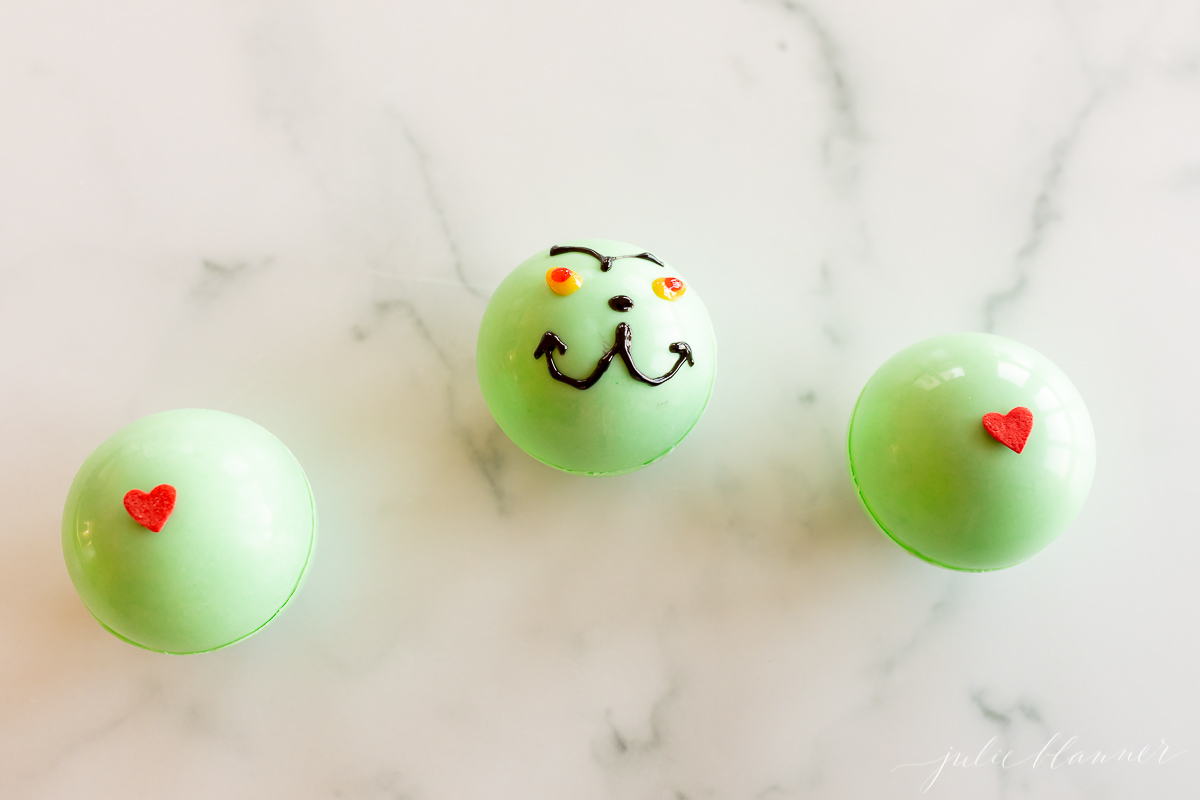
Grinch Hot Chocolate Bombs
The grinch melts away to reveal a heart too sizes too small!
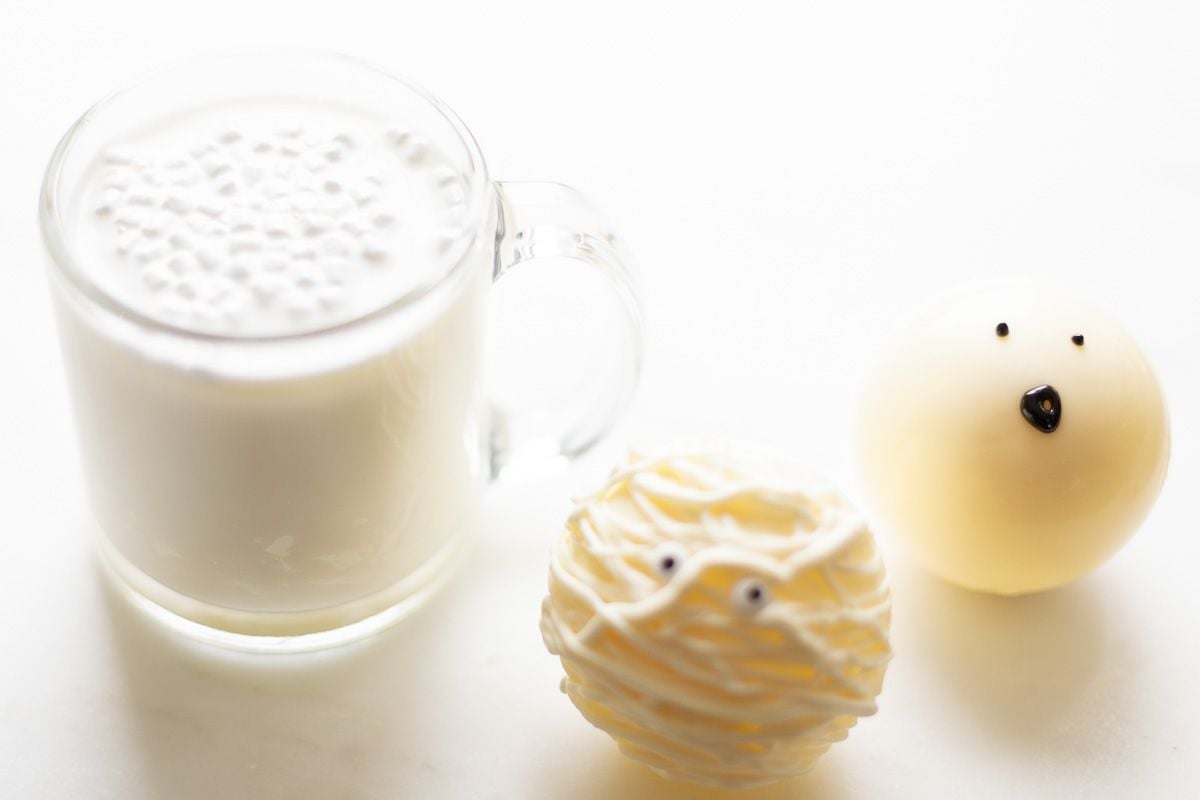
Halloween Hot Chocolate Bombs
Using white chocolate, candy eyes and black writing icing, make mummies and ghosts.
Easy Hot Chocolate Bomb Recipe
Ingredients
- 8 ounces chocolate wafers, chips or baking chocolate (1 cup)
- 3 tablespoons hot chocolate mix
- 6 tablespoons marshmallow bits
Instructions
- Melt chocolate in a small, microwave-safe bowl in 15 second increments, stirring in between, until smooth.
- Add a heaping tablespoon of melted chocolate into molds. Spread using the back of a teaspoon until each cavity is completely covered.
- Invert onto a parchment lined baking sheet and lightly shake. Discard parchment and place mold on baking sheet (chocolate side up).
- Allow chocolate to set. Freeze or refrigerate 5 minutes.
- Remove mold. Chocolate side down, press gently on the top of each sphere to carefully remove onto your baking sheet.
- Fill 3 spheres with a tablespoon of hot chocolate mix and marshmallow to each along with any optional toppings.
- Warm a plate or bowl in the microwave or with boiling water and dry. Alternatively you can add remaining melted chocolate to a sealable or piping bag, clip the tip and pipe a line of chocolate around the edges to seal.
- Place the bottom of an empty sphere on the plate to lightly melt chocolate. Place melted chocolate edge on filled half to seal. Try to handle chocolate as little as possible. Optional: If needed, use a hot spoon, dipped in boiling water and dried to further seal.
- Optional: Decorate hot chocolate bombs using melted chocolate in a piping or sealable bag with the tip clipped and add sprinkles, hot chocolate mix, marshmallow bits or peppermints.
Julie’s Tips
Substitutions
- Chocolate – Wafers, chocolate chips, baking chocolate or chocolate bar chopped. White, milk, semi-sweet or dark chocolate.
- Marshmallow Bits – Found in packages of marshmallow lovers or in a shaker near the ice cream at your grocer.
Tips
- Read Instructions Thoroughly Before Starting – It’s actually so quick that it’s best to read the recipe first and have all the supplies nearby.
- Don’t Overheat Chocolate – Chocolate burns easily, make sure you keep a close eye on it and stir every 15 seconds.
- Touch Minimally – Your fingers can warm the chocolate and leave prints. Touch chocolate as minimally as possible for best results. You can also chill your hands over a bowl of ice or in the freezer (remain dry) or run them under cold water and dry before working with them.
- Be Patient – Once you get the hang of it, these are so easy, but it might take a little practice!
- Adjust Serving Size – Want to double or triple this recipe? Use the 1x2x3x tab in the printable recipe to change the calculations for you!
- Clean Mold – Make sure there is no residue that will adhere or leave marks in your chocolate.
To Store
Room Temperature – After you make them, hot chocolate bombs can be stored at room temperature for up to two weeks in an airtight container or a food safe cellophane gift bag. Make sure you’re storing them in a pantry or away from heat sources or sun.How to Use Hot Chocolate Bombs
- To make 1 cup of hot chocolate, place 1 hot chocolate bomb in a mug.
- Pour 1 cup of hot milk over bomb.
- Stir until well incorporated and enjoy!
Video
Estimated nutrition information is provided as a courtesy and is not guaranteed.


I”m excited and looking forward to trying this and creathing gifts for Christmas! I have a quick quetion, can you make the hot chocolate with hot water instead of milk? Thanks!
Hi Deb!
What a great question, I’ll add that info to the post! Yes, you can use hot water with these hot chocolate bombs. It won’t be quite as rich and creamy as milk, but it will still be delicious! Hope you enjoy!
Julie
These will be so fun to make & give to friends for the holidays!
They sure will! And so cute to package in fun ways!
Julie
How fun!! Anyone who knows me knows that hot chocolate is my go-to drink. I love how easy they were to make and that you can customize them!
I love hearing that! Thanks so much for your comment, I hope you enjoyed!
Have a beautiful week,
Julie
I’m so excited about this! Everyone is getting hot chocolate bombs for Christmas! (And of course few extra for myself! ) Thanks for sharing your recipe, Julie! They’re beautiful!
Thanks, Courtney! Hope you your friends and family love them, too!
Oh my gosh, I’m so excited! We LOVE hot chocolate bombs, thanks for sharing such a great tutorial!