This is a classic graham cracker crust recipe that’s perfect for all of your bake and no bake pies!
It’s quick, easy and made with a just few ingredients. Get the tips that make this pie crust over the top delicious!
Skip the store bought crust and make an amazing homemade graham cracker crust in minutes! It’s easy, elegant and the only recipe you’ll ever need.
This graham cracker crust is perfect for last minute get togethers. It’s an easy way to elevate pies, bars and cheesecakes and not only tastes so much better than store-bought, but looks beautiful, too!
It sets perfect, never crumbles and is full of incredible flavor. With a blend of white and brown sugars, it has a hint of molasses flavor that makes it out-of-this-world.
The sugars caramelize with the melted butter and when combined with graham cracker crumbs it binds the crust together creating a solid foundation for all of your favorite desserts!
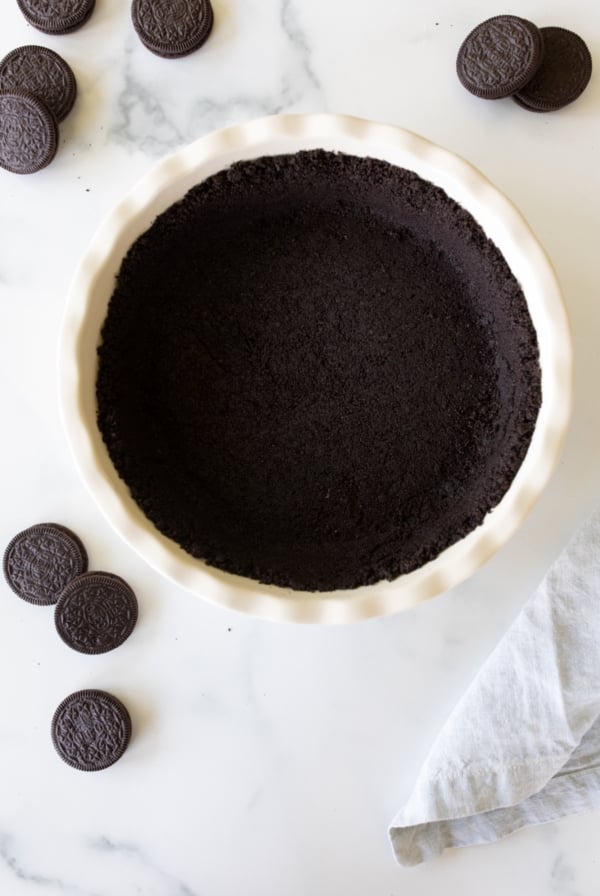
You can mix up this easy recipe in so many ways! From substituting graham crackers to adding zests, spices and nuts, the options are endless! I’ve listed specifics for them all.
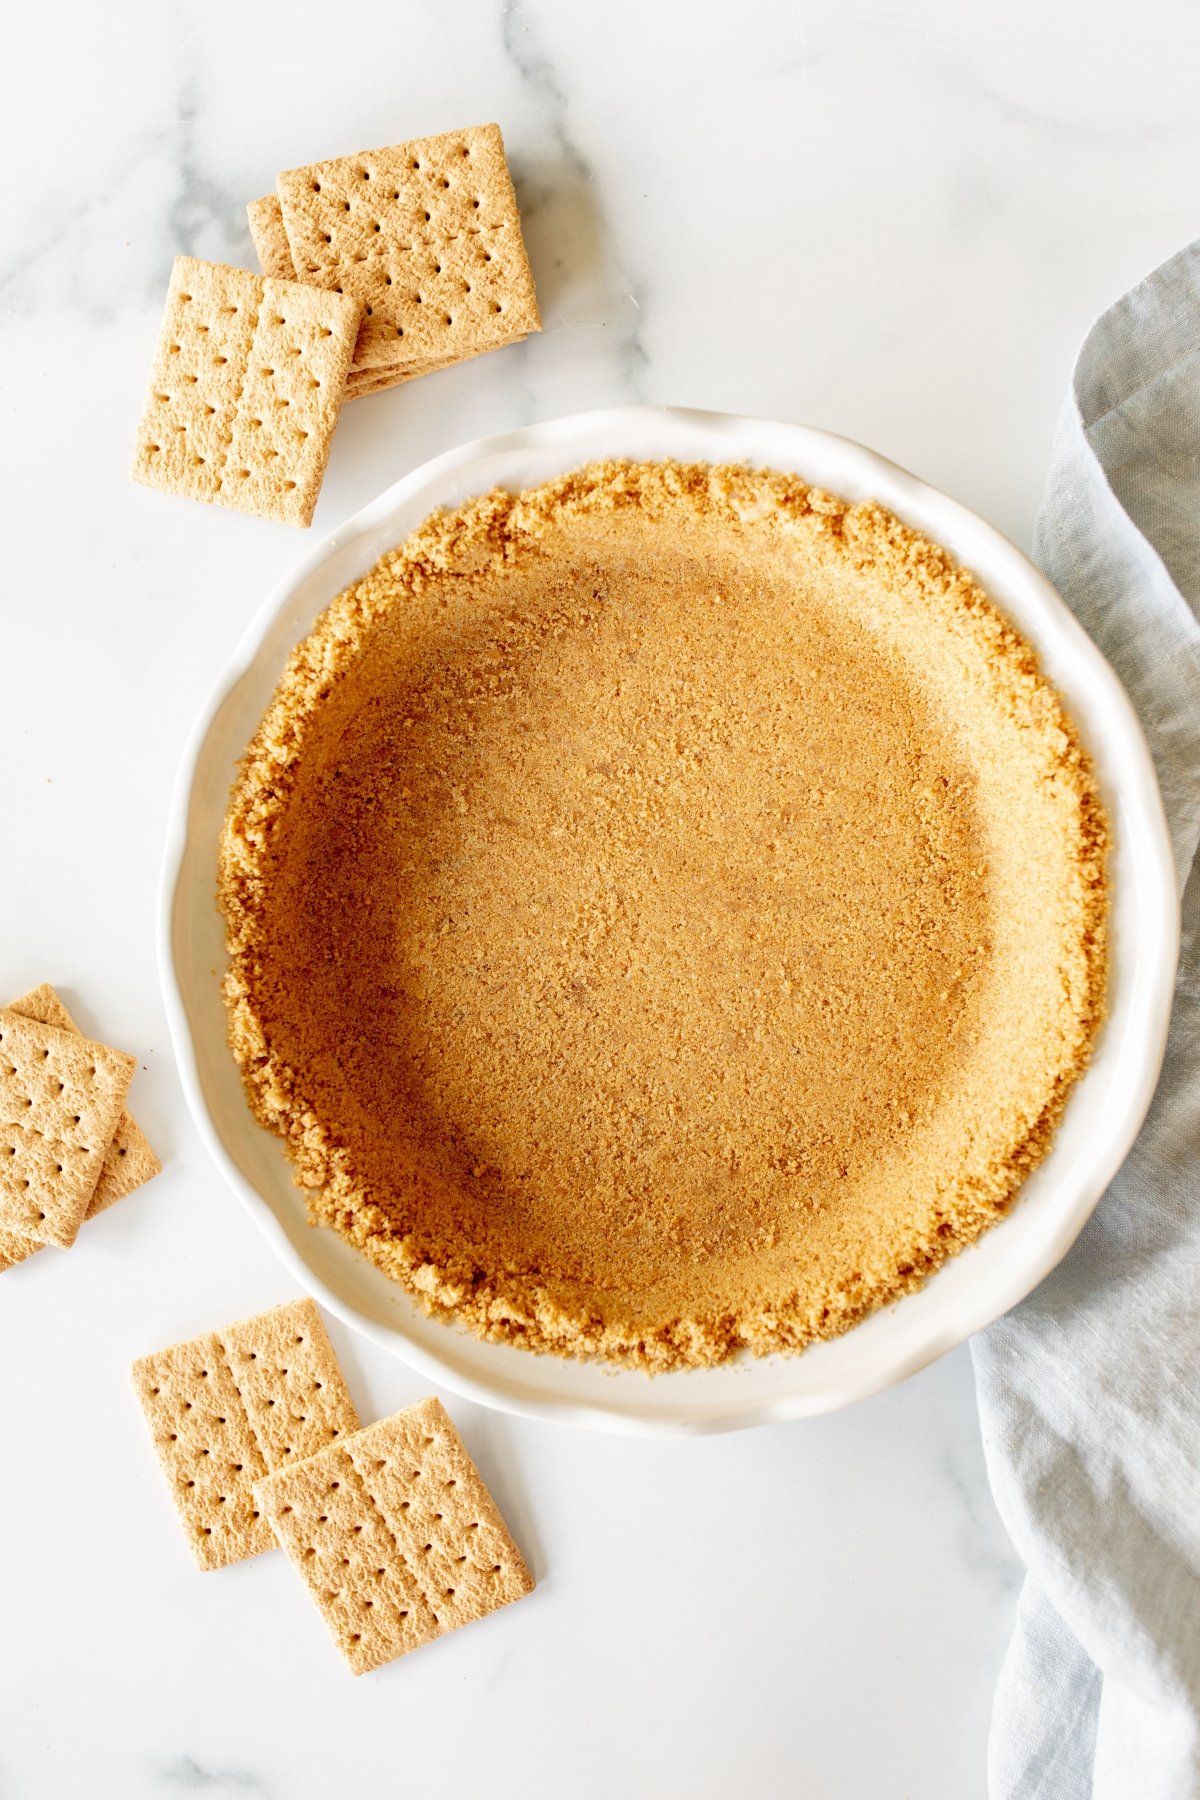
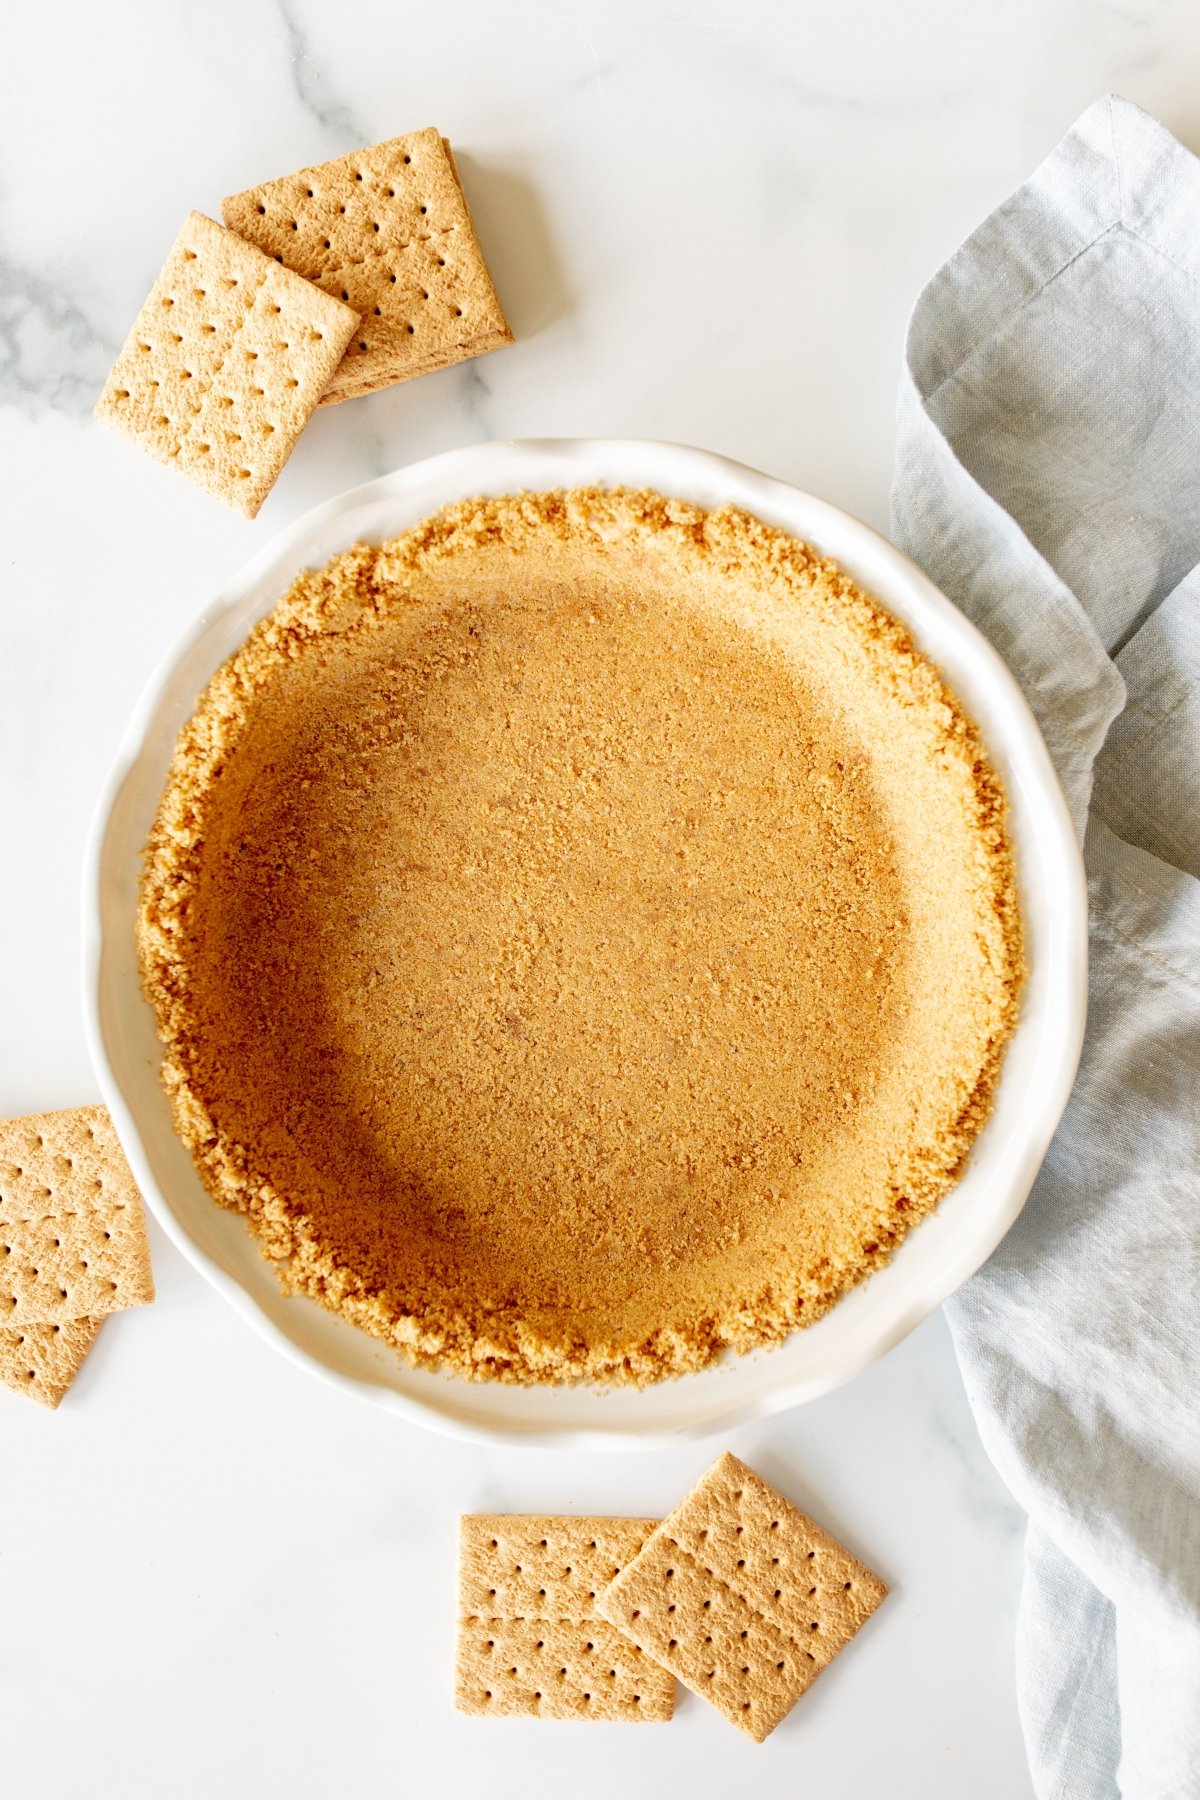
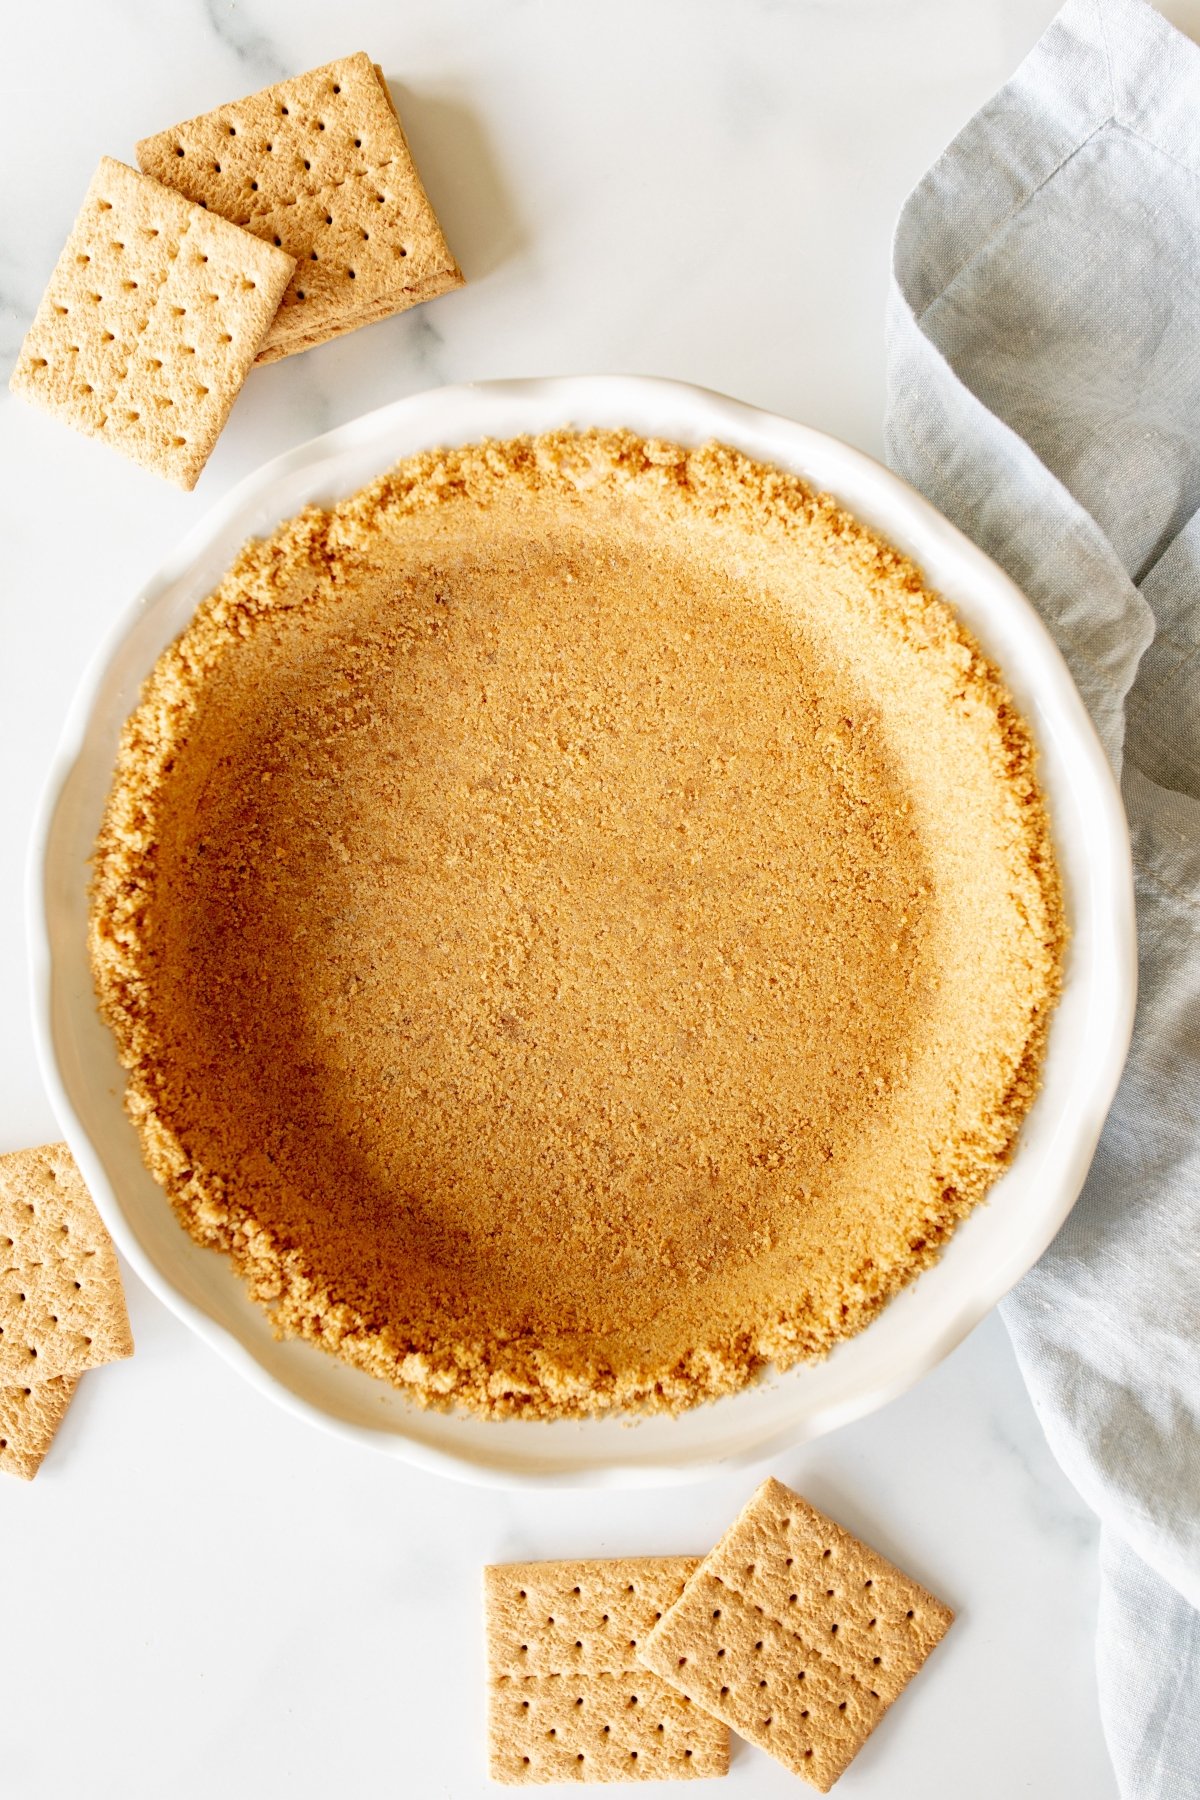
The only thing basic about this crust is just how easy it is to use with everything. Whether you’re making a no bake dessert or a baked dessert, this crust is foolproof! This recipe fills a 9″ pie plate or 10″ springform making it extremely easy to use for all of your favorite recipes.
This graham cracker crust keeps incredibly well, so you can make them in in advance and have them ready to fill in a moments notice. My Grandma always said “you never know when you’ll need a pie!”

Why You’ll Love this Graham Cracker Crust
- It’s extremely quick – you can make it from start to finish in less than 10 minutes!
- It requires just a few ingredients that chances are, you already have on hand.
- It’s foolproof. No special skills or tools required.
- It’s perfectly moist. No dry crusts here! Just great flavor that doesn’t crumble.
- Clean slices. Calling all perfectionists, this is for you! With my tips and tricks to pack the crust you’ll achieve a clean slice, every time.
- Great flavor. It’s so good it’s hard to resist eating it before you spoon it into your dish.
- It’s versatile. You can use it for bake and no bake pies and easily adapt it.
Ingredients and Substitutions
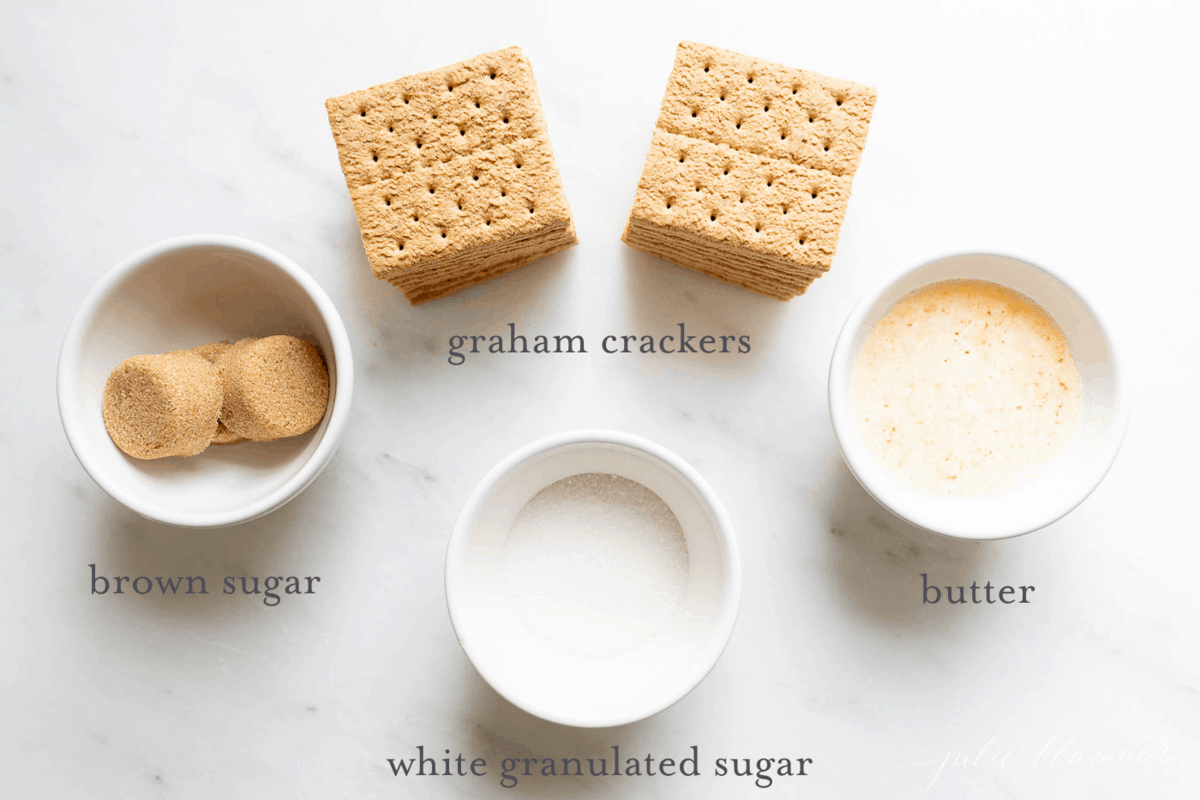
- Graham Crackers – Use crushed graham crackers or crush in a food processor or with a mallet and sealed bag. 1 plastic package of crackers (10 full sheets) equals 1 1/2 cups. Each sheet is comprised of 2 squares or 4 miniature rectangles.
- Sugar – I like to use a mixture of white granulated sugar with brown sugar for richer flavor. It sweetens the crust to perfection.
- Butter – Salted butter makes the crust stick together. You can use unsalted butter if you prefer or don’t have salted butter on hand. If you’re using unsalted butter, add a pinch of salt for good measure. It brings out all of the flavors. Margarine and butter alternatives are not suitable for this recipe.
Variations
- Zest – Lemon, Lime or Orange Zest are incredible additions to customize this pie crust for your favorite fillings. Just add 2 teaspoons into the mixture.
- Extract – A teaspoon of vanilla extract or almond extract can be added for extra flavor.
- Spices – Cinnamon, Allspice, Pumpkin Pie Spice and nutmeg are wonderful additions- simply add a teaspoon into the mixture.
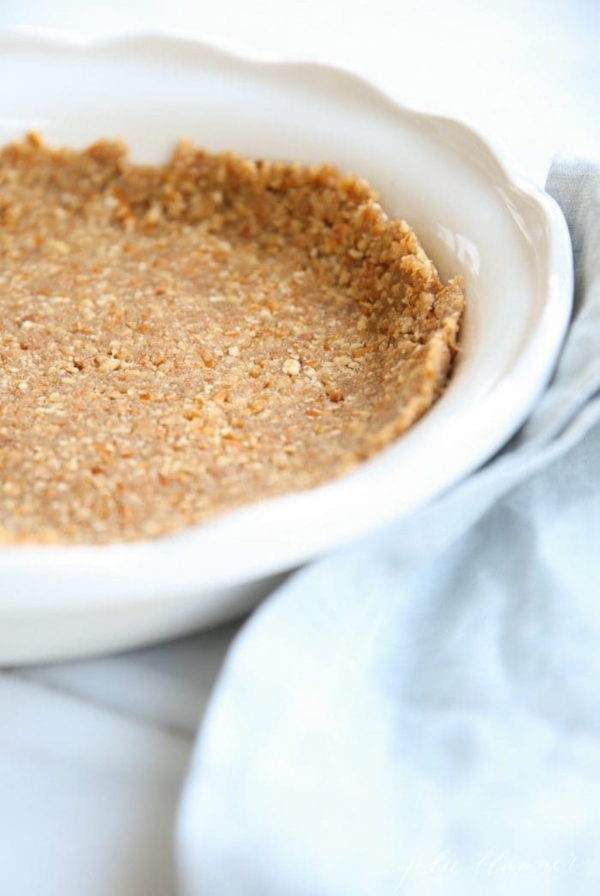
- Nuts – Reduce number of graham crackers by two and add a 1/2 cup of pecans to make a Pecan Graham Cracker Crust or walnuts.
- Flavored Graham Crackers – Mix it up with cinnamon, honey or chocolate graham crackers.
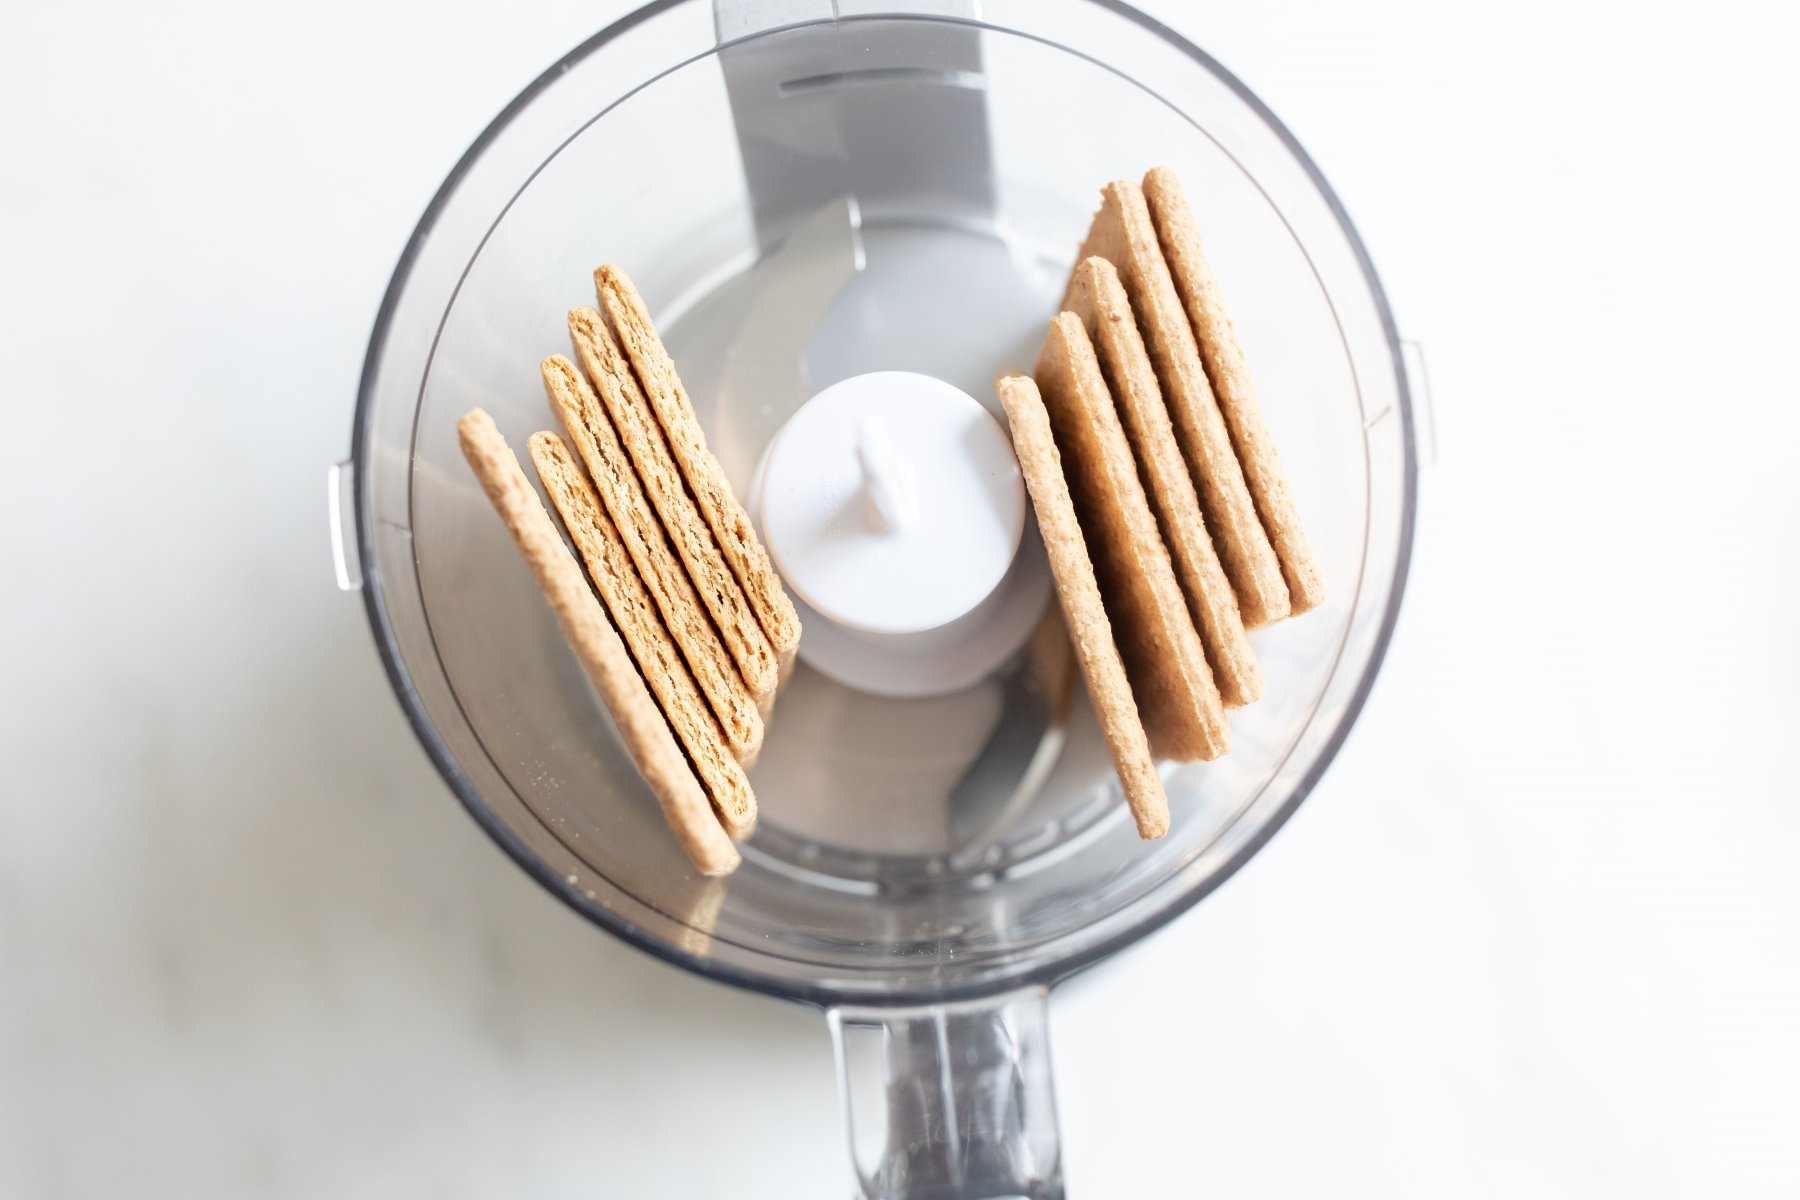
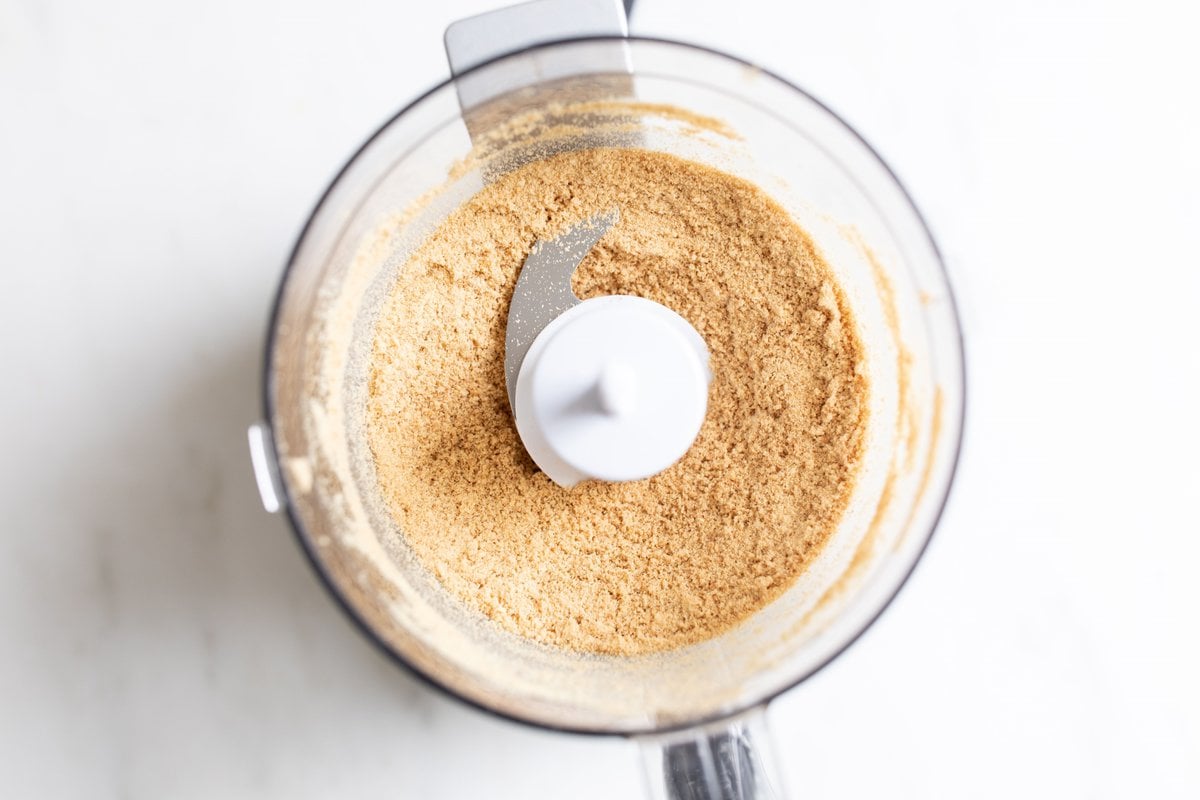
There are several easy methods to crush graham crackers. If you want a smooth, consistent crumb, use a food process or blender. When you crush them by hand, you get a little more texture. You can use a rolling pin, mallet or muddler.
- In a Food Processor – Break crackers into pieces and add to food processor. Seal with lid and pulse until crushed. With a smaller processor, do it in 2 batches.

How to Make Graham Cracker Crust
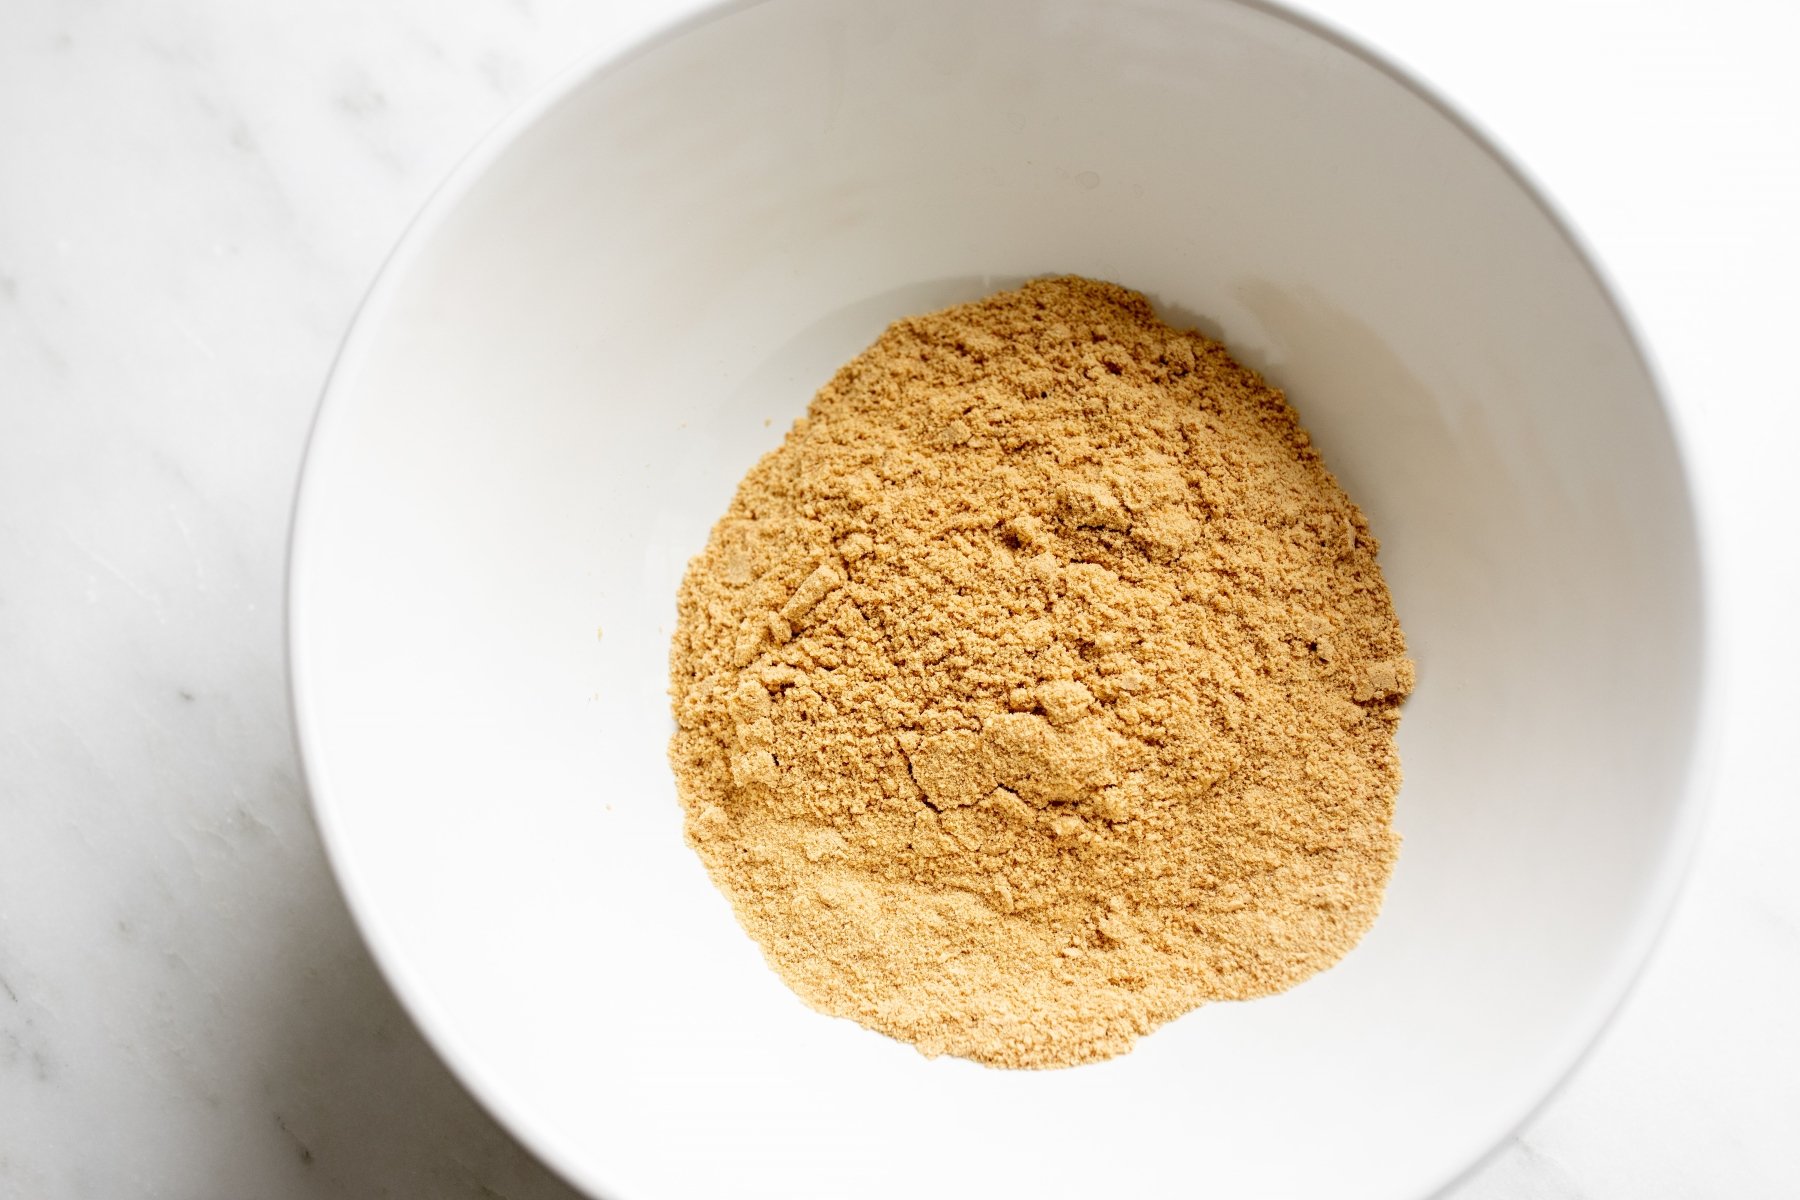
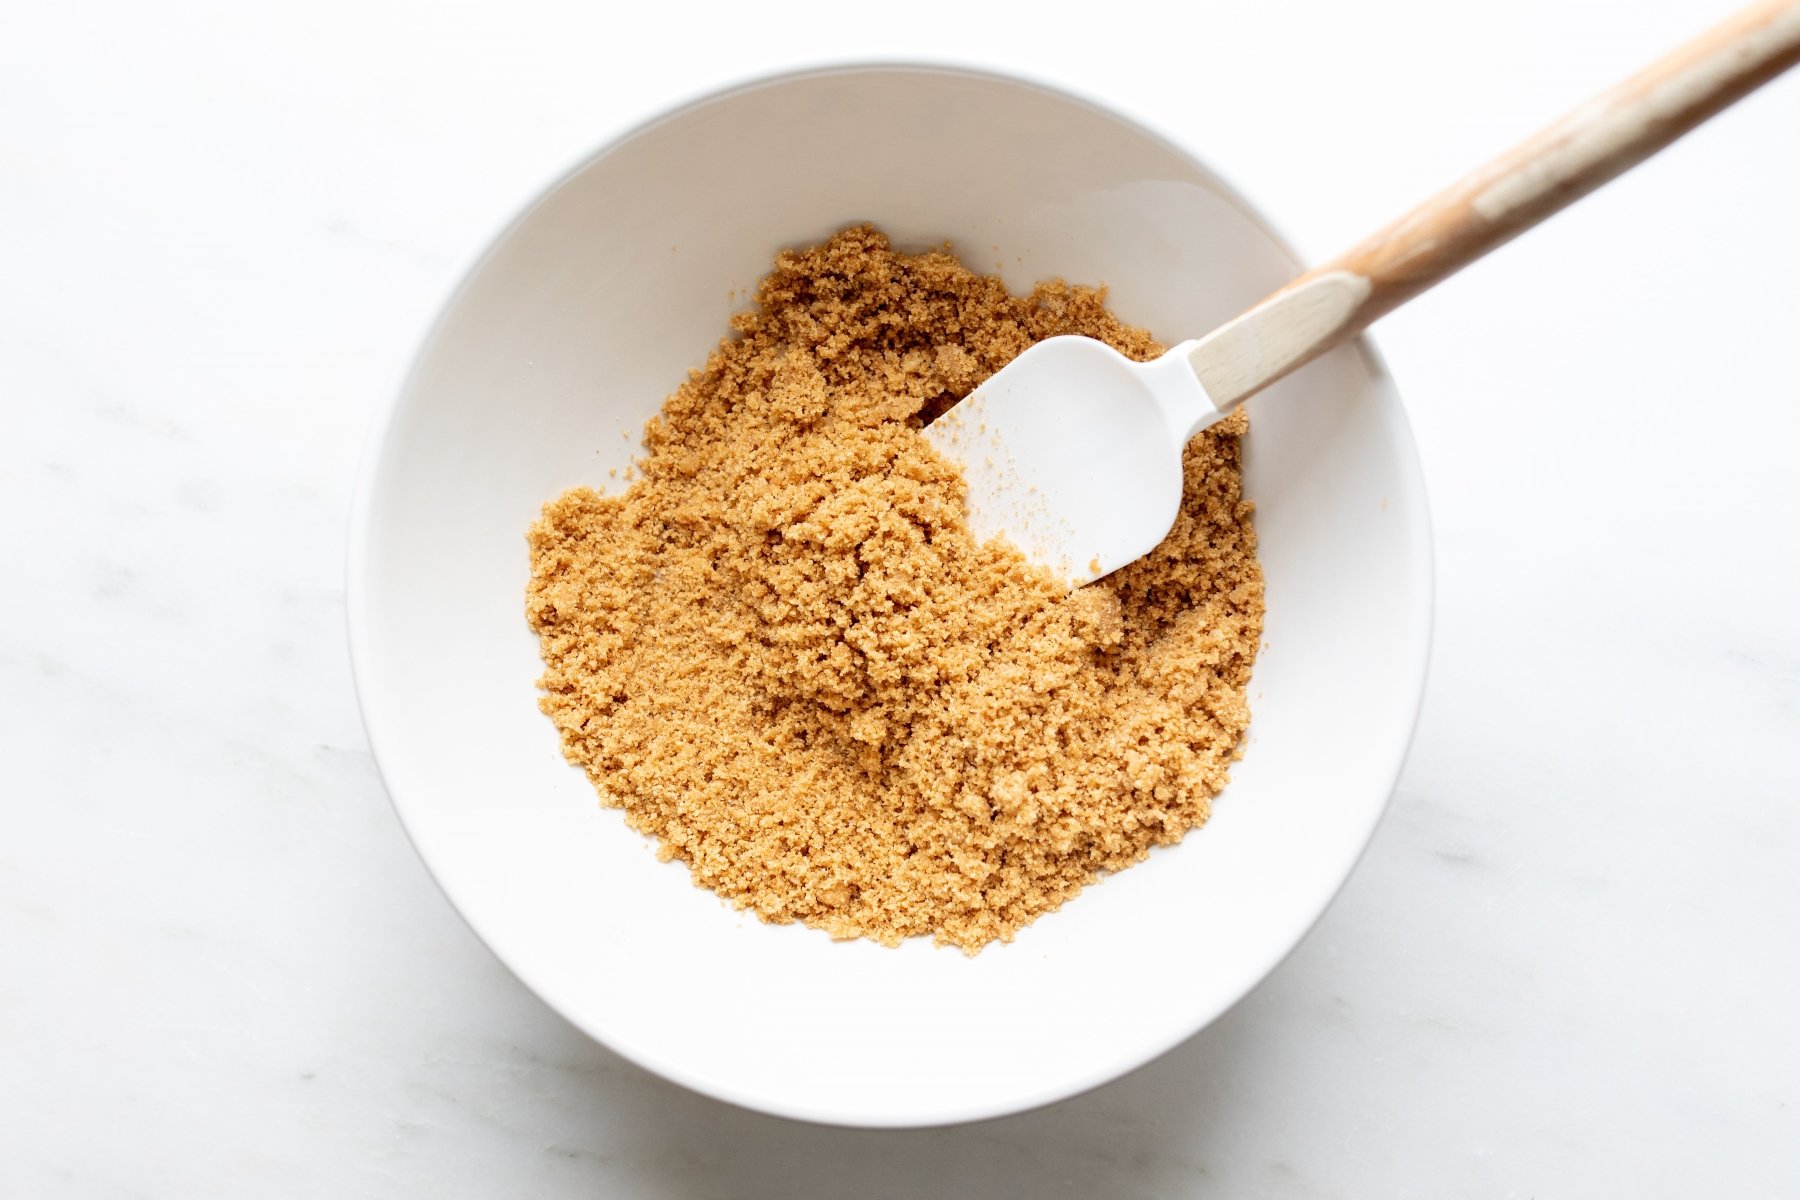
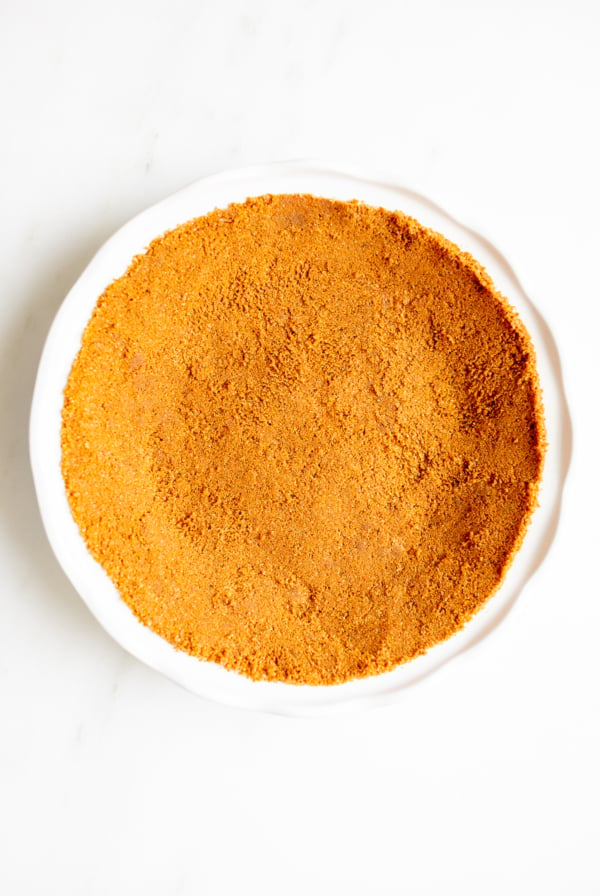
- Combine – Mix ingredients with a spatula or fork until all of the mixture is moist.
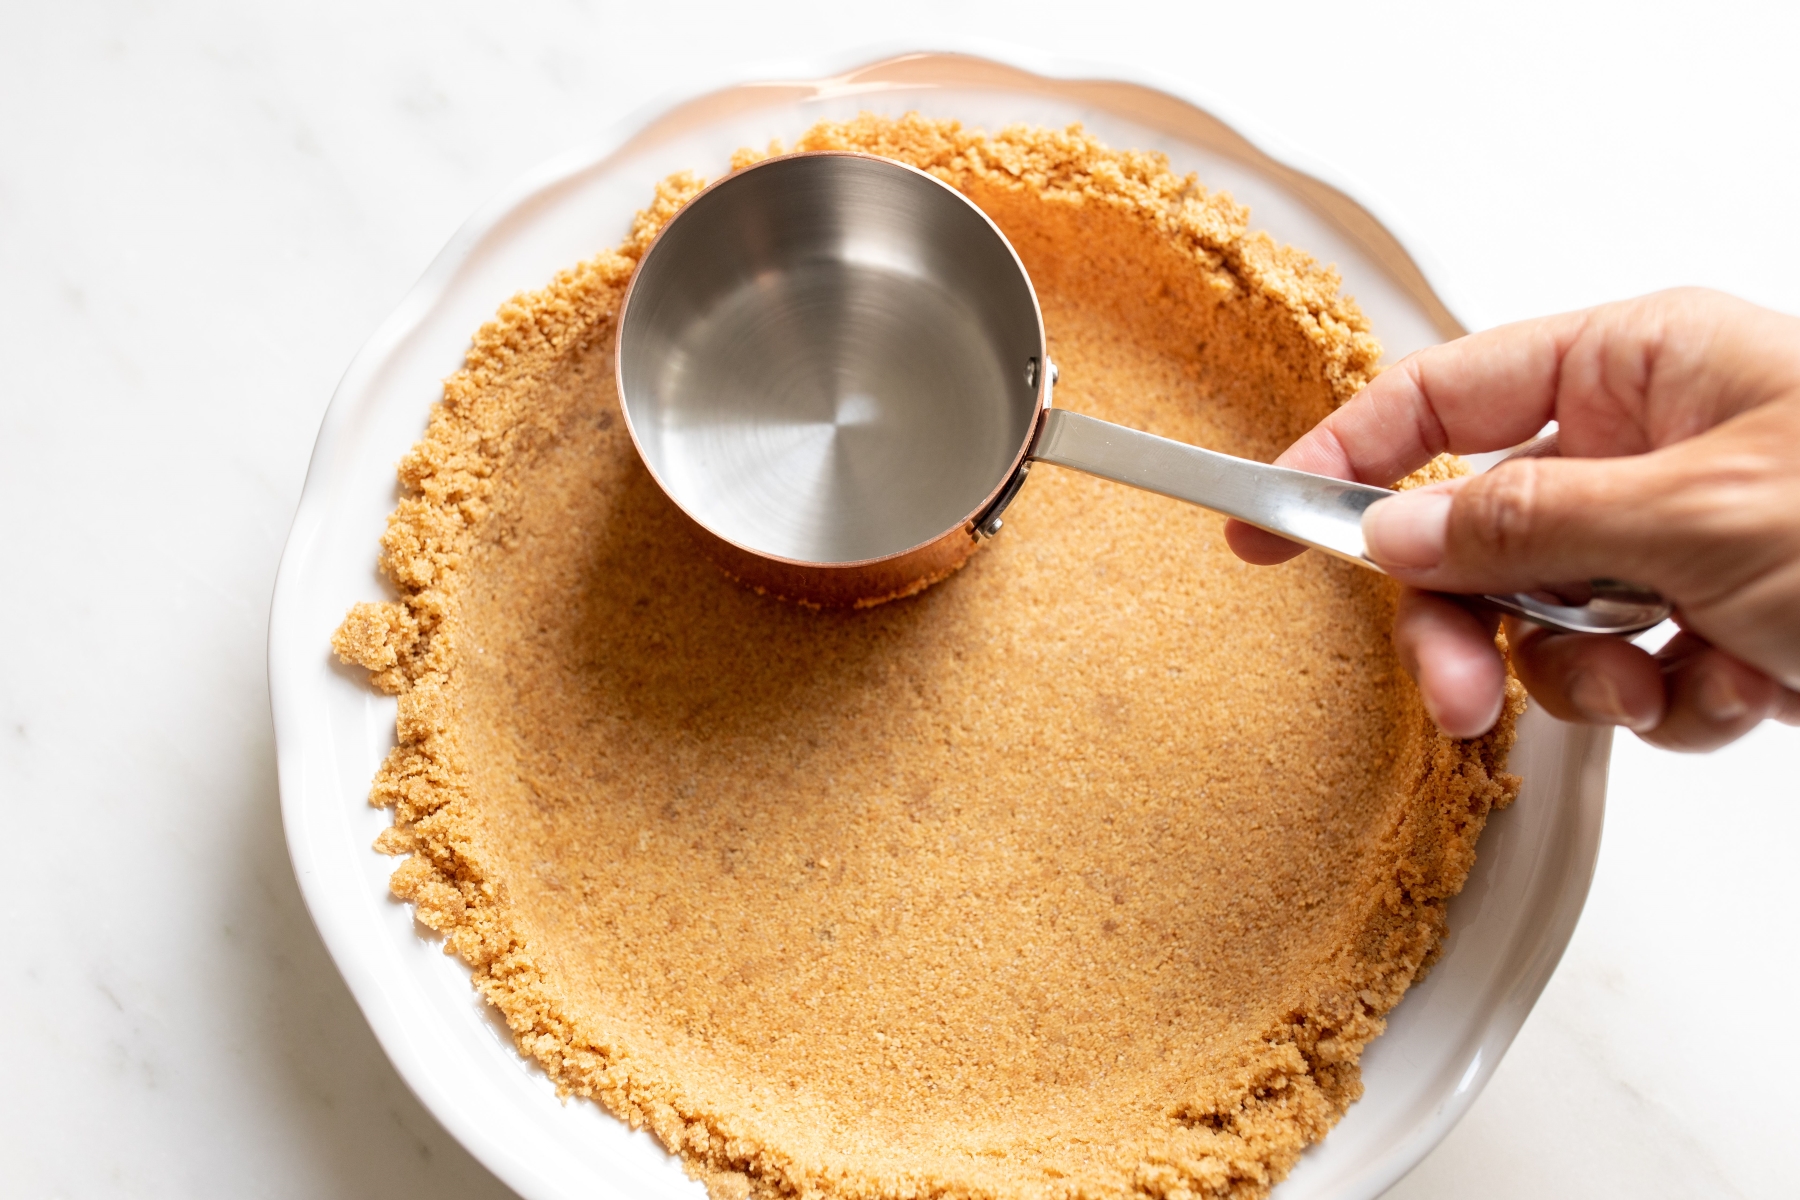
- Scoop – Scoop mixture into your pie dish.
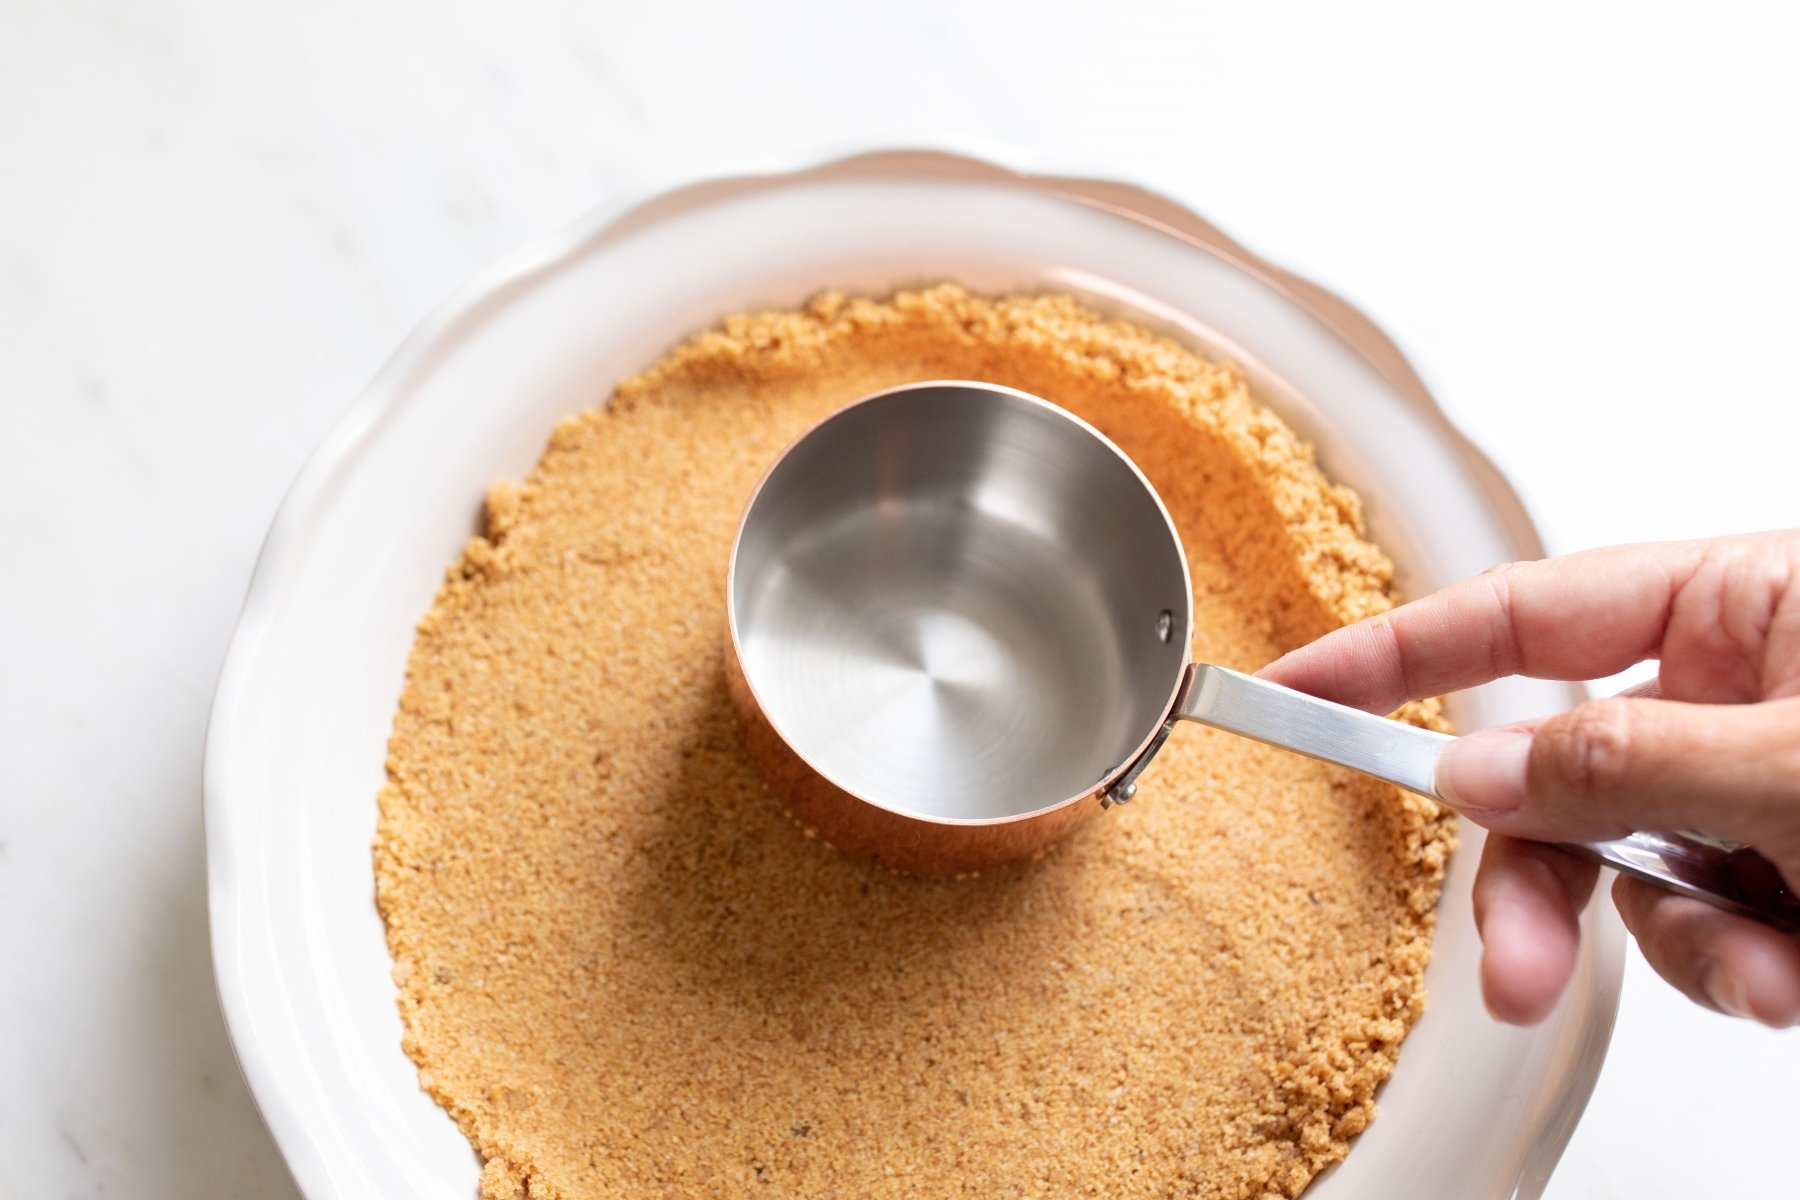
- Press – This is the key to making a solid crust. You can press with your fingers, but if you press with a measuring cup or drinking glass it’s easy and consistent, not to mention less messy. Alternatively, if you have a second pie dish of the same size you can press it on top of your crust for a smooth, even finish.
For a No Bake Dessert
Refrigerate the crust 1 hour to set before filling with your favorite no bake filling.
For a Baked Dessert
Preheat oven to 300 degrees Fahrenheit and bake 10 minutes. Fill and bake per your recipe instructions.

Tips
- Avoid gaps. Fill in with more cracker crumbs as needed.
- If you have more than one of the same pie plate, you can gently press one on top of the other for a picture perfect compact crust without effort!
- For a quick and easy shortcut, use store-bought graham cracker crumbs.
Make More (or Less!)
Scaling up, down or substituting? You’ll love this printable Measurement Conversion Chart!
Frequently Asked Questions
For baked pies, cheesecakes and bars, bake it before filling it. Allow it to cool. The crust will crisp and set.
Make sure all the cracker crumbs are completely moist before pressing into your pie dish. Don’t over bake.
For extra insurance, grease pie plate or springform with baking spray or butter.
If you find your crust is too hard, you may have over packed it. You want to apply just enough pressure to seal the crumbs and create shape.
No, not unless you’re making a baked dessert.
Serving Suggestions
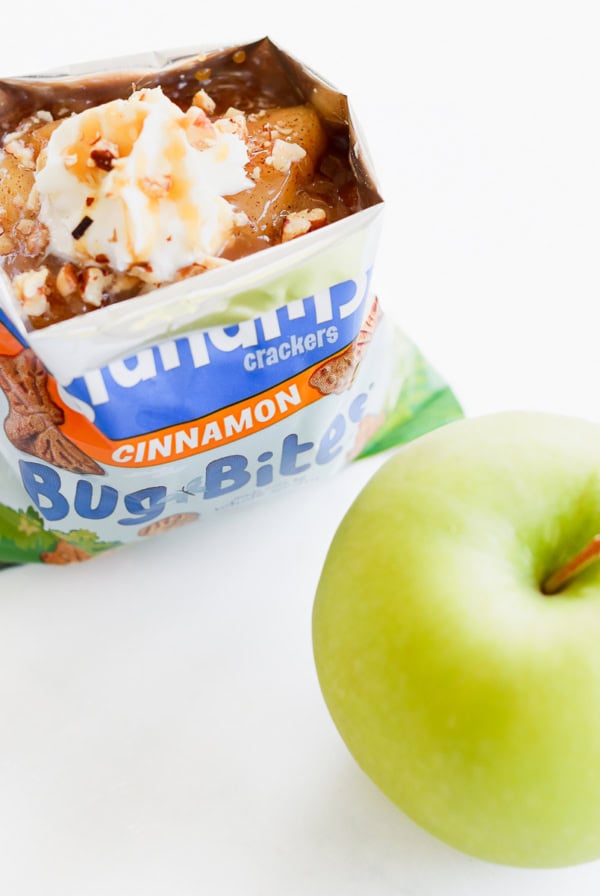
There are so many fun ways to fill this fabulous graham cracker crust!
How to Store
- Room Temperature – Store covered for up to 3 days at room temperature.
- Refrigerate – Refrigerate covered or in airtight container up to 1 week.
- Freeze – Store in an airtight container or freezer bag up to 3 months. Bring to room temperature, fill and enjoy!
Dietary Considerations
- Gluten Free (choose a gluten free graham cracker brand)
- Nut Free
- Vegetarian
More Pie Crusts

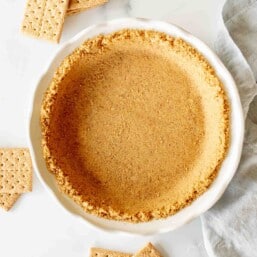
Graham Cracker Crust
Ingredients
- 1½ cups graham cracker crumbs 10 full sheets of crackers
- 3 tablespoons salted butter melted
- 2 tablespoons white granulated sugar
- 3 tablespoons light brown sugar packed
Instructions
- In a medium bowl, combine graham cracker crumbs, sugars and butter using a fork or spatula until moist, coarse and sandy.
- Spoon mixture into your pie dish, sheet pan or springform pan. Using a measuring cup or drinking glass, press into dish or pan to achieve a smooth, consistent crust without gaps.
No Bake Desserts
- Refrigerate 1 hour to set before filling.
Baked Desserts
- Preheat oven to 300 degrees Fahrenheit. Bake 10 minutes. Fill and bake as directed for your recipe.
Julie’s Tips
Substitutions
- Graham Crackers – Outside of the United States, substitute with crushed digestive biscuits. To make it gluten-free simply substitute with gluten-free graham crackers.
- Sugar – Substitute all brown sugar or all white sugar if needed or preferred.
- Butter – Do not use butter substitutes. Salted or unsalted butter yield the best results. If you’re using unsalted butter, add a pinch of salt. It brings out all the flavors.
Variations
- Zest – 2 teaspoons lemon, lime or orange zest
- Extract – 1 teaspoon vanilla or almond extract
- Spices – Cinnamon, Nutmeg, Allspice and Pumpkin Pie Spice are wonderful additions for fall pies like pumpkin or caramel apple. Simply add a teaspoon into the mixture.
- Nuts – Reduce graham crackers to 8 and add a 1/2 cup of crushed pecans or walnuts.
- Flavored Graham Crackers – Substitute cinnamon, honey or chocolate graham crackers.
How to Crush Graham Crackers
Pulse in a food processor or blender, place in a zipper bag with air removed and place a towel over and use mallet or rolling pin to crush or place graham crackers in a bowl and use a muddler to crush until fine.Tips
- Avoid gaps. Fill in with as needed.
- If you have more than 1 of the same pie plate, you can gently press one on top of the other for a picture perfect compact crust without effort!
- For a quick and easy shortcut, use store-bought graham cracker crumbs.
To Store
- Room Temperature – Store covered for up to 3 days at room temperature.
- Refrigerate – Refrigerate covered or in airtight container up to 1 week.
- Freeze – Store in an airtight container or freezer bag up to 3 months. Bring to room temperature, fill and enjoy!
Video
Estimated nutrition information is provided as a courtesy and is not guaranteed.


This recipe is a lifesaver! I typically have all the ingredients on hand too, so it saves me an extra shopping trip! WIN!