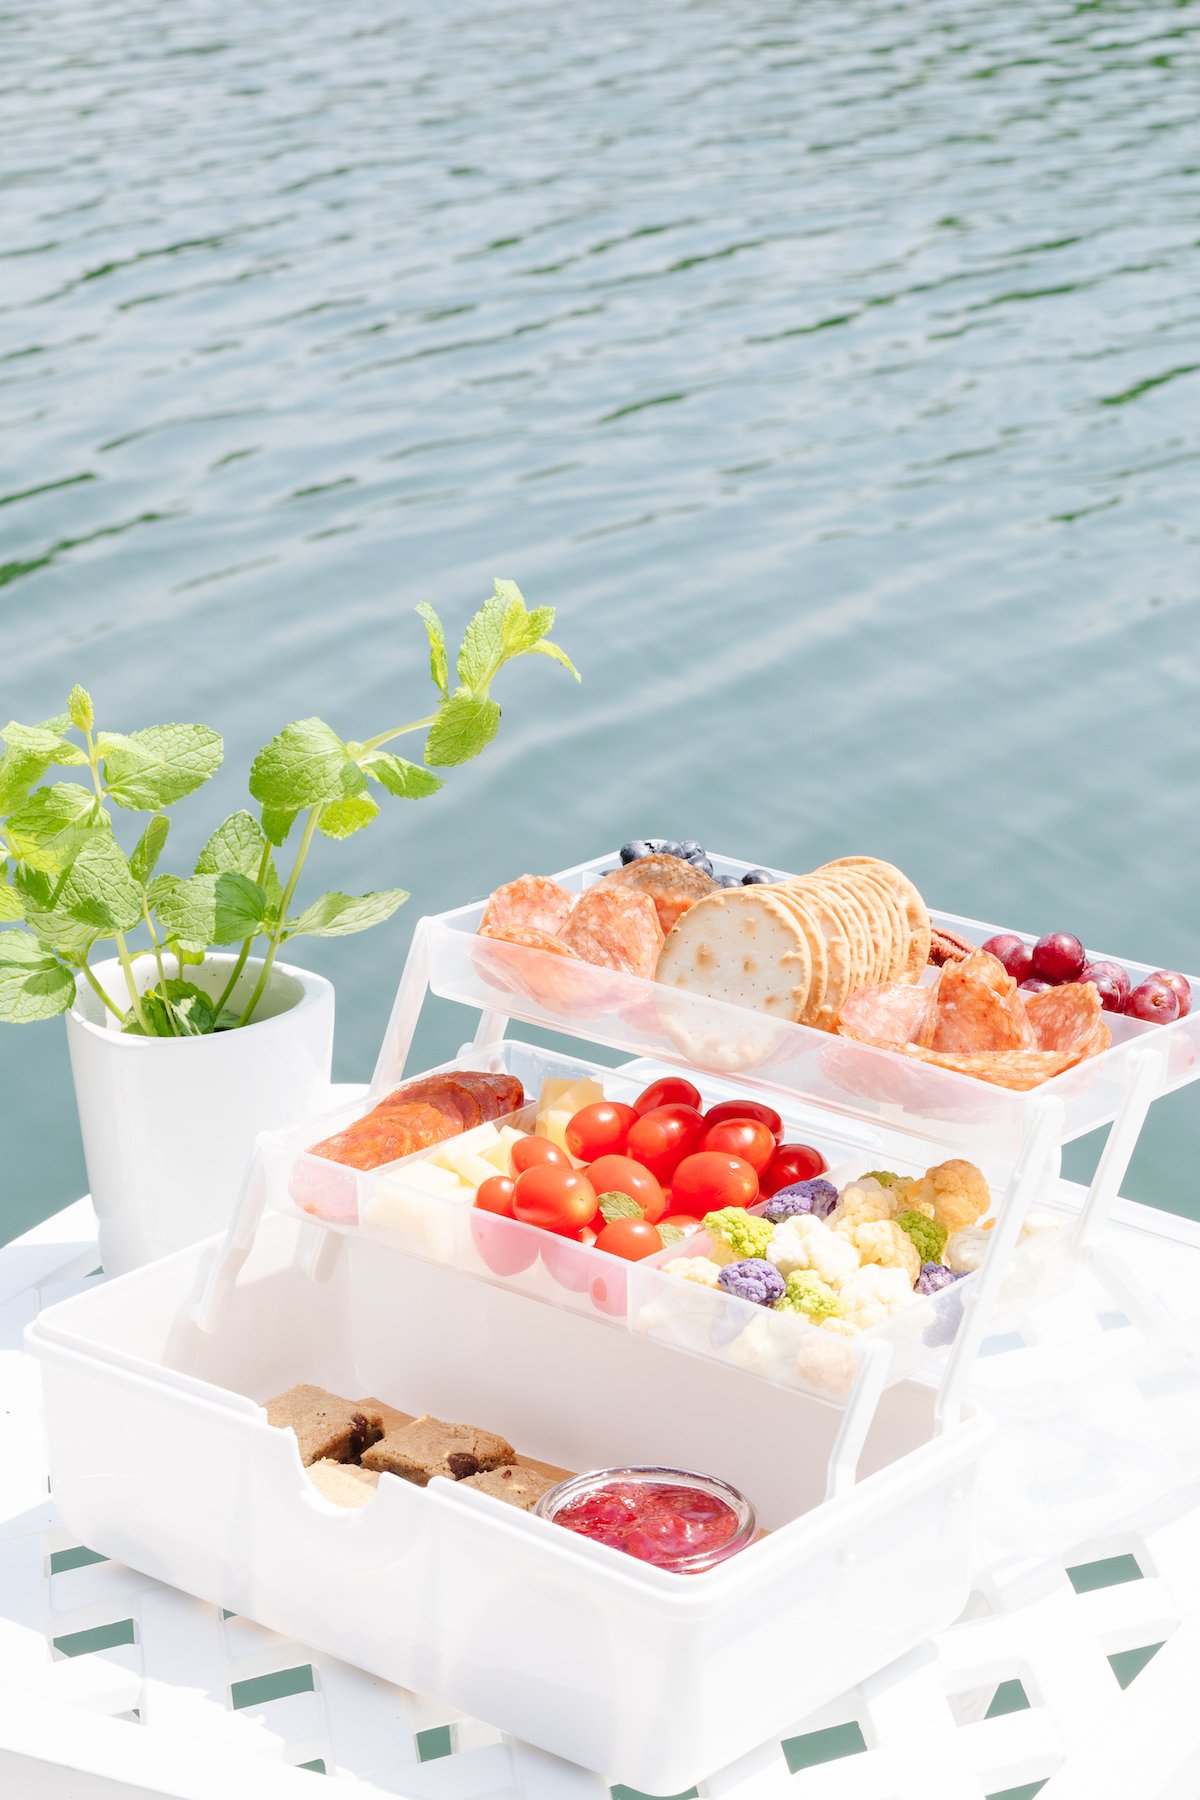
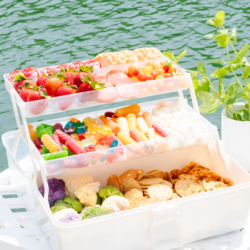
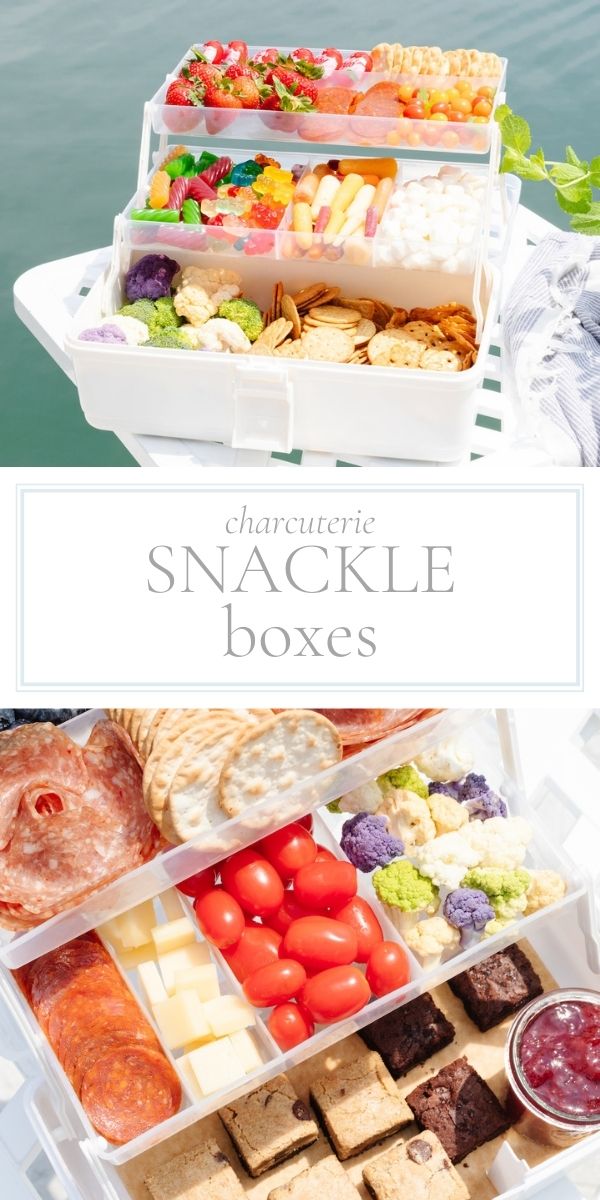
Take your snacks to the next level and pack a Snackle Box filled with your favorite sweet and savory bites! Pack, travel and serve charcuterie anywhere with ease – at the lake, tailgate, game or on the boat.
Snackle Boxes are one of our girls’ favorite boat snacks! We frequently enjoy them on the dock and pop in the cooler to enjoy in the boat. Mix up this viral snack trend with your favorite bite size treats and picnic foods.
I love Jarcuterie when hosting at home for self-serve grab and go, but Snackle Boxes are the ultimate way to serve when you’re on the go!
Over the past three years, we have made a variety of Snackle Boxes and have learned a lot along the way. I’m sharing the best tips and tricks to make this trend your own.


Why I Love Them
Portable – Easy to pack, transport and seal clasp to clean at home.
Customizable – Fill with any grouping veggies and dips, meats, cheeses and fruits, desserts or all of the above.
Easy-to-Serve – Open to a picture perfect “set” of platters.
What to Pack in a Snackle Box
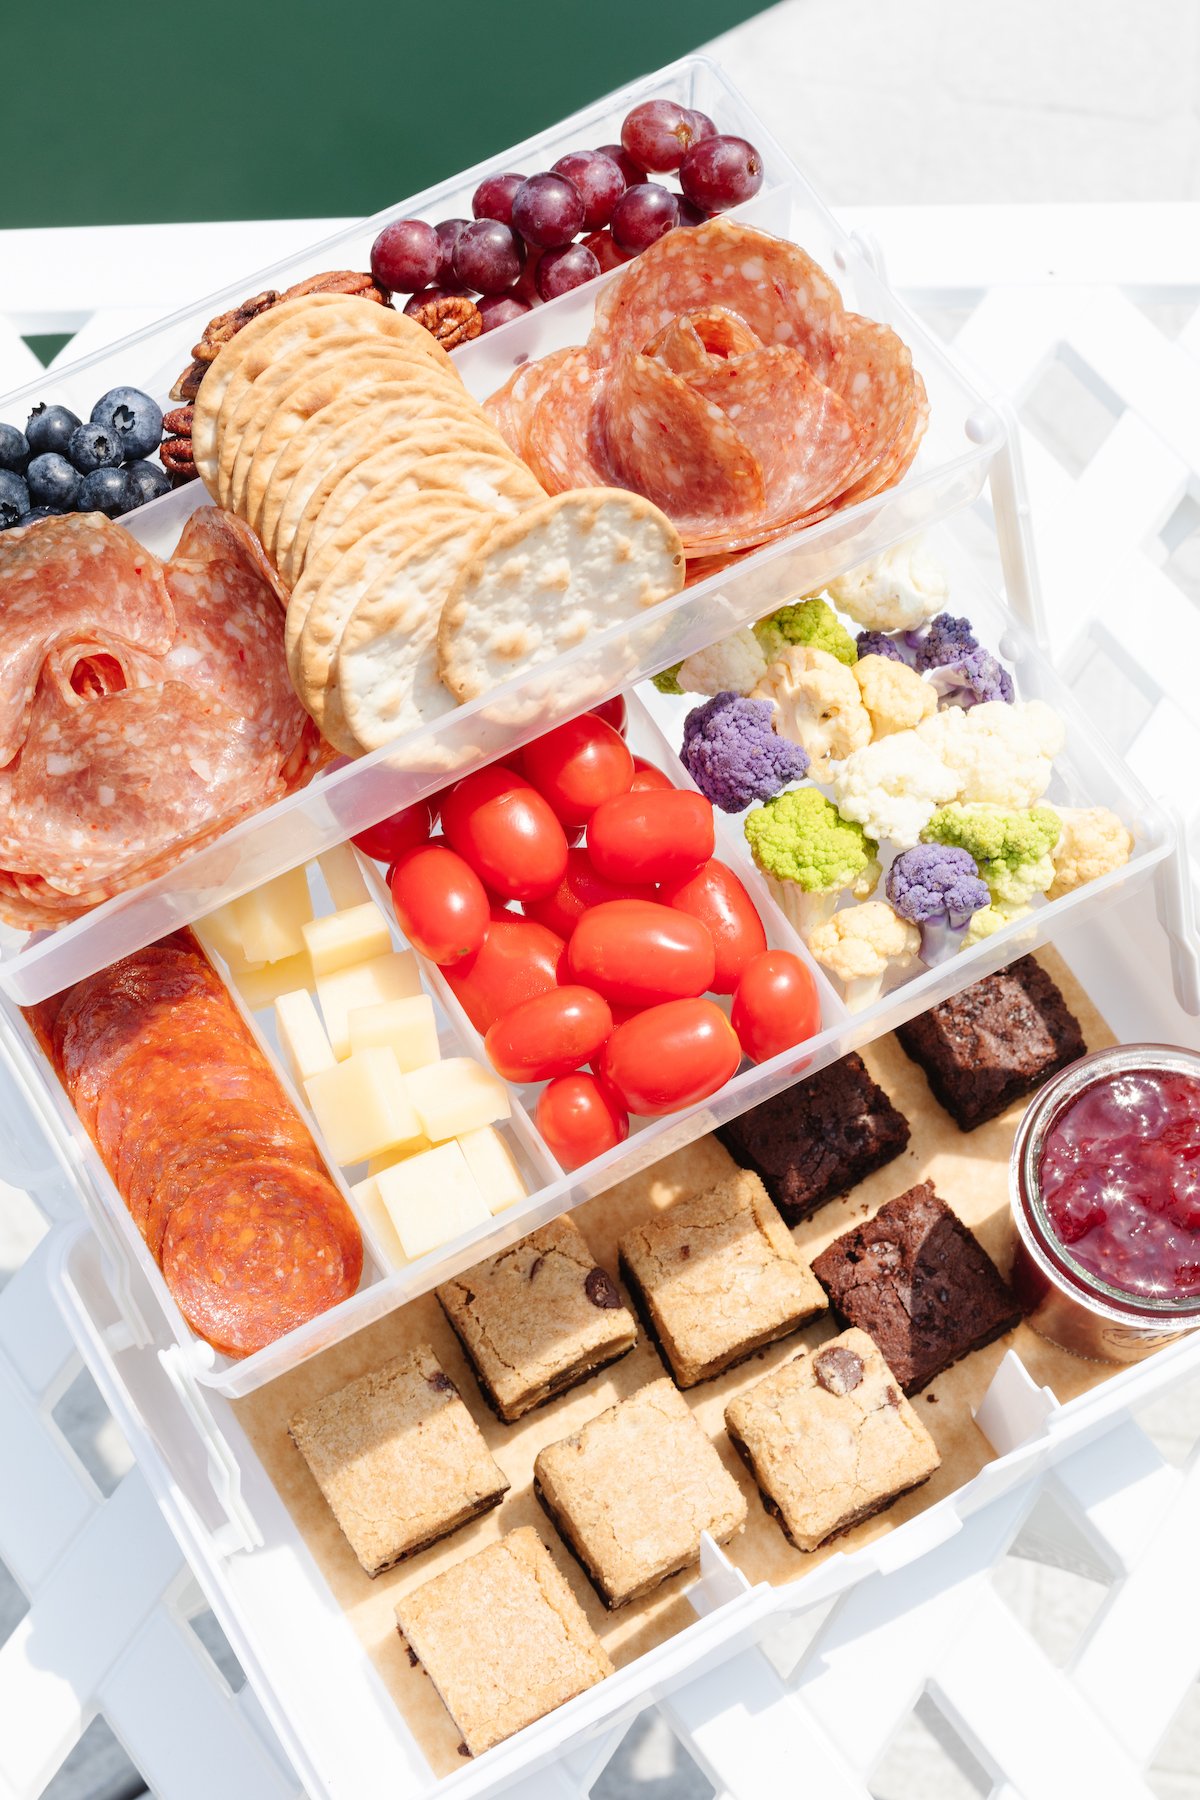
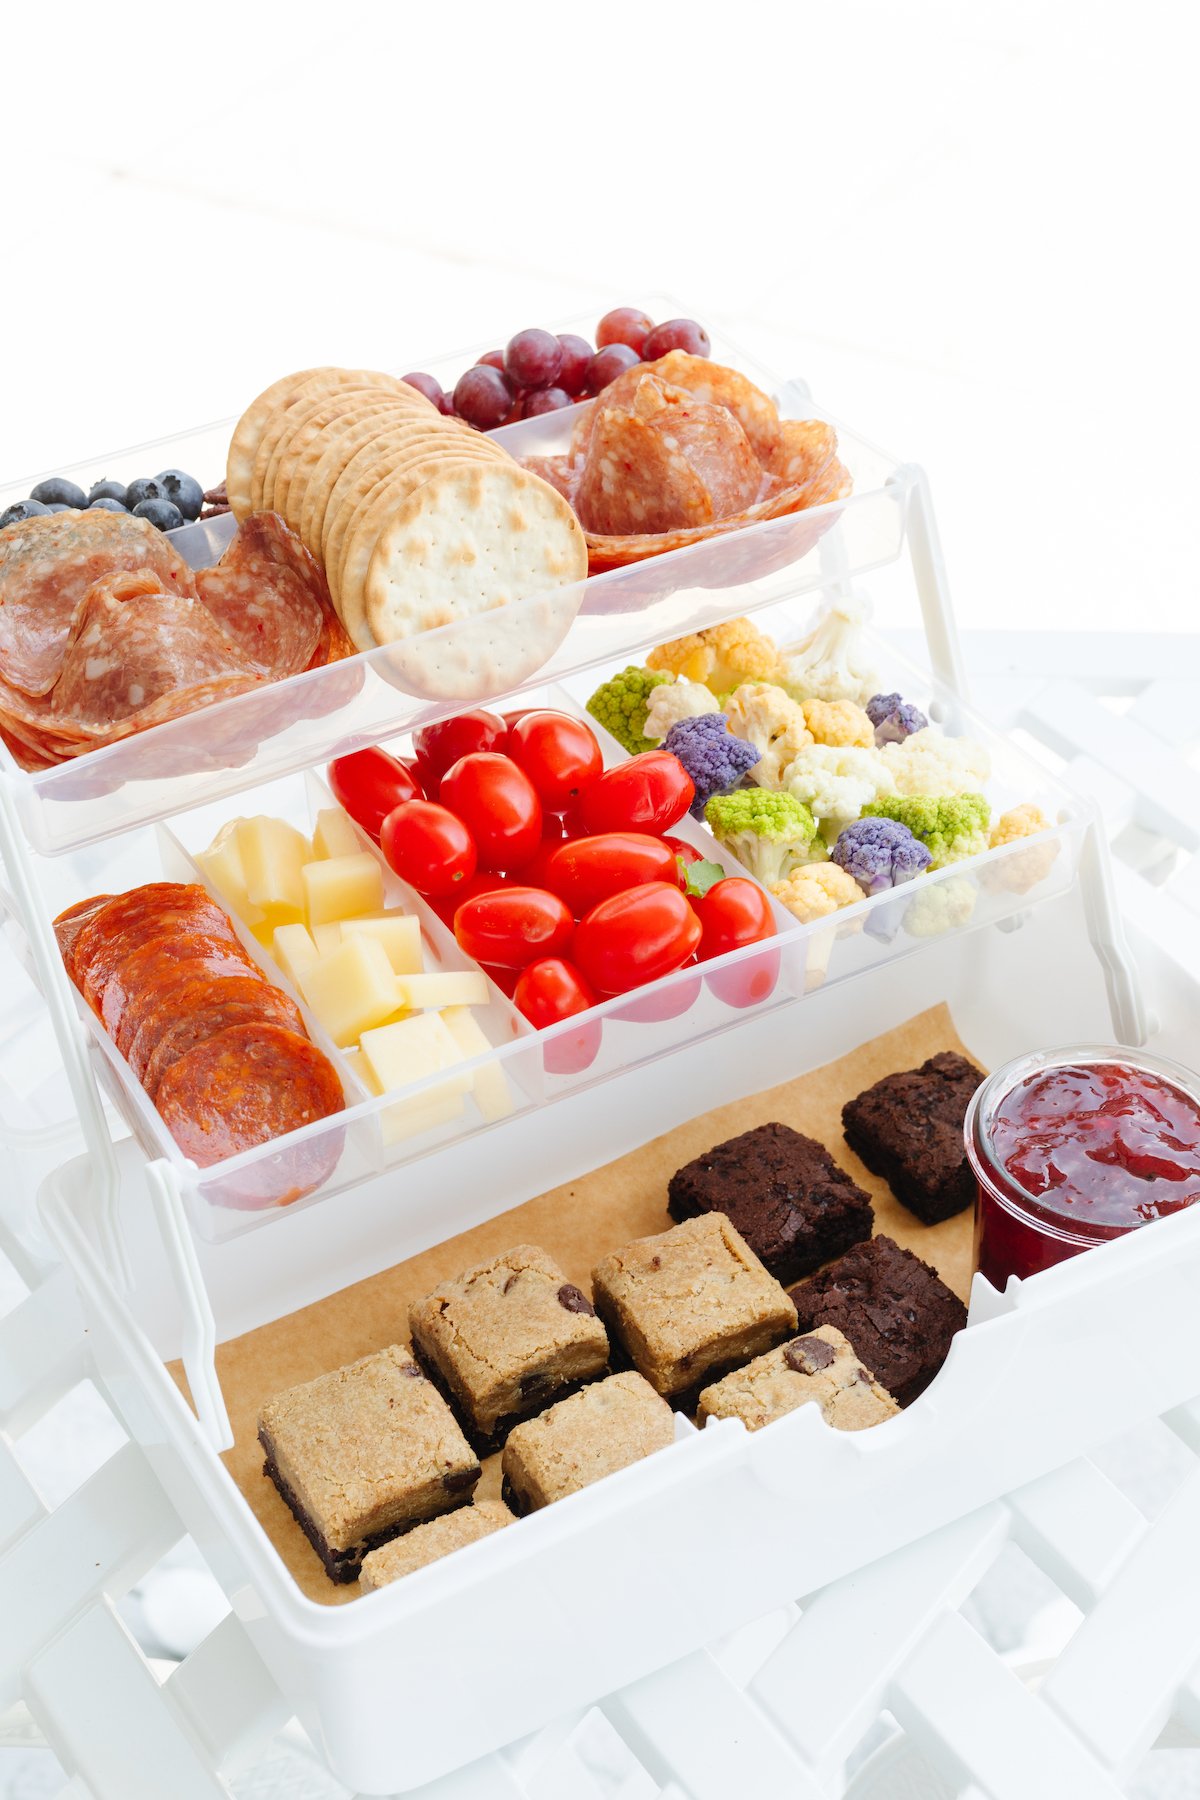
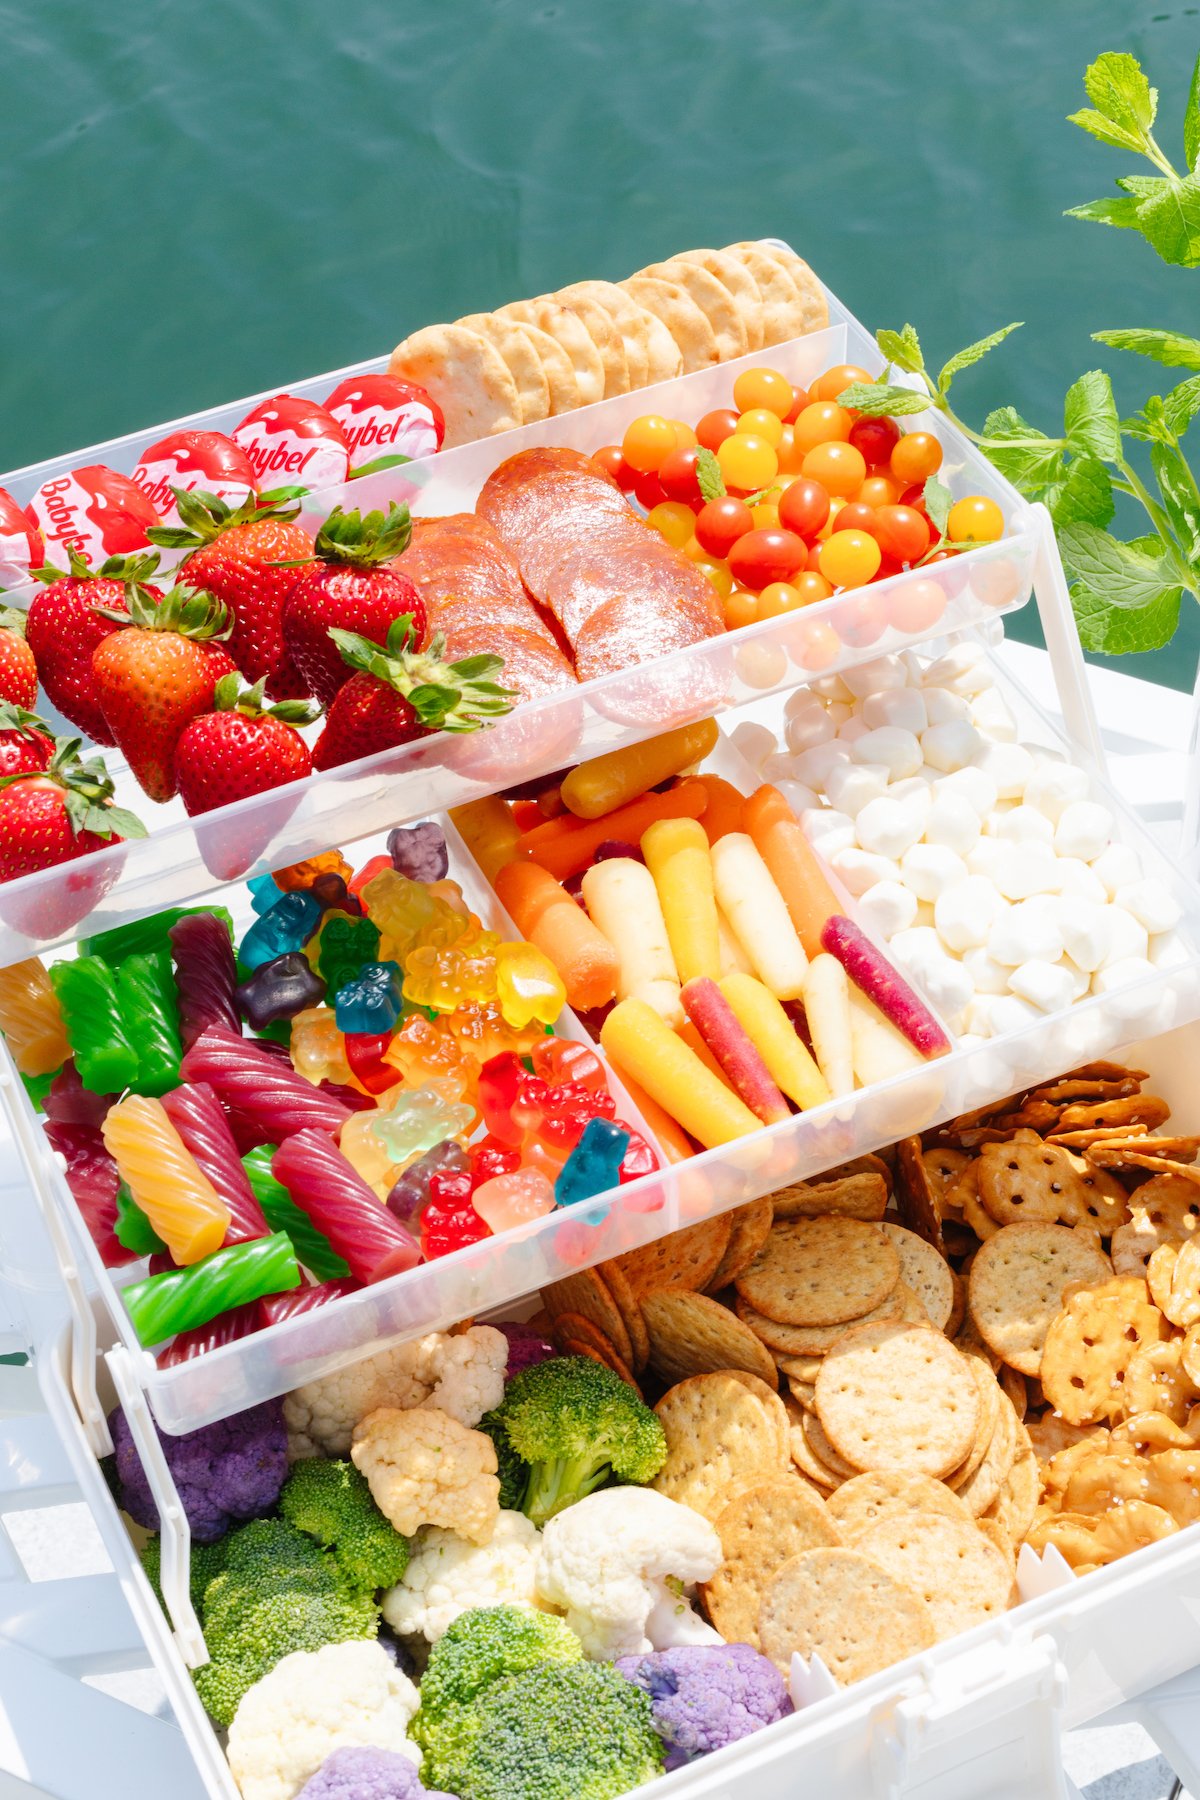
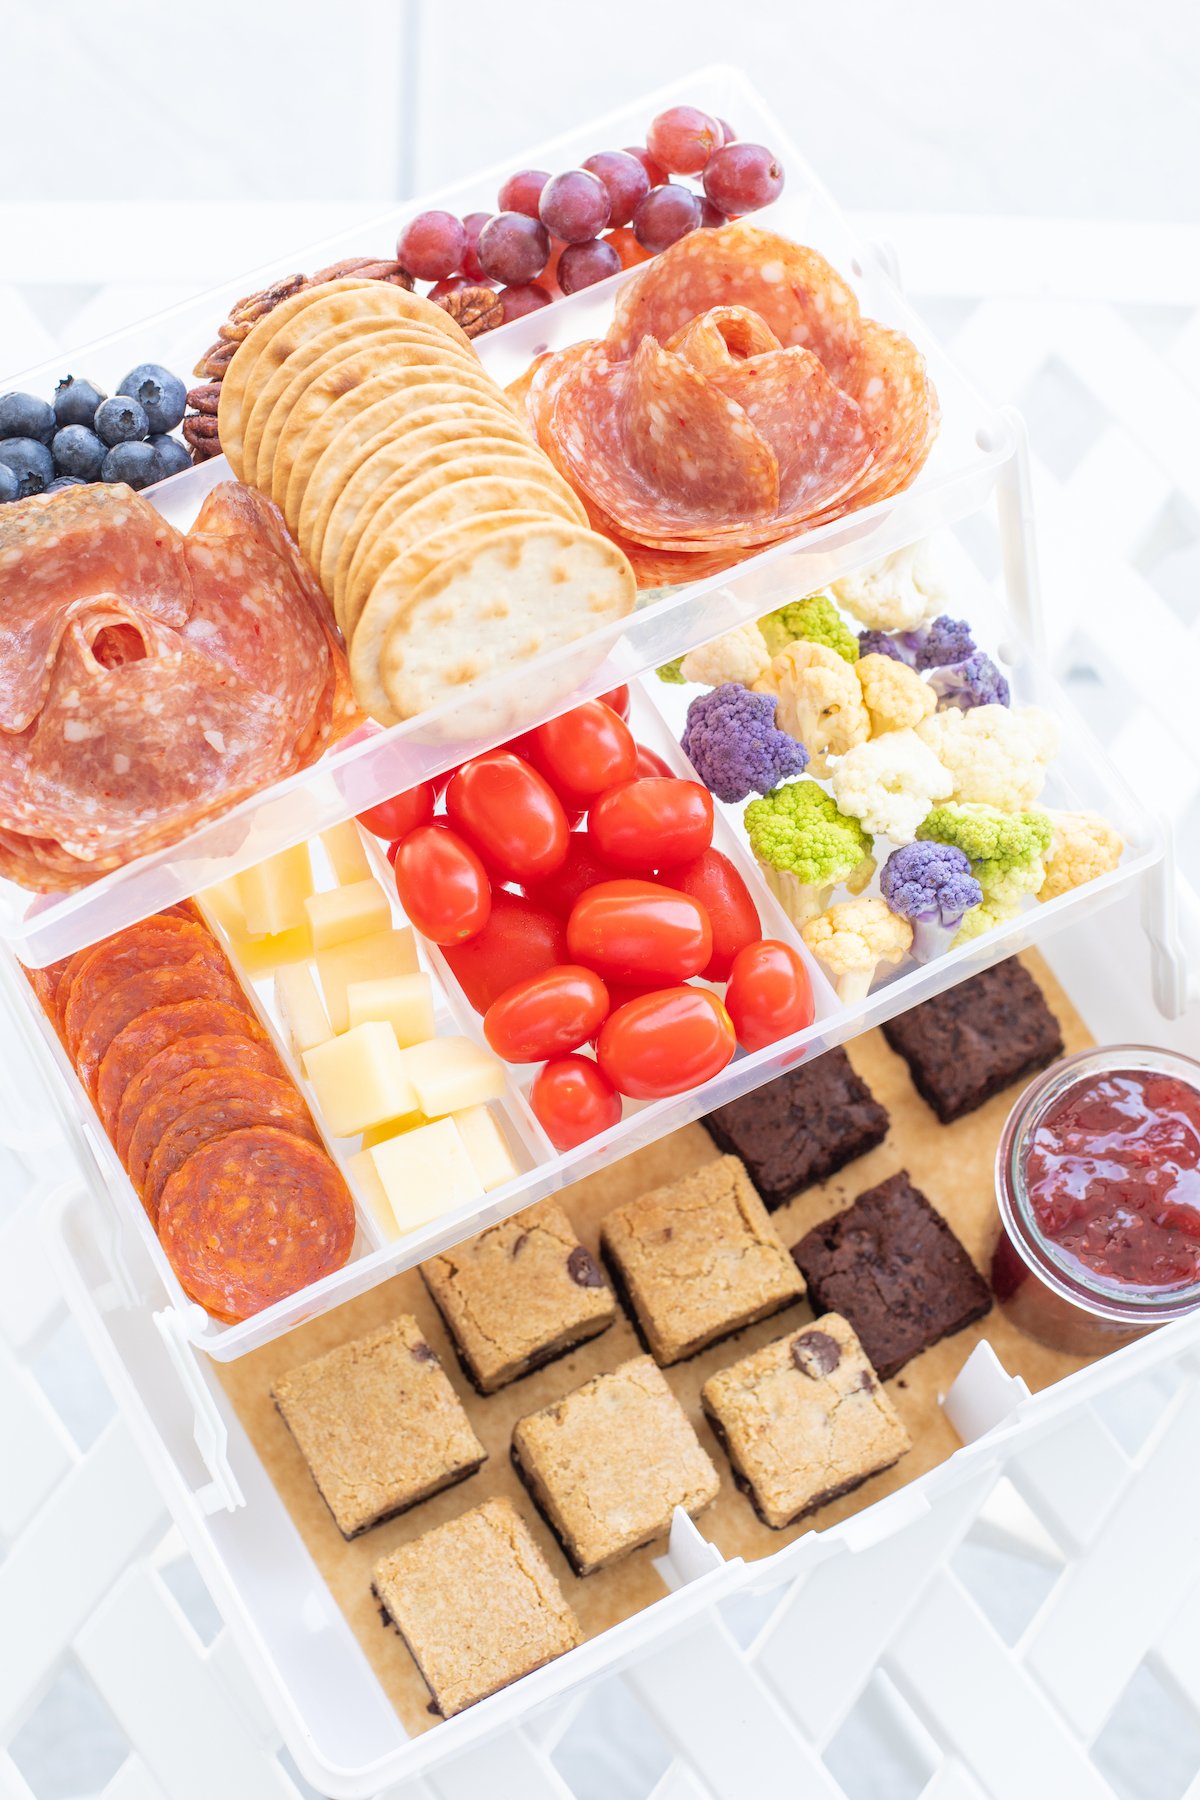
- Vegetables – Small bite sized vegetables including cherry tomatoes, cauliflower, broccoli, carrots, snap peas, sliced peppers, and celery are great options.
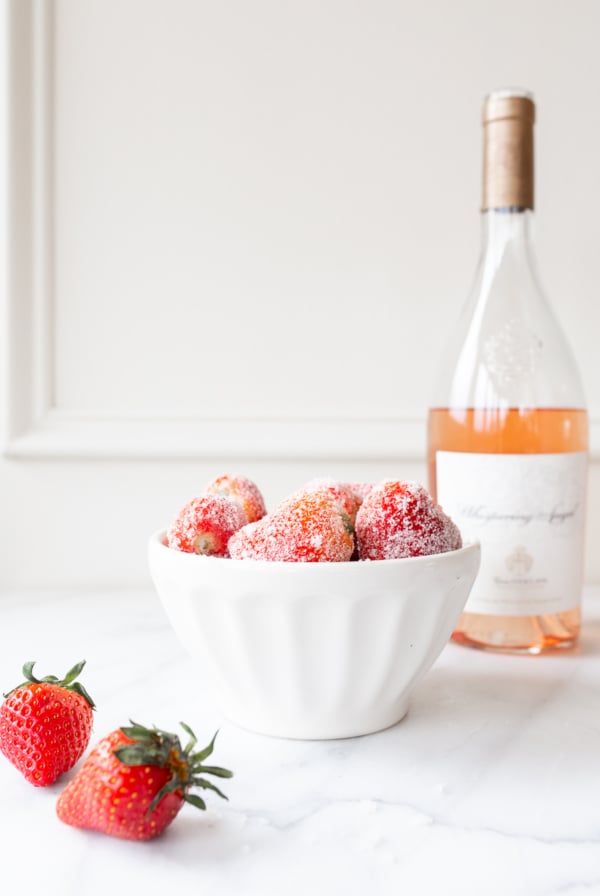
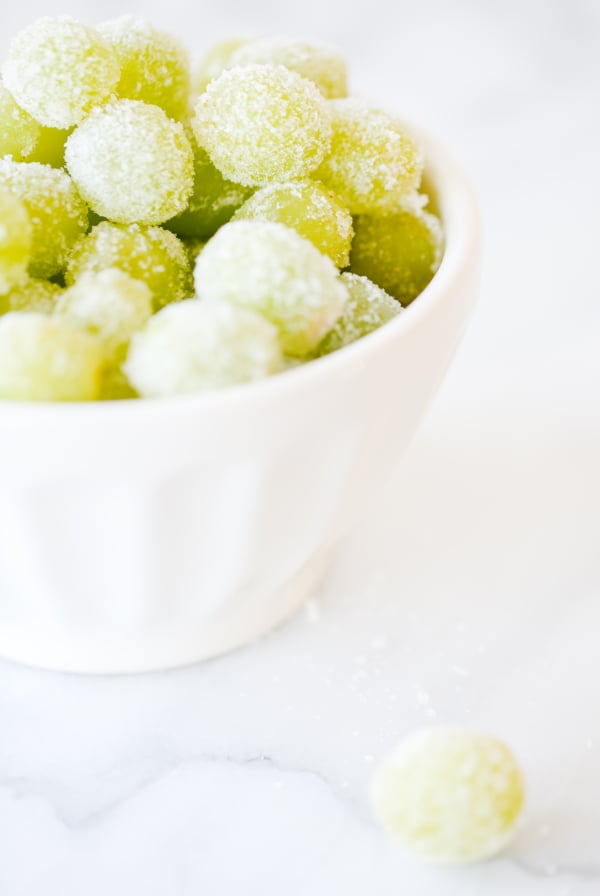
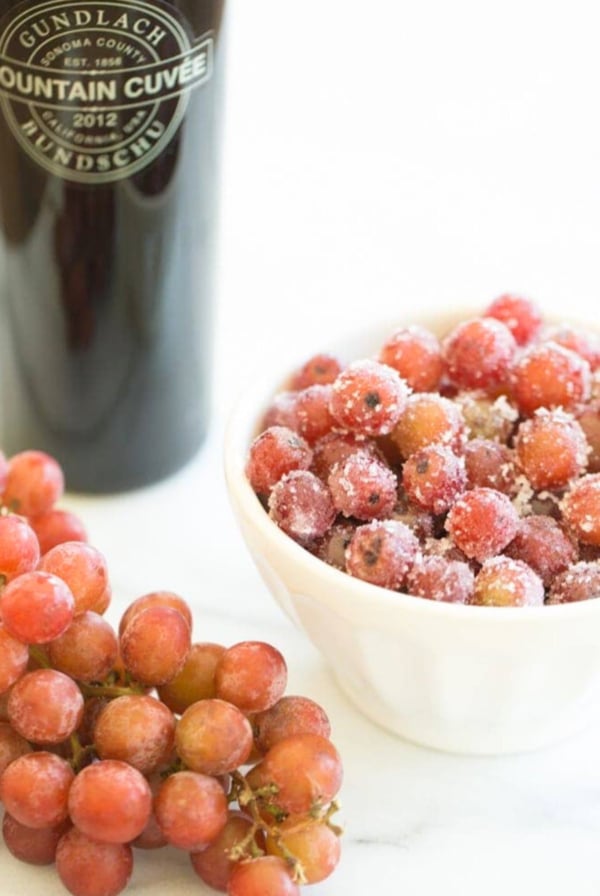
- Fruits – Grapes, strawberries, blueberries, raspberries, mandarin orange slices, and dried fruits work well. Shy away from juicy or cut fruits, if possible.
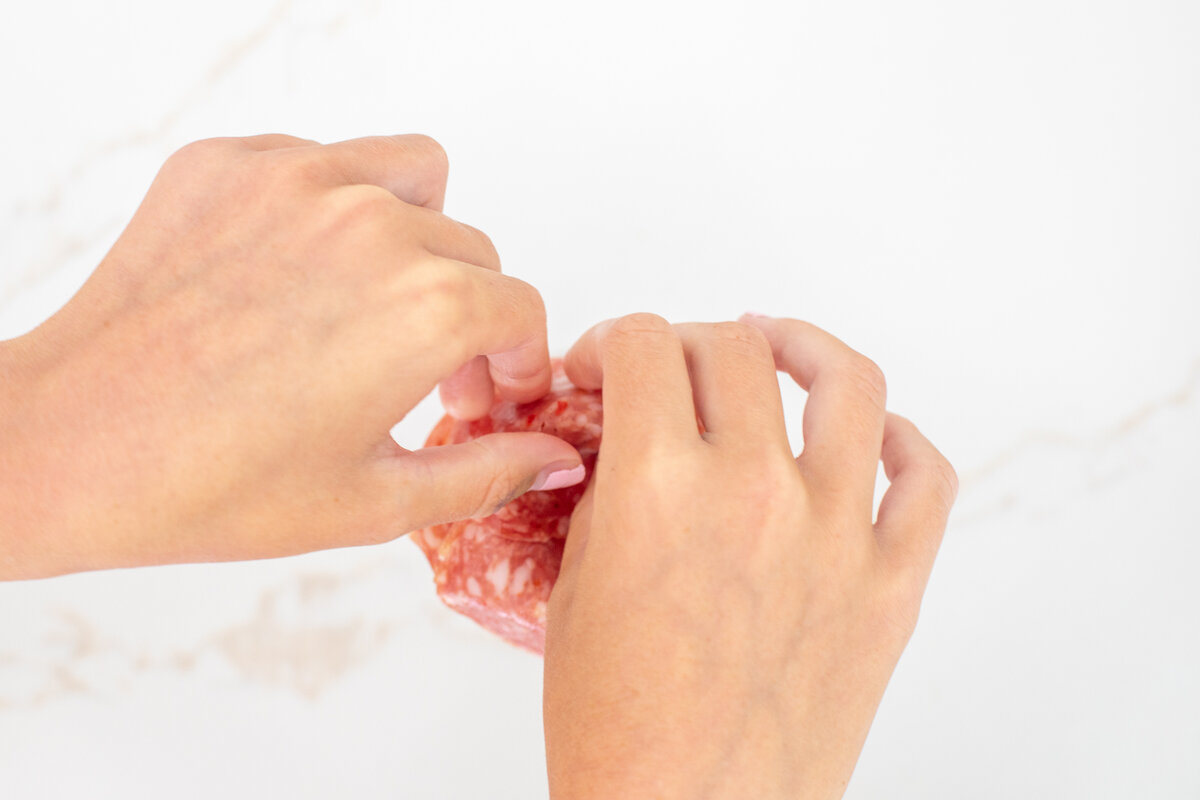
- Meats – Salami, capicola, chorizo, pepperoni, proscuitto and jerky are easy to serve. The girls like to form sliced meats into roses.
- Cheeses – Slices, cubes and individual portions of hard to medium cheeses are easy to serve.
- Crackers – Table crackers, wheat thins and sturdy butter crackers. Pretzels are a great option, too!
- Nuts – Nuts are just as easy to pop into your box as they are into your mouth. Trail Mix is fun, too!
- Candies – Licorice, hard candy, mints, gummy and chewy candy keep a snackle box mess free and easy to serve. Avoid chocolates that melt easily.
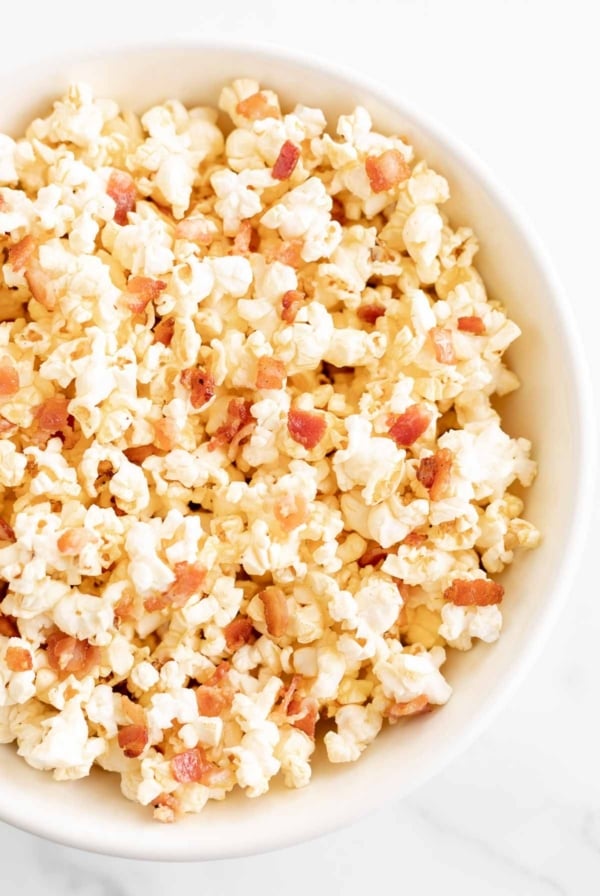
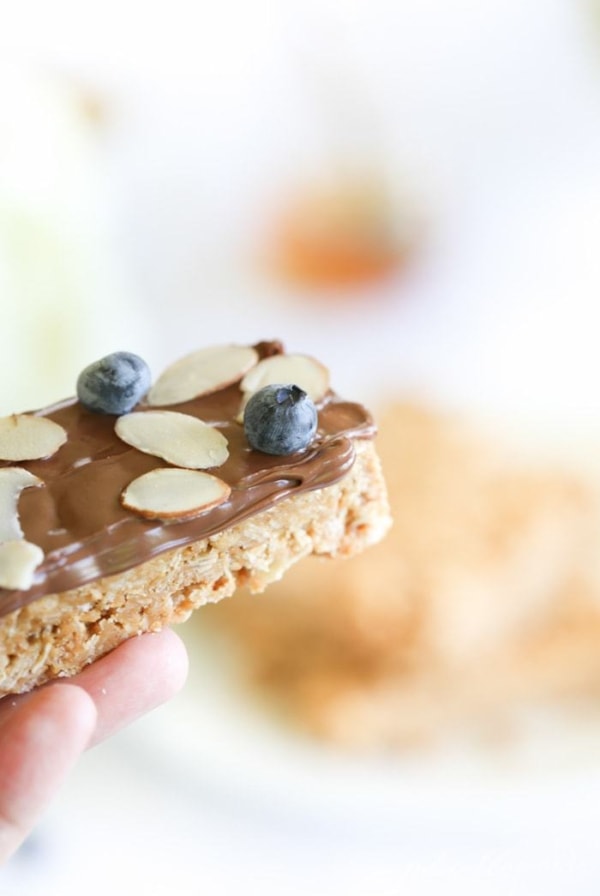
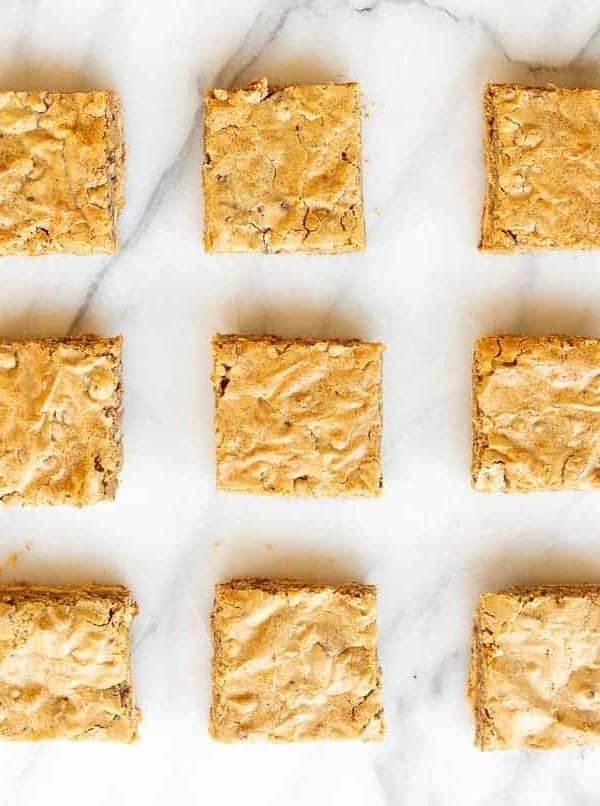
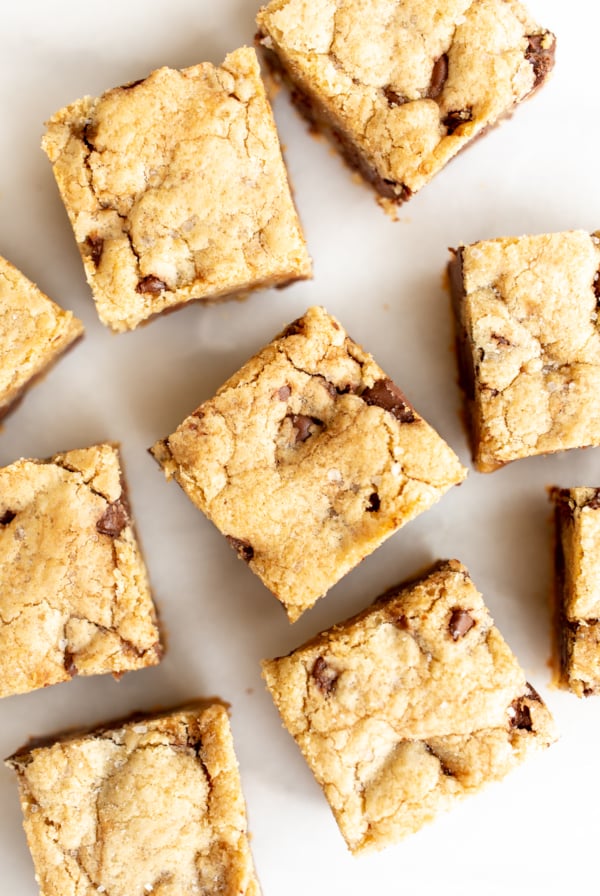
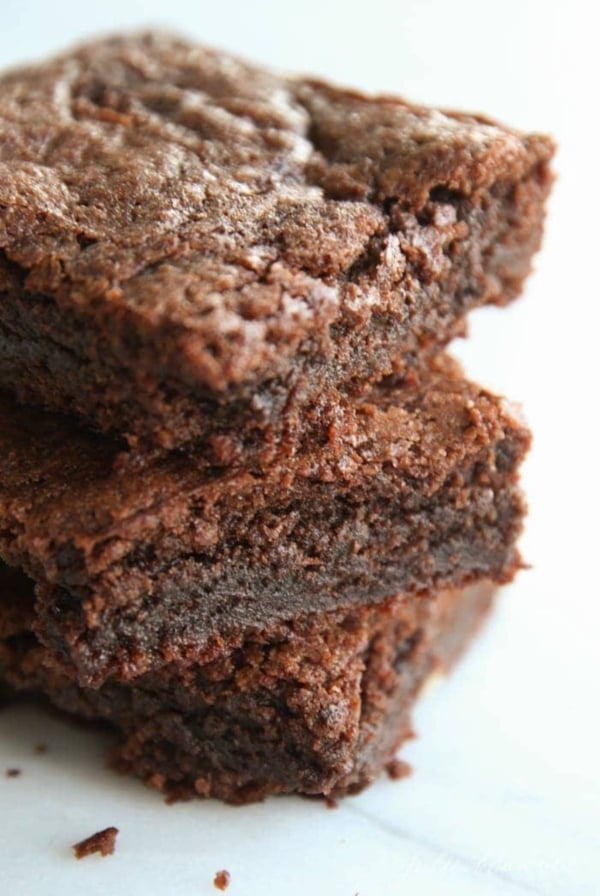
- Desserts – Mini cookies, brownie bites, and mini muffins are perfect to pack.
- Jellies and Jams – A great accompaniment with crackers and muffins.
- Dips – Pack your favorite cold dip (or dips) in a sealable container tucked inside the snackle box. Sour Cream Dip, Whipped Goat Cheese, Whipped Ricotta, Dill Dip, Pesto Hummus, or White Bean Dip are delicious options.

Snackle Box Fillers
The options really are endless – choose what your family and friends will enjoy the most!
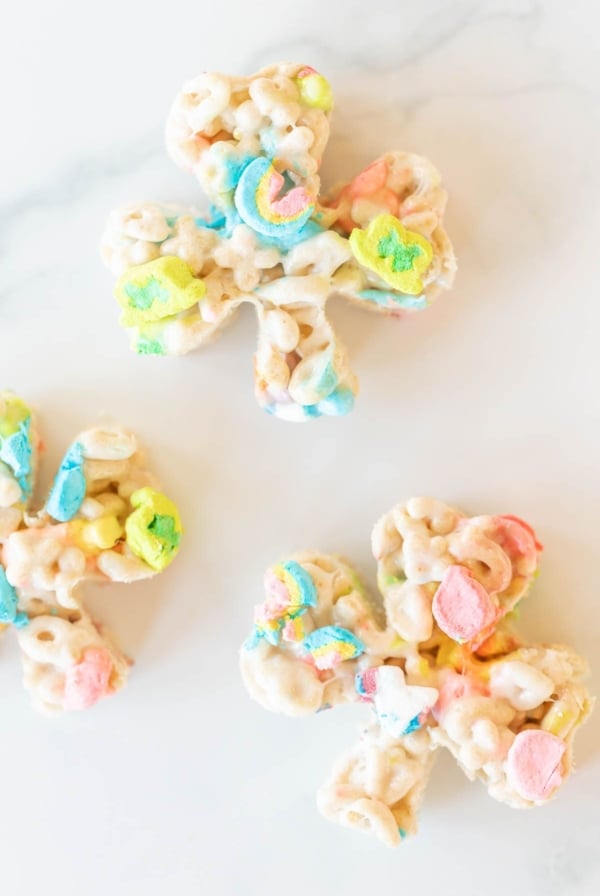
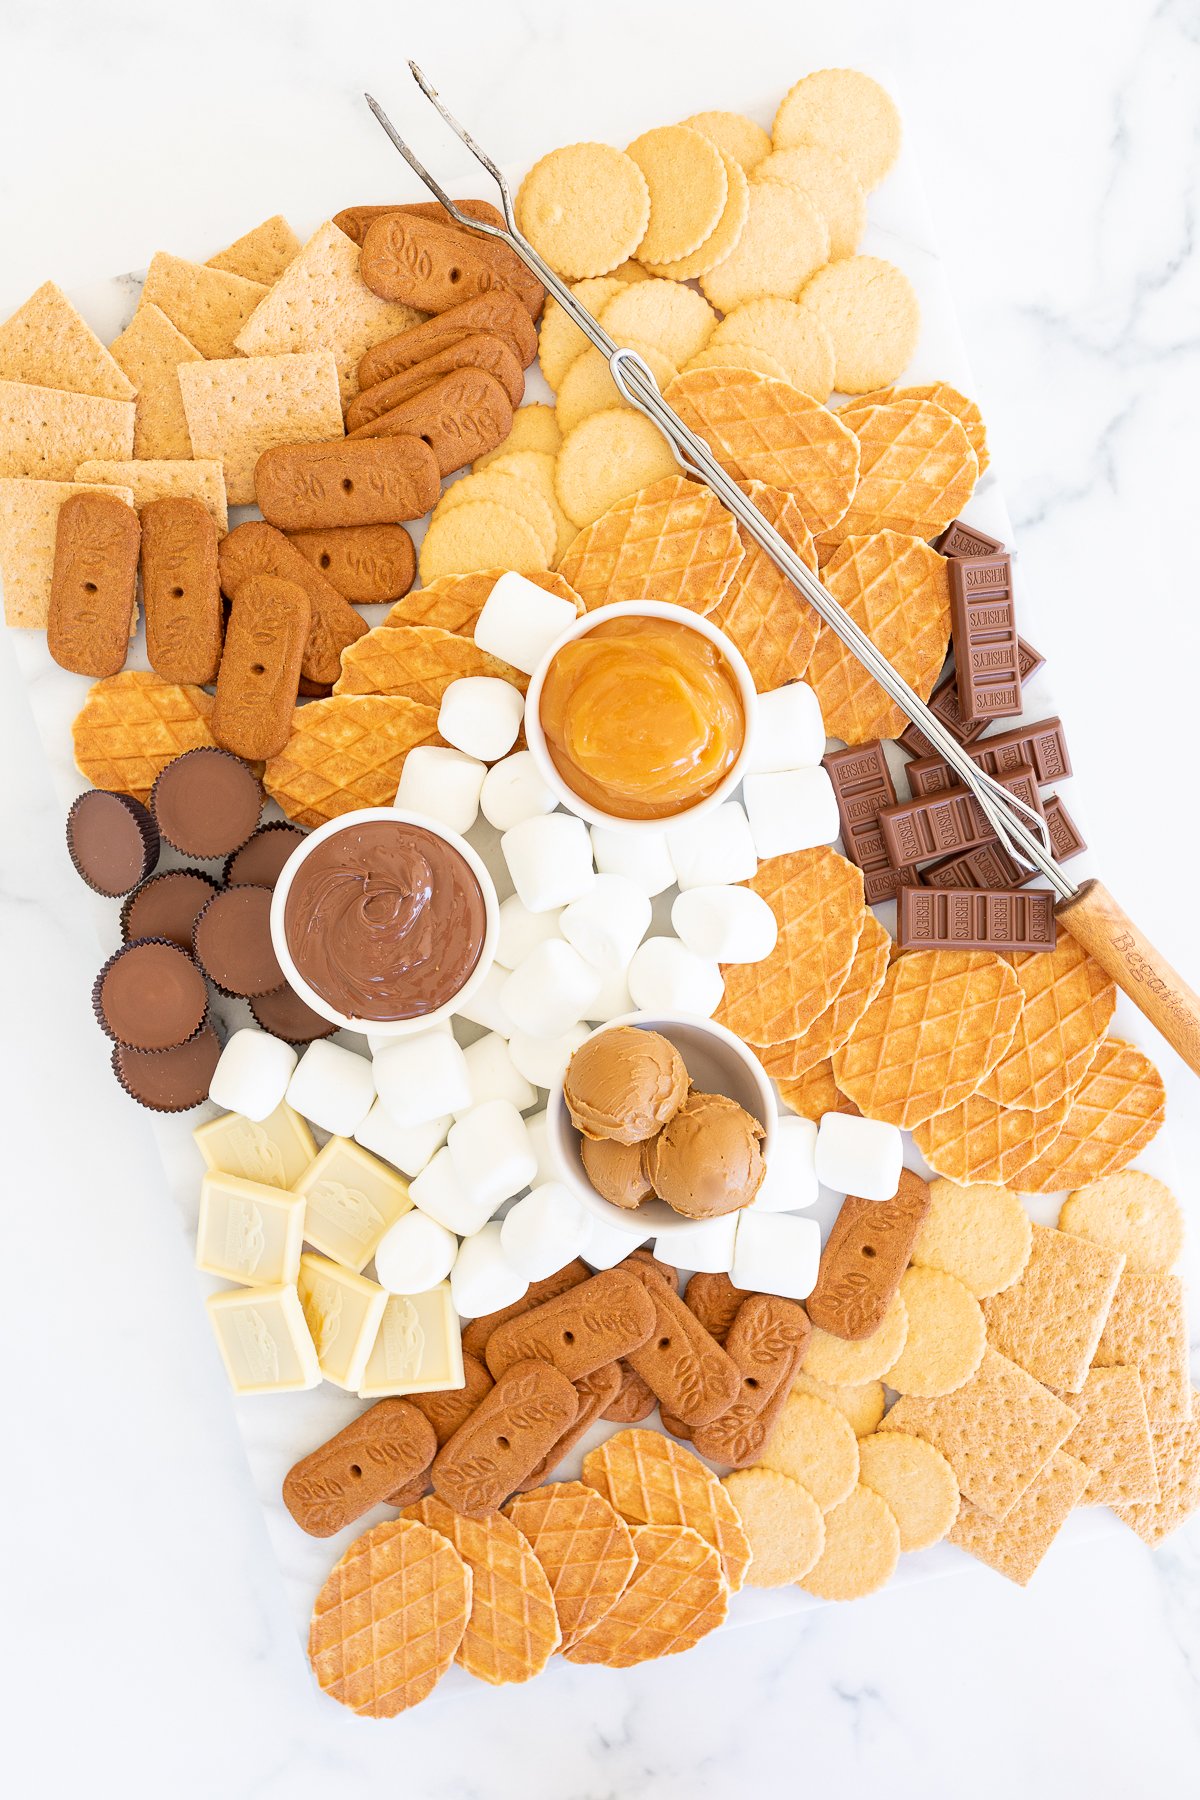
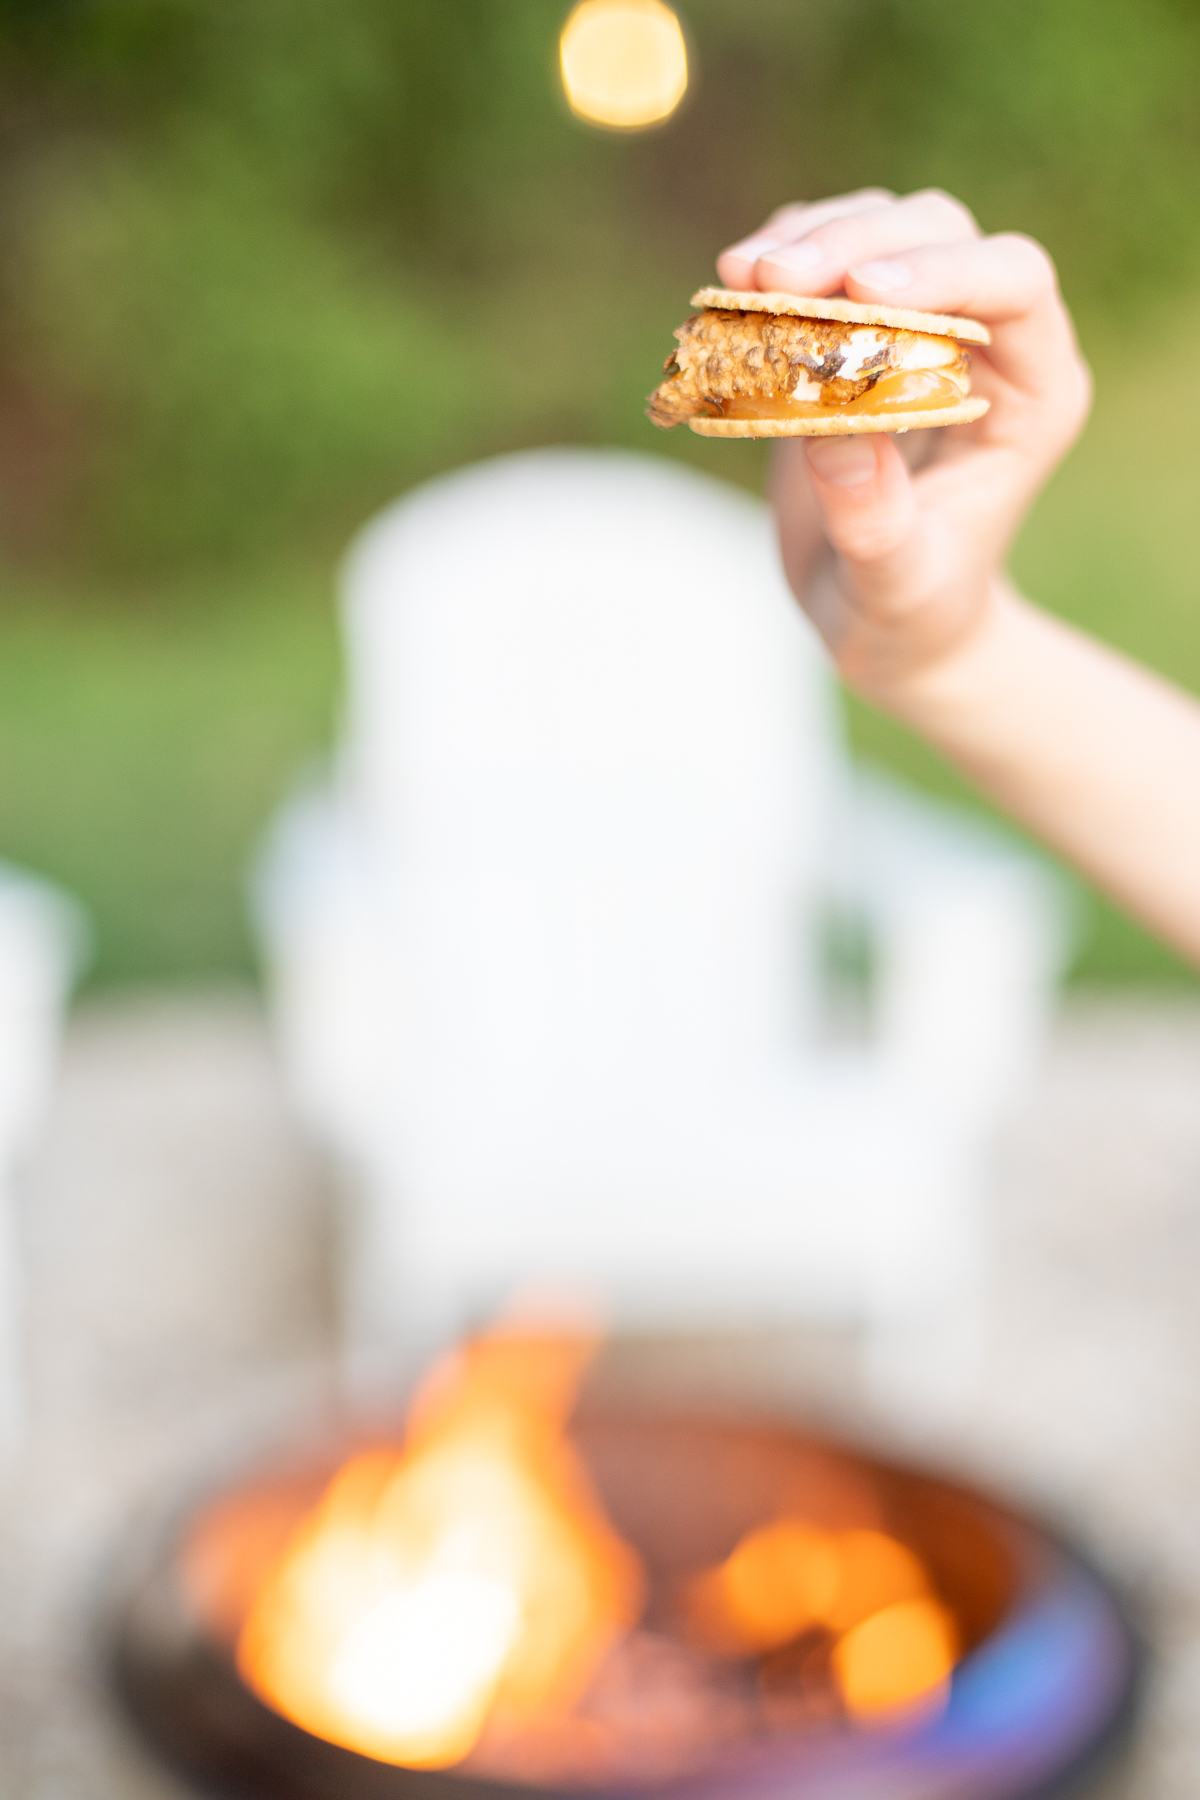
S’mores Snackle Box
Whether you’re hosting a backyard gathering or going to a bonfire, a S’mores Snackle Box is an easy alternative to tote all the cookies, crackers and toppings. See the post below for ideas!
Choosing a Snackle Box
Since we started making Snackle Boxes, a wide array of food safe options have entered the market. I’m breaking down everything you need to know, what to look for and my favorites!
Food Grade Plastic
When choosing a Snackle Box, it’s important to look for food grade plastic, however, they’re not all created equal. Food grade simply means it is safe for the type of food it may come into contact with. Some foods are acidic, which can cause chemicals to leak.
On the bottom of the container, you’ll find a number indicating what type of plastic it is made of. 1, PET or PETE, short for Polyethylene Terephthalate is the most common. It is FDA approved. 2, 4 and 5 are also food safe, until recycled, so suitable for a snackle box.
3 and 6 are used for disposable items, including sealable bags and disposable drinking cups. They are not ideal for prolonged contact. If your snackle box is rated 3 or 6, line it with parchment paper and muffin or bread liners.
Features
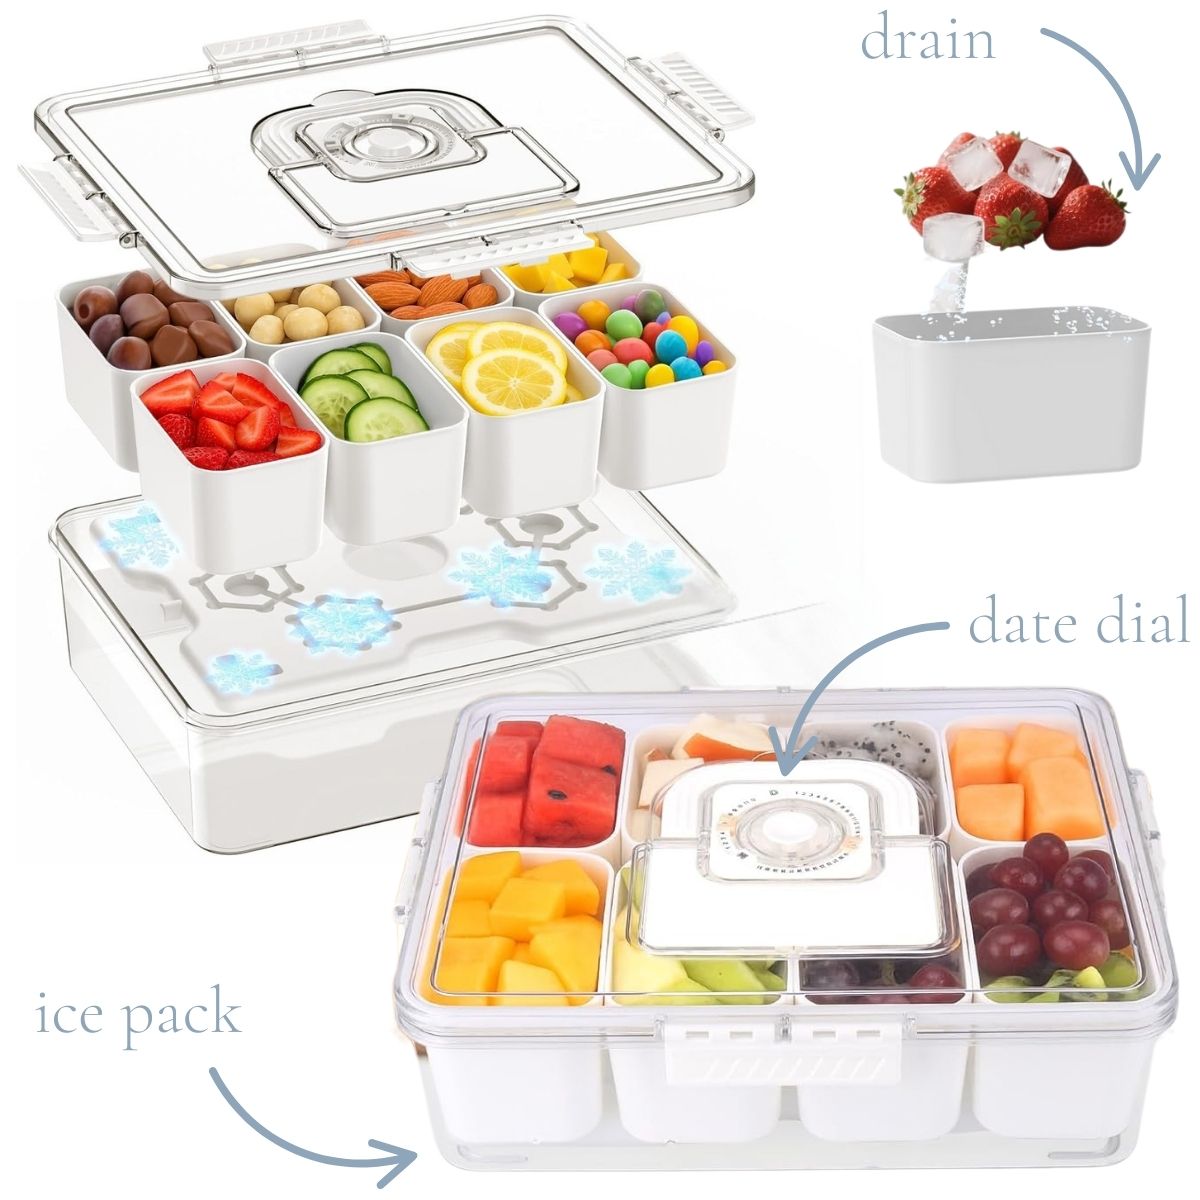
How will you use your Snackle Box? A single box is perfect to pack, snap and snack, while stackable boxes are convenient to carry and feed a crowd. Look for a box that clasps tight with a handle. I prefer removable compartments that add even more convenience when serving and cleaning. Some include built-in ice packs, drains and more!
My Favorite Snackle Boxes
I tested 10 Snackle Boxes and sharing my top picks for every occasion. These are ideal for the dock, boat, beach, sporting event or tailgate!
My Top Pick
Looks can be deceiving. From the outside, this box looks like so many others, but hidden features add an abundance of function! There’s a built-in ice pack in a tray below, keeping items chilled while preventing moisture build-up. Removable compartments keep foods separate and are easy to clean. Each compartment has a removable drain, keeping moisture away from the food. Turn the dial to notate the date you packed your snackle to ensure maximum freshness.

Rotating Snackle Tray
What I Love:
- Removable Compartments
- Food Grade
- Spins / Rotates
- Lid with Handles
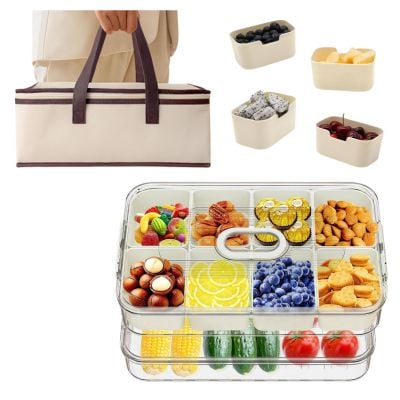
Snackle Box & Bag Set
What I Love:
- Removable Compartments
- Food Grade
- Lids with Handles
- Portable Bag
How to Pack a Snackle Box
You Need
- Snackle Box
- Parchment Paper
- Muffin Liners
- Sealable Jars for Condiments
- Ice Packs
Packing Tips
- Line with parchment paper or muffin liners (especially if your box is not food safe).
- Store dips and spreads in individual sealable containers and tuck inside.
- Put each item in a separate compartment, preventing dry goods like crackers, pretzels and baked goods from touching fruits, veggies, cheeses and meats to prevent them from getting soggy.
Chilling Tips
- Place ice packs in the bottom of the box to keep it chilled while transporting or fill a cooler with ice and place inside until ready to serve.
- Serve at room temperature up to 2 hours. Snackle Box can be placed in a tub or tray filled with ice.
How to Store
I often make snackle boxes ahead of time, but it’s important to consider food safety and maintain the integrity with these simple tips.
- At Room Temperature – Meats and cheeses can be stored safely at room temperature for up to two hours. When it’s hot, be sure to store and serve on ice to keep it chilled.
- Refrigerate – Slice and store in airtight containers up to 48 hours before serving and transfer to the box when ready to serve or add fruits, veggies, nuts, packaged dips, and treats and refrigerate, and add meats, cheeses, crackers, chips and pretzels when ready to serve (this prevents them from becoming soggy).
Snackle Boxes
Ingredients
- 1 cup Fruit Grapes, strawberries, blueberries and more
- 1 cup Vegetables Cherry tomatoes, cauliflower, carrots etc
- 1 cup Cheese Sharp cheddar or mini Babybel wrapped cheeses
- ½ cup Cured Meats salami, pepperoni etc
- 1 cup Crackers
- ½ cup Candy Or cookies, brownies, or mini muffins
Instructions
- Start by placing ice boxes at the base of your box to keep the entire snackle box chilled.
- Gather ingredients (rinse fruits and veggies) and slice any meats, cheeses and fruits or veggies.
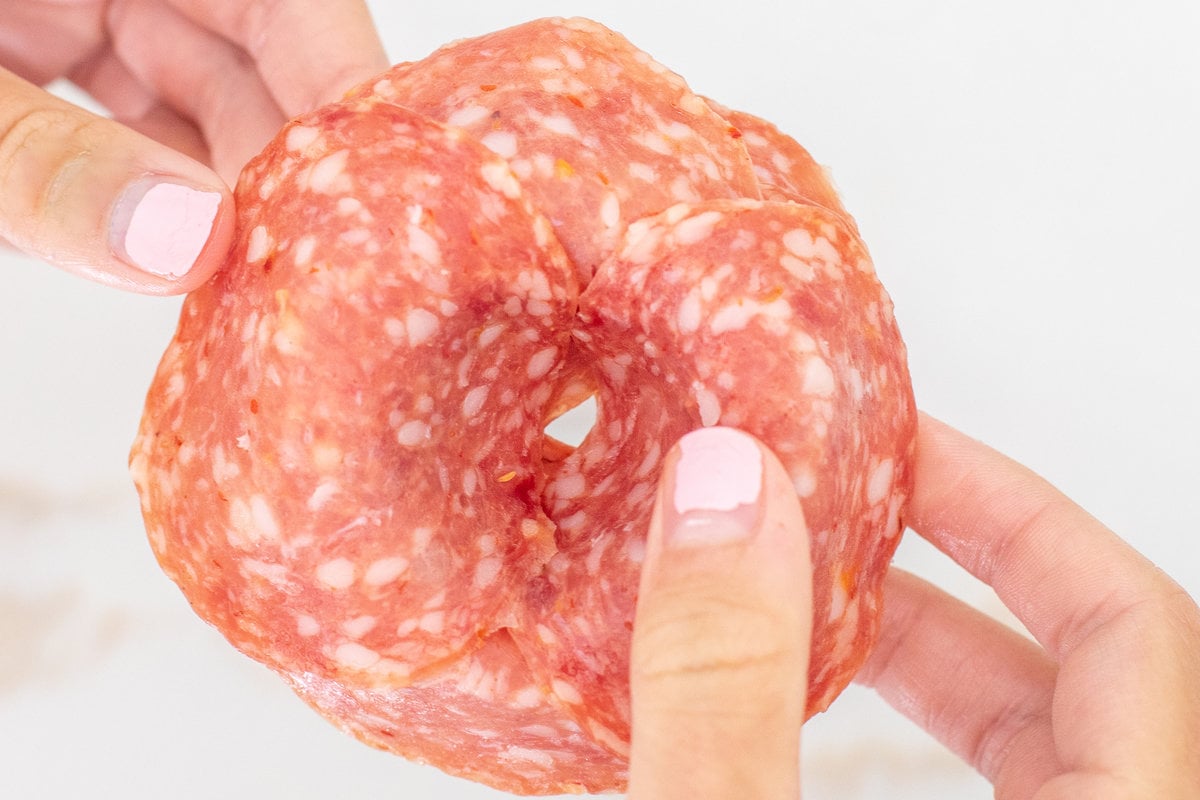
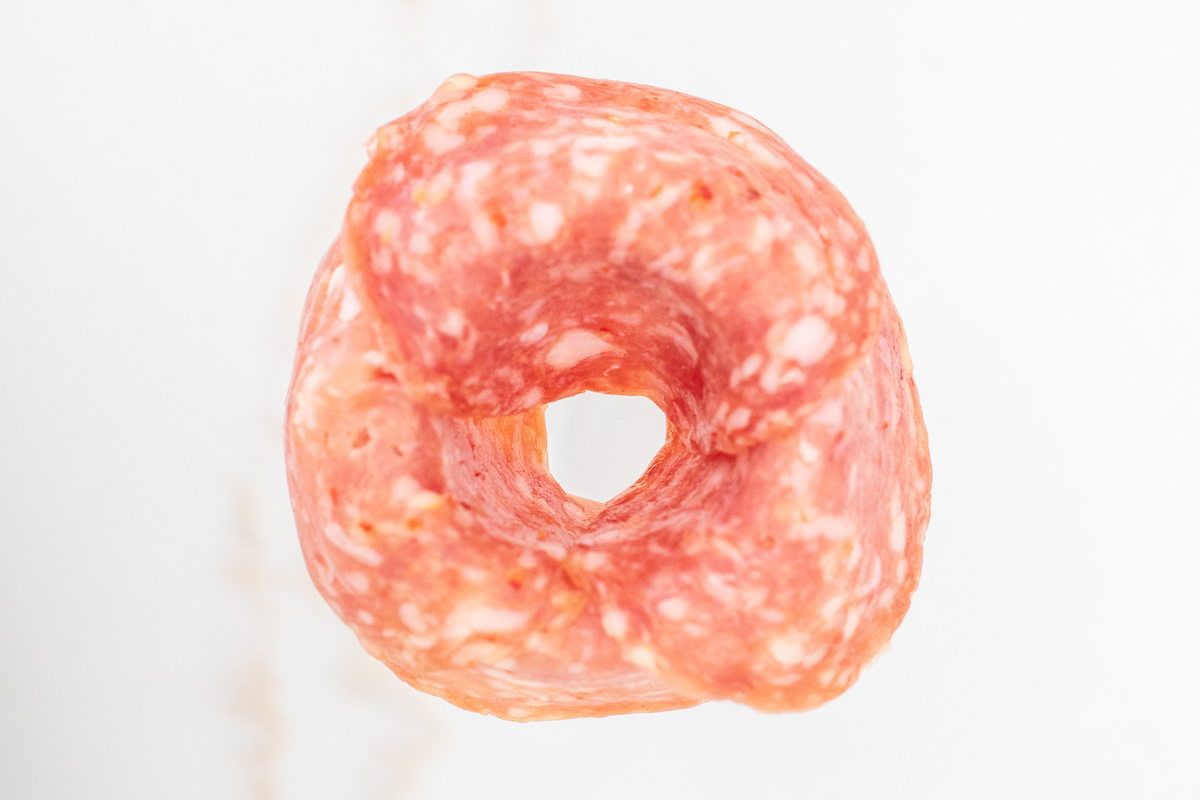
- We created salami “roses”. Simply layer the salami into a circular wreath shape over the edge of a cup, and then fold into a "flower" for the container.
- Add a layer of parchment paper and then start stacking! We filled the base with crackers and sturdy veggies in one, and in another, we placed squares of cookie and brownie bars.
- Snap the lid on and enjoy!
Julie’s Tips
Tips
- Place ice packs in bottom of your tackle box if you need to keep it chilled.
- Line with parchment paper or muffin liners for an extra layer of safety – not all plastic is meant for food, so this is an added step for comfort.
- Store dips and spreads in individual lidded containers at the base.
Estimated nutrition information is provided as a courtesy and is not guaranteed.
Explore More
How to Make a Snackle Box
- Start by placing ice boxes at the base of your box to keep the entire snackle box chilled.
- Gather, rinse and prep fresh ingredients and slice any meats, cheeses and fruits or veggies.
- We created salami “roses” for a cute touch – so simple, as pictured. Simply layer the salami into a circular wreath shape over the edge of a cup, and then fold into a flower for the container. (Note my nails after a long lake weekend – this is a no judgement zone, right?)

- Add a layer of parchment paper and then start stacking! We filled the base with crackers and sturdy veggies in one, and in another, we placed squares of cookie and brownie bars.
- Snap the lid on and enjoy!


Julie,
I would like to buy a tackle box like the one that you feature at the beginning of your email, clear with 2 tiers, closes up with handle. The one you recommend at the end of your email is from Amazon and looks different.
Please advise and thank you for your help and your creative ideas.
We love this! Such a fun way to take our favorite treats on the road! Thanks!
Too cute! So excited to try these!
Aren’t they adorable? We are loving these for lake snacks, can’t wait for you to try!
Love, love, love this idea! Where did you het the all white tackle box? 😁
Hello!
You can see both of the boxes we used linked in the “tools to use” section right under the ingredients.
I hope you enjoy,
Julie