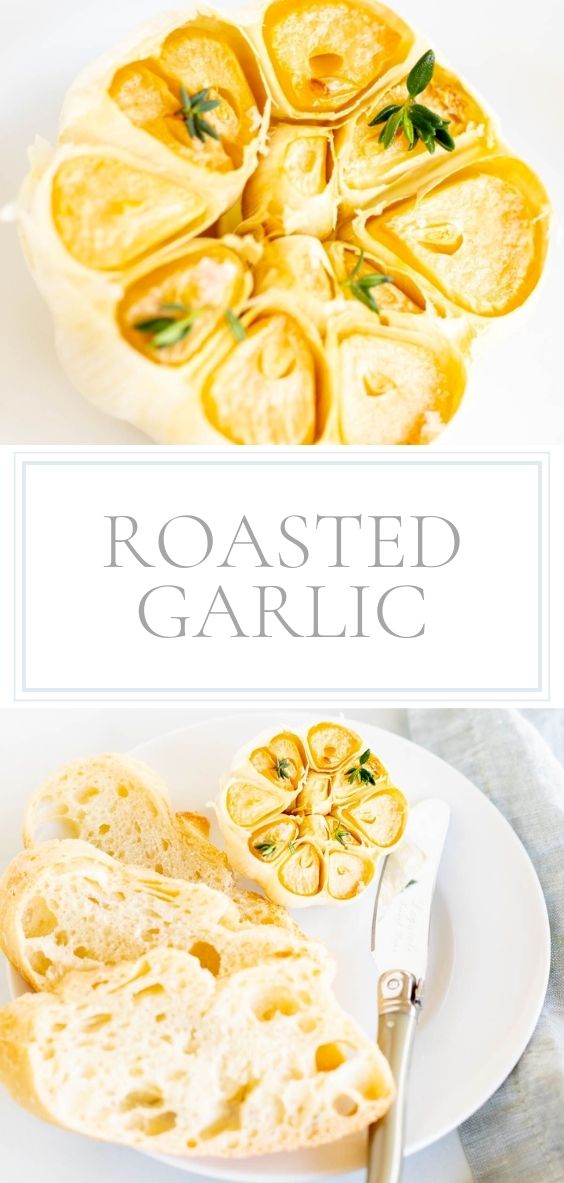
Learn the easiest method to make roasted garlic! This process brings out a caramelized sweetness to the garlic, making it extra delicious on everything it touches.
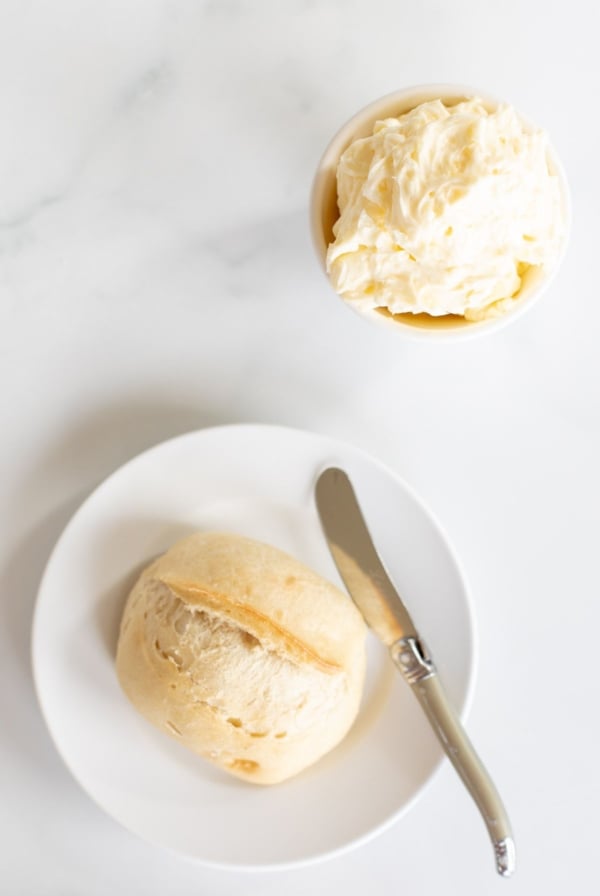
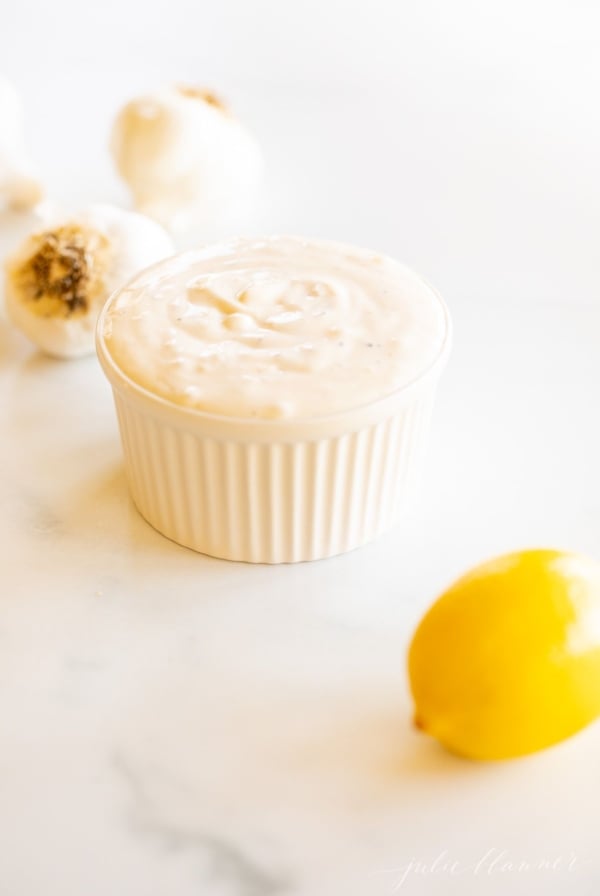
Use it to make the most decadent homemade garlic butter, or add it to bread, soups, salad dressings, entrees, and everything in between.
If you’re a garlic lover, you’ve got try this simple technique for how to roast garlic!
I love chatting all about these behind-the-scenes food techniques with you. Whether it’s shortcuts or methods to simplify your time in kitchen, or new recipes our family is enjoying, I’m always so thrilled to get to share something fun!
Lately, we’ve been learning about garlic. I’ve simplified the process to make a garlic confit, garlic paste, and minced garlic. You can even learn how to peel garlic right here!
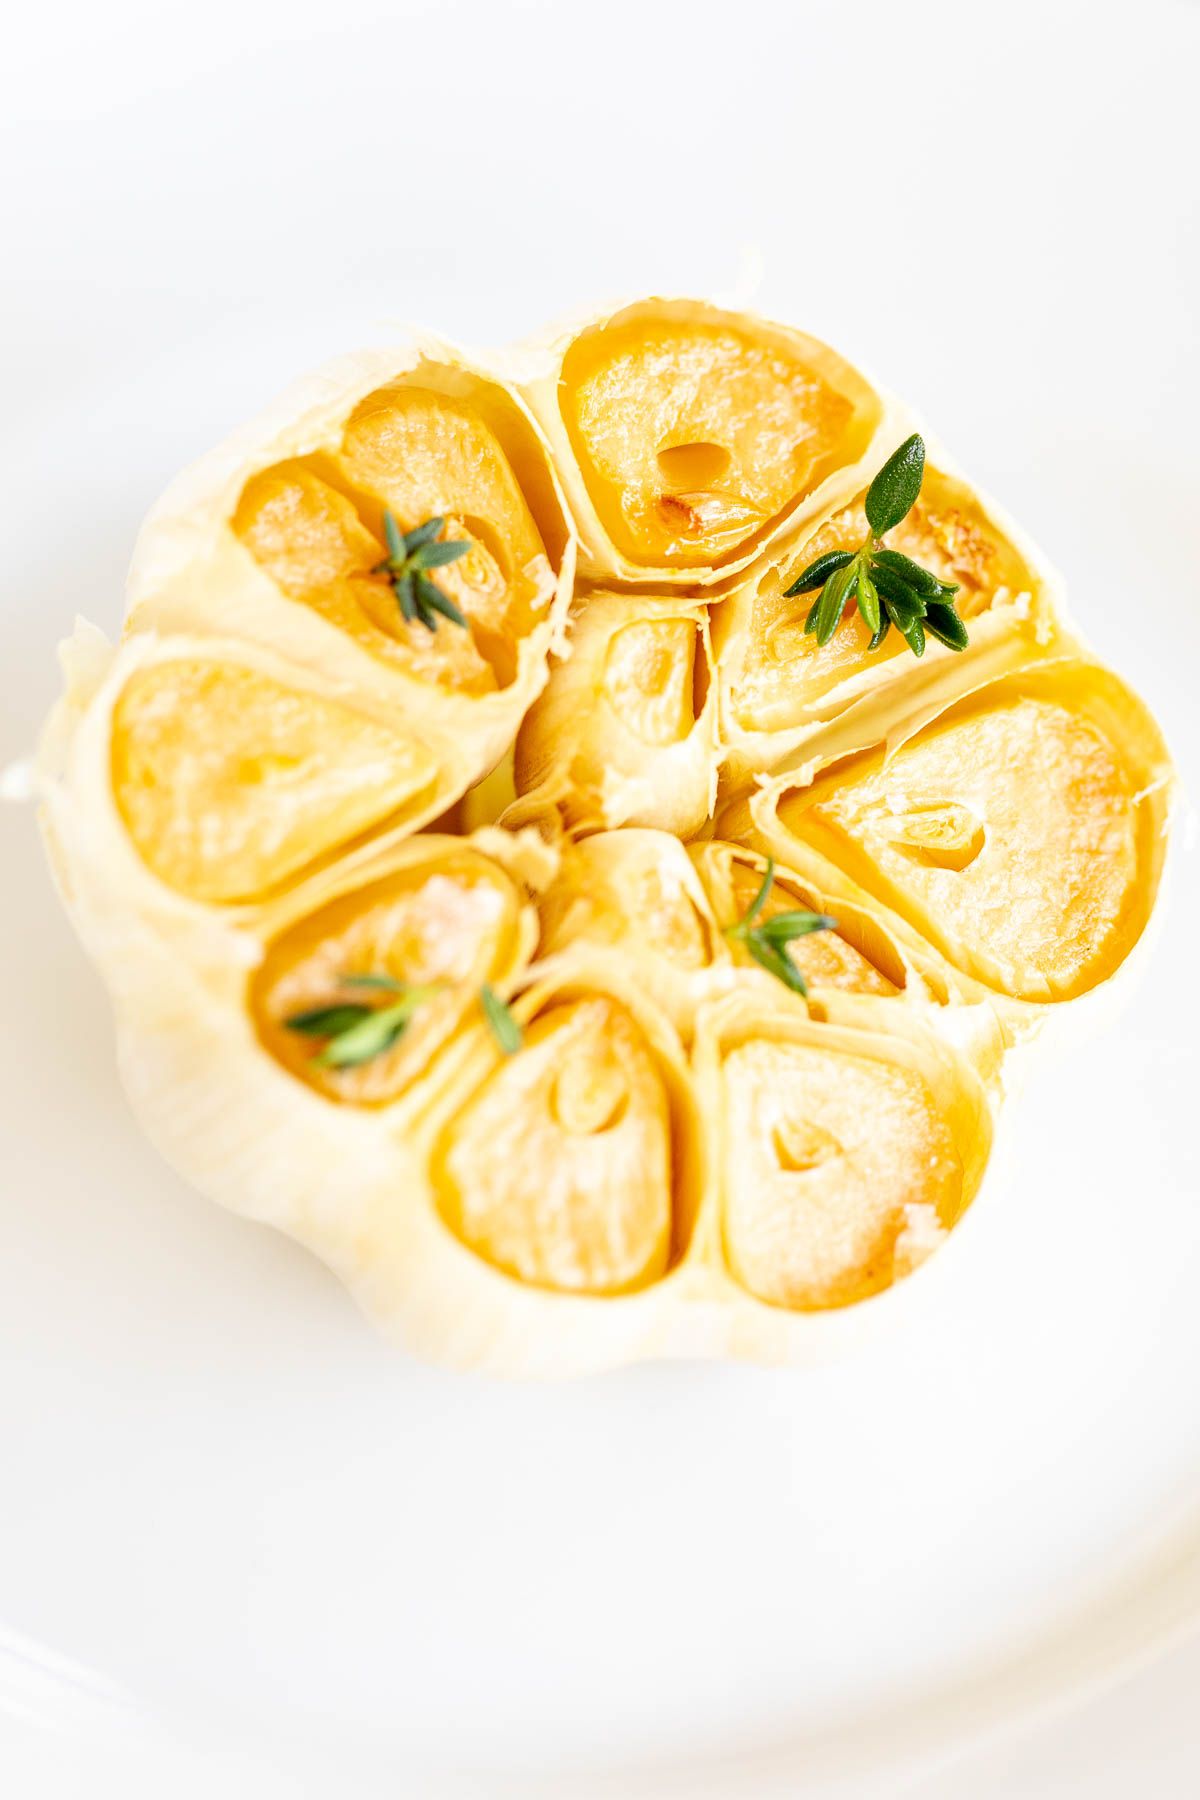
This is such a versatile, affordable, and simple ingredient to have on hand in your kitchen. Roasting garlic creates a caramelized sweetness, with a soft, tender finish that is truly irresistible.
There are so many ways to cook with garlic, and roasted garlic is one of the very best. It’s a classic, time-honored technique for a reason. Let’s learn why it’s so great, and learn how to make it the easy way!
Here’s Why You’ll Love Roasted Garlic
- So Easy to Make
- Sweet and Caramelized
- Incredibly Versatile Ingredient
- Stores Well
- Easier to Digest than Raw Garlic
Ingredients and Substitutions
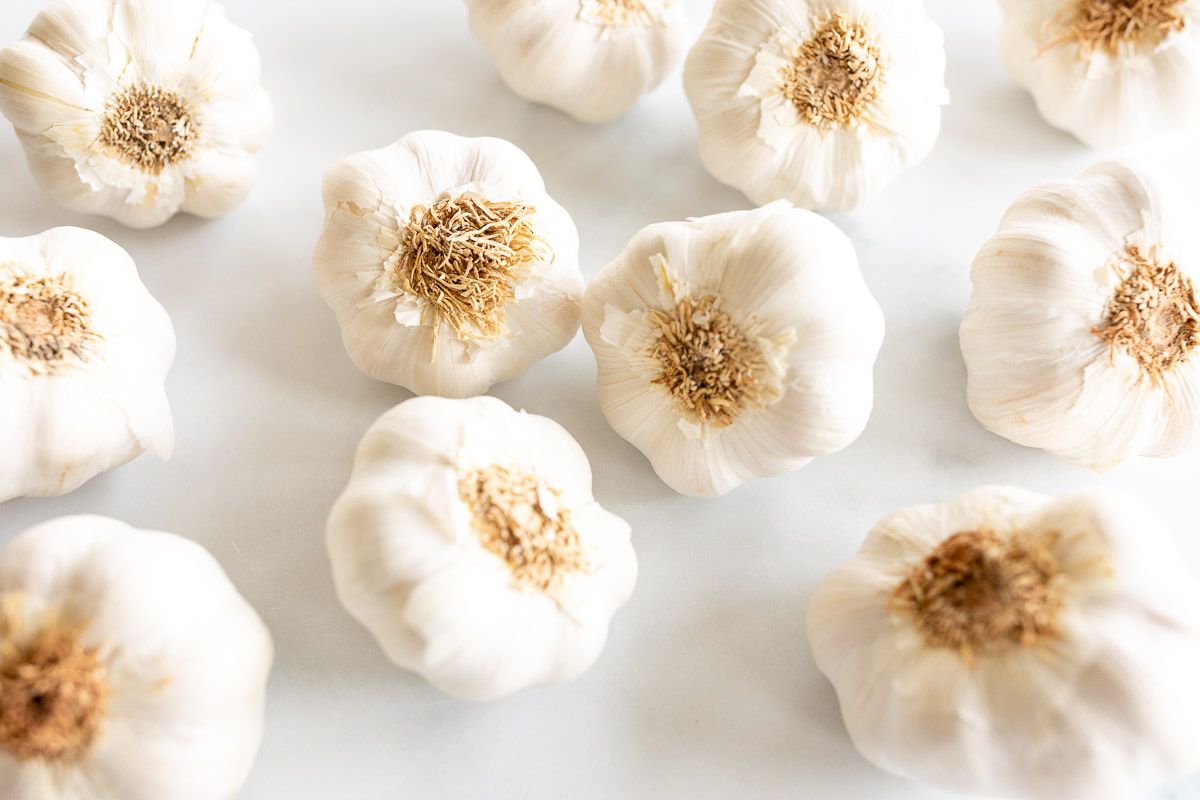
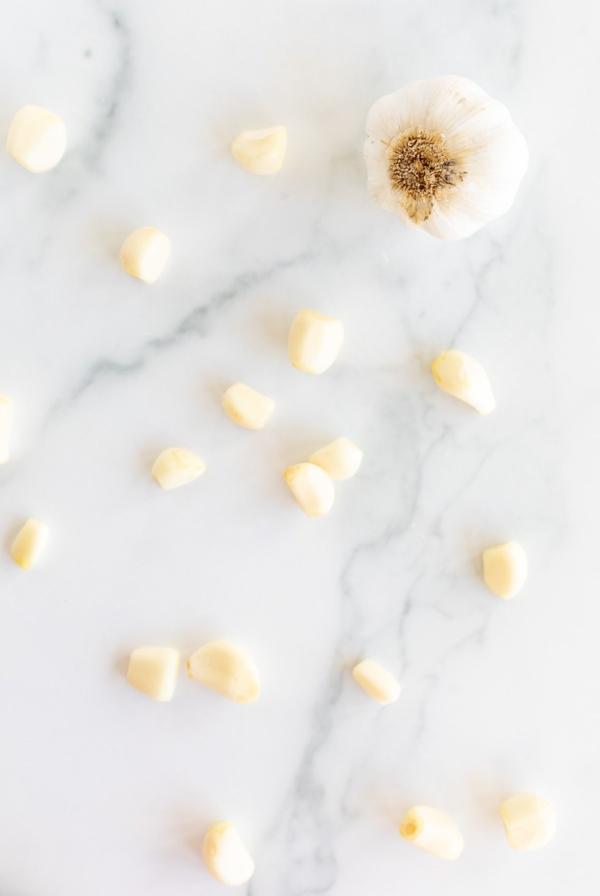
- Garlic Bulbs – Also called a head of garlic. Choose a heavy, firm head of garlic.
- Extra Virgin Olive Oil – You can use any of your favorite oils here, or use butter instead, as noted below.
Variations
- Butter – switch out the traditional EVOO with butter, or simply add a little for a flavor change.
- Add salt and pepper or your favorite herbs and spices. Red pepper flakes, thyme, rosemary and oregano are all wonderful additions.
How to Make Roasted Garlic
- Preheat oven to 400ºF (200ºC).
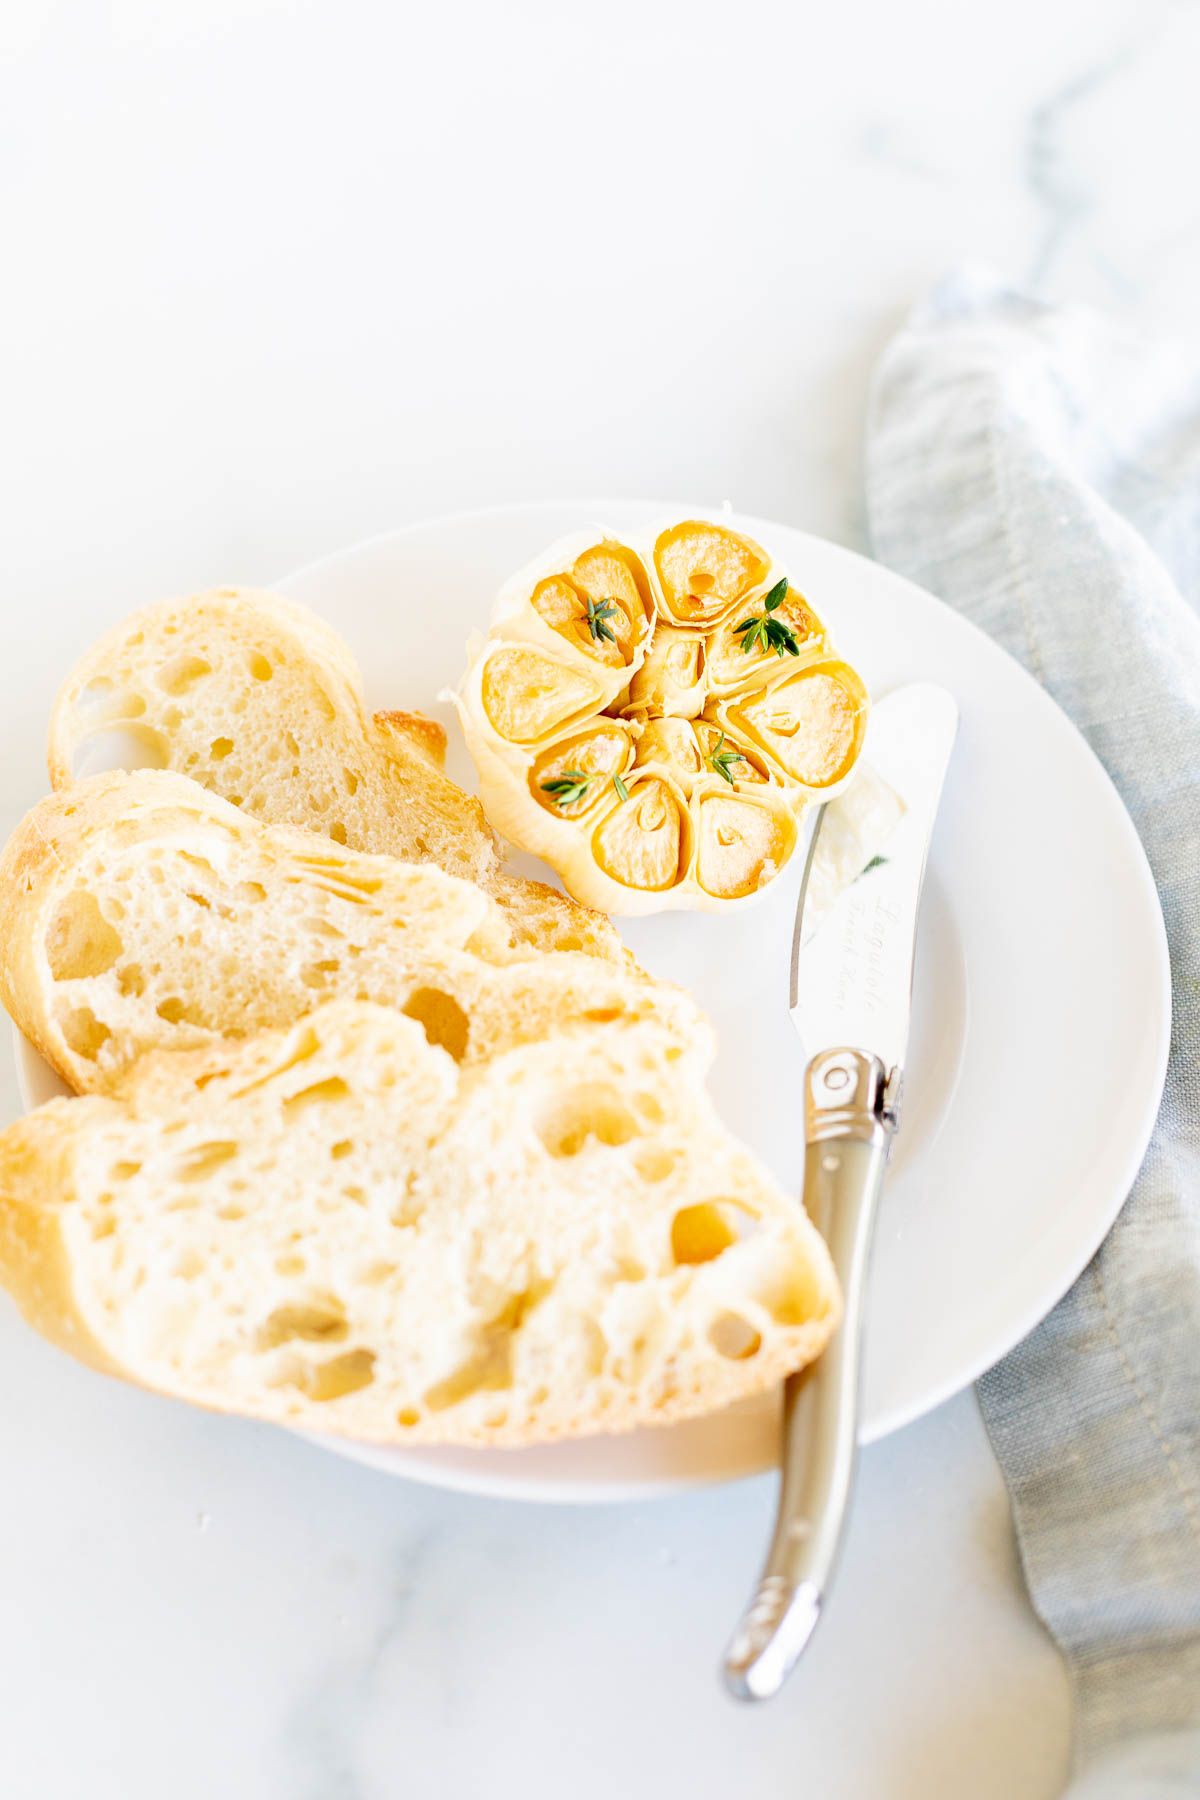
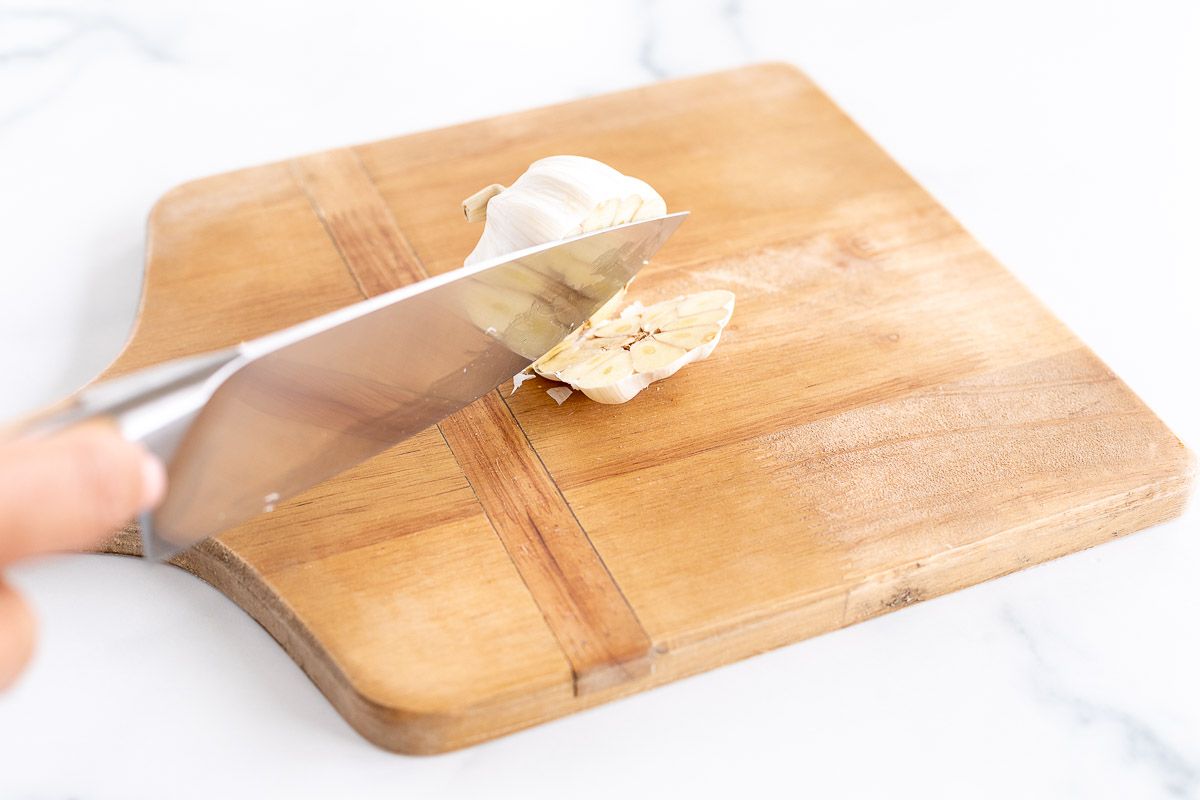
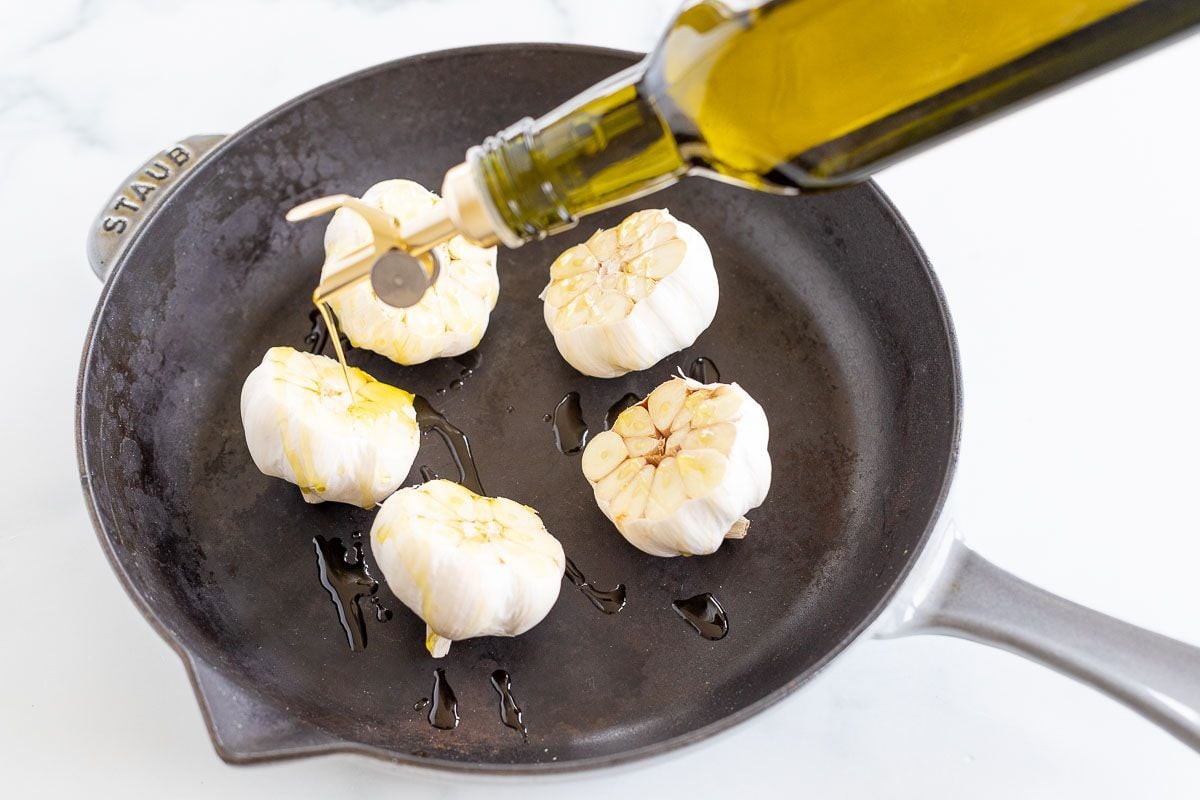
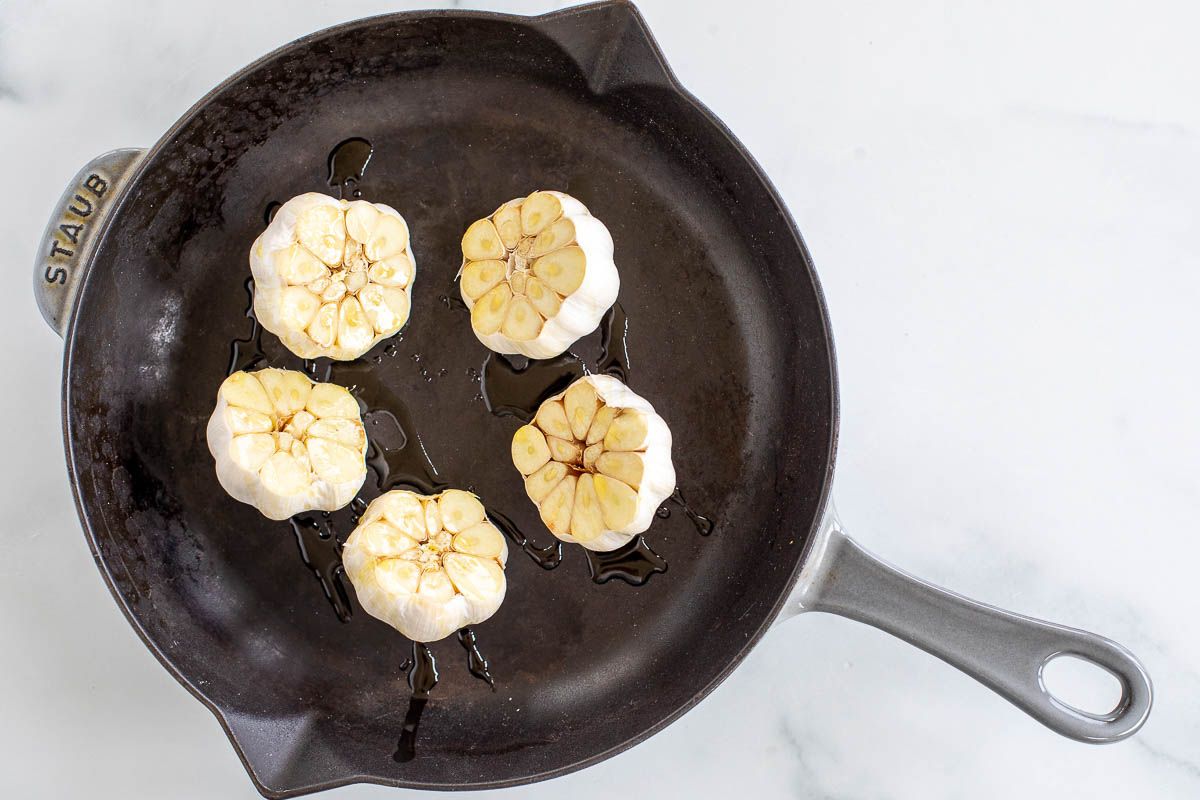
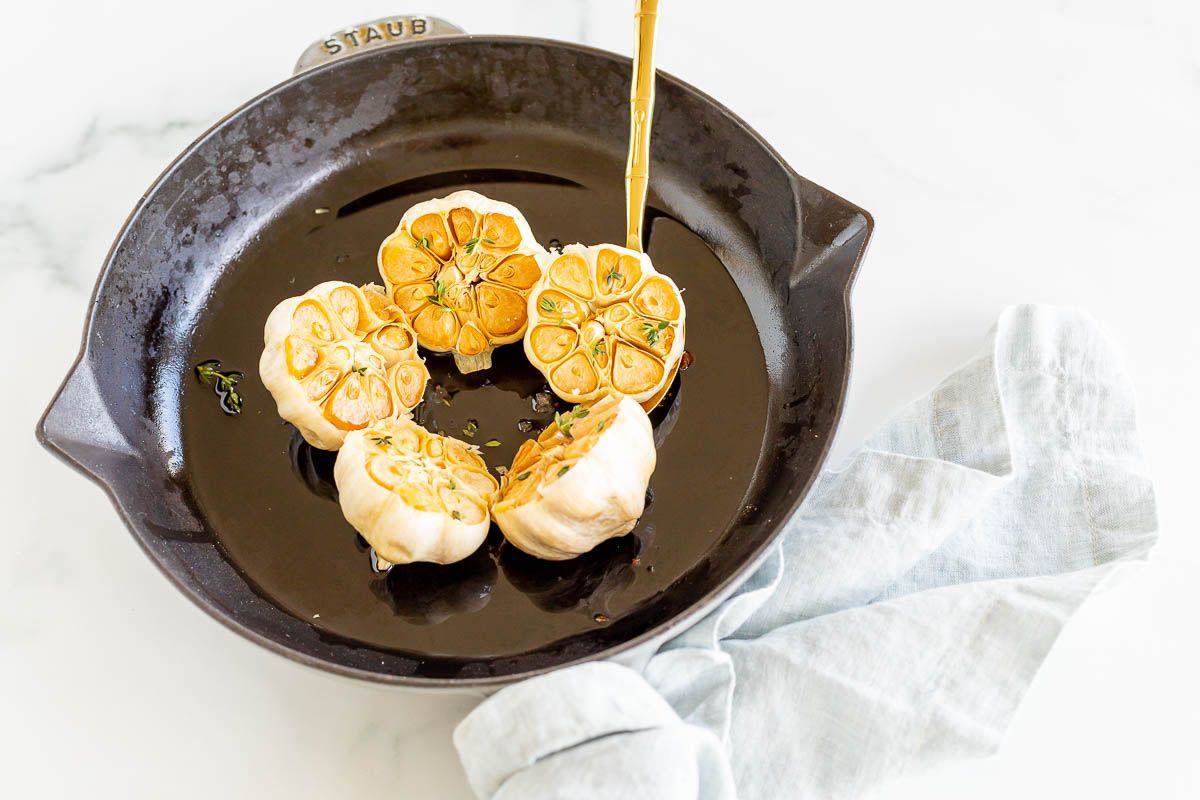
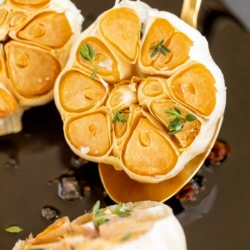
- Cut the top of each garlic head off (approximately ¼ inch) exposing the cloves. Remove paper.

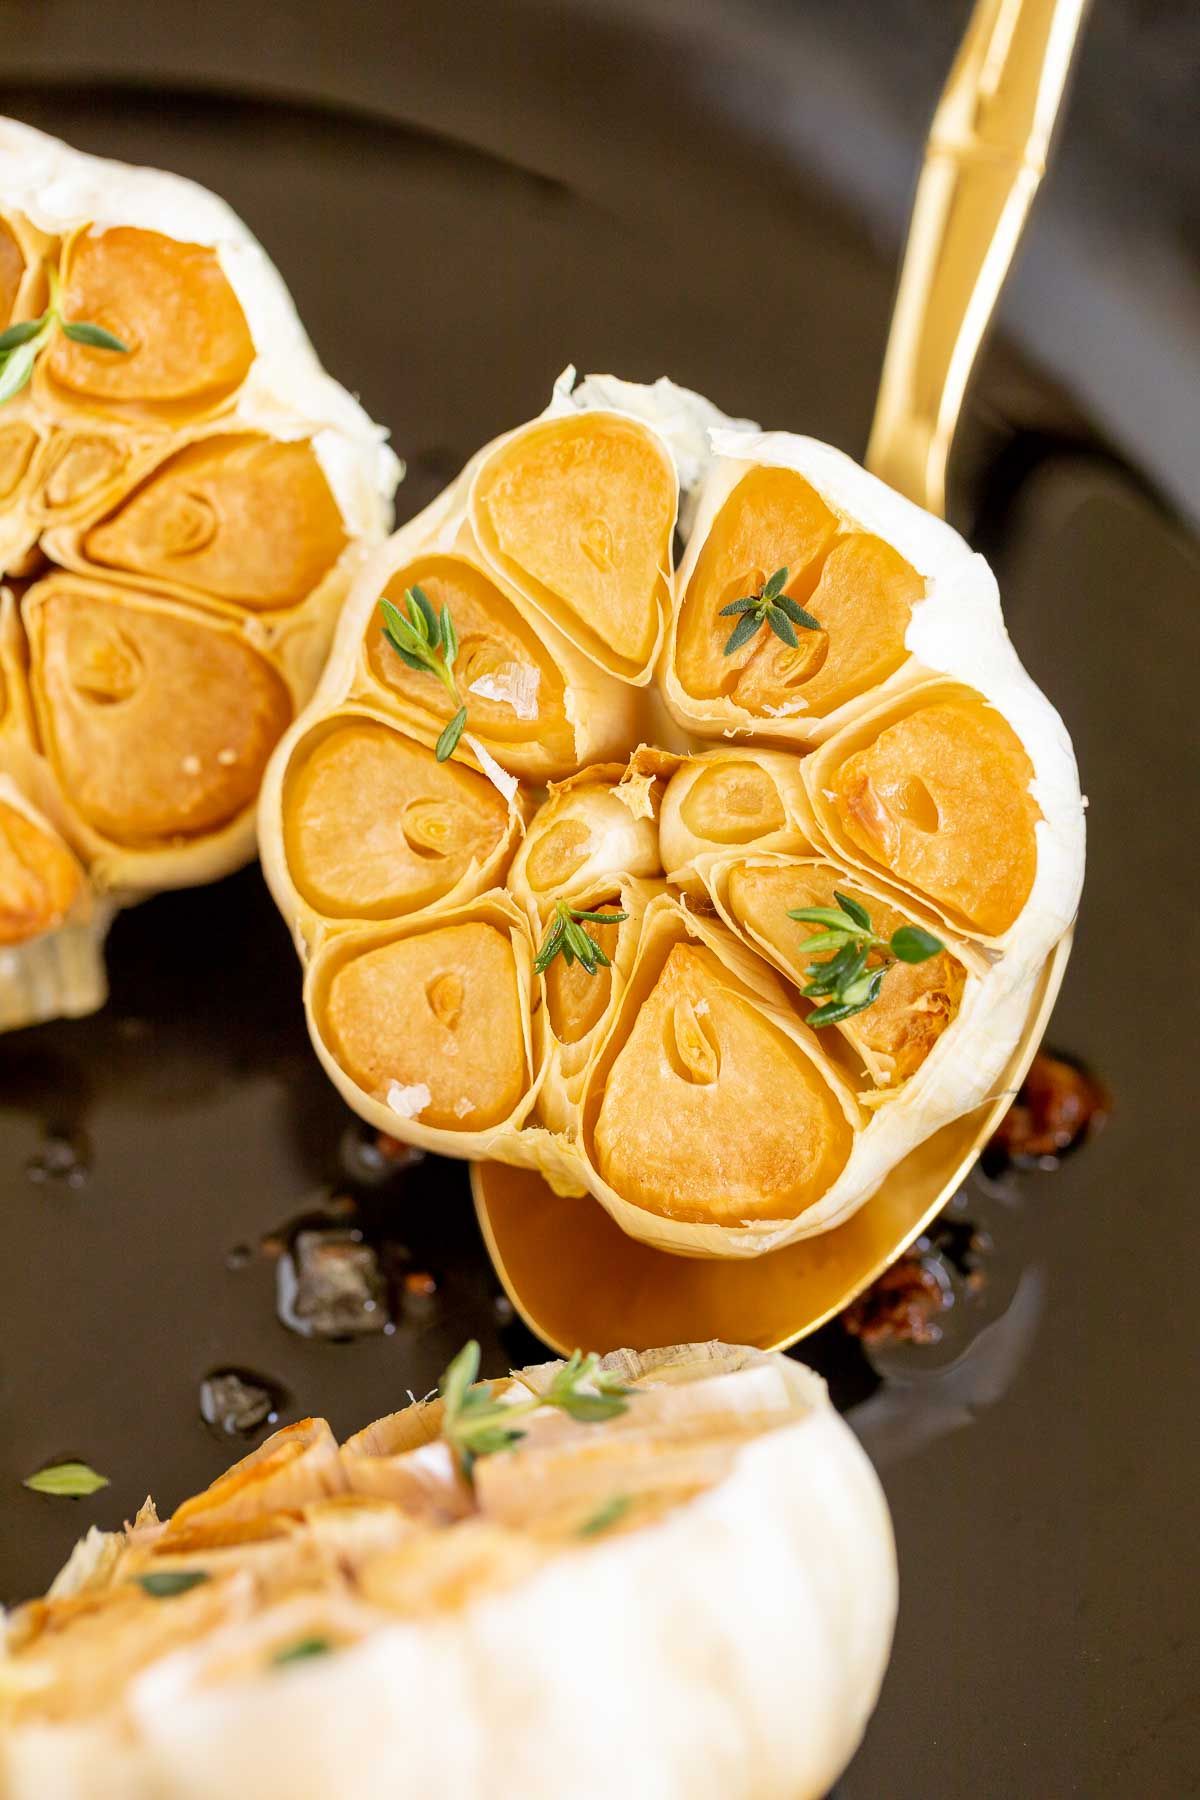
- Place garlic in a cast iron skillet, baking sheet or muffin tin with the cut side up. Drizzle with olive oil.
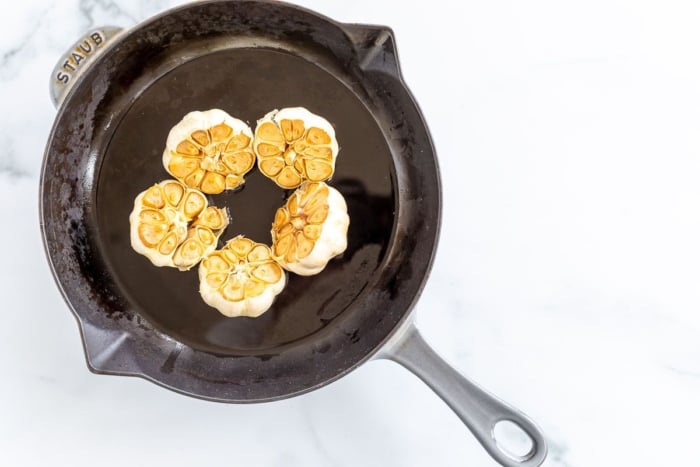
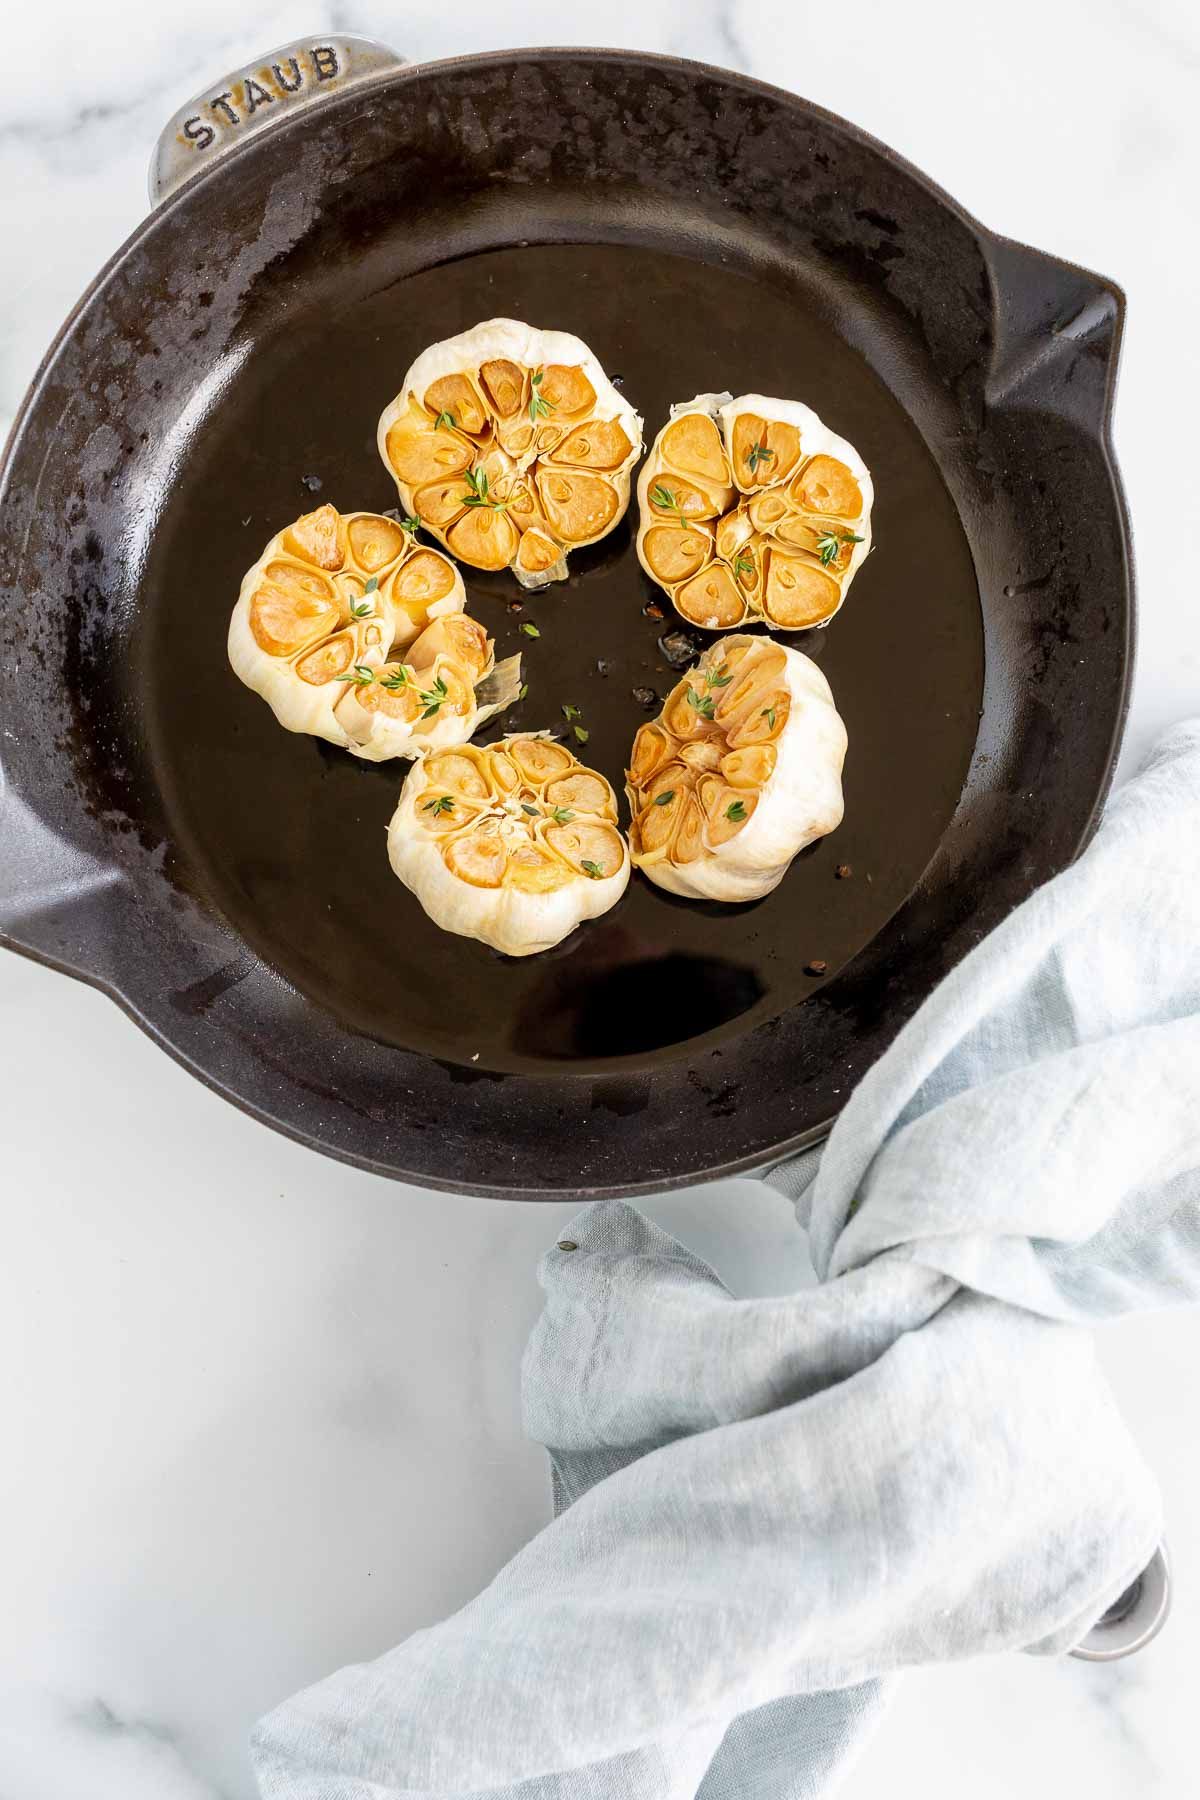
- Cover with aluminum foil and bake as directed, until golden brown.
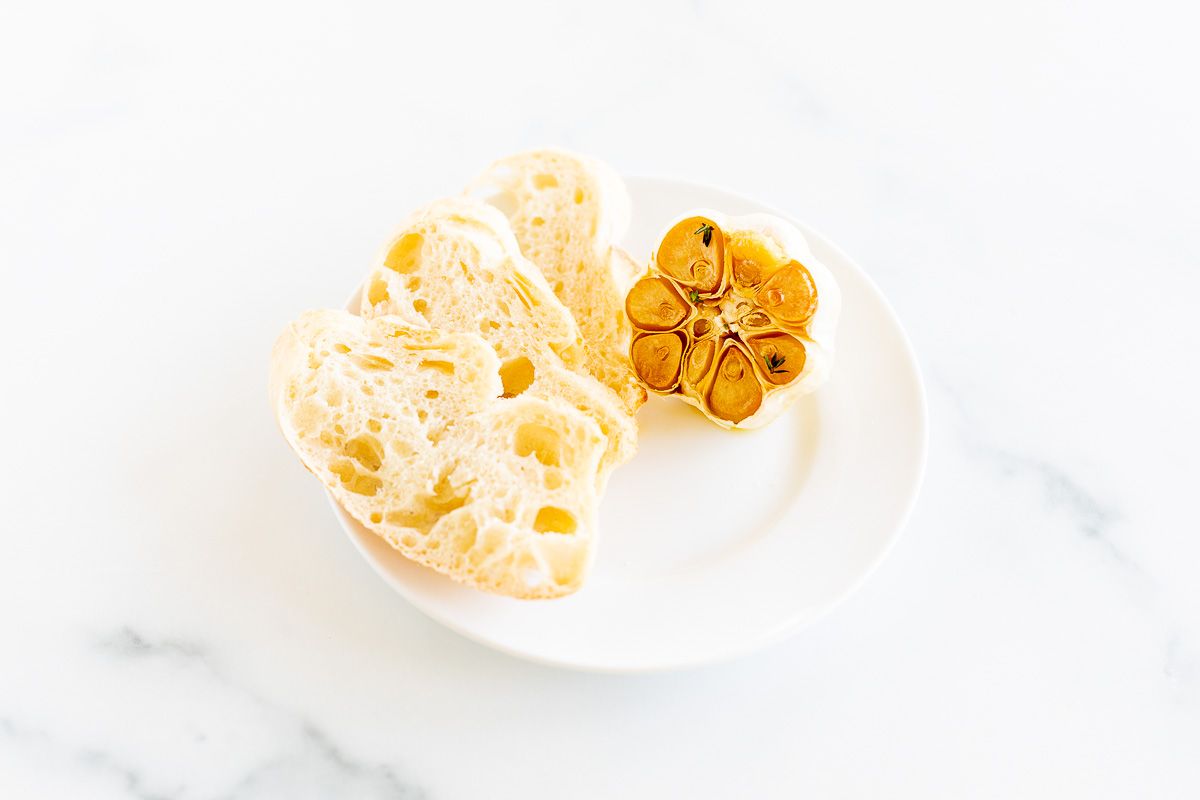
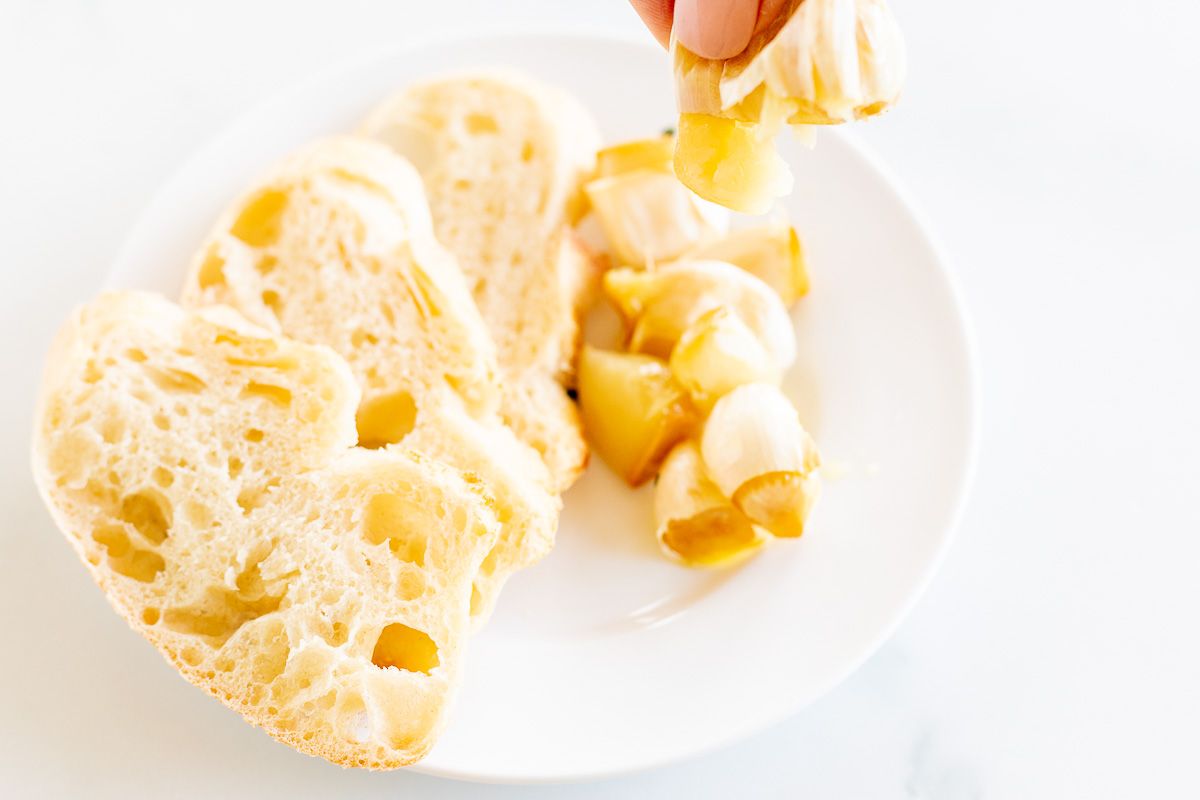
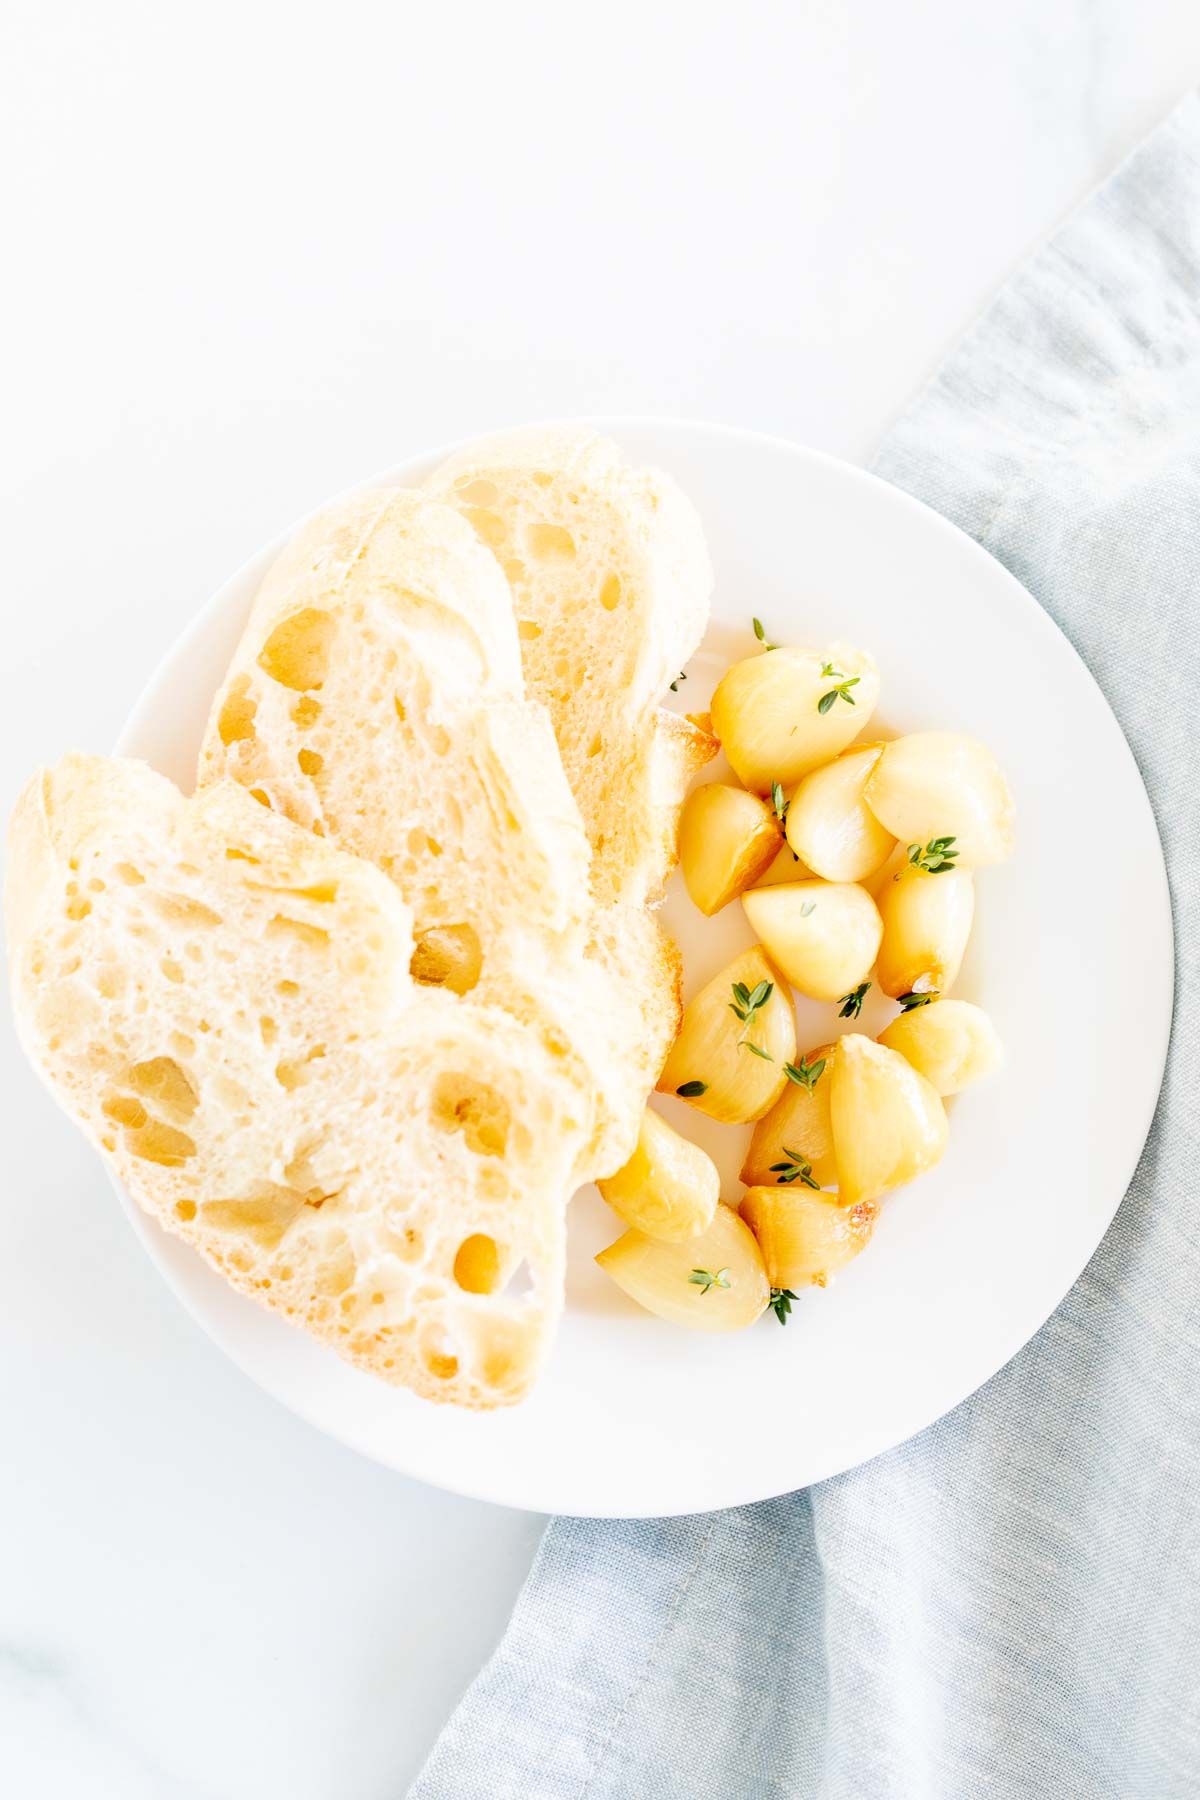
- Allow the garlic to cool to the touch before removing the cloves from the head. To remove, simply squeeze them out.
To Roast Individual Cloves
- Roasting individual cloves makes the process even quicker.
- Simply leave the cloves inside their paper skin (intact, no need to peel) roasting until soft inside a foil packet with the olive oil.
- Because roasting individual cloves will take less time, check them at around the 20 minute mark.

Tips
- Choose fresh, young garlic bulbs if possible. Avoid dried out or moldy garlic for the freshest possible flavor.
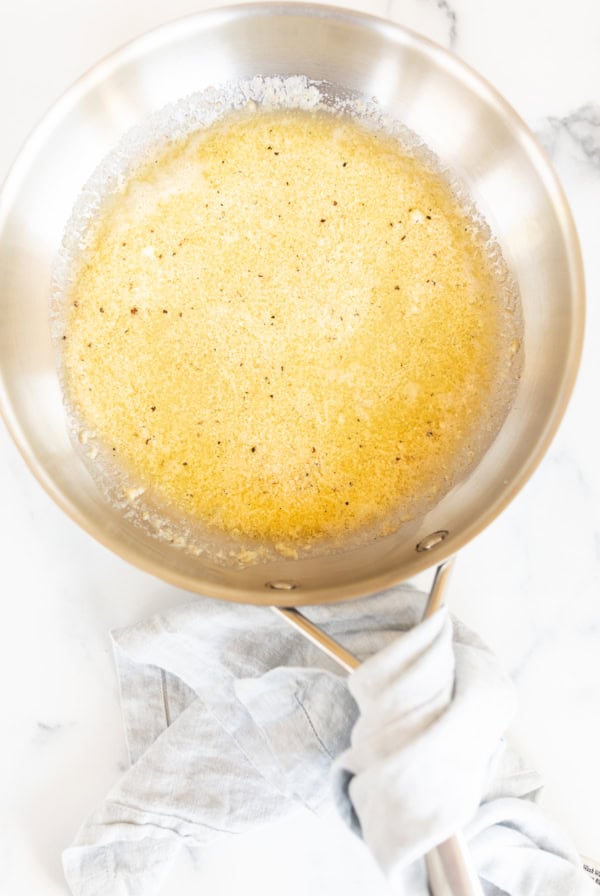
- Brush (or rub with your fingers) the olive oil over the exposed garlic bulbs after slicing. Make sure it gets into all the nooks and crannies so it softens and caramelizes while it cooks.
- Use any oven safe pan – I love my cast iron pans for roasting garlic.
- If you’re unsure when it’s done, pierce the center clove with a paring knife. If it’s soft when you slice through, it’s done.
- If you’d like, cook it for longer, checking every 10 minutes as it bakes, for up to 90 minutes. The extra time will caramelize it more, turning it into a deeper, more golden color.
- The age and variety of your garlic bulbs will affect the roasting time, so keep that in mind!
Frequently Asked Questions
Garlic is so good for you! It can help lower cholesterol and blood pressure, as well as boosting immunity. While roasting does require a little extra olive oil, it packs a big punch of flavor for very little calories.
Raw garlic has a much stronger, more bitter flavor profile. Roasted garlic is much more subtle, mellow, and even a little sweeter because of the caramelization.
Serving Suggestions
Add your roasted garlic anywhere you’d add regular minced garlic.
- Serve with any crusty baguette, crostini, or this artisan bread.
- Mix the oil into salad dressings like any of these fabulous vinaigrette dressings.
- Add it as a condiment in a burger bar.
- Serve with these Roasted Italian Vegetables.
- Delicious in Minestrone and so many other soups!
- Add to all your favorite pasta and sauce recipes.
- Use in these Garlic Smashed Potatoes or classic Mashed Potatoes.
Dietary Considerations
- Gluten Free
- Dairy Free
- Nut Free
- Vegan
How to Store
- Room Temperature – Your roasted garlic should only rest at room temperature for up to two hours while it’s cooling off for storage, or during serving.
- Refrigerator – Remove the roasted garlic from the head, and store in an airtight container, refrigerating immediately. Roasted garlic can be stored in the refrigerator for up to two weeks.
- Freezer – Freeze the roasted garlic as whole cloves, or mash it first. Freeze in an airtight container for up to 3 months.. Much like storing basil pesto in the freezer, roasted garlic can also be minced or pureed and then stored in ice cube trays to remove it as needed.
More Garlic
Roasted Garlic
Ingredients
- 1 garlic bulb (approximately 10 cloves of garlic)
- 2 teaspoons extra virgin olive oil
Instructions
To Roast Garlic Bulbs
- Preheat oven to 400°F.
- Cut ¼ inch off the top of each garlic head to expose the the cloves. Remove paper.
- Place garlic in a cast iron skillet, baking sheet or muffin tin with the cut side up. Drizzle with olive oil, rubbing it into the nooks and crannies between each clove.
- Cover with aluminum foil and bake 45 minutes, or until golden brown.
To Roast Individual Garlic Cloves
- Leave the cloves inside their paper skin (intact, no need to peel) wrapping into a foil packet with the olive oil. Check them at around the 20 minute mark to see if they are soft.
Julie’s Tips
- Choose fresh, young garlic bulbs if possible. Avoid dried out or moldy garlic for the freshest possible flavor.
- Brush (or rub with your fingers) the olive oil over the exposed garlic bulbs after slicing. Make sure it gets into all the nooks and crannies so it softens and caramelizes while it cooks.
- Use any oven safe pan – I love my cast iron pans for roasting garlic, but a muffin pan works great for heads of garlic because it keeps them from moving while it roasts.
- If you’re unsure when it’s done, pierce the center clove with a paring knife. If it’s soft when you slice through, it’s done.
- If you’d like, cook it for longer, checking every 10 minutes as it bakes, for up to 90 minutes. The extra time will caramelize it more, turning it into a deeper, more golden color.
- The age and variety of your garlic bulbs will affect the roasting time, so keep that in mind!
Estimated nutrition information is provided as a courtesy and is not guaranteed.