Picnic sandwiches are the easiest upgrade to any fun outing! My picnic sandwiches are customizable, craveable and incredibly easy to make (and transport). Simple is simply the best… and that couldn’t be more true in this sandwich story. Keep the ingredients simple, but take your picnic sandwiches to a whole new level with my expert tips and tricks.
When it comes to lake life, we’ve found that planning the same meals weekend after weekend eliminates the need for time-consuming planning, or making a grocery list in what is intended to be a relaxing getaway. These picnic sandwiches are one of the keys to that relaxation! They are deliciously filling for any time of day.
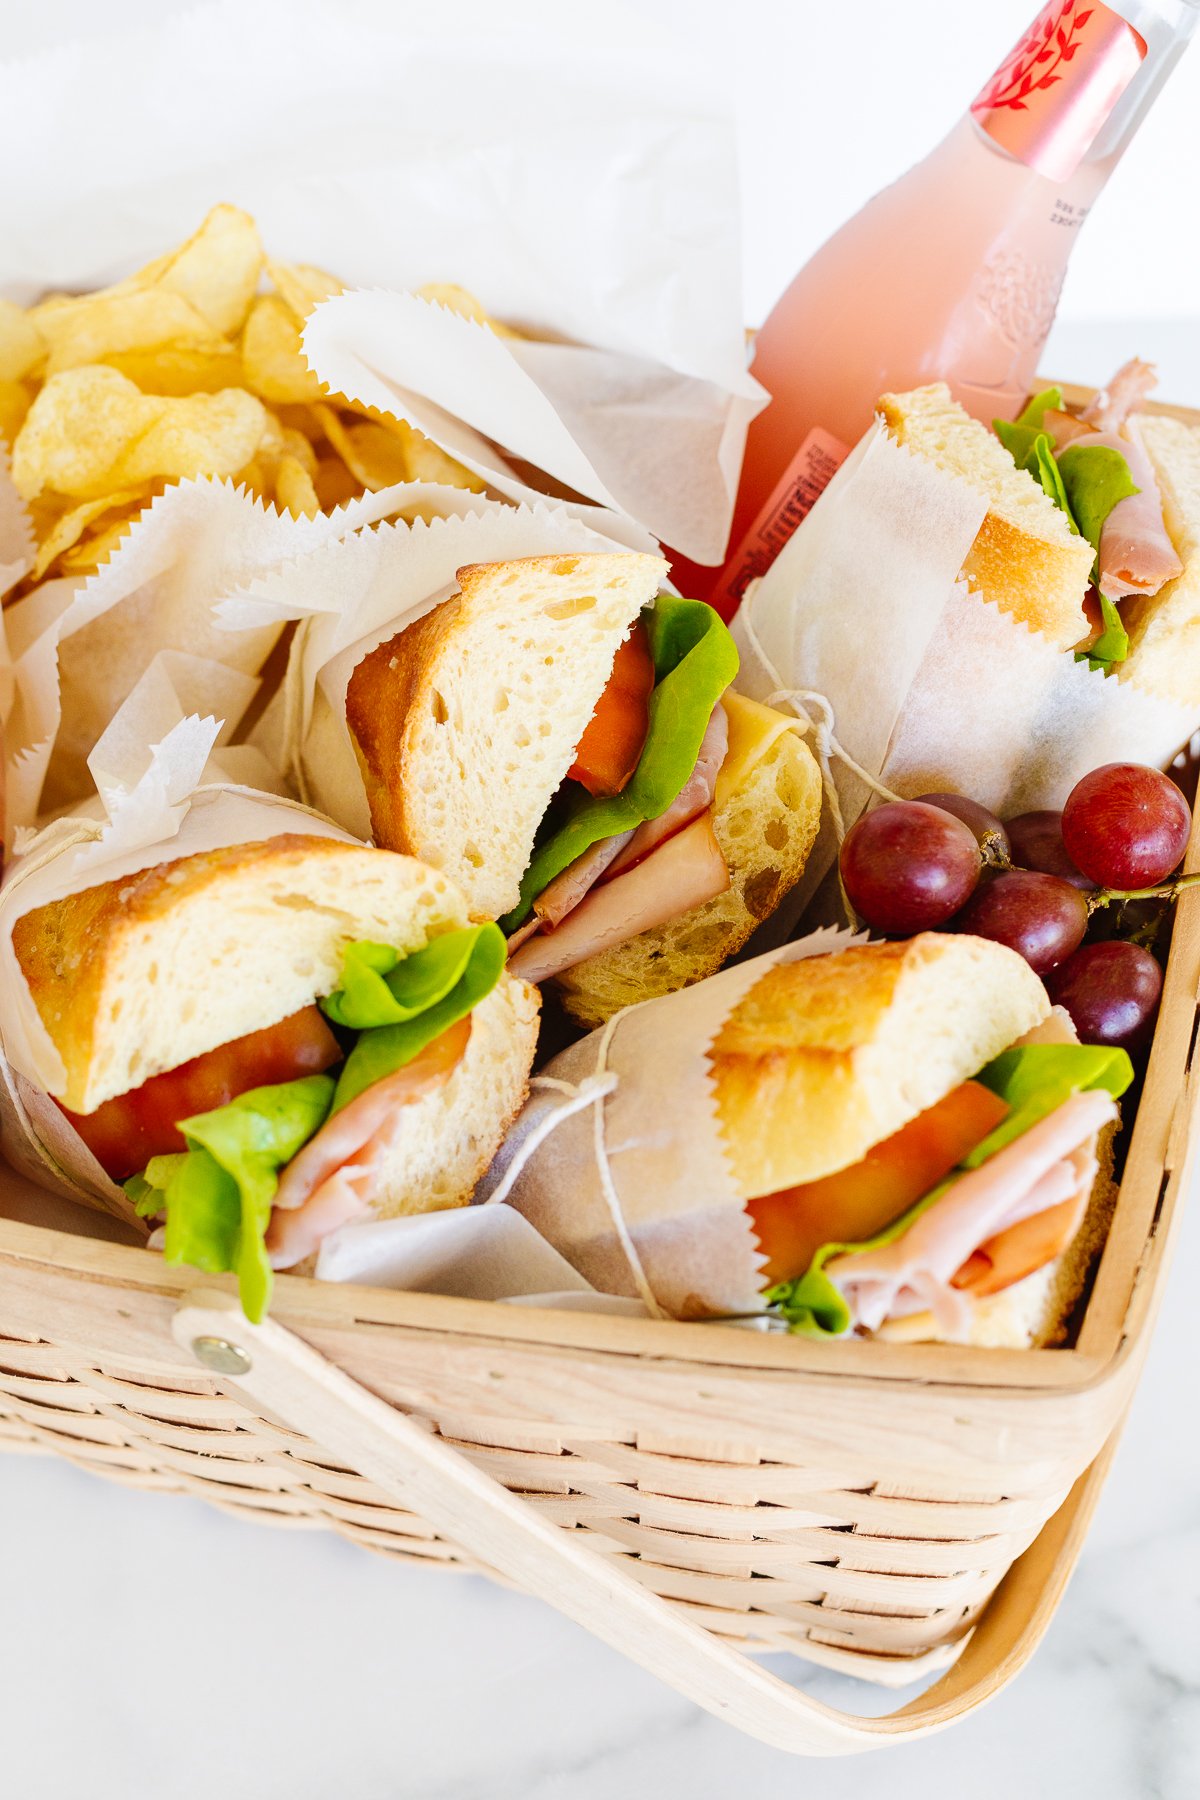
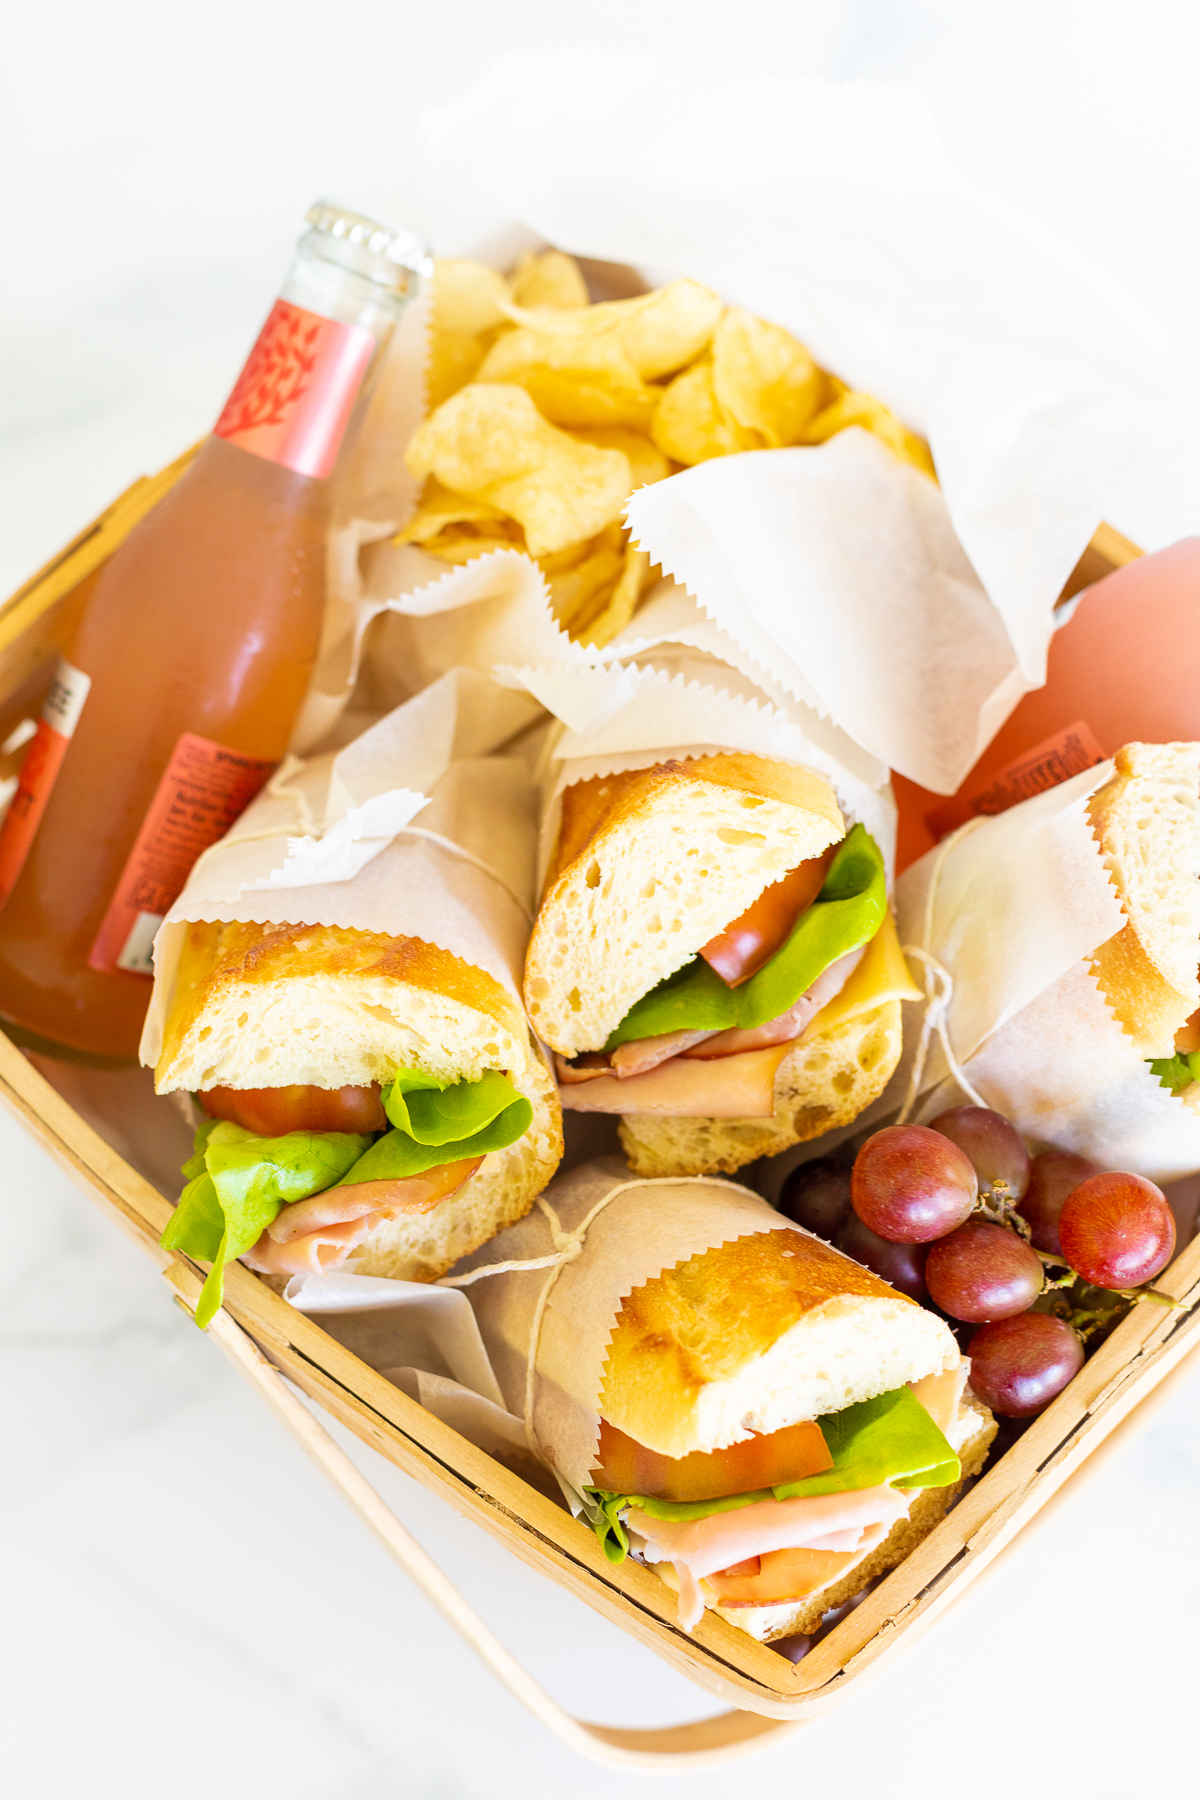
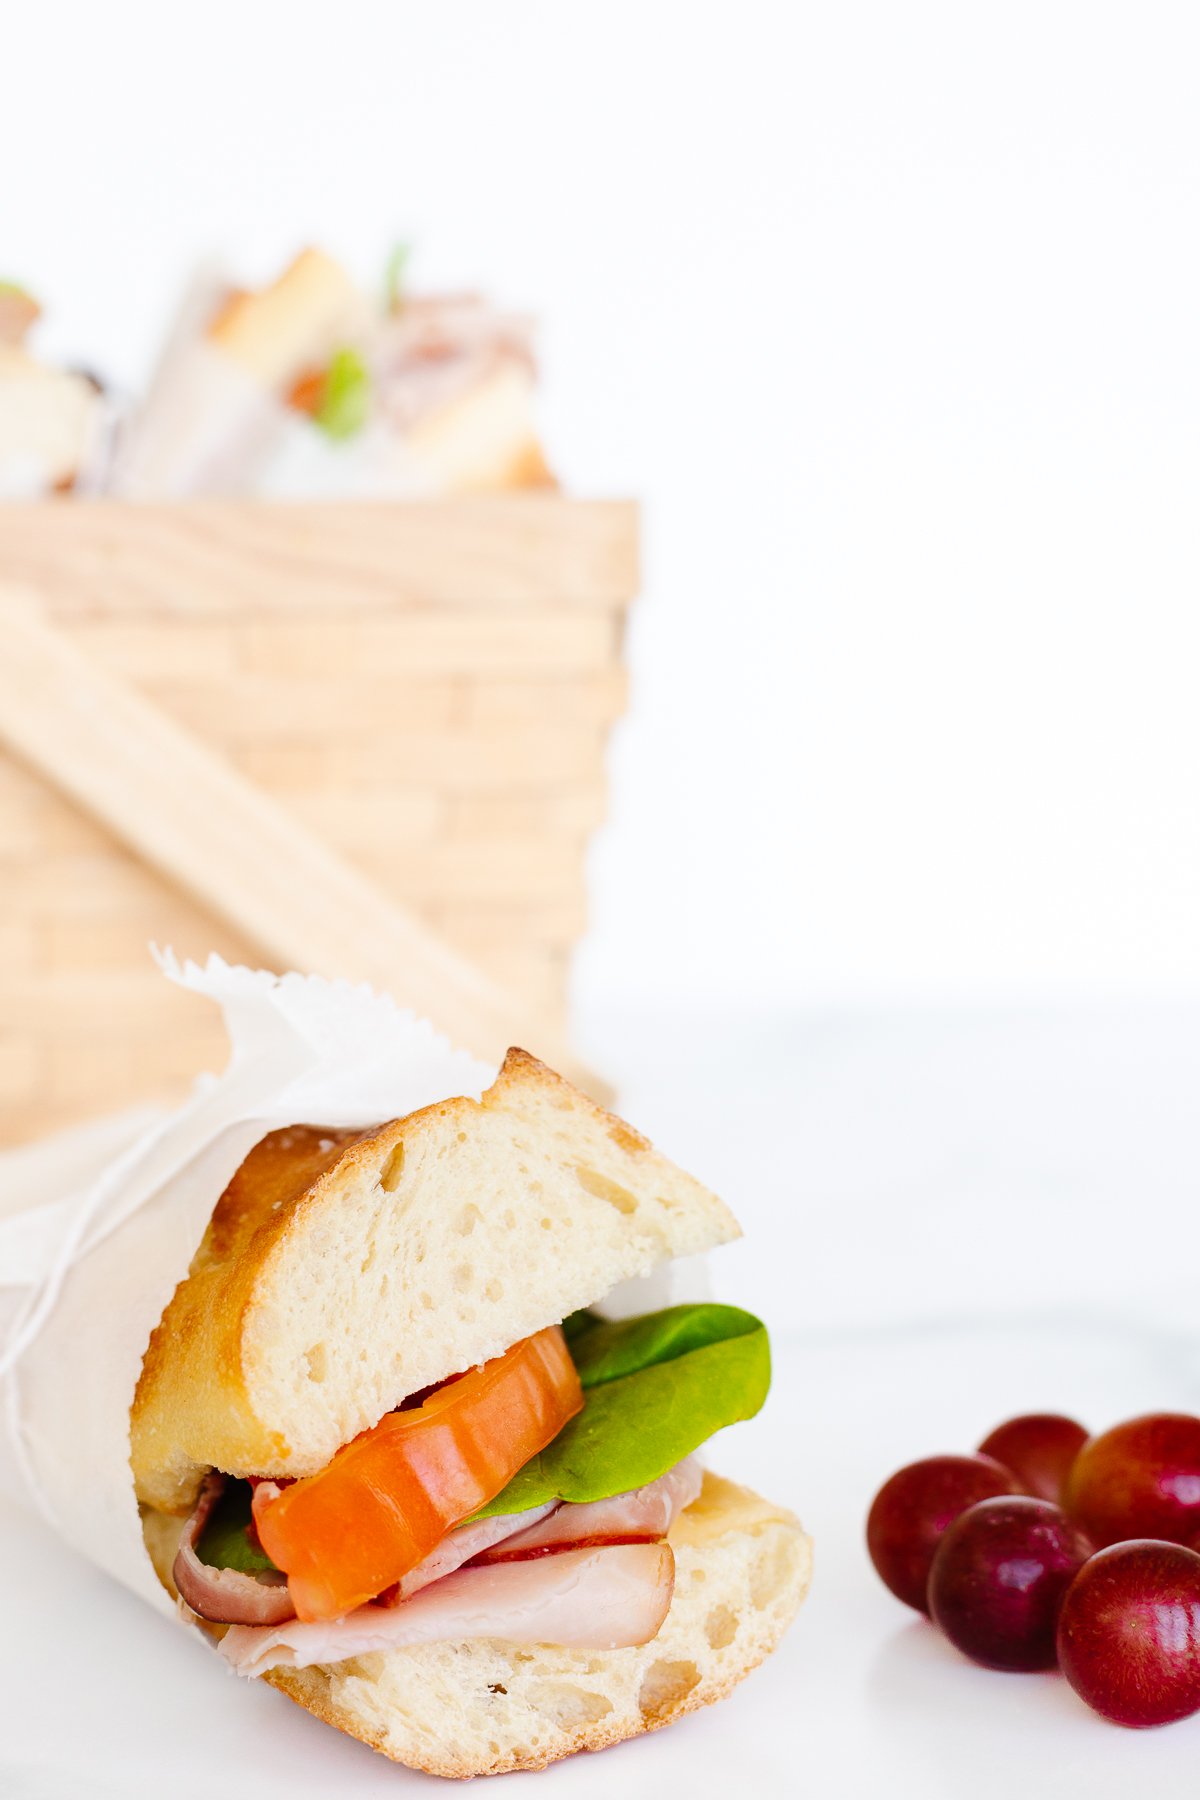
These sandwiches are perfect for parties, picnics, eating on the go and more. Serve them as one of the best picnic food ideas, or a boat snack along with a snackle box for the ultimate day on the water!

Why You’ll Love these Sandwiches
So Simple – You know my motto, sometimes simple is simply the best and these sandwiches are no exception.
Sandwich Shop Quality – This sandwich “recipe” is one that I have been making since college. It’s easy, flavorful and stacks up to any local deli!
Packable – These sandwiches are perfect for parties, picnics, eating on the go and more. I hope you enjoy them as much as we do.

Ingredients and Substitutions
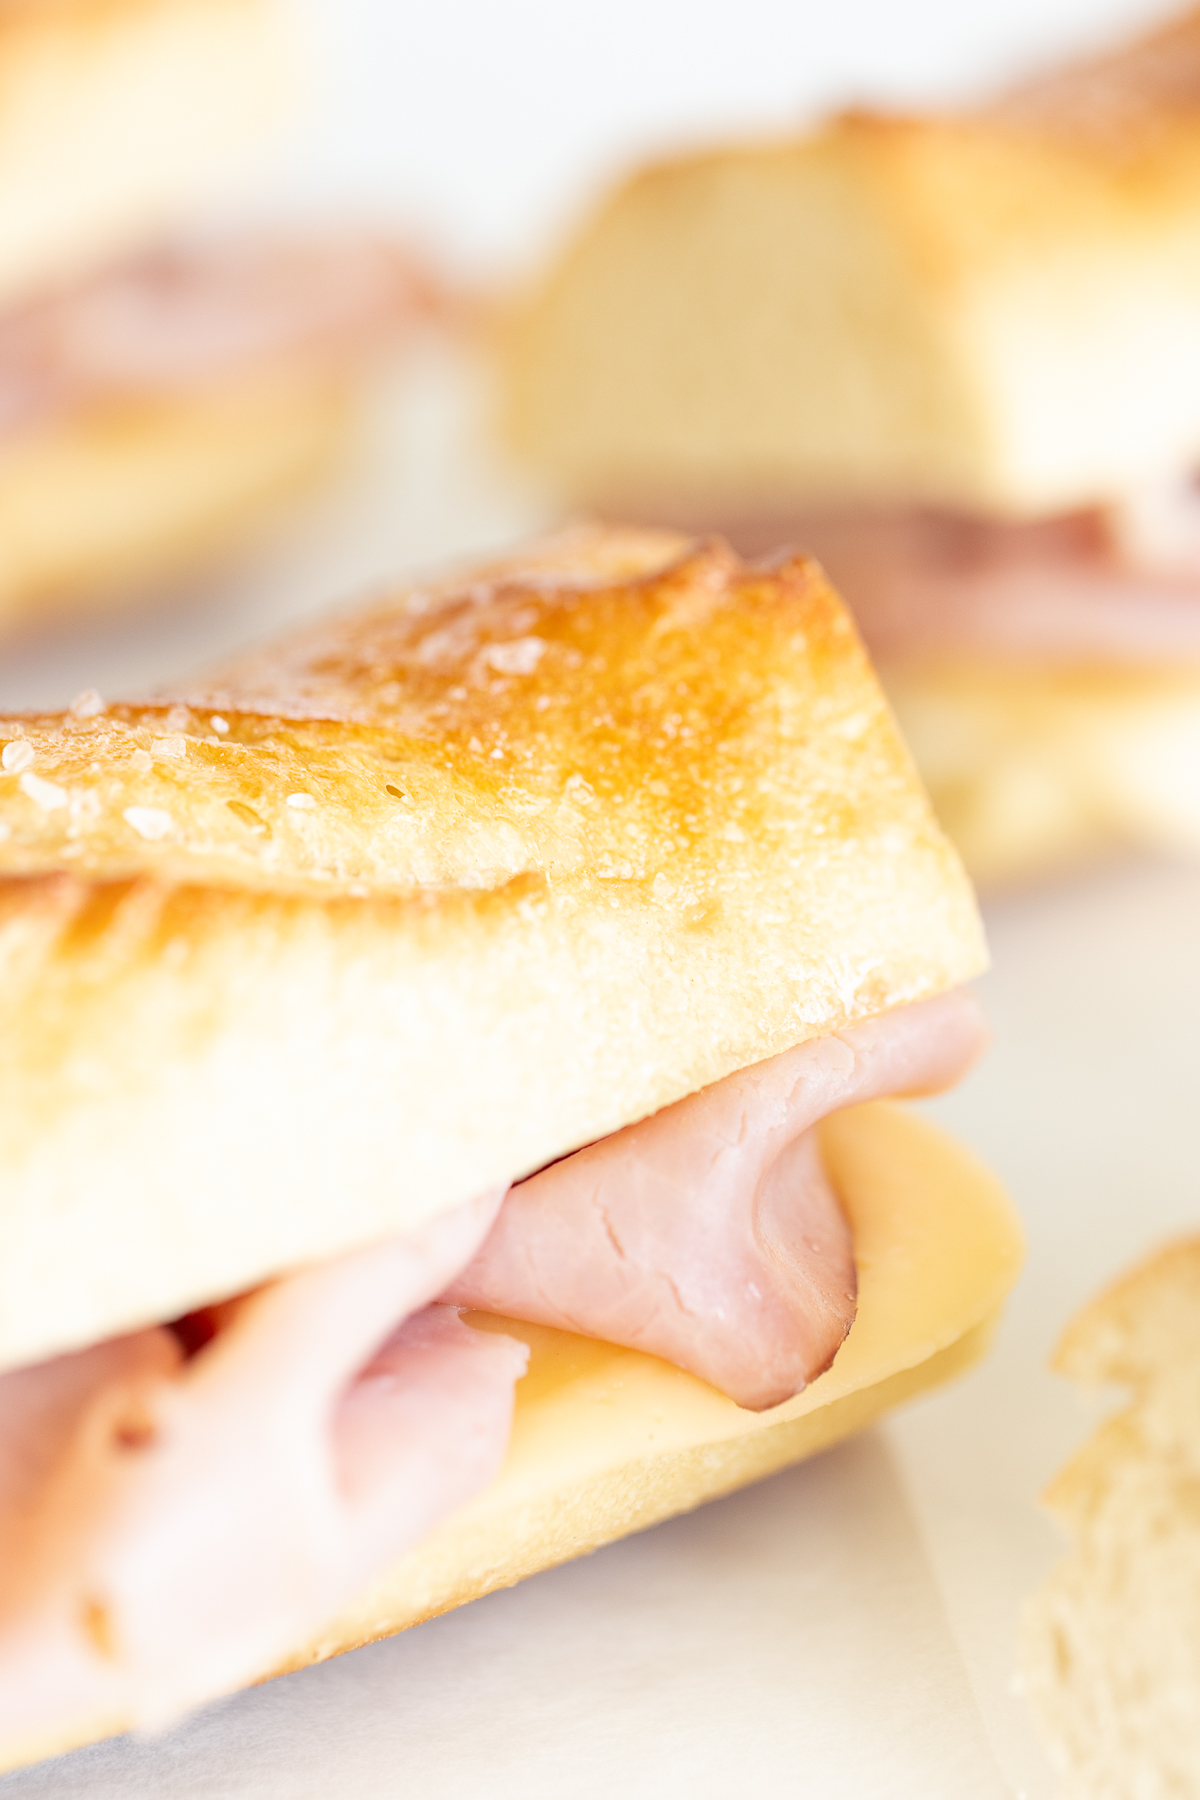
- Bread – Your bread choice can make (or break) your picnic sandwiches. For our family, choosing take and bake bread is always the best option. It just tastes so fresh, perfectly soft and crunchy.
- Butter – You’ll use the butter to lightly spread on top of your bread. You can also use olive oil here, but salted butter is our favorite.
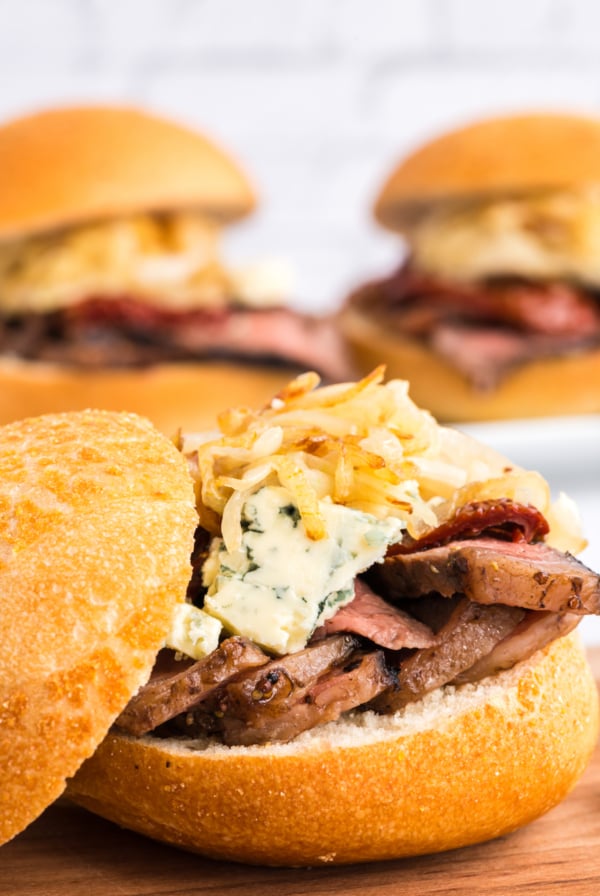
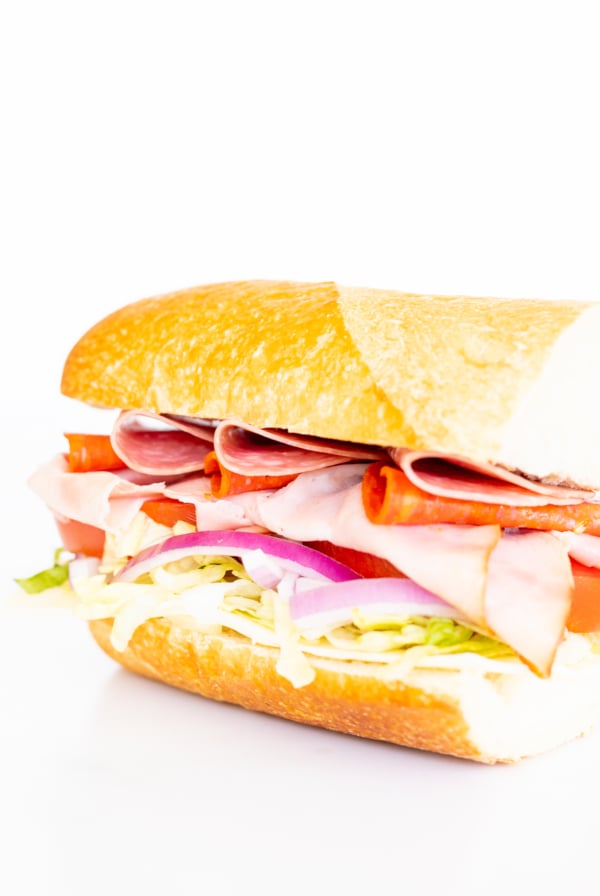
- Deli Meat – Again, this is where quality shines. We choose thin sliced deli meat to make every bite delicious.
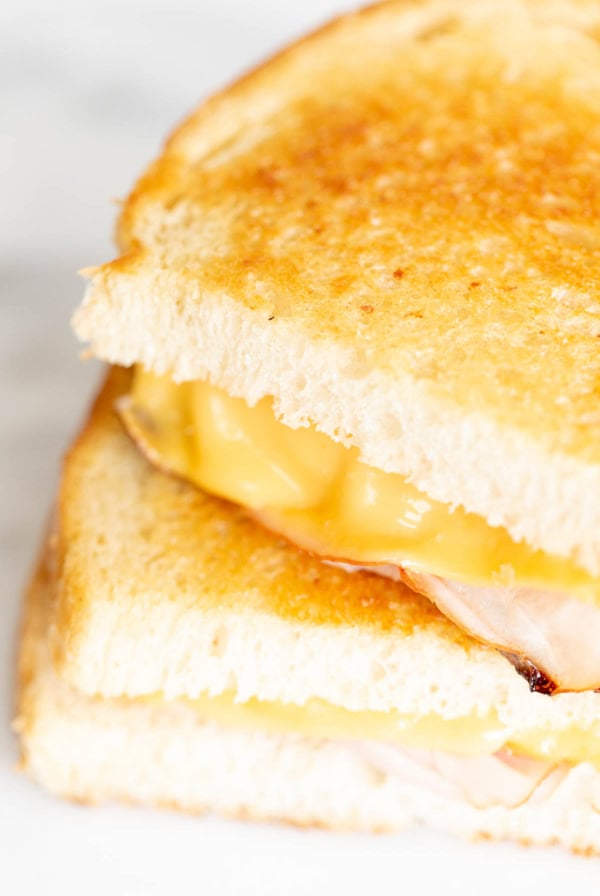
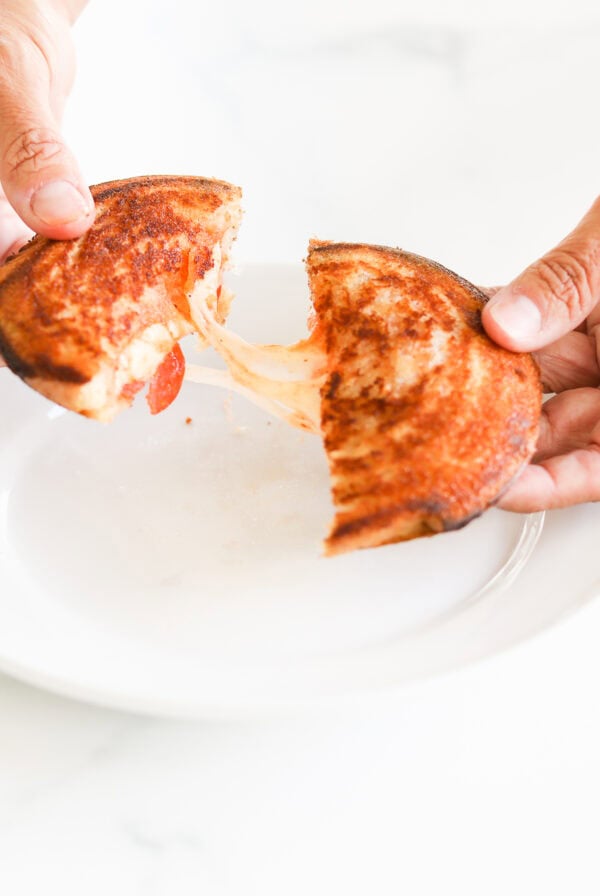
- Cheese – For these picnic sandwiches, choose a creamy cheese that melts into the bread, like Monterey Jack or Havarti.
- Sea Salt – We love big crunches of salt across the top of our sandwiches. It really makes it taste like a sandwich shop! Fresh cracked pepper never hurts either!
Variations
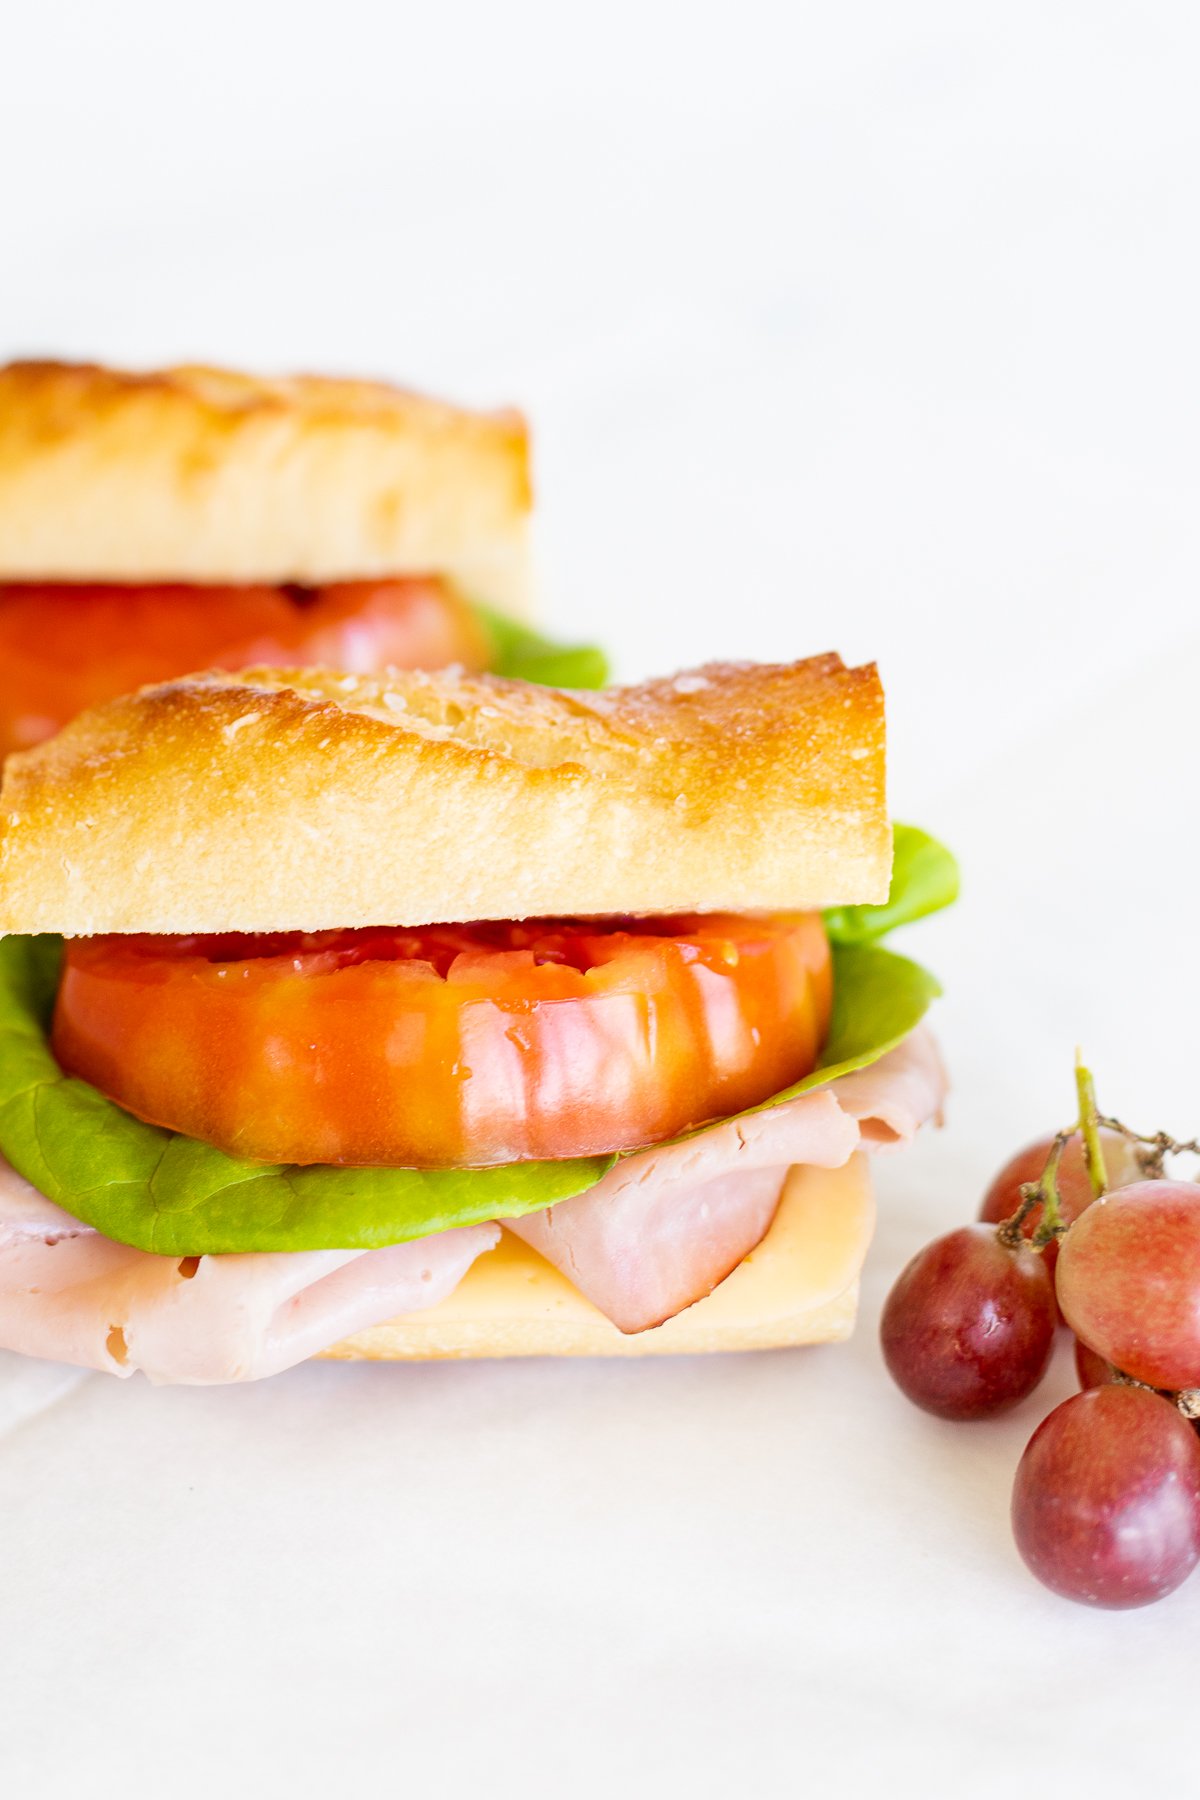
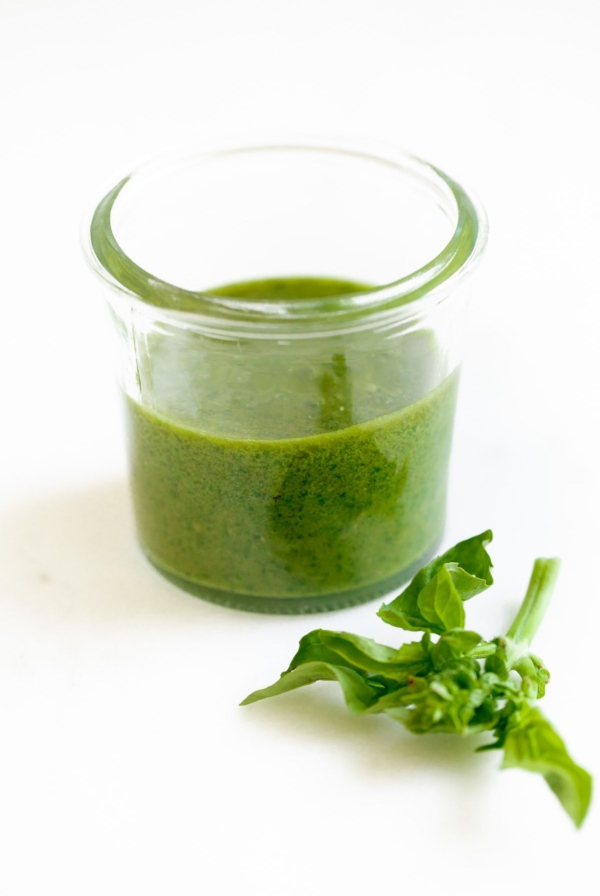
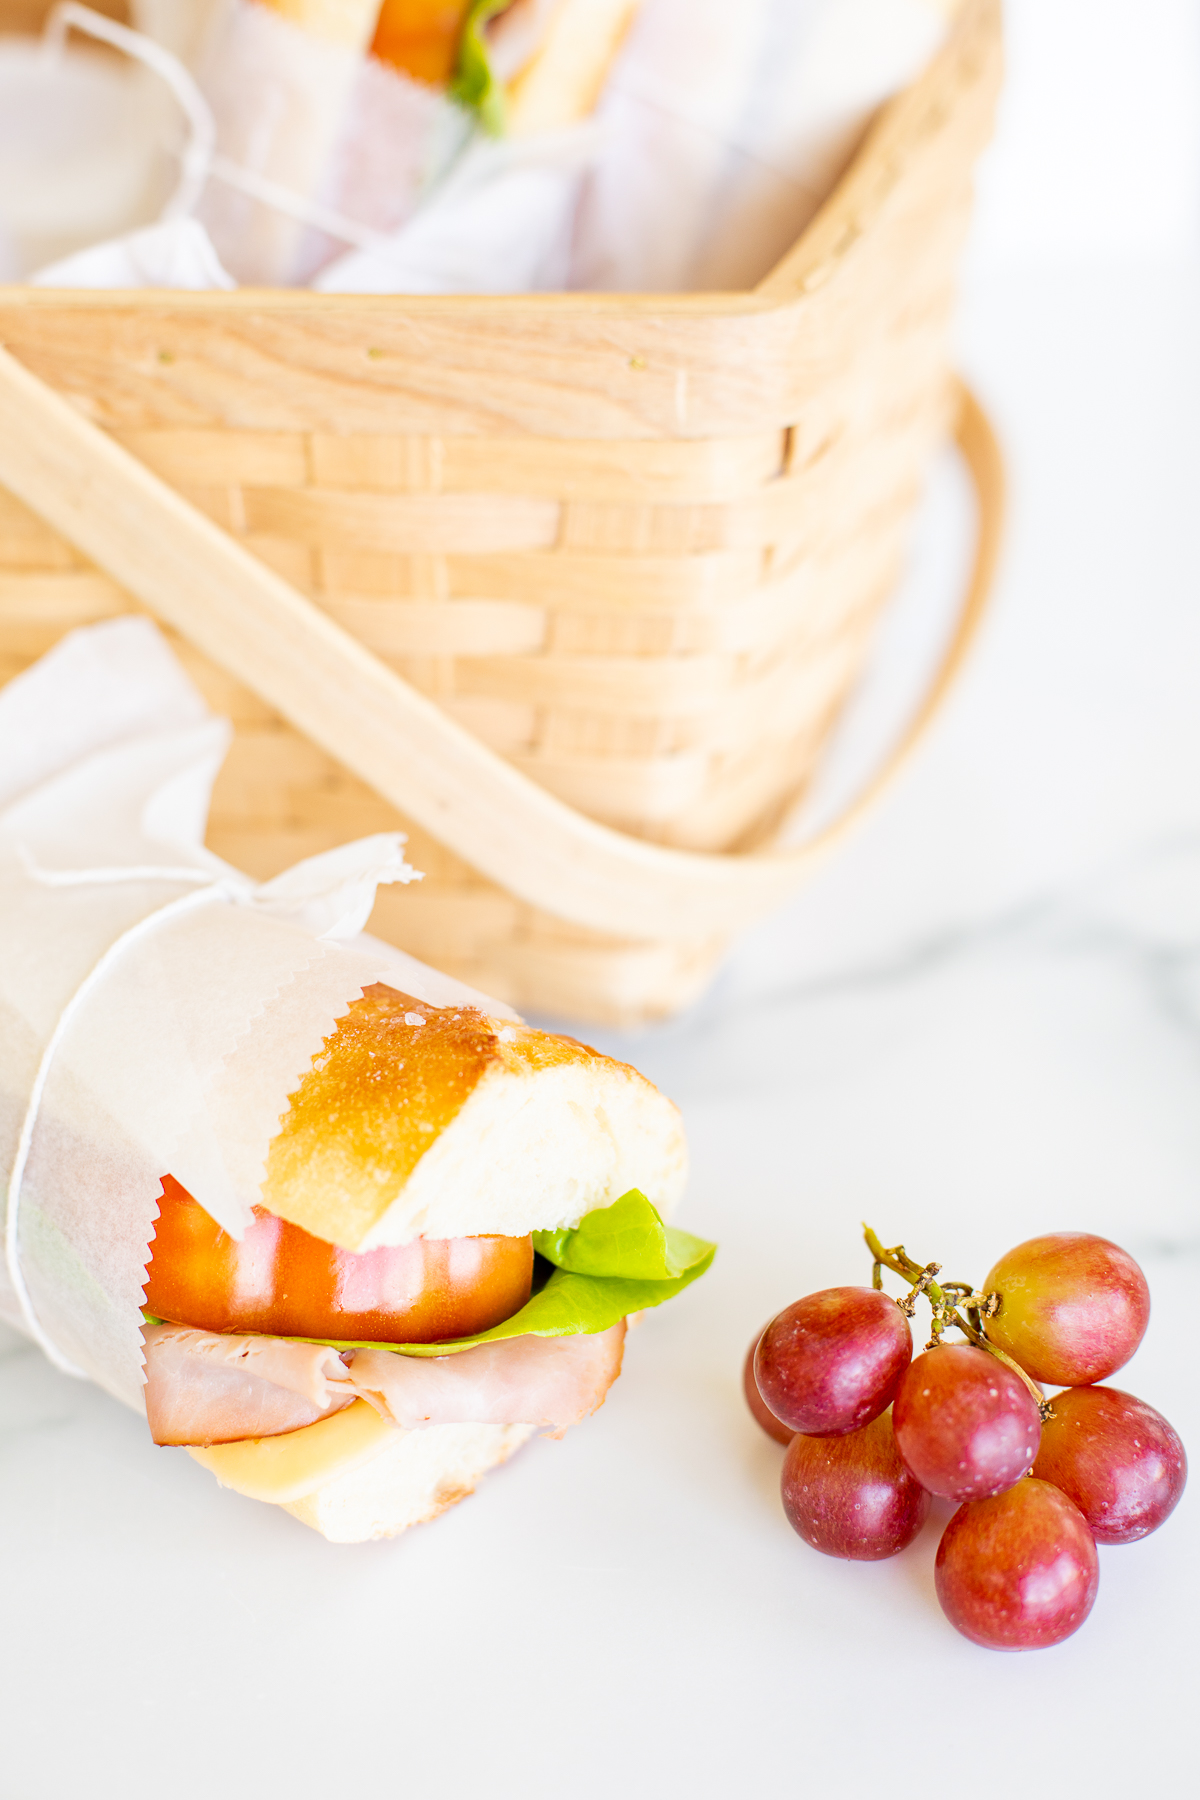
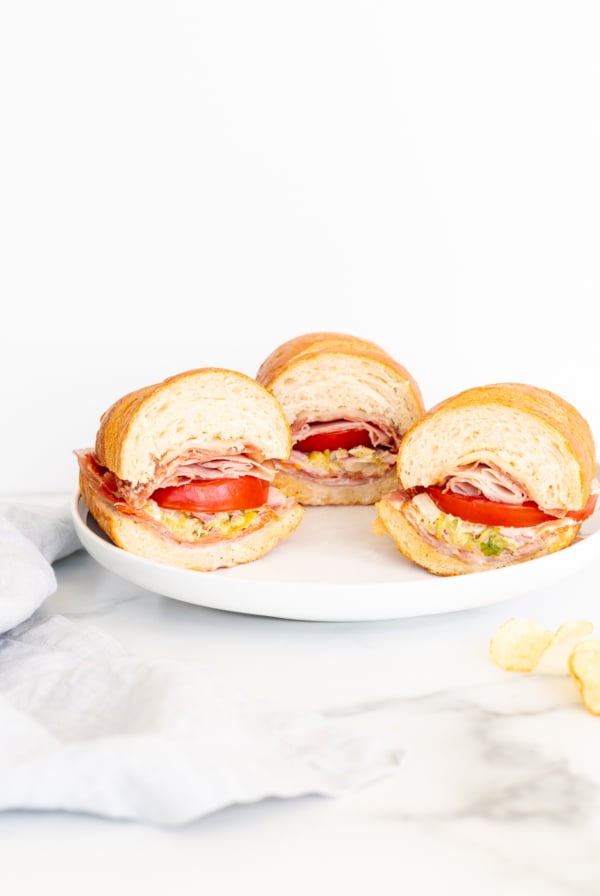
- Add fresh veggies! Think sliced cucumbers, tomatoes, lettuce and onion. See more suggestions in the “serving suggestions” category below.
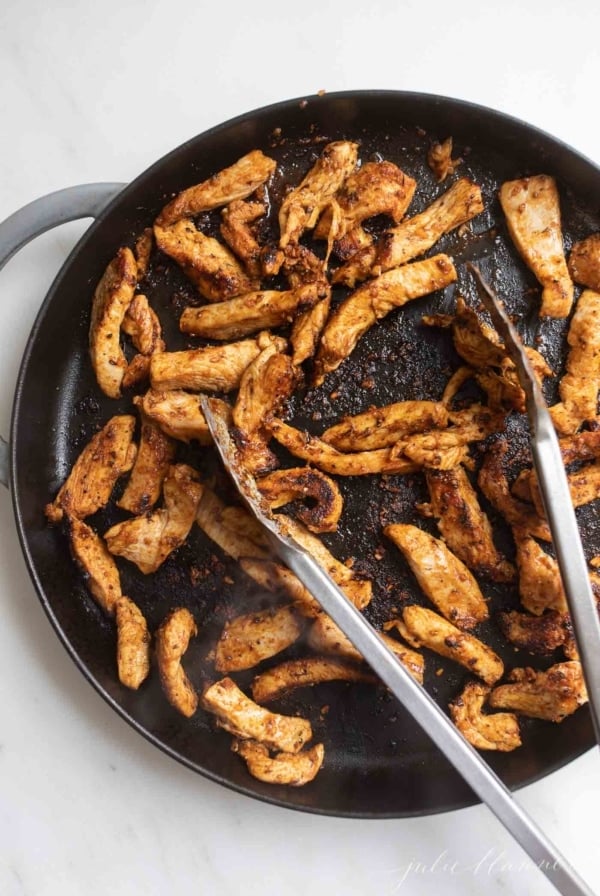
- Sprinkle with seasoning. Try any of our homemade seasoning blends, like our Oregano Seasoning, Chipotle Seasoning or Beau Monde Seasoning.
How to Make
- Bake Bread – Bake the take and bake bread according to package instructions.
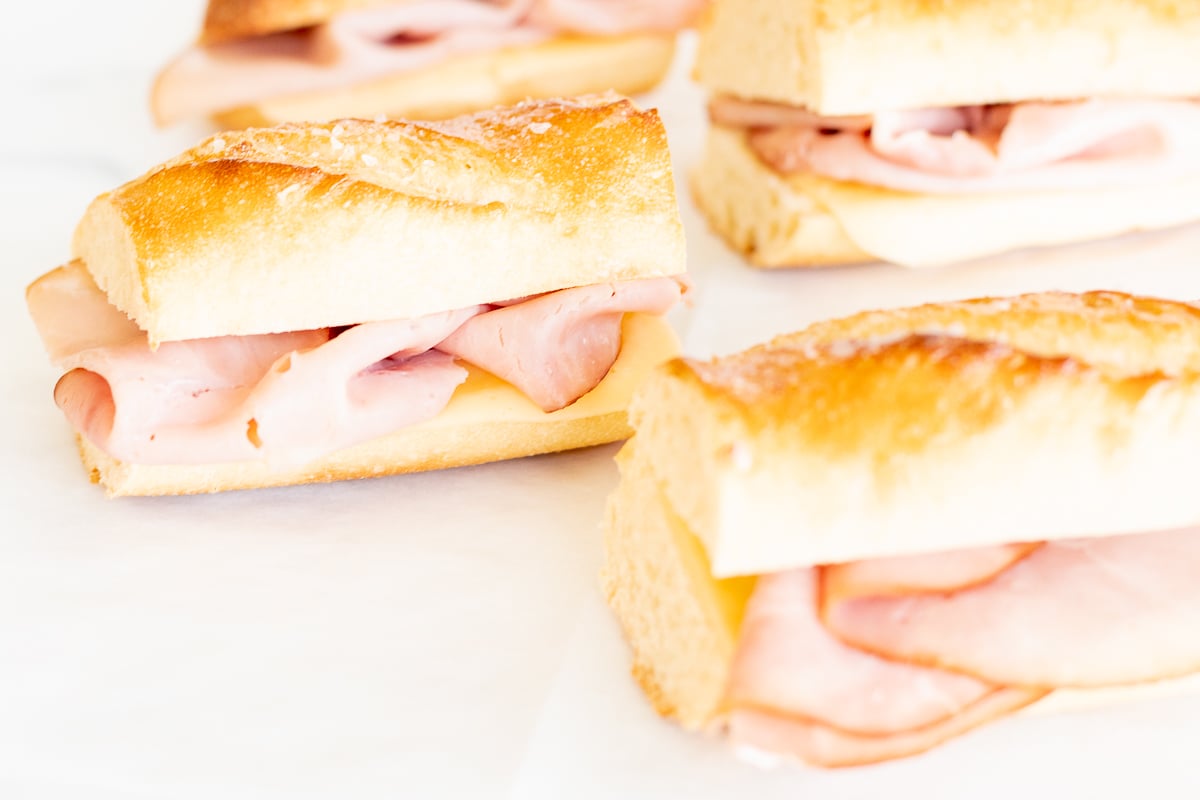
- Slice – Slice bread to size (and in equal halves).
- Butter the Tops – Brush on butter or olive oil while the bread is still warm and sprinkle with fresh cracked sea salt.
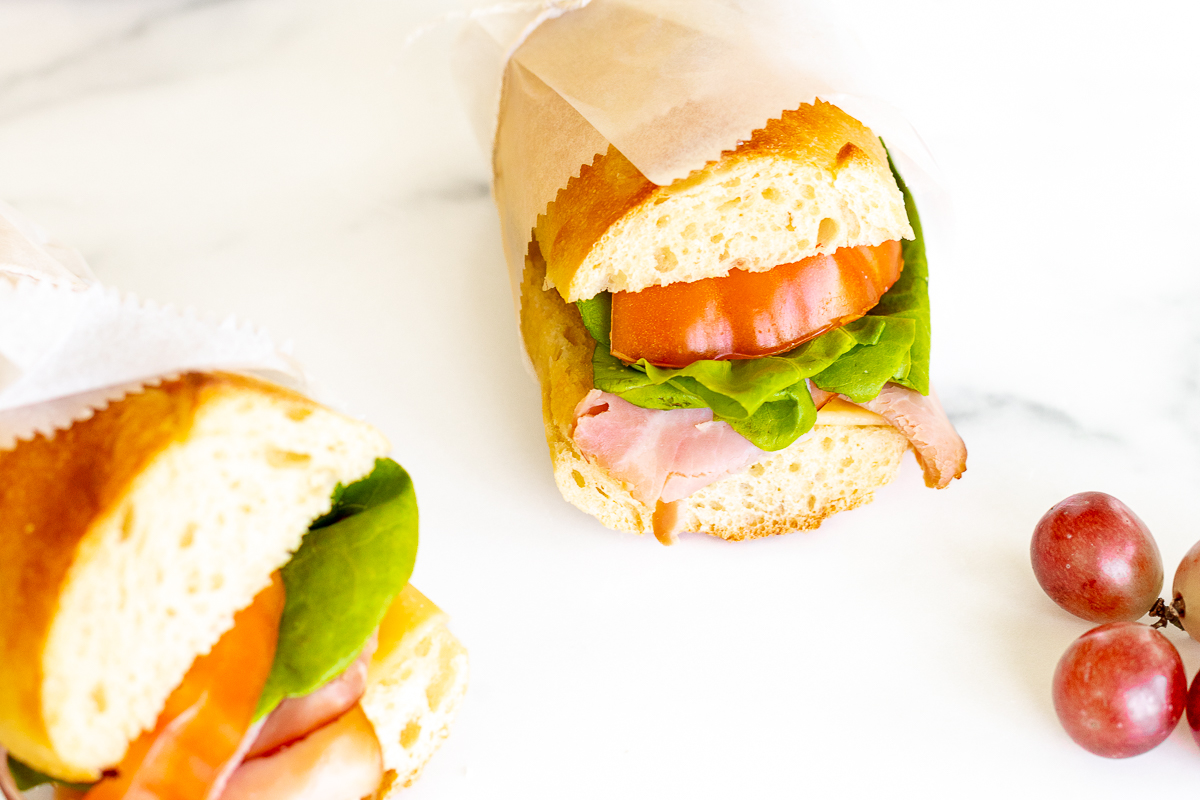
- Fill – Add cheese, lunch meat and any additional toppings.
- Package and Serve – Roll into waxed paper to prevent any moisture from seeping out. Unwrap and serve for picnics, sporting events, boating, and so much more!
Tools to Use

Tips
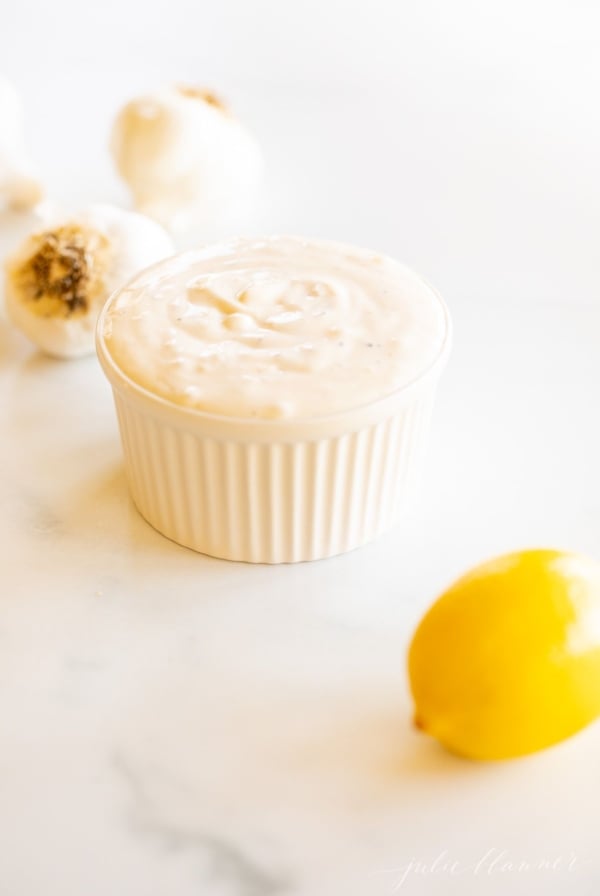
- While these sandwiches don’t *need* condiments like mayo or mustard, you can certainly add them! To keep the bread from getting soggy, add condiments between the layers of meats, cheese or any lettuce, onions or tomato slices that you add.
- Packaging these picnic sandwiches like your favorite sandwich shop adds an extra special touch. Wrap in parchment paper and tie with a ribbon for guests for a gorgeous presentation!
- Look for take and bake bread in your grocer’s bakery department.
Serving Suggestions
You can customize these delicious sandwiches however you’d like! Add your favorite condiments and veggies for even more delicious flavor.


More Ideas to Dress your Sandwiches
- Mustard
- Sliced Tomatoes
- Avocado
- Onion
- Lettuce
- Olives
- Cucumbers
- Bell Peppers
Frequently Asked Questions
Use a sturdy bread, like a loaf of Italian bread or French bread, to prevent your packaged picnic sandwiches from becoming soggy. Add any condiments between the layers of meat and cheese (instead of directly touching the bread) to further prevent this.
For best flavor and the ultimate in fresh delivery, make your sandwiches the morning of your picnic lunch. If you must make them ahead of time, limit your timeframe to 2 days before you’re serving these picnic sandwiches.
More Sandwiches

Picnic Sandwiches
Ingredients
Instructions
- Preheat oven to 400℉.
- Slice bread to size and in half, longways, and place on baking sheet. Bake bread 8-10 minutes or according to package directions.
- Remove from oven and immediately add sliced cheese to each sandwich (to make it slightly melted).
- Brush butter onto top of bread while it's warm and sprinkle with fresh cracked sea salt.
- Add cheese, lunch meat and any additional toppings to the sandwich. Close the top and serve or wrap for a picnic lunch.
Julie’s Tips
- While these sandwiches don’t *need* condiments like mayo or mustard, you can certainly add them! To keep the bread from getting soggy, add condiments between the layers of meats, cheese or any lettuce, onions or tomato slices that you add.
- Packaging these picnic sandwiches like your favorite sandwich shop adds an extra special touch. Wrap in parchment paper and tie with a ribbon for guests for a gorgeous presentation!
- Look for take and bake bread in your grocer’s bakery department.
Storage Notes
- Room Temperature – These picnic sandwiches can sit out safely at room temperature for up to two hours. After that, they must be refrigerated.
- Refrigerator – Store them in an airtight container and keep them in the fridge for 2-3 days.
Video
Estimated nutrition information is provided as a courtesy and is not guaranteed.


This is awesome Julie! LOVE the snackle box idea!!
Big Favor: Can you please share where you purchased your copper ice bucket you have in the first picture? LOVE it!!
Your ideas and advice are ALWAYS so simple and smart! God bless you for sharing and trying to help us make the most of our family time.
Hi Julie!
Thanks so much for your kind words. I’m not seeing an ice bucket in these photos, but I do have a copper ice bucket so you must have seen it in another post. We have this one, (affiliate link) which I’ve had for years and I just love!
I hope that helps- enjoy!
Julie
Thanks for the advice on putting the condiments between slices of cheese and meat. This will definitely solve the soggy sandwich problem.