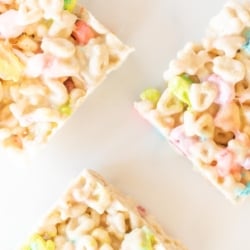
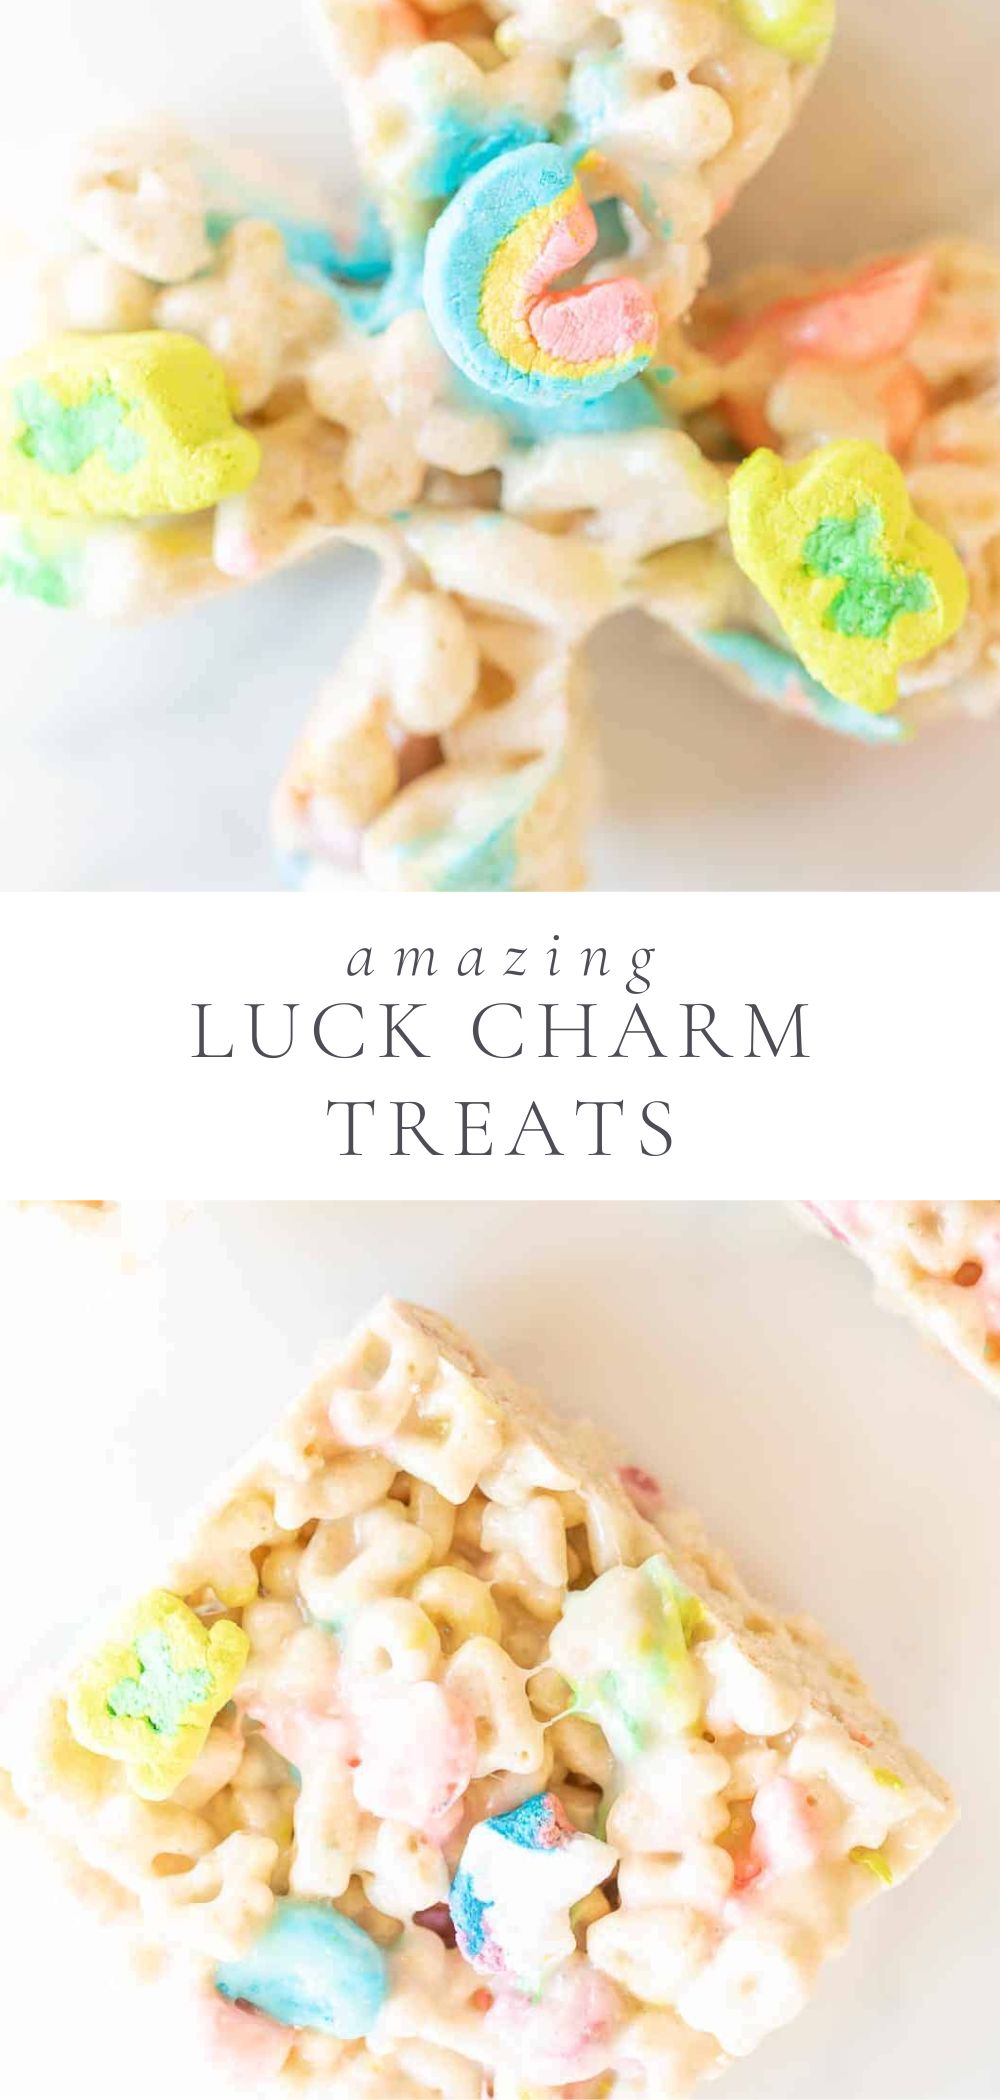
These no bake Lucky Charm bars are an easy 10 minute no bake dessert or snack made with just three ingredients!
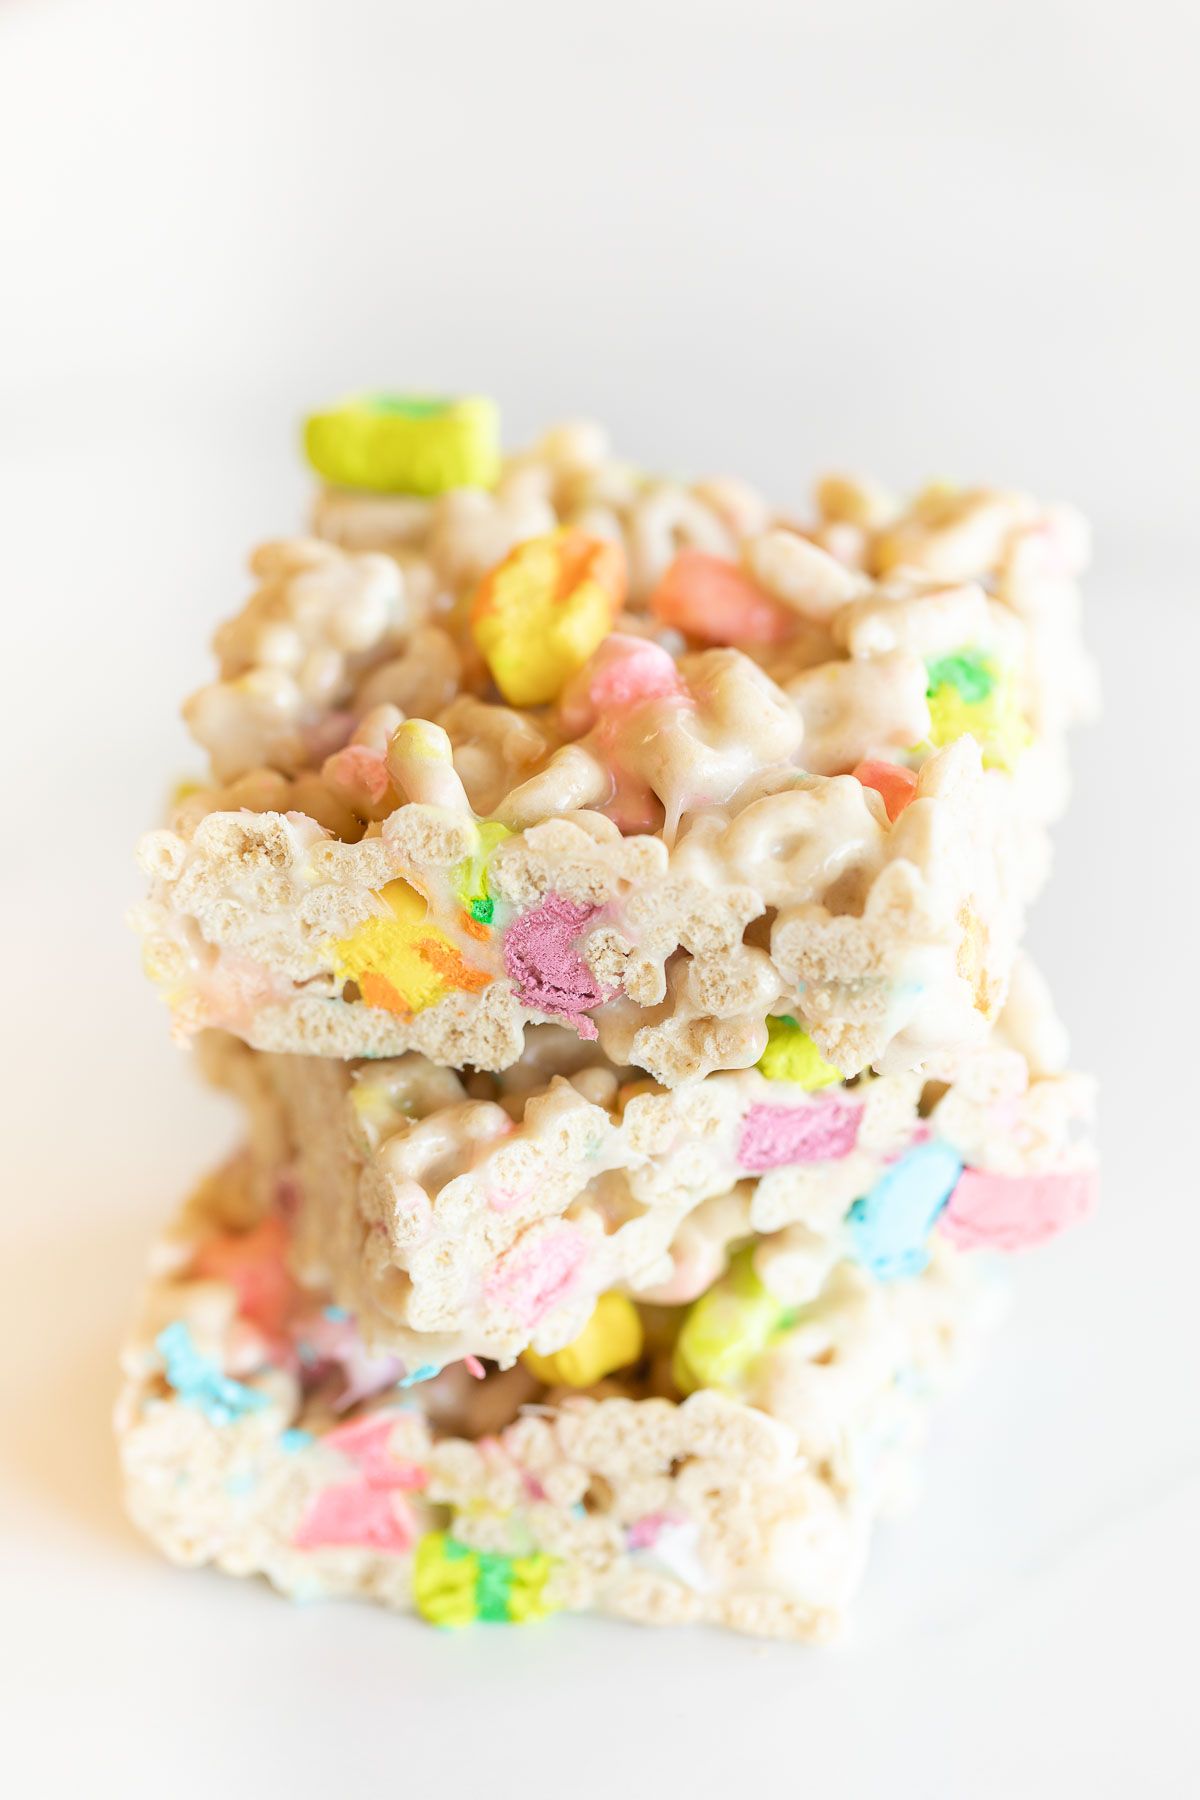
These sweet and buttery treats are soft and chewy, packed with a little crunch and fun colorful marshmallows.
Lucky Charm bars are a fun twist on classic rice Krispy treats, made with lucky charms and extra marshmallow goodness! With just one bite, you’ll realize you’ve struck gold at the end of the rainbow!
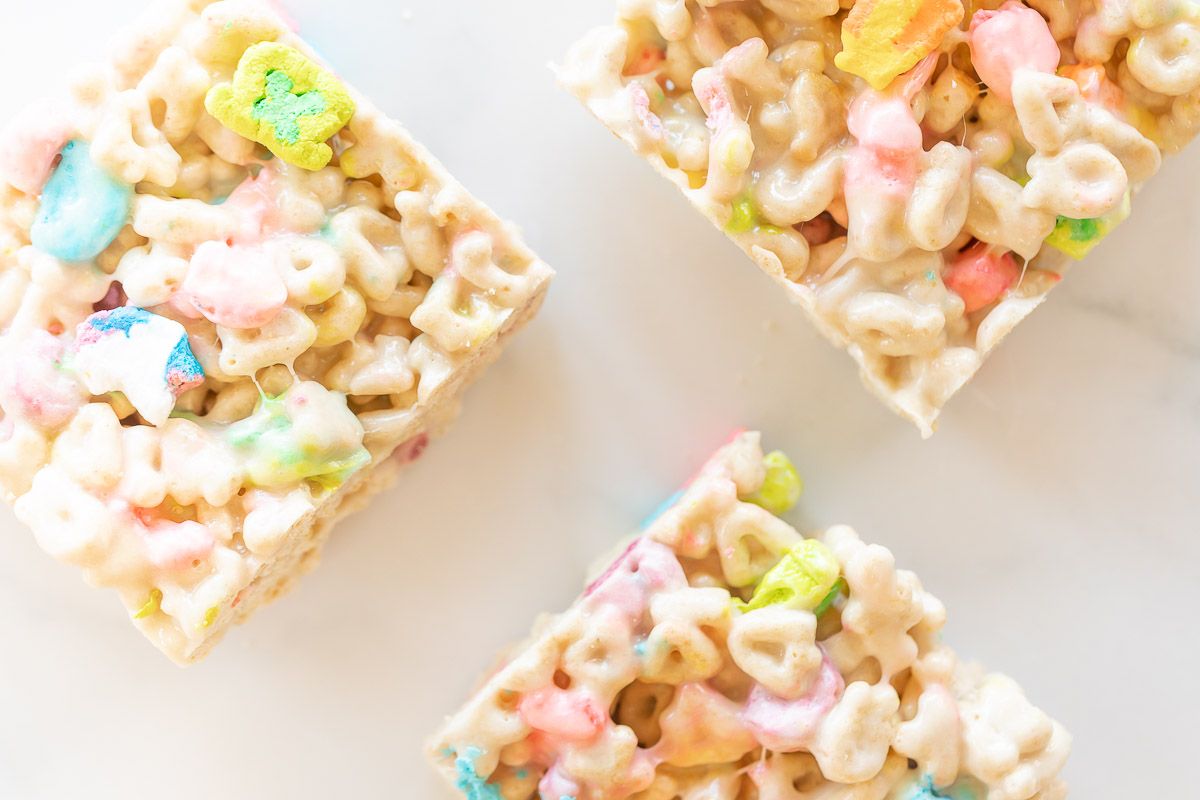
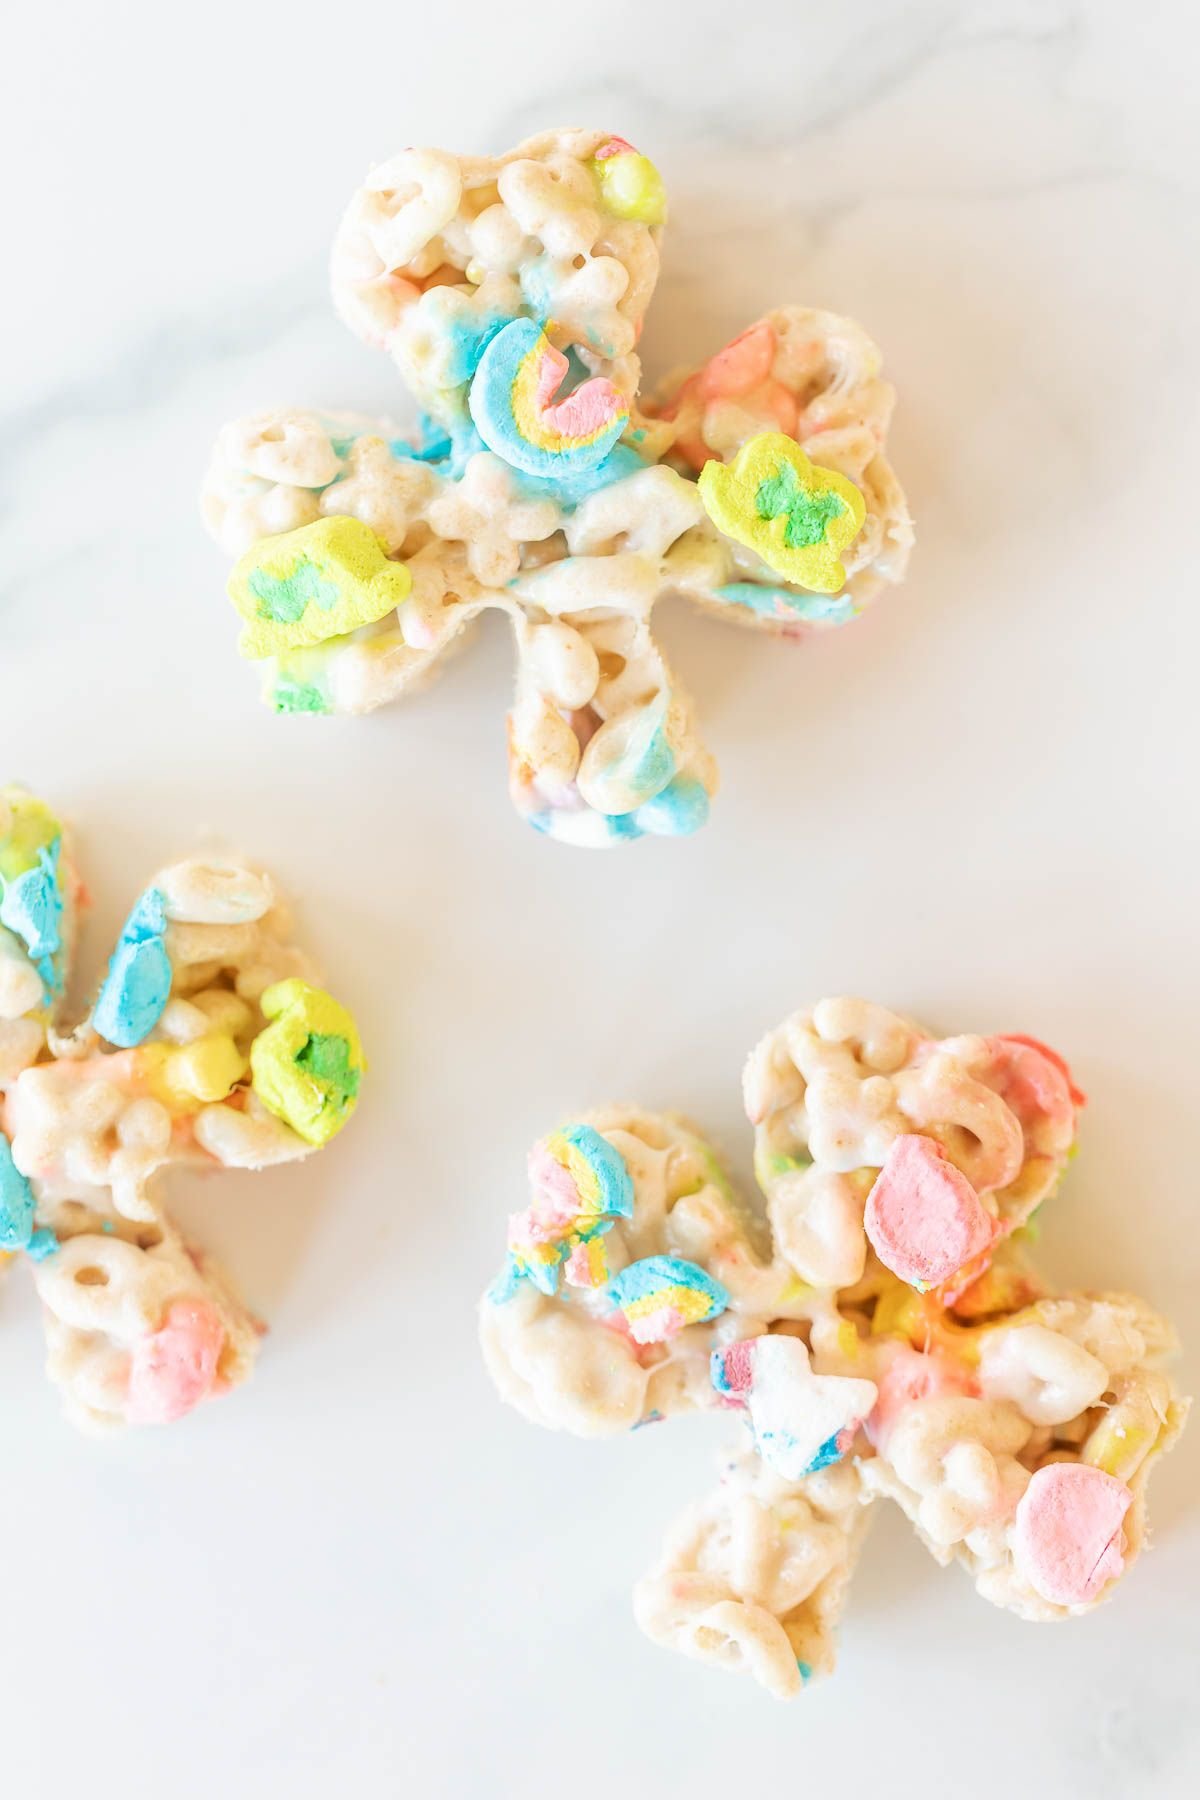
While Lucky Charm bars are the ultimate snack or dessert all year, they’re especially fun and festive to serve for St. Patrick’s Day! You can serve them in bar form or cut them into shamrocks, gold pots, rainbows and more!
They’re completely amazing as-is, or you can dip them in white or green chocolate! These treats are gluten-free, too, making them suitable for a crowd.
Just like rice krispy treats, they come together quickly and easily. It takes less than 10 minutes to whip up a delicious batch. Even better, you don’t have to wait because they’re no-bake!

Don’t Skip These: We love a delicious no bake dessert! Don’t skip my Cookie Butter Bars, Saltine Toffee Easter Treats or these Peanut Butter Marshmallow Squares.
Why You’ll Love these Lucky Charm Bars
Ingredients and Substitutions
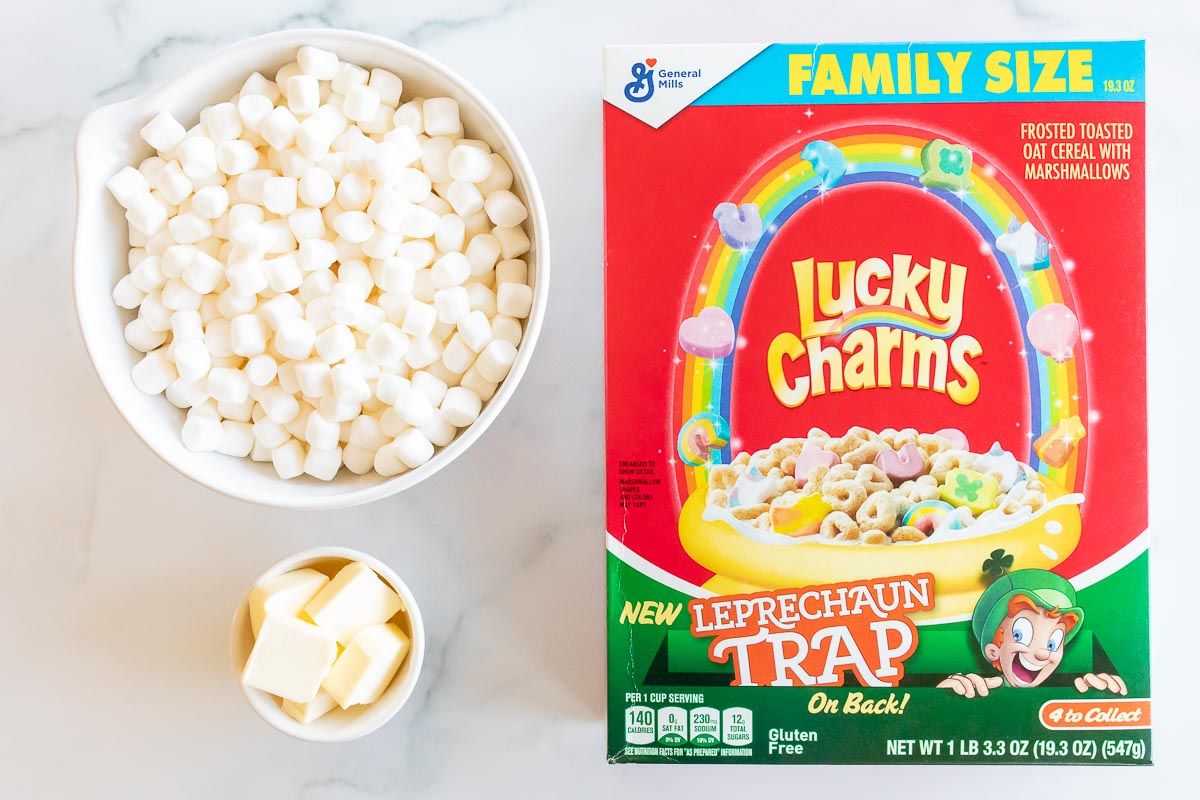
Ingredients to Make Lucky Charms Bars
- Butter – Salted or unsalted. If you are using unsalted butter, I recommend adding ¼ teaspoon salt to the marshmallow mixture.
- Marshmallows – Miniature marshmallows melt beautifully, but you can use large marshmallows as well.
- Lucky Charms – The classic coral serves as the foundation and its colorful marshmallows make it fun and festive!
Variations
- Add Chocolate – Dip half of each treat or fill the bottom of the baking dish with white or green colored chocolate. This makes them like the store-bought Lucky Charms Bars!
- Add Sprinkles – Make them even more festive by adding sprinkles! Sprinkle on top just after pressing or fold in.
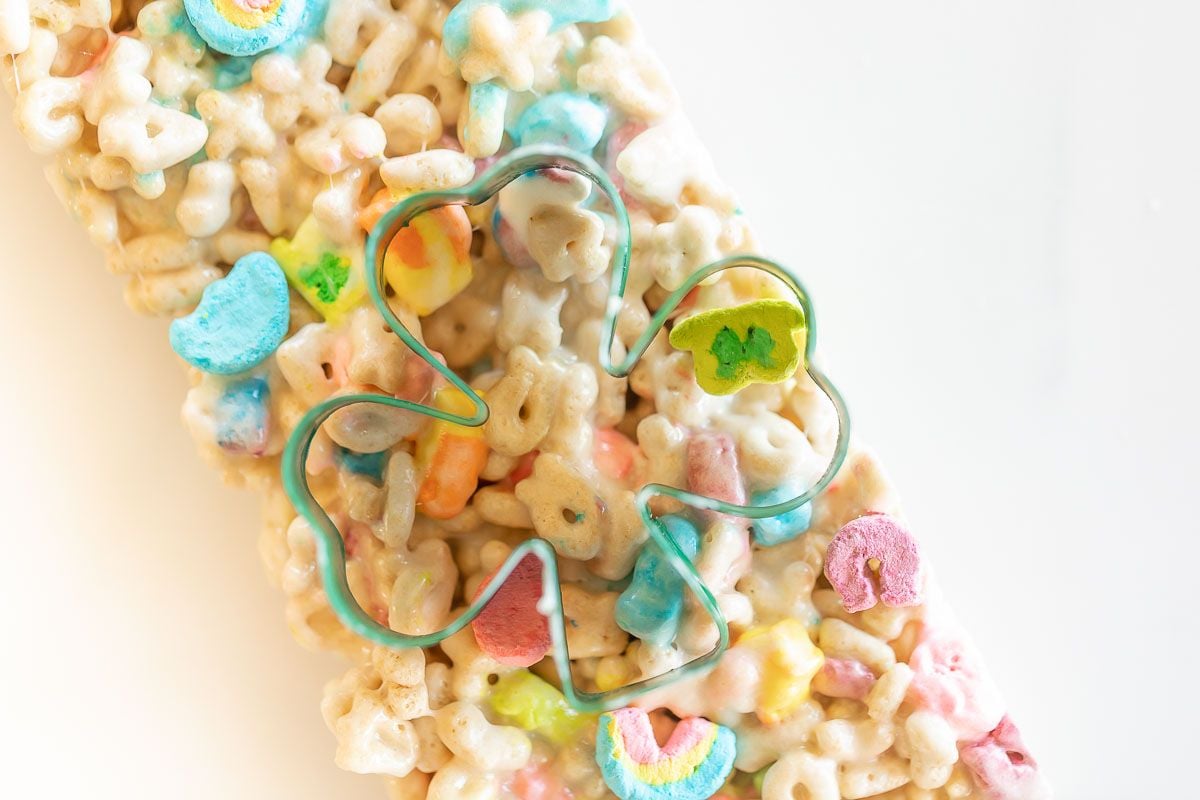
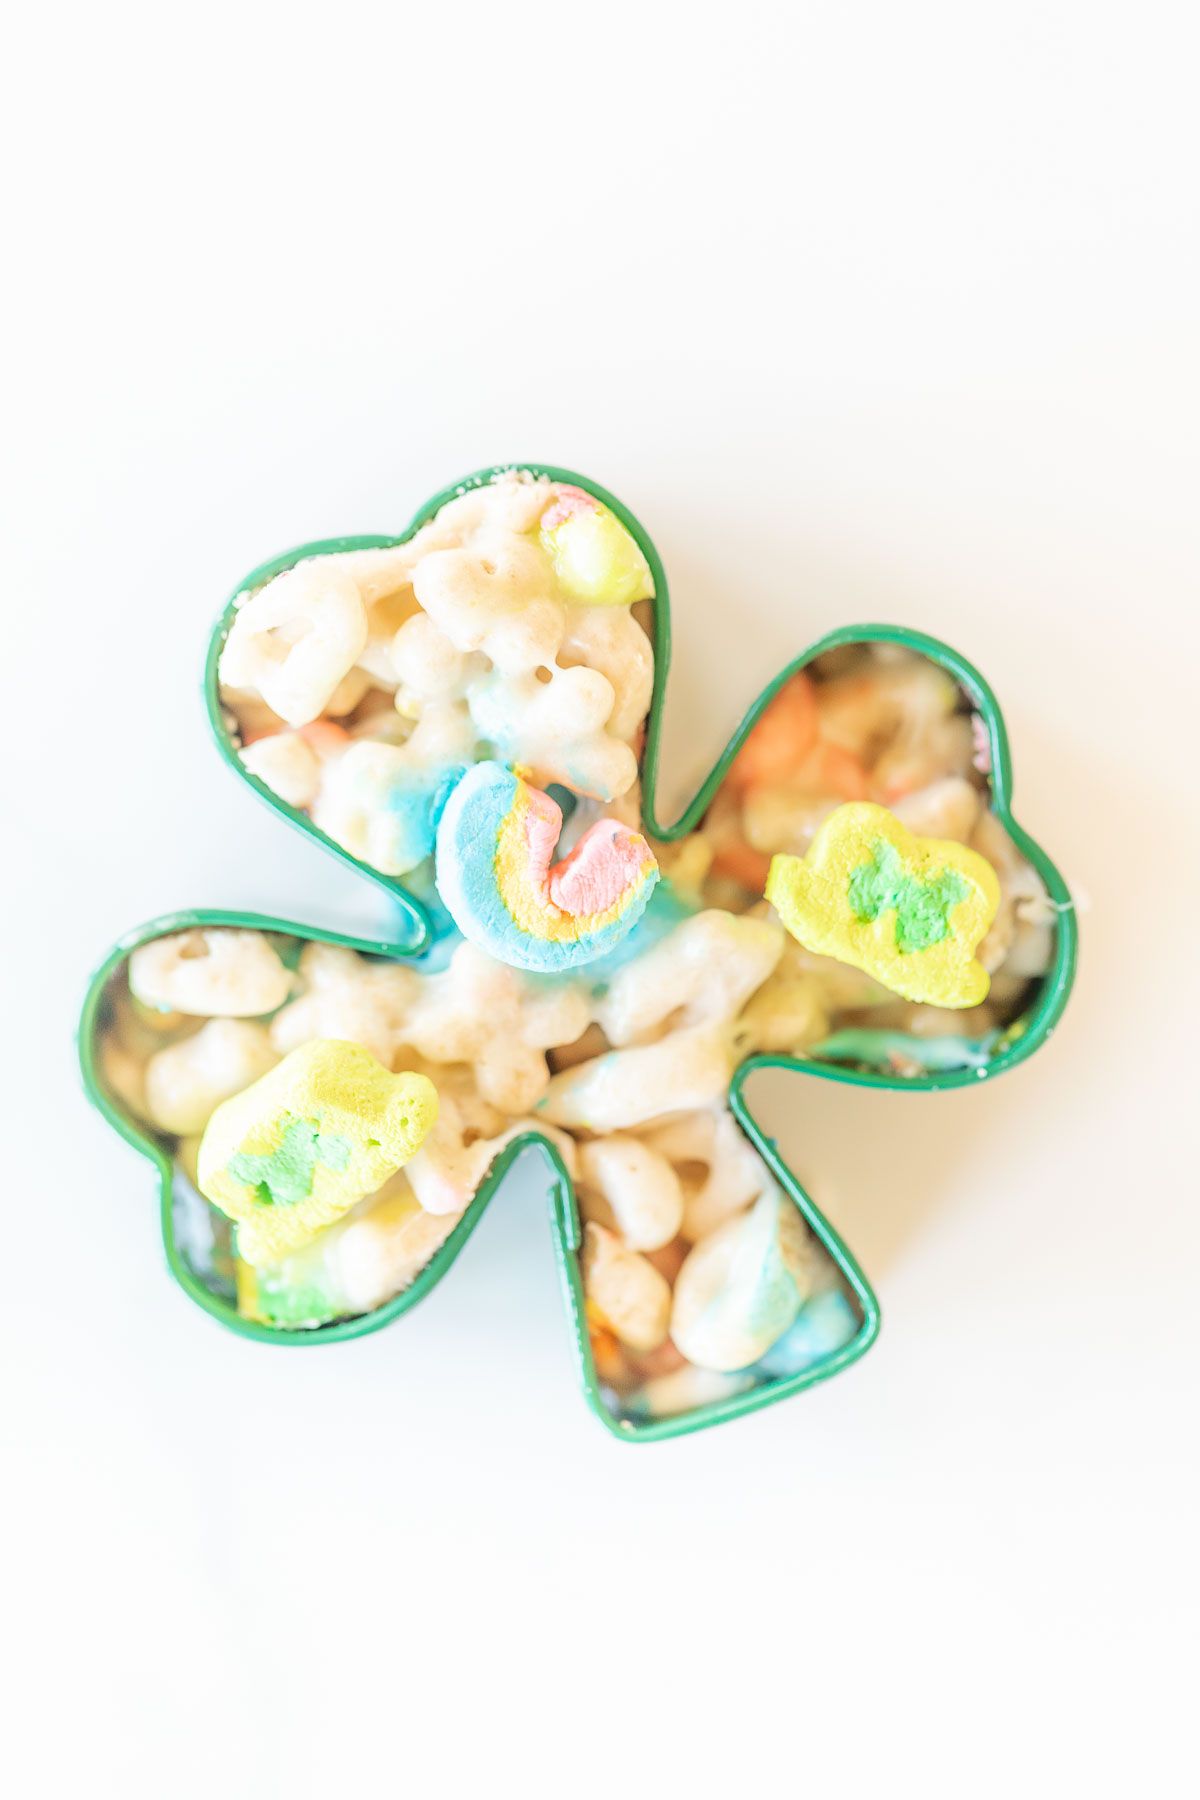
- Cut into Shapes – Use your favorite cookie cutters to cut them into shapes. Butter or spray with non-stick spray and press.
How to Make Lucky Charms Treats
- Prep – Grease or butter 9×9 baking dish.
- Make Marshmallow Mixture – In a large saucepan, melt butter. Stir frequently until smooth, watching carefully.
- Fold in Cereal – Quickly and carefully fold in cereal.
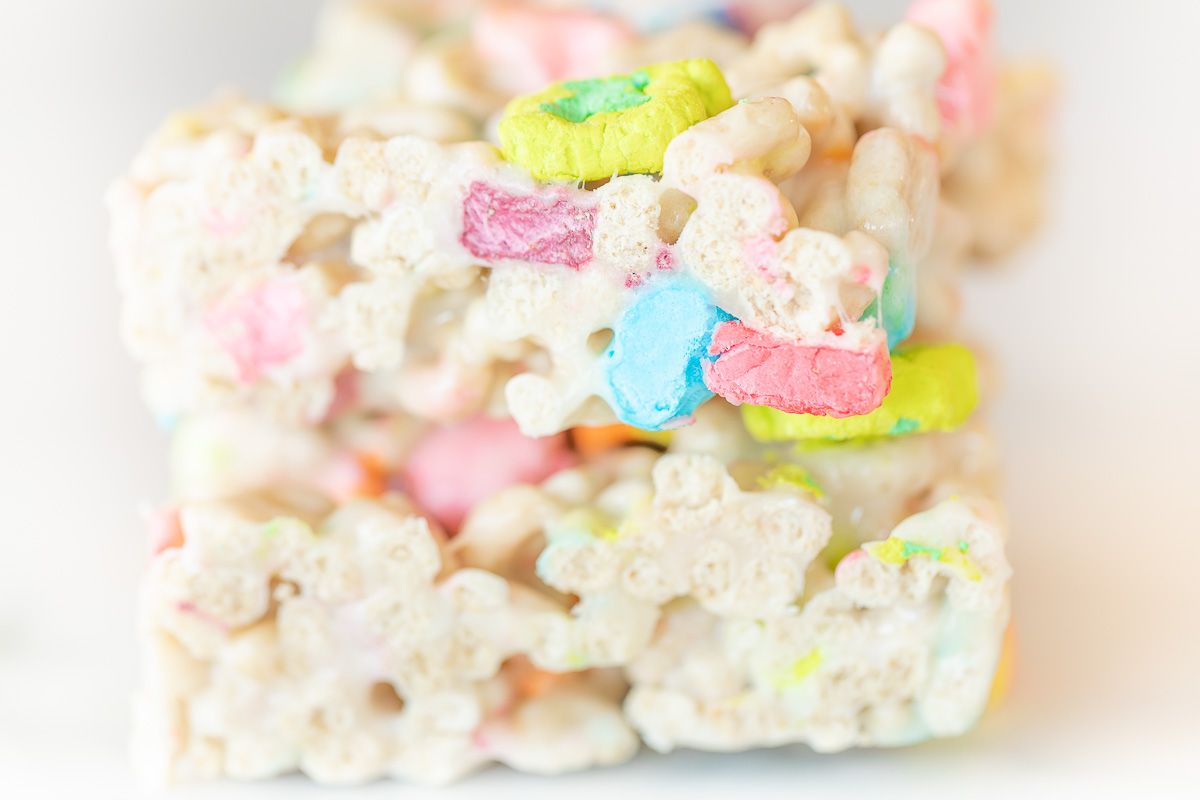
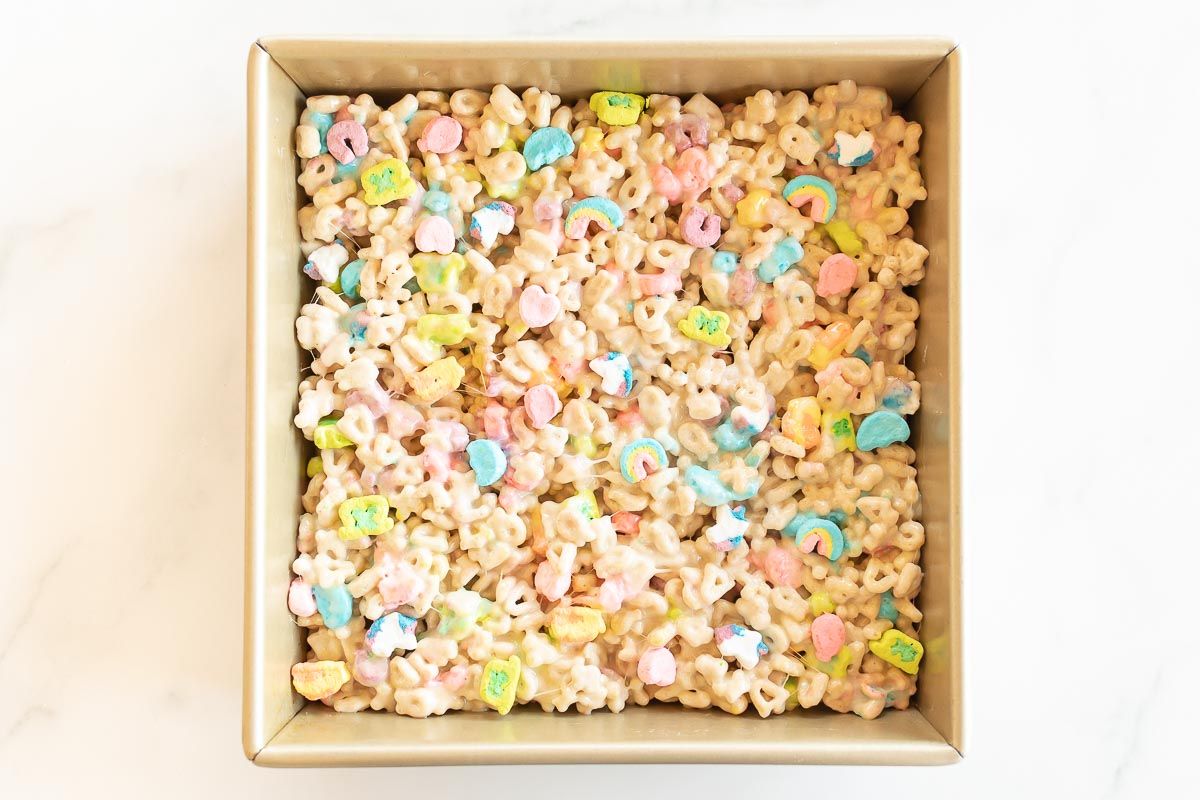
- Press – Press mixture into baking dish. Butter the back of a large spoon or your hands and press to smooth. I like to leave mine a bit loose for softer, chewier treats, but you can really pack them in, too for maximum crunch!
- Allow to Cool – Allow to cool before cutting and serving.
- Customize – Add one of the variations listed above, or turn them into St. Patrick’s Day treats. Dip them in white chocolate dyed green, or cut into shamrocks using a greased cookie cutter as shown.

Tips
- Be Prepared – This recipe is incredibly quick, so measure your ingredients and have them ready.
- Carefully Stir – Prevent Lucky Charms marshmallows from breaking or melting by stirring gently and quickly.
- Don’t Over Mix – This will limit the Lucky Charm marshmallows from excessively bleeding color into the treats.
- Refrigerate these bars to help them set faster.
- Press Gently – This will prevent cereal and marshmallows from breaking.
- Decorate – Press Marshmallows on top for an extra dose of fun.
- Double It – Want thick treats? Simply double the recipe and double the fun! You can also double this recipe for a 9×13.
Make More (or Less!)
Scaling up, down or substituting? You’ll love this printable Measurement Conversion Chart!
How to Store
- At Room Temperature – Store cooled treats in an airtight container using wax paper sheets in between to prevent from sticking or individually wrapped in plastic wrap up to 3 days. Wrapping individually keeps them super soft, yet crunchy.
- Refrigerator – Enjoy up to a week! Simply store refrigerated in an airtight container to maintain freshness.
- Freeze – Store in an airtight container up to 6 weeks.
Dietary Considerations
- Gluten Free
- Vegetarian
- Nut Free
More No Bake Inspiration
Lucky Charm Treats
Ingredients
- 6 tablespoons salted butter can use unsalted and add ¼ teaspoon salt
- 7 cups marshmallows miniature preferred, 10.5 ounce bag
- 5 cups Lucky Charms cereal
Instructions
- Grease a 9×9 inch pan with butter or spray. Set aside.
- In a large pot, melt butter over low heat.
- When butter is completely melted, add marshmallows, stirring frequently and watching carefully.
- When marshmallows have melted, remove from heat. Quickly and gently fold in cereal.
- Pour mixture into prepared pan. Using the back of a buttered spatula, spoon or your hands, gently press into pan. Pack to your preference. I lightly pack for soft, chewy treats.
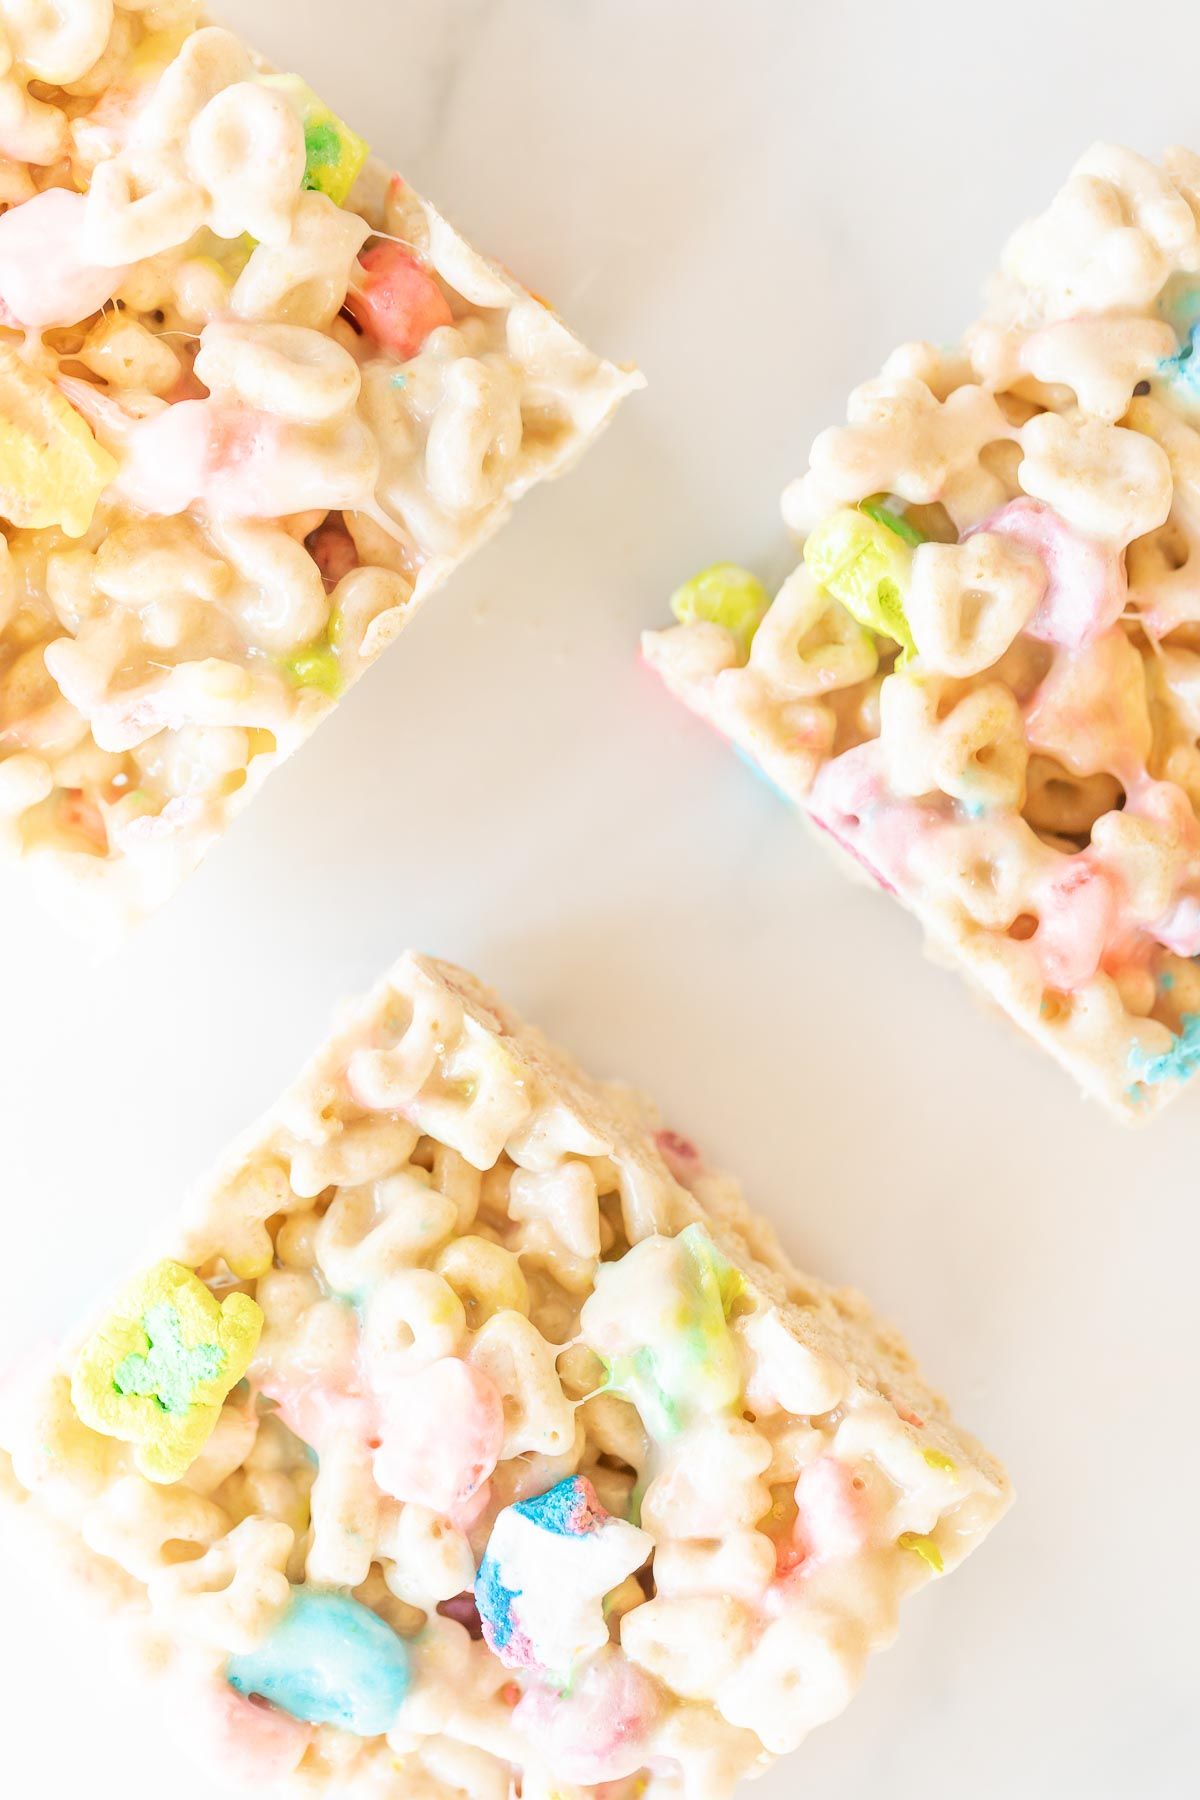
- Allow to cool. Cut into squares and enjoy!
Julie’s Tips
Tips
- Be Prepared
- Carefully Stir
- Don’t Over Mix
- Gently Press
Options and Variations
For thick treats or for a 9×13 pan, double the recipe. Use Cookie Cutters Dip in Chocolate Add SprinklesHow To Store
Store at room temperature up to 3 days individually wrapped in plastic wrap for best results or in an airtight container. Freeze cooled treats in an airtight container up to 6 weeks. Bring to room temperature to enjoy.Video
Estimated nutrition information is provided as a courtesy and is not guaranteed.
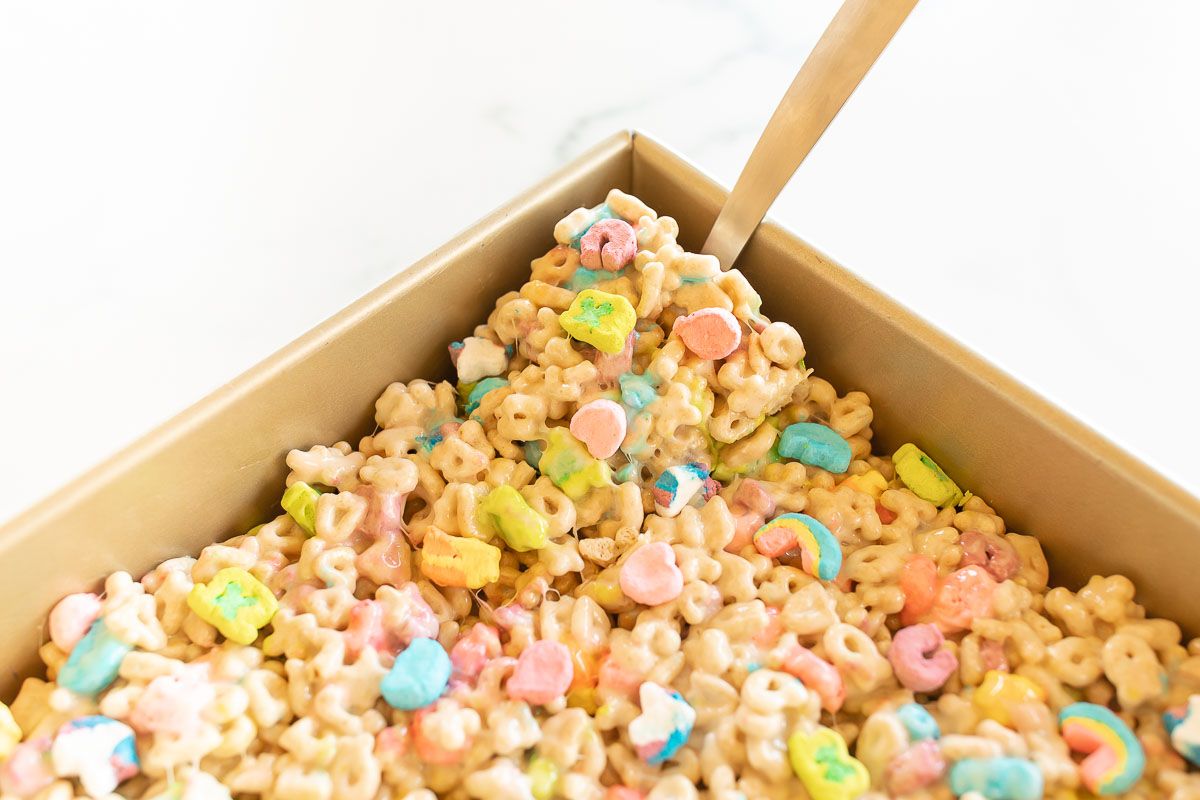
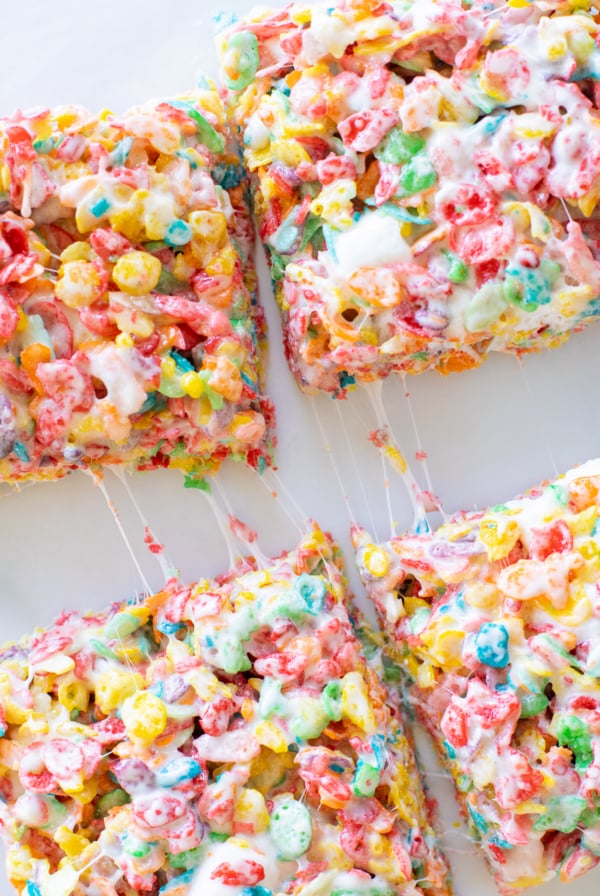


This recipe is so quick and easy! They’re so gooey & yummy!
The gooier, the better!