Learn how to make delicious No Bake Granola Bars in just 10 minutes with only 4 ingredients! These Peanut Butter Granola Bars are the perfect make-ahead breakfast or snack that you’ll feel good about. They are packed with protein and easily made gluten-free.

Originally published May 2017, updated with tips January 2020
I’m so excited to share my No Bake Granola Bars recipe with you today. They’re the perfect way to start the day. Delicious and full of protein!
These bars are so quickly your biggest challenge will be to keep up with demand! They’re so simple and SO craveable! Fortunately they take just 10 minutes and 4 ingredients so you can easily replenish.
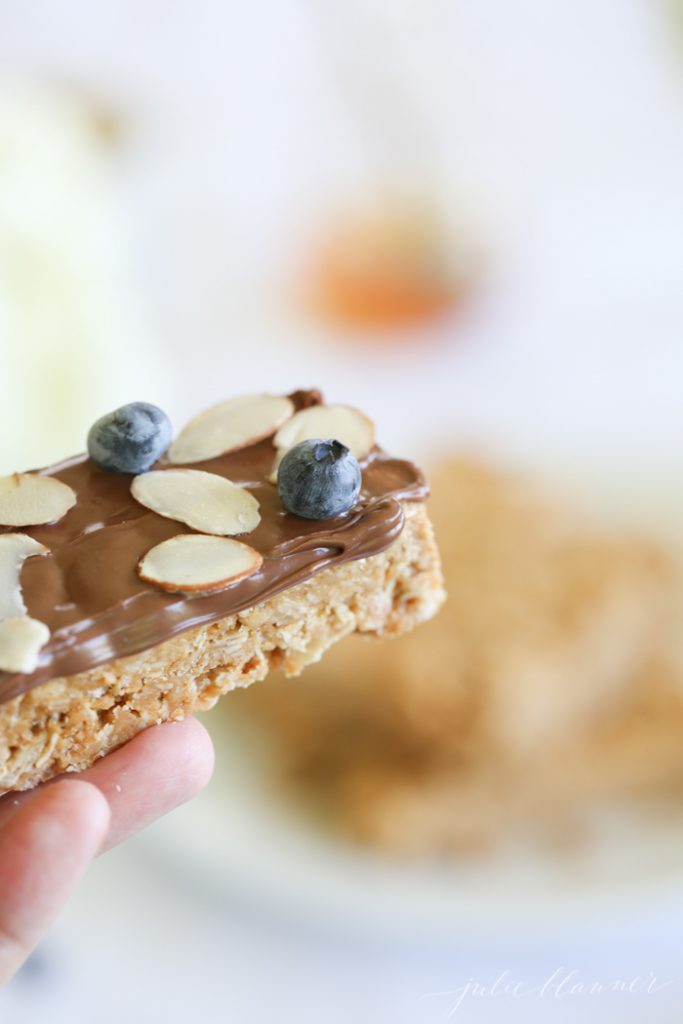
These No Bake Granola Bars are incredible on their own, but who doesn’t love to play with food? You can add mix-ins or create a granola bar toppings bar when entertaining!
They make the ultimate snack for after school, after a workout or for a quick fix whenever you’re craving something sweet and slightly salty!
To Make No Bake Granola Bars You Will Need:
- Peanut Butter – It’s best to use smooth peanut butter for this recipe, and I haven’t test it with a natural peanut butter. However, if you want to give it a try and experiment, feel free! Learn how to make peanut butter here.
- Honey – Honey adds natural sweetness to the bars and eliminates the need to use refined sugar.
- Old Fashioned Oats – If you are celiac, opt for Bob’s Red Mill Gluten Free Old Fashioned Oats. Oats are gluten free, but can be exposed to cross-contamination because they’re often processed in the same facility as wheat.
- Puffed Rice – To add texture and crispiness to the bars. You can use white or brown puffed rice.
How To Make No Bake Granola Bars
-
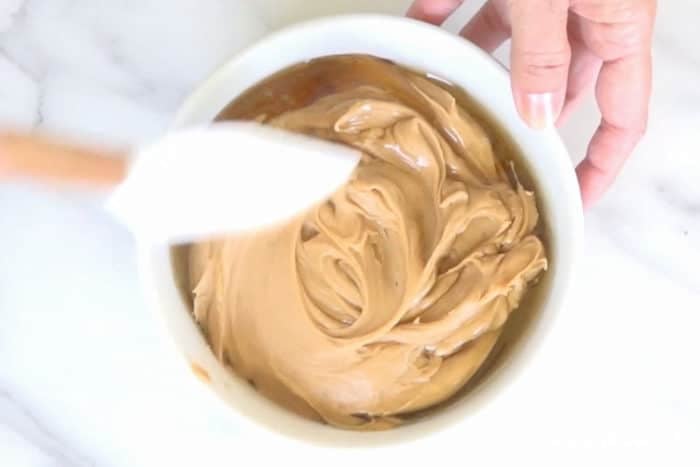
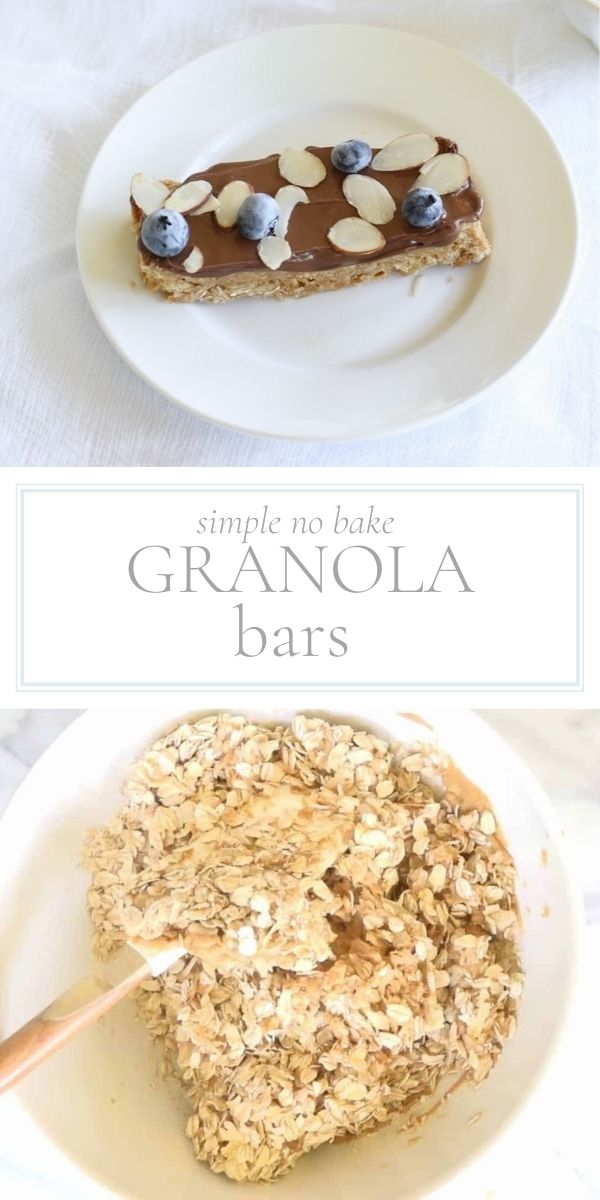
 Combine peanut butter and honey in a bowl. Warm for 30 seconds in the microwave and stir.
 -
In a large mixing bowl, combine oats and puffed rice.
-
Stir in peanut butter honey mixture.
-
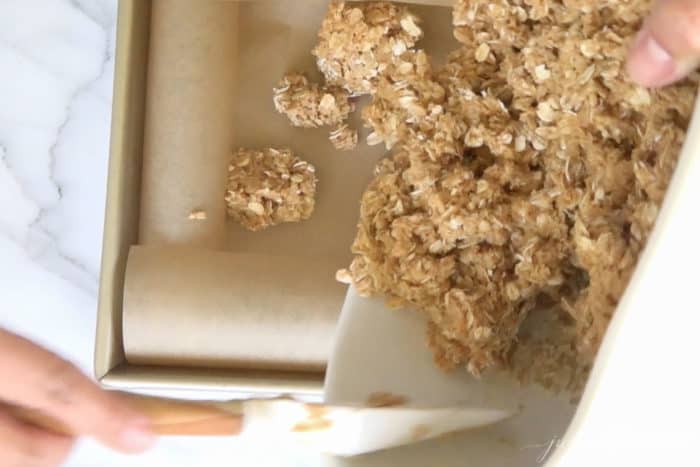
Line 9×9 baking dish with criss cross parchment paper for easy removal.
-
Scoop mixture in and firmly press using your spatula or a piece of parchment.
-
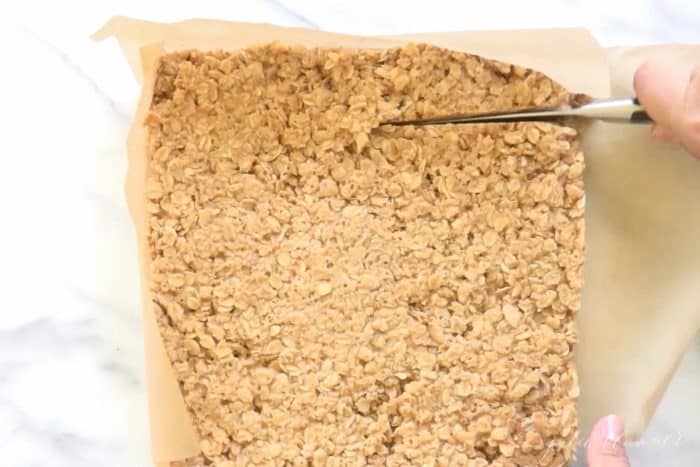
Refrigerate overnight. Cut them into squares and transfer them to an airtight container.


Recipe Variations
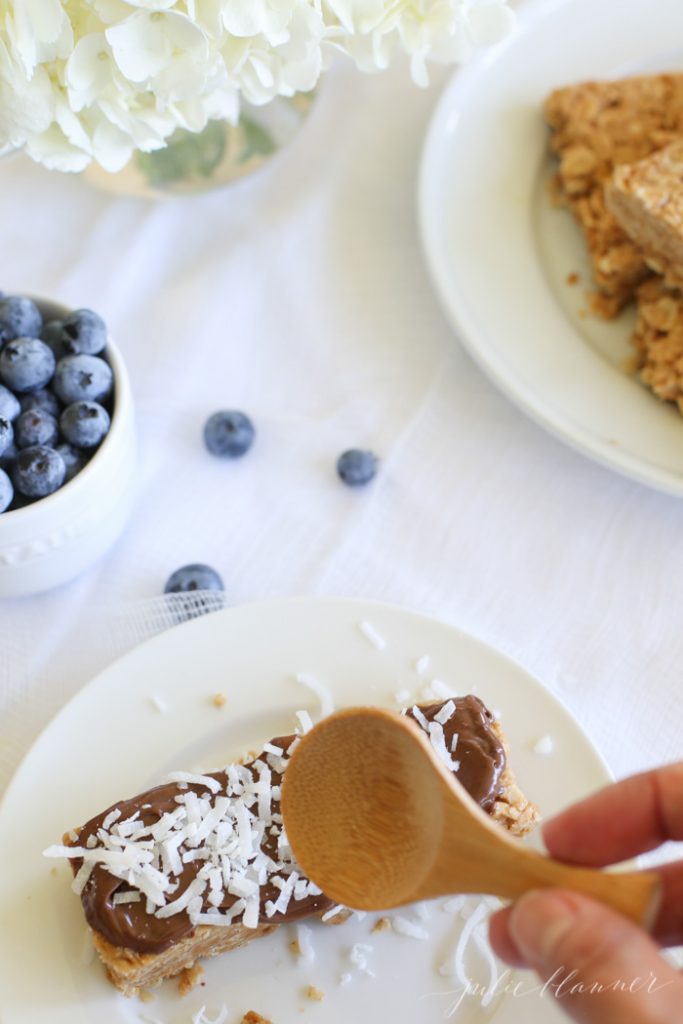
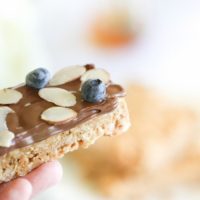
These bars are delicious as they are, but you can easily add nuts, chocolate and other ingredients to make things just to your taste! We like to spread them with nutella and add fresh fruit! Try adding in:
- Nuts
- Pretzels
- Dried Fruits
- Chocolate Chips
- M&M’s
- Reese’s Pieces
- Marshmallows
- Coconut
- Chia Seeds
- the options are endless!

Are Granola Bars Healthy?
We can’t get enough of these Peanut Butter Granola Bars – they’re so easy to make and I feel good about them, too!
They are packed with protein which makes them a great breakfast treat before heading off to school. They have no refined sugar and one bar comes in at around 340 calories, so they are a great way to start the day.

How Do You Get Granola Bars To Stick Together?
The honey and peanut butter in these no bake granola bars helps to bind all of the ingredients together, and when chilled they become firm and hold together really well.
Make sure that the mixture is really well mixed and be sure to press it down firmly into the sheet pan before chilling it overnight.
Through the years I’ve focused on a more effortless style of entertaining which feels thoughtful, beautiful and anything but stressful. I love serving a simple toppings bar so that guests can customize to their preference, especially for breakfast and brunch when you have a limited amount of time to prepare.
Are you a picky eater? My palate has expanded tremendously as I’ve grown older, but I’m always in favor of customizing. It feels more appealing than option A or B, doesn’t it? Offering granola bars with a toppings bar is an easy but beautiful way to serve breakfast or brunch for a few or a crowd and requires very little effort.
You can set up a granola bar toppings bar on a buffet or bar cart, but when hosting an intimate get together, I prefer to display directly on the table for convenience. It also doubles as an instant centerpiece!
- hazelnut spread
- strawberries
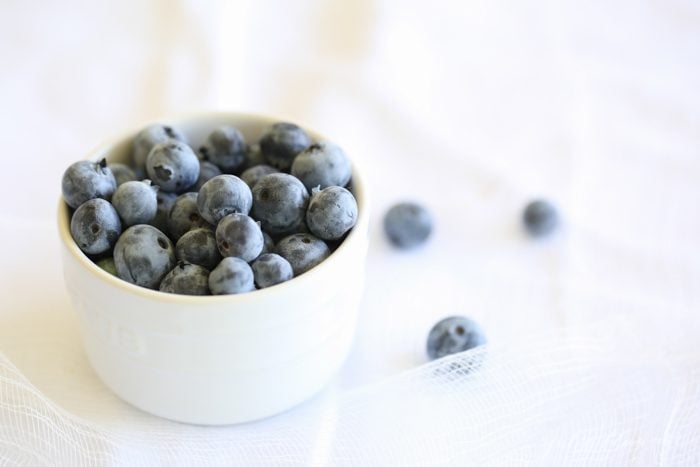
- blueberries
- bananas
- almonds
- walnuts
- coconut
- dried cranberries
- dried apricots

Tips
- Store – Granola bars keep them refrigerated for up to a week. They are great to make on a Sunday evening and then enjoy them throughout the week.
- These bars freeze really well. Once the bars have chilled and you have cut them, freeze them in an airtight container with the layers separated by parchment. Thaw to room temperature to enjoy.
- Use gluten-free certified oats to make these bars gluten-free.
- You can make these bars vegan by swapping the honey for maple syrup. I haven’t made them this way, but pretty sure they will turn out well!

More Easy No Bake Recipes
- No Bake Peanut Butter Oatmeal Cookies
- No Bake Peanut Butter Bars
- Lemon Pie
- Easy No Bake Cheesecake Recipe
No Bake Granola Bars
Ingredients
- 1½ cups peanut butter
- ¾ cup honey
- 3 cups old fashion oats
- 1½ cups puffed rice brown or white
Instructions
- Line 9×9 baking dish with criss cross parchment paper for easy removal.
- In a medium microwavable mixing bowl, combine peanut butter and honey. Warm for 30 seconds in the microwave and stir.
- In a large mixing bowl, combine oats and puffed rice. Stir in peanut butter honey mixture.
- Scoop mixture into baking dish and firmly press into dish using a spatula or piece of parchment paper.
- Refrigerate overnight to set.
Julie’s Tips
- Nuts
- Pretzels
- Dried Fruits
- Chocolate Chips
- M&M’s
- Reese’s Pieces
- Marshmallows
- Coconut
- Chia Seeds
- the options are endless!
Video
Estimated nutrition information is provided as a courtesy and is not guaranteed.


These are so easy and so good! Me and my kids had too much fun making these last weekend!
This look good and easy. A question. Are you using crispy puffed rice (like Rice Krispies) or the spongy/soft type of puffed rice? Thank you.
I like krispy, but you can use either! Enjoy!
Made these this afternoon and they are yummy!! I used almond butter instead because I am not a peanut butter fan. Would you recommend continuing to store them in the fridge after cutting?
I haven’t tested almond butter, but they do tend to hold better refrigerated, glad you enjoyed them!
I am a huge granola bar fan because I am always on the run, especially when I am running late into the office! so I would love to make these! Thanks for sharing!
-gabby
Looks delicious and easy to make. I can’t wait to try it..