These simple and sweet Halloween sugar cookies are perfect for little hands! Get the family together and decorate some spooky sweet treats.
These Halloween sugar cookies are perfect for spooky celebrations and gifting to friends and neighbors. They are easy to make and add the perfect touch to every dessert display!
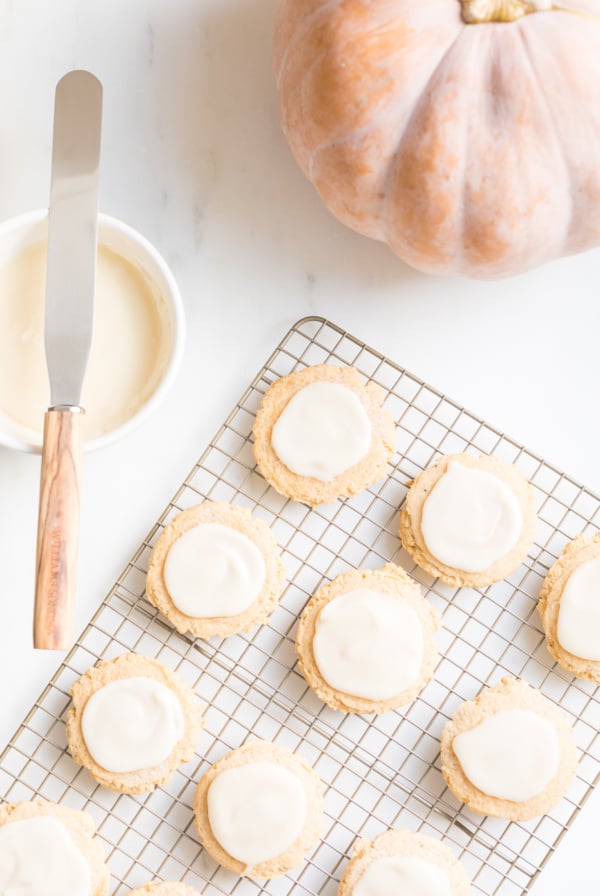
If sugar cookies are your family favorite for the winter and spring holidays, why not try them for Halloween, too?
Sugar cookies are one of those crowd pleasing treats that can work for every holiday and every occasion. The frosting appeals to kids from 1-100, but I think it’s the bright colors and charming designs that win everyone over as well.
Of course, some sugar cookies look adorable, but the taste isn’t as great! That’s why I developed a buttercream frosting that hardens enough for stacking. It’s perfect for simple designs, and it tastes as good as it looks!
Today, we’re sharing these cute Halloween sugar cookies, hoping to inspire your celebrations this month. They are fun to make, even more fun to decorate, and of course… incredibly fun to eat!
Get our simple recipe for sugar cookies and a few fun tips to make the cutest Halloween sugar cookies ever – no special decorating skills or tools required!
Halloween Sugar Cookies
Sugar cookies don’t have to be intimidating! You’ll love these because not only is the recipe simple, the decorating is simple too.
Why You’ll Love these Cookies

Ingredients and Substitutions
See printable recipe card for complete ingredients and instructions.
- Butter, softened – Unsalted butter is great for this recipe. However, if you do use salted butter, cut back a touch on your added salt later. Learn how to soften butter quickly.
- Sugar – White granulated
- Baking powder – To ensure a rise.
- Flour – Bleached or unbleached, all purpose flour.
- Salt – To balance out the sweet. If you’re using salted butter, you can cut your added salt back a little.
- Eggs – To add moisture and structure and stability.
- Vanilla Extract – Learn how to make your own vanilla extract, or use store bought. Pure vanilla extract is preferable over imitation.
For the Frosting
- Softened Butter – Salted or unsalted. I tend to use salted butter because it’s what we have on hand, and we like a little salt mixed with the sweet for balance.
- Powdered Sugar – Also known as confectioners’ sugar, learn how to make powdered sugar here.
- Vanilla Extract
- Heavy Whipping Cream – You can also use whole milk or half and half here, whatever you have on hand.

How to Make
An overview, visit the printable recipe card at the end of this post for complete ingredients and instructions.
- In a large bowl or a stand mixer, combine wet ingredients as directed.
- Next, you’ll add dry ingredients, mixing well.
- Refrigerate dough as directed.
- Next, preheat your oven and line a cookie sheet.
- Roll your sugar cookie dough out directly on the cookie sheet (you can transfer parchment paper on and off cookie sheets if they’re not wide enough.) Roll out dough appropriate thickness (as indicated in recipe card).
- Press your cookie cutter onto the cookie sheets, leaving space between each cookie. Peel away your excess dough.
- Bake and allow to cool before frosting.
Make the Frosting and Decorate
- Whip the butter, gradually adding powdered sugar. Add vanilla and heavy cream and mix until smooth.
- Allow cookies to cool and then frost the cookies.
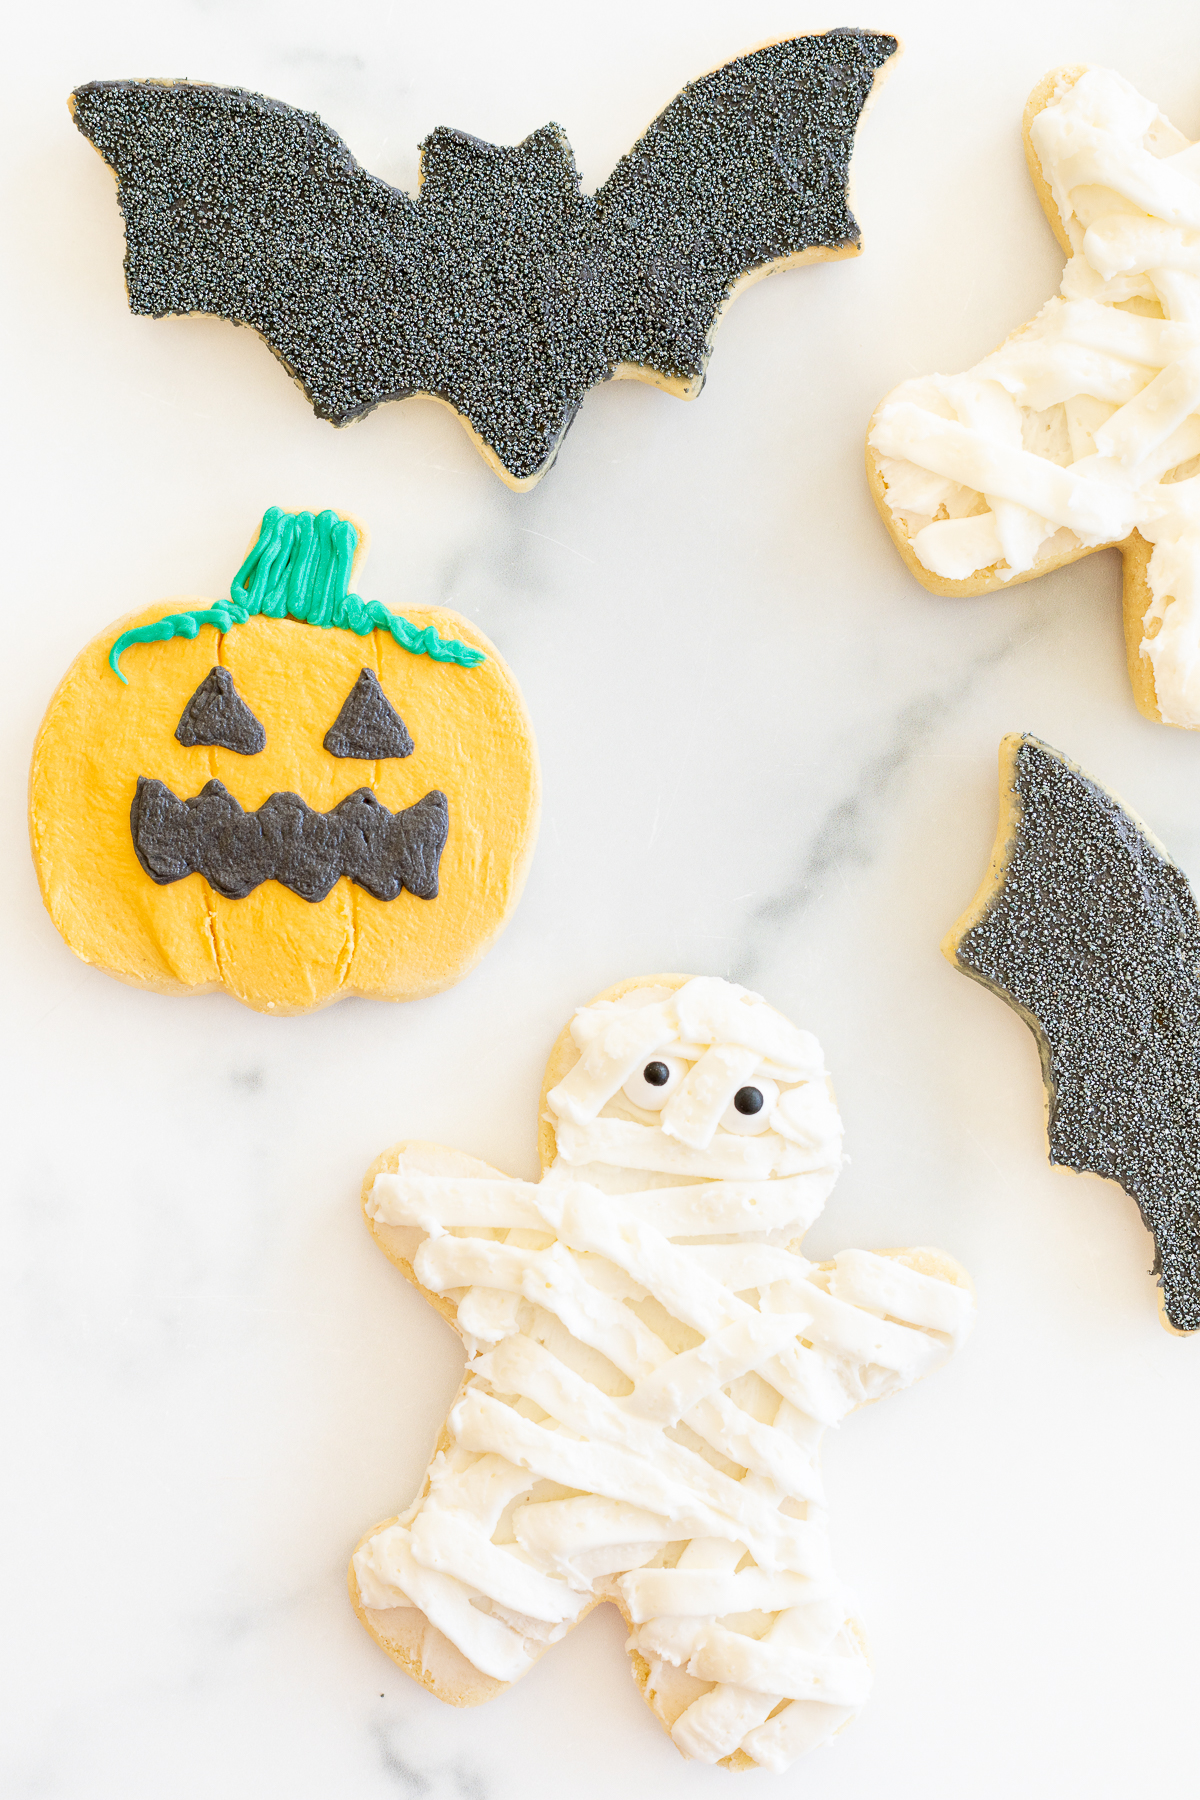
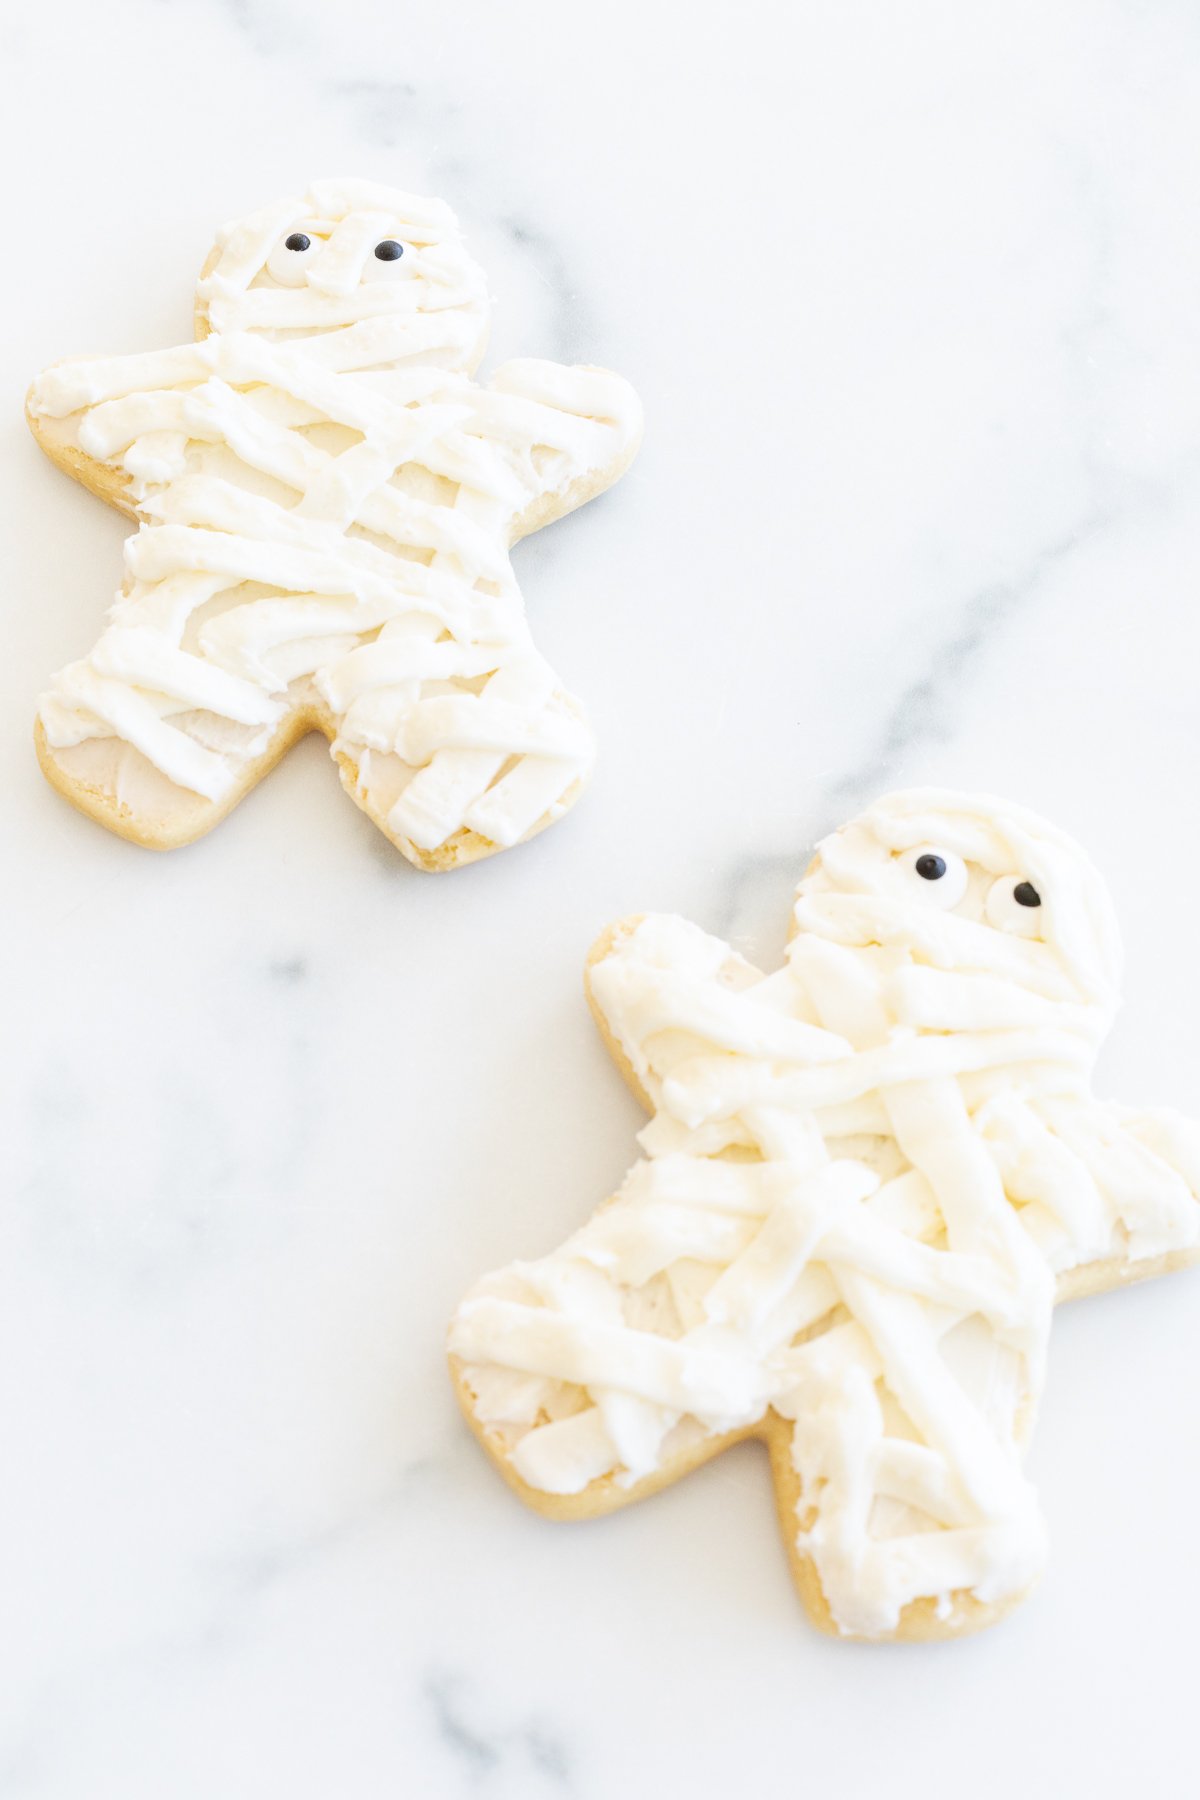
- For the mummies, simply use edible eyes and a flat tip for your frosting to create the stripes of wrapping.
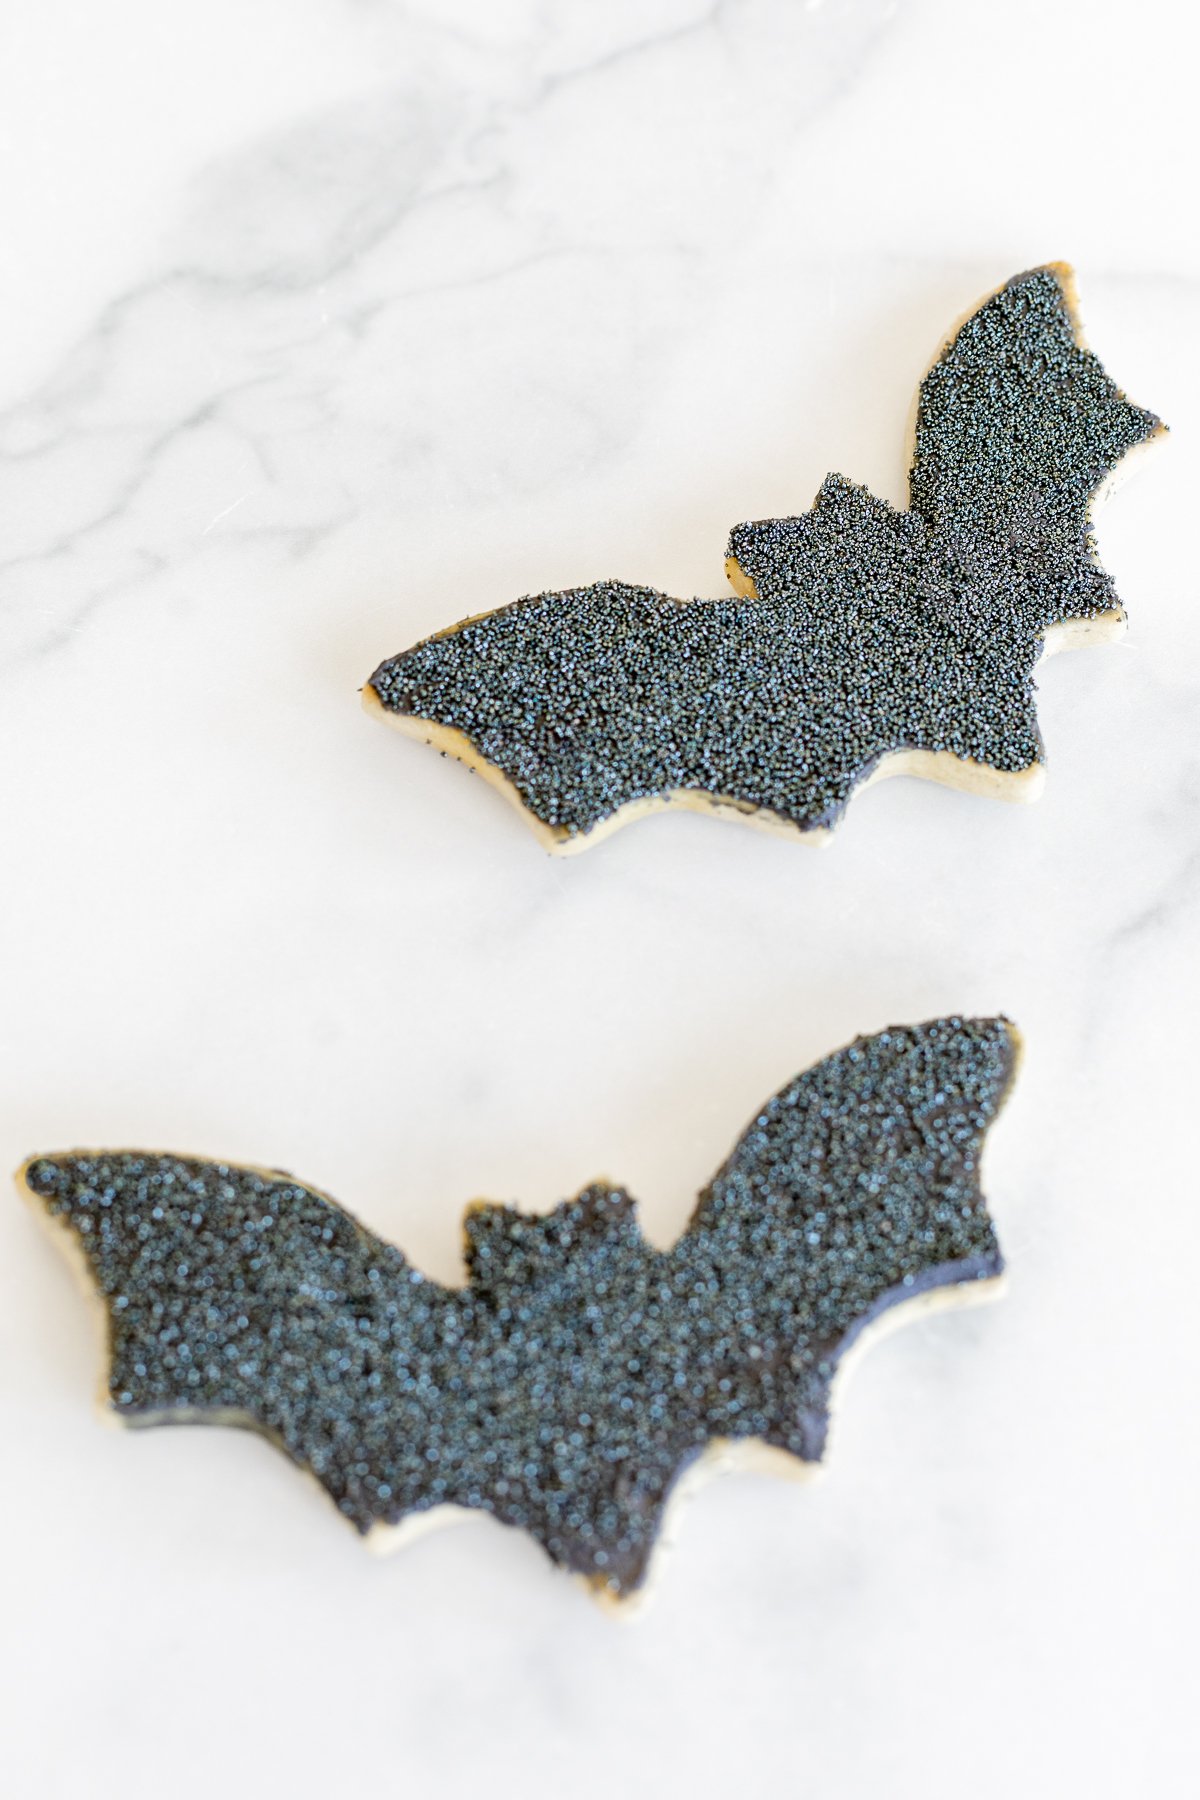
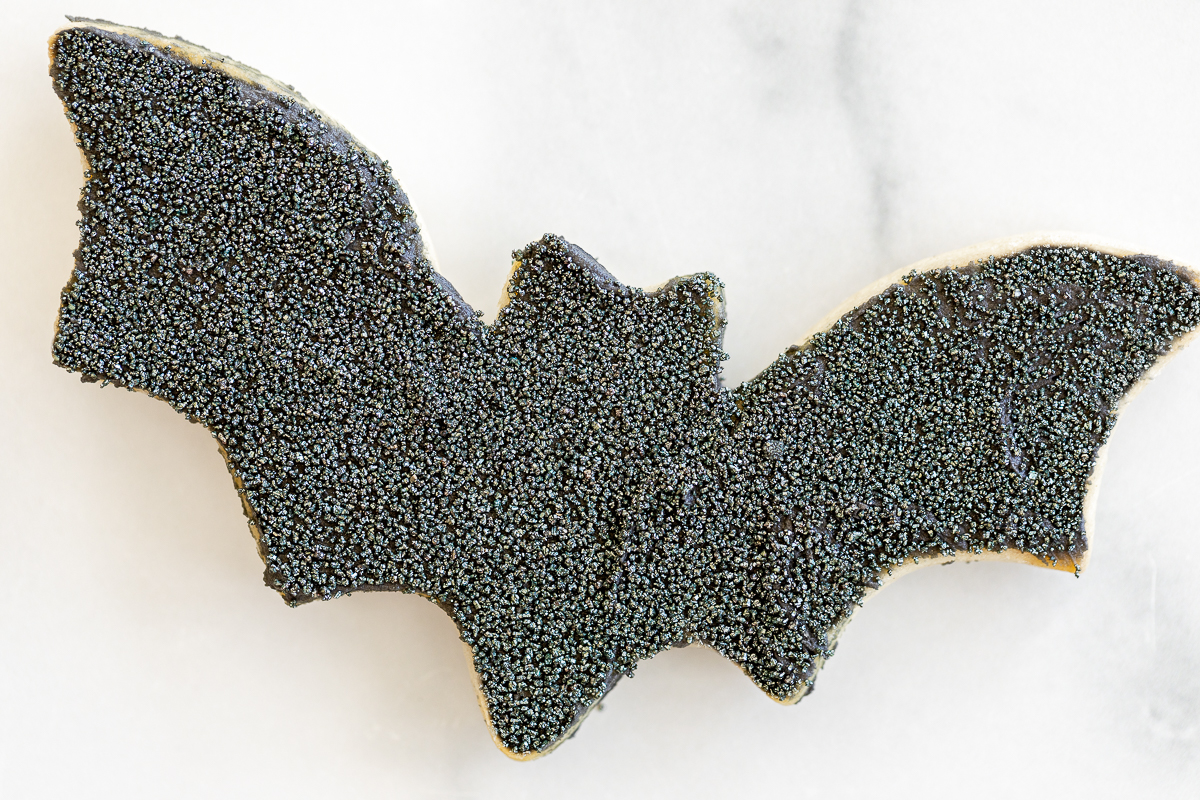
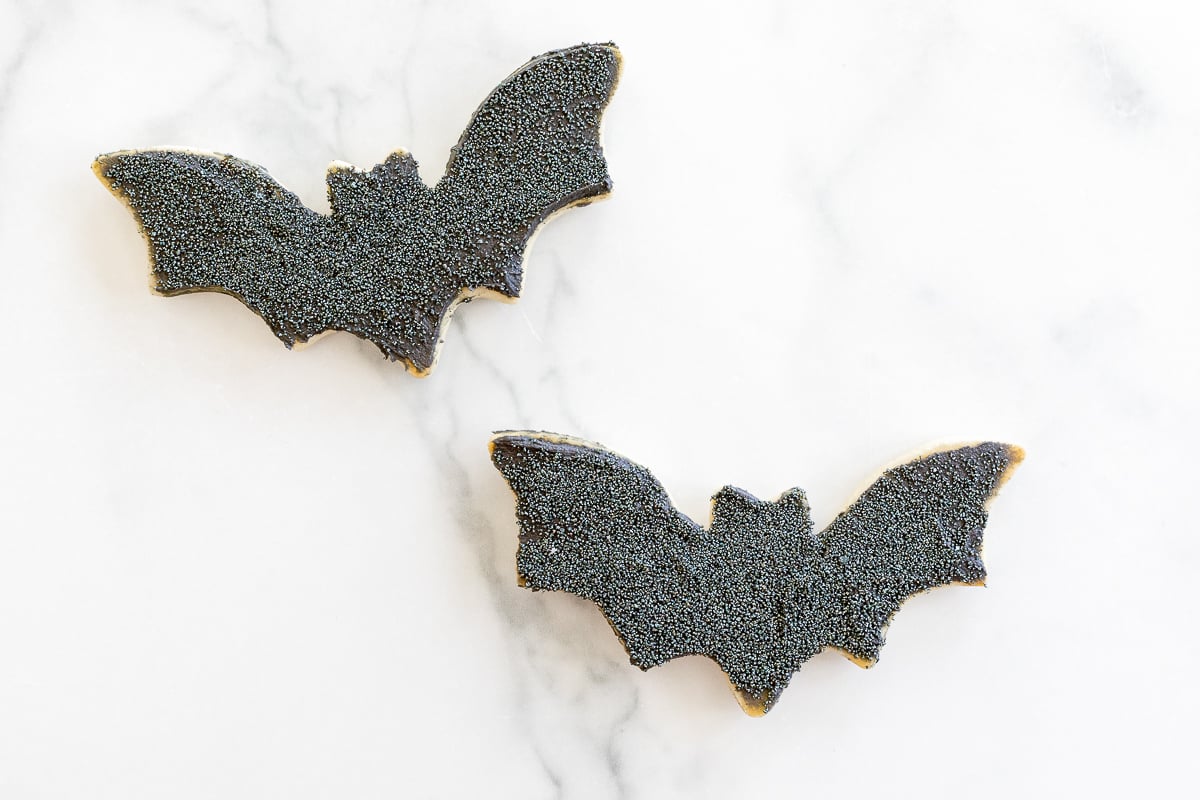
- For the bats, use black nonpareils for the easiest, cutest look.


Tips
- Refrigerate the dough for at least an hour before rolling it out.
- Refrigerate remaining dough while you’re rolling out dough to keep it as solid as possible.
- Let the cookies cool to room temperature before frosting them.
Frequently Asked Questions
Many bakers can keep their sugar cookies fresh, wrapped in airtight containers at room temperature, for up to a month.
However, for optimum freshness, we prefer to bake, decorate and eat them within the same week. Buttercream frosting can sit out at room temperature for up to two days, but royal icing can sit out for much longer. Regardless, 48 hours still gives you plenty of time to decorate and even package for gifts.
The best and most important tip to get these Halloween sugar cookies to hold their shape while baking, is to refrigerate the dough. You’ll want to refrigerate the dough for at least an hour before rolling and cutting the cookies into shapes.
How to Store
- At Room Temperature – Cover with plastic wrap or store in an airtight container up to a week at room temperature, frosted or unfrosted.
- Refrigerate – Refrigerate in an airtight container up to seven days, though the moisture could cause the colors in your frosting to run.
- Freeze – Freeze in an airtight container and covered in plastic wrap to prevent odors from seeping in, up to three months.
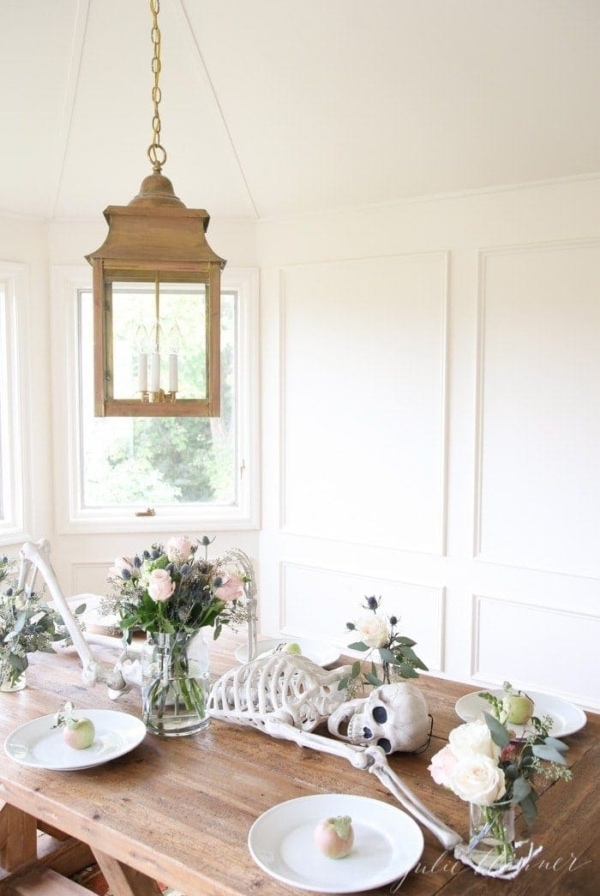
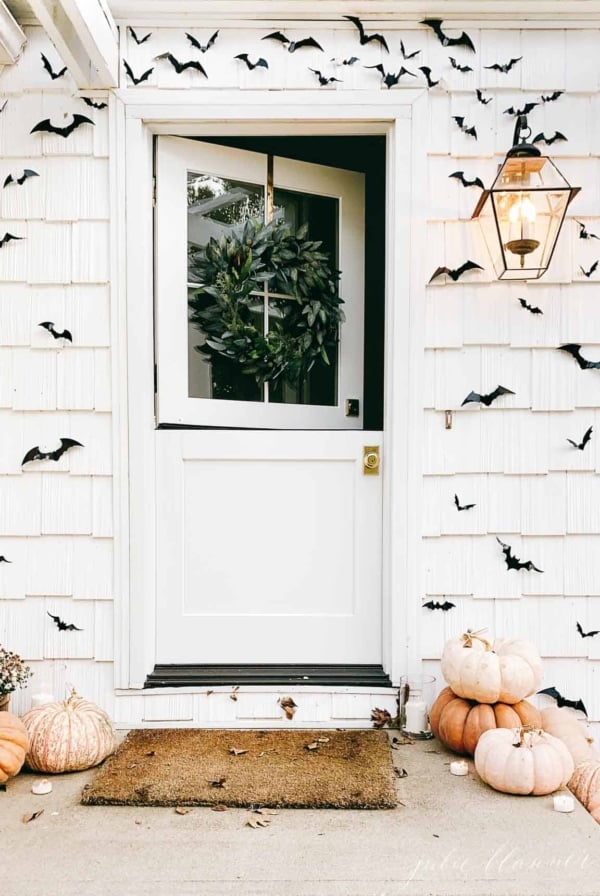
More Halloween Inspiration


Halloween Sugar Cookies
Ingredients
- 1 ½ cups unsalted butter softened
- 2 cups white granulated sugar
- 4 eggs size large
- 1 teaspoon vanilla extract
- 5 cups all purpose flour
- 2 teaspoons baking powder
- 1 teaspoon salt
BUTTERCREAM ICING RECIPE
- ½ cup butter salted or unsalted, softened
- 3 cups powdered sugar
- 2 teaspoons vanilla extract 1 Tbsp if you’re not using white
- 3 tablespoons heavy whipping cream you can substitute with half and half or milk
Instructions
- In a large bowl/your mixer, cream butter and sugar.
- Add eggs and vanilla.
- Gradually add flour, baking powder and salt, mixing well.
- Refrigerate dough for 1 hour.
- Preheat oven to 400℉. Line your cookie sheets with parchment paper or silpat.
- Roll out dough to ¼-⅓" thick. Press your cookie cutter onto the cookie sheets, leaving a half inch or so between each. Peel away your excess dough.
- Bake 6-7 minutes and allow to cool.
BUTTERCREAM ICING RECIPE
- Whip the butter, gradually adding powdered sugar. Add vanilla and heavy cream and mix until smooth. Allow cookies to cool 10 minutes before frosting.
Julie’s Tips
- Refrigerate the dough for at least an hour before rolling it out.
- Refrigerate remaining dough while you’re rolling out dough to keep it as solid as possible.
- Let the cookies cool to room temperature before frosting them.
- For the mummies, simply use edible eyes and a flat tip for your frosting to create the stripes of wrapping.
- For the bats, use black nonpareils for the easiest, cutest look.
Estimated nutrition information is provided as a courtesy and is not guaranteed.