Learn about adding this charming, decorative wire wall art to any corner of your home. It adds instant depth, texture and beauty – and bonus! It’s affordable and simple to hang.
Get sources, inspiration and a quick tutorial for how to hang it on your walls. You’re sure to be inspired for adding this beautiful look to your own home!
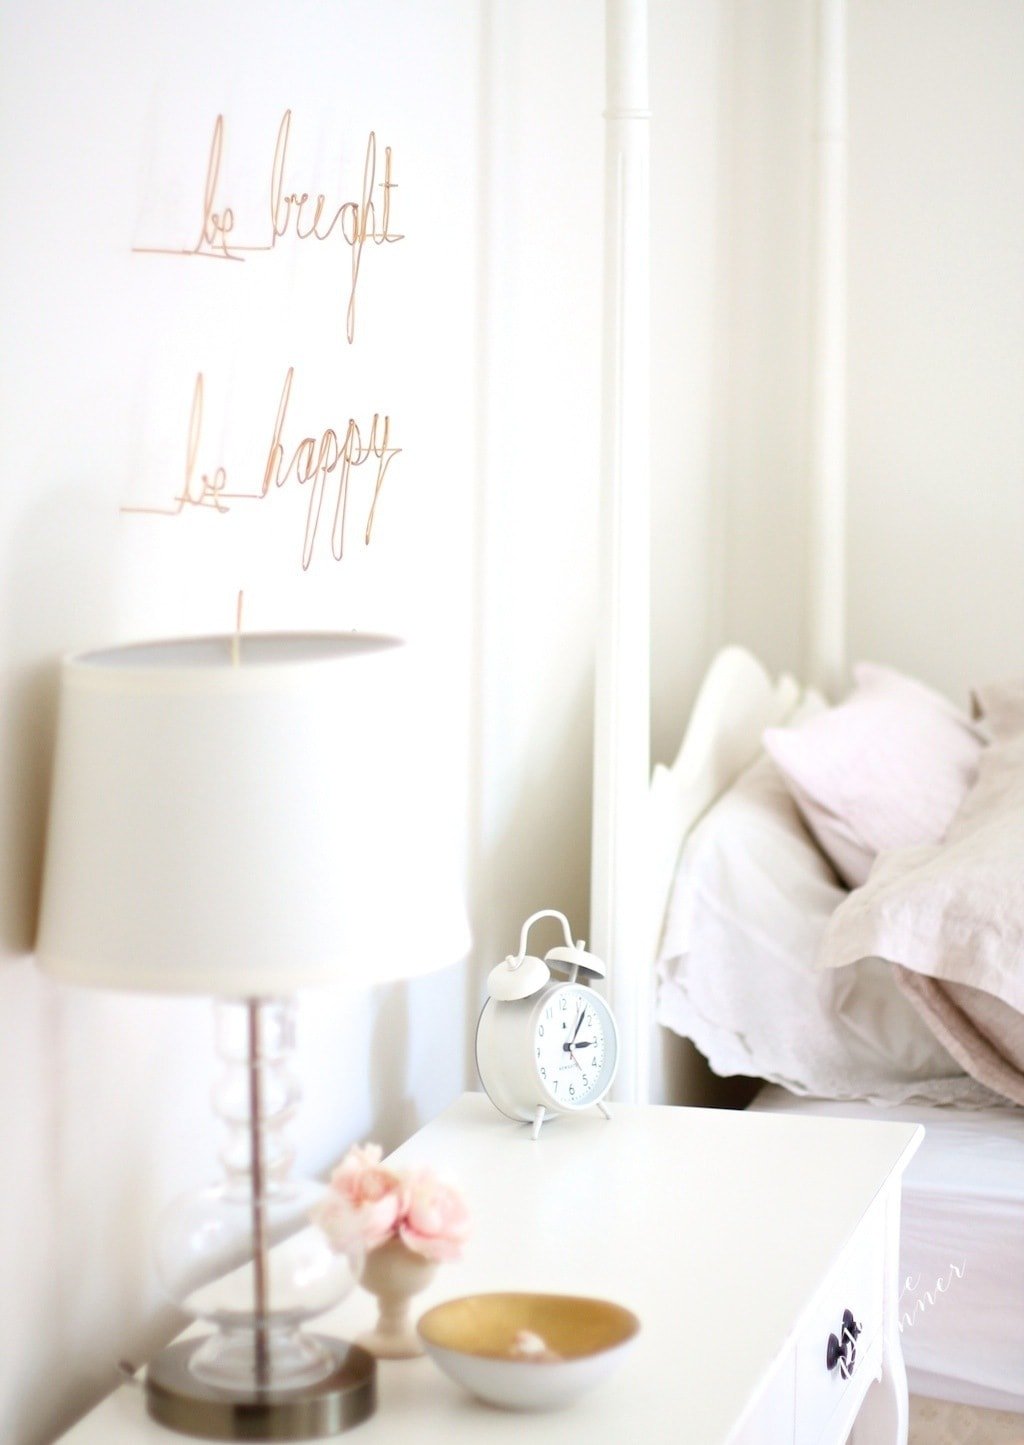
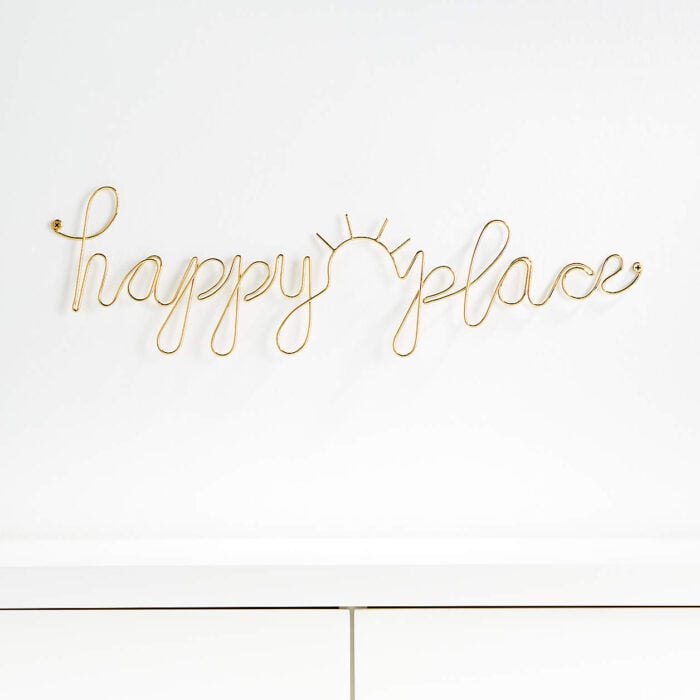
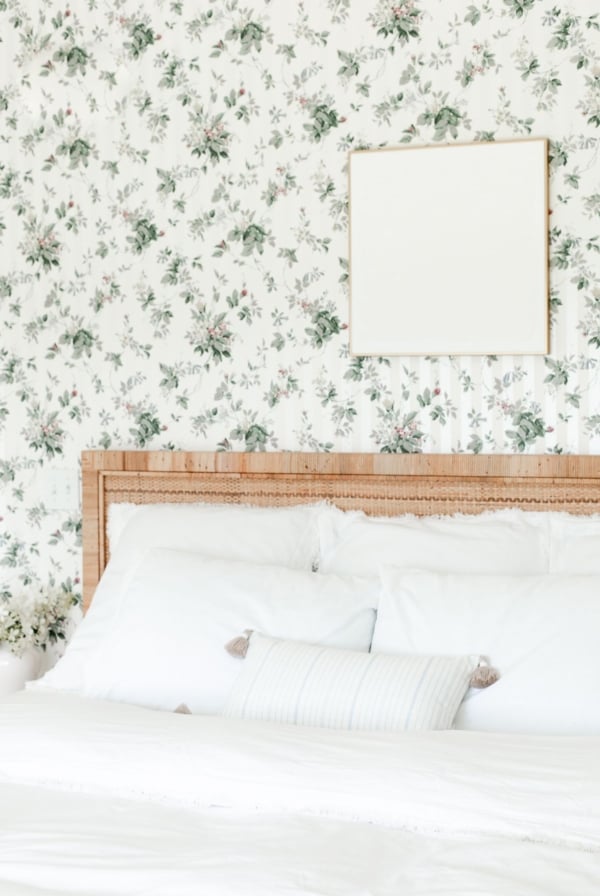
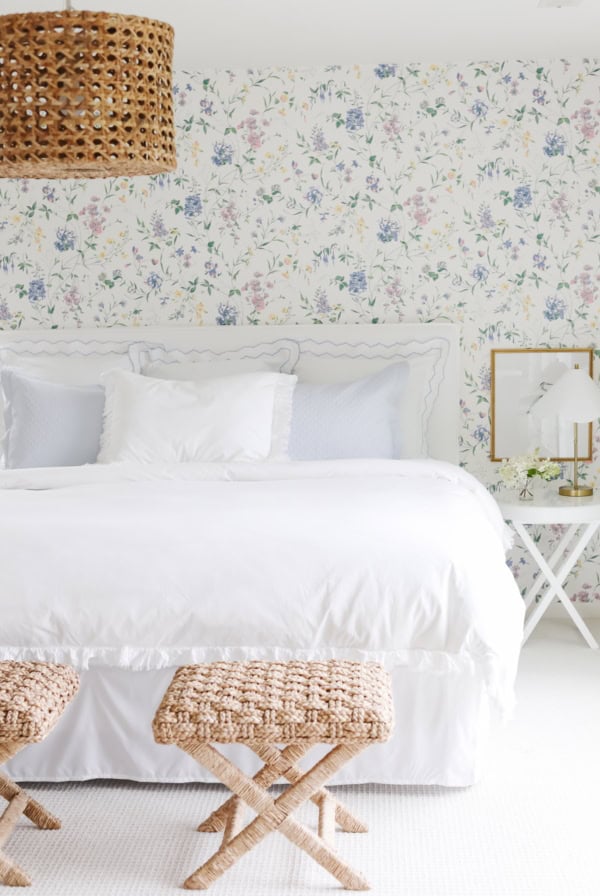
As you might have seen from previous posts about our efforts to complete the girls’ rooms, I had beautiful gold metal word art made for Adalyn’s bedroom.
In addition to some pieces from our old home, I wanted to incorporate unique art that stands out – literally. I’m elated with how it turned out. It made the room feel special.
I love sharing art with you! I’m such a fan of personalized art, and especially when it’s affordable, too. Don’t skip my popular post about Free Art Sources, as well as 17 Ideas for Art Above a Bed, and 20 Easy Wall Decor Ideas.
Today we’re going to share how to choose your own wire wall art, how to hang it and where to buy it! Don’t forget to pin it and save for later!
Wire Wall Art
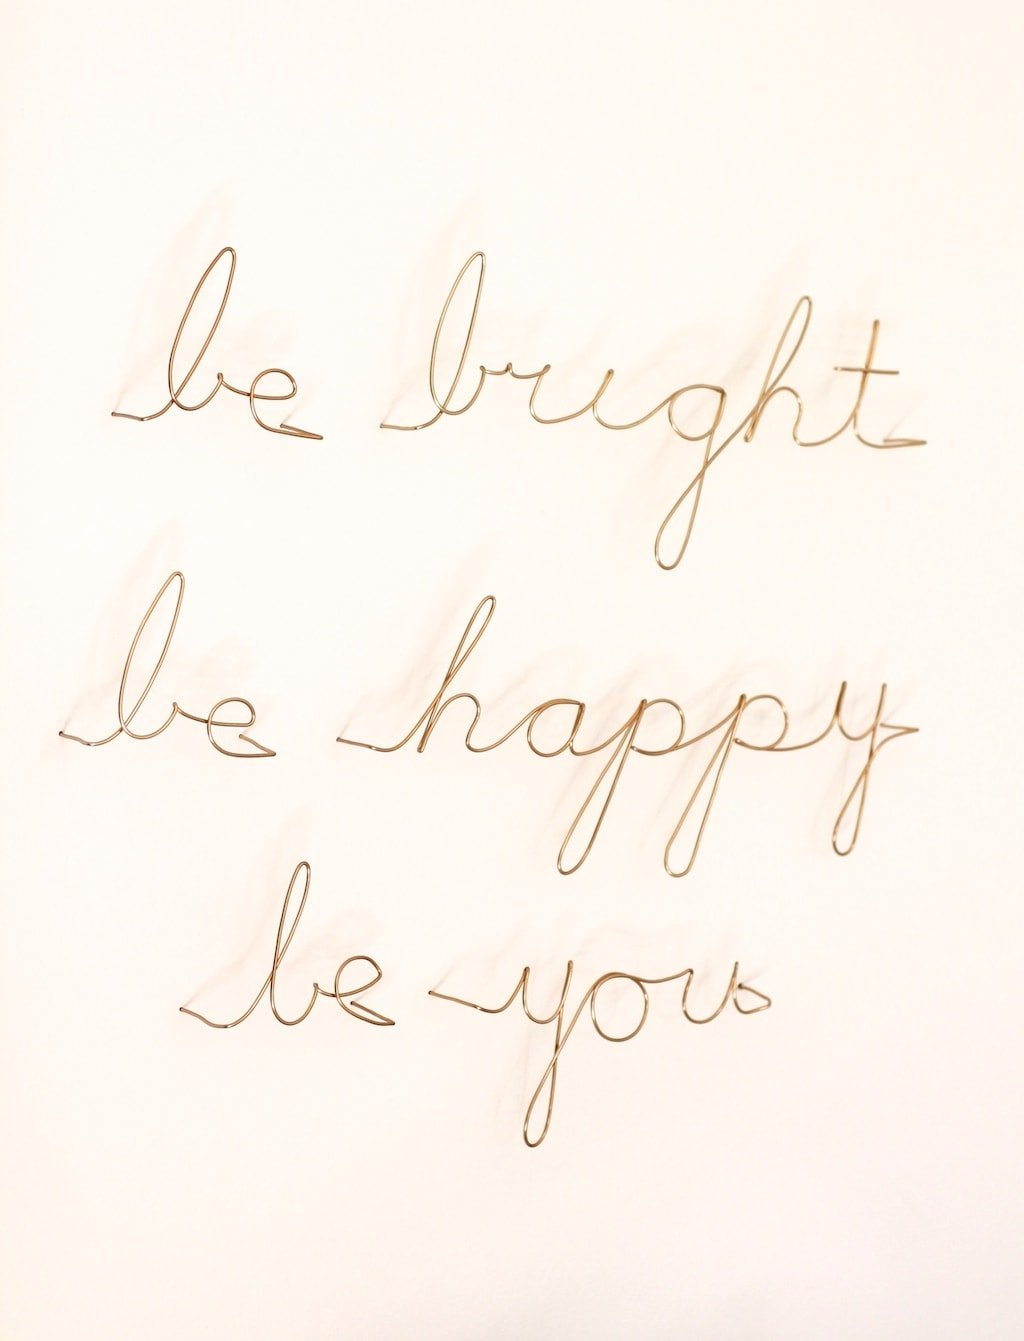
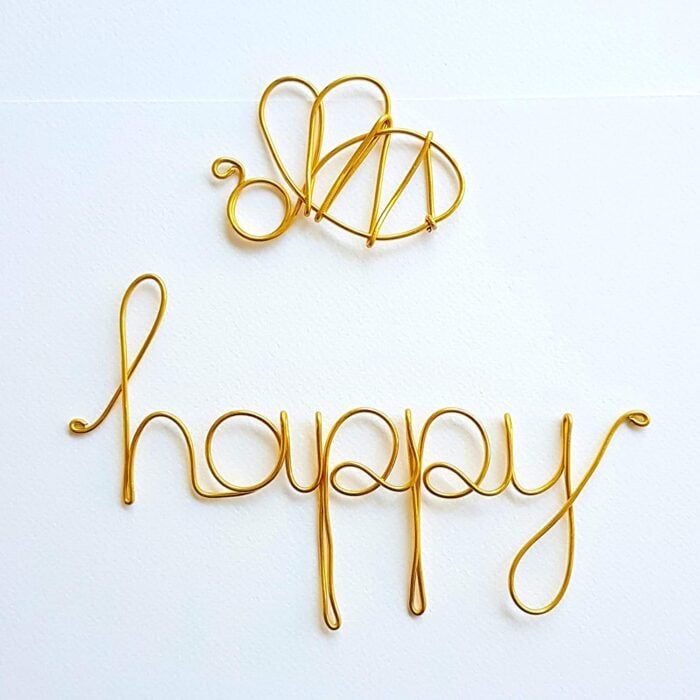
Wire wall art adds so much charm, but it’s hard to decide on words. I spent weeks pondering what I wanted it to say. I’ve always adored quotes, but wanted it to be short and sweet.
What I want most for Adalyn as she grows, is for her to be happy and to be herself. It’s so fun seeing how the girls’ personalities differ. Our biggest goal as parents is to always encourage them to be themselves and embrace who they are.
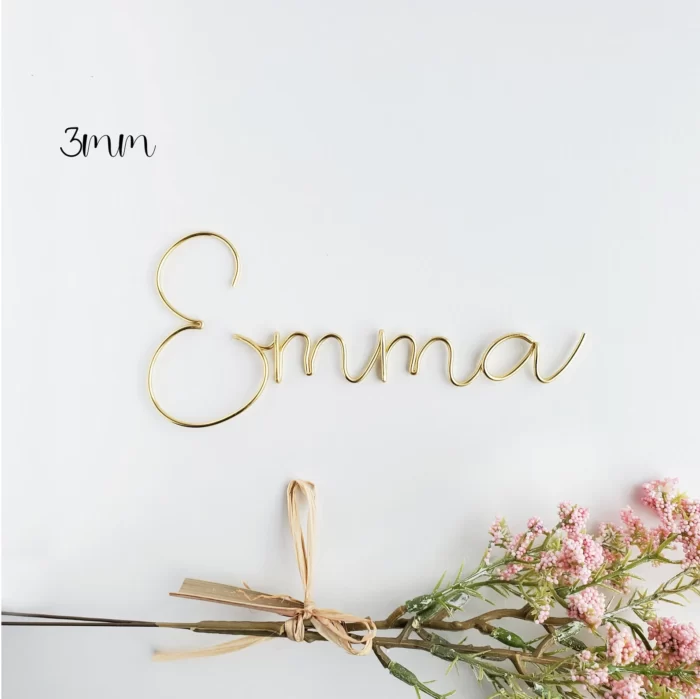
I started a search for word art and reached out to an Etsy seller (Turn Left Designs – unfortunately, not in business any longer) to see if she could make the saying – in gold, of course.
I had tried my hand at making word art from wire a couple years ago when I attempted to make “Aniston” and “Adalyn” Christmas ornaments. You can imagine how that went since they didn’t make the blog, haha!
Wire wall art is an art. The Etsy seller I worked with kindly obliged and all I had to do was install them. Whew! Because once I have my mind set on something, there’s no stopping me. It was nice to resolve this obsession – quickly!
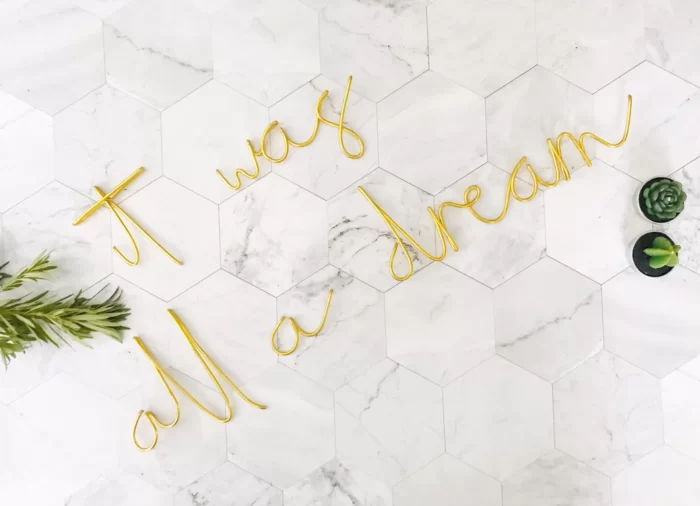
Wire Words Wall Art Ideas
This is such a fun project but it can be difficult to pick the perfect phrase! Choose something with meaning, that’s special to your child or your family.
- Names
- Favorite places from your travels
- Pet names
- Sports
- Favorite quotes
- Song lyrics
- Special dates
More Gold Wire Wall Art Inspiration
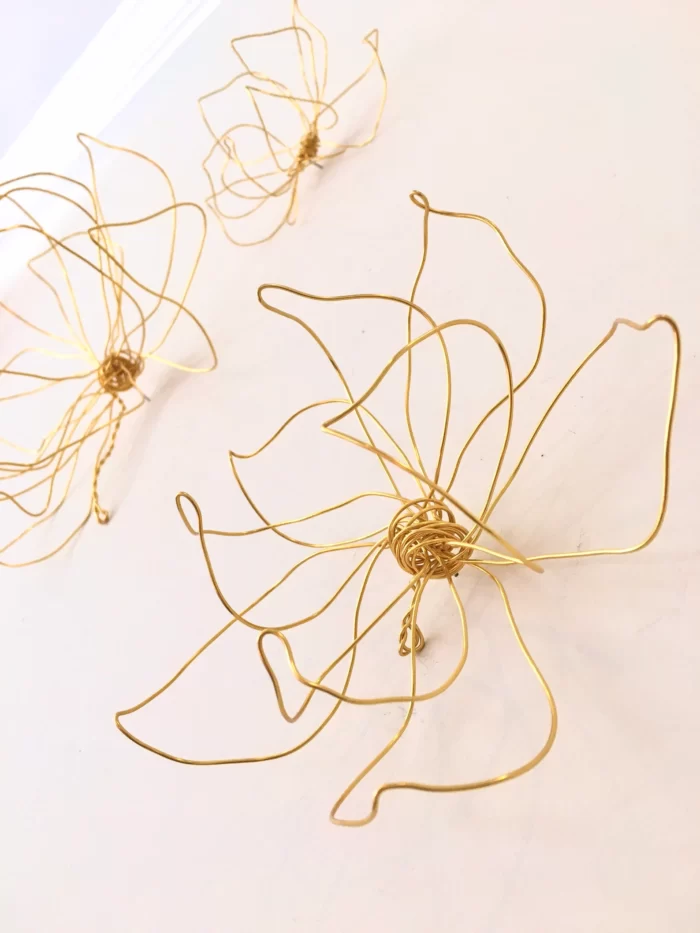
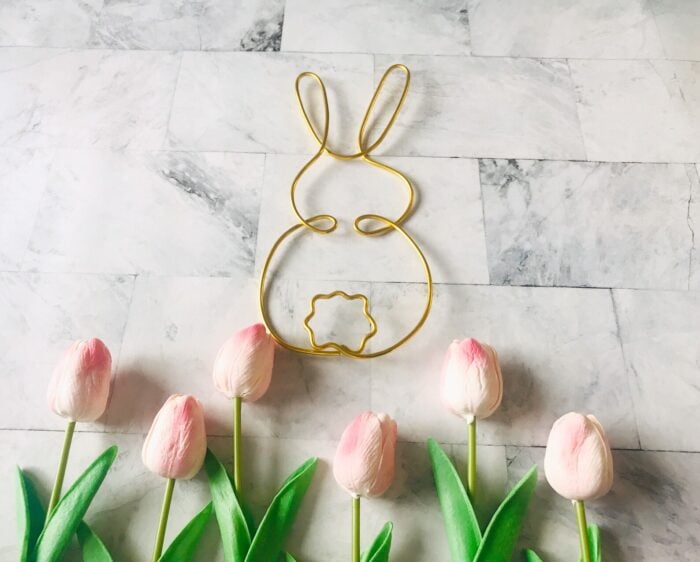
Love the look of wire wall art, but don’t want it to be words? Check out these fun ideas! There’s so many ways to add depth and texture to your rooms with wire.
Wire art won’t be super detailed, so it’s best to imagine pieces that are strong shapes with simple outlines.
- Flowers
- Hearts
- Stars
- Food shapes (think coffee mugs, wine glasses, etc)
- Animals

Tips
- Choose a phrase or term that has meaning to help you personalize your wire wall art!
- If you’re ordering a custom piece like we did, reach out to the sellers you’re interested in to check on custom availability and pricing.
- Read reviews, no matter where you’re purchasing your art. Unsure about an item? Read through the reviews and check to see if any reviews show photos. This can help ensure that you’re purchasing an item you’ll love.
- Choose a wire color that works for you – for our home, gold wire wall art was the perfect choice. You can find this style in silver, bronze, black, gold and countless vibrant colors!
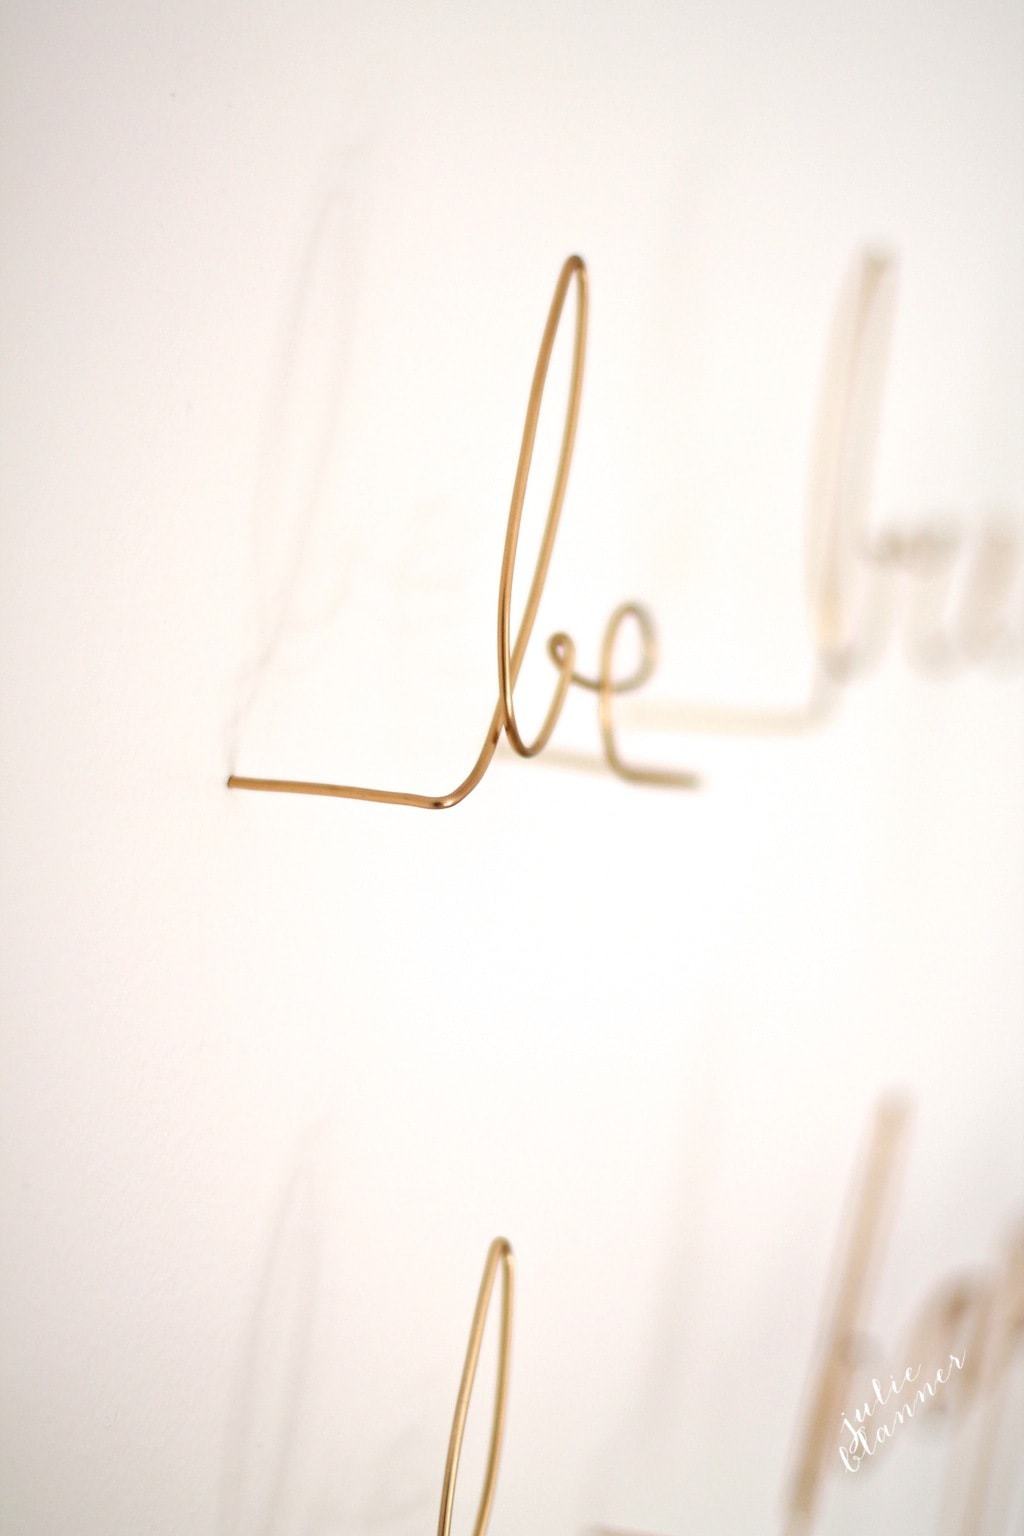
How to Install
- Gauge where you want each word to go and make a pencil mark on the wall.
- The wire is carved at the end (much like nails) allowing for easy installation, directly pointing the ends into your dry wall.
- They pressed into the walls without effort in just a few minutes!
Sources
While our wire wall art seller is no longer in business, here are a free great options!

https://go.shopmy.us/p-70352436
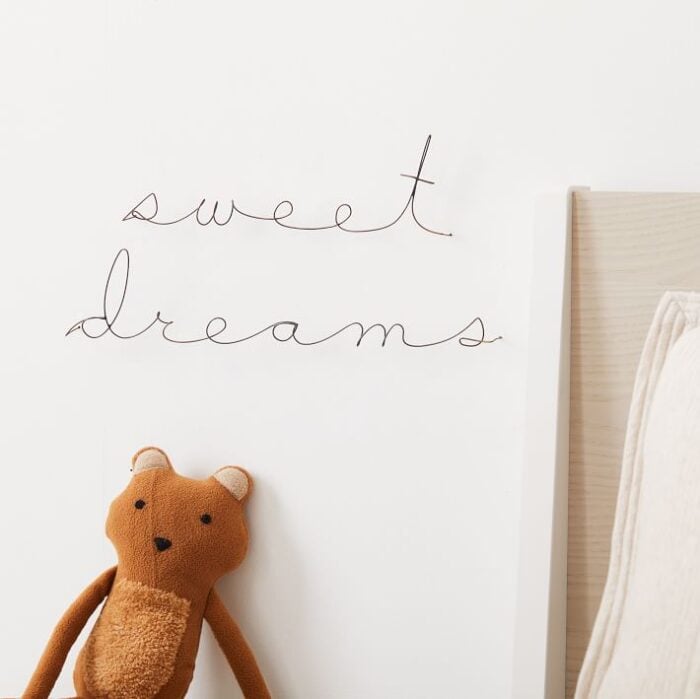
Other options include Home Sweet Home, Breathe, Goodnight, Dream and Love
Join Our Community
Let’s keep in touch! Receive exclusive content, including never-seen-before photos, our favorite home decor DIYs and more!


Hi Julie,
I’ve been looking at some similar art and have been hesitating because I’m not sure how to install it. Did you drill a small hole first or just push it in (like a thumb tack), or did you need to hammer it in? Thanks for your help! And the room looks great.
Thank you – I just pushed them in. So simple!
Hi! I just ordered this word art for my daughters room. I too will be placing it above her desk area. Do you have a template you can share on how you measured and placed the words?
I don’t, I just “eyeballed it” as my mother would say. Enjoy!
I am in LOVE with this! I’ve never scene anything like it and just ordered it for my office! Thanks for the great inspo!
xo,
Cait